 Brian's been busy creating a new bumper for his CJ-3B build. He's says it's nothing fancy, but I think it's pretty nice. Here's a start-to-finish explanation of the work it took to make his bumper. Thanks for sharing Brian!
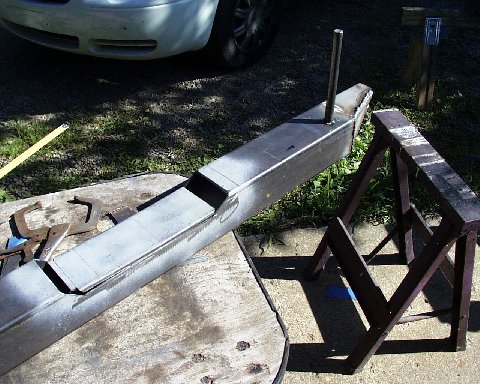
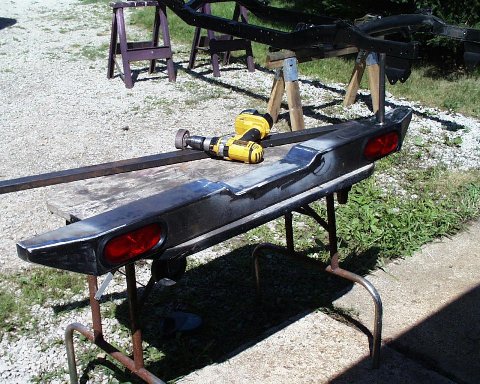
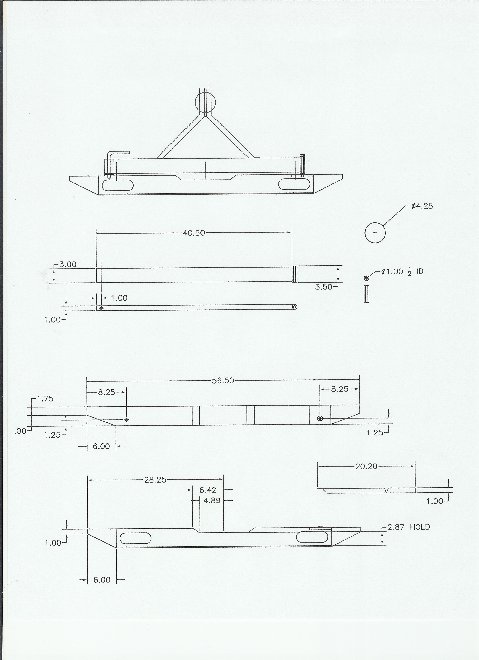
"Because the springs are longer than stock, I had to come up with a way to lengthen the frame a little in the rear. So, I fabricated a new rear bumper and incorporated a swing out spare tire mount. In addition, rather than cut holes into the body, I decided to put the tail lights in the bumper. To make the bumper, I only need to use a grinder, drill press, and a Mig welder — it's nothing fancy."
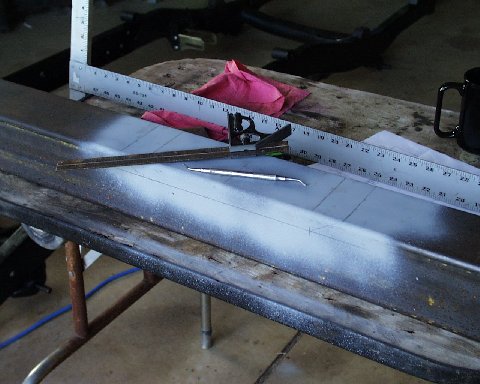
I started with a cup of coffee (editor's note: very critical), a can of old primer, dental tool for scoring and a square.
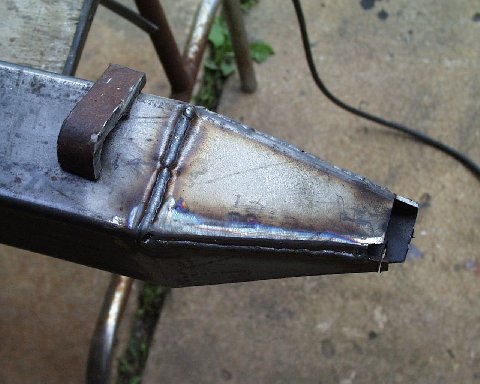
After cutting the first angle, I placed the 1/2 backer block inside the tube. Note: I marked the tube at the dimension and subtracted the radius and made my cut; this held my dimension. The other thing to note is the relief cut in the front of the tube for the bend.
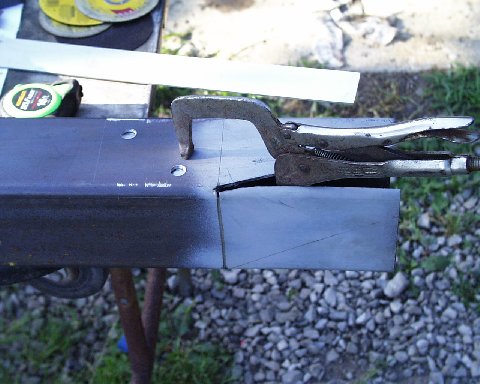
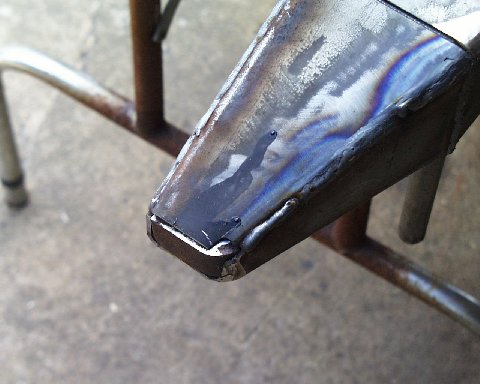
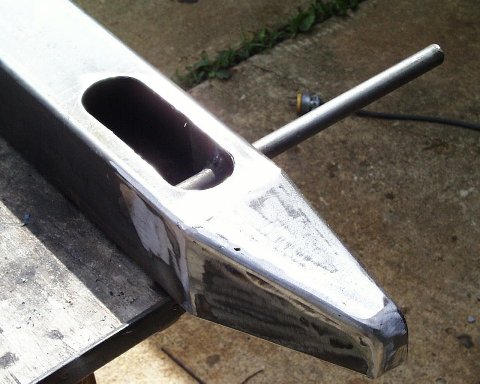
Here's the other side following the cut and bend.

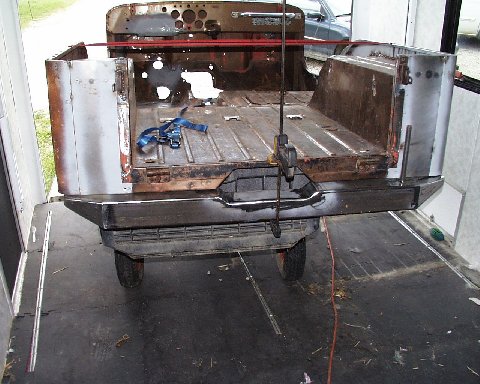
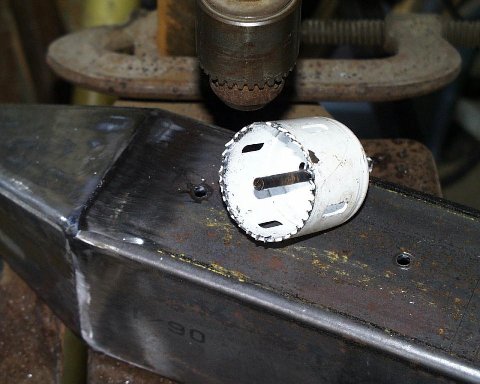
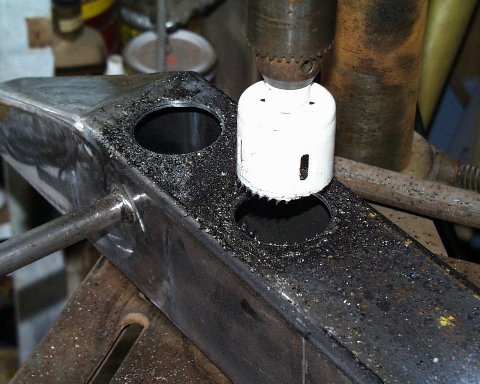
When I cut the center section out for the frame, I cut the top off at the radius first. Then I dropped down and cut away the rest of the tube. I found 3/4 solid stock for the pivot point and welded it from the bottom.