
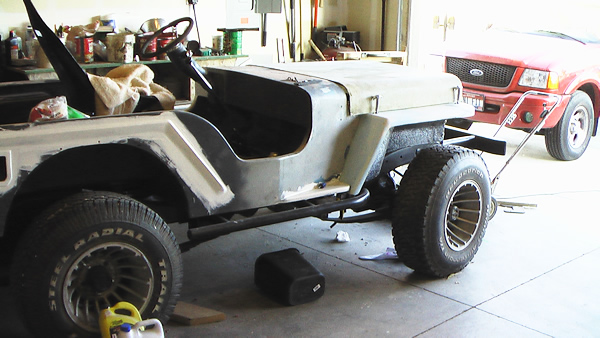
One of the issue’s I’ve put off until now has been the air cleaner. I knew fitting an air cleaner between the hood and carb would be tight, a consequence of the tall Kenne Bell intake manifold. However, I thought I might sneak it in there, but after finally fitting the hood onto the front clip, I discovered that even a low profile air cleaner won’t fit. Unfortunately, the engine can’t drop much more (not that I want to drop and reweld the engine mounts for an extra 1 1/2 inches). The only solution left (that I could think of) was to put a bump into the hood. I REALLY didn’t want to do it. But, I need to keep moving forward on this project, so I decided it was the most expedient solution.
Once decided, I then had to decide the type of bump. After mulling it over, I chose to do a simple bump that follows the lines of the hood. The first step was cutting the hole in the hood. Next, I created a form out of a 2×4, putting a 20 degree edge, the same degree, but opposite, of the angle of the stripe on the body. I laid two coats of fiberglass and resin and let it setup. The good news is that the results are even and the angles correct. The bad news is that I’m not thrilled with the results. I’ve thought about adding some angles to the front to make the bump more interesting, but I think I’ll keep it simple and save the details for version 2 of the hood.
Here’s the hood precut
Here’s the hood with 3 sides cut. I used a cutting wheel to do the cuts and a flat piece of steel as a guide to create a straight line.
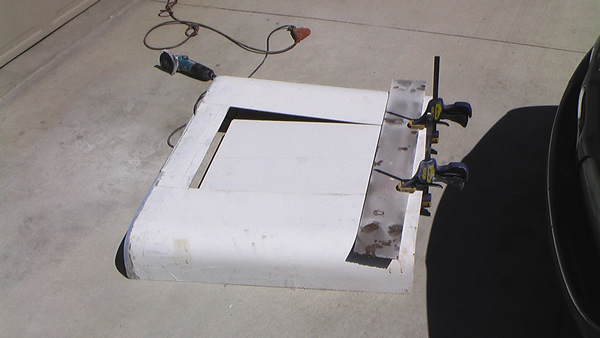
Here’s the hood on top of the form. I used the piece i cut out as the top of the bump. I cut a 2×4 at a 20 degree angle lengthwise and then fit the pieces together to complete the form, screwing the pieces into the hood to form a tight seal. In this image you can see the hood’s pretty rough at this point on the underside.
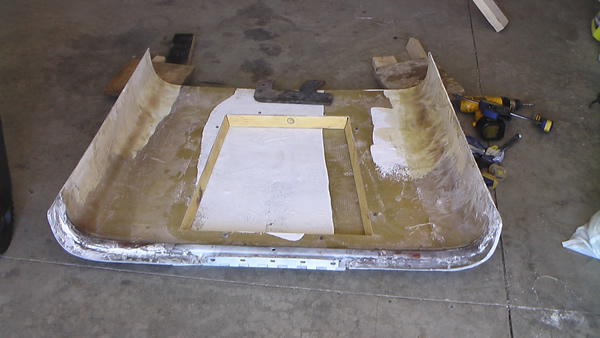
With the wood waxed, I laid down the fiberglass and resin. Then repeated the process. Once complete, I let it dry a few hours and then pulled the form off. You can see the results below (and judge them for yourself). The angles should get softer once I add some fill along the bottom edge of the bump.


Let’s call it a “POWER DOME”….. I’ve seen much worse if it makes you feel better. I don’t think it looks too bad from the pics.
Mitch
The Power Dome .. oooooo, I like it 🙂 … Well, yeah, I too have seen some pretty awful things done to the middle of a jeep hood. At least I avoided awful! I’ve added a little fiberglass filler that’s improved the situation. Unfortunately, I had another bout of a strange stomach ailment (3 times this summer — all after eating salmon) that stole 2 good days of potential work from me this weekend .. grrrr.
ooof…..lol….Lemme try to make it better again. I helped a friend move his junk from Libby, MT to North Bend over the weekend cause he’s getting divorced again…. Awkward moments at the house to say the least… I think I’d rather have had a stomach ailment….
You know the more I look at it, the more it grows on me…
Mitch
… ouch — awkward is right .. and been there, done tha myself. Yeah, I’ll take the stomach ailment anyday.
– Dave