Well, I didn’t get as much progress done today as I planned (like I ever do?), mostly because I slept in — way in! I spent much of the afternoon, moving, measuring, leveling, thinking and then removing, remeasuring, releveling … I think you get the picture. It took me a while to realize that my windshield is a little crooked and that was throwing me off a little. Once I figured that out, I started making progress.
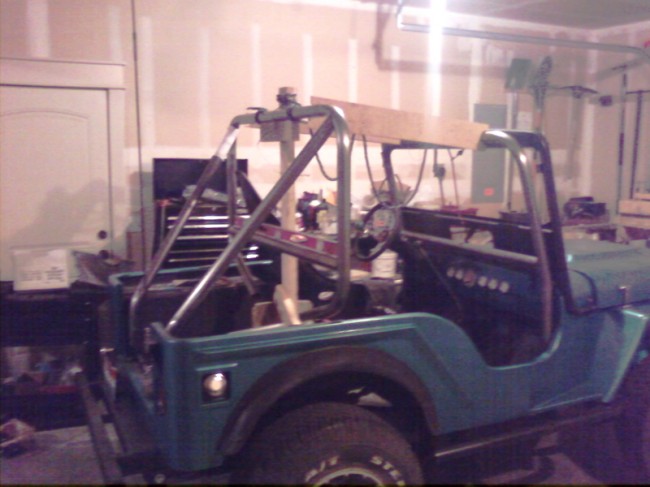
The first thing I did today was to brace the loops into place so I could start adding supports. I did some cross tubes first. This helped square the loops, which were off about half an inch each. Once that was done, I started on the rear supports. I’ve got a little grinding left on the driver’s side left rear piece then it will be ready to be tacked into place.
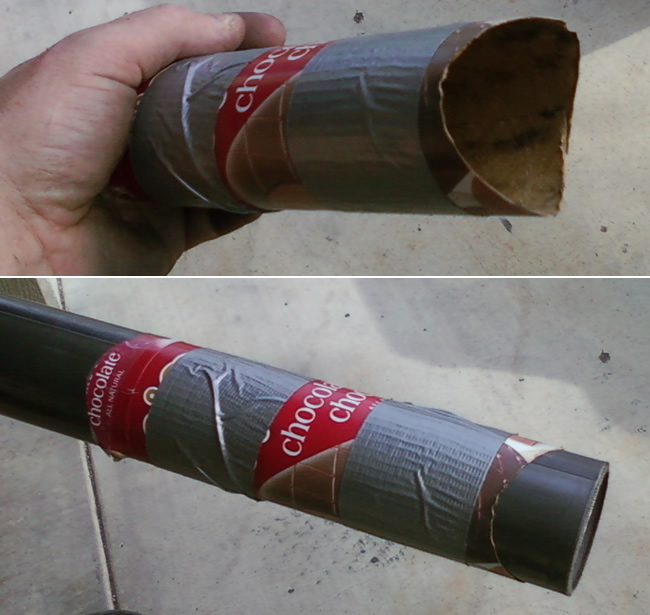
For my tube intersections, I’ve been using this tube coping calculator. I found it off just slightly, but close enough to be of real value. I taped the paper to a thin piece of cardboard (my Haagen Dazs Ice Cream boxes work great — A great excuse to get Dark Chocolate/Dark Chocolate Ice Cream Bars).
Tomorrow evening I’ll complete the back area and start to work on the top side pieces.
Here’s the only pic I have from tonight.


awsome lookin cage, you do good work…how did you determin the height of the back hoop?
Nice , Nicley played my Man, your almost ready to rock!
Thanks! It’s getting there.
I determined the back loop height by having a friend measure the height of their back loop, which turned out to be 43″. Because I want to put a top on at some point, I didn’t want the hoop to be too high.
On my last cage, the hoop was too high by a couple inches (built by someone else for racing offroad), so when I put my top on, the top was too short by a couple inches; fortunately, I had a friend who sewed canvas, so I added a couple inches to the bottom to make it work.
Looking forward to seeing the finished product. Based on the build photos, I’m sure it’ll be a nice quality product. Looks good.