
You may remember Robert’s 1942 GPW from this post last year. Since then his father and he have repowered their modified GPW.
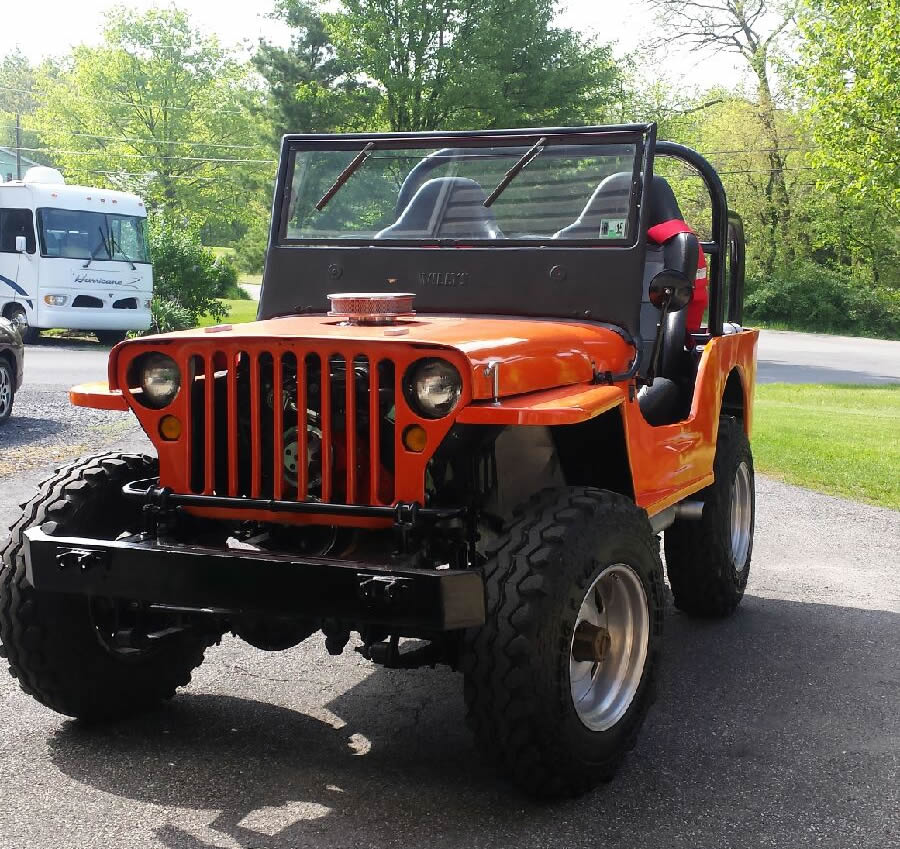
Robert writes, It has been about 18 months since I wrote you about the GPW project that my father and I found on your website in 2010. You were kind enough to feature the build of our Willys last time. Since then we have made some drastic changes that I think you may enjoy.
Things got out of hand last November when a simple craigslist browse lead to the purchase of a B&M 144 Supercharger from Ohio. Initially, we were not sure if the blower would find its way into the GPW, and decided to bore out a 350 that we had lying around. The plan was to build a supercharged 383 stroker for fun, and then decided what vehicle to install it in. As you may imagine the longer we had the blower in the garage the more inclined we were to see it tentatively installed in something, and the GPW was the easiest option. We pulled the 400 SBC and installed the 350 with no internals, but the blower on top to see how it looked. The result was amazing, and we decided that the Willys was going to get a new motor!

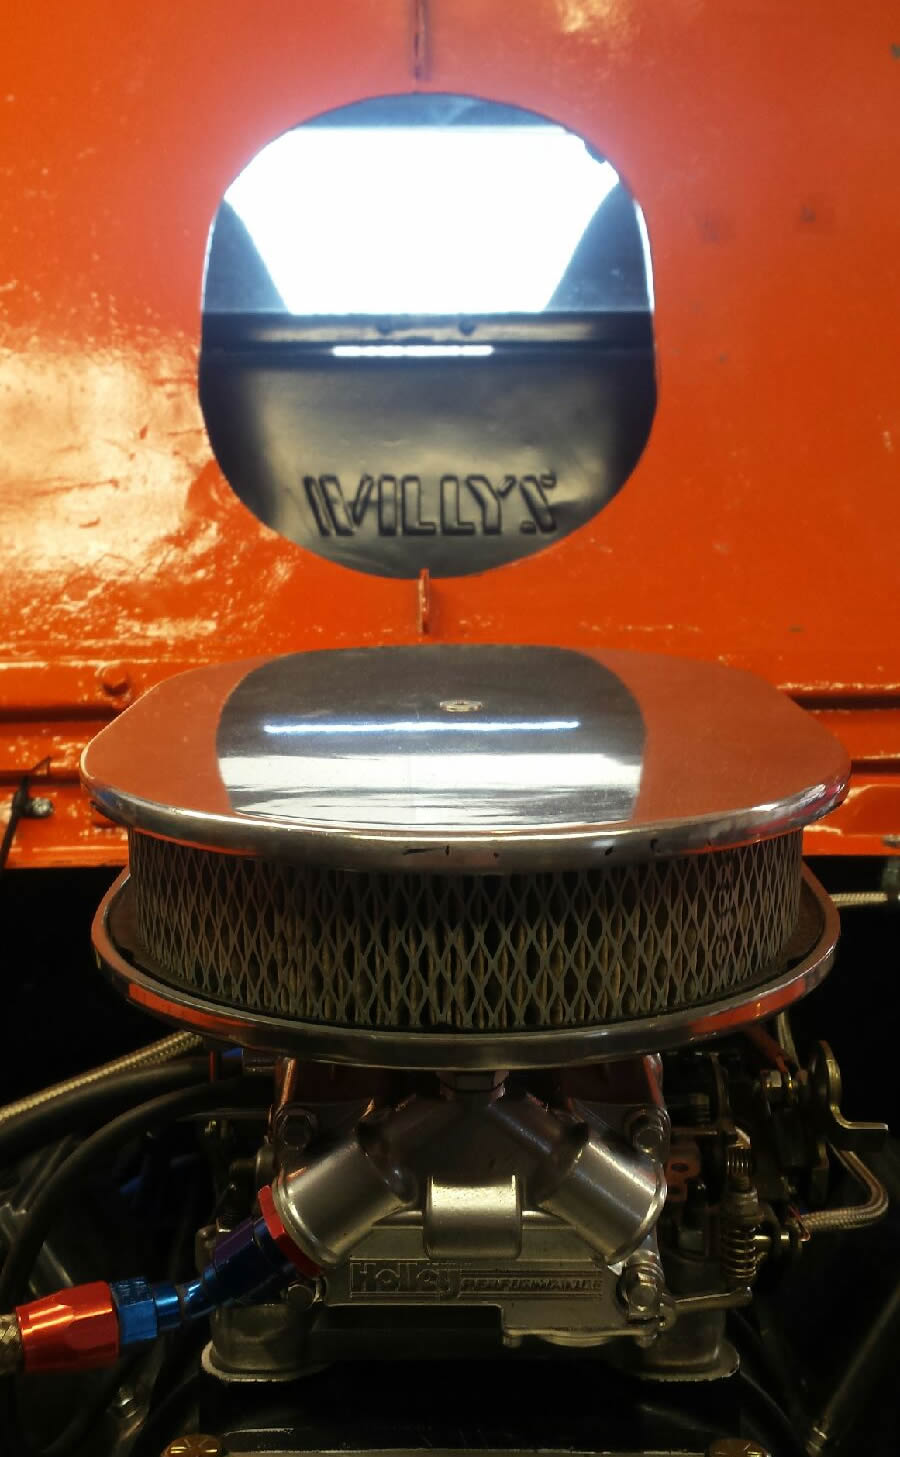
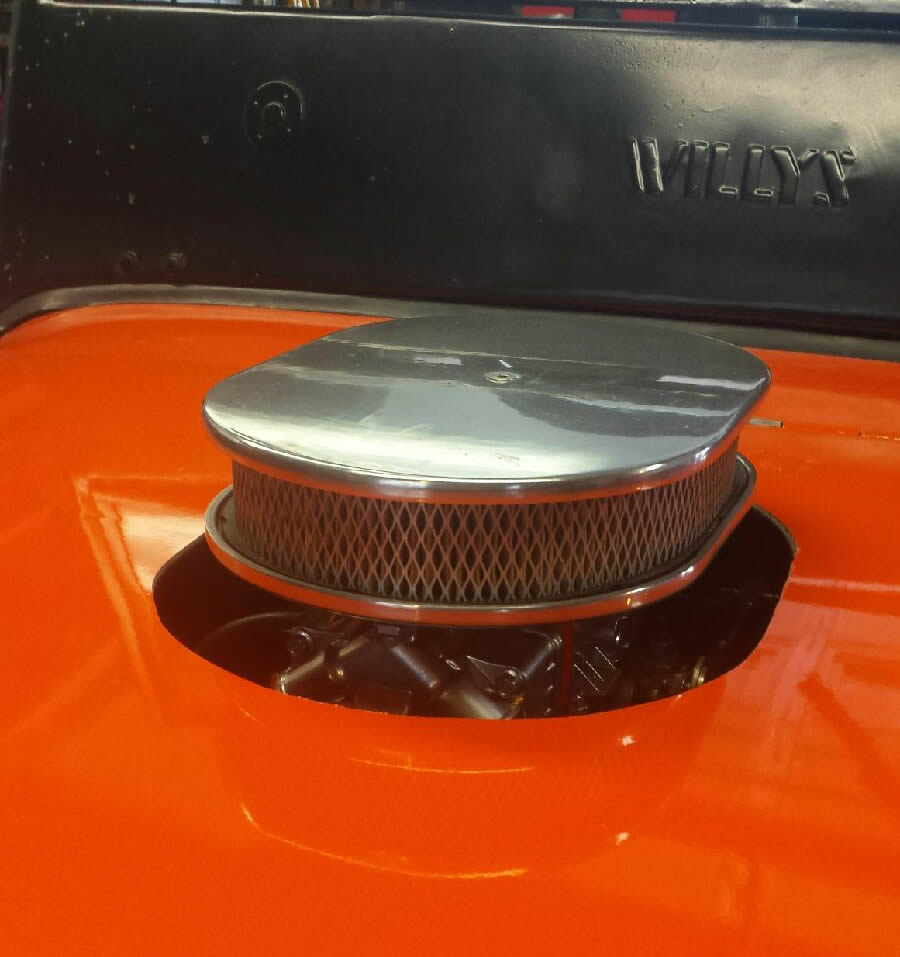
Installing a small block chevy with a blower in a Willys that came with a 4 cylinder comes with numerous obvious and unforeseen hurdles. For instance the blower is a bit taller than a traditional intake manifold, and consequently the hood would not close. Therefore, we moved the motor mounts down which actually helped the center of gravity! This alone did not clearance the blower, carburetor, and air cleaner though. However, we were undaunted, and decided that the only remaining option was to cut a hole in the hood and stuck the air cleaner out!
After we figured out how to fit the motor in up and down we decided to address the issue of front to back. The position of the motor already had the HEI distributor close to the firewall so there was no room to move the engine backwards, and the snout on the blower was too long for us to fit the single core radiator before the grill. Therefore, we completely removed the radiator from the engine compartment, and installed a new 3 core aluminum radiator on the roll bar behind the seats! We had to customize all of the plumbing for the cooling system, and my uncle assisted us with a very special bender borrowed from a former custom off-road shop. In addition to the bent aluminum portion we ran the same flexible lines along the frame rails that you can find on monster trucks.

Once the new aluminum radiator was installed we had no idea how well it would cool the motor. So to be safe we added a high volume water pump in addition to the 6 quarts of coolant the system took. Furthermore, we went on to install a pusher and puller electric fan with an aluminum shroud on the rear puller. If you look closely you can see that we moved the reservoir into the rear driver inner fender well. This cooling system has never let us down, and we did not even come near over heating in the Jeep Parade in Butler, PA this year. The system does move quite a bit of air so we did install a piece of metal a few inches before in front of the fuel cell to avoid any excess heat transfer to that unit.
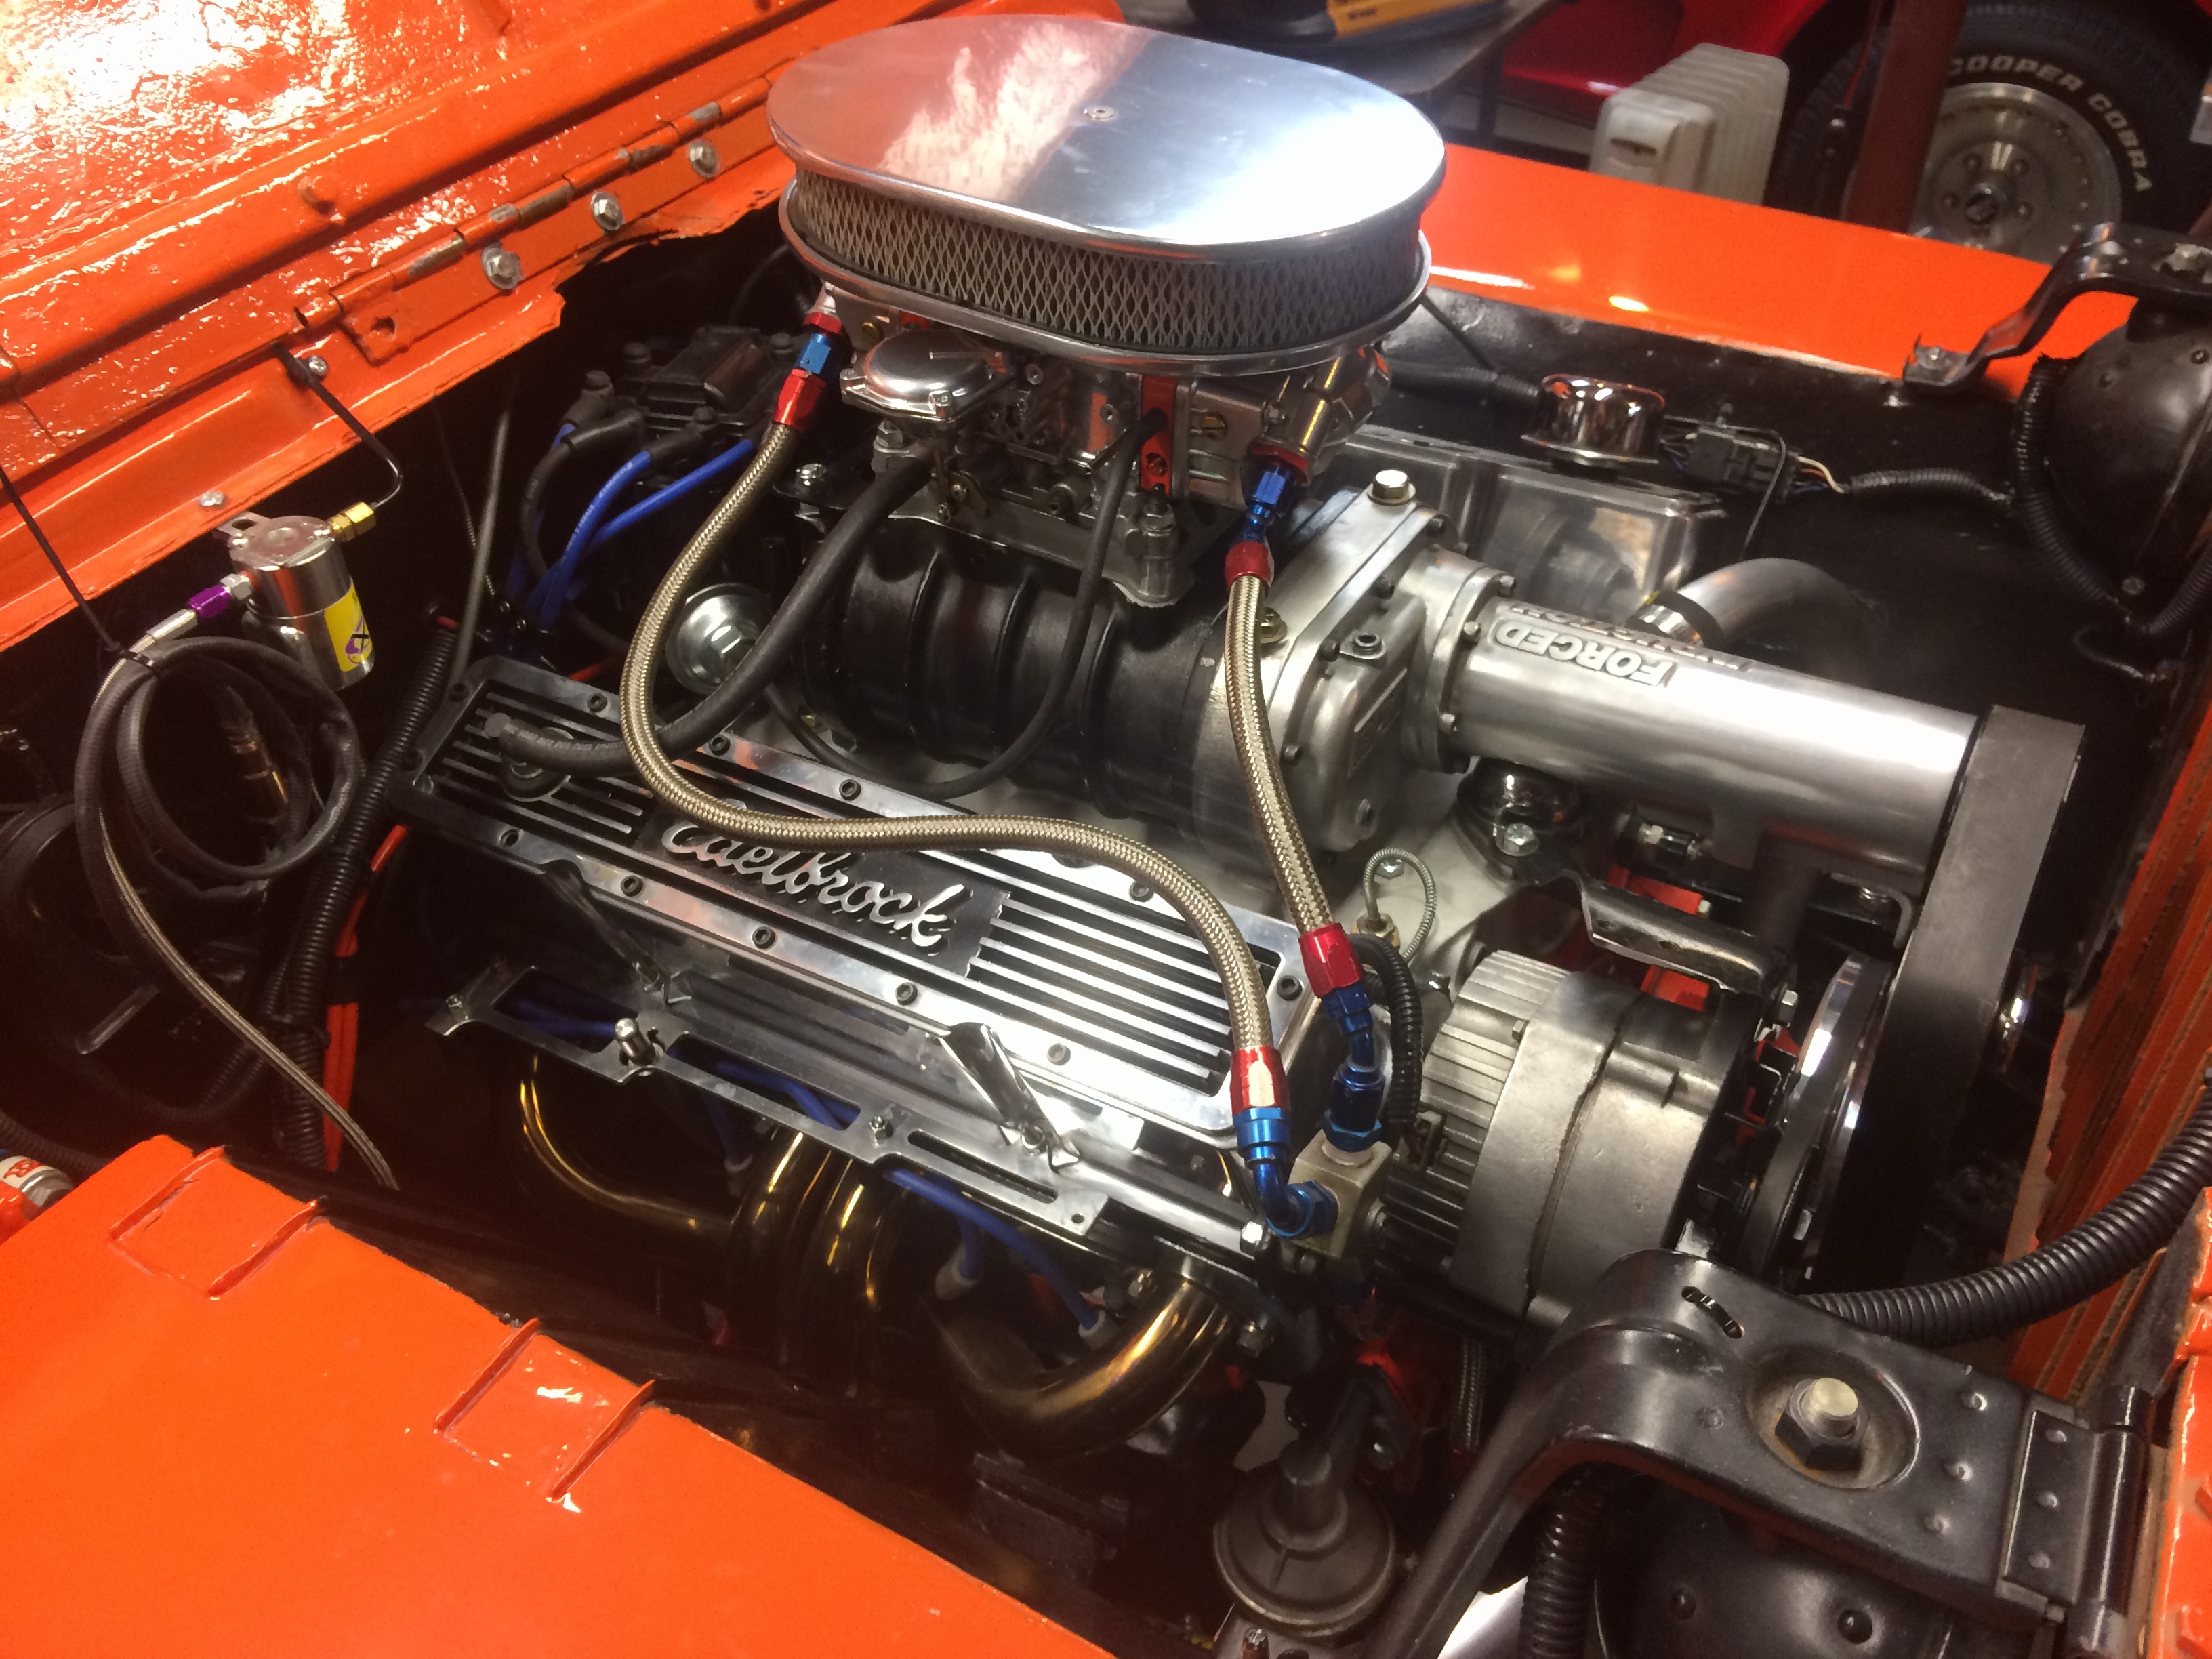
If you do not pay attention it is easy to overlook the Nitrous Sniper kit that it is installed between the fuel cell and radiator. Although the Willys will never experience boost let alone the full throttle that is required to spray nitrous the look you get when you purge the nitrous at a red light has been worth every penny! Now, we can finally talk about the 383 stroker motor! We sent the 4 bolt main 350 block to the machine shop and got it back to install our Eagle rotating assembly. Once the bottom end was together we added Summit Racing 2.02 heads, a Comp Cams blower/nitrous camshaft, a custom carburetor, and new headers.

Although the motor, cooling system, and nitrous have been the biggest updates since my last email we have also installed a very special fuel filter, Super Swamper TSL’s, and air fuel gauge, and more. The list of small odds and ends that need to happen to make a swap like this is rather elaborate and could go on for pages, but the build has been an absolute blast.
Lastly, I would like to thank you for keeping ewillys going! My father and I both enjoy browsing through the articles, posts, and ads of Jeeps for sale. Your website is the reason we found our GPW, and without that we would not have any of the memories made from the fore mentioned build. Please let me know if you have any questions about our build, and thank you again!


Robert,
Your jeep must be a real blast to drive. I have a 1950 M-38 I’m working on right now and would like to install a front sway bar. I notice that you have one installed on your Jeep. It looks like it may be a sway bar off a more current Jeep adapted to your GPW. Would it be possible for you let me know about the sway bar (what its off of) and to send me close up pictures of how you mounted it to the frame as well as to the axle? Looks like you may have shortened your sway bar cutting it in the middle and welding it back together.
I sure would like to duplicate your installation on my Jeep. Did you also mount one on the rear? Pictures and info on that would also be appreciated.
Ron
Hello Ron,
I would highly recommend putting a sway bar on the front of your m-38. We used one from a 2003 Jeep Wrangler TJ, and cut a section out of the middle to make it the correct width. We did not run one in the rear, but I imagine that would help with stability as well. I will try to get you some additional photos this week.
Best Regards,
Robert