
 As the days grow shorter in Anchorage, Paul’s getting busy with his trailer. Thanks to Paul for taking the time to document another beautiful build!
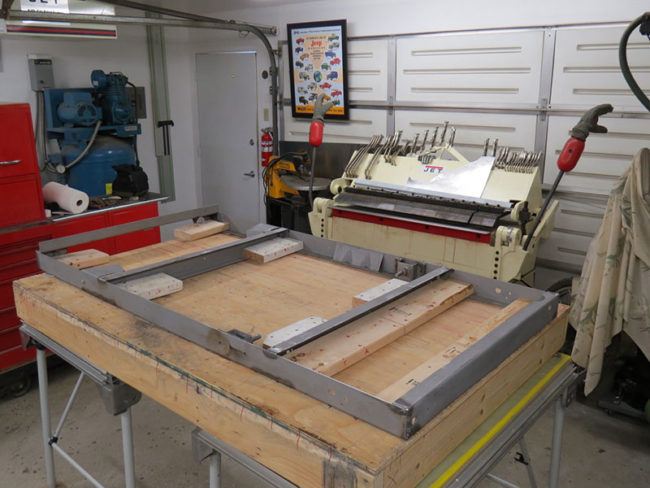
“With fall in the air and winter coming fast the first week of September is when I began working on the rebuild of the M100 trailer after I hauled the frame home from the sand blasters. There were a couple of cracks in the frame where the shock mounts attach and a few other areas I felt also needed some attention from the welder so I positioned the frame on a 2X6 and plywood platform and screwed blocks down to hold the frame in alignment. My plan was to fabricate the replacement box on the clean frame and after the box was bonded and riveted together the box would be removed so the frame could return to the powder coat place for a coating off satin black.
I felt the original trailer box floor was a little weak so I planned to add extra hat channels for strength and I needed to design and fabricating the tail light, brake light and turn signals mounts.
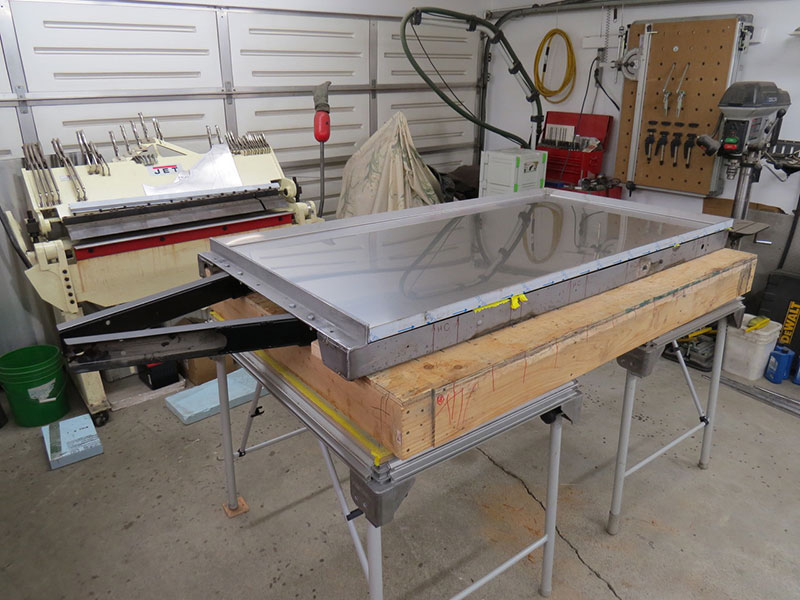
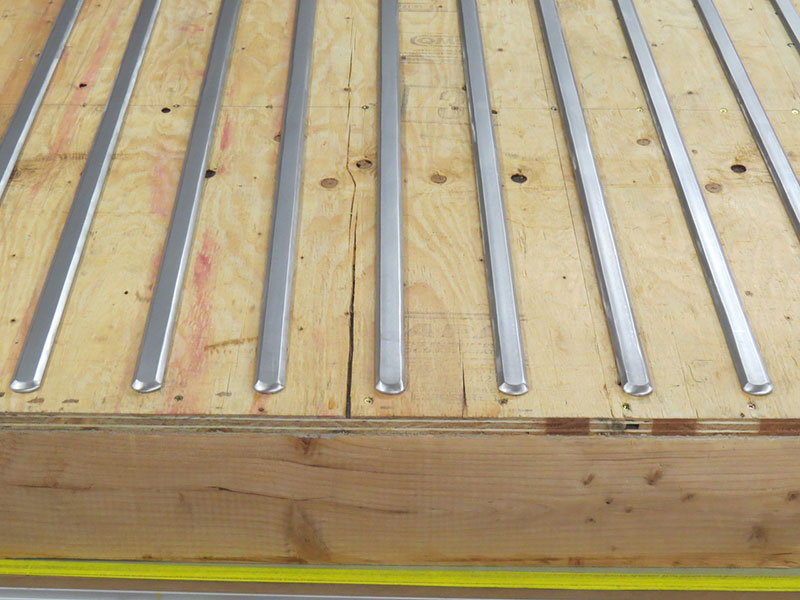
Below is the new 18 gauge stainless steel floor being fitted to the original trailer frame. I’d hoped to have a local company press the reinforcing strips in this floor panel (like the original) but soon learned I couldn’t afford the cost to make the die and pay for the press time just for one floor panel. I ended up buying 60 feet of 1 inch wide by 1/4 inch thick stainless steel strap for the trailer floor and 24 feet of 3/4 inch wide by 1/4 inch thick stainless strap for the side and end panel reinforcements. The strap was rectangular but I needed the floor strips beveled and the side strips rounded along the edges so I had to get creative and come up with a cheap solution to recontour these straps.
I used scrap pieces of plywood stapled to the platform along with additional plywood clamps screwed to the wood to hold the strap in position while worked on the strap edge. By carefully holding a 4 inch grinder at the necessary angle as I rolled from one end of the strap to the other while sitting on a roll around seat I was able to reshape each strap to the contour I needed. The floor of my garage has a good sized crack down the middle so I had to pay attention and not damage the stainless strap while bouncing across the uneven floor surface. With my face mask on, my ear protection clamped to my head and nothing much else to do I spent 47 hours grinding theses straps so they would be a reasonable duplicate of the original ridges pressed into the trailer panels.
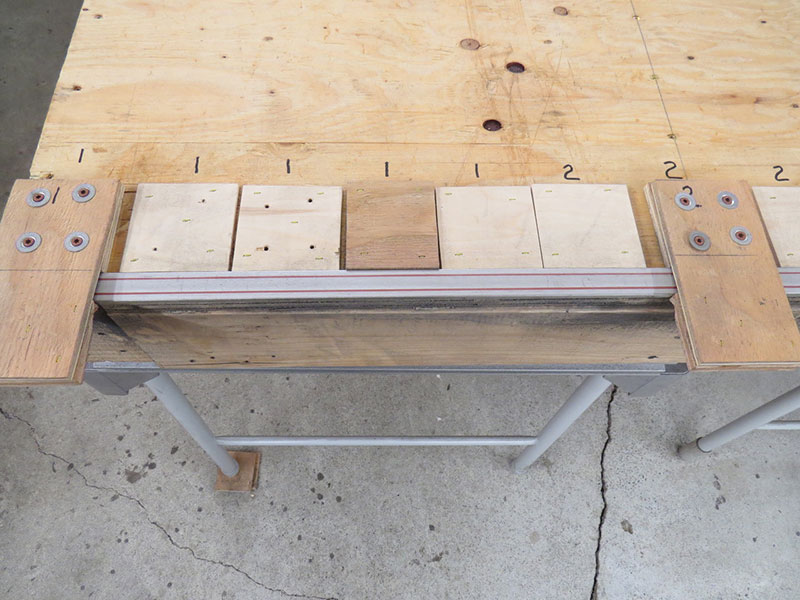
Here’s the end result of rolling back and forth while holding the grinder against the stainless strap. It’s far from perfect but it’s something I can live with.
After I’d finished with the sides of the straps I needed to bevel the ends in a 180 degree curve.
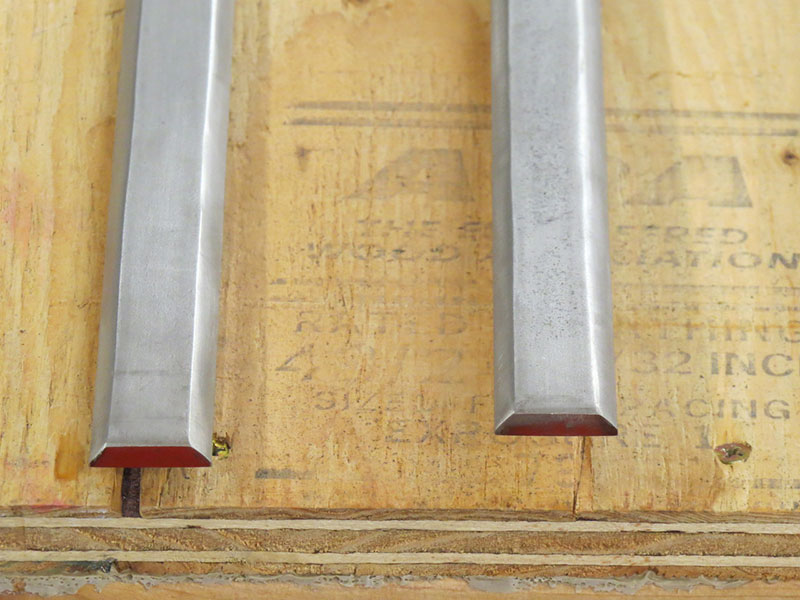
I miscounted and beveled 10 straps for the floor when I really only needed 9 straps. Oh well, what’s an extra three hours or so of grinding.
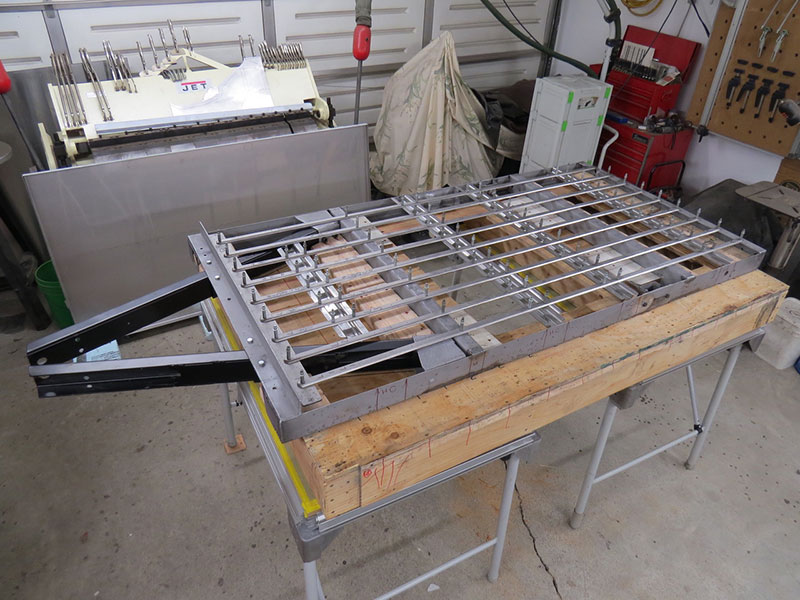
Only one hat channel was used on the original M100 trailer (positioned above the axle) so most of the trailer floors I see resemble a roller coaster ride at an amusement park. I wanted to increase the stiffness of the floor so I built the floor structure with four hat channels which would be riveted to the reinforcing straps (thru the floor panel) and added a 3/16th inch thick stainless strap at the forward end of the box to tie all the straps together. There’s rumors this trailer just might be a bit heavier than the original M100. I’m not worried about the increased weight…. I don’t plan on carrying the trailer. All I want is for the little Willys to tow it.
The powder coated front frame sections were installed only to check for any clearance issues the front hat channel might have caused.
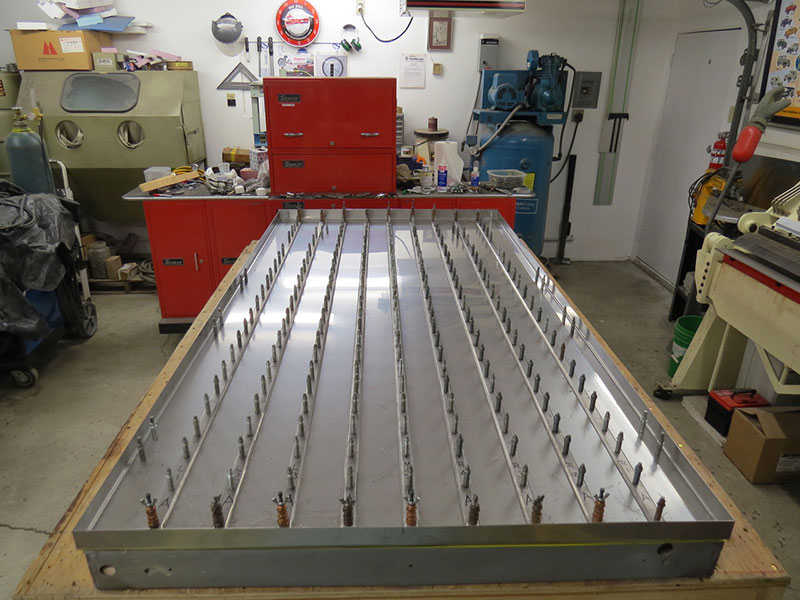
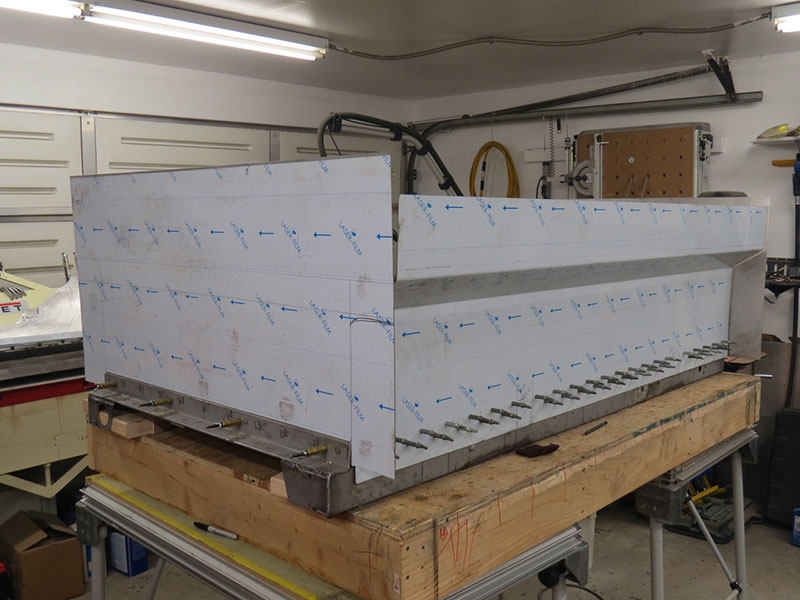
The photo below shows how the reinforcements fit on the floor. Holes have been drilled and everything has been clecoed together but each hole will have to be redrilled to the correct size, the holes deburred and then the 2 part rubberized adhesive applied to all the mating surfaces before being clecoed together once again.
I’ve trimmed the length and height of the side panels so, after drilling these panels, I clecoed them to the flanges of the floor panel. It’s starting to look like an old M100 trailer.

Lots of careful cutting and fitting of the end panels while holding the side panels as close to vertical as possible should result in accurate parts for this trailer rebuild. I hope.
The original M100 trailers were spot welded but I’ll be riveting this one together using stainless steel and monel rivets with external angles at the corners. Each corner will require three separate angle sections and every seam will be sealed with a two part rubberized adhesive for strength and to make things waterproof.
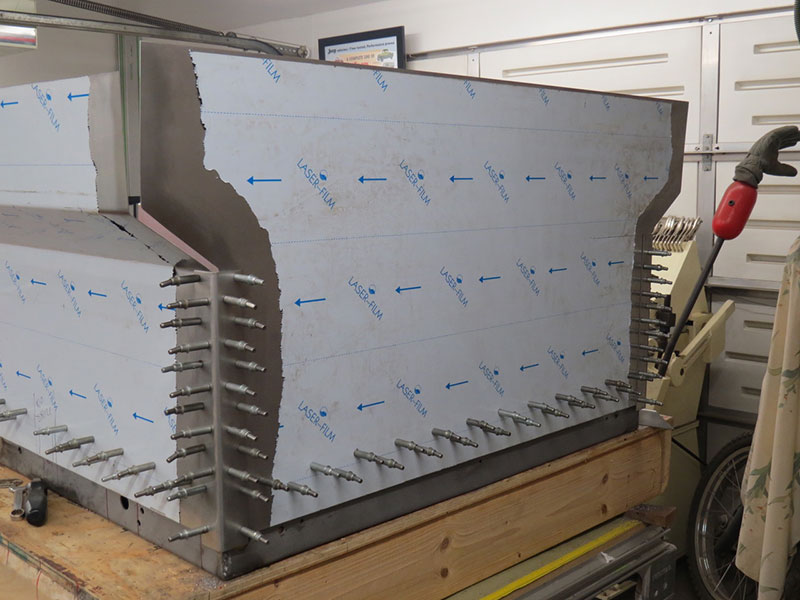
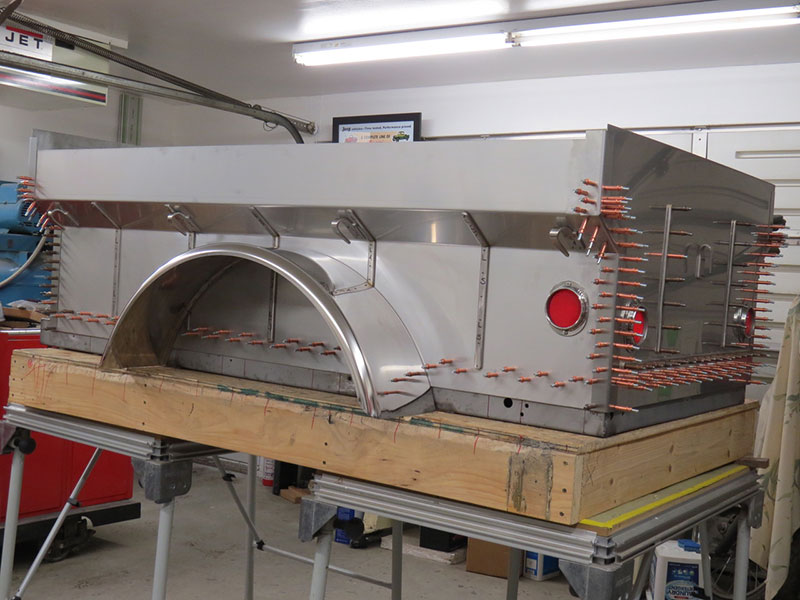
The external reinforcements along the sides and ends have been clecoed into position, the 11 tie downs are correctly positioned and held with clecos, the reflectors are attached to the box matching the original positions and the shiny fenders have been drilled and clecoed in place. Everything you see here will have to come back apart for deburring, seam sealing and riveting before I can trim the upper edges of the panels for the stainless tubing installation but it’s starting to look like a trailer.
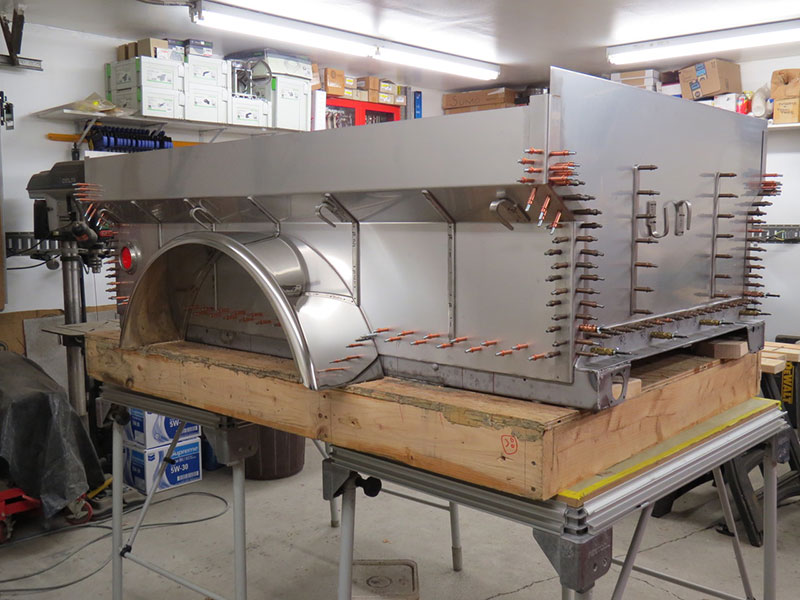
Just another view of the M100 trailer rebuild. The grab handles will be added after the riveting is done along with the stainless tubing along the upper edge of the panels. Trimming will be necessary before the tubing will be added. After that’s done I’ll make the tail light, turn signal and brake light mounts and whatever else needs to be accomplished.
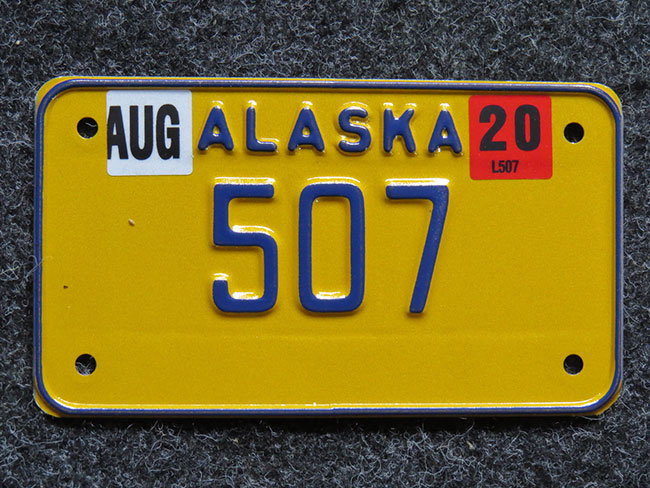
I got a license plate for the trailer. I got a personalized plate…… 507.
After adding up the cost of the Little Willys rebuild and the cost of the M100 trailer rebuild and dividing it into the number of years it took me to get everything done I spent five dollars and seven cents a day (every day) for the past 33 years. This is still an estimate but it’s as close as I could possibly come without driving myself crazy.
Anyway, I don’t need to drive myself crazy……………………………………………………..I own a Willys Jeep!
Wow! Incredible craftsmanship and ingenuity. Will you be using the powder-coated frame for strength, Paul? …or have you found (or perhaps creating) stainless steel for the frame?
Just let me all know when your jeep and trailer “US Tour” is coming to Arizona ;-)!
stainless steel is not as strong as regular high carbon steel — ask RANDALL MADE KNIFE COMPANY !!