
I’ve spent parts of the last couple of days thinking through how/where the new cage will attach, how the floor should attach, and how the body should attach and where it should sit. For example, the body must be far enough forward so that the solid front clip can slip over the front of the radiator, but back far enough to sit in the right area in the back.
My initial intention was to bolt the cage fo the frame, but this frame (already cut and spread 5″) has enough mods that if I’m at a point that the cage has to be removed to make changes, I’m better off starting with a new frame (and, at this point, I don’t want to do a ground up rebuild).
Additionally, the body has warped some, so I will need to build a jig out of wood so that I can try to straighten the body some (apparently, using a heat gun, I should be able to remove some of the warping. What I can’t re-straighten, I will use fiberglass and/or some (probably) aluminum plates placed strategically to make it look straighter.
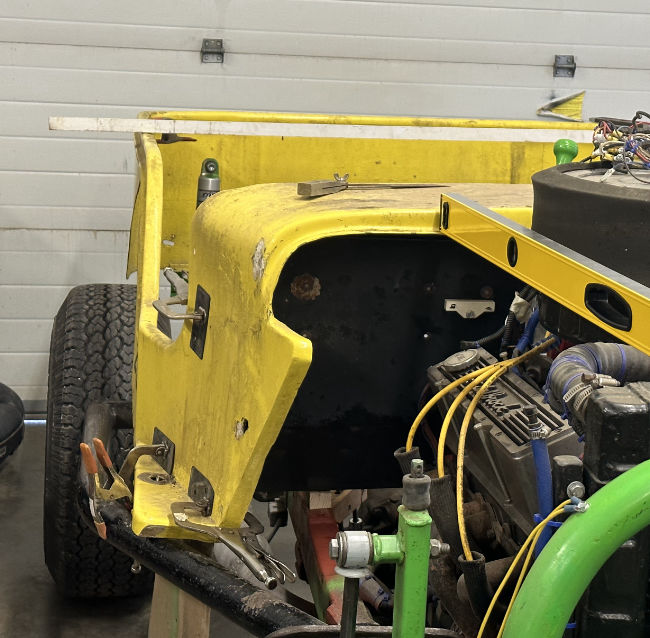
Here’s a couple pics of the body. You may not be able to tell, but both sides of the front of the body have flexed outward. So, between the heat gun, the jig, some interior plating, and the use of strategic mounts, I should be able to make it look a little less out of whack.

Over the next week we are supposed to have (finally) dry weather and temps that will be in the high 40s and low 50s, so I hope to get the cage built and, maybe, the body cleaned up to ready for some fiberglass repair and, eventually, some paint.
Though I dislike the neon green chassis, Ann has acquired a taste for it, so I might start with the body painted black, similar to the narrow body that was on it.
Great workspace, Dave. Many of us are jealous. I know I am.
Thanks Steve. It feels like a luxurious thing to have.