emailNeed to contact me and don't have my email? Click on email button.
About eWillys
Welcome to eWillys.com, a website for vintage jeep enthusiasts. I update this website nearly every day with jeep deals, jeep history, interesting reader projects, jeep related info, and more.
These quick searches can help you find things on eBay. People list in the wrong categories all the time, so don't be surprised to see brochures in the parts area for example. This section used to be split into jeeps, parts and other categories, but recent changes to eBay will require this information to be recoded.
The links to posts below show jeeps grouped by models, condition, and other ways. Some of these jeeps are for sale and others have been sold. If you are unsure whether a vehicle is still for sale or not, email me at d [at] ewillys.com for more info.
Importantly, the allure of buying a project jeep can be romantic. The reality of restoring a jeep can be quite different, expensive and overwhelming without the right tools and resources. So, tread carefully when purchasing a "project". If you have any concerns about buying a vintage jeep, or run across a scam, feel free to contact me for help, comments or concerns .
Short update. On Tuesday, after buying some parts and fixing some wiring, I got mom’s riding lawn mower running. She’s happy. I am happy.
On Wednesday, after buying a new motor and then upgrading the wiring to 230 … (It sure wasn’t plug and play) … I got the compressor working. I am even happier!
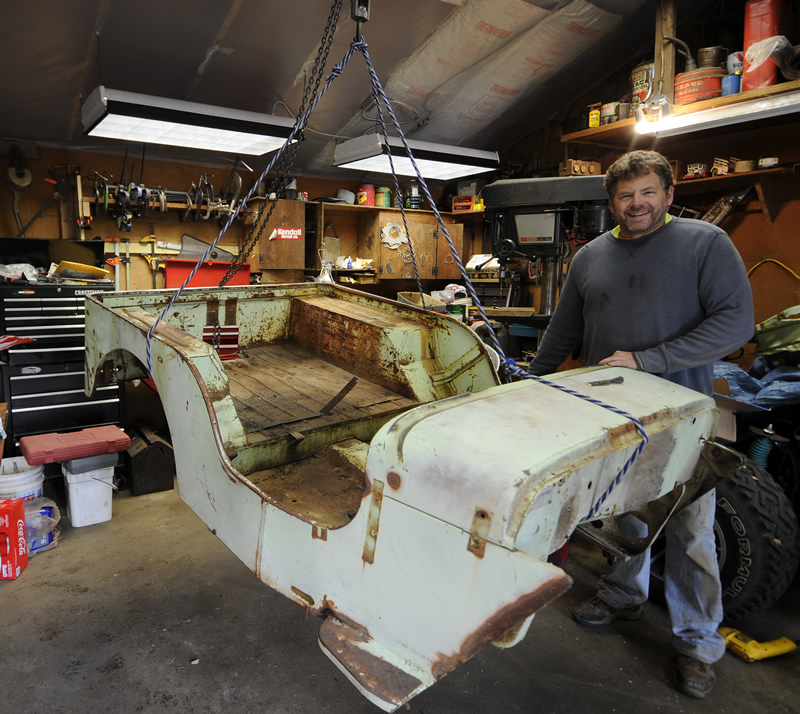
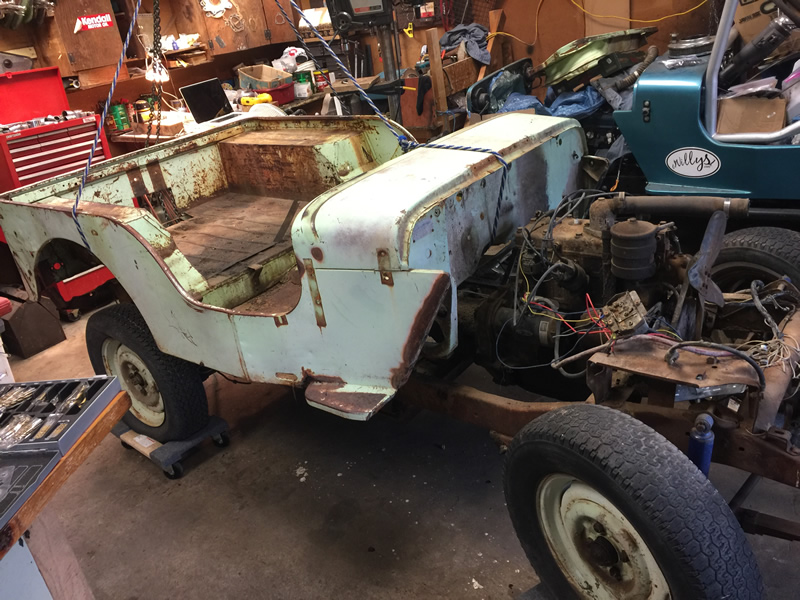
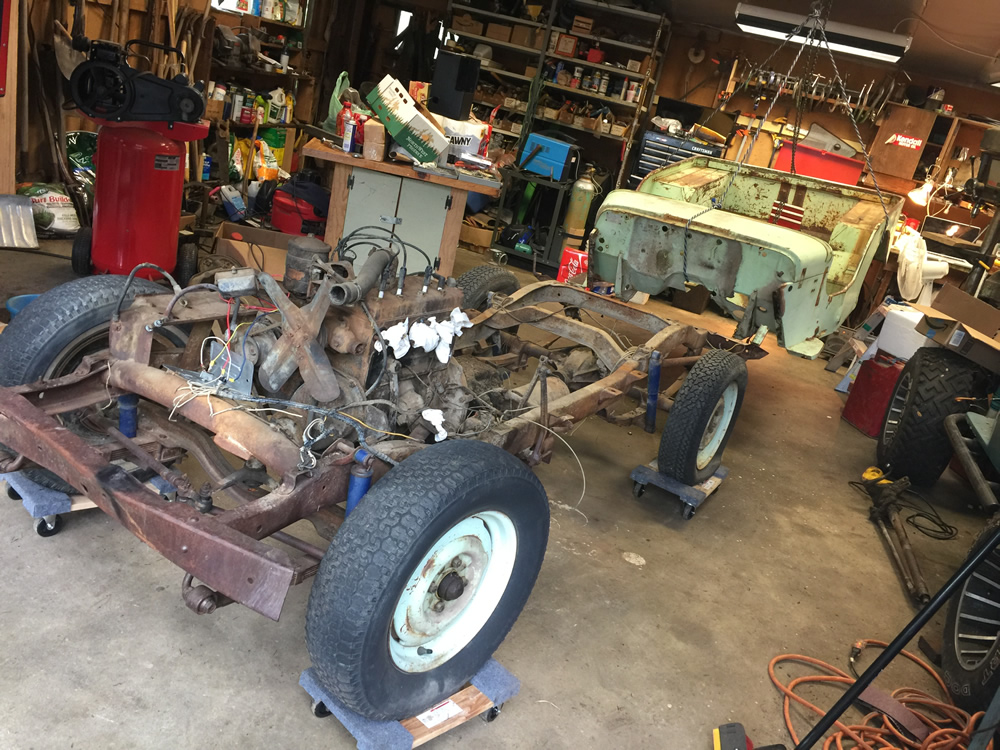
There’s nothing like disassembly to reveal all the problems that remained unseen. Once the body came off, the realities revealed themselves.
The front cross member is cracked on the driver’s side (no surprise there — funny how I didn’t notice it with the body on it). The transmission is so packed with muck that I doubt any oil could leak through it. There are also some odd bends, like the mid cross member, which had something hit it with enough force to bend one side. Maybe the driveline broke at some point and flew up into it? Of course, there were rusty bolts, too, some which not even PB Blaster could save. At least it is getting closer to being disassembled.
The first big event was the removal of the body. I used a block and tackle to pull the body off:
With the rain staying away for a few days, I booked it over to Renton for a few days to work on Rusty. Here are a few of the things I did today.
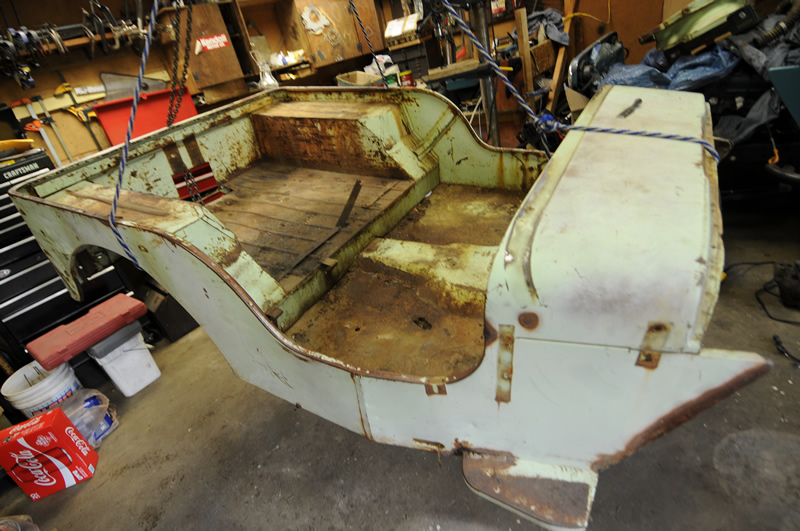
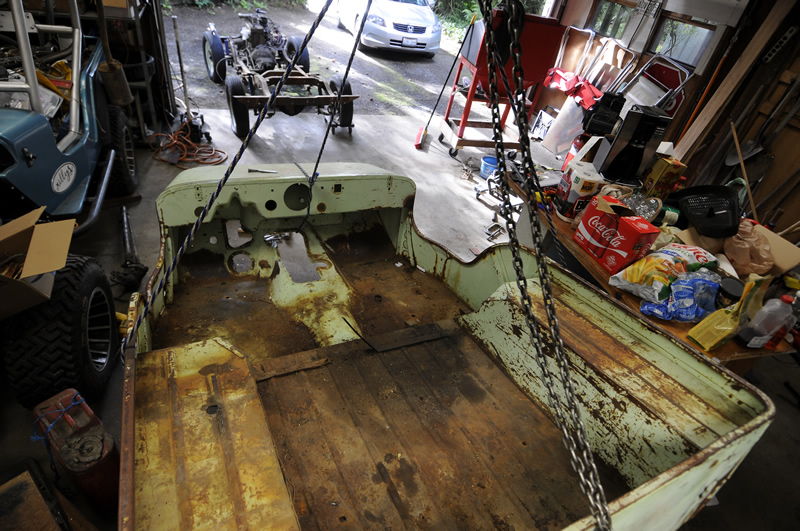
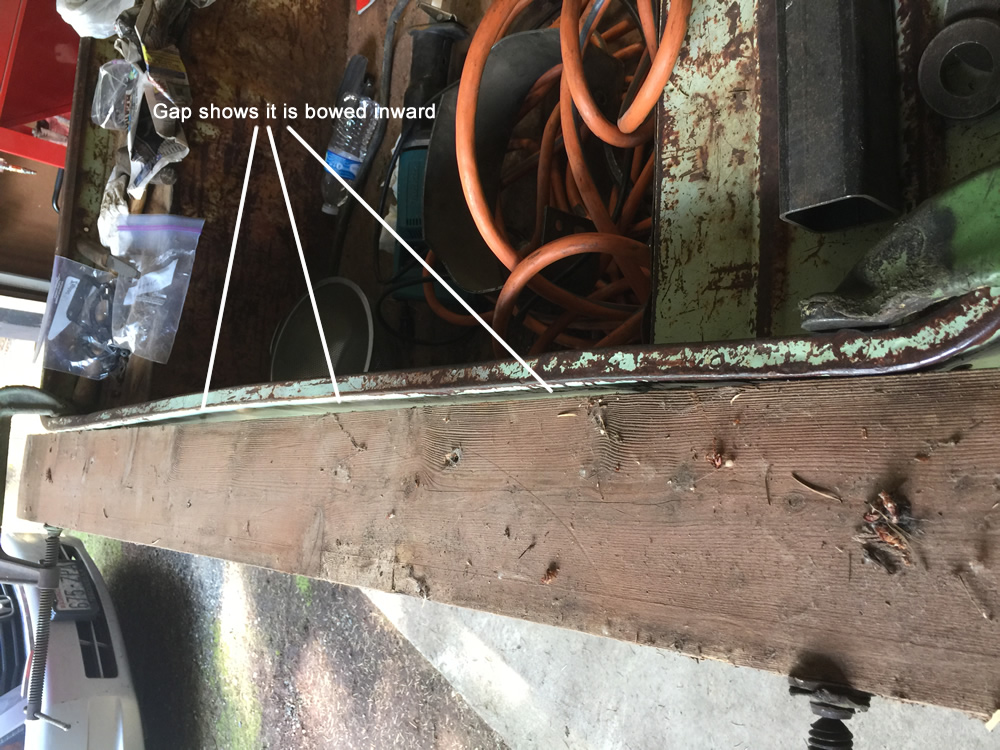
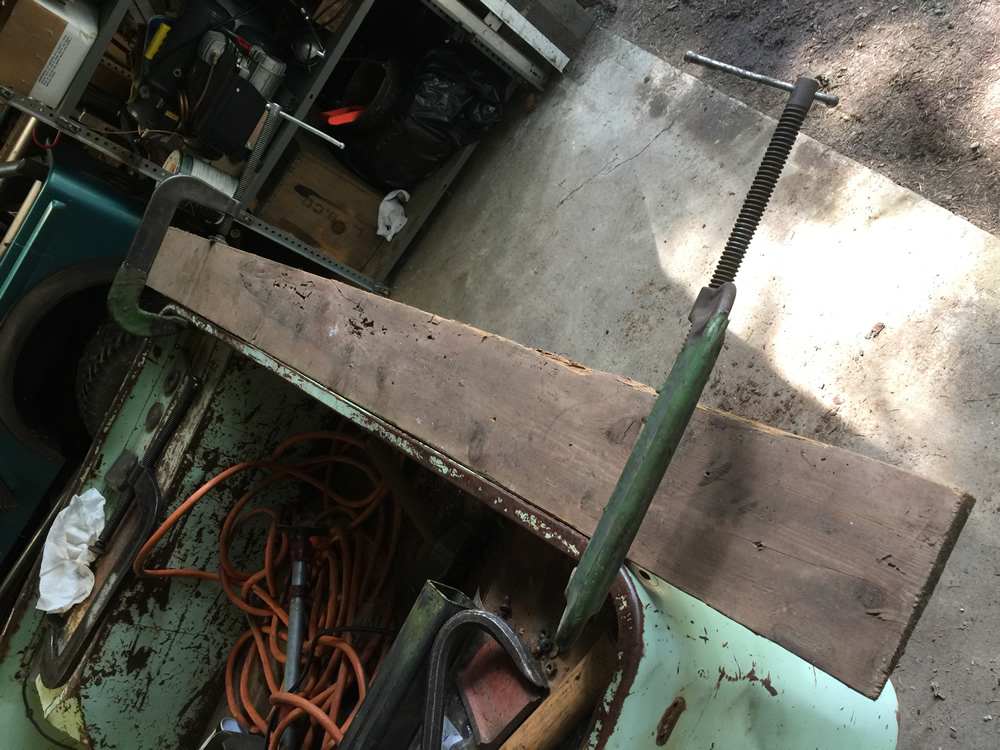
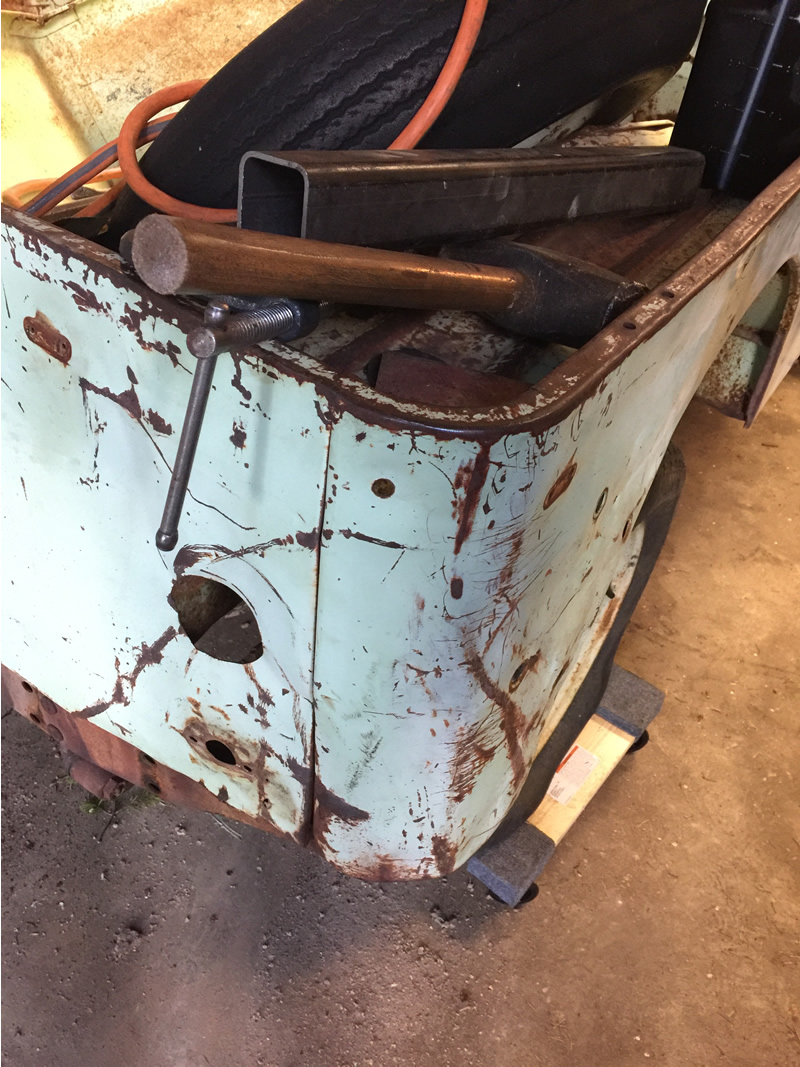
I did a little more straightening to the body. This time I wanted to remove a bow along the top back. I’ve mounted a board as a straight edge. You can see the cancer in the rear.
You can see there’s a gap between the board and the back.
After some clamps and some sweet talking with a 5lb sledge, I coaxed the back into line.
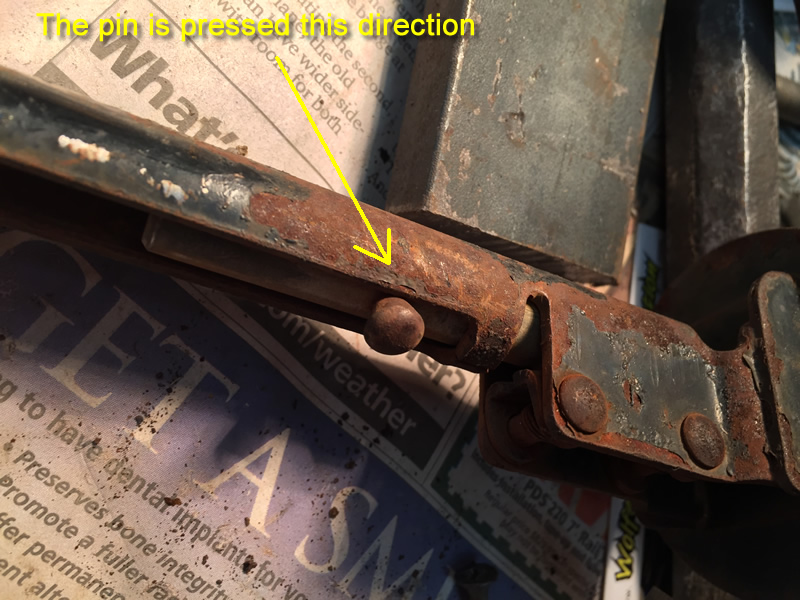
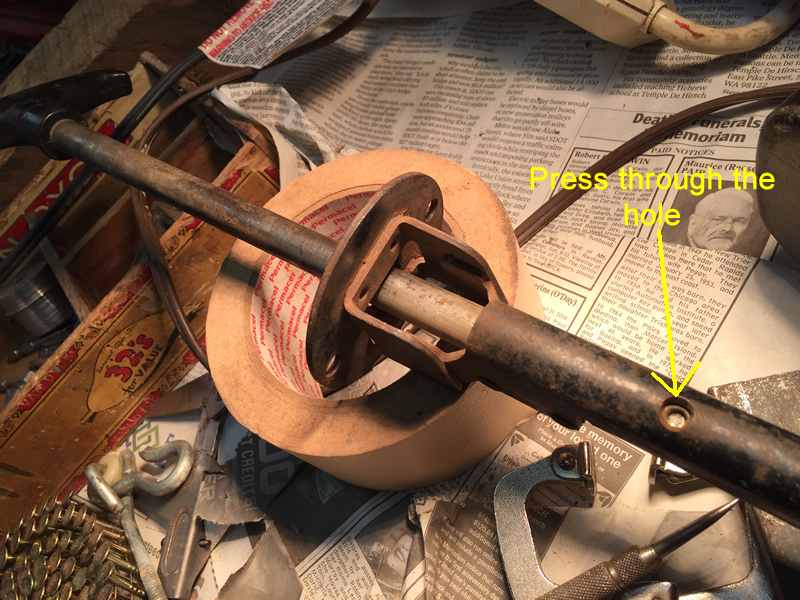
We made it to Seattle a couple days ago. I made some more progress blasting some smaller parts yesterday. In order to blast the t-handle parking brake, I had to disassemble it. The last thing to remove was a screw/pin so I could remove the brake lever from its housing. I didn’t know whether to unscrew or press out the screw/pin, but as I examined iI felt pretty sure it should press out. Still, I thought it best to text a friend: Chris McKay. He said he thought it was pressed out, too. So, I set out to remove the pin.
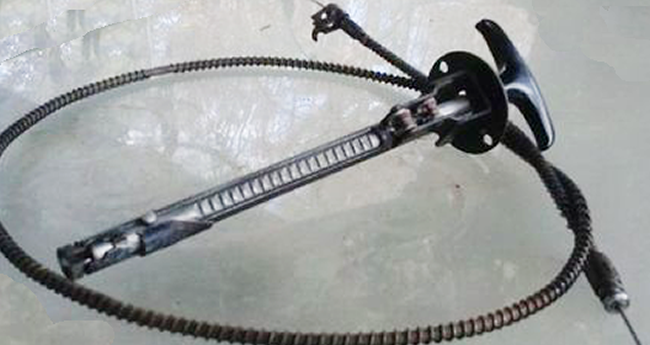
Here is what the brake looks like assembled.
Here’s the top of the pin:
This shows the back side. I had to line up the hole in the housing with the back of the pin:
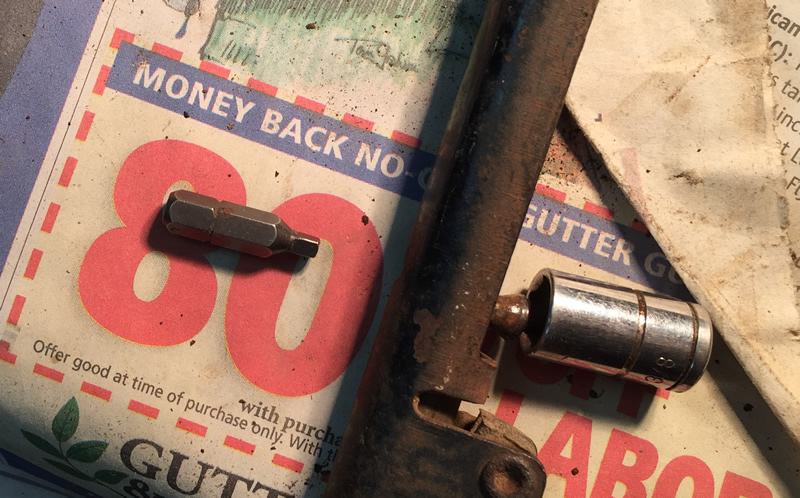
I grabbed a small socket to catch the pin and an object that could press through the hole:
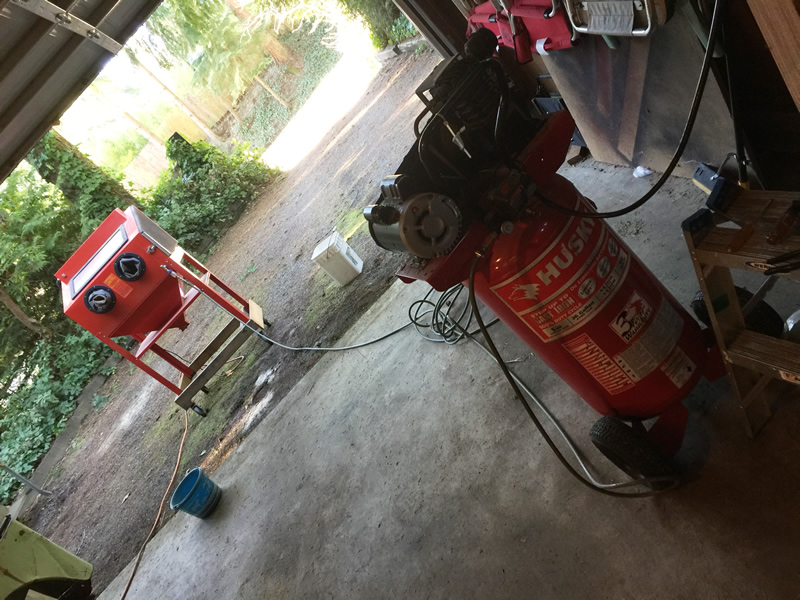
This was meant to be a longer, more glorious post about the trials and tribulations of setting up the blasting process (and I’d planned a second post on Alaska’ Paul’s blasting). But, this evening my mother needed rescuing after her battery died, so I shall have to skip the day’s drama and Paul’s efforts in favor of a short summation: I ran through three different compressors (a portable pancake, a portable contractor, and finally the 26 gallon wheeled Husky) before getting one that would work. Of course, the Husky had to be repaired, which further delayed work on Rusty.
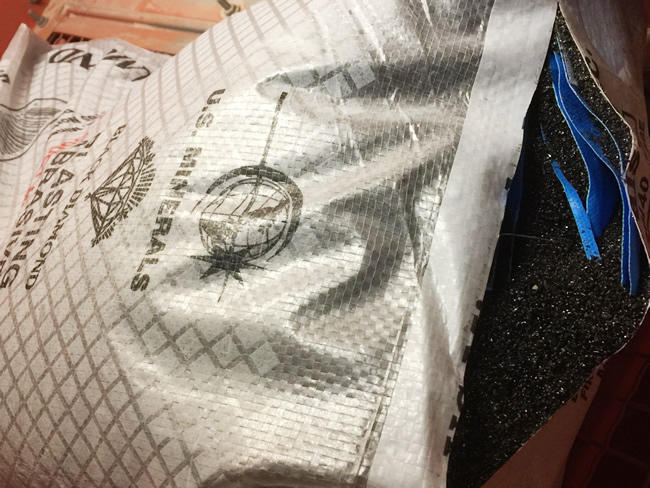
Once the compressor started pumping, I started blasting. After considering various options, I went with fine coal material made by Black Diamond designed for blasting.
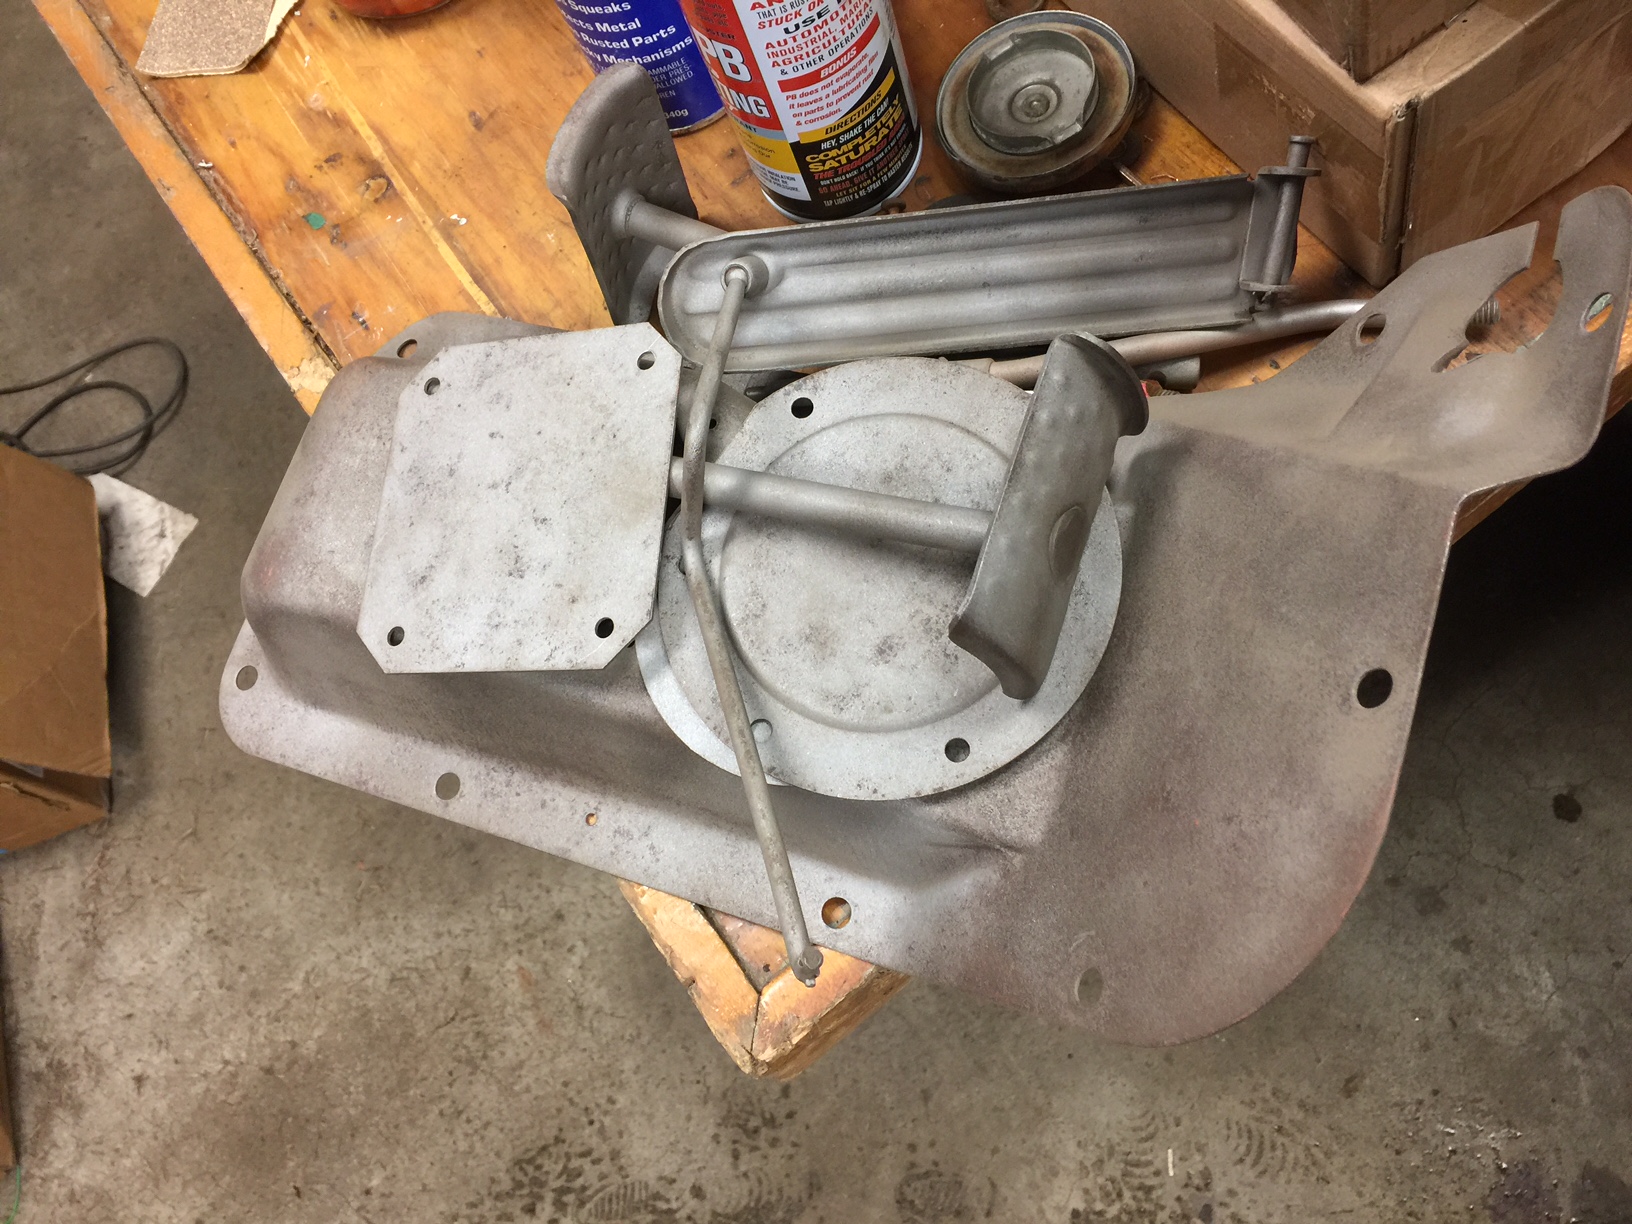
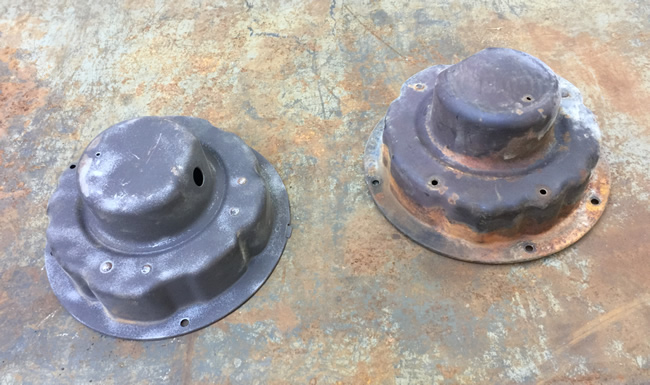
I tackled the headlight buckets first. The photo below shows one side blasted and the other not.
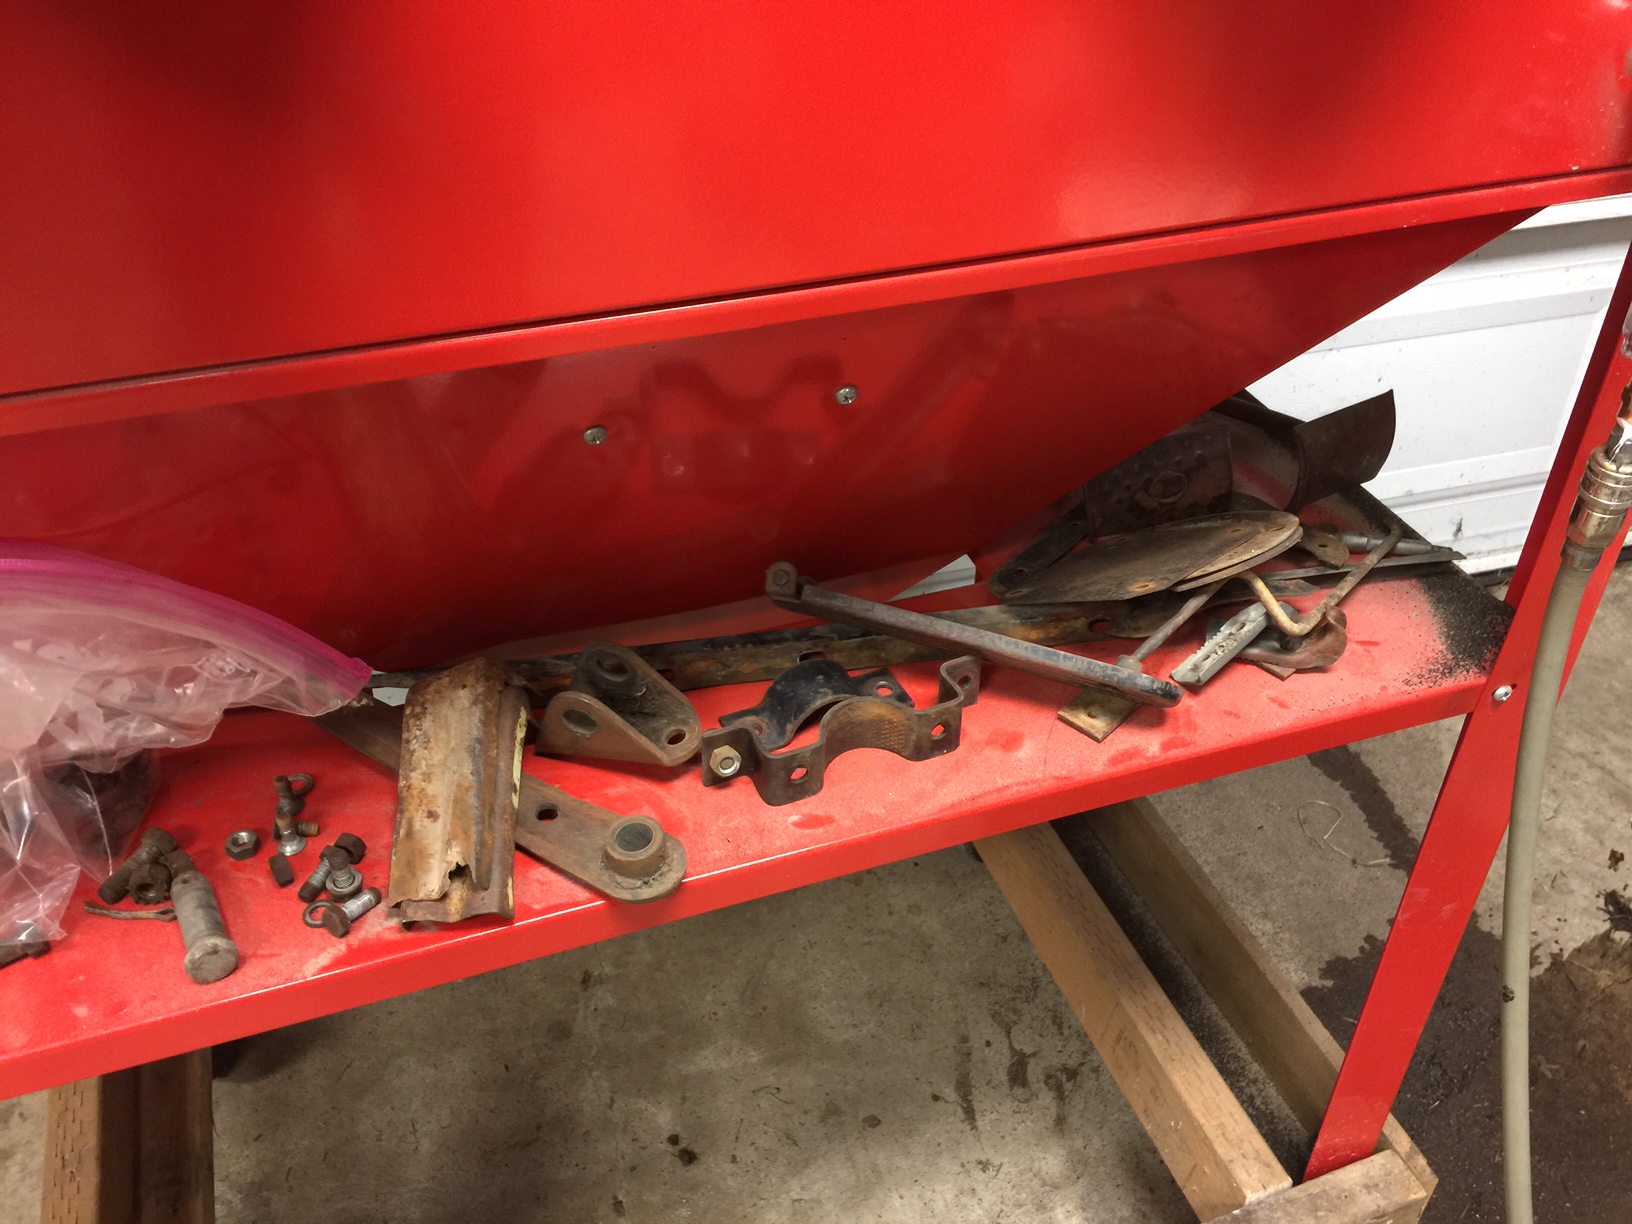
I was able to prep a number of parts, but forgot to get a photo of them lined up on my work table. I’m bringing them back to Pasco with me today to paint them.
One reason I need to return home is so Ann can return to our bedroom …. she had a freaky experience at 2AM a few nights ago. Our dog Zollie woke her up, growing at something. He never growls at night. She said he was looking all over as he growled. Once she calmed him down, the Amazon Echo on her side table unexpectedly announced “that’s not a very nice thing to say”. Knowing she hadn’t said anything, she used her Amazon Echo app to determine what the Echo had heard. When she brought it up the echo claimed to have heard the word “die”. As you might imagine, that was enough for her. She went downstairs and slept on the couch. She hasn’t slept in the bedroom since.
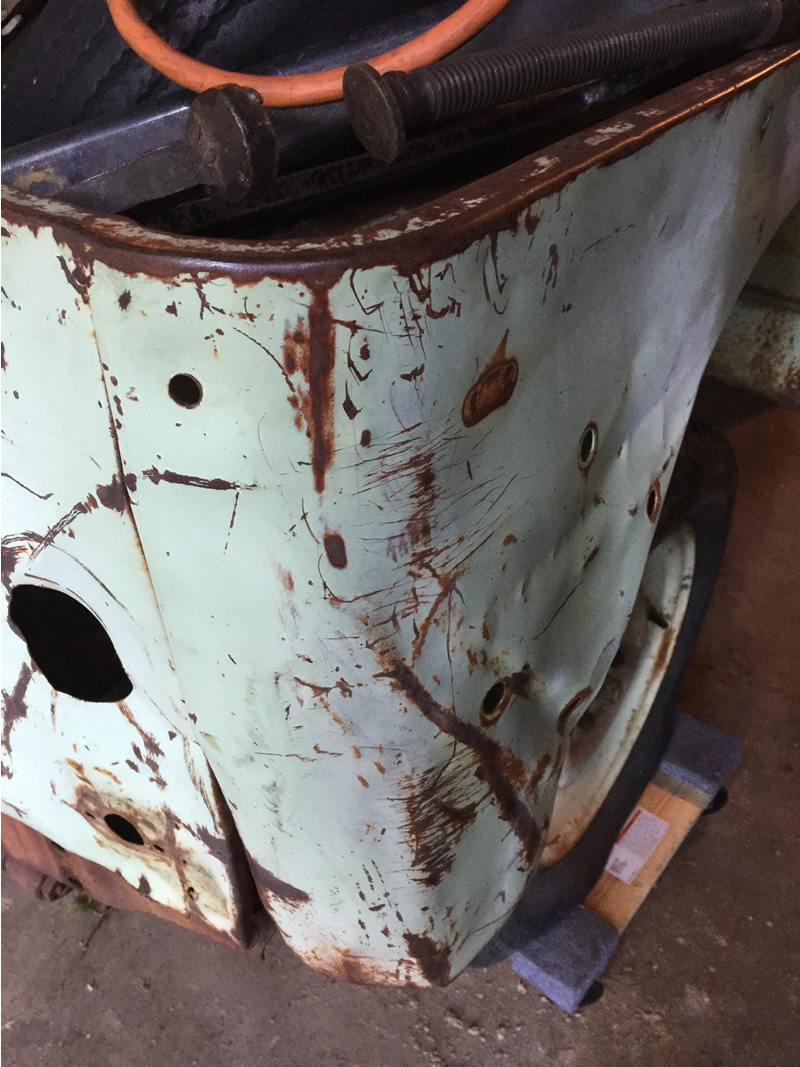
One last thing I did yesterday was to spend a little time straightening the rear quarter panels. Plenty of work left, but using some clamps and flat metal I was able to make them look a little better. Here’s the passenger side.
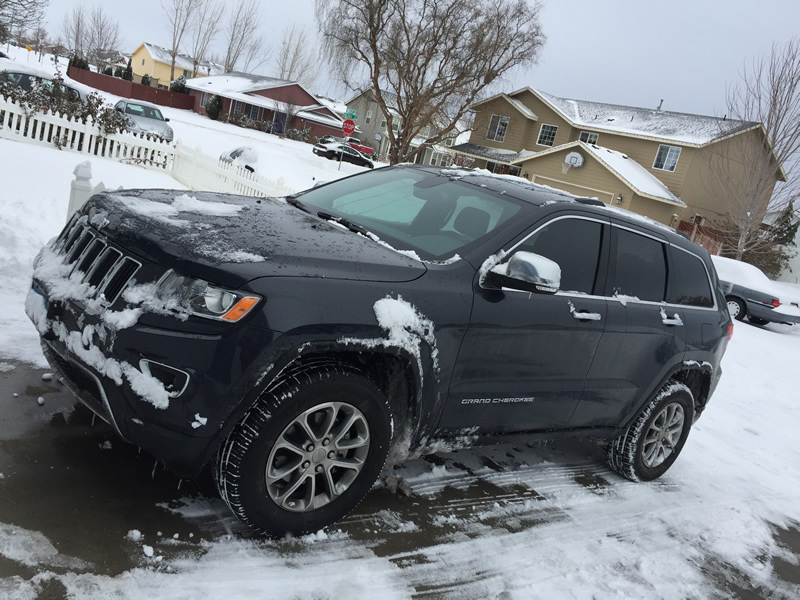
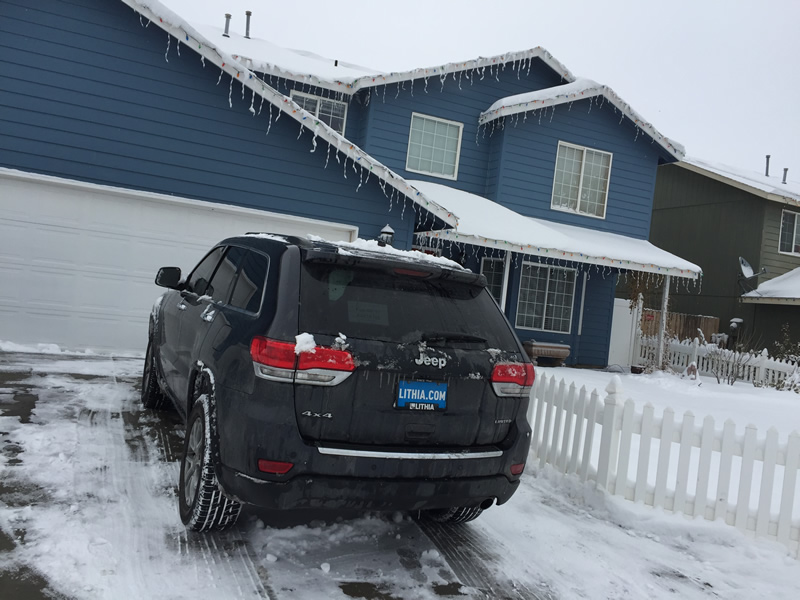
I made it across the mountains on Monday, now that the snow and ice has let up temporarily. And, that reminds me. We traded in Henry, our red 2012 Laredo Grand Cherokee, for a slightly used blue 2016 Limited Grand Cherokee a few weeks ago.
Henry was incredibly dependable over the course of 100,000 miles, but he was due some maintenance and new tires. Once we considered those costs along with the equity, we decided to get something newer that had the upgrades Ann wanted (such as heated seats). Best of all, our payments stayed the same. We still don’t have a name for him yet:
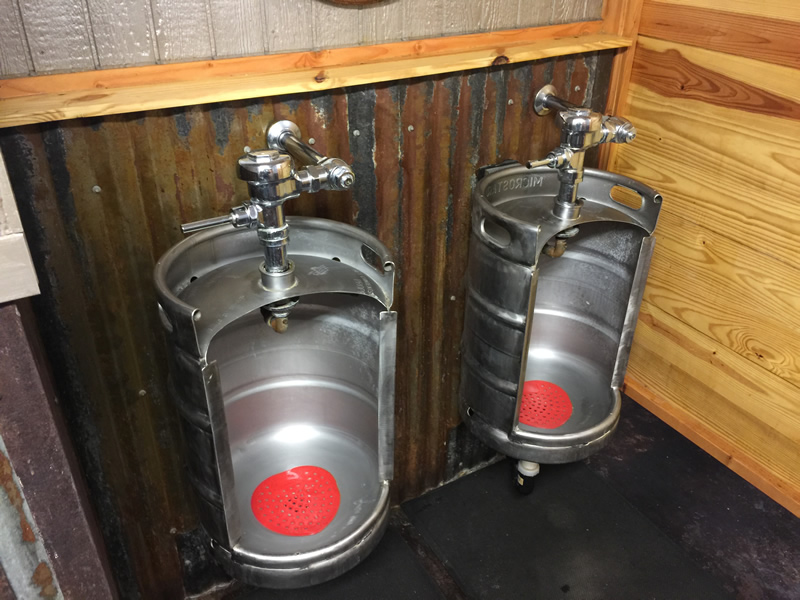
And now for a ramond photo. When Ann and I were last in Ellensburg, Washington, eating lunch, I ran across these urinals in the men’s room. I hadn’t seen kegs used that way, but maybe I don’t get out enough ??…
Yesterday (Tuesday), I spent the afternoon working on Rusty, triaging next steps (what needs what work done and fix-or-buy assessments). I’m also choosing some projects to bring back to Pasco. One thing I did was remove the bumpers and clean them up (not perfect, but good enough for the moment).
UPDATER: The 0-10 early CJ-5 speedos did make it into early DJ-3As.
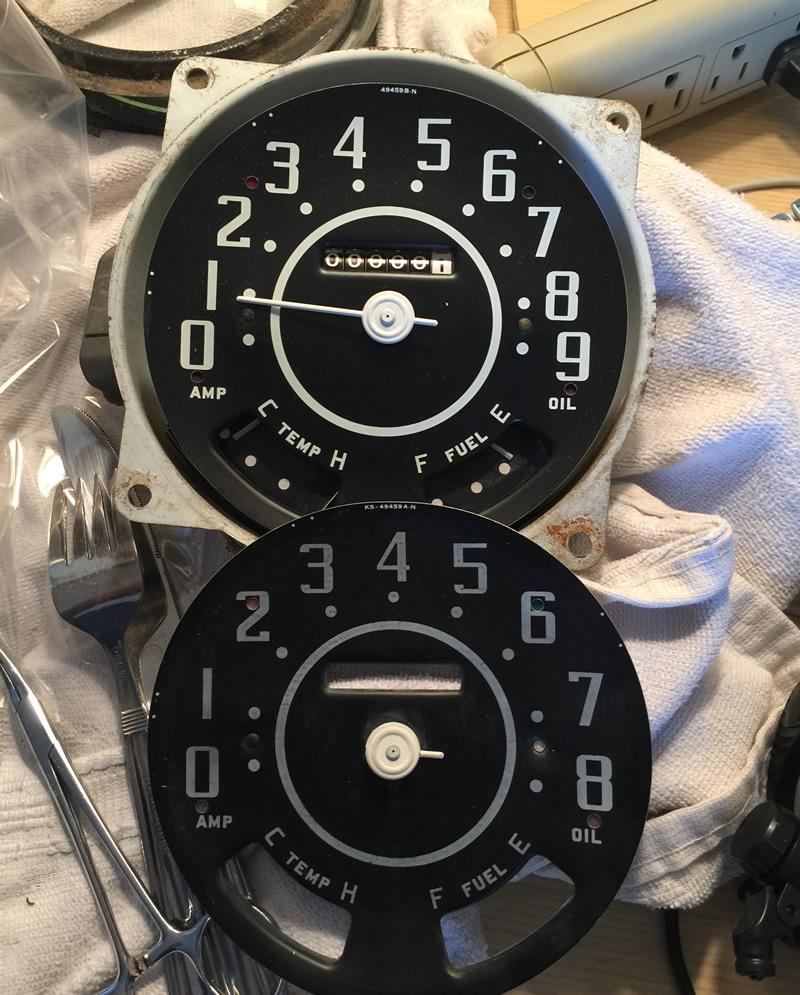
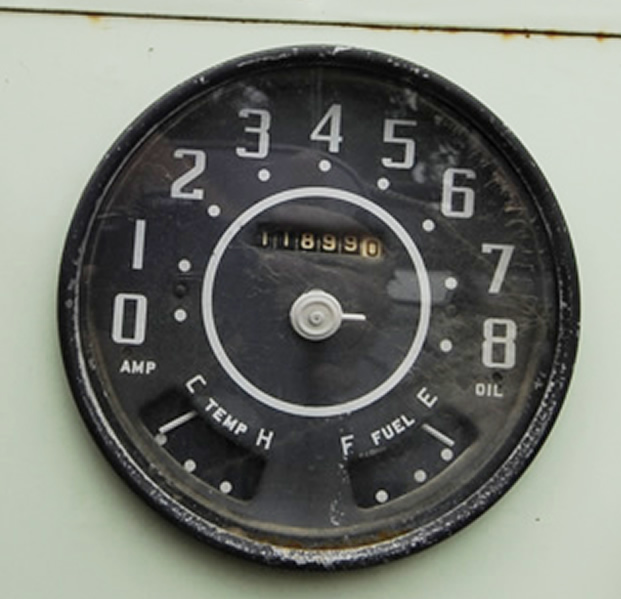
I found this NOS King-Seeley 0-9 speedometer core on eBay. I show it below next to my 0-8 face, whose day-glow white paint flecked off as I cleaned it. I can confirm it is the same size and seems to have the identical parts (though the gears may differ slightly given it goes to 90mph).
The 0-8 speedometers (manufactured in mid-to late 1955) were installed in early 1956 DJ-3As (as well as a few other models, CJ-5 being one). Later in 1956, Willys moved to the 0-9 white face speedometer core. About a year later (sometime in 1957?) Willys moved to the familiar 0-9 orange face. The early CJ-5 0-10 speedometer clusters made it into a few DJ-3As. One side note, those early 0-10 CJ-5 clusters were almost, but not quite identical to the Aero clusters.
She hasn’t gotten any better, but hasn’t gotten any worse. She still spends most of the day in bed. We believe that there’s a problem related to neck muscles, nerves, and upper vertebrae. Their interrelationship seems to be causing both the nausea and the pain in her head. She’s had several physical therapy appointments that have helped isolate the area that seems the root of the issue, but it could take quite a bit of therapy to loosen that area.
On the Rusty front:
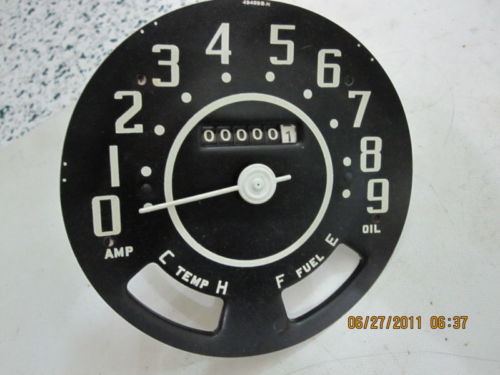
A couple days ago I bought an NOS 0-9 1956-1957 speedometer face and engine on eBay. If for some reason I can’t get my speedometer fixed, I will go with this. And, if I do get it fixed, then I am sure I can easily sell this. You can see these are pretty close in style, even using the same pointer (which I wasn’t sure how I was going to find it).
0-9 that I just bought:
0-8 that I have:
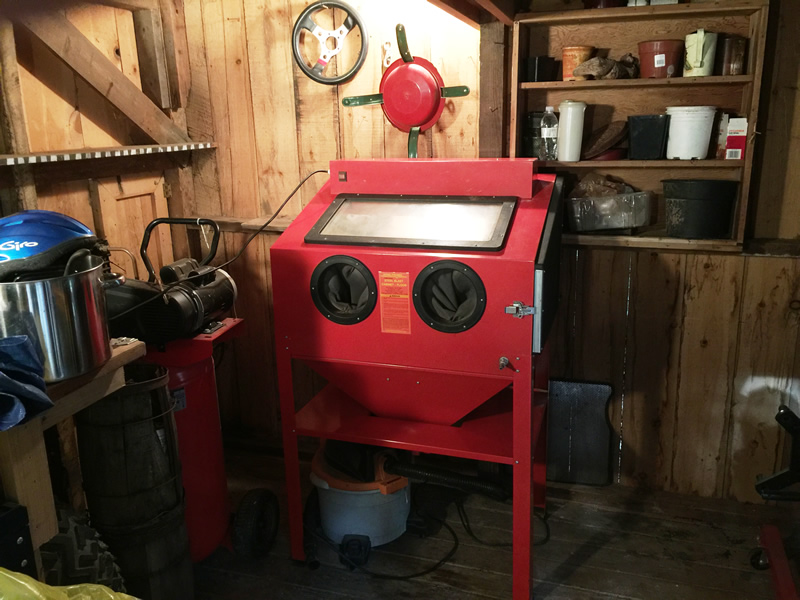
While in Seattle the past few days I ran across a fantastic deal on a welder and blasting cabinet. I jumped on them and got both setup. The cabinet (a nothing-fancy Harbor Freight model) should work fine for cleaning parts.
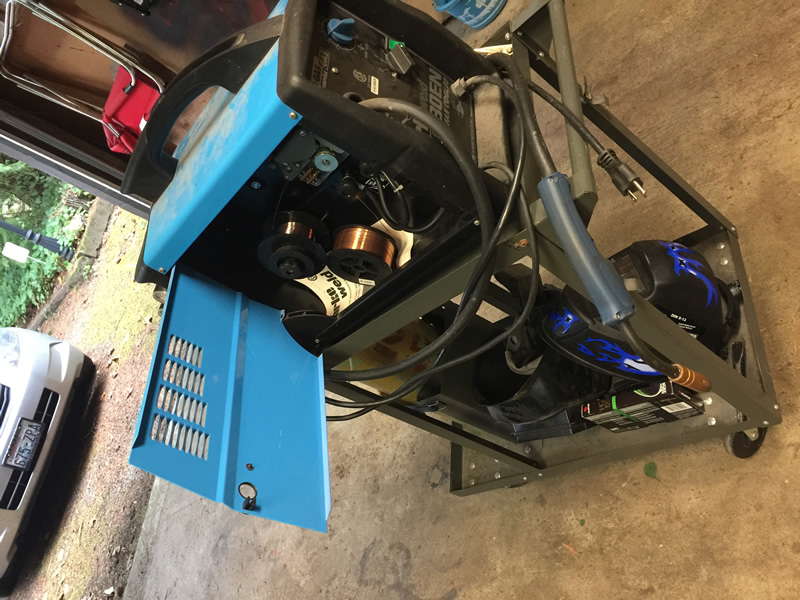
Based on the reviews I found, this Clarke 130EN Mig welder should be good for repairs on the body. Apparently, anything thicker than a 1/4″ is too much for it, but I have an old-fashioned stick welder to tackle those issues. It came with everything you see, including a full bottle of Argon, an extra reel, two masks, cart, and other items.
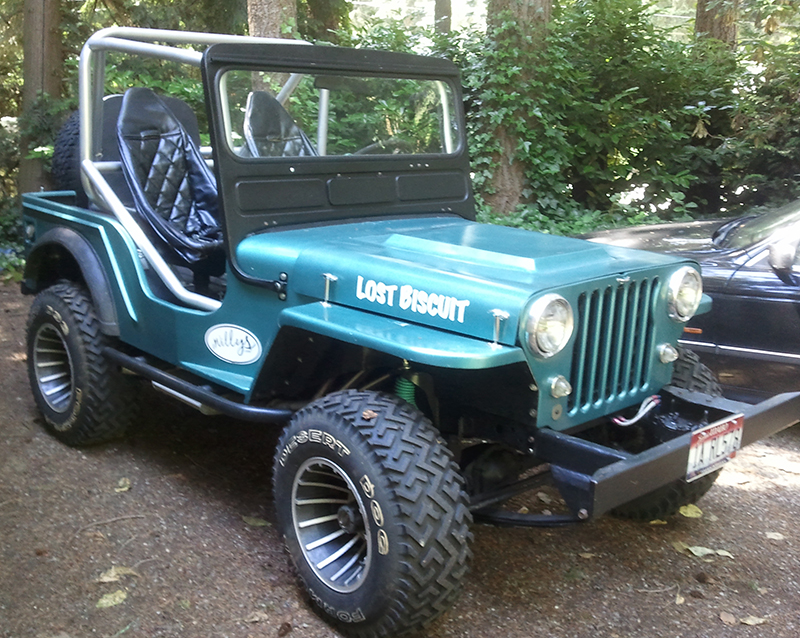
On the Biscuit front:
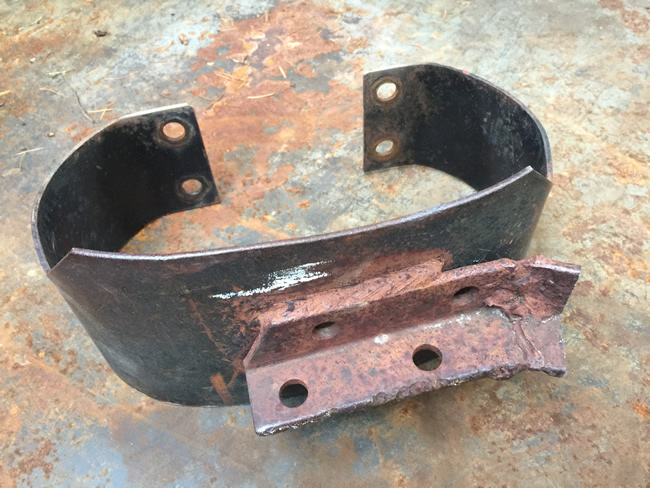
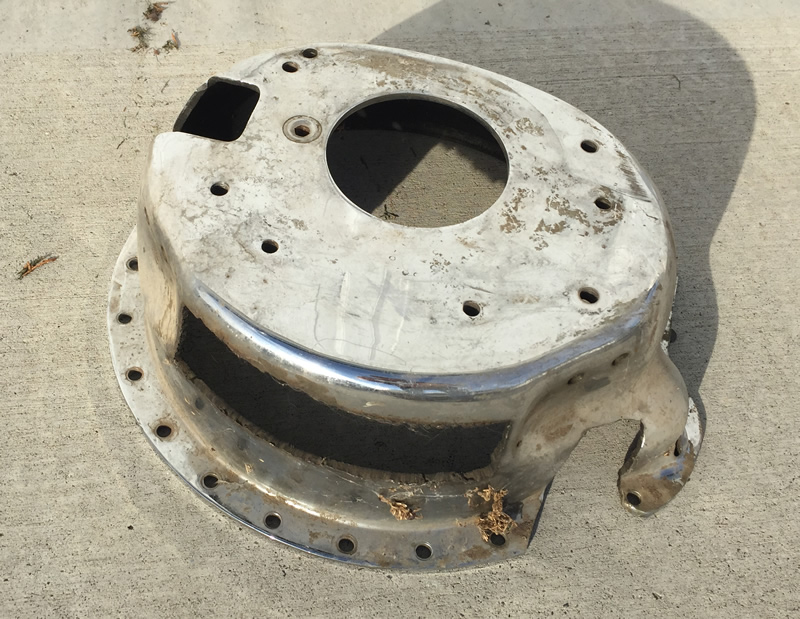
I found this chevy scatter shield in Pasco a couple weeks ago. I took it with me to Seattle. It was by far the best price I’ve seen on one, primarily due to the holes in it. It was used by an old sand jeep dragger.
While I was in Seattle, I formed a cover plate for the hole that spans the bottom and bolts in place (plate not shown). I plan on patching the side with some 1/4″ steel. I’ve been waiting for quite some time to get a scatter shield. Now I can begin to reassemble it (with a few mods).
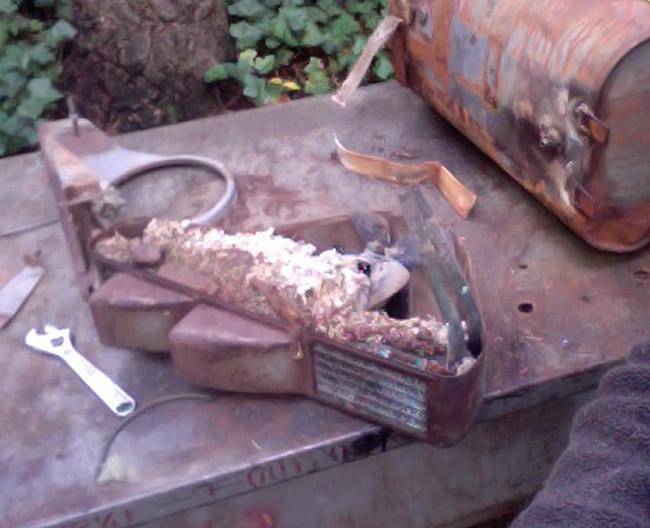
This story deserves a much longer telling, but let me cut straight to it. I’m in Seattle to work on Rusty. I dropped my iPhone in a bowl of Pho Soup. Not good. I rushed home and set it up to dry. Shortly afterward, I removed Rusty’s heater, only to find someone had built an expansive home inside the heater. This explains some of the missing cushion from the seats. As I was taking pics with the Nikon, the battery died. So, I turned to my computer, but the photos were much worse than I imagined. Not a great tech day.
On the bright side, I tested the heater fan and that works. Also, my phone seems to be drying out … finally.
As you can see below, the inside of the heater is almost entirely filled with stuff:
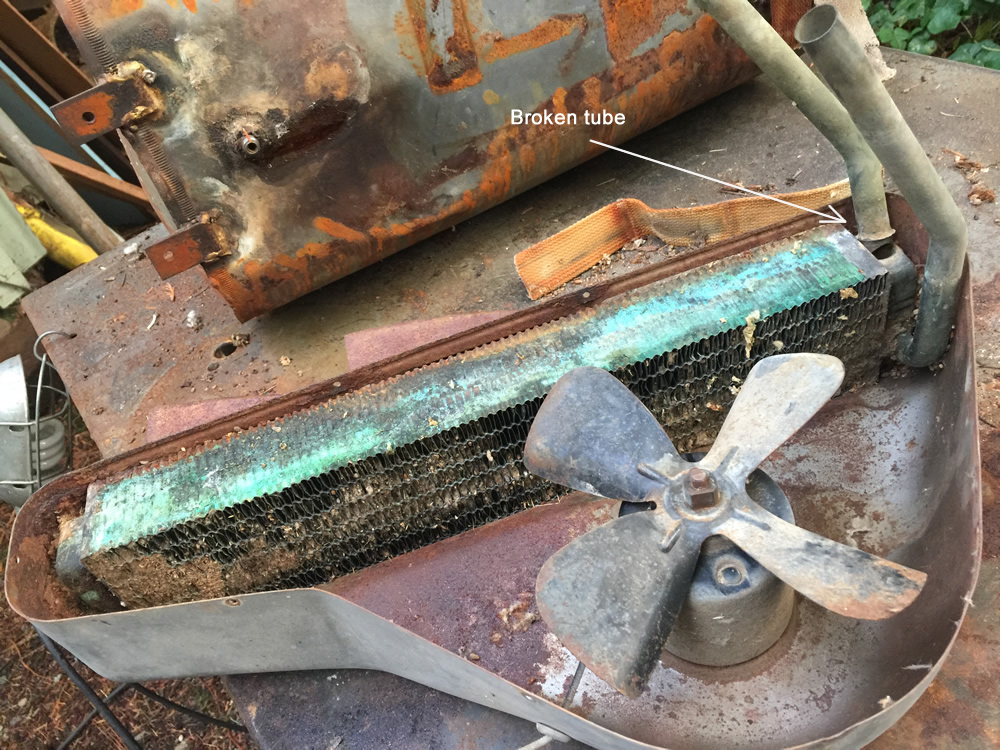
And this is how it looked after that stuff was removed (and after my iPhone started working a little better). I now need to remove debris from the fins and repair the lower tube.
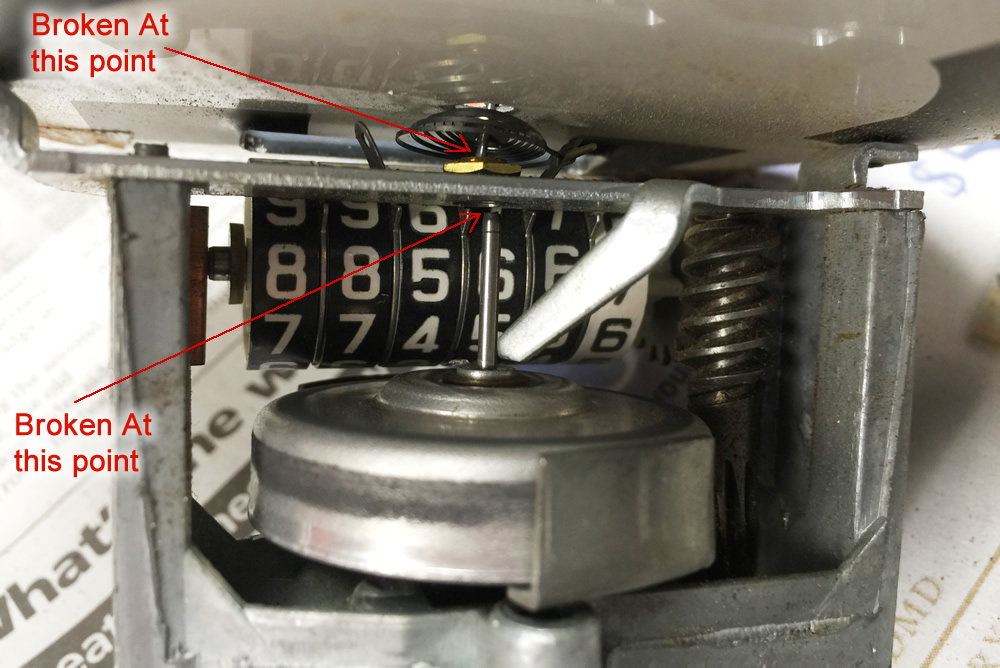
I also disassembled my speedometer. The rod that powers the pointer had broken. I will see if there is any way to repair it. The part looks awfully like later speedometers, so there may be hope for replacing it, but I first have to disassemble the front plate from the mechanism. Based on what I’ve read, it might never work quite right. But hey, it doesn’t work quite right anyhow!
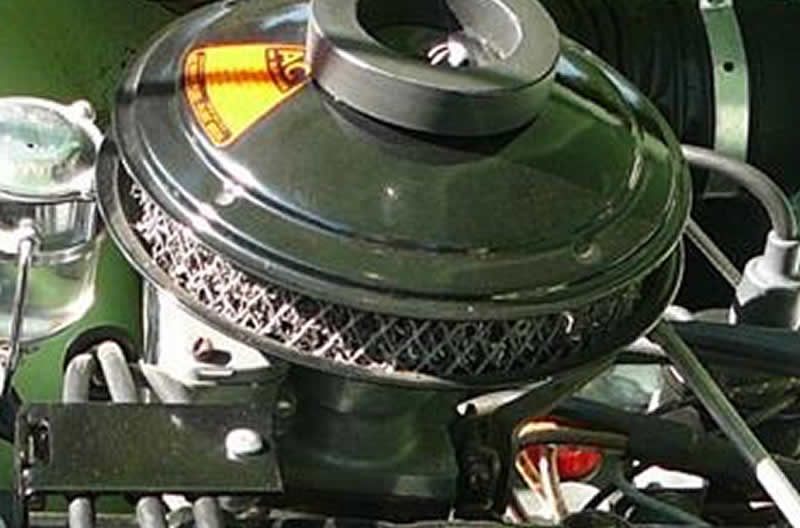
A pretty correct looking dry air or wire gauze filter from a 1954 Kaiser Darrin. Not the diagonal wire mesh on the exterior and the two prominent lips on the lid. The rubber piece on the top is unique to the Darrins. The DJ-3A did not use the rubber top piece.
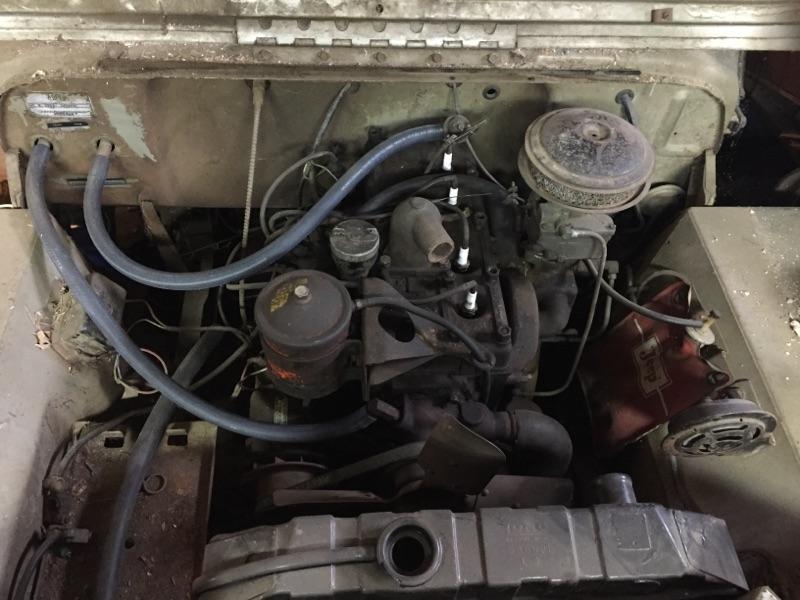
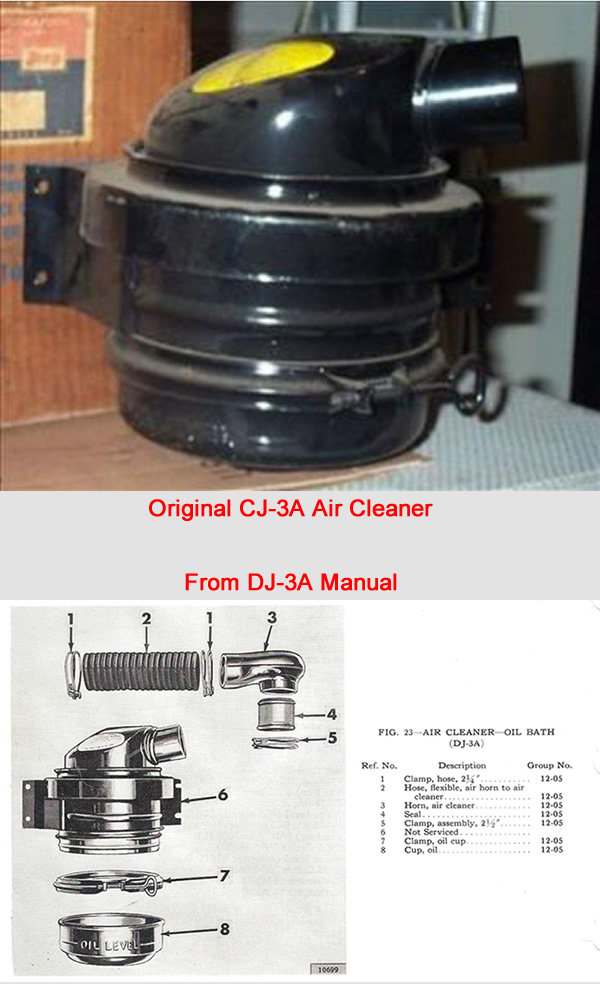
On DJ-3As, the stock air filter is a “Wire Gauze” or “Dry Air” filter type. The oil bath filter commonly seen on earlier L-134 engines was an upgrade option on the DJ-3As. When I looked to see whether my firewall had the holes necessary to mount the oil bath filter, I found the firewall had not been drilled. So, Rusty must have been equipped with a dry air filter.
As far as we know, Willys Motors only installed the dry air filter on the DJ-3As. This same filter appeared chromed on some 1953 & 1954 Corvettes and some 1954 161 Darrins (perhaps other years, too). It’s likely that if someone has one of these lying around, they probably don’t know what it is. If you happen to have one, I’d be interested in it.
Below is one example of a filter about to be restored with a modern mesh in the middle. Charles explained how the NOS filter material can be reproduced: “A NOS corvette, Darrin, or DJ filter core is rare and expensive. Once in a couple of blue moons they show up on eBay. However, they can be made easily . The inner and outer ring are made of extremely thin expanded metal. Make the inner ring, wrap around some air filter grade copper mesh wrap (eBay) and then wrap the outer ring and secure. Unfortunately, the copper would deteriorate over the years and has been talked about badly. Even though they were called dry air filters they were supposed to be kept oiled.”
According to Bill Brown, there’s a K&N filter that can be used. He couldn’t remember the part number, but the “OD of it is 6 3/8″; the ID is 5 1/4″; and the height is 1 1/2”. This is a filter with an accordion fold all the way around with a molded “rubber” top an bottom. Molded into both the top and bottom are a pair of K & N marks the Identification AO62B4 and the words Oil Type.”
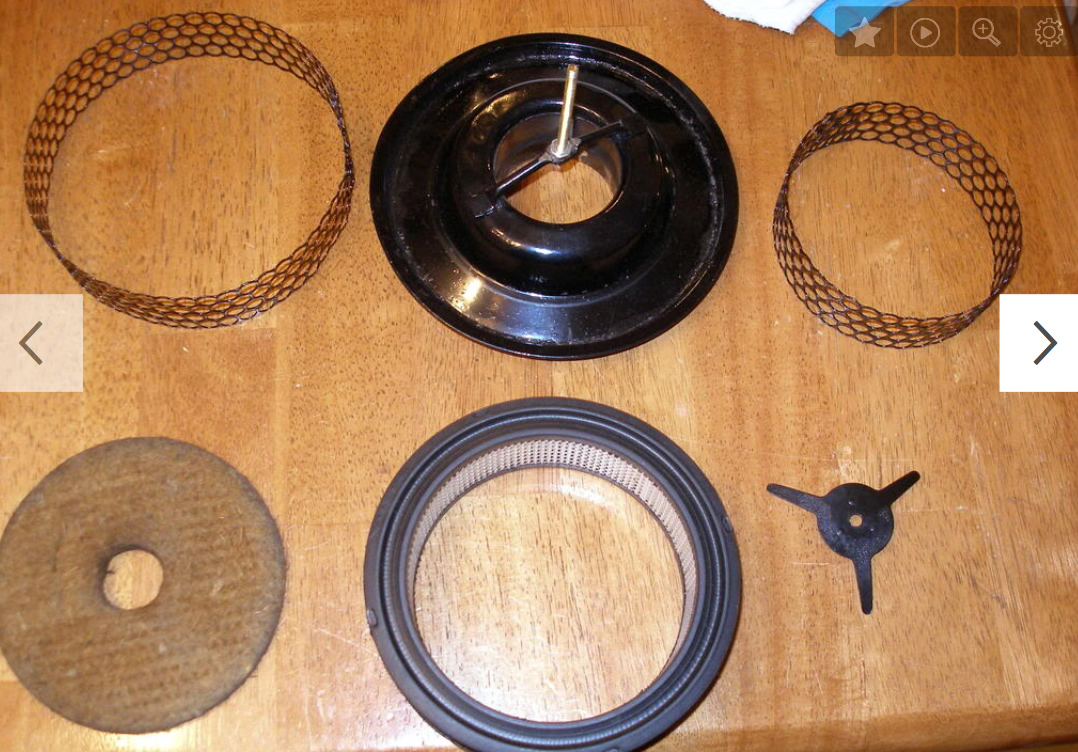
This photo shows some of the parts to build a custom dry air filter. The bottom is original. The mesh left and right should be criss cross in diamond shapes rather than circles. The air filter at the bottom is meant to replace the shredded copper originally between the circular mesh. The felt circle helps seal the top lid to the tops of the mesh. The item on the lower right compresses the felt onto the mesh.
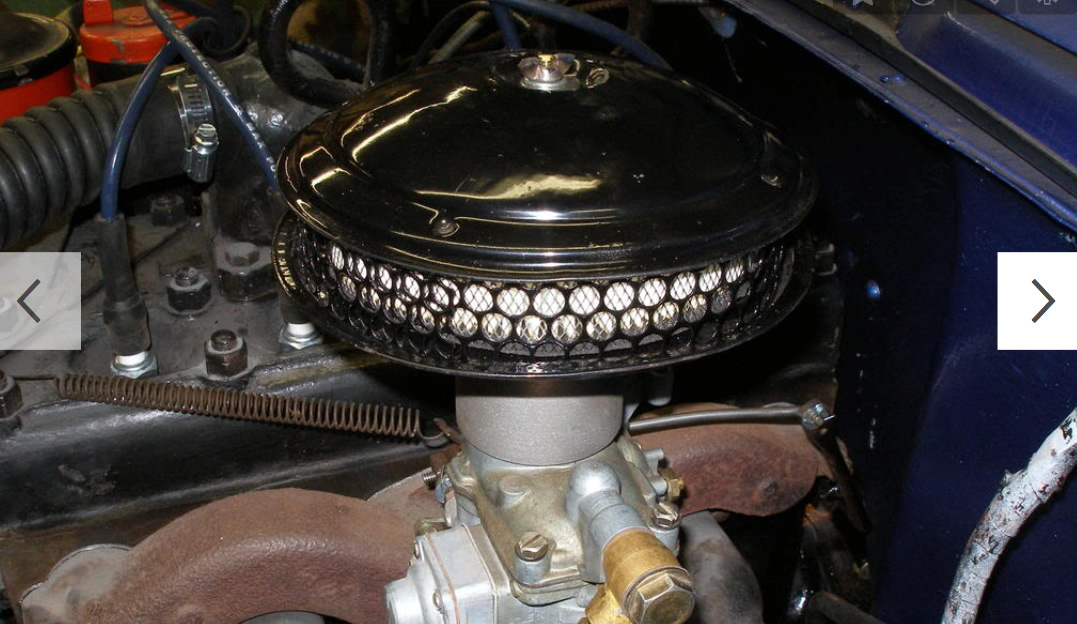
Here are examples of the filter installed. The diameter of the top lid is about 6 3/4 inches:
This rebuilt unit has the incorrect mesh and an aftermarket filter.
This one could be original. I can’t tell what kind of mesh surrounds the shredded interior.
I’ve spent some time over the last couple of days assembling information on what I have/needwant for Rusty. I’m throwing this info up for questions/answers/comments:
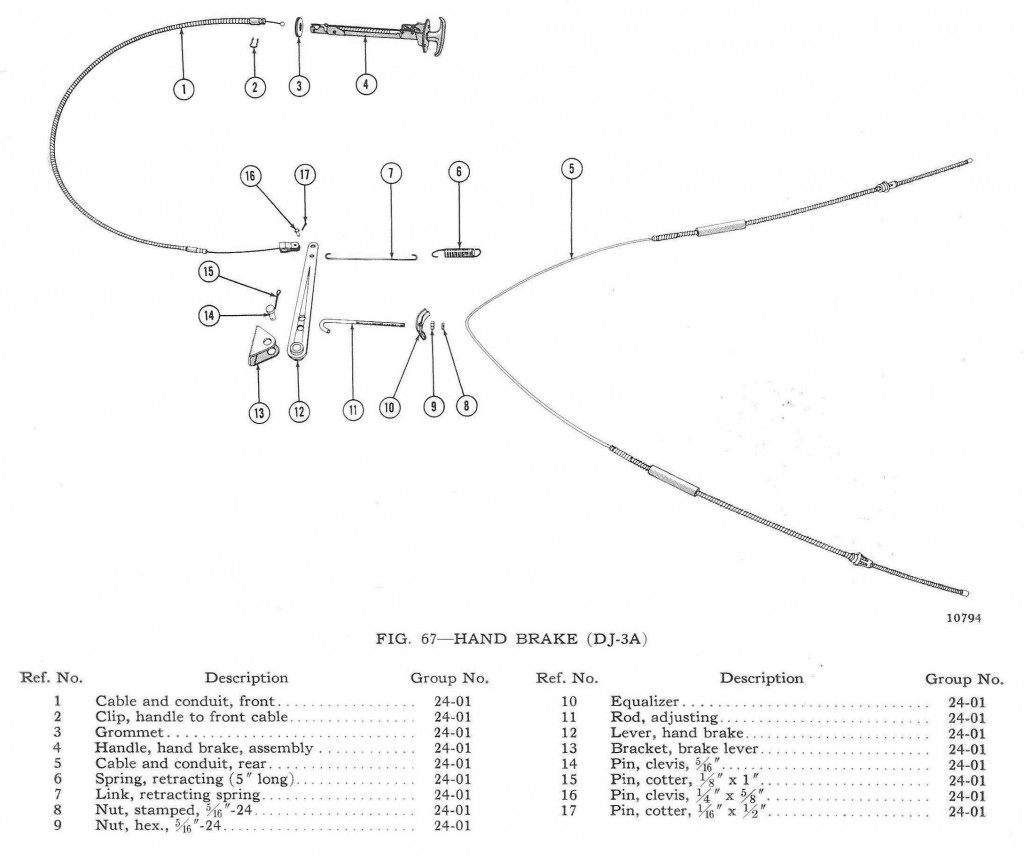
3.PARKING BRAKE: I will need parking brake parts: http://www.jeepsurreygala.com/wp-content/uploads/2012/06/62-hand-brake.jpg. Are the later 3B T-handle parking brake setups the same as the DJ cables and parts? I have a handle that is salvageable, but lack the rest. The image below is from a 1962 book. I’ve seen nothing to indicate this changed from early DJ-3As.
On Monday I spent some time testing the engine. After lightly sanding the points, the spark began to work, but the engine still didn’t start. I took a second look at the fuel pump and discovered it in fact wasn’t working. When I checked the bolts to remove it I discovered that the bolts were snug, but not tightened. So, someone at some point looked at the fuel pump.
After further examining the non-stock solex carb, I then removed it (I plan to sell it anyway). That’s when I noticed there was a pool of varnish/gas along the bottom of the intake. I decided I would get all that cleaned up before trying to restart it.
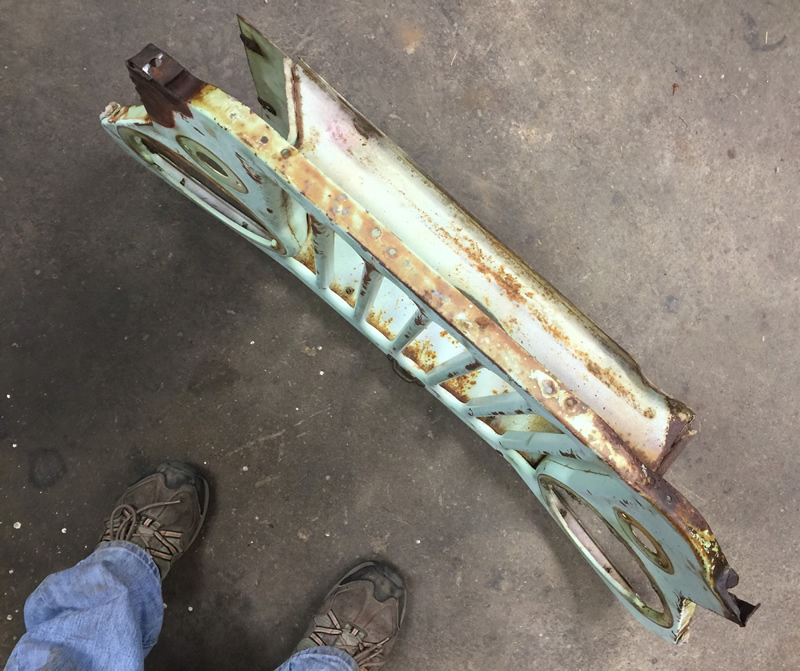
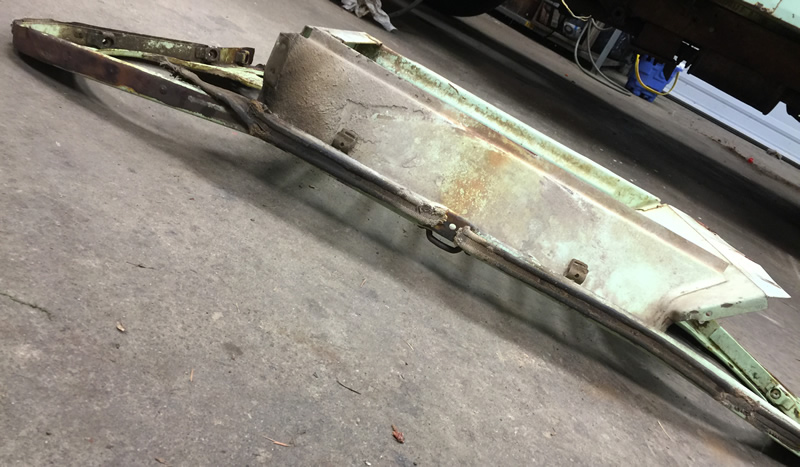
I next turned to the grille. The first two photos show how bad the grille was bent. I can’t image what they hit. Thankfully, the radiator seems to be fine.
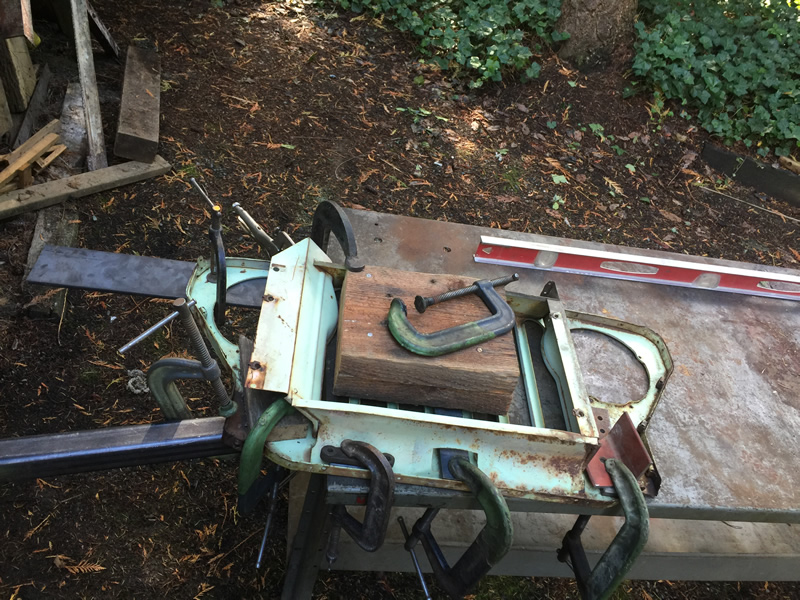
Using a variety of strategies, I flattened the grille and straightened the edges. One side smoothed out quickly. In the pic below, you can see the right side too a little extra bending to come out correctly.
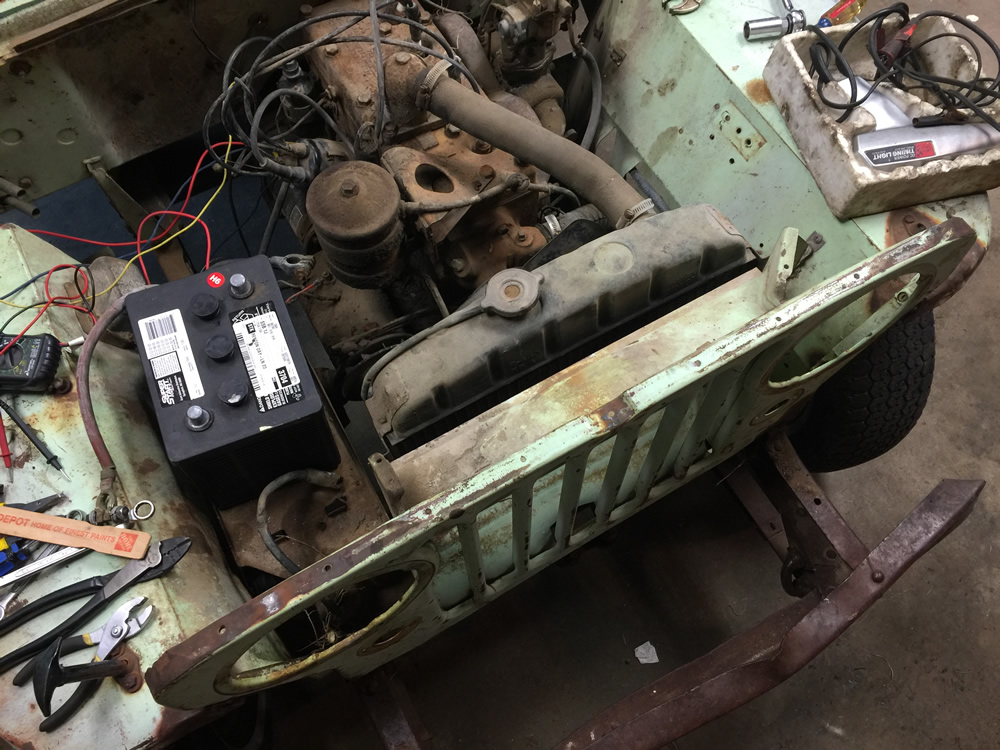
Here’s the final result. I’m pleased.
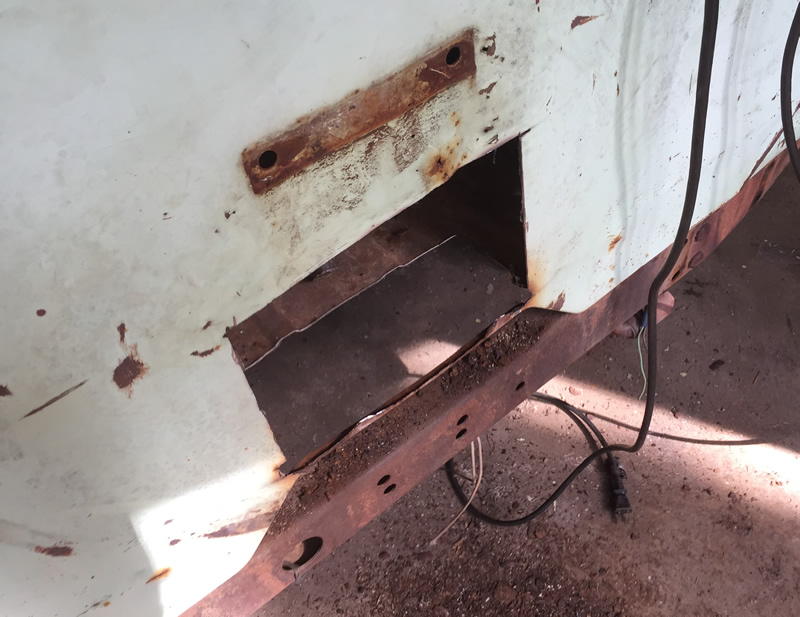
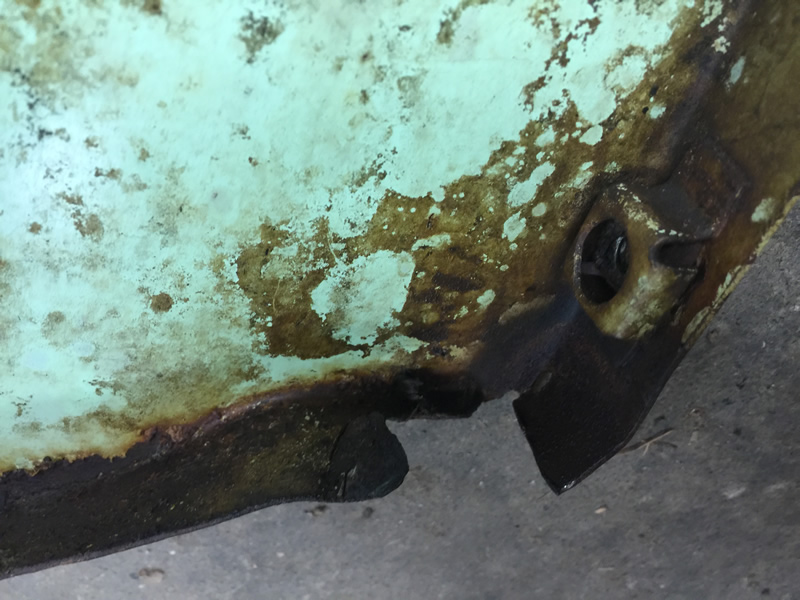
I will still have to repair both sides of the grille where it mounts to the bottom mount. I haven’t decided how I was to repair those areas. Here’s the right side where it mounts to the frame. As you can see, the metal was cracked.
We returned to Pasco late yesterday. I won’t be going back to Seattle until after Halloween, so I brought back a box of goodies to work on.