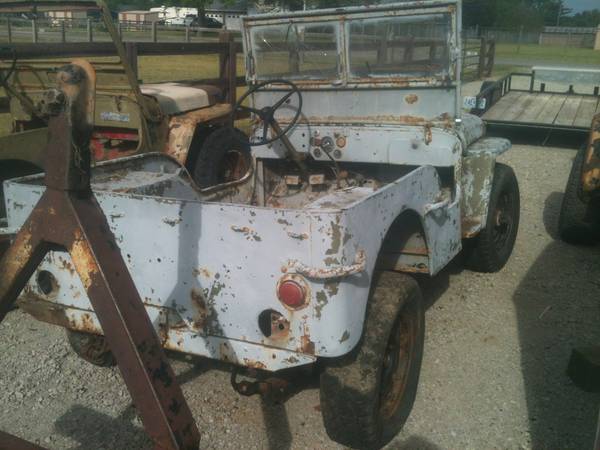
Dan spotted this project.
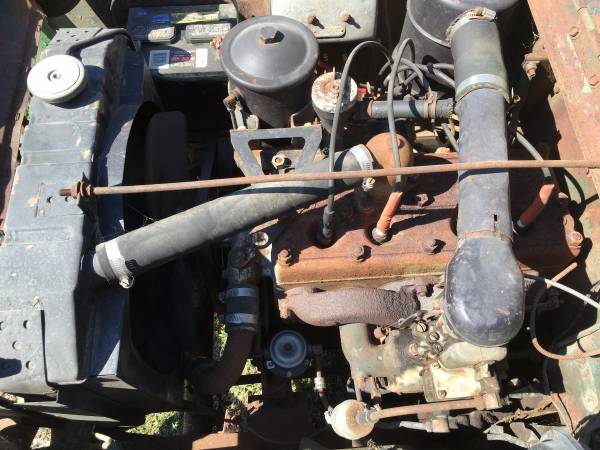
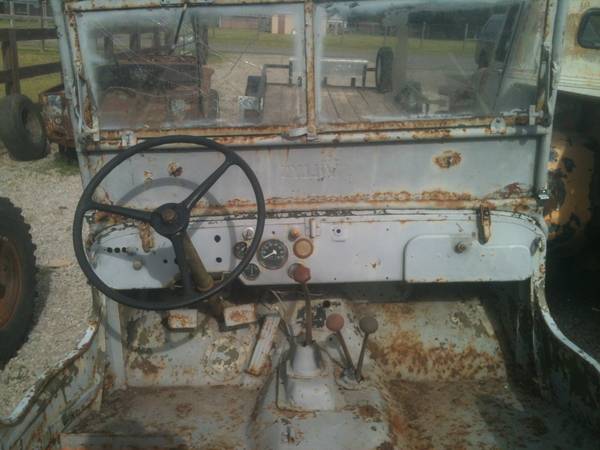
“***MAKE AN OFFER***Up for sale 1954 Willys flat bed truck under construction. Current condition the truck has Dana 44’s under it with high steer kit, new power steering, new power brakes, new hydraulic clutch setup, all new brake lines, new Trxus 35” tires on smoothy rims, running inline 6, t-90 3 speed, dana 18 transfer case and more. Comes with; 2-SM465 4 speeds with super low compound gear, original dana 30(?) front & HD timken rear both with 538 gearing, new cab for parts or to replace the existing cab that has a rusted roof, extra fenders and grill and more. New cab has some issues like rusted floors and lower right cowl. I have the patch panels to fix all rusted areas of new cab.
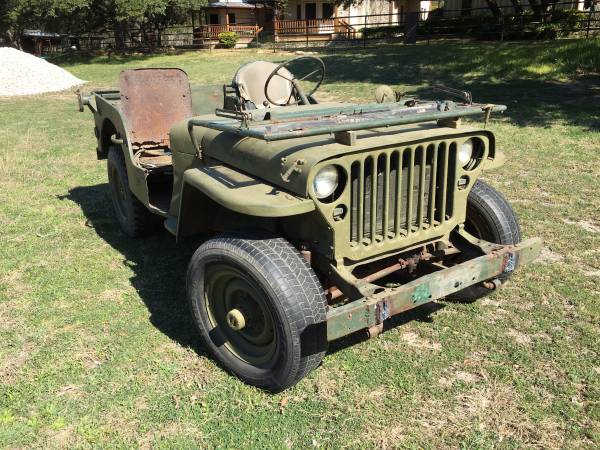
This truck has the right stance macho without being ridiculously high. The flatbed is bad ass looking.
I have a lot into this truck and I am realistic knowing I will take a loss but please for the sake of fellow jeep and 4x4er’s keep you offer reasonable. Believe me if you buy this truck you will be far ahead of the game than I. I’m just am tapped out of cash and can’t afford to finish it. I marked this as missing title but did a dmv search and no record was found which means all you have to do is apply for a new title. Truck does have a legible vin plate.
http://slo.craigslist.org/cto/5702329964.html