Paul-M38 Research Archives

To Top

Paul’s Trailer Update

• CATEGORIES: Builds, Features • TAGS: This site contains affiliate links for which I may be compensated.

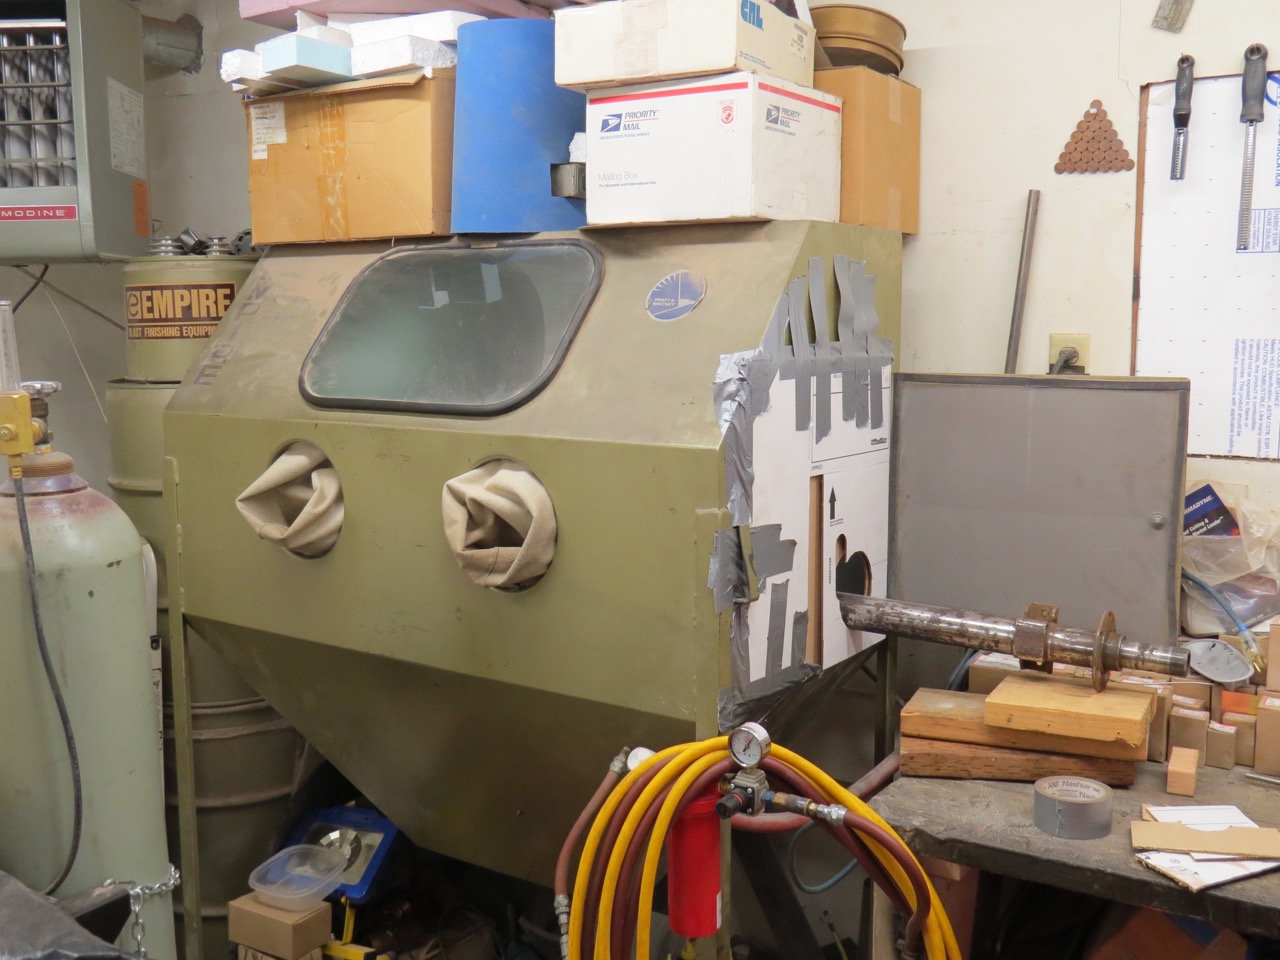
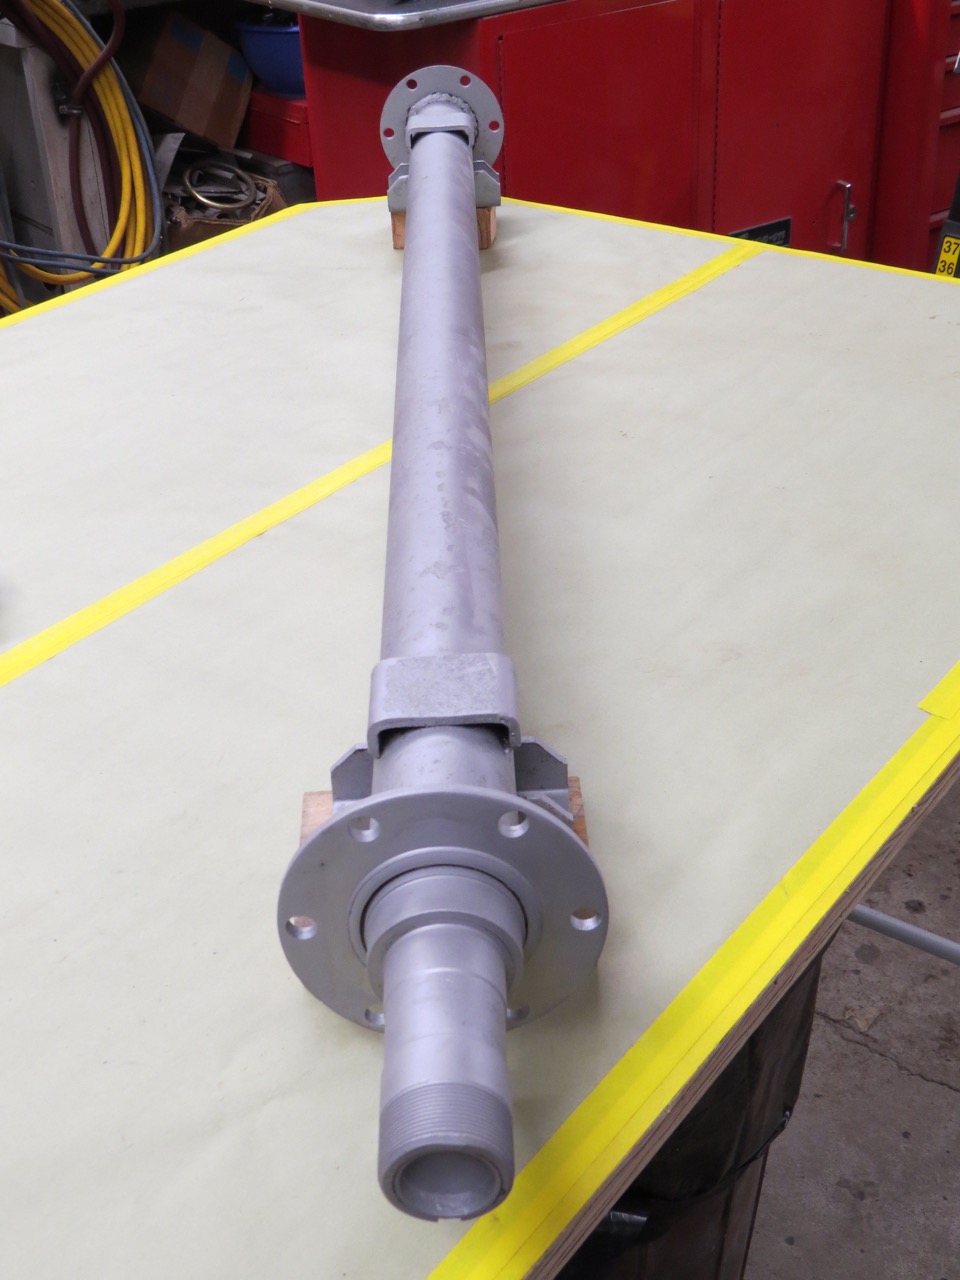
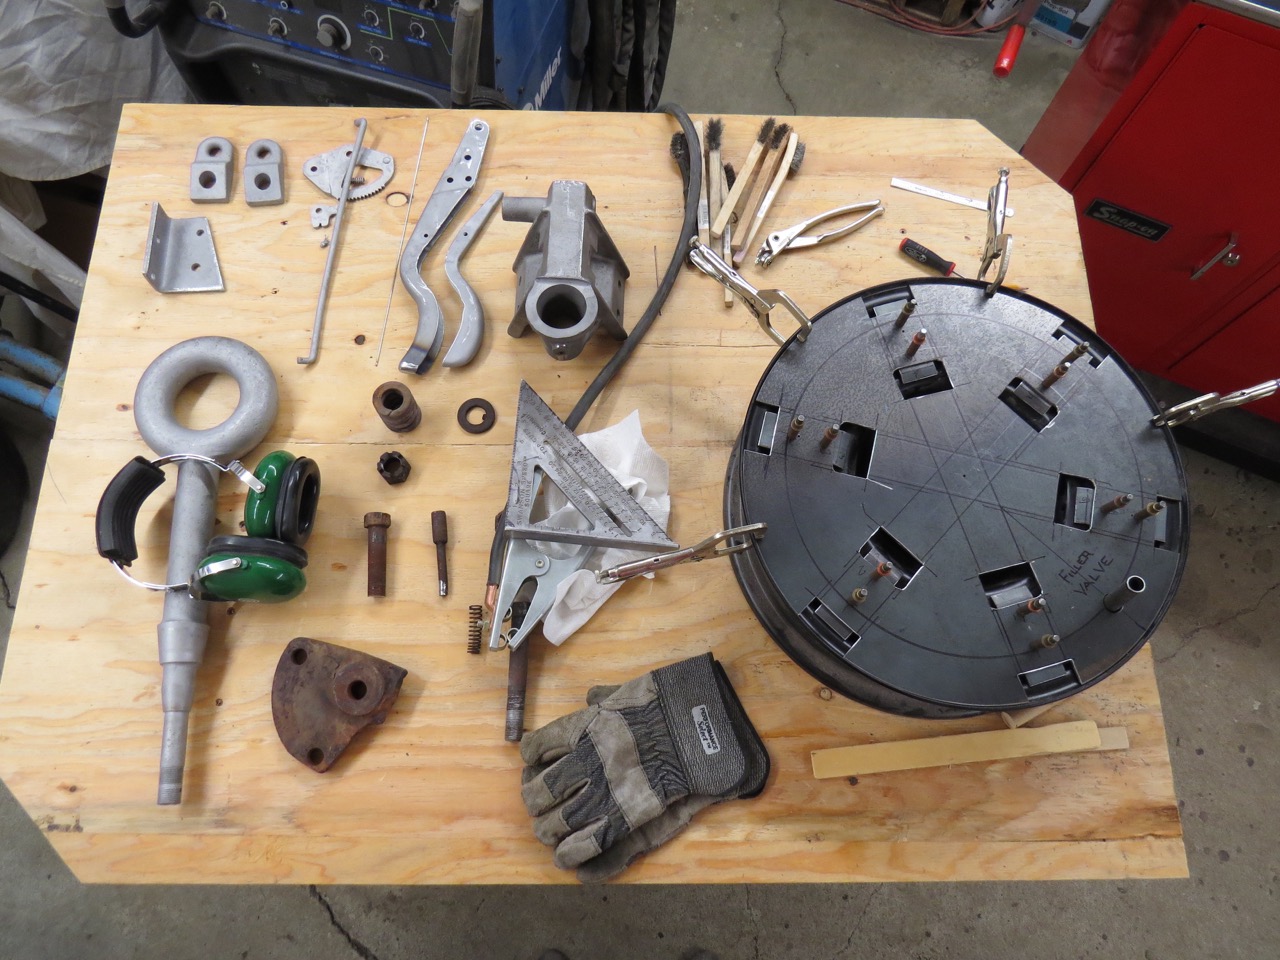
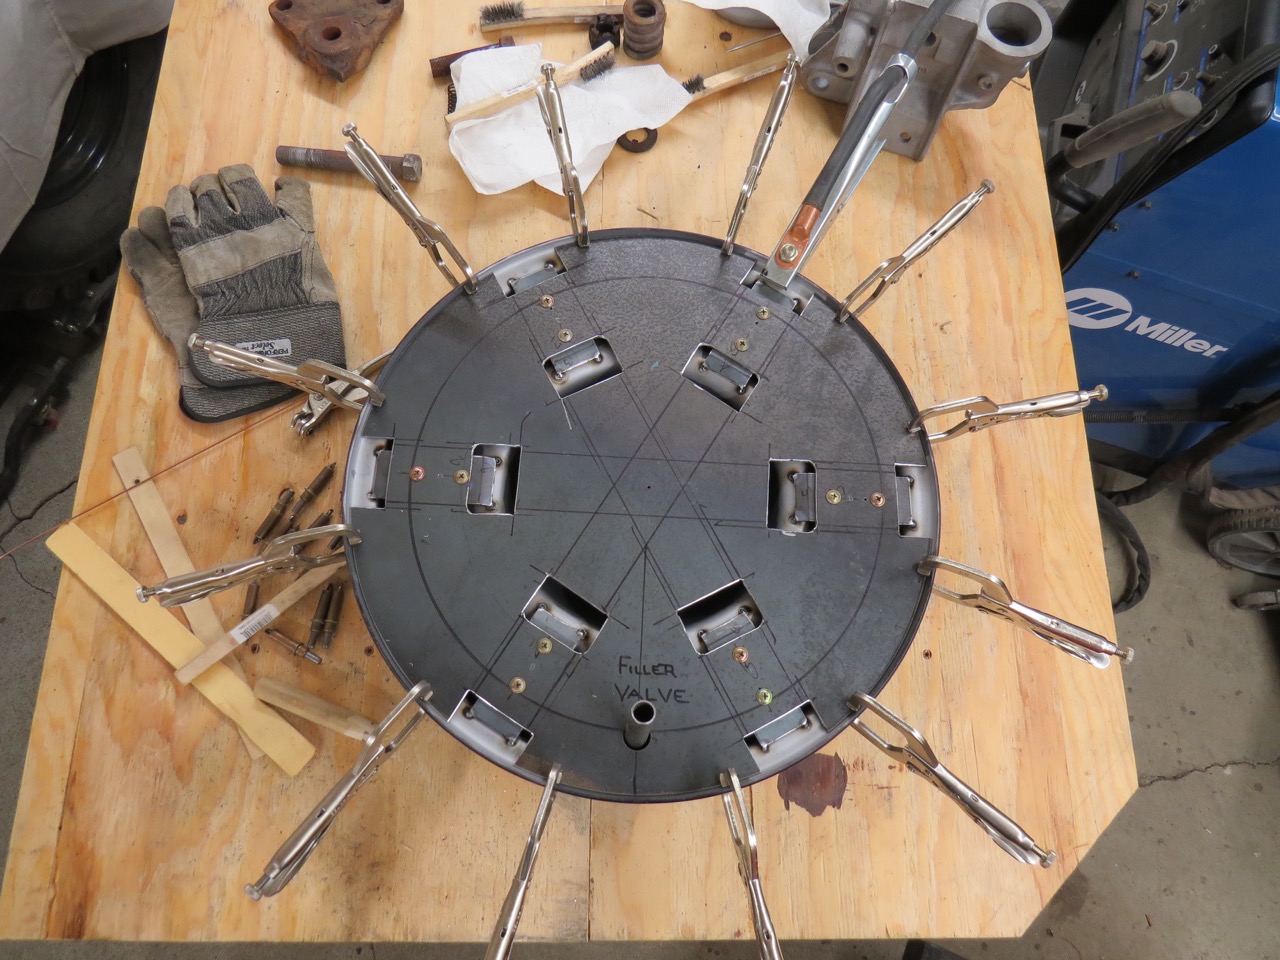
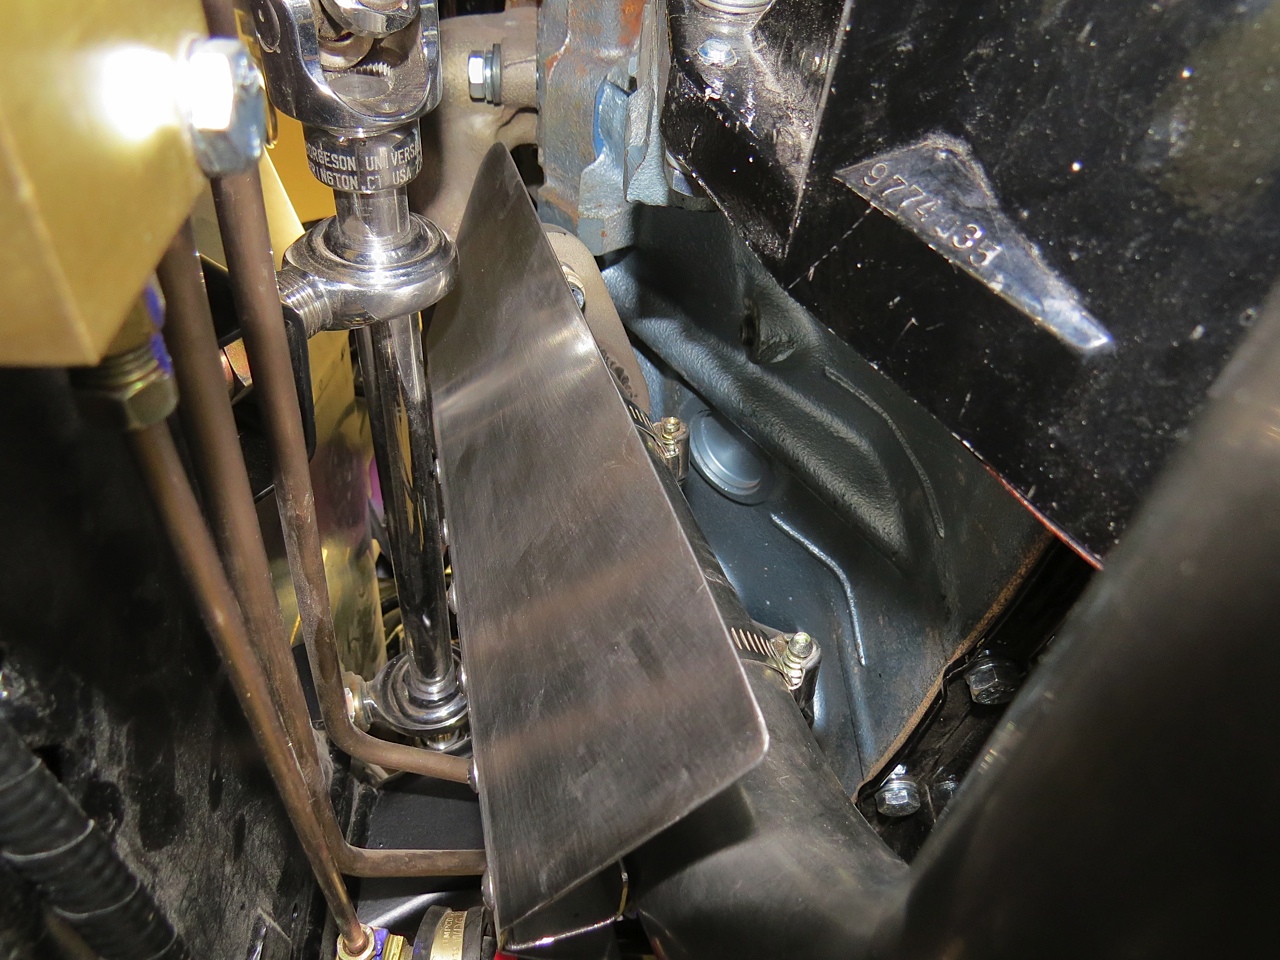
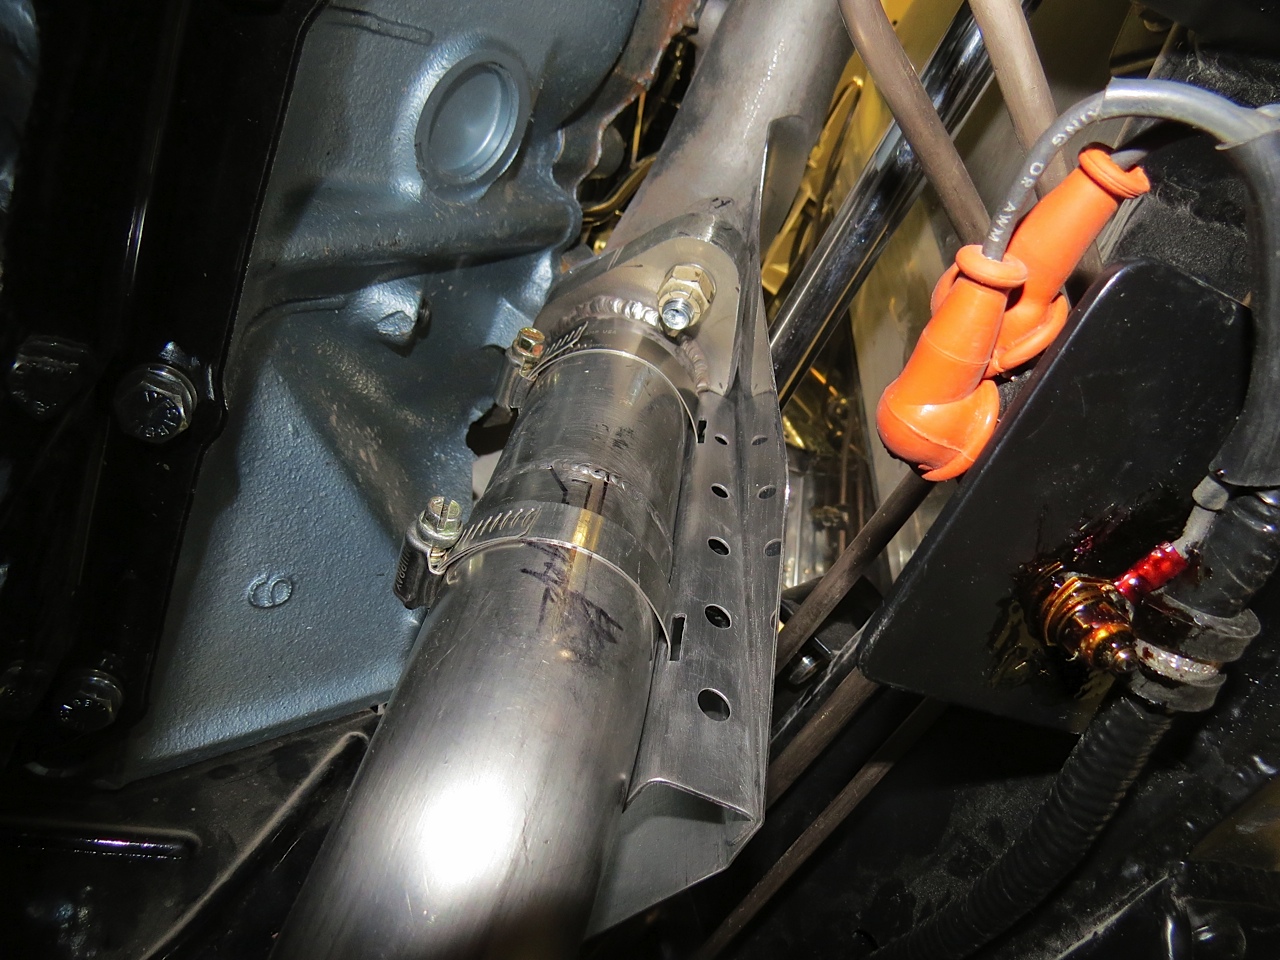
Paul’s continuing to make progress on his trailer.

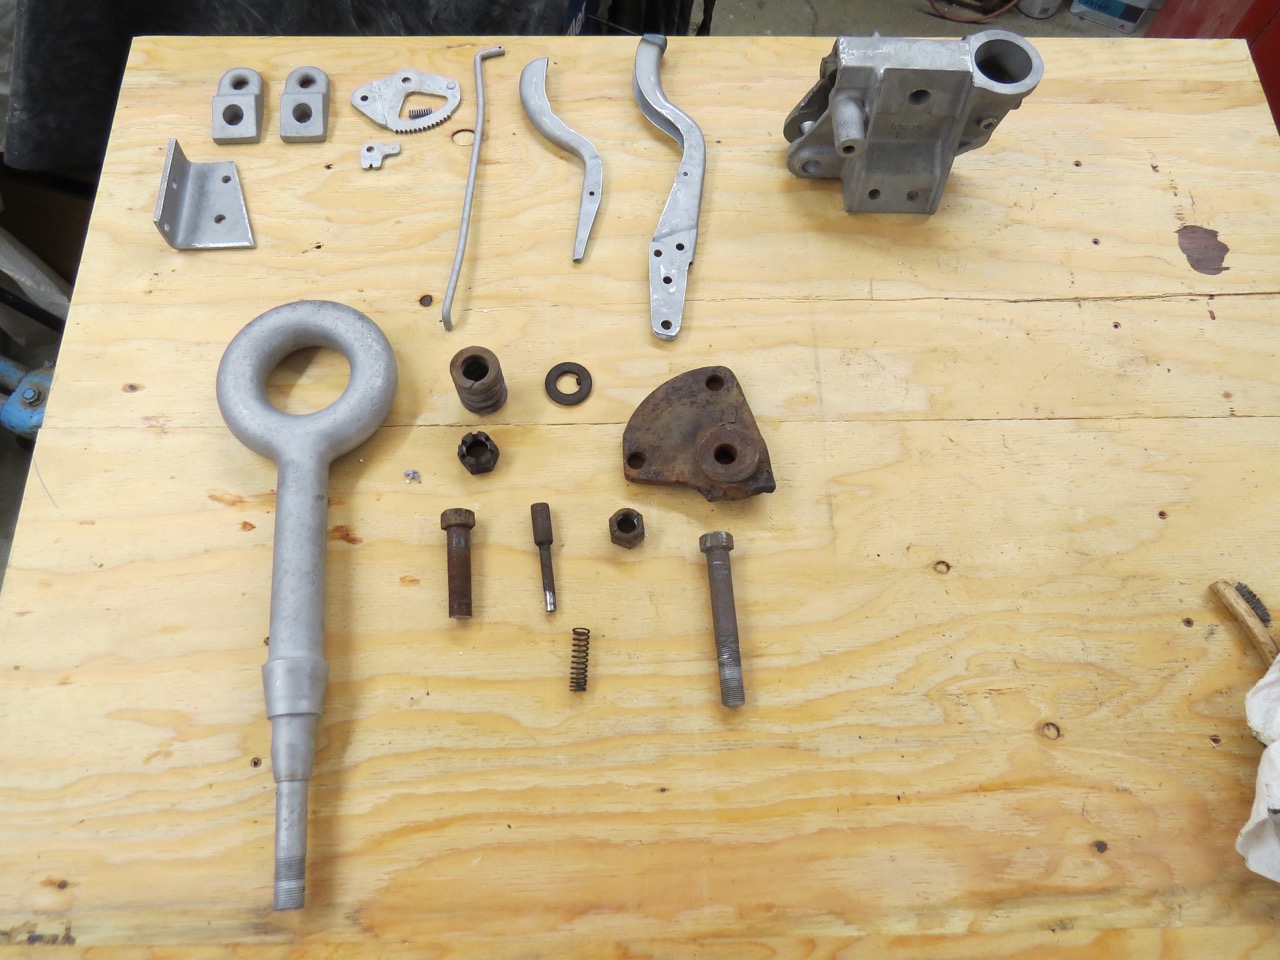
I can’t remember if I explained about the lunette thread damage and what it took to get it repaired so here’s the brief story. Before I began disassembly of my M100 trailer I liberally sprayed all the fasteners with penetrating oil numerous times in hopes of easing the removal process. Most of the nuts and bolts unscrewed with normal effort (including the castle nut on the lunette) but I was disappointed to see some of the threads on the lunette were damaged by the nut when things came apart.

Once the lunette was cleaned and bead blasted I took it to a local machine shop to see what could be done to repair or replace the damaged threads. Because I didn’t know if the lunette was cast or forged the machinist said welding was out of the question and suggested I just buy a replacement lunette. I returned home and made numerous phone calls to military parts sellers, Jeep parts sellers and anyone else I thought might possibly have an M100 lunette for sale. Not only did I come up with a big fat nothing for a replacement lunette I also learned these things are harder to find than unicorns. I made a trip back to the machine shop and had another conversation with the talented folks about the lack of replacement lunettes before we brainstormed about the possibility of thread repairs.

After I answered all their questions about the M100 trailer weight, load capacity and the type of use it will be subjected to a solution was suggested. The plan was to carefully remove the damaged threads and then cut new threads on the slightly smaller diameter of the lunette. The thread pitch would be an uncommon type so they would have to make a castle nut of the correct diameter with matching threads but very little strength would be lost with this repair. I wanted one change made with their repair plan, instead of making one castle nut I wanted them to make four nuts. That way if I ever lost or damaged a special nut I’d have spare nuts on hand.

The attached photo shows the thread damage on the lunette, the focus is poor but the missing threads are still visible.

paul-lunette-repair

Continue reading

[fb_button]
 
To Top

Paul’s Trailer Restoration Continues

• CATEGORIES: Features • TAGS: This site contains affiliate links for which I may be compensated.

Paul’s made more progress on his M-100 trailer restoration/transformation into stainless steel.

He wrote, Twelve cut and bent stainless steel tie downs for the M100 trailer with two original tie downs (one has been straightened) along with four replacement stainless reflector bodies just above an original reflector body.

stailness-steel-tie-downs2

The old reflector and the new replacement reflectors. The replacement tie down hooks and the reflectors will join the other repaired or fabricated parts in the crawlspace under the house until needed.

IMG_5144

Also in the crawlspace are the duplicate sides and front and rear panels (18 gauge stainless steel) for the M100 trailer box. The gnarly looking hunk of what appears to be a dinosaur bone just to the right of the metal panels is actually an odd piece of wood from a coffee tree.

IMG_5111

[fb_button]
 
To Top

Paul’s Putting on Powder

• CATEGORIES: Builds, Features • TAGS: This site contains affiliate links for which I may be compensated.

Take it away Paul ….

For the past couple of weeks I’ve been disassembling, cleaning, bead blasting and repairing parts for the little Willys and the M100 trailer so they would be ready to be powder coated.  I still need to install new wheel studs in the hub flanges along with pressing in the new bearing races but that task should be finished tomorrow.  The driveshafts need one to be shortened and one to be lengthened before they’ll go to the powder coater but progress is being made.

paul-powder-coating7

The blast cabinet is 48 inches wide overall and the axle is slightly over 53 inches long so I had a bit of a problem fitting the axle in the blaster and still having room to clean the rusty steel.  My solution was to leave the side door open and block the opening with multiple layers of cardboard (taped to the cabinet)  with a hole cut slightly larger in diameter than the brake backing plate mount on the axle to allow movement of the axle during blasting.  

Before I began blasting I added two more pieces of cardboard (cut to fit snug around the axle tube) to cover the larger hole in the cardboard end cover.  With this cardboard and duct tape combination I was able to carefully blast two thirds of the axle without filling the air with glass bead dust.  Once the axle section in the cabinet was clean I removed the axle, turned it end for end and inserted the rusty end into the cabinet to finish cleaning the metal.  This photo shows the low tech cardboard and cheap duct tape alteration of the blast cabinet so the axle blasting could begin.

paul-powder-coating6

The air compressor was blowing lots of air but the glass beads still had to work pretty hard to clean all of the rust off this 65 year old axle.  The metal is lightly pitted (especially on the forward side) but I don’t feel the original strength of the axle has been weakened in any way.  I checked the axle and the spindles with a straight edge and a level every 90 degrees of rotation to see if it was bent but the axle tube and the spindles are straight.

paul-powder-coating5

Here’s the axle just out of the blast cabinet ready to visit the powder coaters where it will receive a nice satin black coating.

paul-powder-coating4

Continue reading

[fb_button]
 
To Top

Alaska WWII Jeep Hardtops & the YL-15

• CATEGORIES: Builds, Features • TAGS: , This site contains affiliate links for which I may be compensated.

Paul from Alaska wrote, “Recently I was at the Alaska Aviation Museum helping a friend assemble his plane when I noticed a very large photo displayed on the wall of the hanger.  As you can see this photo was taken in 1947 at Adak but what really caught my attention were the numerous flat fender Jeeps with hardtops driving on the base.  I took a close up photo of a cluster of these Jeeps even though the image is rather grainy but I thought you’d like to see it anyway.”

alaska-aviation-museum2

Labeling these 1 – 5 starting from the left, jeeps #1 and #3 look to have the same top. #2’s top is extended in the rear. #4 has no side windows. #5 I can’t see as well.

alaska-aviation-museum3

There’s a jeep near the top, again with a hardtop.

alaska-aviation-museum1

The full photo is in the background above the rare Boeing YL-15, which Paul’s friend has restored. The plane was built to win a military contract. The wings, tail and flaps come off quickly so the plane can be carried by a 6 by or towed by a Jeep.

Here’s an mocked-up example of a jeep pulling the plane:

jeep-hauling-yl-15-lores

And this shows a truck carrying it:truck-hauling-yl-15-lores

[fb_button]
 
To Top

Another Update From Paul

• CATEGORIES: Builds, Features • TAGS: This site contains affiliate links for which I may be compensated.

If I ever step into Paul’s jeep, I’m going to bring some surgical scrub footies.

Paul wrote, I felt the gray marine carpet in the footwells was too dark so I installed some stainless steel scuff plates on top of the carpet. I put a brushed finish on the stainless plates before I screwed them to the carpet and I’m happy with the results. The carpet is still visible, the stainless makes the footwell area brighter and I think the cutout design goes well with the Willys.

Just another crazy thing I never imagined I’d want for this Willys rebuild.

left-side-scuff-plates right-side-scuff-plates

2016-01-31-alaska

Those are some clear, blue skies!

[fb_button]
 
To Top

Leaks & Fenders

• CATEGORIES: Builds, Features • TAGS: This site contains affiliate links for which I may be compensated.

Two bits of good news from Paul. One, his jeep was NOT affected by Alaska’s recent earthquake. He had the sense to bolt things to the wall that could potentially fall onto his jeep. Two, he’s made some more updates to Knardly Rolls! So, read on . . .

alaska-january-20162

Looking towards Anchorage and the mountains beyond, January 2016. This was pre-earthquake, though it pretty much looks the same after the earthquake.

Paul writes, the progress so far this winter season on the Willys has been a little weird. Things started to get strange when I decided to fill the cooling system for the first time in 30 years. I’m an optimist but I like to think I’m based in reality so I told myself there’s always the possibility of leaks in the cooling system and having a couple of empty buckets ready to catch dripping antifreeze might be a good idea. With the empty buckets cleaned and placed nearby I poured the first gallon of antifreeze into the radiator.

After a short pause to inspect the hoses and connections for system integrity I began pouring the second gallon of coolant into the radiator and I quickly noticed my feet were getting quite wet. I managed to wedge the empty but rapidly filling buckets under the front axle where most of the escaping antifreeze could be captured since the leak appeared to be from the front of the engine by  the timing chain cover. Oh well, it looks like yet another unexpected repair or modification needs my attention.

After the leak slowed down to a slight drip I repositioned one of the buckets directly below the radiator drain and began transferring the antifreeze from the cooling system into the bucket and then back into the gallon containers which is where this green fluid came from about 15 minutes earlier. When no more fluid flowed from the radiator drain and the recaptured antifreeze was safely back into the gallon containers I decided to call it a day and leave the heavy thinking for the tomorrow.

After having strange dreams throughout the night concerning the coolant leaks on the Willys, by the next morning I ready to start pulling components off the front of the engine so the timing cover could be removed for troubleshooting. Since the engine has never been run after being rebuilt this was a fairly quick and easy task.

Once the timing cover was out of the way and the front of the cylinder block could be inspected I learned an interesting bit of information about the Buick V-6 engine. The front of the block has 4 bolt holes (2 on the left and 2 on the right) for the timing cover to attach, BUT the timing cover is manufactured as either a 2 or a 4 bolt type.

paul-engine-plug2

The plugged bolt hole is the one closest to the right edge of the photo, it was left unplugged and partially exposed by the timing cover so the antifreeze flowed out quickly.

The timing cover on my engine is a 2 bolt type (where the coolant passage flows into the water pump) so the two unnecessary threaded holes in the block should’ve been plugged to prevent antifreeze from leaking. The unused threaded hole on the block is drilled into the coolant passage but the unused hole to the right is a blind hole and not open to the cooling system.

To prevent anymore leaks and to make me feel better I installed internal wrenching hex plugs in the unused holes . These plugs were screwed into position after the threads were cleaned and dried and the threads on the plugs were coated with gasket compound, then it was time for reassembly. Things were going pretty well until I noticed the rubber on the crank pulley damper was cracked and bulging out along the seam so this project came to a halt until the damper made a trip south to the Damper Doctor for a rebuild. 

[editors note. I *think* it was in one of those holes that, during my very first engine rebuild, I put too long of bolt into one of the holes. I tightened it down, though it got difficult near the end. Imagine my surprise when the #1 cylinder piston kept hitting something while i tried spinning the crank. OOPS, I’d damaged the cylinder wall!!]

paul-clamps-fender

Two pieces of 3/4 inch plywood spread the clamping pressure and prevent damage to the metal when installing the abrasion panels to the underside of the fender.

Continue reading

[fb_button]
 
To Top

Knardly Rolls is Close to Road Ready

• CATEGORIES: Features • TAGS: This site contains affiliate links for which I may be compensated.

Paul’s getting close. Over the last six years we’ve watched him build this stainless monument to jeeps. Just some little things to be completed. Maybe 2020????

paul-m38-1 paul-m38-2 paul-m38-3

[fb_button]
 
To Top

Paul’s Stainless Wheel Covers

• CATEGORIES: Builds, Features • TAGS: This site contains affiliate links for which I may be compensated.

With winter settling into Alaska, Paul has returned to continue work on his Stainless M-38 (and a matching stainless trailer). I believe this is the 28th year of the project? Thanks for sharing Paul!

paul-wheels8

Knarley Rolls, Paul’s M-38. The spare with its cover is attached to the back of the jeep.

The black steel wheel in the photo below is one of 8 new wheels I purchased for the Willys (4 and a spare) and the M100 trailer (2 and a spare) so I need to modify these wheels to accept the stainless wheel discs I previously made. Each wheel will have 6 metal tabs (evenly spaced) welded to the outer face of the wheel with the tabs running from the outer bead flange to the raised inner ring around the lug nut area and each tab will have two nuts welded to the inner surface. These nuts will line up with holes drilled thru the stainless wheel discs to accept the wheel disc attach hardware and the tabs will provide additional support to hold the wheel discs while driving.

paul-wheels1

The black rim is to the right covered by a template. The other parts are trailer pieces from the disassembly of his trailer.

My original plan was to have only one nut per tab (so the wheel disc would be held on with six machine screws) but it’s much easier to weld two nuts to each tab while I’m making the parts than to have to add additional nuts and attach screws after the wheels have been powder coated just in case the discs wobble during rotation. I’ll try the 6 attach screws per wheel first and if the wheel discs stay smooth during driving I’ll leave the extra 6 nuts empty. If the disc shows any sign of instability while driving I’ll use all 12 screws to attach the disc for extra support.

paul-wheels2 paul-wheels3

Continue reading

[fb_button]
 
To Top

Paul’s Shielding the Heat

• CATEGORIES: Builds, Features • TAGS: This site contains affiliate links for which I may be compensated.

Paul built a heat shield to protect his steering assembly. I believe it’s his last project of the winter. Paul’s putting ‘Knardly Rolls’ to rest until Fall. It’s now time for him and the Goddess to drop the top on the Miata and explore the melting tundra.

He writes, Here’s the heat shield I made to protect the steering assembly from the heat given off by the left exhaust manifold and exhaust tubing. As you might have noticed there’s very little clearance between the heat shield and the steering shaft.  A penny will not fit between the heat shield and the steering shaft. The heat shield is .020” stainless and the attach bracket which clamps to the exhaust pipe is .050” stainless.

paul-heatshield2

The decreasing diameter holes drilled thru the attach bracket will allow cooling air to pass behind the heat shield which will help keep the steering linkage from getting too hot. I hope. The brown coating on the brake light switch ground wire attach bolt is a gasket shellac that should prevent water from seeping between the ground wire connection to the bare frame so corrosion is prevented. The exhaust is held to the manifold by silver plated high temperature steel self locking nuts.

paul-heatshield1


[fb_button]