FC-Tour-Jeep-Build Research Archives

To Top

More Progress on the FC & New Mobile eWillys HQ

• CATEGORIES: Builds, Features • TAGS: This site contains affiliate links for which I may be compensated.

We’ve spent the past couple of weeks researching and viewing motorhomes (so much learned). We have decided upon one we like (powerful, 10k towing, easier to maintain, strong resell market, locally made, plentiful solar power), which I’ll unveil later this week, assuming everything goes well (we have a bit of a drive to go get it). I’ll discuss this more later.

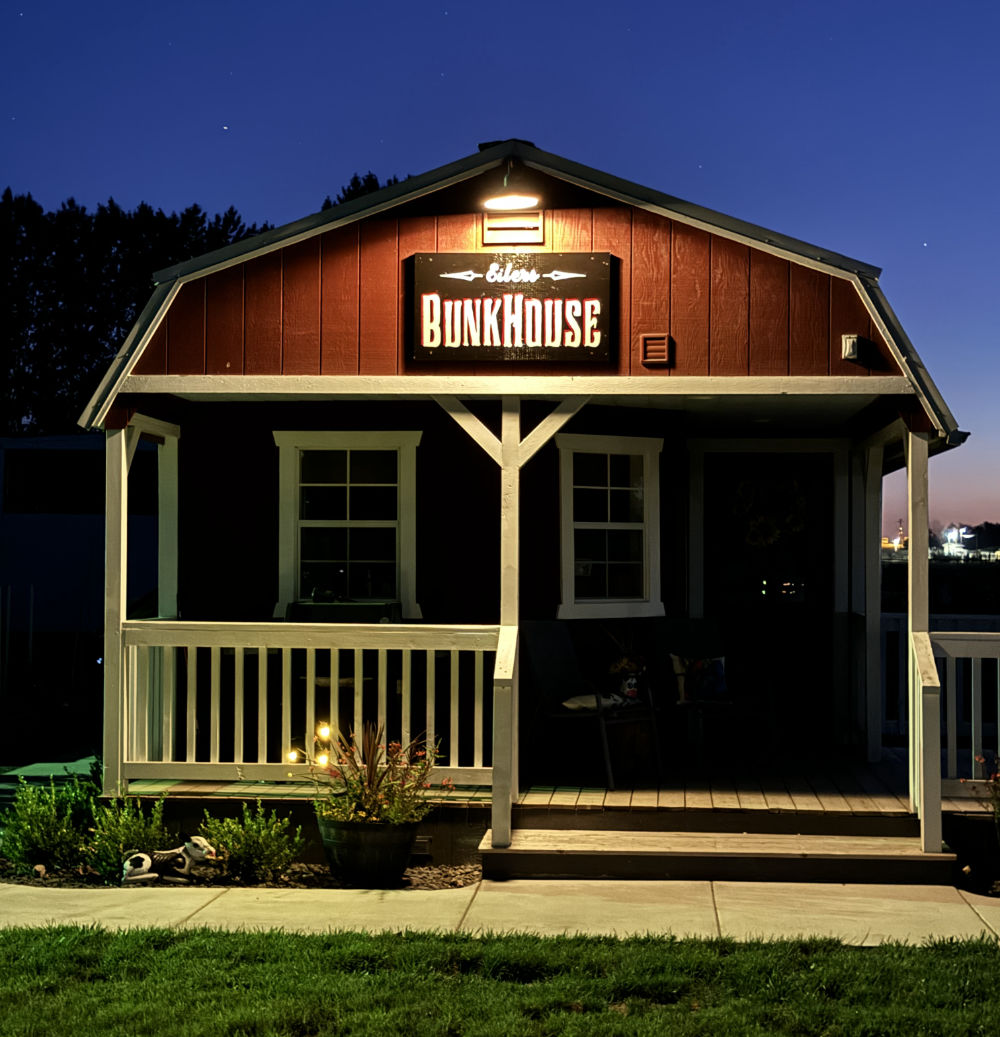
It’s first ‘event’ will be in two weeks at the PNW4WDA summer convention. Here is a sneak peak (again, if all goes well);2003-alpine-38ft-coach-1

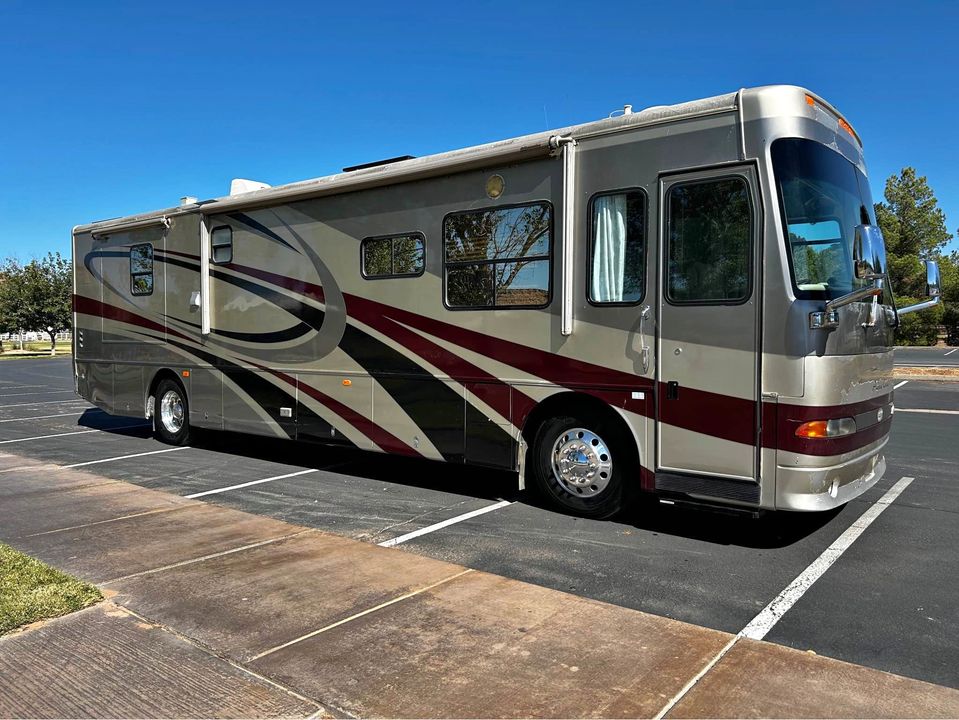
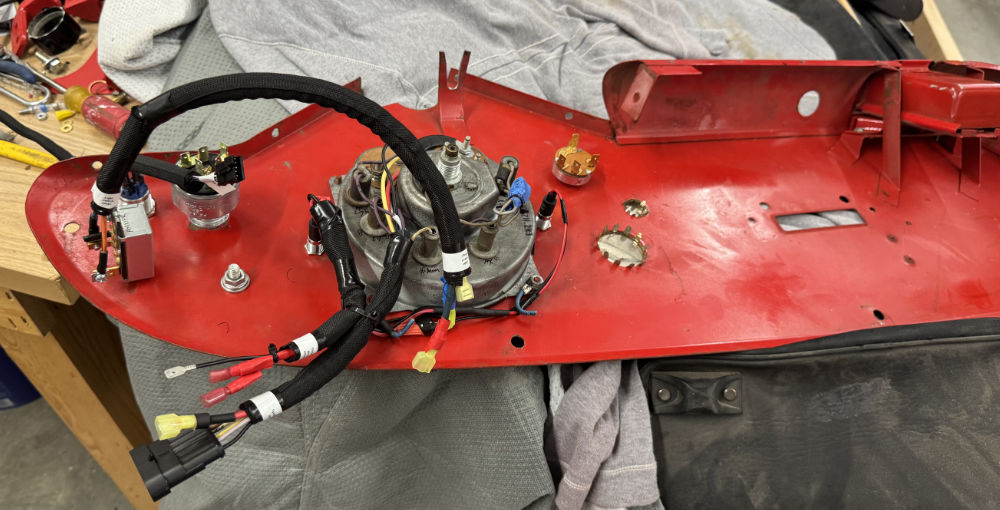
All that time and research, plus more heat and Ann’s short vacation, definitely slowed progress on the FC. But, I was able to get most of the wires labeled using Ann’s label maker, though I didn’t realize until half-way through that I could create multiple lines (insert head exploding emoji here); so, for example, “Bat-to-Ign” on one line could be better labeled “Battery to Ignition” on three lines.

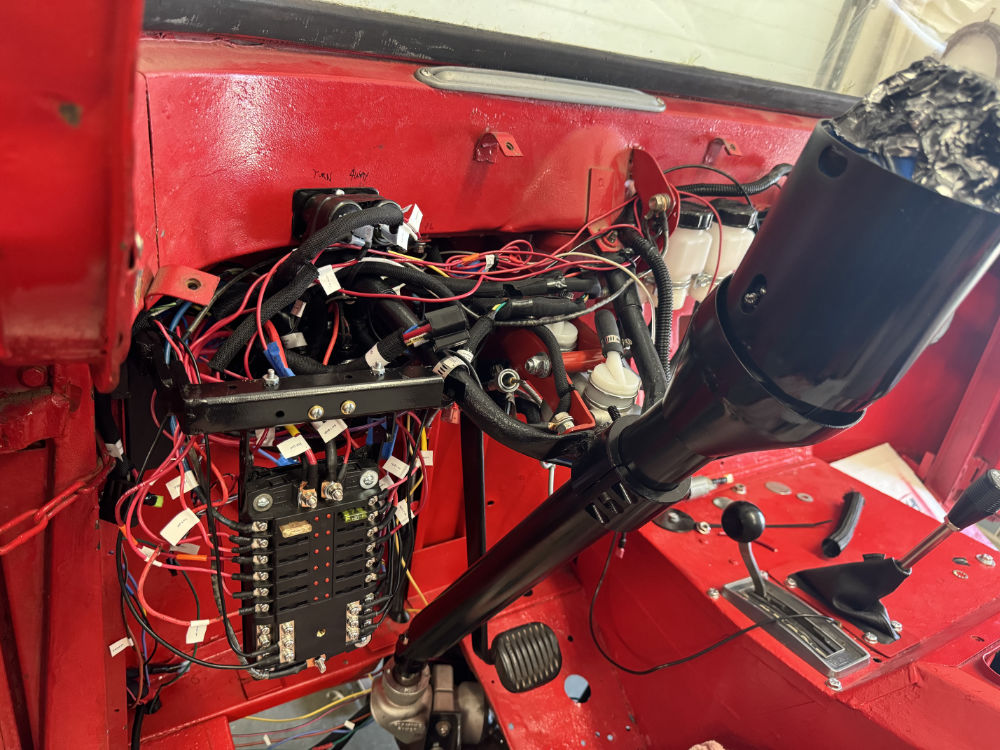
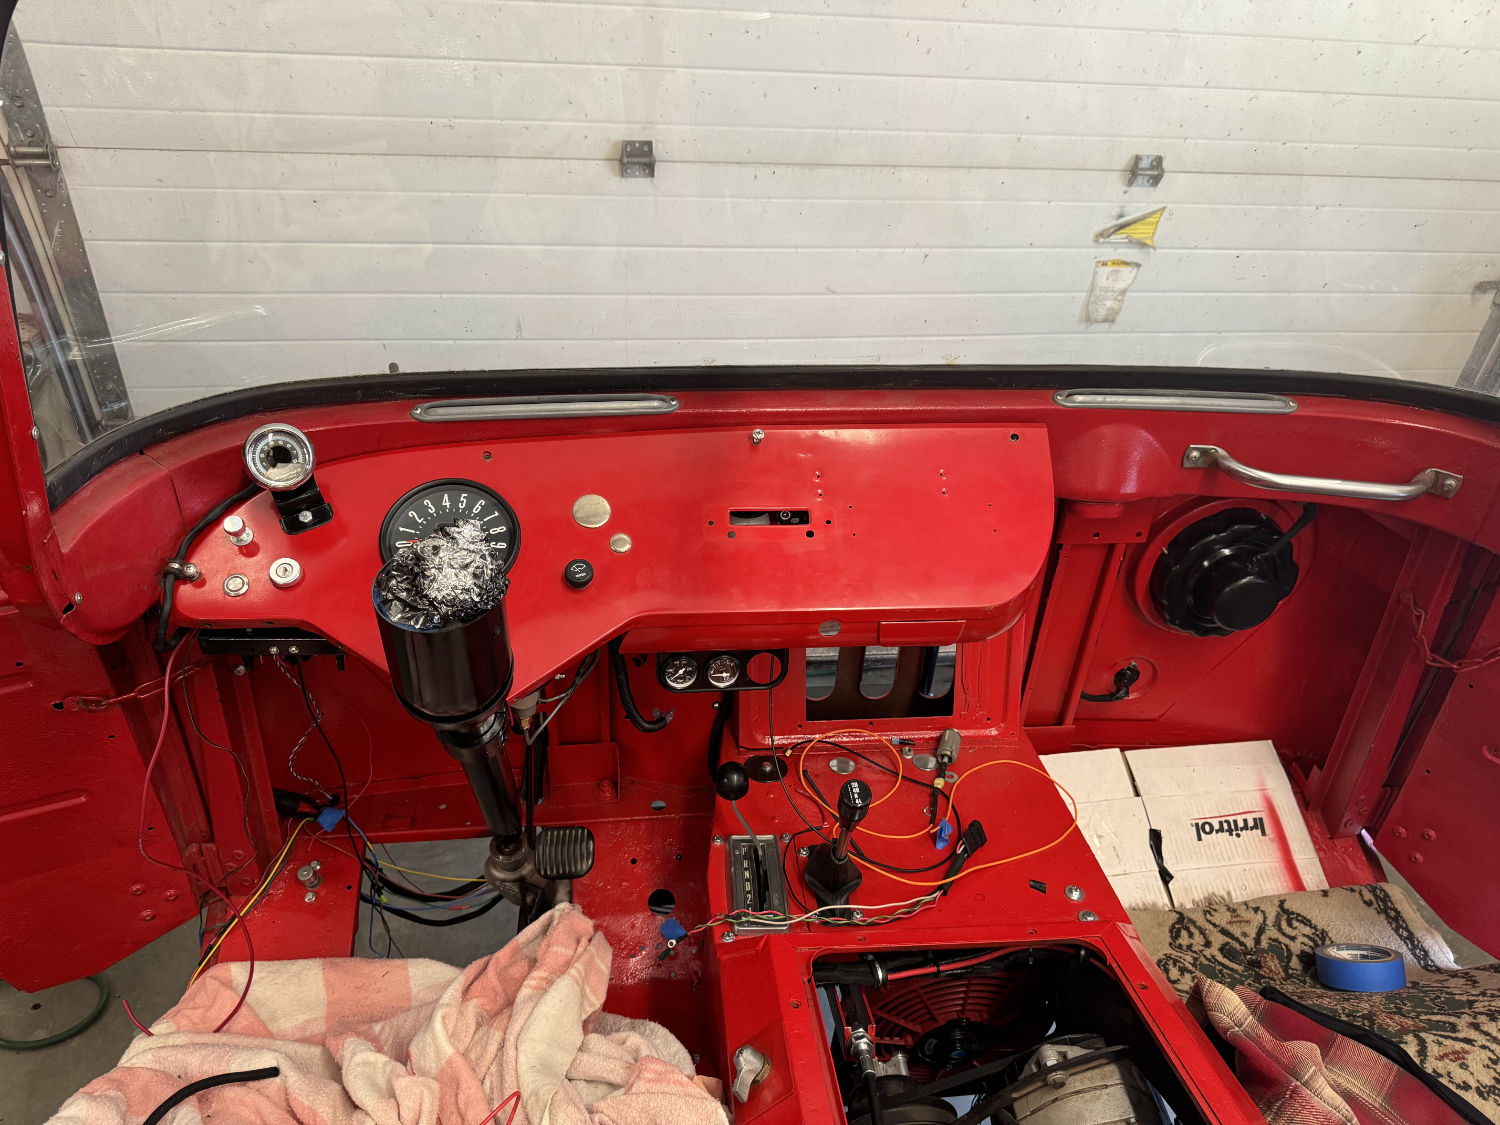
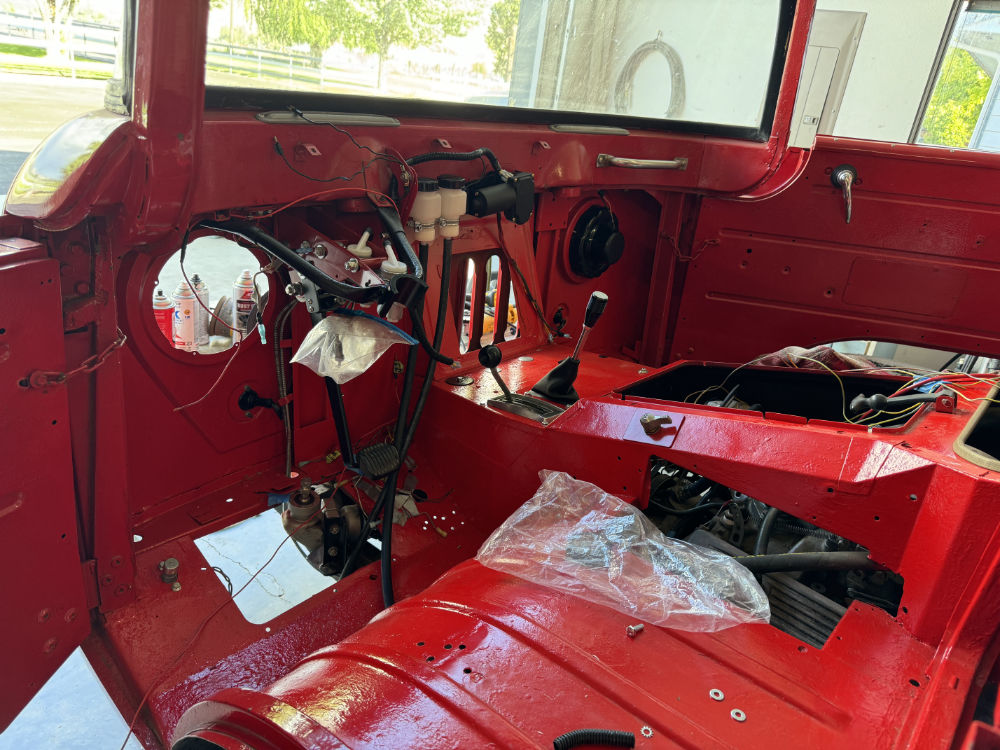
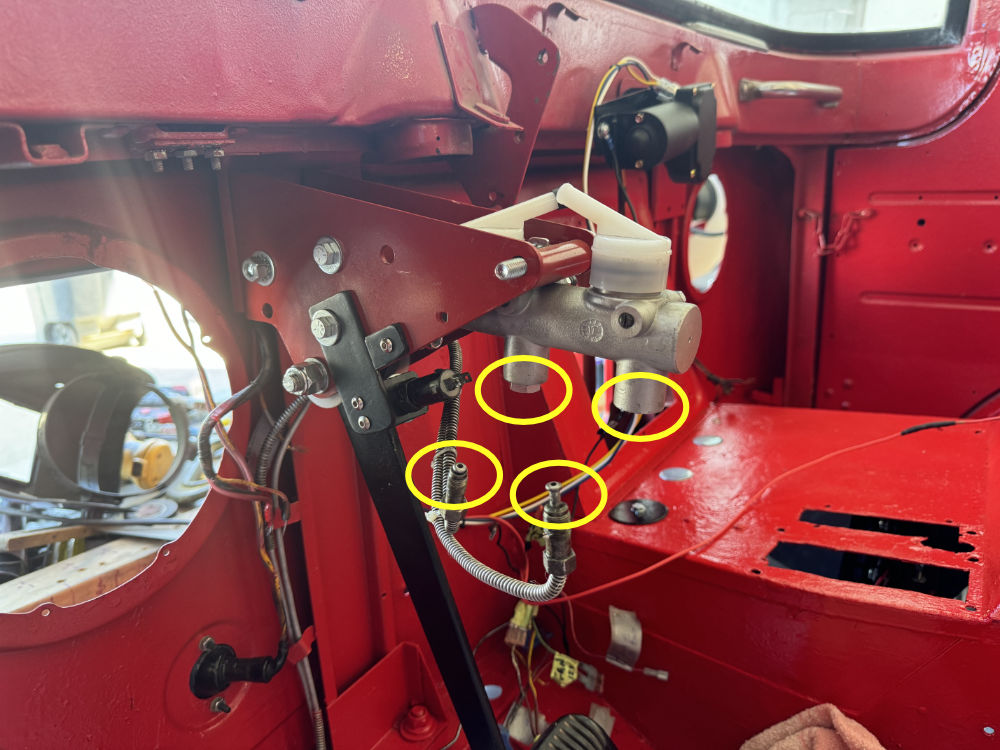
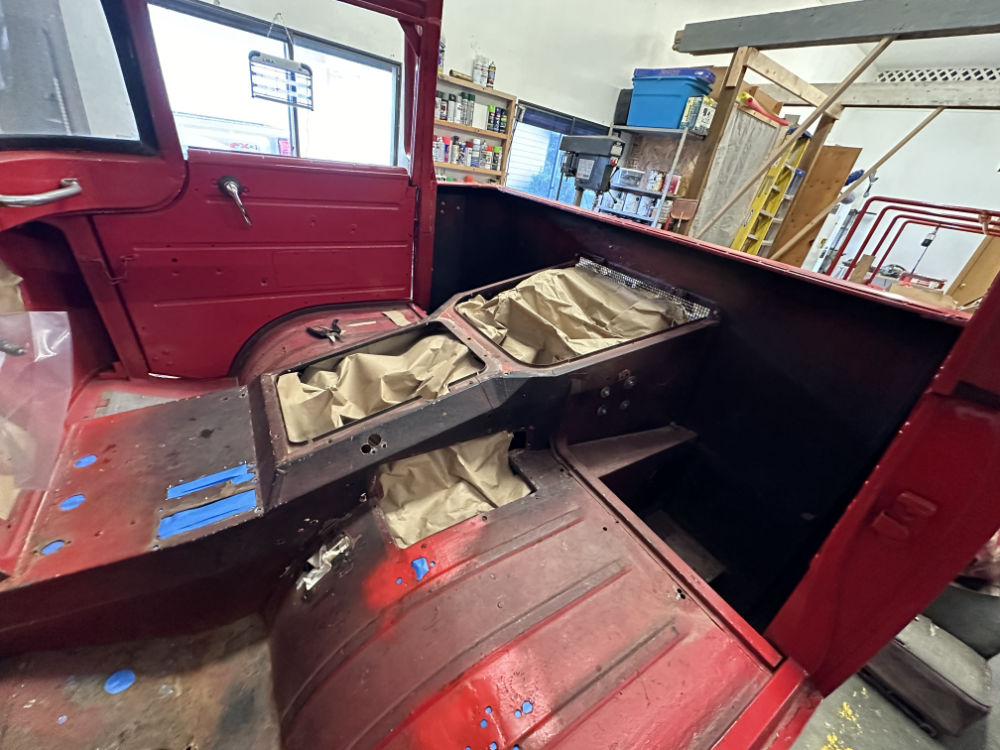
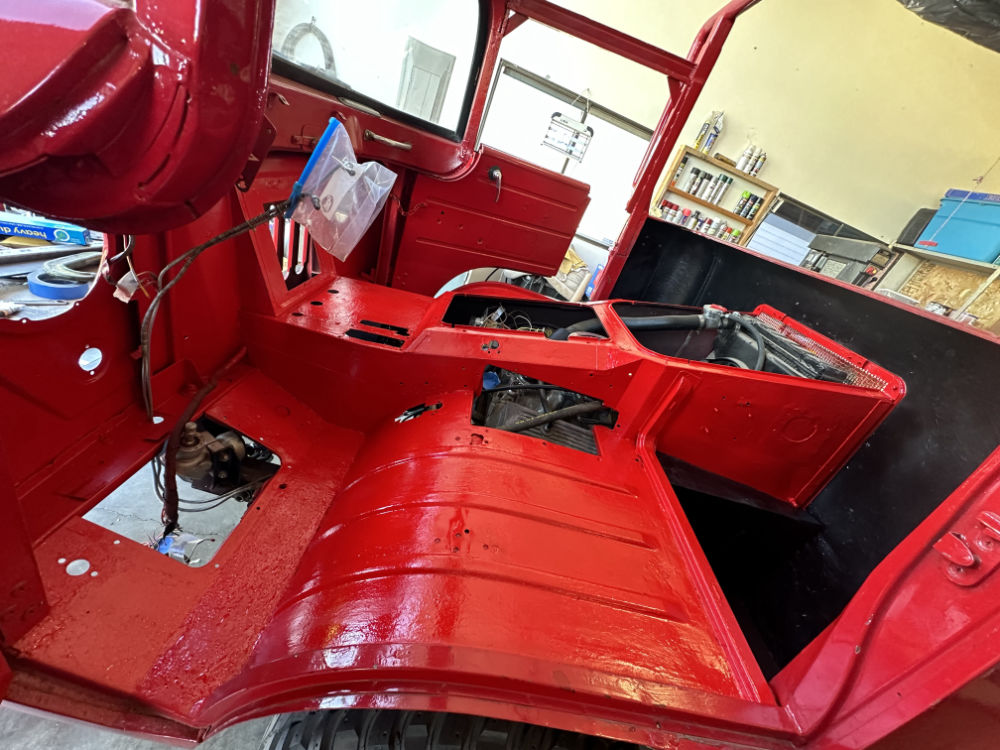
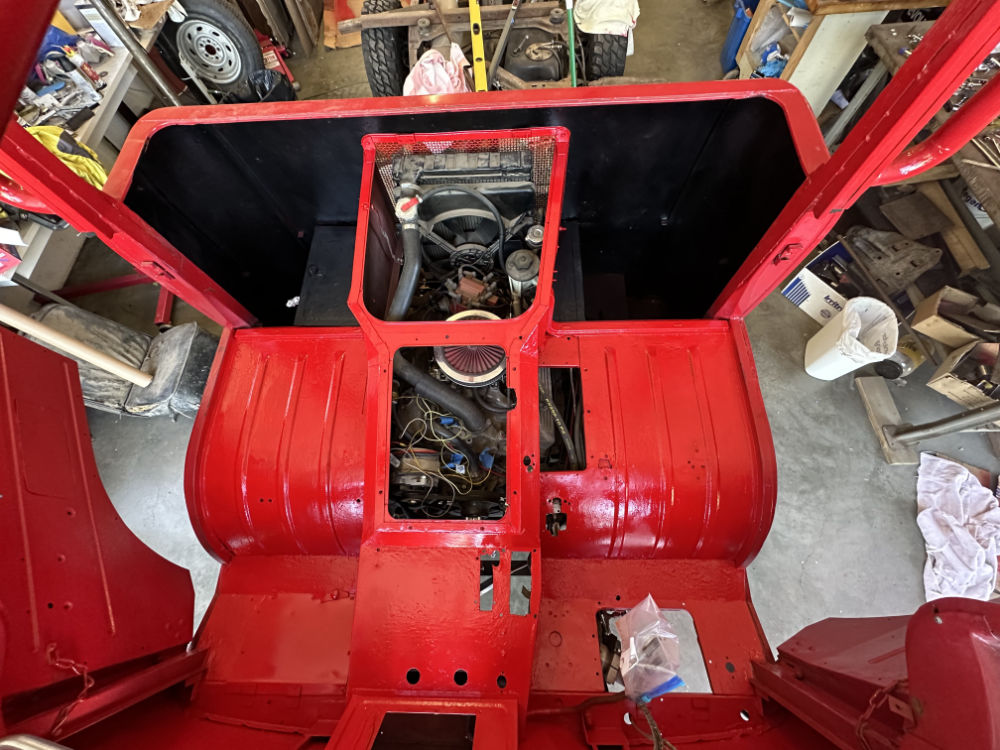
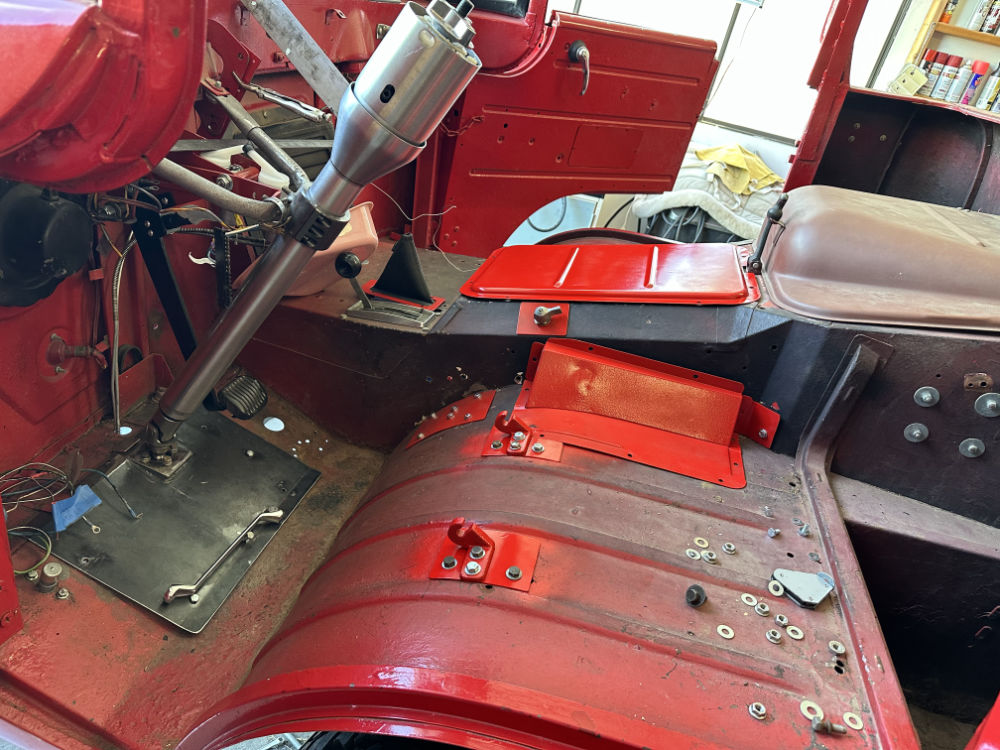
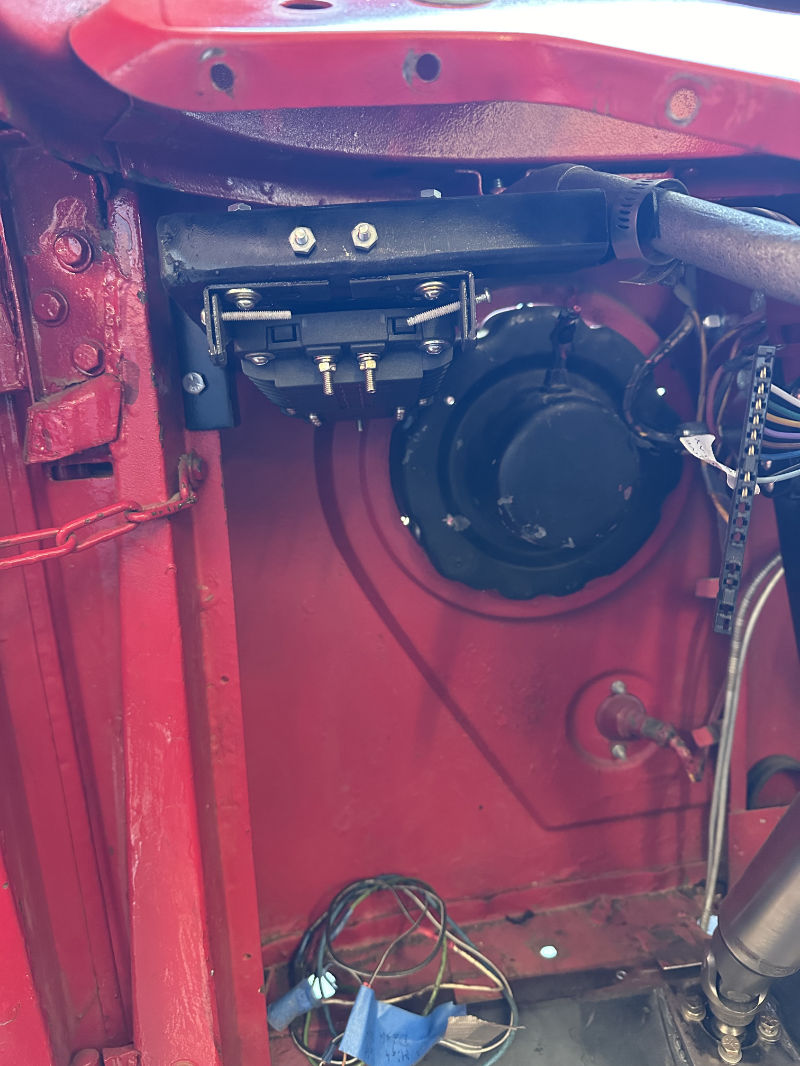
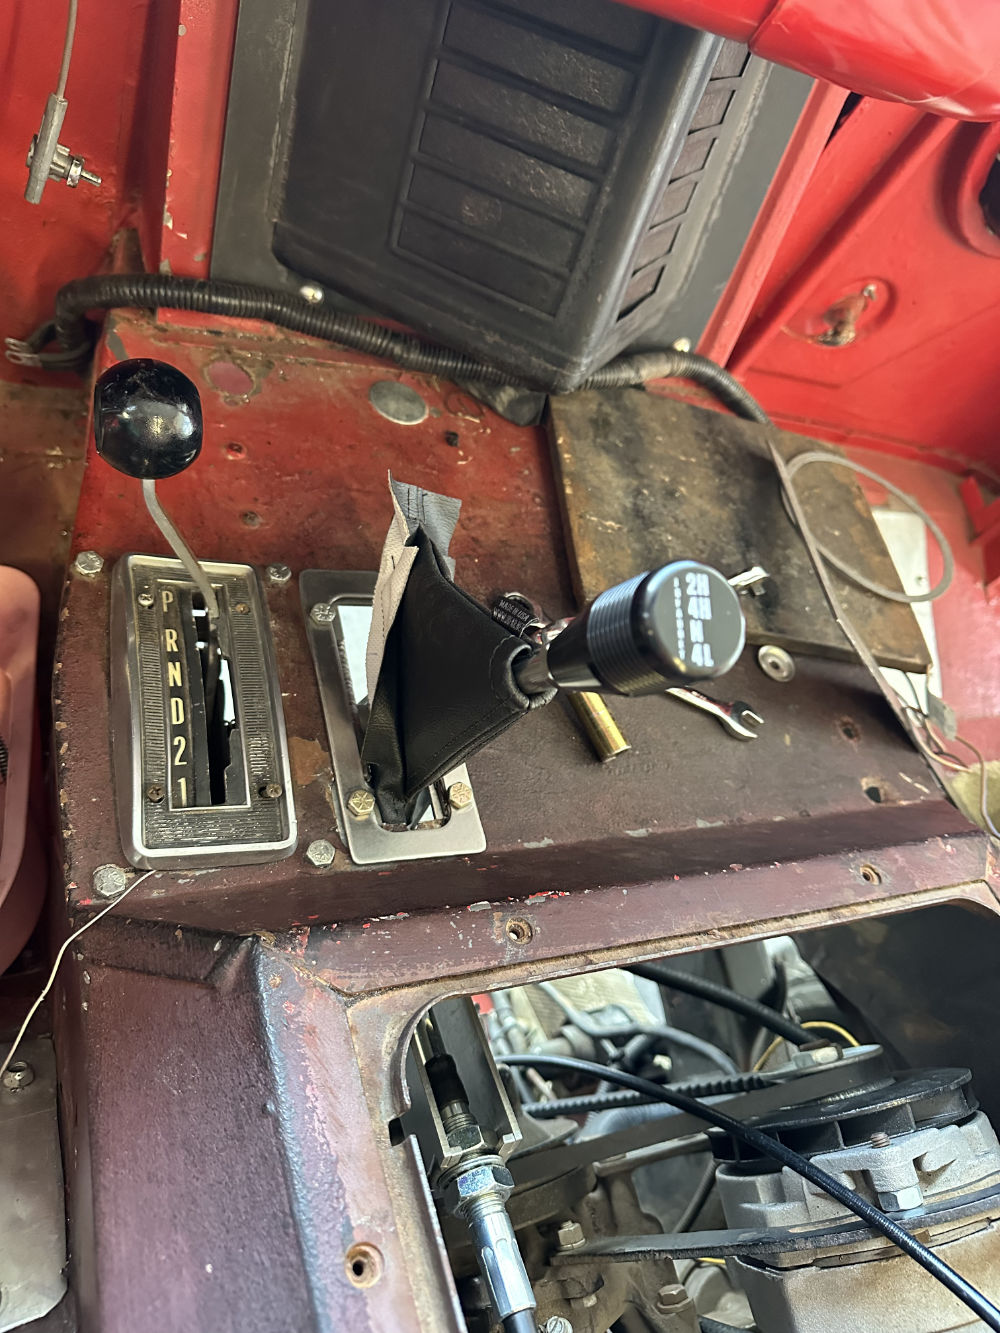
Once I complete that task, then I can bind the wires up more tightly and cleanly and begin testing systems. As you can kind of see below (not the best pic), the wiper knob, the light switch, the ignition switch, the dash-turn blinkers, and the speedometer are all connected using plugs. They all have labels, so identifying their corresponding plug should be easy. In addition, I tried to use different types of plugs so that plugging something incorrectly would be nearly impossible. The lighter is also easy to unplug. More difficult is the three gauges under the dash, as two of them are mechanical (I couldn’t find 1.5″ electric temp and oil gauges). So, the gauge panel has to be unbolted if the dash is completely removed.

2024-08-04-wiring-fc-tour-jeep2

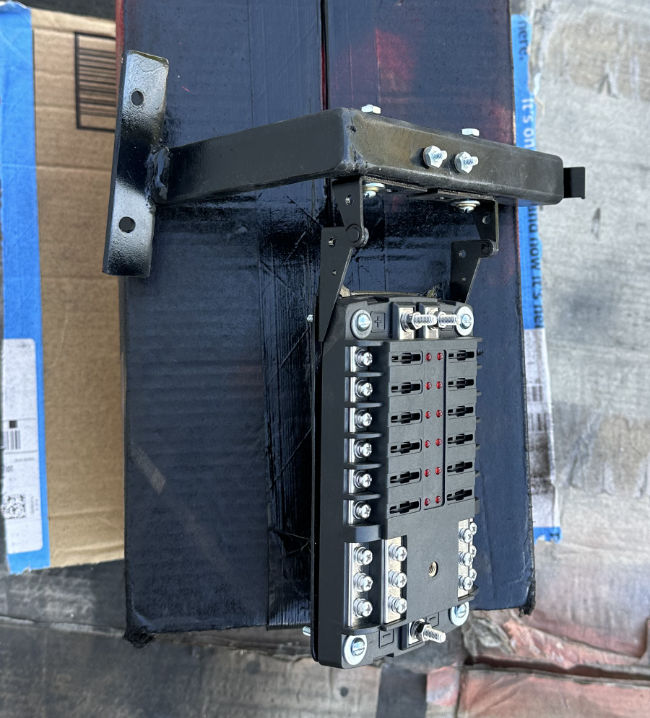
Here, most of the wires have been labeled. I can’t wait to clean up the spaghetti!

2024-08-04-wiring-fc-tour-jeep1

 
To Top

Drive and Dash

• CATEGORIES: Features • TAGS: This site contains affiliate links for which I may be compensated.

DASH: Yesterday was the first true relief from the past few weeks of hot weather, as we only hit 90 degrees. Moreover, there are no more triple digit days currently forecast. The cool weather will make working in the shop more tolerable.

And, while I haven’t made the progress I’d hoped, progress was made. A couple of the delays were part-related, as Ron Francis ignition switch was delayed a week. I also went ahead and ordered an NOS speedometer from Barney Goodwin at Barney’s Jeep Parts, which arrived on Tuesday (thanks again Barney). It looks fantastic!

Most of the wiring is complete, but still some loose ends dangling. It feels like for the two weeks I’ve been saying, “almost there …”

Anyway, below are photos of the dash, one with the fuse box down and one with it stowed away (lower left corner of pic)

One of the dash challenges that still remains is to build that lower flashing
2024-07-23-fc-dash2

2024-07-23-fc-dash1

DRIVE: Last Friday we drove over to the west side (and 77 degree temps .. nice) to look at a motorhome. It was a 36′ 1996 Holiday Rambler diesel with a towing capacity of 15Klbs. It used to be owned by Rob Stafford, before he upgraded to a bus. We were very serious about buying it, until Ann had an asthmatic reaction to the musty interior smell. So, we felt it best to pass on the deal. (and out was a deal at $12k .. it sold within a few days). We’ve decided to increase the budget and look for something nicer.

 
To Top

FC Update

• CATEGORIES: Builds, Features • TAGS: This site contains affiliate links for which I may be compensated.

Progress continues on the FC, though if feels at a snails pace at times. I was near done running wires, but then decided to wire the main electric fan the correct way by installing a relay setup. I also decided to install the somewhat vintage Sun tachometer onto the left corner of the dash (in an existing hole), as it would be good to see the RPMs for when the transmission shifts. The brake lines, the speedometer cable, and all the wires from underneath the cab come up through two holes, so that should help clean up the look of the driver’s side.

I looked into solid state blinker setups, but haven’t found one that fits my needs. I may just go with the old school round flashers.

Here’s a pic of the dash. The spaghetti is laid in place to be cleaned up once all the wires are in their respective locations.
2024-07-06-dash-wiring

Below is the e-stopp parking brake installed, with the redone gas line just above it. I will be dropping that one high spot in the gas line, but, over all, I think this setup will work just fine. I’ve tried to leave space for the forthcoming mounting bracket for the rear cage & platform.

2024-07-06-e-brake

This phot shows the installed rear light switch, with the initiating bracket bolted to the shifter bracket. The wiring to/from the brake light still needs to be secured and won’t be laying on the front drive line as pictured! Everything fits well in there.

2024-07-06-rear-light-switch

Finally, just for kicks, we finally mounted Ann’s sign. It looks great, though I think the “bunkhouse” should probably be renamed the “paint studio”, as Ann mostly uses it to work on her canvas paintings.

2024-07-06-bunkhouse-sign

 
To Top

No Updates for a Few More Days

• CATEGORIES: Features • TAGS: This site contains affiliate links for which I may be compensated.
2024-06-17-fc-progress

Continued progress …

While much of the nation is getting hotter, our Pac Northwest weather is absolutely beautiful, with highs in the low 70s to high 80s over the next week. I’m making good progress on the Tour Jeep, so will focus on that rather than eWillys updates for the remainder of the week. Moreover, our internet has been dogged with slow download speeds all day; not sure why that is.

I had hoped to get to the brakes over the weekend, but instead of receiving a braking flaring kit, I was sent a refrigeration flaring kit. The difference is the refrigeration kit doesn’t include the parts to make double or bubble flares. So, I set that kit back and ordered another one. I hope to address the brakes Tuesday afternoon.

One thing I realized I didn’t have was a wiring schematic for an FC-170. I found a couple things online, but not what I was hoping to find. Then I remembered that back in 2013 I won a printed FC-170 schematic sign. So, that FC-Roundup door prize finally came in handy!

2024-06-17-wiring-sign

Once the wire weave arrives, I’ll be able to finally run the wiring. So, hopefully by later this week I’ll have most of the wiring in place.


To Top

FC Updates – Braking

• CATEGORIES: Builds, Features • TAGS: This site contains affiliate links for which I may be compensated.

Progress on the FC continues, of course slower than I’d like. First up, I’ve located a local upholstery shop that’s supposed to be good with vintage automobile stuff, so will be taking the seats to them and seeing what they can do. Thanks to Steve, I also have a line on patterns from a shop he worked with in Iowa, so that may save some money, too.

I’ve begun installing things on the FC. First up was the parking lights, then the new electric wiper motor. For a central ground, I’m using the old parking brake bracket, which will also hold a bracket for the brake MC remote reservoirs, which sit under the dash (no pics of that just yet).

Next I installed the brake MC and pedal bracket. One thing that I never tested (oops) was wether the existing brake nuts fit the new Wildwood MC (Of course they were a different size .. ugh). I will either use adapters or cut and reflare the lines with new, smaller brake nuts (most likely I’ll do the latter).

2024-06-13-brake-connectors

I hate it when my nuts are too large!

While I waited on solving the brake nut issue, I decided to work on installing the e-brake. One known issue was that the original Explorer body mount had to be removed, which I was okay with because I want the body mounts to be aligned with the bed’s front two roll bar loops, so I’d planned to move them anyway.

Now the challenge is to connect the 1/4″ finely threaded bolt from the ebrake to the original parking brake cable end. I want the solution to be adjustable (be able to turn the nut to tighten or loosen slightly) and I think I have found the answer in the form of a Dorman e-brake bracket. But, we’ll see how it fits …

2024-06-13-ebrake1

This shows the body mount in the foreground having been removed from the frame.

2024-06-13-ebrake2

This shows the bolt (with nut) from the e-brake vis-a-vis the stock parking brake bracket (which is actually broke, so needs to be removed anyway). The circle shows the location where the roll cage crosses the frame, so clearance will be necessary to allow the e-brake to work (Prob hole in the bracket).

Finally, since the FC is already equipment with a hitch receiver and since it might be handle to be able to a trailer with it. One of my pet peeves is crazy wiring splices in the back of vehicles to allow for towing.  So, I’ll be running wires to a terminal block at the rear which I can use to add a 4 of 7 pin plug if need be. the bracket is built and ready to be mounted. The wires will then be color coded to a typical RV 7-pin setup, but I need to confirm our trailers are wired that way.

I expect more progress over the weekend.