emailNeed to contact me and don't have my email? Click on email button.
About eWillys
Welcome to eWillys.com, a website for vintage jeep enthusiasts. I update this website nearly every day with jeep deals, jeep history, interesting reader projects, jeep related info, and more.
These quick searches can help you find things on eBay. People list in the wrong categories all the time, so don't be surprised to see brochures in the parts area for example. This section used to be split into jeeps, parts and other categories, but recent changes to eBay will require this information to be recoded.
The links to posts below show jeeps grouped by models, condition, and other ways. Some of these jeeps are for sale and others have been sold. If you are unsure whether a vehicle is still for sale or not, email me at d [at] ewillys.com for more info.
Importantly, the allure of buying a project jeep can be romantic. The reality of restoring a jeep can be quite different, expensive and overwhelming without the right tools and resources. So, tread carefully when purchasing a "project". If you have any concerns about buying a vintage jeep, or run across a scam, feel free to contact me for help, comments or concerns .
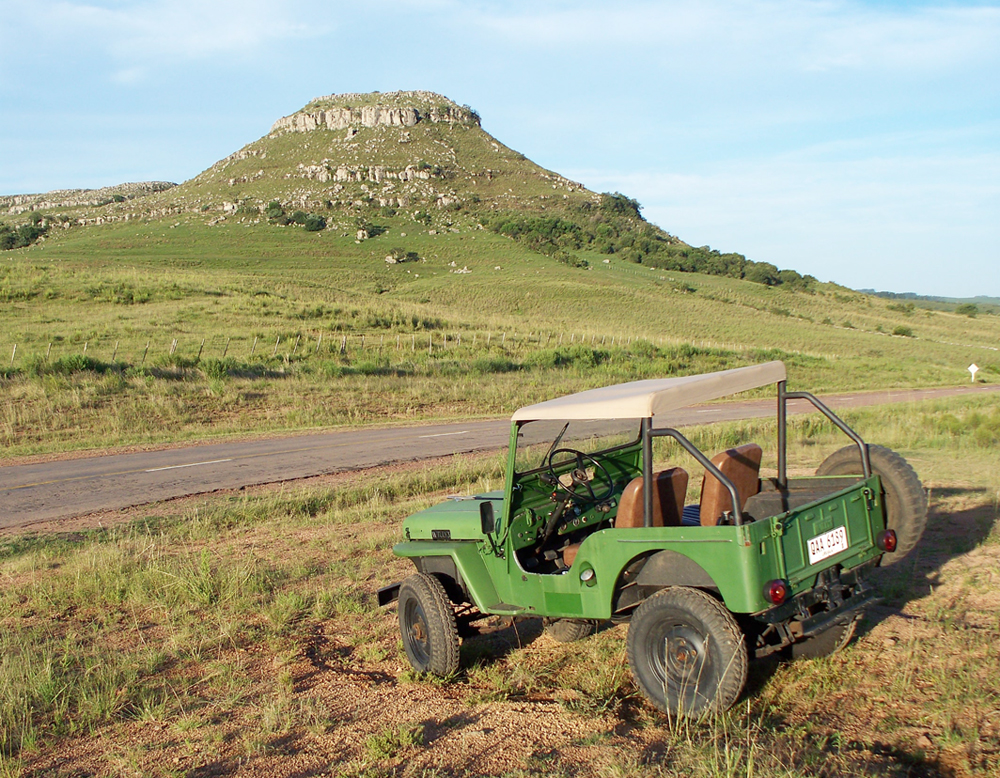
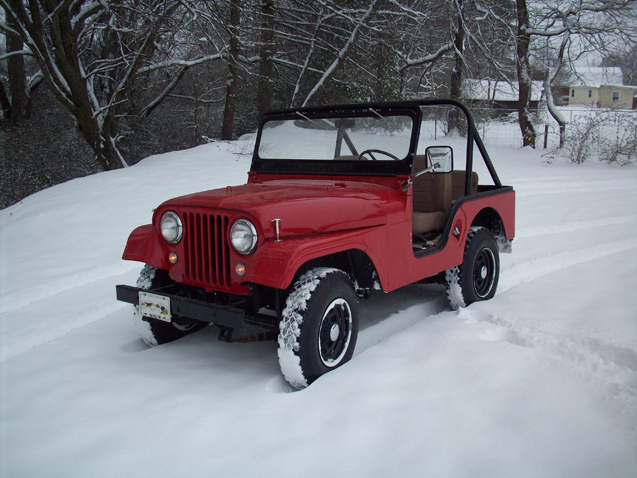
A citizen of Uruguay, Hugo recently contacted me to appropriately correct me from confusing a town, Londrinha, that doesn’t exist in Puerto Rico with one that does exist in Brazil (In this case, I believe I can blame Google Maps for my error!).
Hugo reports that the jeeping is excellent in Uruguay, though he hasn’t had much of a chance to jeep this summer (it is summer there of course right now), because his CJ-3A is currently dismantled in his garage for repair. However, he did forward this picture. Thanks for sharing!
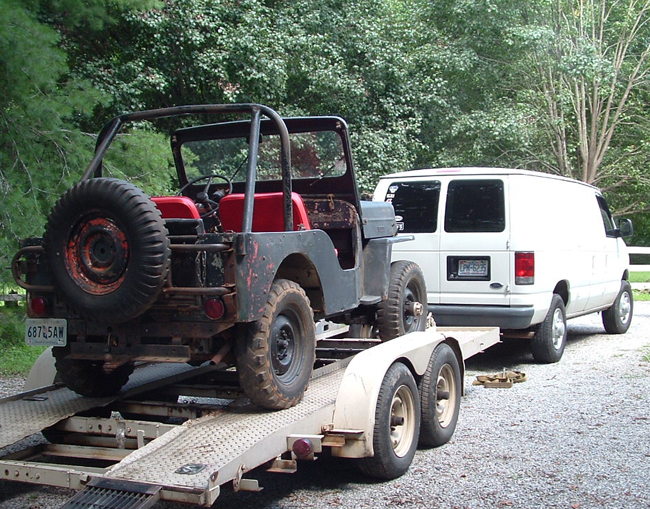
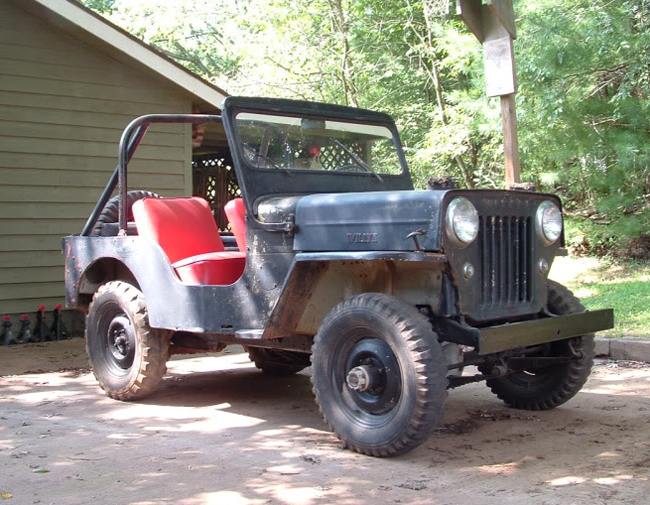
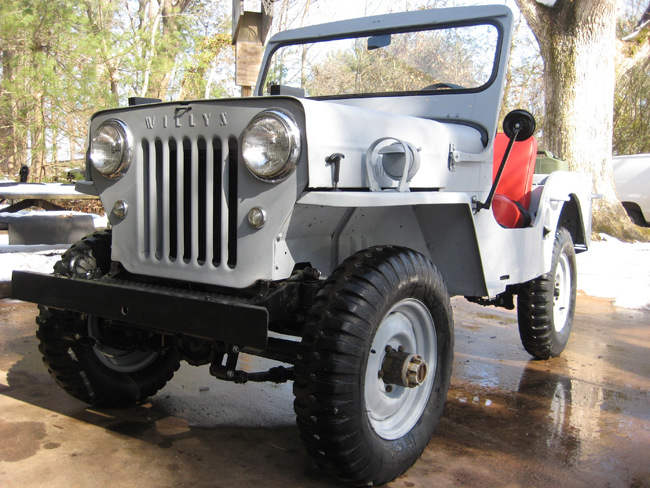
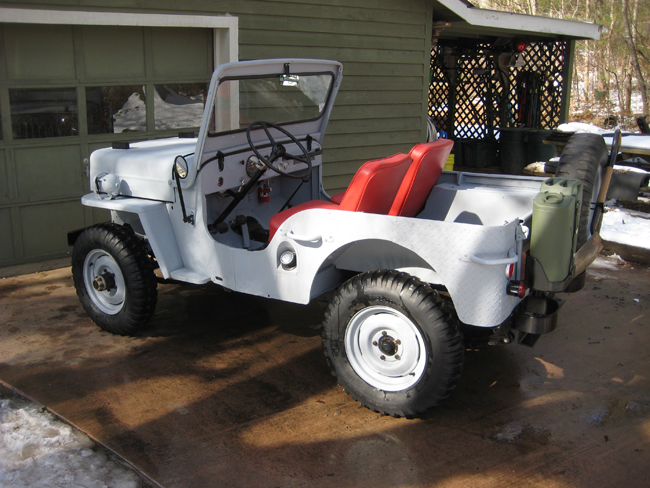
Goose wrote me an email today, announcing he had finished the restoration of his CJ-3B. Not only did he complete his budget-conscious restoration in only 4 months, but he also documented it in two different locations (see links below); not a trivial task! He’s done a good amount of work in a short time and I think he’ll be happy with it for quite a while. Well done Goose!
Goose writes, “Hey Dave. I finally got my jeep finished and wanted to share the story. I’ll include a couple pics with this email but feel free to pull any others down from the links below too. The first link is from thisoldjeep, which I discovered here and the second is from a site where I frequent due to my dirtbike passion.
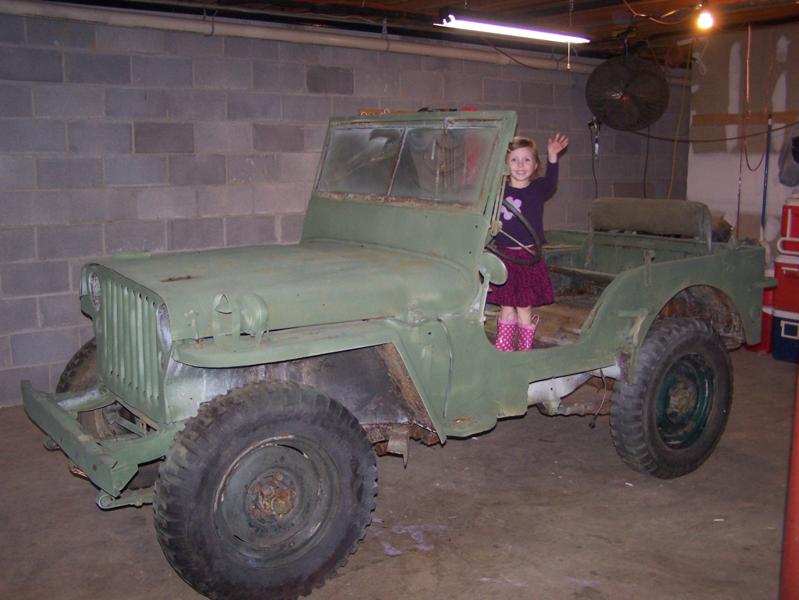
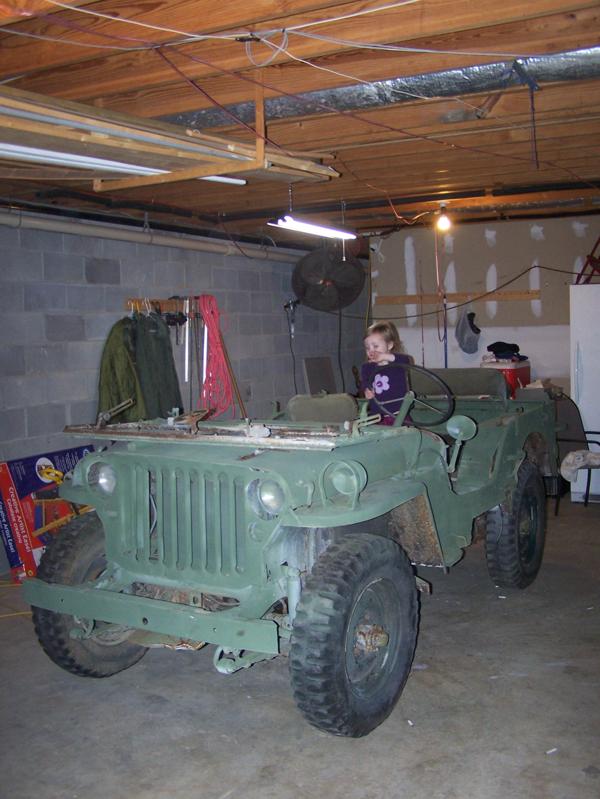
Jeremy discovered just the project he was hoping to find. Congrats! You can see he has already recruited an enthusiastic assistant!
Jeremy writes, I “Found this on eWillys.com – was listed as a 1942 GPW. Sent my wife down yesterday and got it today. Turns out to be a 1943, but the frame and engine match – I am really happy with this jeep. Lots of original parts and the owner James was super nice. James was insistant that he sell the jeep as a whole unit to someone who will restore it rather than part it out. I guess he just had to wait for the right buyer. Looking forward to a long restoration.”
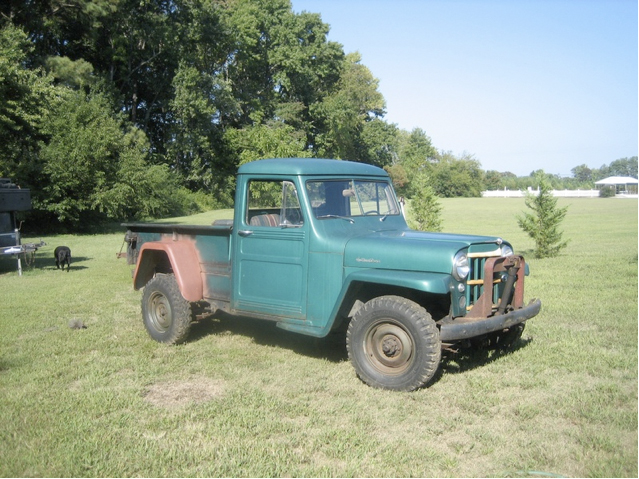
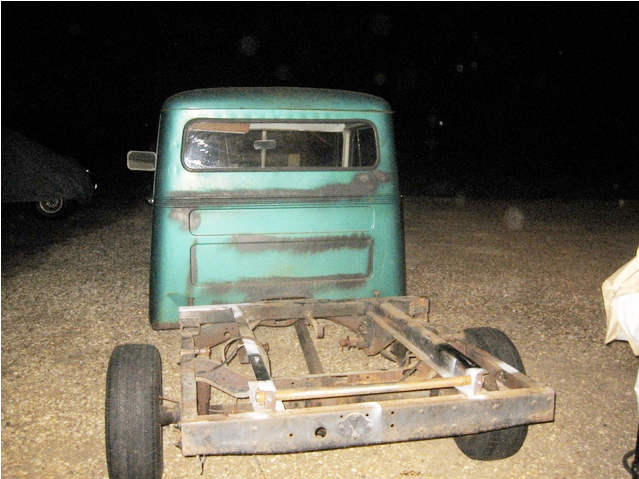
A reader named Ron wrote me the other day. He spotted a great deal on a restorable truck at a great price and now has a website with pics of the early work (I’ve included a couple pics below). Click on the photogallery to see all the pics. Ron already has a 1971 CJ-5 and his son a 84 CJ-8; you can see pics of those vehicles in the photogallery as well. Congrats on the find and good luck with the rebuild!
Ron writes, “We are in the middle of the off frame restoration of the 61 Willys. It was purchased new in 61 by a lady with a farm in Connecticut. She ordered it with a snow plow and a hydraulic dump bed. It only has 22,000 miles. I bought it from her grandson.”
Here’s the truck before restoration. It looks like a good starting point.
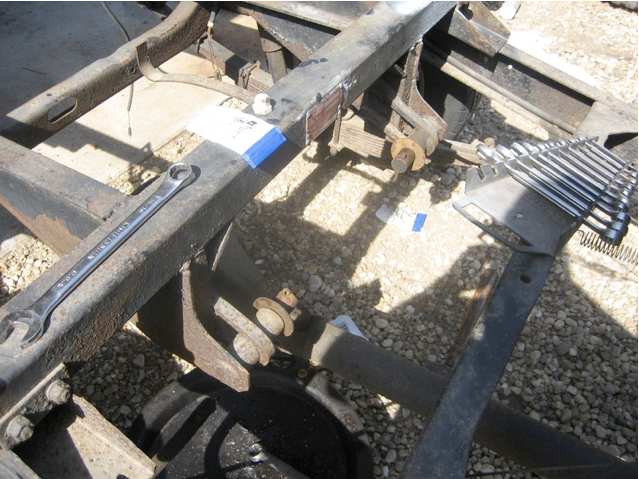
Here’s a look at how the rear of the dump bed frame looks.
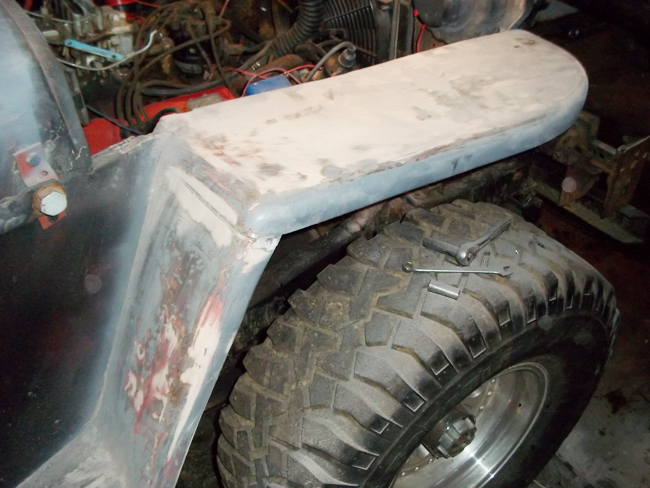
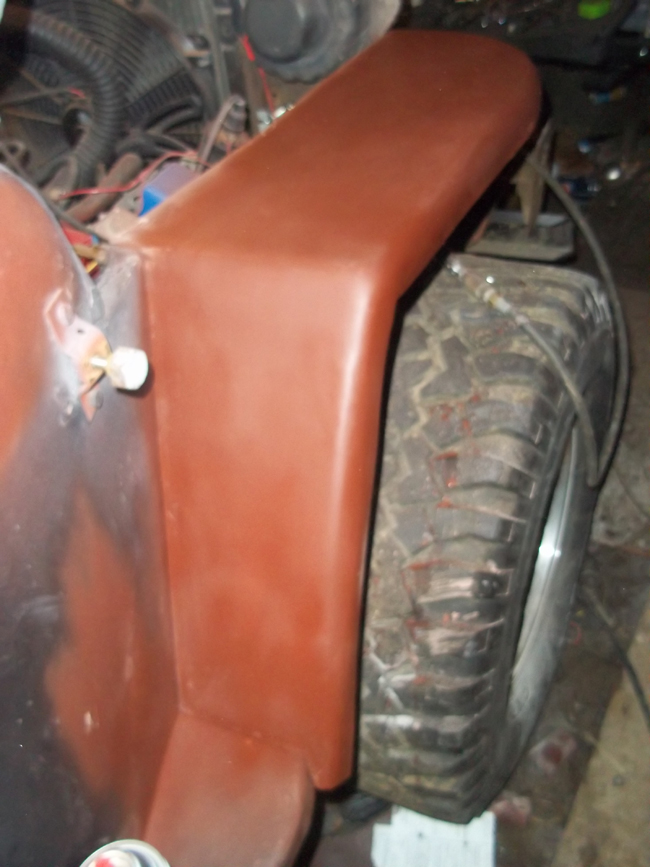
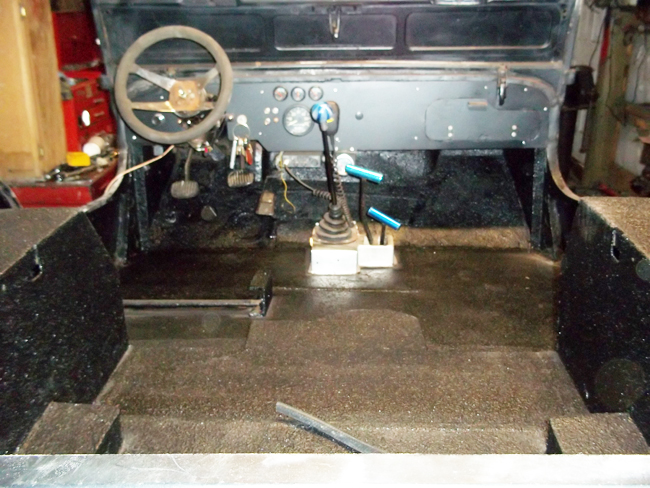
Over the past year and a half Chris (from Mossy Rock, Wa) and I have been trading emails every-so-often as he works his way through his flat fender project. He recently figured out how to work with some bondo; he also tried his hand at using Herculiner. You can see the results below. It’s a bit of a trial and error process for him, but he’s making good progress.
January 1st is his birthday, so have a great birthday Chris and keep the pics coming!
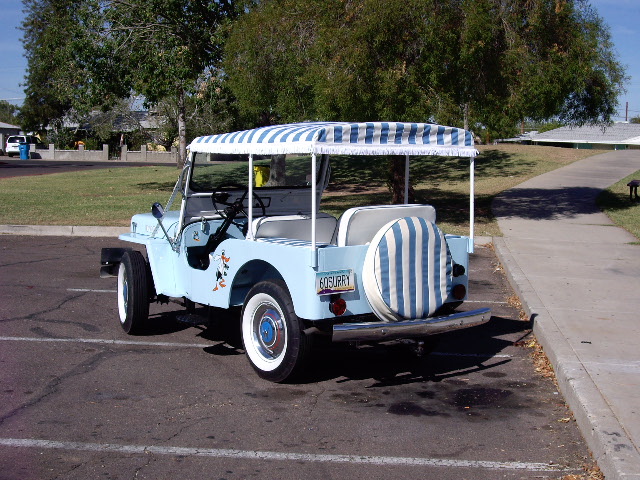
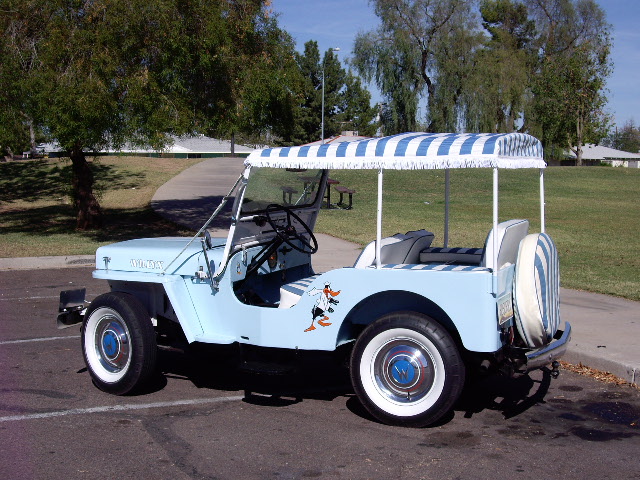
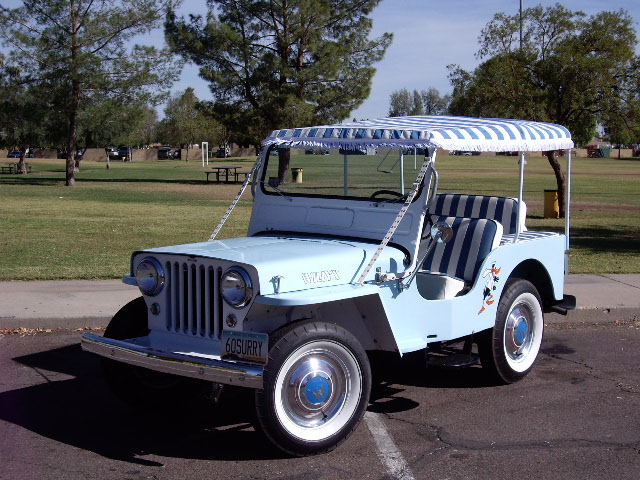
Colin provided a couple updates. He’s got a new top for his Surrey and his son, Lee, got their CJ-2A project running for the first time.
Colin writes, “I had a new top put on the Surrey. Here are a couple of photos of it. I also attached a couple of photos of our project 1952 CJ3A that is nearing completion. It has a CJ2A windshield and is now 12V with upgraded larger 11″ brakes.It still has the L-134 4 banger, but also sports an electric winch, custom built rollbar and custom bikini top. These were taken the first time we fired it up..it ran like a Swiss watch!”
He writes, “Here are a few pictures of my 1947 Willys CJ2A. It has had a ground up restoration several years ago. I bought it out of Kansas and now it is in the California Sierra Nevada Mountains where I use it at our cabin.
The Willys has a new tub body but original hood and tail gate. It has all the original plaques and auto numbers. All other parts reflect the period except a roll bar and a steering stabilizer. The engine runs like a sewing machine.
I am still working on it to make it better and original. The paint job also reflects the year. If I could find a restored flat fender with the original body and in this good of shape I might jump ship. Meanwhile I enjoy driving this vehicle where everything works like it did 63 years ago, which by the way is my age!”
With winter descending on Alaska, the time has come for Paul to direct his focus back on his beloved, shiny, stainless steel M-38. One exciting difference between this year and the previous 24 years is that he is almost done — But no pressure Paul! Click on the pic to see the original post and followups.
Last spring, Paul reported that after some investigation, he discovered a M-151 radiator would fit perfectly into his engine compartment. Recently, he took over an auto parts store (ok, maybe just a hose booklet in the store) to figure out a hose solution. With that problem solved (it took 2 different hoses and a tube to link them), he now must figure out a fan solution.
With that background, take it away Paul …..
The Fan and Shroud
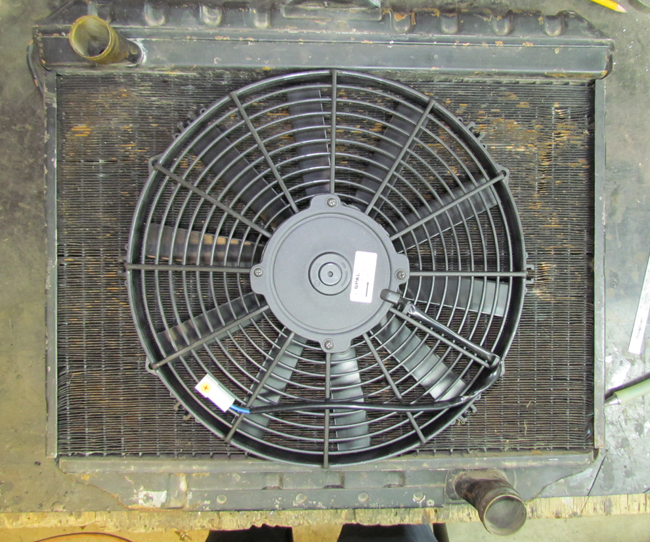
Paul writes, “After talking with the folks at Spal concerning their electric fans I ordered a 13 inch puller fan with straight blades along with a fan relay/installation kit. The crazy part about this deal is when the Spal people wouldn’t sell me a fan over the phone, I would have to hang up and order on the internet and best of all I would pay over $50 dollars more for the fan and temp sensor/wiring kit than a Spal dealer in California was charging for the exact same items. For some unknown reason The Fan Man (California dealer) sells lots of these fans at quite a discount and these are brand new fans. No factory seconds, returns, or rebuilt units.
Anyway, the fan arrived last night undamaged and it looks great. Thank you Fan Man! The total fan thickness is slightly under two and a half inches and I have a little over three inches between the aft side of the radiator and the waterpump shaft. Sweet!
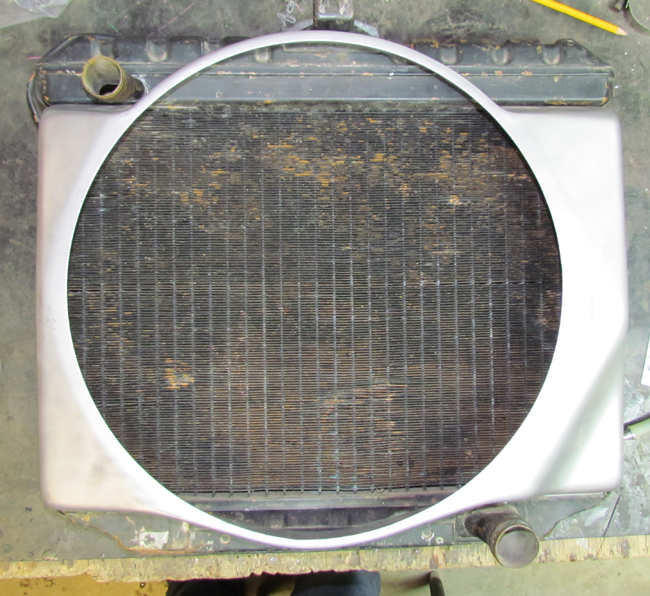
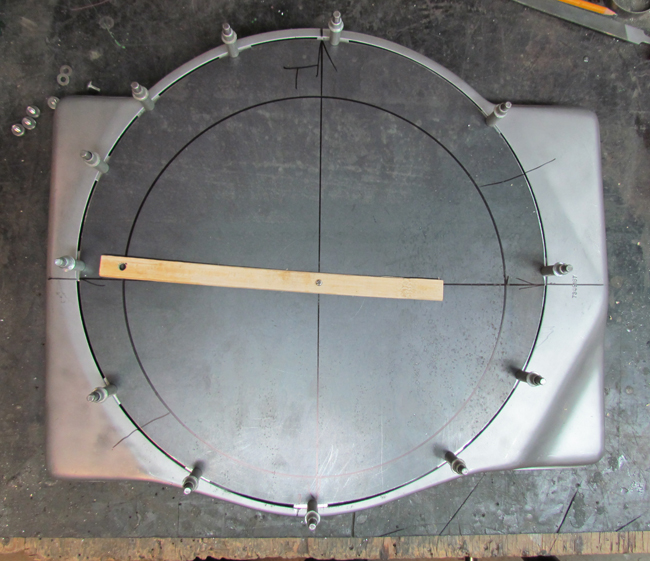
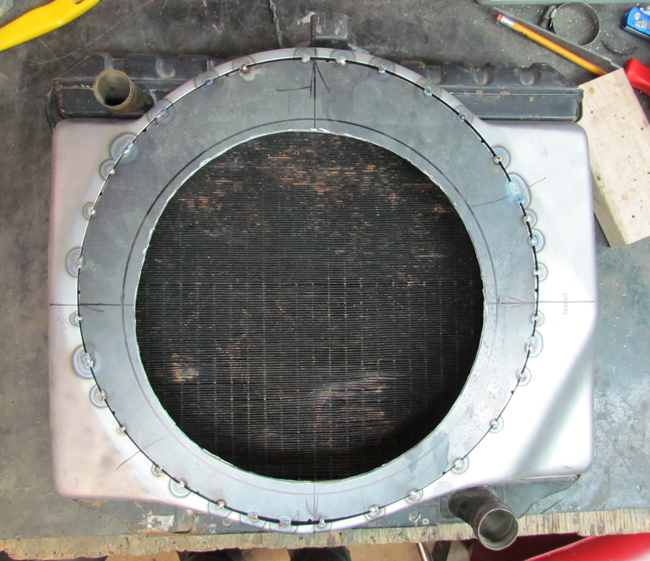
The shroud on the M151 radiator has a 16 inch diameter circle for the fan so I bought a ten dollar piece of thin sheet steel, cut out a 16 inch diameter circle and tack welded this piece to the shroud. After finishing with the tack welds I rough cut a 12 inch diameter slightly offset circle to allow for the correct placement of the new fan. I didn’t have a compass large enough to layout a 12 inch diameter circle so I used a stir stick for paint and drilled a pivot hole in one end and another hole 6 inches away and large enough to hold the tip of a sharpie marker. It worked slick. Tomorrow I’ll finish welding the insert to the shroud, clean up the welds and trim the inner circle for a more precise fit to the fan assembly before I attach the fan to the shroud.
Things are looking good. I really didn’t need the relay kit since I’d wired in a fan relay in the electrical box behind the passenger seat but it was cheaper to get the kit with the temp sensor and I could doublecheck the Willys wiring against the Spal wiring so I could identify any potential problems before mean old Mr. Electricity messes something up.
The Fuel Line
Today I received a 25 foot coil of copper/nickel 5/16th fuel line along with the needed fittings to attach the fuel line to the carb. This is the same tubing I used on the brake and clutch systems (just a different size) and it’s a pleasure to work with. The 3/16th tubing is flexible enough to be bent back to back 180 degree bends (with a one inch bend diameter so the tube now looks like the letter S) with no kinking, flattening or any defects at all. Jeeze, I really like working with this stuff. Check out the fedhillusa.com website, it’s amazing. This latest batch of tubing should be more than enough to do all the fuel delivery and return lines with enough left over to cover any mistakes I might make along the way.
Modifying the Skid Plates
The local metal fabrication shop cut and bent an eighth inch thick skidplate for the V6 oil pan. After drilling a one inch diameter hole for the drain plug (that’s the only size hole saw I have) I hand filed the hole to one and a half inch diameter before welding the skid plate to the pan.
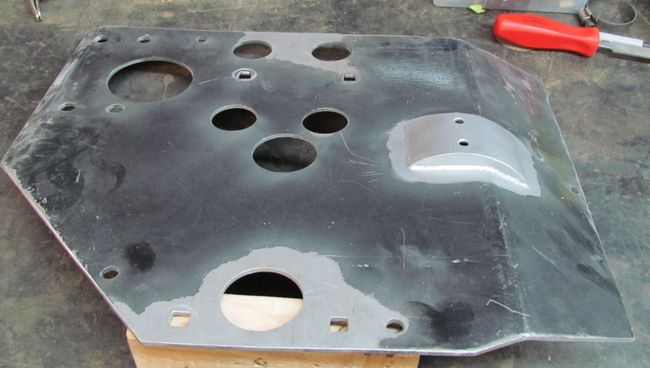
I had to do a little work on the transmission/transfercase skid plate also. When I welded up the exhaust assembly I included a joint below the tranny so the right exhaust pipe could be removed without touching the left side or the rest of the exhaust system. What I forgot to figure in was the thickness of the clamp holding the exhaust pipes together at this joint so the skid plate had to be slotted to allow the clamp to protrude slightly. To prevent rock damage (like I’m going to go bashing this thing thru boulders) I welded up a small deflector from eighth inch steel and welded this to the skid plate over the slot. Just another little OOPSIE which needed to be worked around.
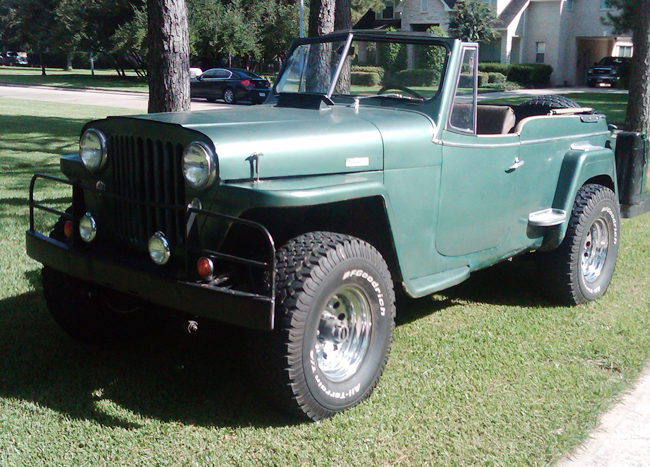
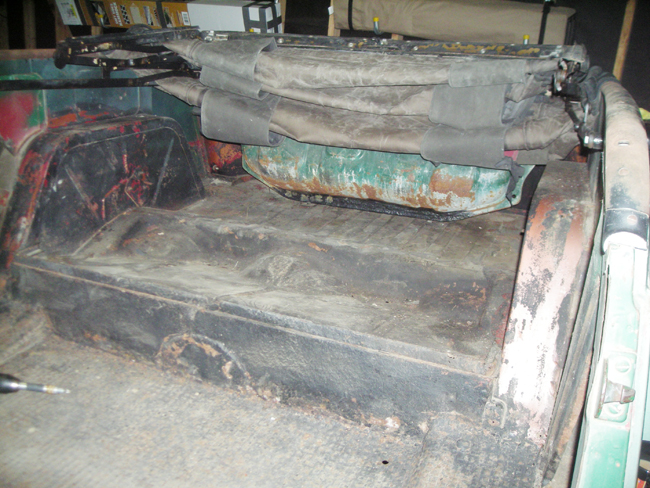
Mark recently hit the 1 year anniversary with “Her Royal Highness” (That would be his Jeepster, not his wife). He’s been updating her throughout the year. Here he comments on his rear seat find.
Mark writes, “Halloween night marks the end of Year one for the 49 Jeepster I named “Her Royal Highness”. I’m a middle-age crazy rookie that knew very little about rebuilding an auto when I started (some strong arguments that I still don’t) [ed note: some days, I don’t feel to smart either!]. I decided to leave the aged patina Windsor green paint for now because there’s very little rust and it doesn’t look that bad. She’s a great runner and a fine Sunday truck.
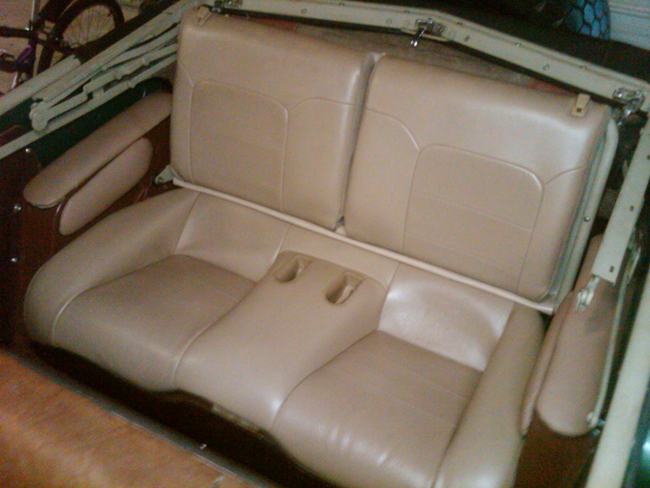
I wanted to put in tan leather buckets to improve comfort and to be able to call her the original “King Ranch Willys”. A few days ago I saw an ad for 1999 Mitsubishi Eclipse seats, ‘$20 bucks and wife wants them out of my garage’. So, I went over to check out the seats. I discovered the buckets were trash, but the back was practically new. I bought it and carted it home.
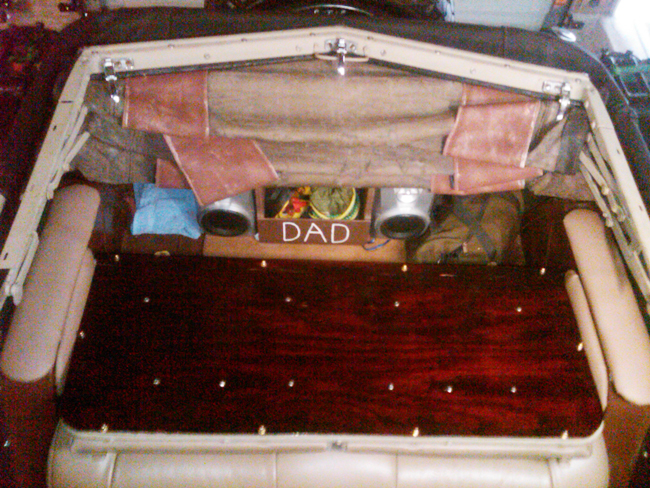
Wouldn’t you know, that back seat fit into the back of the Jeepster like it always belonged! A couple of cleats, some zip ties, a little leather remnant from the fabric store over some 3/8″ ply and here you go. The seat backs fit on the original back frame with a little ingenuity. Folded down it makes for a convenient map table. The front buckets are still in my cross hairs and they will be found eventually, but who knew that backseat would fit so nicely, 50 years later!”
Pete, who operates the OldWillysForum, contacted me the other day to let me know he lives just down the road from me near Hailey, Idaho. When not working on cars, Pete designs beautiful homes. Check them out at andersonarc.com!
Pete and his kids have been doing some work on a wagon that they recently made road worthy. He shared a video with me that you can view below. It’s always great to see a wagon on the trail, but the best part of the video are the short, funny comments made by his son.
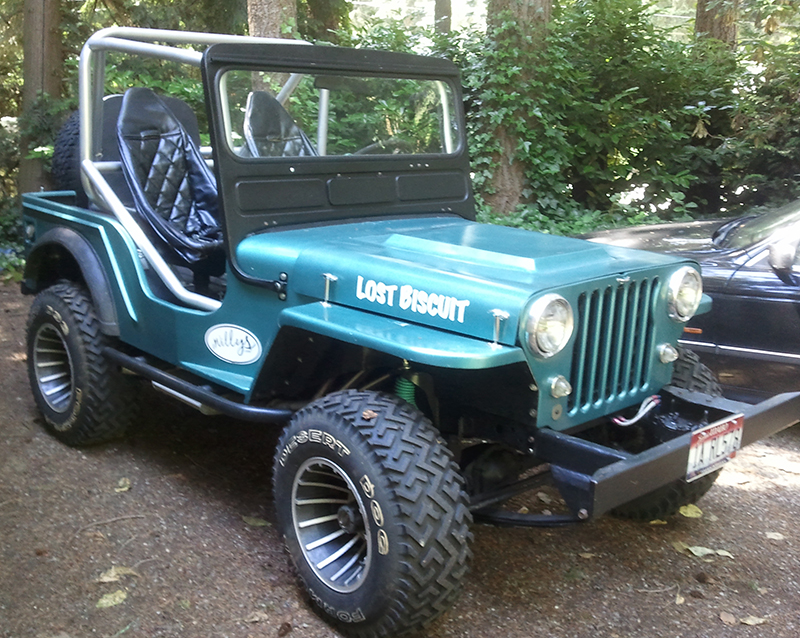
 UPDATE: You can see the final build here.