emailNeed to contact me and don't have my email? Click on email button.
About eWillys
Welcome to eWillys.com, a website for vintage jeep enthusiasts. I update this website nearly every day with jeep deals, jeep history, interesting reader projects, jeep related info, and more.
These quick searches can help you find things on eBay. People list in the wrong categories all the time, so don't be surprised to see brochures in the parts area for example. This section used to be split into jeeps, parts and other categories, but recent changes to eBay will require this information to be recoded.
The links to posts below show jeeps grouped by models, condition, and other ways. Some of these jeeps are for sale and others have been sold. If you are unsure whether a vehicle is still for sale or not, email me at d [at] ewillys.com for more info.
Importantly, the allure of buying a project jeep can be romantic. The reality of restoring a jeep can be quite different, expensive and overwhelming without the right tools and resources. So, tread carefully when purchasing a "project". If you have any concerns about buying a vintage jeep, or run across a scam, feel free to contact me for help, comments or concerns .
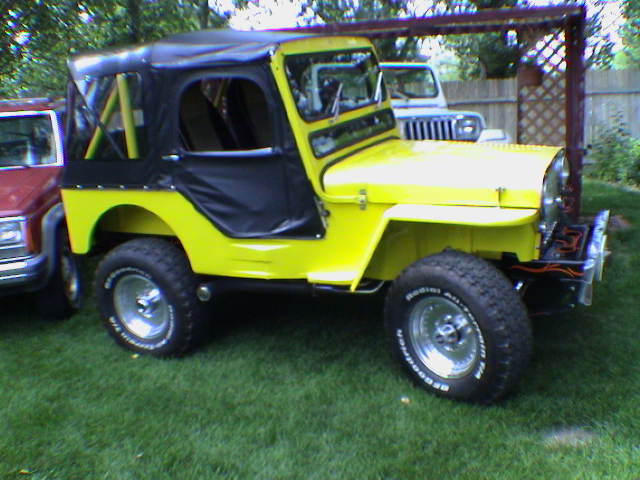
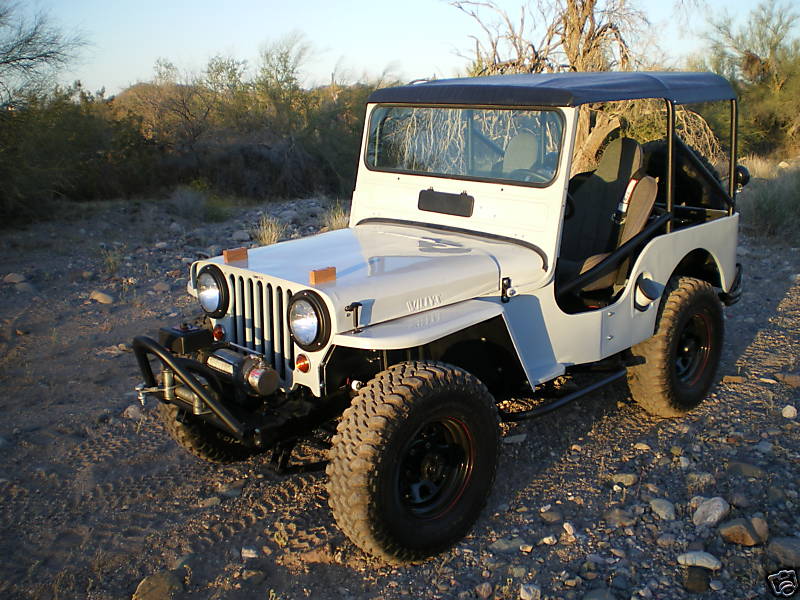
This article about Randy Lawson’s build appeared in the 1994 Off-Road Magazine. It took Randy 15 years to redo his CJ-3A. Unfortunately, I don’t have a before picture. Some of the details not mentioned in the short article on this page include the following:
Randy has added a second little window below the wipers on the windshield. I assume this is custom as I’ve never seen it before.
Randy changed the look of the cowl on the engine side by placing a chromed or polished plate across it. It makes it look very clean.
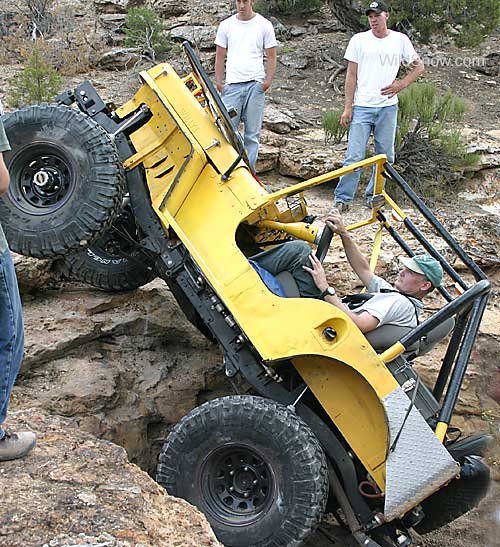
Louis Dawson recounts, in this four page article on code 4×4, his 12 year building process for Bumble Bee, a 1947 CJ-2A. Started as a restoration project, Louis discovered he'd rather focus on trail performance.
Louis sums up the experience with the following quote: "Our ensuing 12-year restomod of "Rumble Bee" includes a huge amount of fun, plentiful stupid and expensive decisions on my part, and a final result that retains the flat fender look and feel, while being competent and safe enough on the trail to peg the fun meter. This "retro" project includes little of the latest tech — it's mostly older solutions that reached their peak a number of years ago, but it works."
On additional feature I like is the "what we did right" and "what we did wrong" on page 4 of the article.
This build is for sale on eBay. There are plenty of pics. Note the m606 in the background of one of the ebay pics.
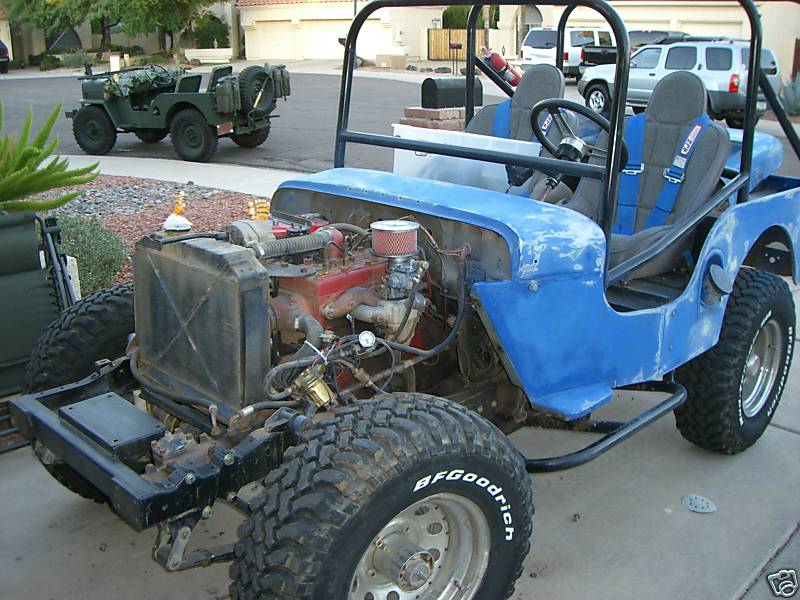
“This is a really unique combination of old and new and we’ve had a ton of fun in it. This rig started it’s life as a military M38 until the previous owner started modifying it as a back country rock crawler. When we got it, it had wasn’t much to look at, was missing a windshield but ran and drove so well we had to have it. It is heavily modified to be a safe, comfortable, go anywhere ride. We call it The Rhino Hunter as it has effortlessly shamed a few ORVs in the mud and rocks…”
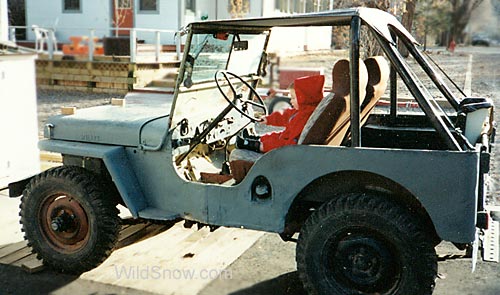
Many of you may have seen this site already, but if you haven't it's a treat. The author nicely details the experience of rebuilding his titled 1953 CJ-3A (which he discovers to actually be a CJ-2A). One of the more interesting details, to me anyway, was his write-up of the swing pedals. This is the first time I have seen these type of pedals (in my 1st jeep I used a swing pedal set from a Vega — with significant mods — and in my current jeep I've modified a set of pedal set from a jeep cherokee.
Here is a rebuild from Ohio as seen on offroaders.com. It’s a very nice, clean rebuild that resulted in a playful looking flatfender. The before picture is on the left and after on the right.
Mike writes, “The Jeep had a rough life for some 8 years wheeling the local 4×4 haunts of southern Ohio and it was looking pretty rough and was needed some serious TLC. In early 2005. I stripped it down to the frame and this is the end product after nearly 2 years work.“
UPDATE: Since I wrote this back in April of 2008, I have learned that someone in the Seattle Area purchased the Parkette molds, but I still haven’t learned who.
In April of 2008 there was an ad from a buyer looking for a CJ-3B Fiberglass body. Frankly, he was the only person I have come across on Craigslist looking for a fiberglass jeep body other than I. The CJ-3B bodies are very rare.
To the right is a fiberglass CJ-3B body I found for sale back in 2008.
“This is a Willy’s Jeep that i got off a friend in a trade. it was sitting in his field for years. it used to be covered but the tarp blew off a couple of years ago. someone put it together in the 80’s with a fiberglass body tub and fenders. they didn’t do such a good job, the wiring is atrocious and it needs alot of other work, but they did put lockouts and disc brakes up front, thats a plus. it needs to be completely stripped down and re-done.”