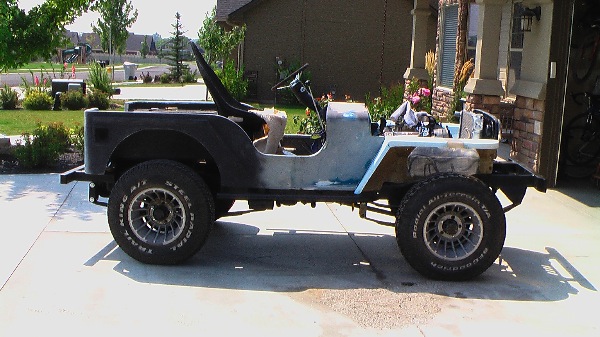
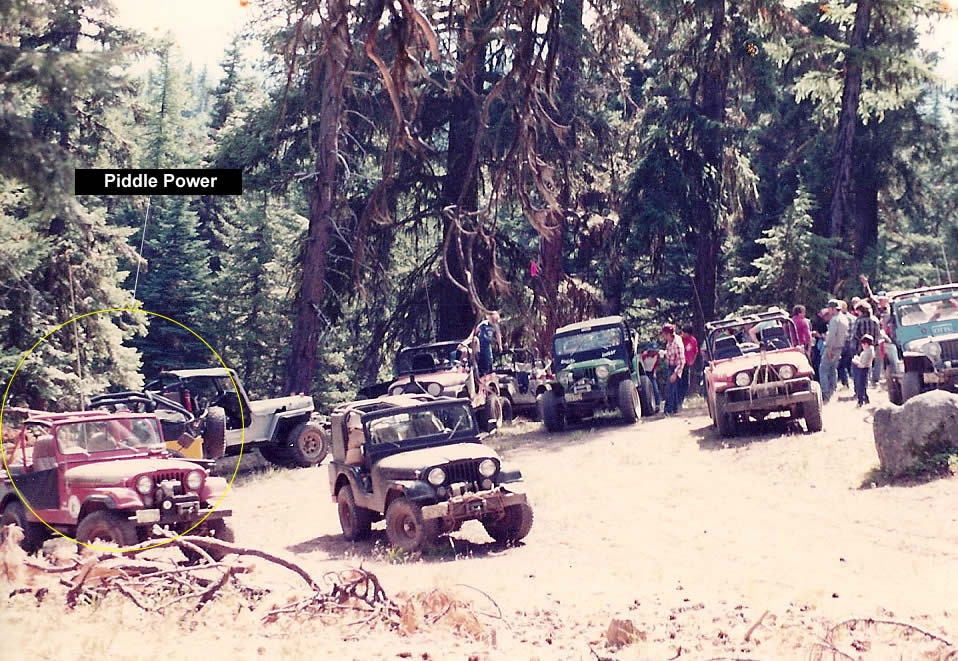
 I just got some pics from the owner (who shall remain nameless until he sends me his name 🙂 ) of the jeep formerly known as Pittle Power (I remember it as Piddle Power though). I don't remember the history of the Jeep prior to Jim and Patty Carter purchasing it, but I believe they purchased it so their growing boys, Tim and Steve, wouldn't have to squish themselves into the back of Otis. They purchased a stock CJ-3A, installed a chev 4cyl and attached desert dogs. Otherwise (I'm told) they left everything else stock. Pittle might not have had much power (hence the name), but it could go 99% of the places the modified WWJC jeeps could go.
 The Carter's had a habit of naming all their vehicles. There was Otis (the jeep), tote-us (the jeep trailer), Brutus (their first motorhome) and more.
Our To-Be-Named contributor writes:
"The Jeep I bought was owned by Jim Carter(original member of the WWJC). The race name was Pittle Power. Skip Baird helped me with my first swap with a V-6 and a top loader. Al Hamilton and I became very close infact I still have one of his pups Mandy she is a very stubborn German Shorthair."
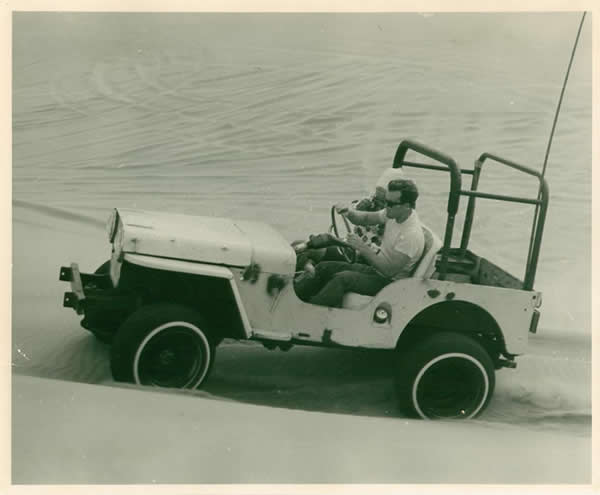
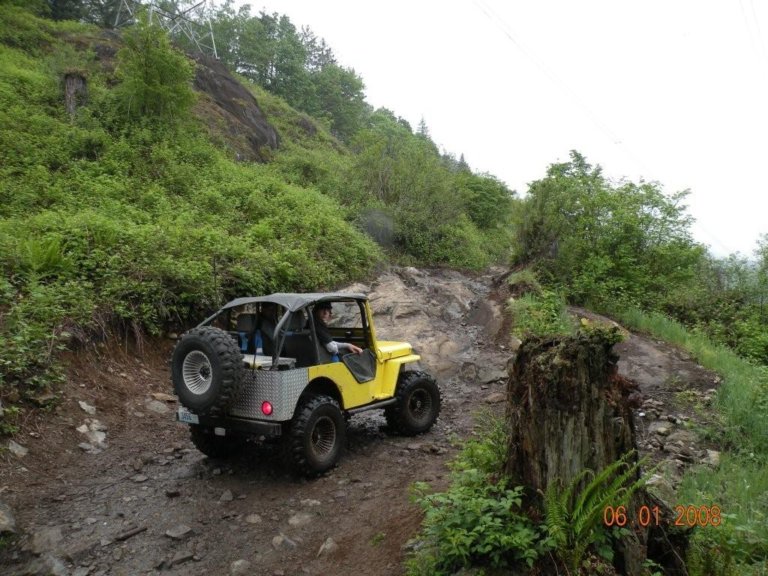
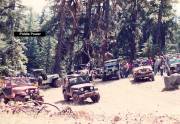 Editor's note: To the right is the only picture I have of Pittle Power from 1983 (and it's only the hind quarter) hidden behind Danny's CJ-5. While the Pittle Power was never actually raced, I do remember a club trip to Liberty Trail one weekend. After we made camp, Tim Carter decided he wanted to head down to the store and asked me to ride shotgun (somehow he knew there was a remote store at the bottom of the hill we were camped on). So, he drove me down that hill in Pittle Power, a ride I remember vividly because we were travelling sideways down the constantly turning gravel road for a good portion of it. Come to think of it, one time Tim took me for a ride in his late 60's camaro and we travelled sideways heading onto the cloverleaf on ramp to I-405. Maybe Tim always travelled sideways or I just brought it out of him.
[fb_button]

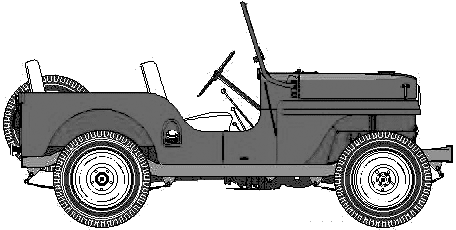 Here's an interesting site I found. Blueprints.com claims to have over 24,000 automobile blueprints online (though they appear more like a single drawing rather than full blueprints), including a variety of jeeps. To the right is a jeep labeled CJ-4. The site manager states: