Does anyone have information on the crate-to-jeep building races held at Royal Tournament shows during the 1950s (probably earlier as well)? The Olyslager’s The JEEP book references such shows (pg 50 & 51 — see below). I have an old jeep club friend who is trying to find out more information about these to share with a veteran’s group.
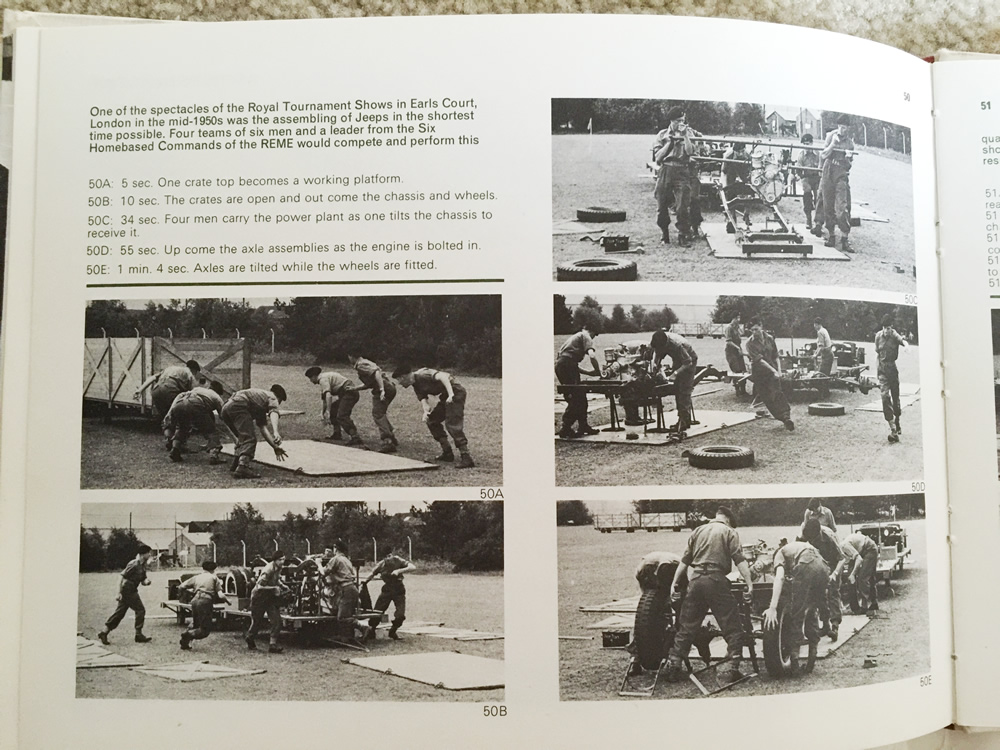
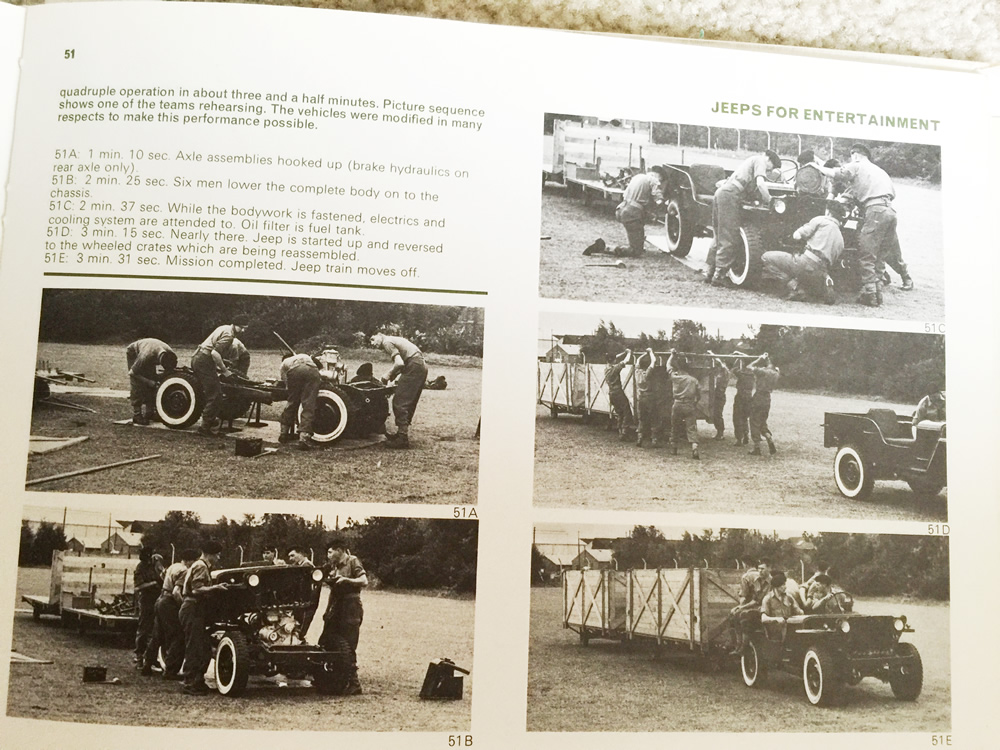
A slightly different event also occurred during this time using what were called MALT jeeps, specially built jeeps that could be driven into an arena, taken apart, the parts passed through a hole, and reassembled. I discuss the MALT jeeps a little more here.
The MALT events probably evolved into modern counterparts that have been featured in videos like one below, because the modern contests also feature specially built jeeps.