Builds – a Build from the MYCJ3A.com website
April 8, 2008 • CATEGORIES: Builds, Features This site contains affiliate links for which I may be compensated.
1
emailNeed to contact me and don't have my email? Click on email button.

Welcome to eWillys.com, a website for vintage jeep enthusiasts. I update this website nearly every day with jeep deals, jeep history, interesting reader projects, jeep related info, and more.
These quick searches can help you find things on eBay. People list in the wrong categories all the time, so don't be surprised to see brochures in the parts area for example. This section used to be split into jeeps, parts and other categories, but recent changes to eBay will require this information to be recoded.
The links to posts below show jeeps grouped by models, condition, and other ways. Some of these jeeps are for sale and others have been sold. If you are unsure whether a vehicle is still for sale or not, email me at d [at] ewillys.com for more info.
There are plenty of interesting, unusual, historic and surprising stories related to Jeeps and their owners. In addition, some of these features have nothing to do with jeeps. This link will display all featured stories starting from the latest.
Looking for parts and not sure where to go? There are a variety of large and small new and used parts sellers both online and offline.
Importantly, the allure of buying a project jeep can be romantic. The reality of restoring a jeep can be quite different, expensive and overwhelming without the right tools and resources. So, tread carefully when purchasing a "project". If you have any concerns about buying a vintage jeep, or run across a scam, feel free to contact me for help, comments or concerns .
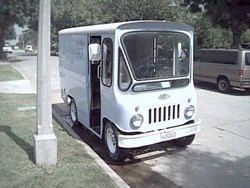
“1964 Jeep Fleetvan Fj-3A,Great on Gas original 4 cyl. 3 speed trans. runs and drives good! miles unknown due to speedo cable was broke when i recieved it, 7 years ago. have recently installed disk brakes on rear, very rare, dont see these evey day driving down the street.”

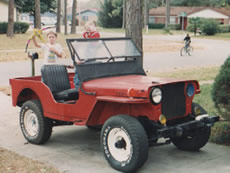
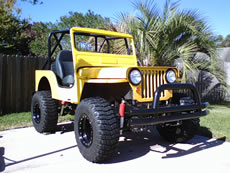
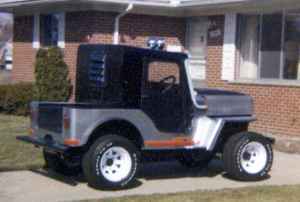
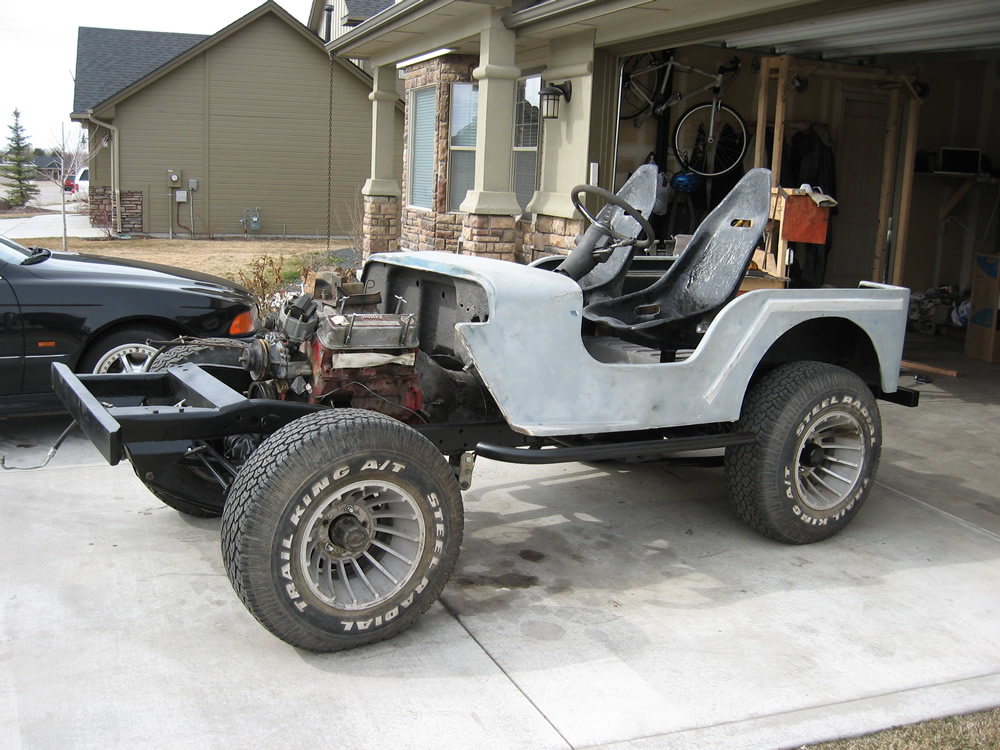
Mike writes, “The Jeep had a rough life for some 8 years wheeling the local 4×4 haunts of southern Ohio and it was looking pretty rough and was needed some serious TLC. In early 2005. I stripped it down to the frame and this is the end product after nearly 2 years work.“
SEE THE FULL WRITEUP FROM MIKE AT OFFROAD.COM


UPDATE: This thread is being kept for discussion and information purposes. See the updated post here.
Oldies but goodies…
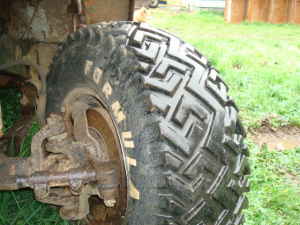
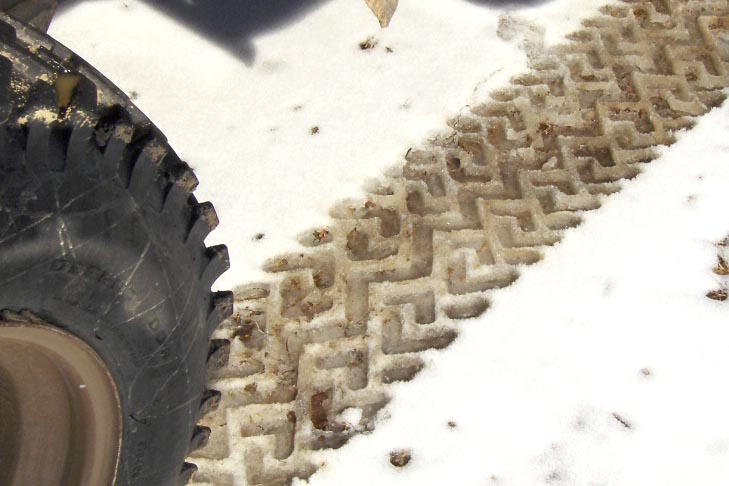
“Hey you jeep racers I have 6 dogs 4 with tubes in great shape, and 2 in fair condition, 6 lug chrome spokes, mounted ready to go! only used on the weekends! with only 4 weeks till racing starts you need tires! or if your a jeeper who needs a good set of old school tires please write!”
Formula Desert Dog History
In April of 2008 there was an ad from a buyer looking for a CJ-3B Fiberglass body. Frankly, he was the only person I have come across on Craigslist looking for a fiberglass jeep body other than I. The CJ-3B bodies are very rare.

According to the CJ-3B Page, there are no sellers of CJ-3B fiberglass bodies.
T
“This is a Willy’s Jeep that i got off a friend in a trade. it was sitting in his field for years. it used to be covered but the tarp blew off a couple of years ago. someone put it together in the 80’s with a fiberglass body tub and fenders. they didn’t do such a good job, the wiring is atrocious and it needs alot of other work, but they did put lockouts and disc brakes up front, thats a plus. it needs to be completely stripped down and re-done.”
Here’s more pics of Rick’s Fiberglass CJ-3B with a Parkette (?) Fiberglass Body. You can read more about it here:


Another item I felt comfortable installing with the engine in place is the grille. I was already pretty confident where it would go, but I wanted to be sure. As a reminder, because I'm using the post '72 Cj-5 frame, I have to extend the fenders and hood approximately 3" as you can see here in this test setup below. So, there was no default location for the grille anymore.
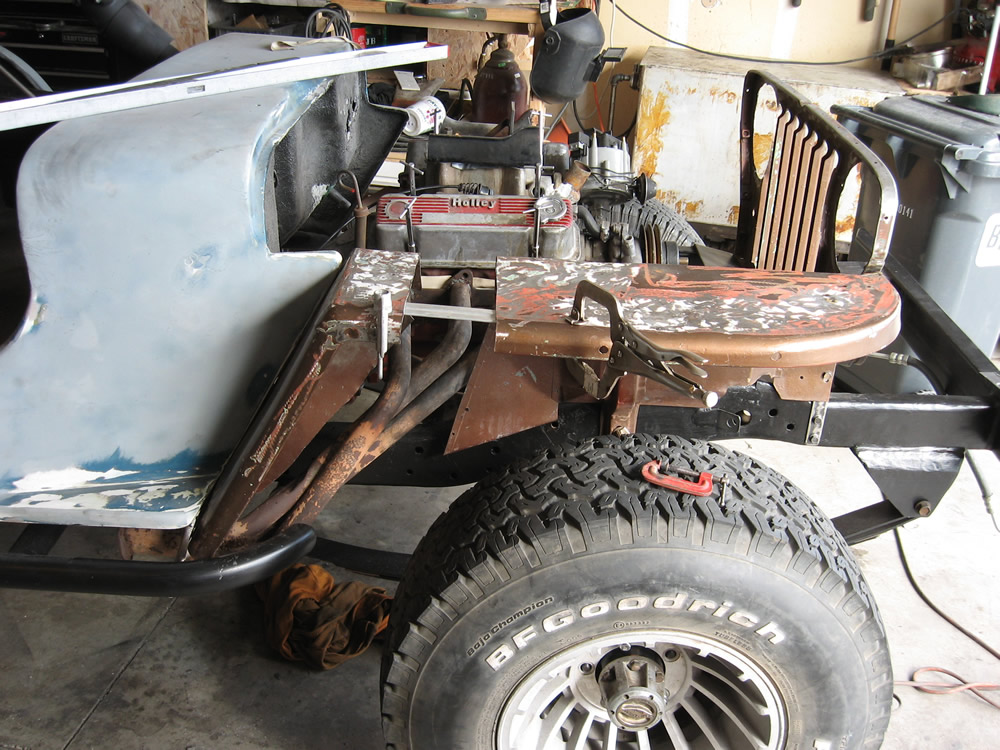
After installing the engine, tranny and tc, I thought I'd better test to make sure the body fit over all three. The good news was that it did. The bad news was that the shifter was hitting the dashboard when I shifted into park.
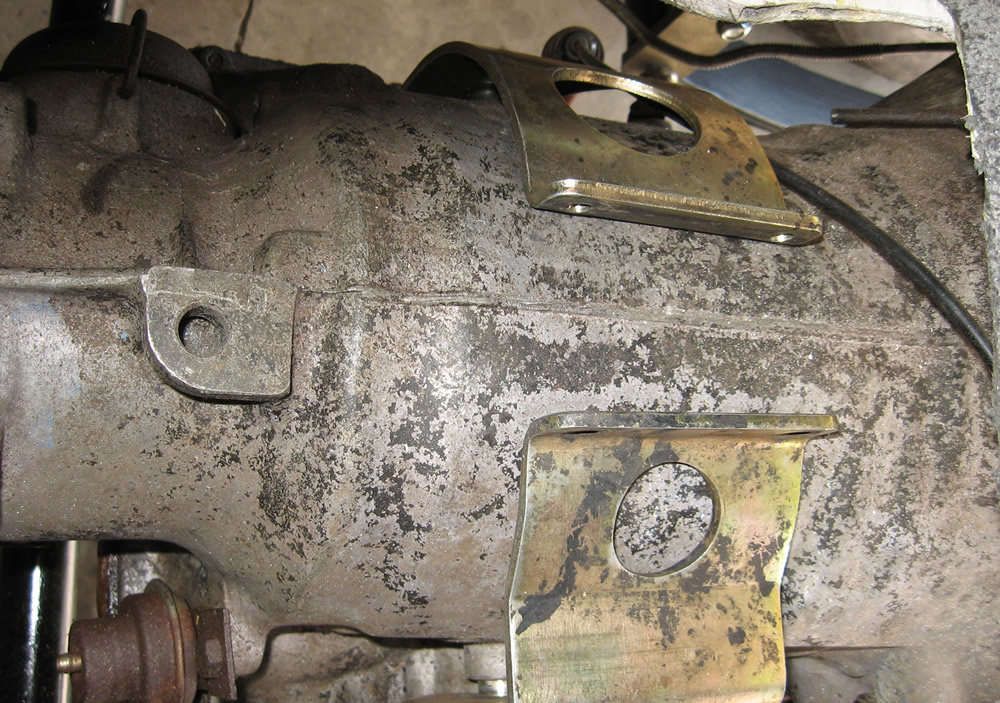
So, I took the bracket and extended it with a piece of halved 2×2 square tubing. Then, I used a convenient hole bracket in the tranny (I have no idea what it is for) to add a back mount to the bracket. The results are below:
I put the body on and placed the seats on their mounts. The body slopes backward a bit, but that will be fixed when I put the correct suspension brackets on the back.
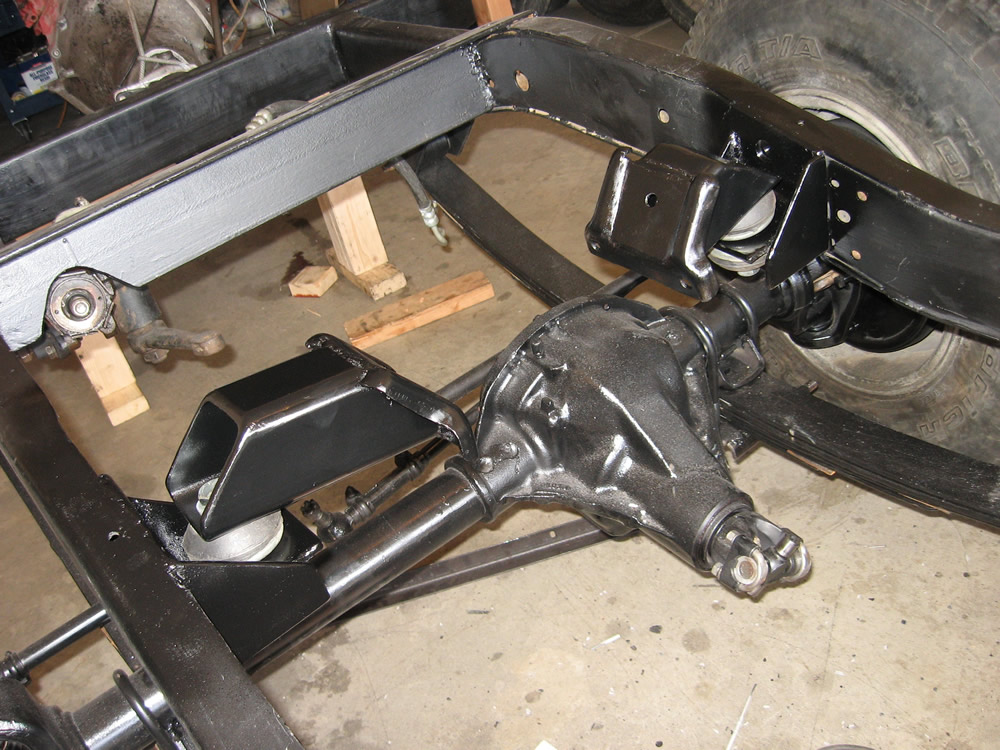
The CJ-5 I bought last year had been modified to accept a GM 350. I really liked the way they put together the engine mounts, so I chose to reuse the mounts and then modified my frame to accept the mounts.
To make the mounts, I took the standard buick v6 mounts and removed the rubber blocks, leaving only the steel. Then, I cut and welded some 3×3 square tubing to the mounts.
To make the holders that are welded to the frame, I used some recycled angle iron and added side braces to create the triangular look. I look this setup much better than what I did in my first jeep.
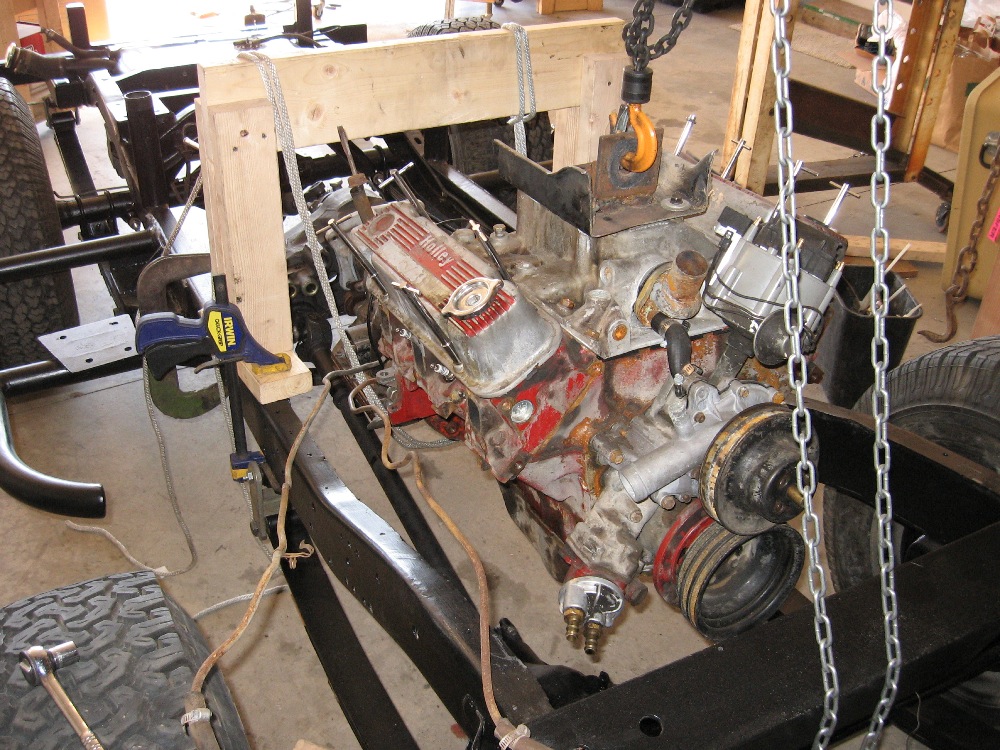
The tricky part of putting the engine, transmission and TC into position was making sure the TC was in the right location. If I got it back into the right place, I would not have to change the lengths of the drivelines. Fortunately, I had plenty of room for the engine, so I had lots of flexibility upfront.
Once Transfercase was in place, then I could position and weld the engine mounts.
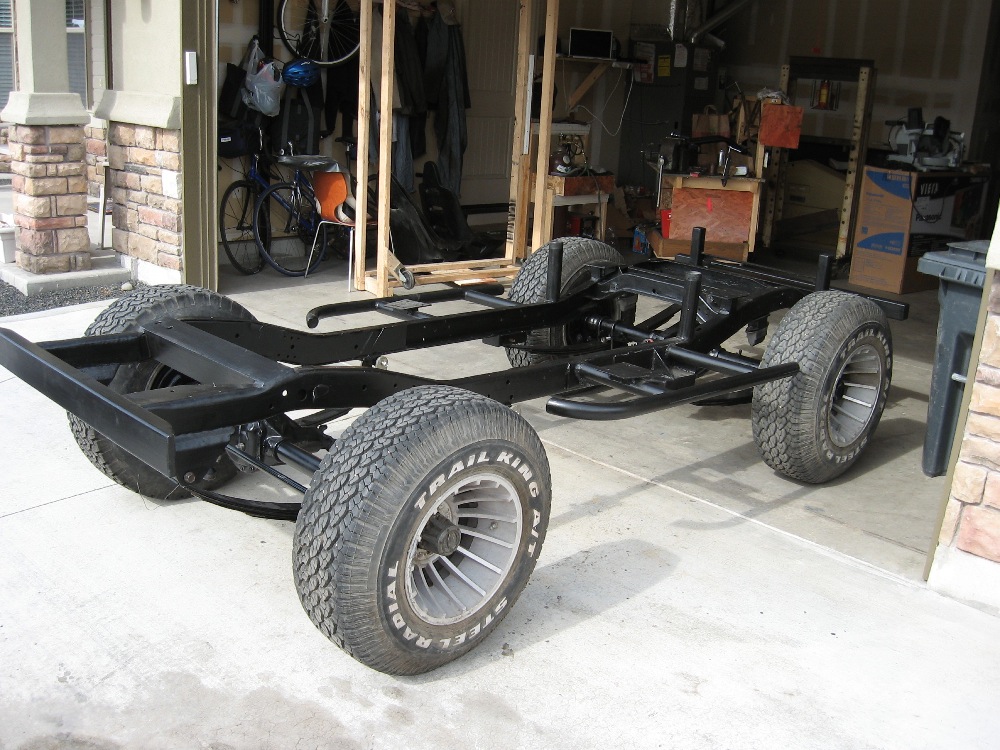
These shots show the painted frame with the Dana 44 rear and Dana 30 front painted and attached.
With my Dana 44 all taken apart (See article below), it was time to put everything back together. One aspect I have left out of the rebuild process is the importance I placed on using the appropriate language to assemble and disassemble the R&P properly; lets just say I'm glad my children weren't about.
Gathering tools and parts
In terms of parts, I needed to gather a rebuild kit, a locker, and axle kits. Using Craigslist, I found a locker for 3:73 gearing locally for $325. The rebuild kit I got at half price from a jeeper in Bend, Oregon. The axle bearings, cones, and outer seals were purchased online through Tellico4x4.com. The inner axle seals I purchased at Schucks. At first, when I realized I had forgotten to order these (oops), I went to tellico's website. The seals themselves were around $5 a piece, but the cost for shipping was going to more than double the price. I thought that was ridiculous. So, I dropped by the local Schucks to see what it would cost to get the seals (I figured they would have to order them). Well, to my surprise, they had them in stock! $10 later, I was out the door with them.