emailNeed to contact me and don't have my email? Click on email button.
About eWillys
Welcome to eWillys.com, a website for vintage jeep enthusiasts. I update this website nearly every day with jeep deals, jeep history, interesting reader projects, jeep related info, and more.
These quick searches can help you find things on eBay. People list in the wrong categories all the time, so don't be surprised to see brochures in the parts area for example. This section used to be split into jeeps, parts and other categories, but recent changes to eBay will require this information to be recoded.
The links to posts below show jeeps grouped by models, condition, and other ways. Some of these jeeps are for sale and others have been sold. If you are unsure whether a vehicle is still for sale or not, email me at d [at] ewillys.com for more info.
Importantly, the allure of buying a project jeep can be romantic. The reality of restoring a jeep can be quite different, expensive and overwhelming without the right tools and resources. So, tread carefully when purchasing a "project". If you have any concerns about buying a vintage jeep, or run across a scam, feel free to contact me for help, comments or concerns .
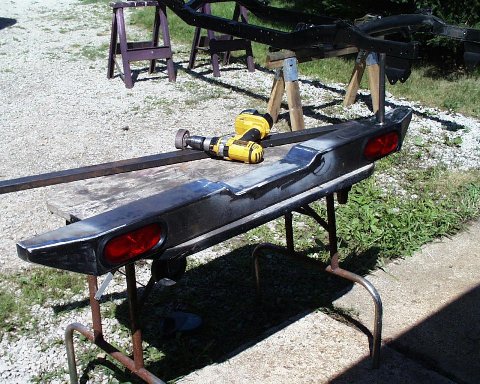
Brian's been busy creating a new bumper for his CJ-3B build. He's says it's nothing fancy, but I think it's pretty nice. Here's a start-to-finish explanation of the work it took to make his bumper. Thanks for sharing Brian!
"Because the springs are longer than stock, I had to come up with a way to lengthen the frame a little in the rear. So, I fabricated a new rear bumper and incorporated a swing out spare tire mount. In addition, rather than cut holes into the body, I decided to put the tail lights in the bumper. To make the bumper, I only need to use a grinder, drill press, and a Mig welder — it's nothing fancy."
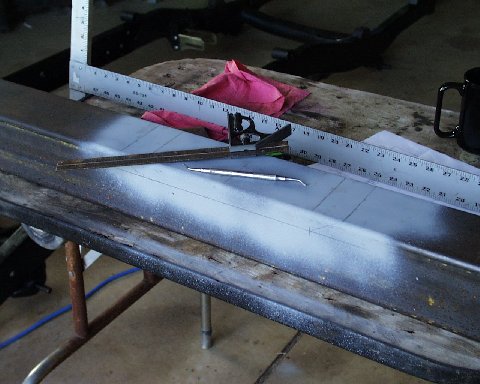
I started with a cup of coffee (editor's note: very critical), a can of old primer, dental tool for scoring and a square.
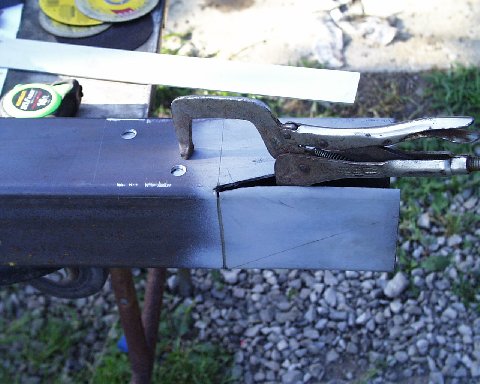
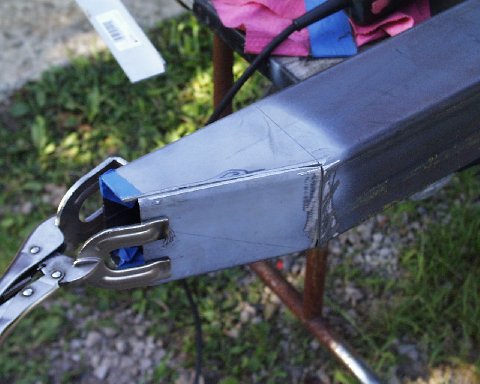
After cutting the first angle, I placed the 1/2 backer block inside the tube. Note: I marked the tube at the dimension and subtracted the radius and made my cut; this held my dimension. The other thing to note is the relief cut in the front of the tube for the bend.
Here's the other side following the cut and bend.
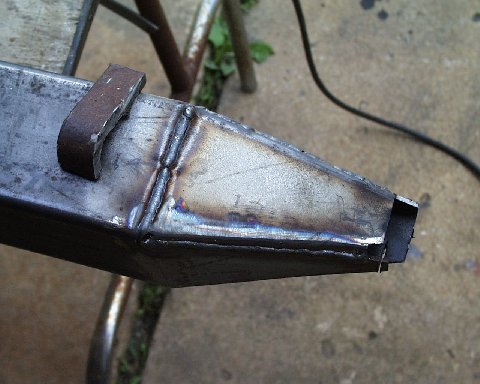
When I cut the center section out for the frame, I cut the top off at the radius first. Then I dropped down and cut away the rest of the tube. I found 3/4 solid stock for the pivot point and welded it from the bottom.
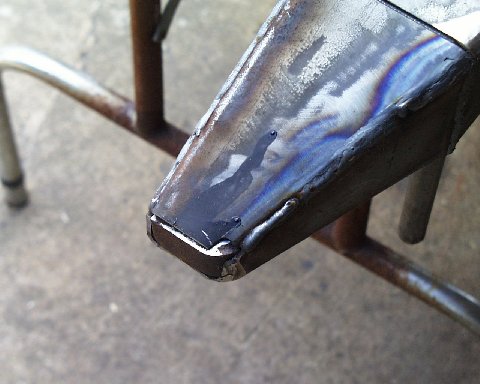
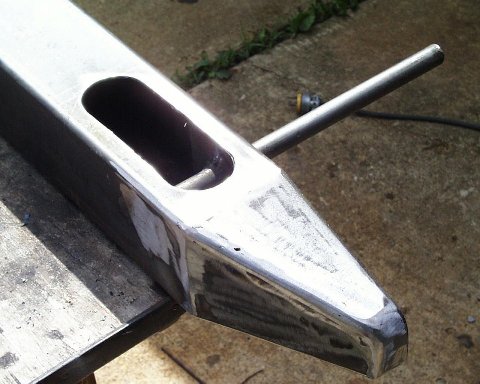
To finish off the end of the bumper I cut some material off the stock tow bar.
This will give me a nice radius.
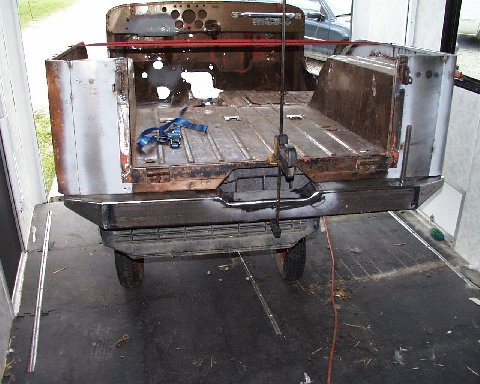
A quick fit check on the body and it's fitting the way I want it.
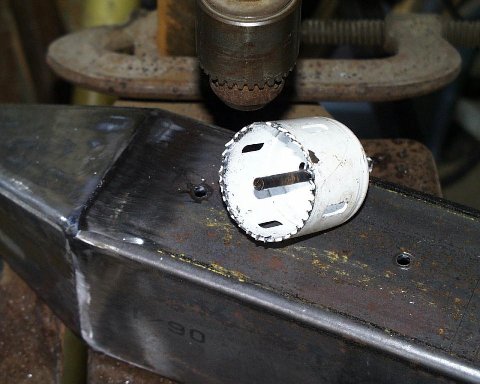
Now for the tail lights. First, I spot drilled and drilled 1/4 holes. Here's a good trick: when using a hole drill on steel, turn the pilot bit around in the hole drill. This will keep the pilot hole true and give you a clean hole.
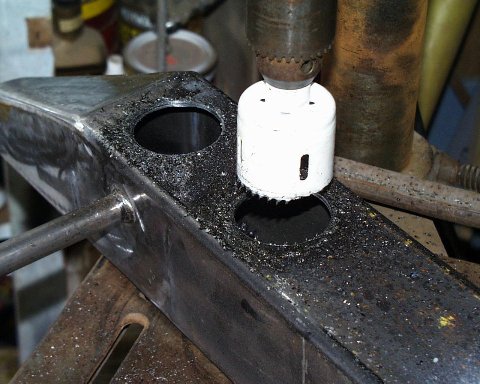
Hole saws work well on steel. This saw was left over from a remodel. The teeth were missing before I started. Despite a few missing teeth, this bit went on to cut 4 more holes in 3/16 thick material. (editor's note .. you mean these are supposed to have all their teeth? that might explain the issues I have had .. )
Next, cut the slots in between the holes.
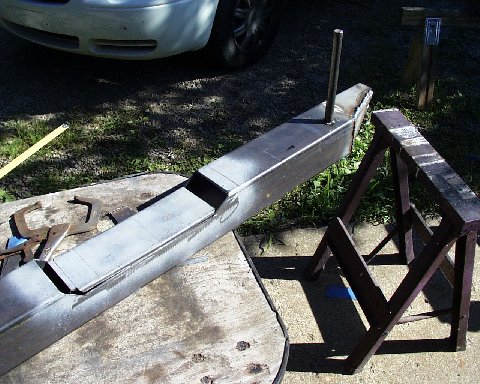
You can see the frame in the distance. I seem to be putting things together and taking them apart only to just repeat the process again. Now that I have the bumper done, I will mount it Monday and can look forward to setting the drive train and leaving it! While I have seen bumpers like this in catalogs costing $350-$750, mine including lights cost about $100.