The day has gotten away from me, so this will be the only post tonight….
Today I completed the welding of the cage. The below pictures show the cage prior to some grinding (and a little more welding and a little more grinding).
As I mentioned yesterday, I hadn’t decided on a paint color. So, I visited the maker of the paints (Van Sickle Paints – Tractor Paints) I have used on the frame (one thing I really like about the paints is that they have a nice thick brush on color as well as a matching spray color). It turns out, they have an ‘aluminum color‘. So, I’m gonna give the aluminum color a try (I don’t really have high hopes to be honest). The worst case scenario is I hate it; so then I’ll just paint it black.
Here’s a few pics from today:


Below is a close up of the back connectors. And in the pic below that, you can see the posts to which the back of the cage connects. There are two bolts per side. The bottom of the rollbars actually rest atop the post. The reason I built this like this was because of a problem I ran into with my last jeep: It was difficult to run the gas tank hose by the rear passenger-side cage connector. To bypass that problem this time, I’m trying this post approach.


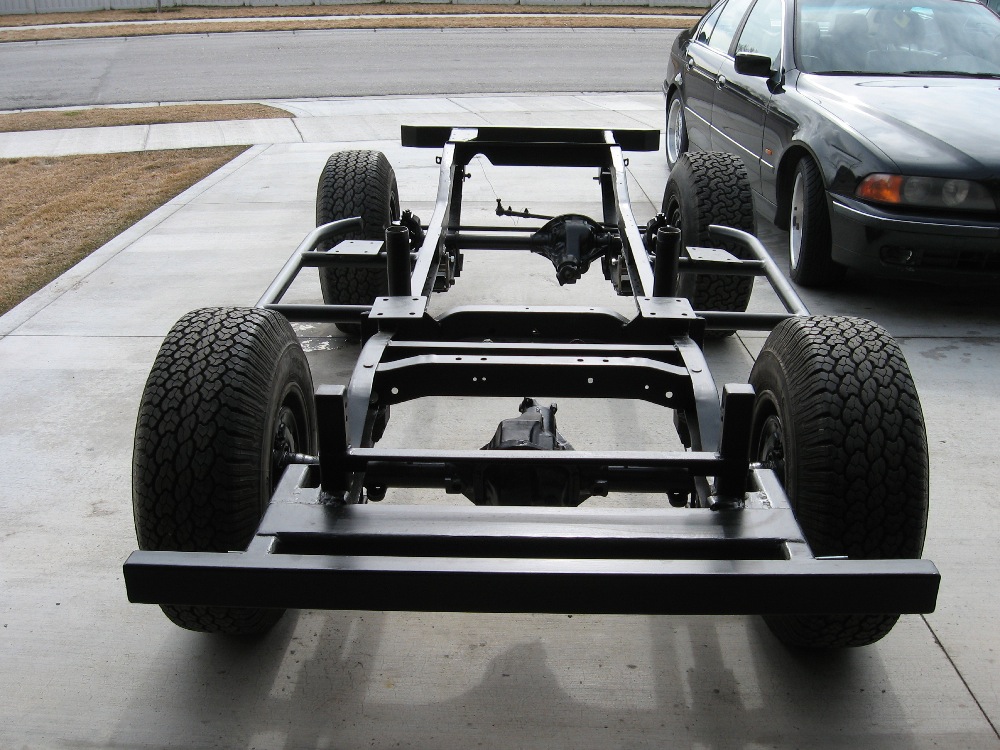
Here’s a picture of the raw frame with the posts in the foreground, along with the middle loop platforms and front loop platforms. The round posts support the seats (the seat platform actually screws onto the top of those round posts). The round posts were invaluable in acting as a precise guide when placing the body onto the frame, keeping everything well aligned.
You can see more of the frame here http://www.ewillys.com/?p=417
Here’s a look at the front roll cage platforms and a drawing of how the connection occurs.


[fb_button]

 1951 M38 DEL. 12-1-51. GROUND UP RESTORATION 2006 805 MILES. EQUIP. GUN SCABBORD WINTER TOP, SNORKEL KIT, AXE AND SHOVEL ALL NOS PARTS USED AT RESTORATION WITH NEW RUBBER COMPONENTS. Jeep came from Korean Conflict and has 5 bullet holes under driver seat. Please contact Don Hall at Willy’s Restoration (541-336-5869 – restorer) in Toledo, OR, or Mark (650-353-0987- Owner). Jeep is located in Toledo, OR.”


