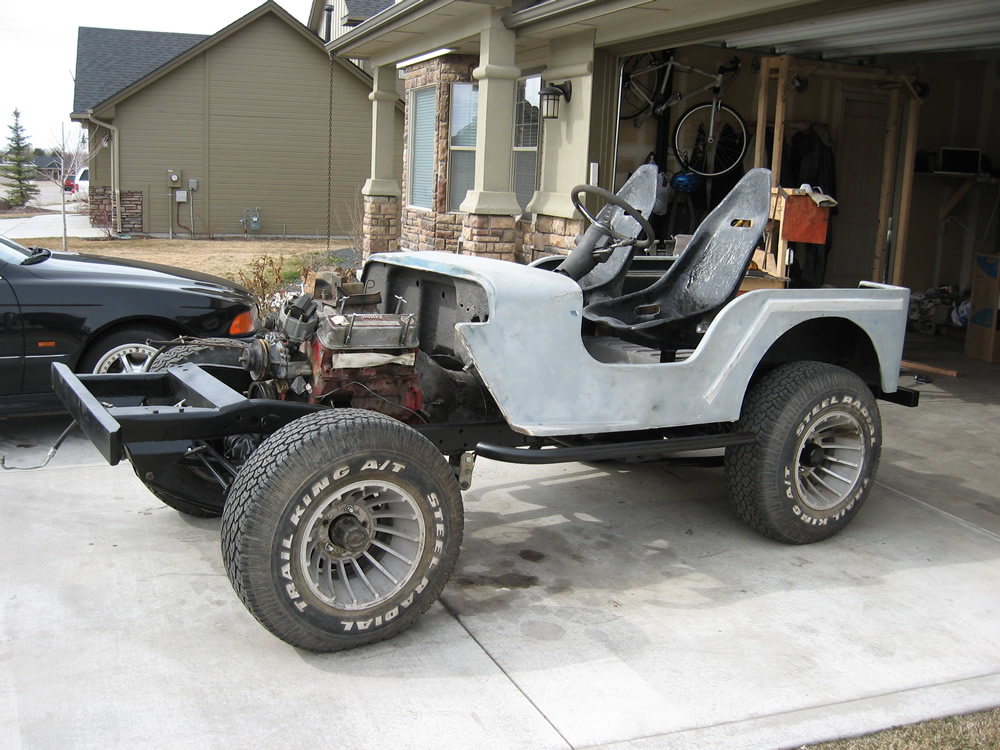
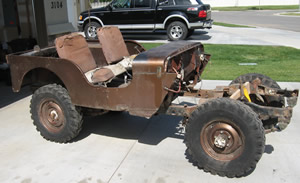
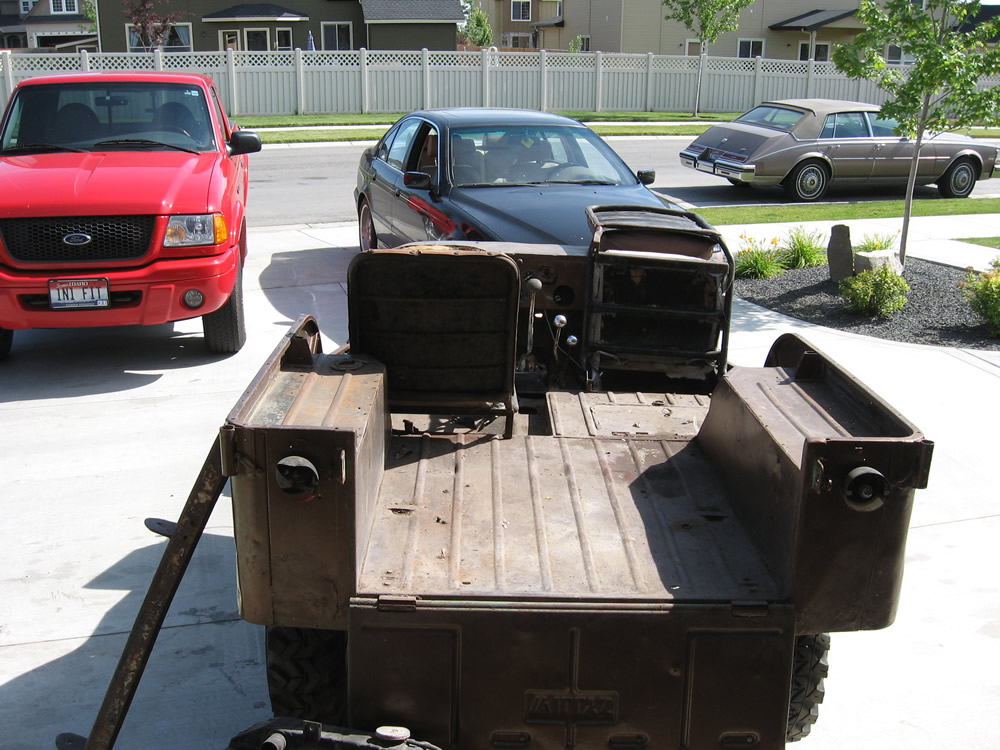
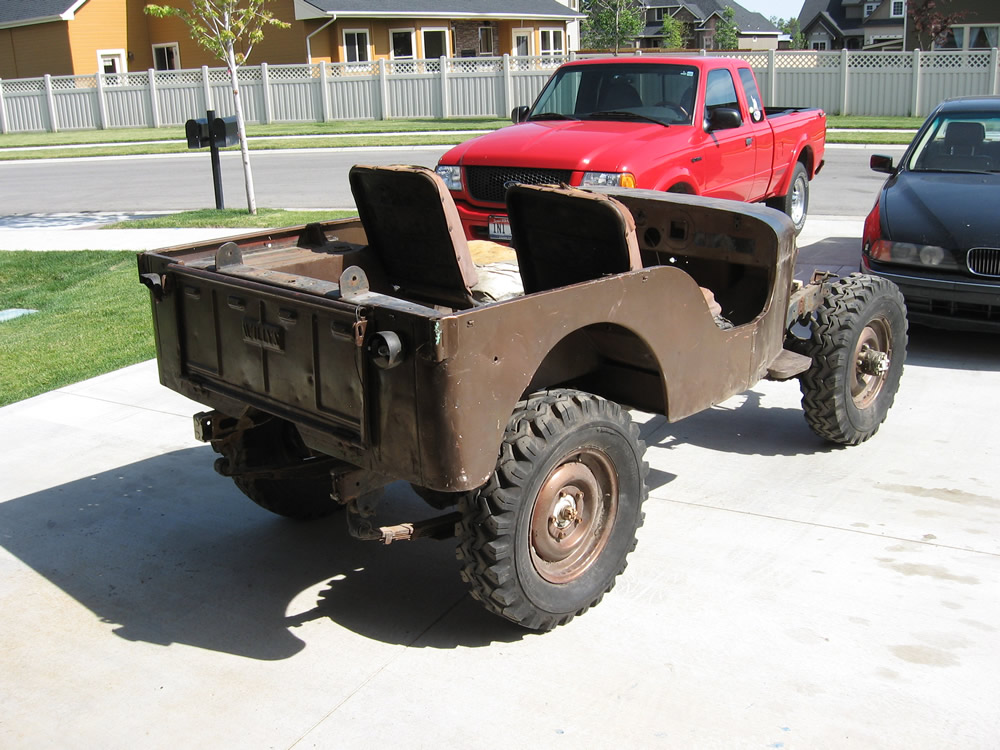
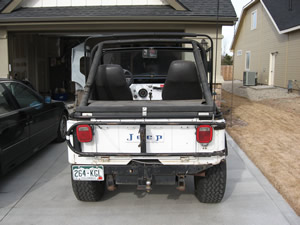
I put the body on and placed the seats on their mounts. The body slopes backward a bit, but that will be fixed when I put the correct suspension brackets on the back.
emailNeed to contact me and don't have my email? Click on email button.

Welcome to eWillys.com, a website for vintage jeep enthusiasts. I update this website nearly every day with jeep deals, jeep history, interesting reader projects, jeep related info, and more.
These quick searches can help you find things on eBay. People list in the wrong categories all the time, so don't be surprised to see brochures in the parts area for example. This section used to be split into jeeps, parts and other categories, but recent changes to eBay will require this information to be recoded.
The links to posts below show jeeps grouped by models, condition, and other ways. Some of these jeeps are for sale and others have been sold. If you are unsure whether a vehicle is still for sale or not, email me at d [at] ewillys.com for more info.
There are plenty of interesting, unusual, historic and surprising stories related to Jeeps and their owners. In addition, some of these features have nothing to do with jeeps. This link will display all featured stories starting from the latest.
Looking for parts and not sure where to go? There are a variety of large and small new and used parts sellers both online and offline.
Importantly, the allure of buying a project jeep can be romantic. The reality of restoring a jeep can be quite different, expensive and overwhelming without the right tools and resources. So, tread carefully when purchasing a "project". If you have any concerns about buying a vintage jeep, or run across a scam, feel free to contact me for help, comments or concerns .
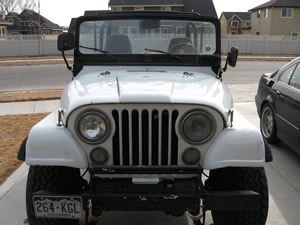
I put the body on and placed the seats on their mounts. The body slopes backward a bit, but that will be fixed when I put the correct suspension brackets on the back.
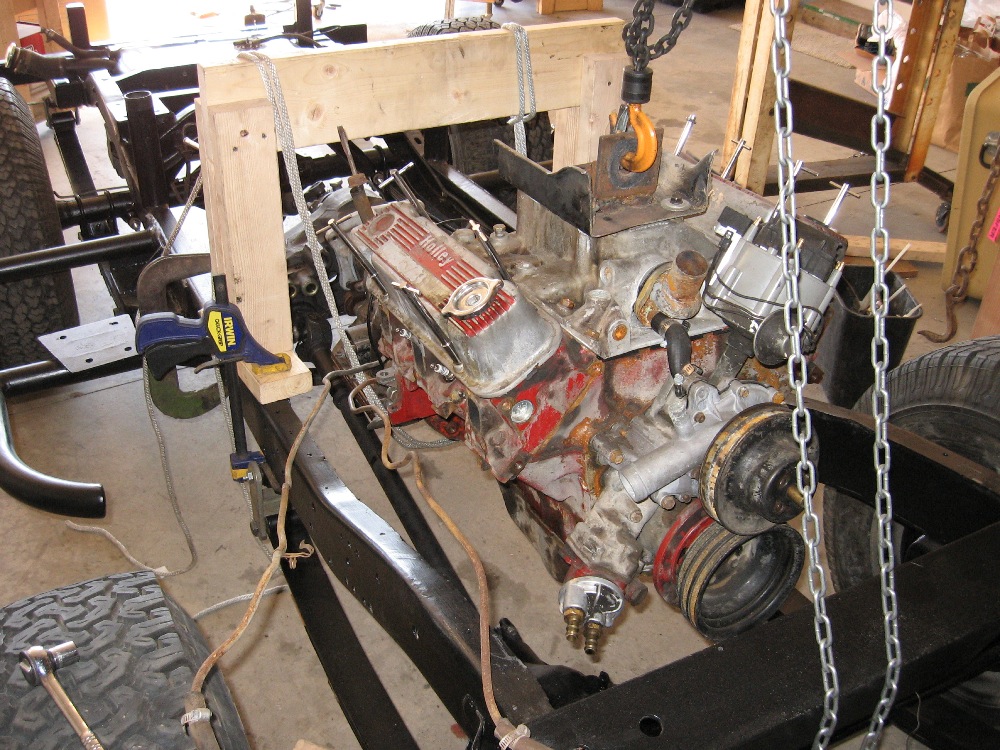
The CJ-5 I bought last year had been modified to accept a GM 350. I really liked the way they put together the engine mounts, so I chose to reuse the mounts and then modified my frame to accept the mounts.
To make the mounts, I took the standard buick v6 mounts and removed the rubber blocks, leaving only the steel. Then, I cut and welded some 3×3 square tubing to the mounts.
To make the holders that are welded to the frame, I used some recycled angle iron and added side braces to create the triangular look. I look this setup much better than what I did in my first jeep.
The tricky part of putting the engine, transmission and TC into position was making sure the TC was in the right location. If I got it back into the right place, I would not have to change the lengths of the drivelines. Fortunately, I had plenty of room for the engine, so I had lots of flexibility upfront.
Once Transfercase was in place, then I could position and weld the engine mounts.
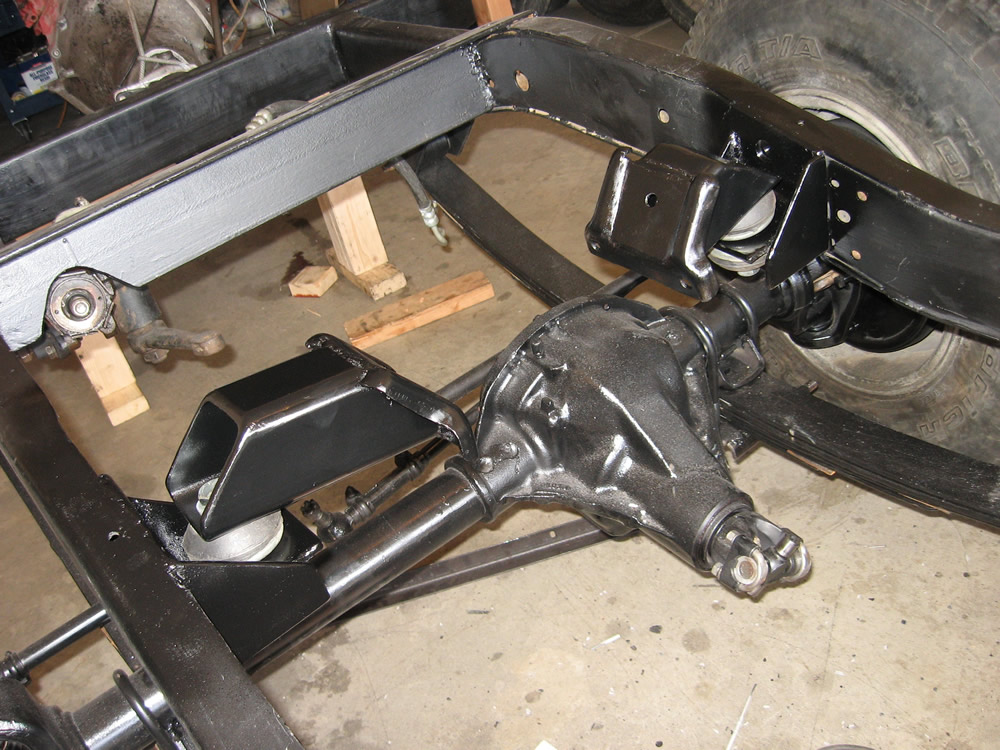
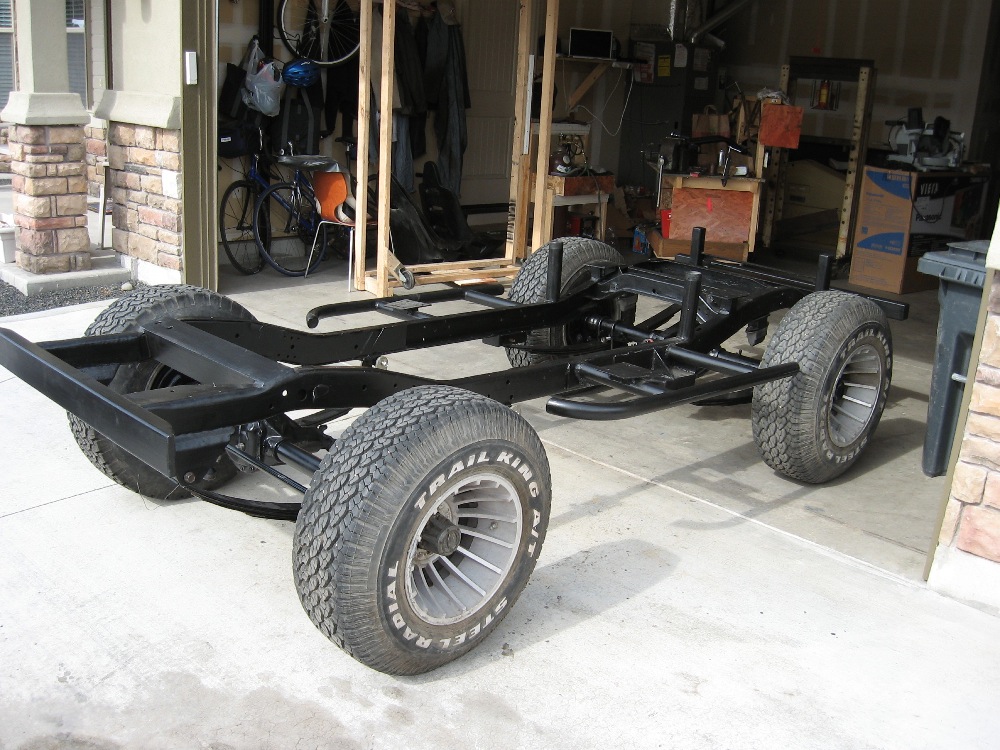
These shots show the painted frame with the Dana 44 rear and Dana 30 front painted and attached.
With my Dana 44 all taken apart (See article below), it was time to put everything back together. One aspect I have left out of the rebuild process is the importance I placed on using the appropriate language to assemble and disassemble the R&P properly; lets just say I'm glad my children weren't about.
Gathering tools and parts
In terms of parts, I needed to gather a rebuild kit, a locker, and axle kits. Using Craigslist, I found a locker for 3:73 gearing locally for $325. The rebuild kit I got at half price from a jeeper in Bend, Oregon. The axle bearings, cones, and outer seals were purchased online through Tellico4x4.com. The inner axle seals I purchased at Schucks. At first, when I realized I had forgotten to order these (oops), I went to tellico's website. The seals themselves were around $5 a piece, but the cost for shipping was going to more than double the price. I thought that was ridiculous. So, I dropped by the local Schucks to see what it would cost to get the seals (I figured they would have to order them). Well, to my surprise, they had them in stock! $10 later, I was out the door with them.
The Goal .. take apart my Dana 44 housing and install a Detroit Locker along with new bearings and seals. Sounds easy enough, right?
When building my last jeep, I did not have to rebuild either of the axle housings. In the rear I had a Dana 44 from a mail jeep. Mail jeeps come with detroit lockers: note that the housing is a little narrower than a standard jeep by approx 2". To fix this, you can have some shims machined that will allow you to use standard flanged jeep axles.
Fast forward to the new jeep. I had a Dana 44 I knew nothing about and a detroit locker I wanted to install inside it. I figured this would be a good opportunity to learn about ring and pinions; and, learn a thing or two I did!
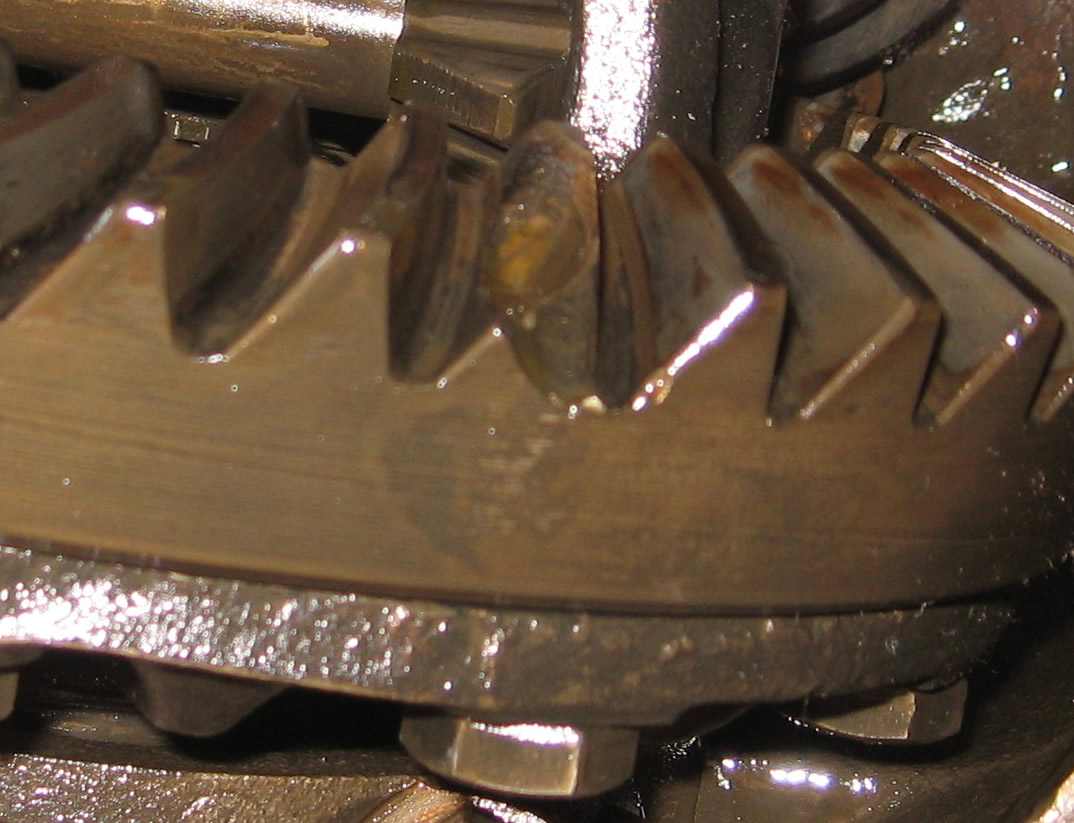
Naturally, the first step was to pull off the housing cover and examine the condition of the gears. Unfortunately, the news was not good. I quickly discovered that I had a very broken tooth on the ring gear.
Interestingly, there was no evidence of broken pieces in the oil. This lead me to suspect that the previous owner may have discovered the damage while changing the gear oil and 'forgotten' to mention it to me. Also, once I pulled everything apart, I would also find the pinion gear broken as well.
To get them to meet my my needs, I needed to repair the fiberglass (extensive holes and cracks) and then drill holes for side belts and shoulder belts.

 At left is a pretty stock CJ-5 frame. There were some cracks where the front crossmember attached to the passenger side frame rail. Because of this, I felt the crossmember had to go so I could box in the front of the frame.
At the back of the frame, the driver’s side was slightly lower than the passenger side. Also, because I wanted to outboard the back springs, I needed to add a bracket onto the side of the frame to help support both the front and the back of the springs.
To make all these changes meant a great deal of work .. welding, grinding (and welding and grinding again) and painting. I am pleased with the results.
Click here to see many more pics of the frame transformation.
I purchased this jeep CJ-3A body and parts for $450. It came without running gear, but with a recently rebuilt engine and transmission. I just happened to have a rolling frame without a body, so I put all the parts I didn’t want on the rolling frame and sold that. I ended up making all my money back from this purchase and was left with the fenders, hood, windshield and the data plate that goes on the dashboard 🙂
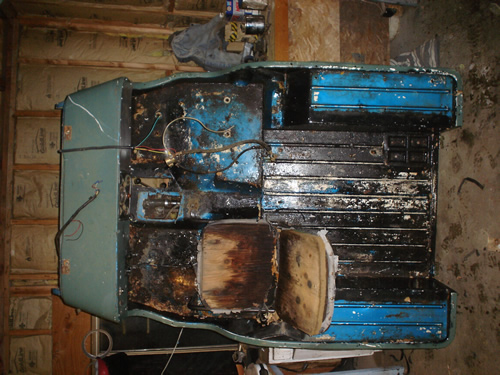
I decided to purchase a CJ-5 to get a better frame and running gear. Here's some pics of it. It's a 1973 CJ-5 with a Chev 350, a sm420 tranny, center rear differential with the dana 20. I ended up parting out most of it.
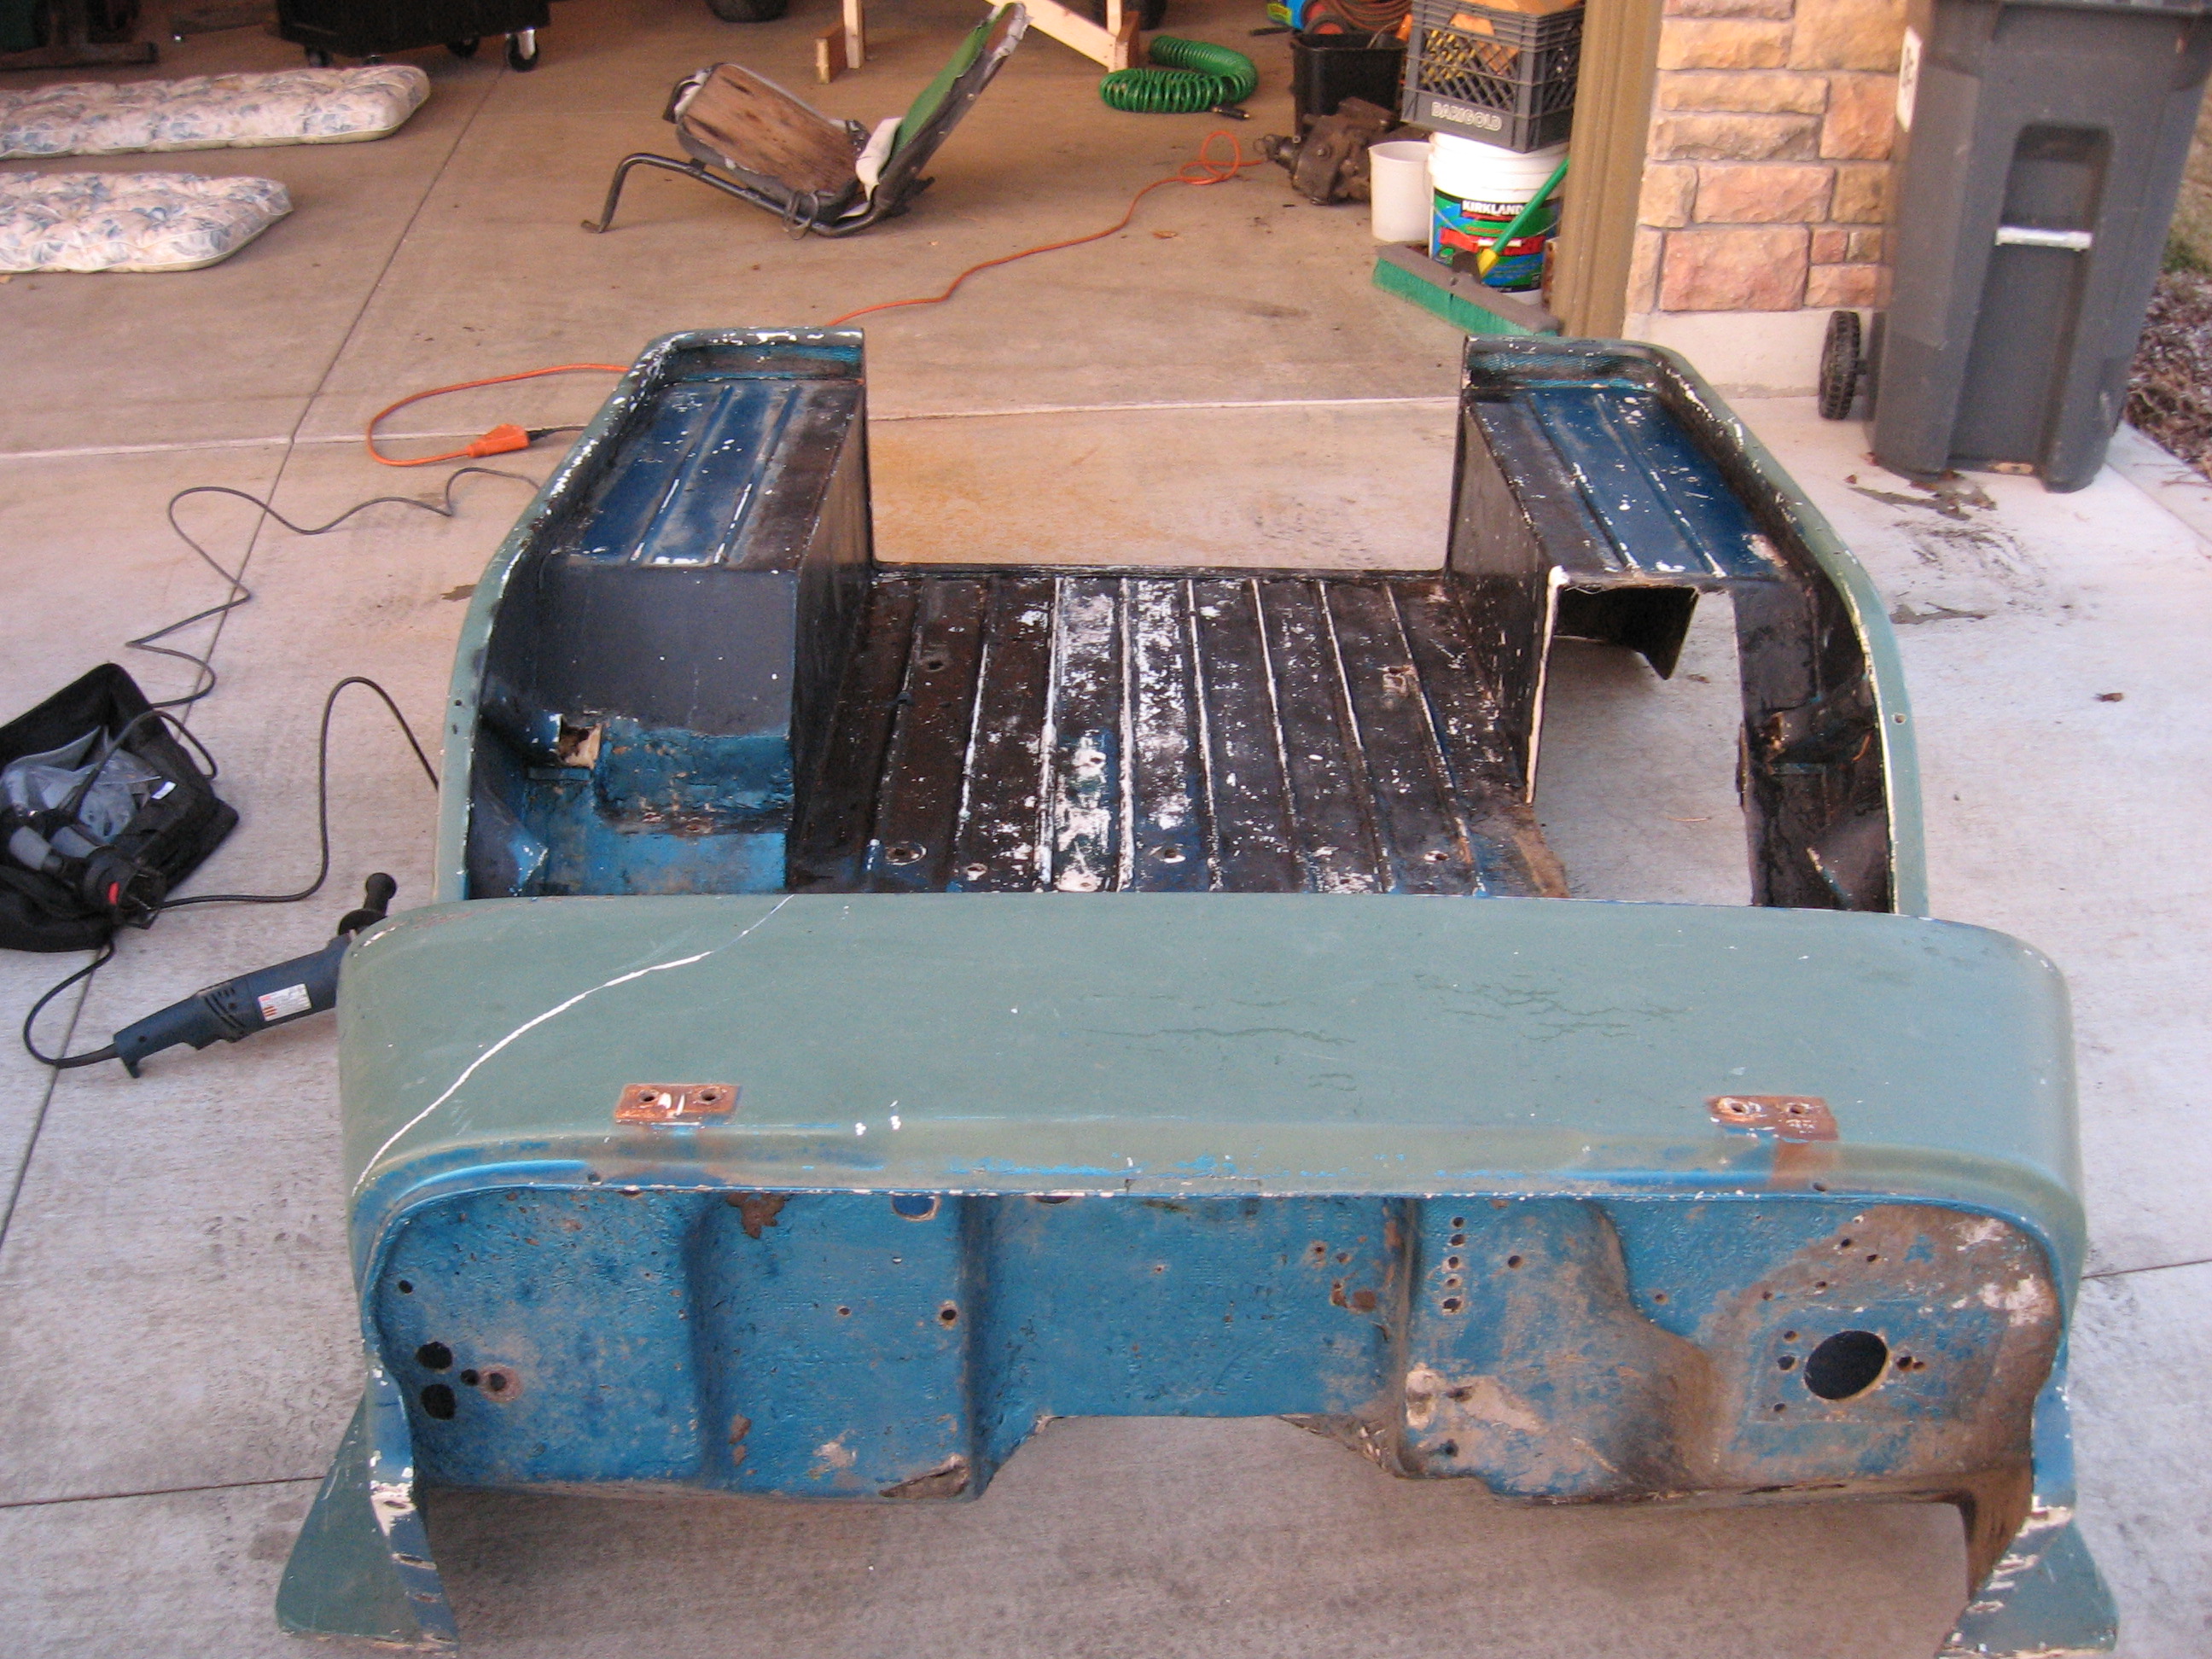
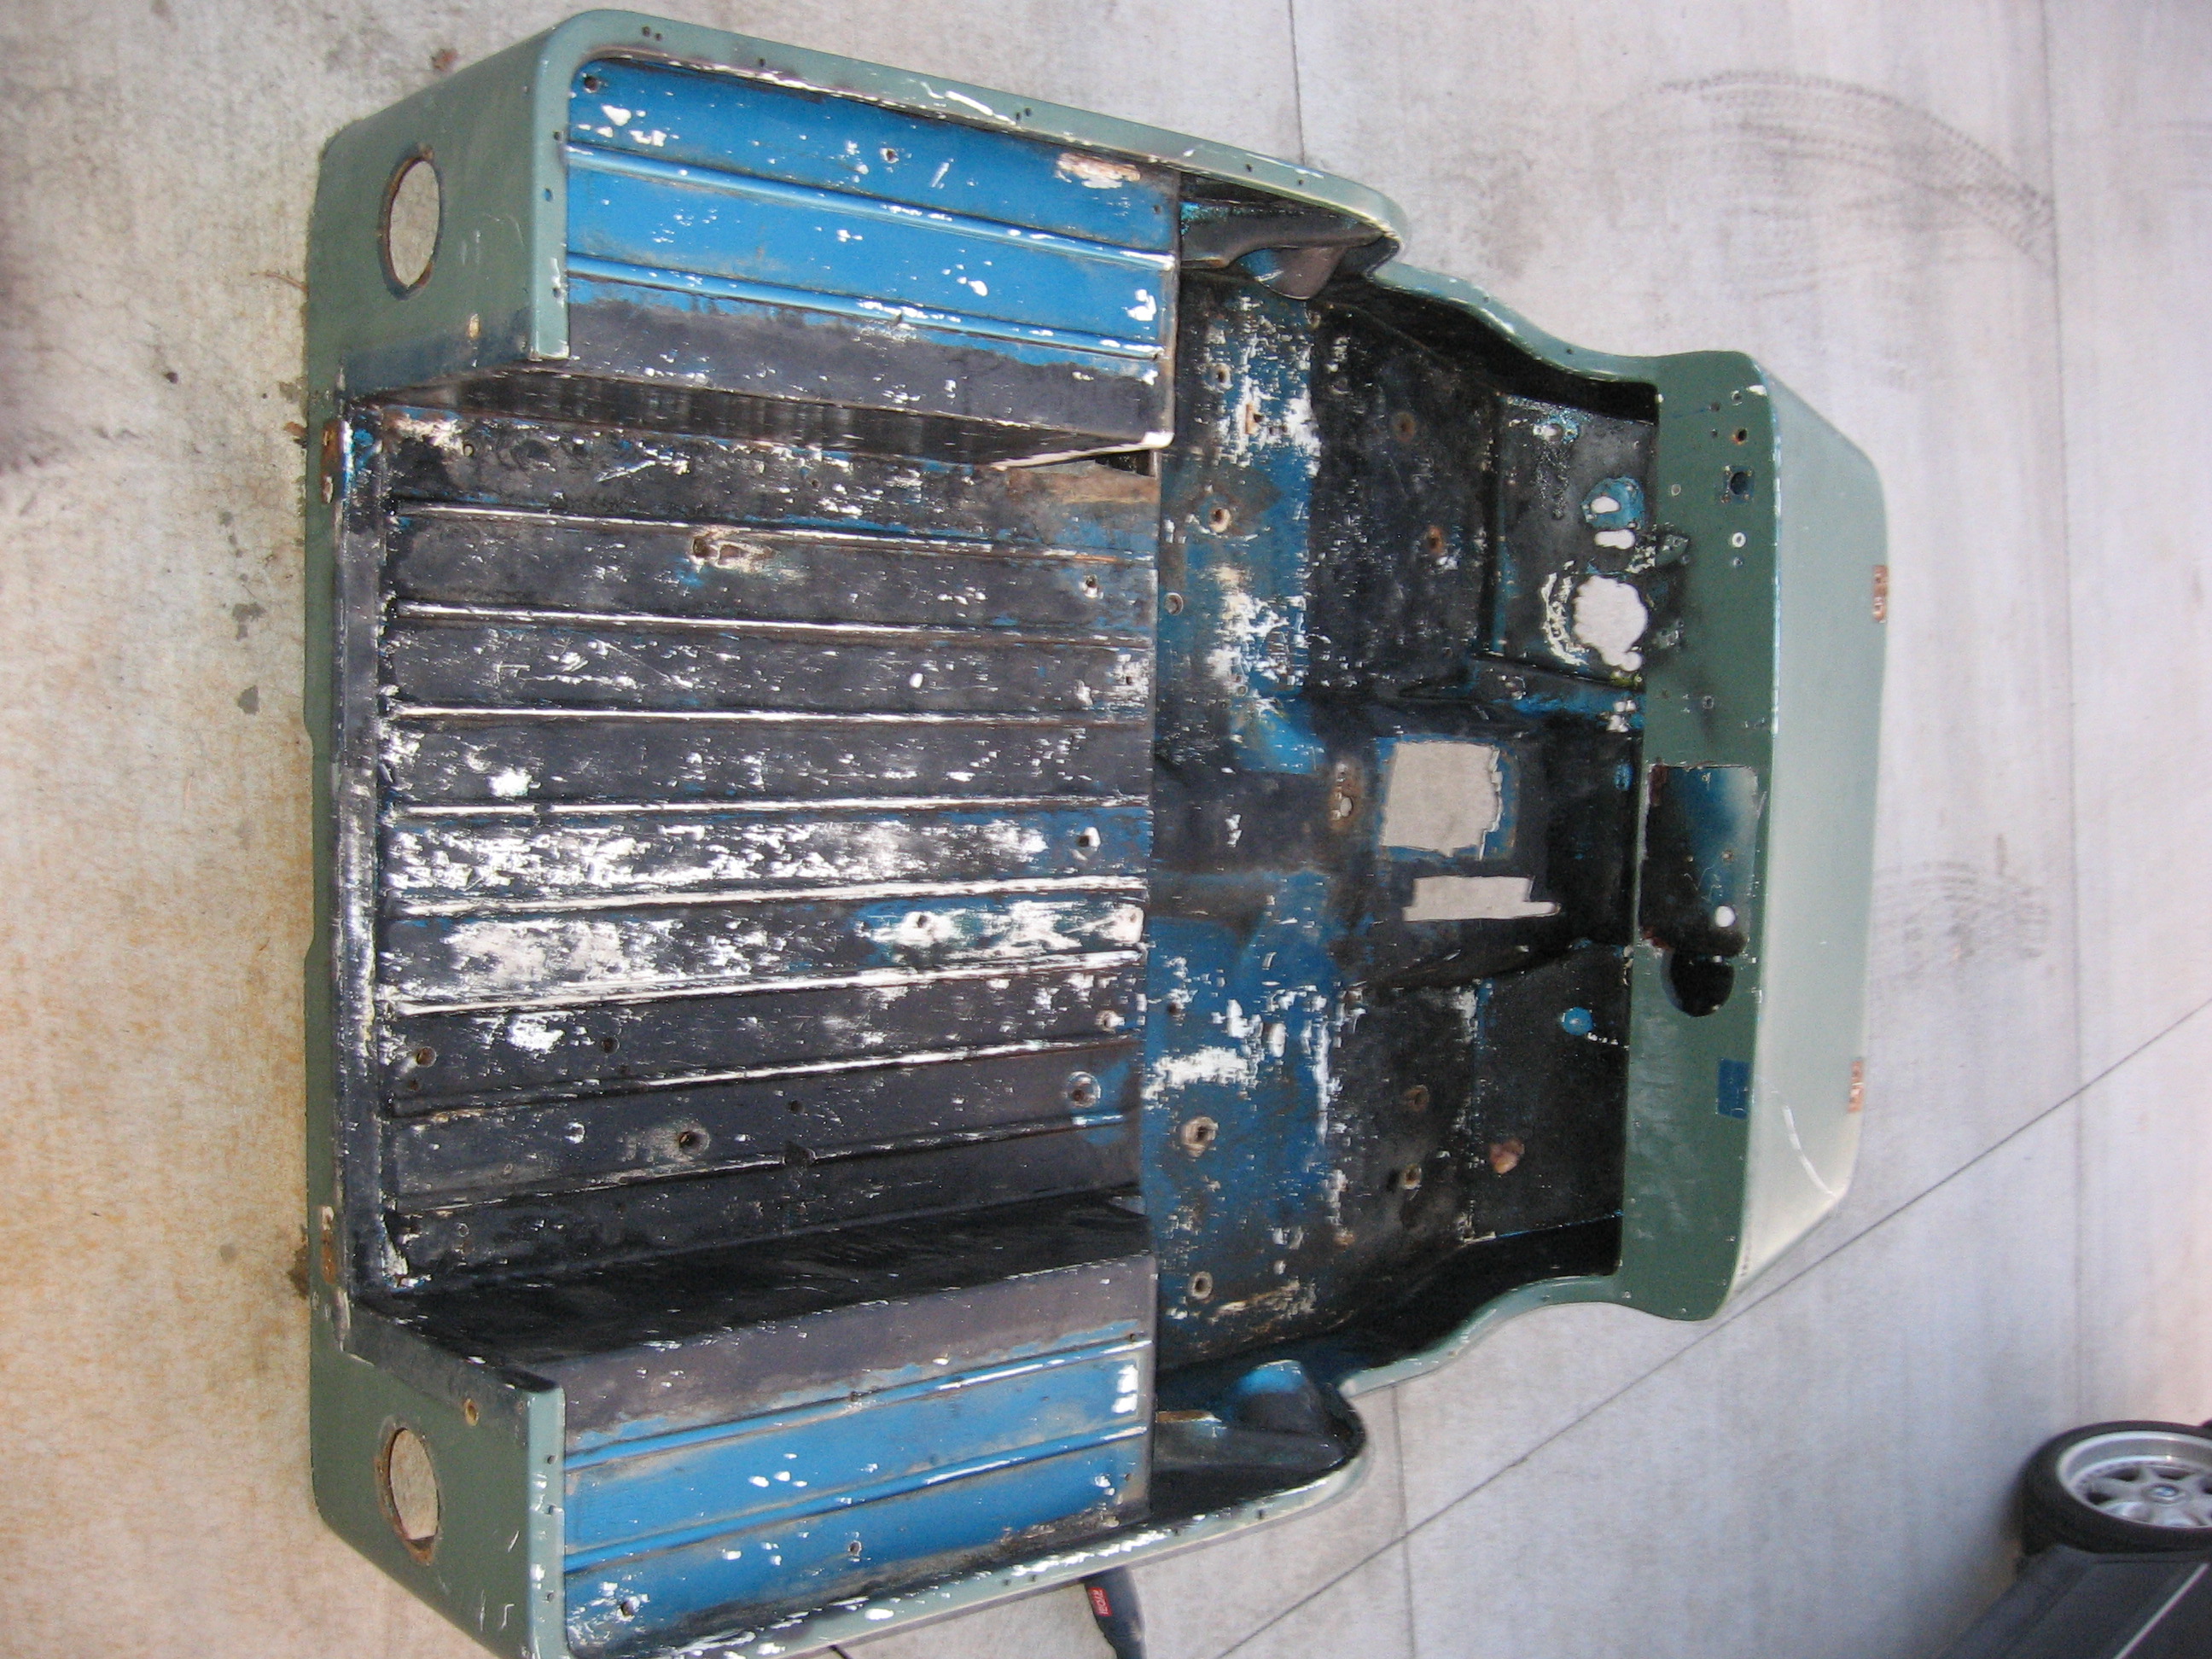
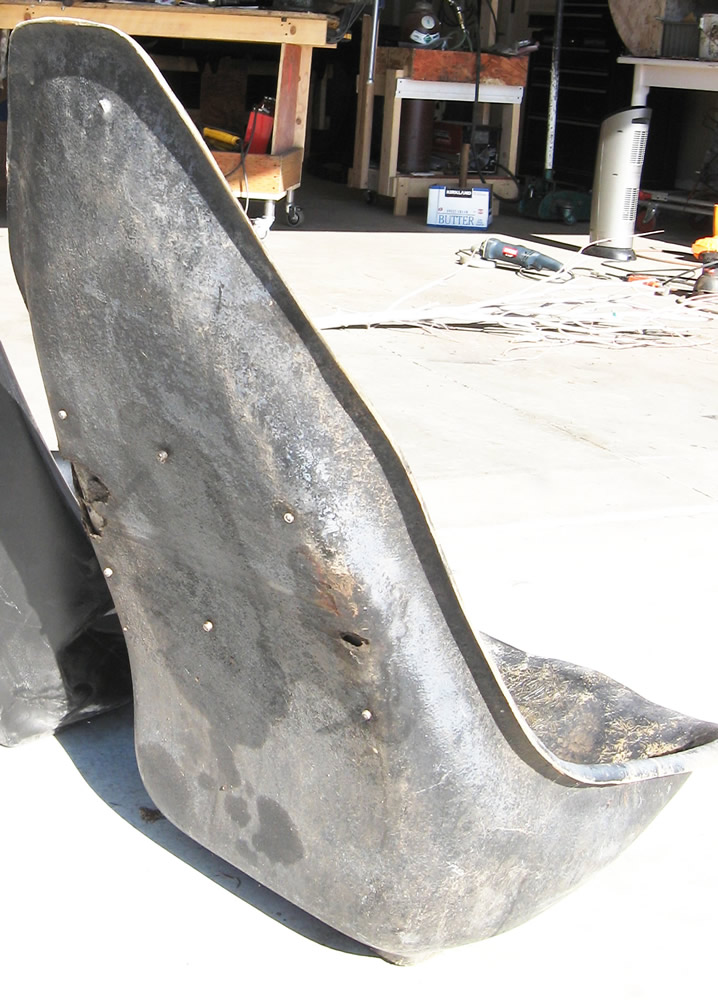
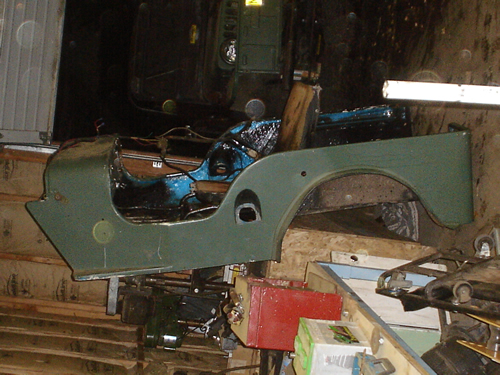
In January of 2007 I traded some cherokee axles for a Bobcat fiberglass body. It was a bit hacked up, but after many hours I revived it. Here’s an accounting of some of the work.
The body before any work was done:
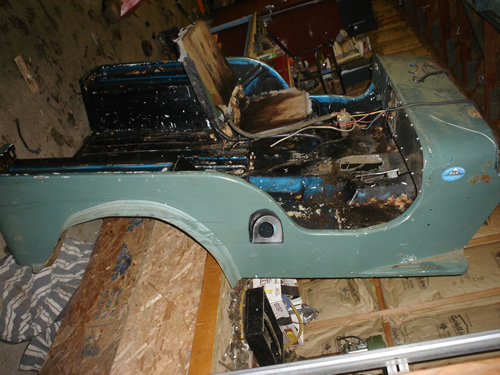
Body after some trimming: