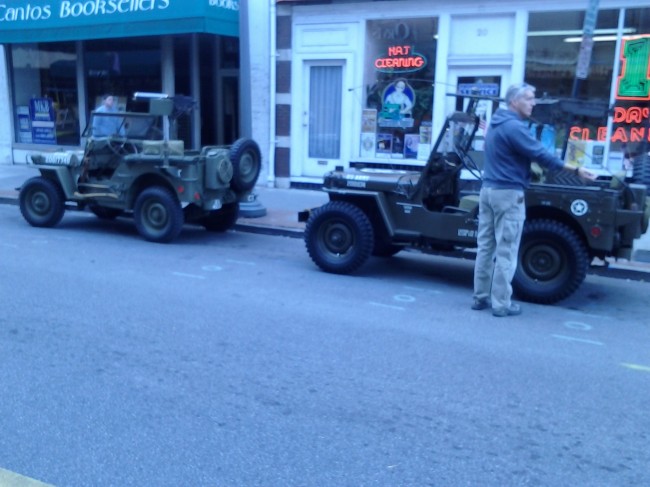
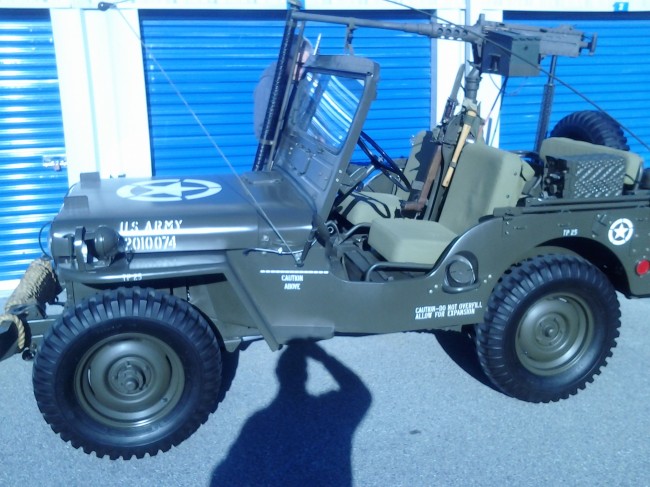
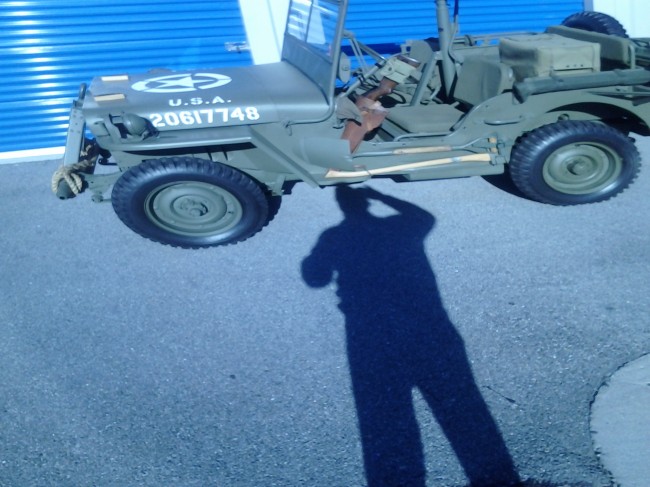
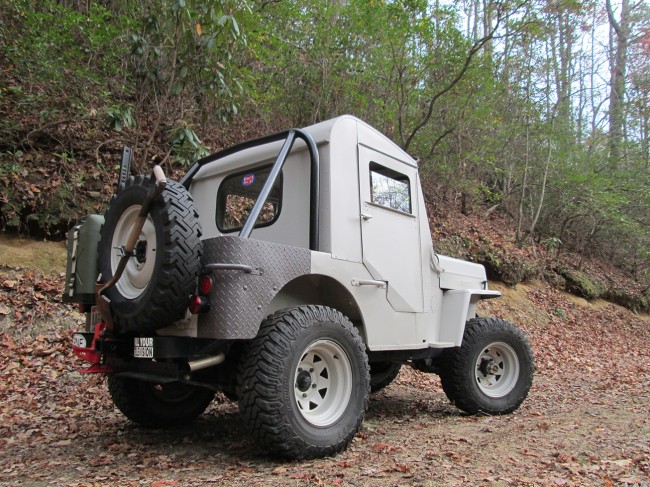
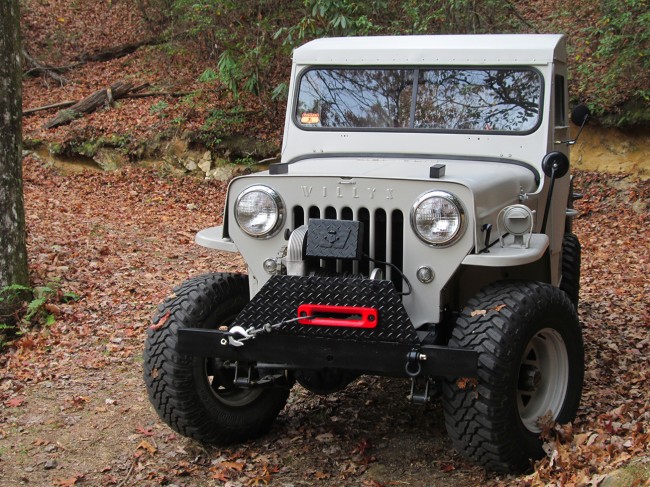
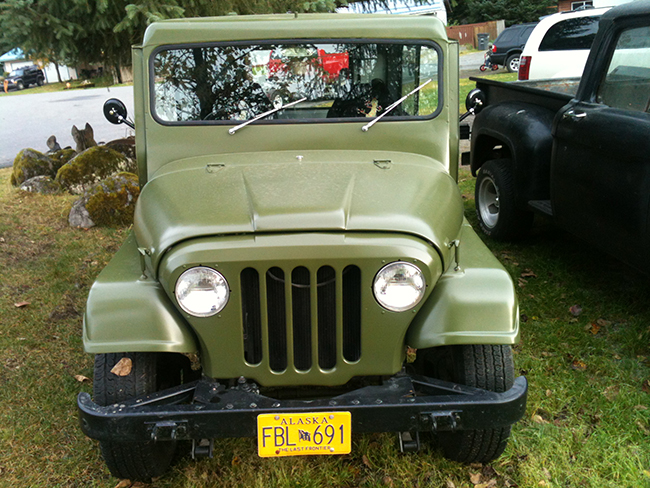
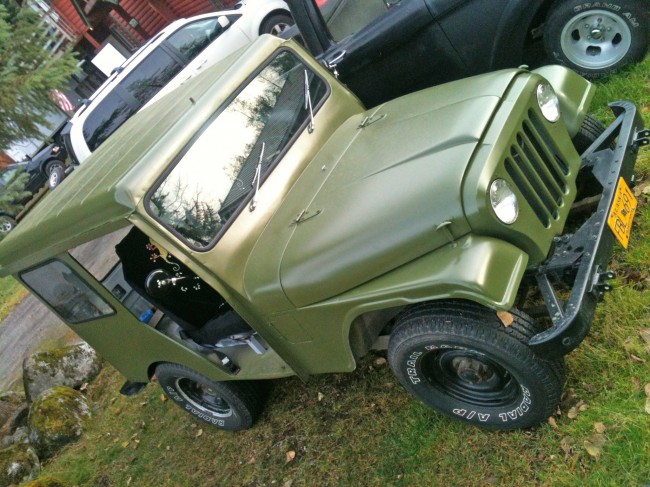
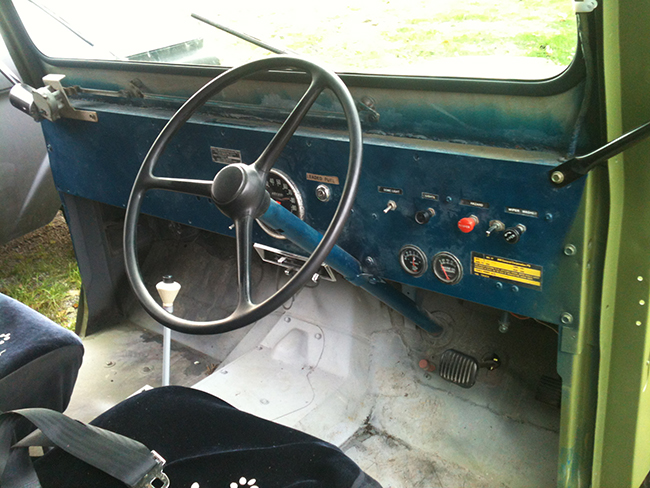
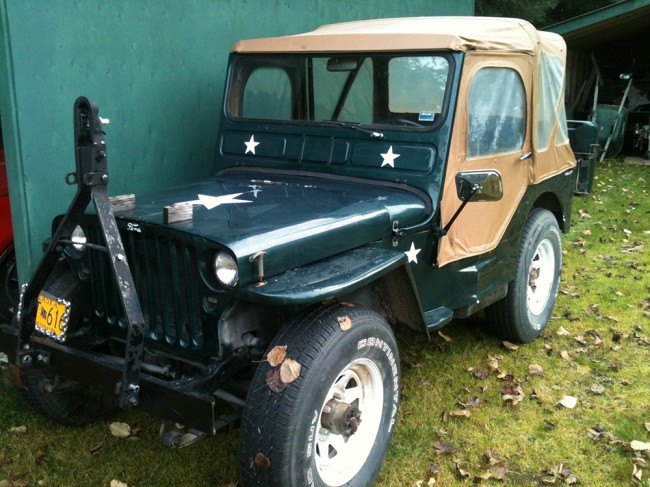
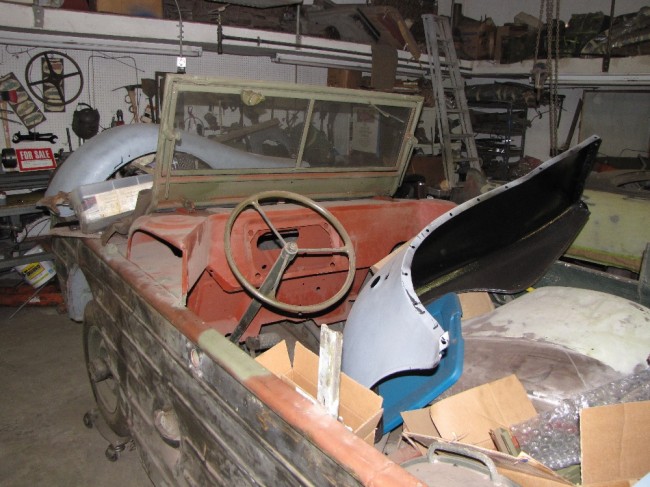
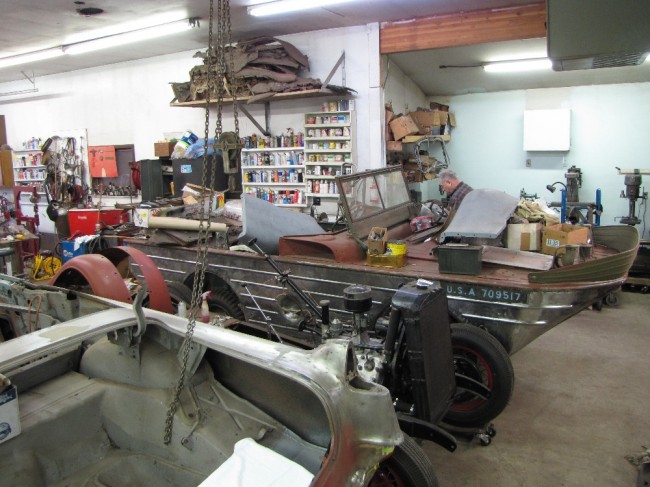
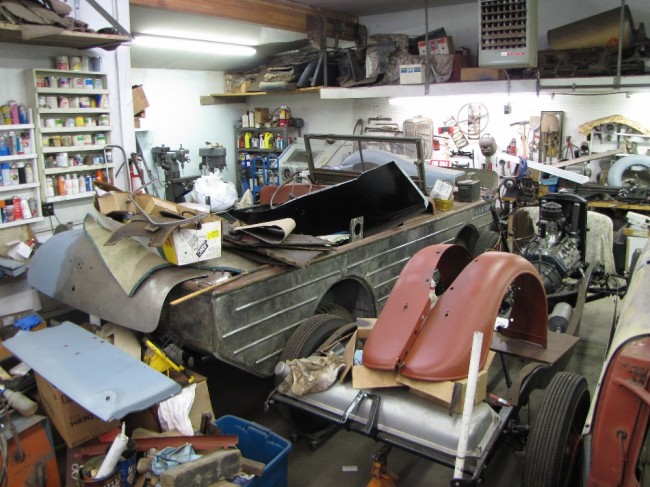
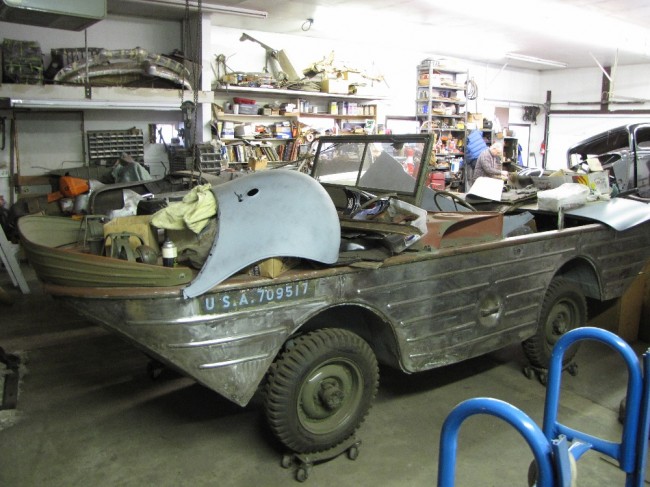
On Saturday Matt (from the above post) took out a couple jeeps and aired them out at the veterans parade in down town Roanoke, Virginia. He says if anyone is looking for a couple jeeps for movie props, just let him know.
Builds Research Archives
Goose’s CJ-3B Gets a Top
UPDATE: I had the wrong link to Goose’s original build (thanks Dave).
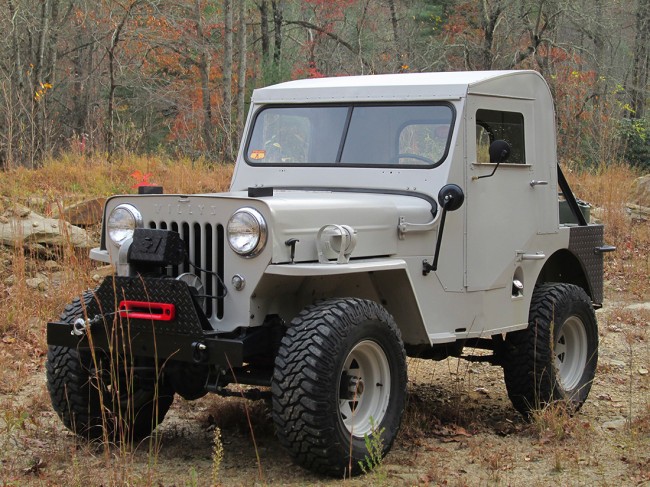
Goose forwarded some images showing the addition of a half cab to his CJ-3B. Goose spotted this half cab on eWillys this summer. He worked out a deal with the seller, then set about making a few customizations so that it would fit. It sure turned out nicely! If you don’t remember Goose’s Project CJ-3B, you can see his original four-month build here.
Zack’s DJ-5: His Daily Driver
Zack has been a regular reader of eWillys for a while now. Though he comments occasionally, I never got around to asking what kind of jeep he has. So, I asked. Turns out he has two: One a DJ-5 that he uses as a daily driver and the other a nice looking GPW that he hopes to restore to military spec. Here are some photos he sent for us. All in all, it is a good looking DJ-5 that is a very practical vehicle, inexpensive to maintain, cheap on gas, and posi in the rear for bad weather. Thanks for sharing Zack!
Paul unpacks 60 Year-Old Parts
Paul wrote to share his experience unwrapping some old parts as he continues his M-38 rebuild.
Paul wrote, “One of the first jobs on my Willys rebuild list from many years ago was to overhaul the axles. Naturally all bearings and races were replaced with new, new ring and pinion gears with 4.27 ratios were installed along with a complete set of 11 inch backing plates and brake drums. Well, sometime during the past 25 or so years the new steering knuckle seals failed due to old age. Geeze, I haven’t even driven this thing yet and now I’m having to replace the replacement parts which are still new but old.
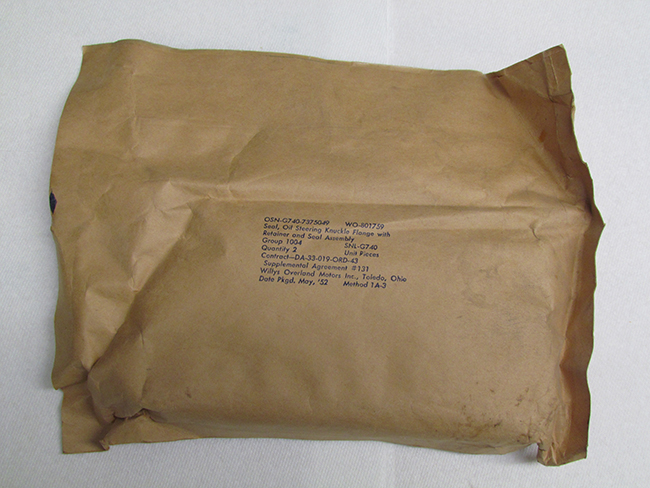
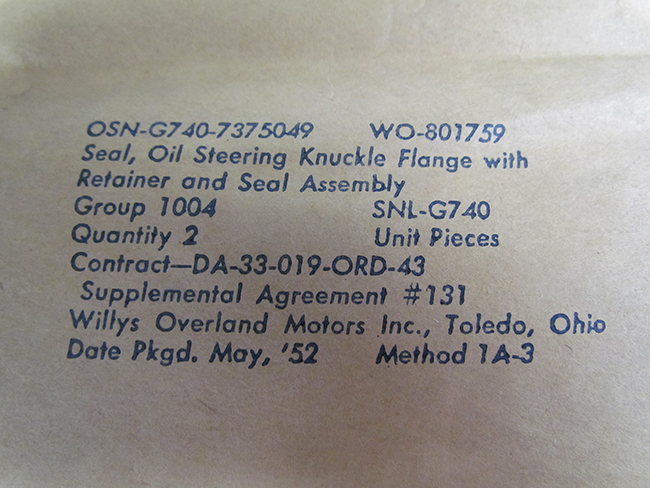
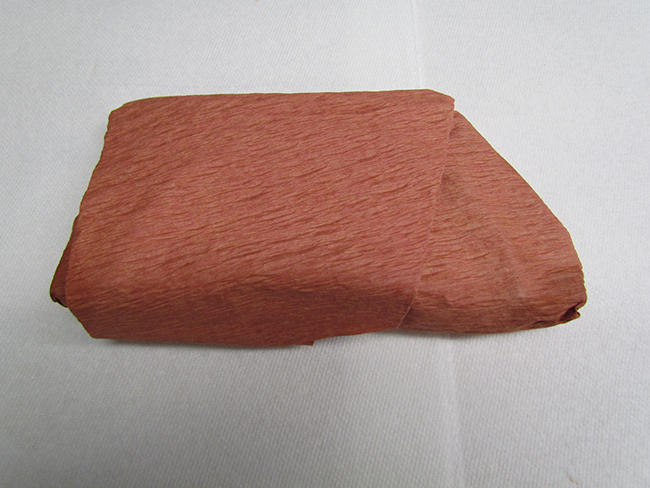
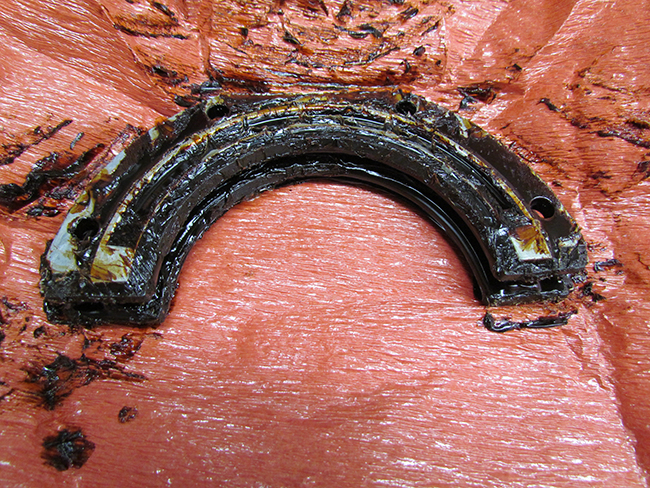
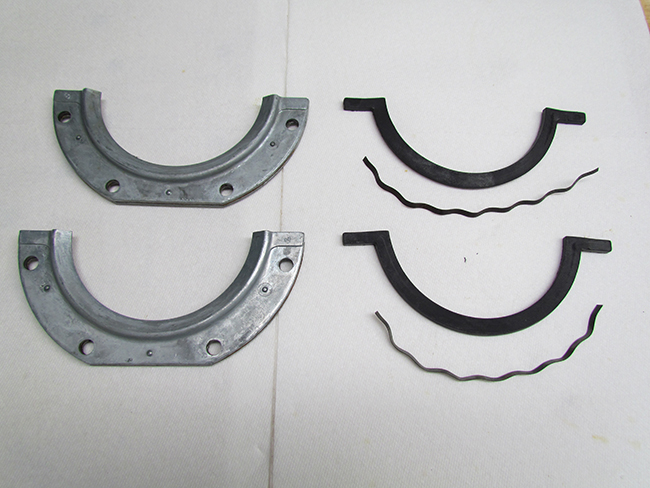
Oh well, it was time to go shopping once again. I was able to purchase a set of heavy duty steering knuckle seals from the local parts store (that can even be rebuilt when necessary) in addition to an extra set of replacement rubber seals for future use. Today I installed one seal kit on the left front knuckle with no problems, everything fit like factory, nothing was missing and the quality was perfect but that’s just what I’d expected. You should understand that these steering knuckle seal kits were packed by Willys Overland Motors for military use in May of 1952. The package had never been opened and all the parts were still coated with a preservative grease like coating, which required lots of paper towels to remove.
I can’t imagine whoever packed these parts so long ago had any idea that 60 years into the future some guy in Alaska would need these parts for his M-38 but I’m sure pleased the packer did such a good job protecting these seal kits. I took pictures of each step as I opened the package and the final photo shows the clean, new parts visible for the first time in over 60 years.”
Pauls Frame is Finished Baking
Paul’s been eagerly awaiting the completion of his frame’s powder coating. I told him that it was too pretty to put under the jeep. Instead, he ought to hand it in the house. No response to that idea so far . . .
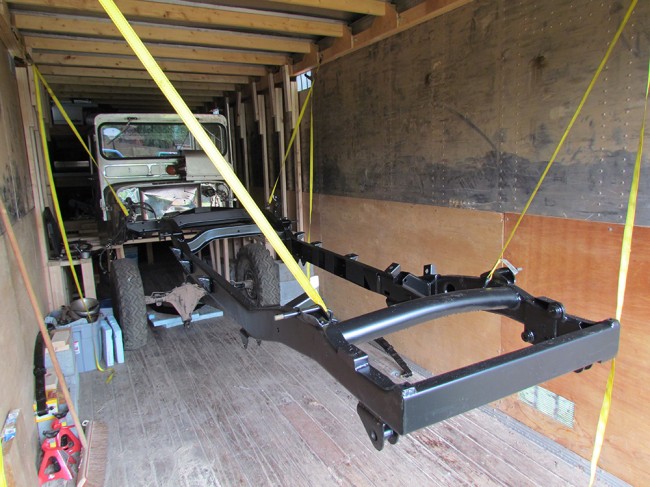
Paul writes, “Early this morning (to retired folks it seemed real early) I traded a fist full of cash to a local businessman and in return I received a beautiful black powdercoated Willys frame fresh from the curing oven complete with that new frame smell. Quickly hauling it home I positioned the frame inside the connex slightly ahead of the body while leaving enough room to safely install the springs and axles. I needed to somehow support the frame high enough to allow the axles to fit underneath while not damaging the new coating and still allow the frame to be easily raised and lowered. Did I mention this proposed support structure had to be cheap?
While the connex is incredibly strong the metal roof is way weaker than the weight of the snow we receive during a normal winter so years ago (to prevent the roof from collapsing) I reinforced the roof structure with full length headers bolted to the connex sides and 2X4 doublers positioned right below the original roof bows. With all this structure just waiting for me to use I attached the ends of four ratchet straps to the headers and hooked the opposite ends to the Willys frame. By adjusting the tension of the straps I was able to position the frame level and at the height necessary for clearance of the wheel and axle combination. I normally carry four ratchet straps in the truck (you never know when you’ll run across something that’s just too good to pass up so I’m ready to load it up, cinch it down and head for home at a high rate of speed before anyone changes their mind) they were quickly removed and became the Poor Folk Deluxe Adjustable Lift. This worked GREAT! Total cost…nothing!”
Paul gets some early shots of Crazy Ralphie’s GPA
UPDATE: I’m reposting this February 2010 post in honor of the SEEP that appears in my next book. Ann and I spent Wednesday on a journey to review some of the places I will mention in the book. I’ll report on our research tomorrow.
Apparently, Paul cornered Ralphie in his garage today and refused to leave until he got some pics for us. Ralphie’s GPA is well on its way to being a great looking rebuild. Thanks to Paul and Ralphie!
Paul writes, “Crazy Ralphie’s garage suffers from the usual garage problems, no matter how big your garage is it still isn’t big enough to hold all the tools and projects you want to stuff inside so the work area becomes a bit cramped. I’ll be able to get better pictures this summer when things can be moved outside but for now these pictures will have to due. The poor little GPA is sandwiched next to the chassis of a 1934 Ford four door sedan which is tight against a 1956 Caddy convertible undergoing restoration and every flat surface becomes a parts storage shelf until the pile becomes a pyramid towering towards the ceiling.
Crazy Ralphie is in the background of a couple of photos working on the body of the 34 Ford but he’s locating missing parts and doing some work on the GPA in the meantime.
The UPS guy just delivered my new Buick 225 V 6 radiator and I didn’t anticipate it’s arrival until the end of the month so it looks like I’ll have something to work on tomorrow what with building a mount and fabricating brace rod/hood prop combinations. I got my taxes done and Uncle owes me money, it just doesn’t seem right to put that money into a savings account when I could buy Jeep parts instead so I was on the phone ordering and the tax return has been killed.”
Bruce’s Trailer Makeover
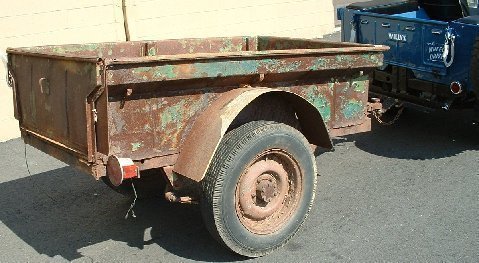
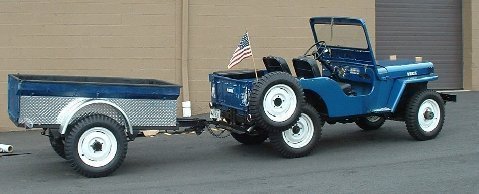
Bruce wanted to share some before and after pictures of a trailer he saved. As you can see, the before picture shows a pretty tired trailer. However, after six weeks of work by Bruce, the trailer looks like a great match for his flattie. Thanks for sharing Bruce.
Bruce wrote, “I purchased this trailer locally (7/2/12) for $600, more than i wanted to spend. however, it was simple to transport so i bought it anyway. they are hard to find.
Every nut, bolt and screw was removed, and all 20 leaves from the springs. All of the u-bolts and one shackle were replaced. All rust was removed. The floor had a few rust holes on the side that i duct taped over and then rhino guarded (black spray) the interior. I picked up a 3×6 rubber floor mat from u-line that fits nicely inside.
The trailer had home made fenders that were welded on. Once i removed them, gaping holes were left. I found new fenders at ‘tractor supply’.
After:
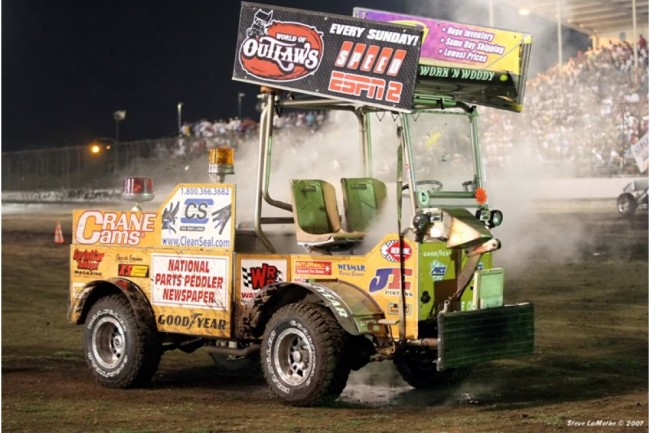
Work’N Woody FC-150 Sprint Car Pusher
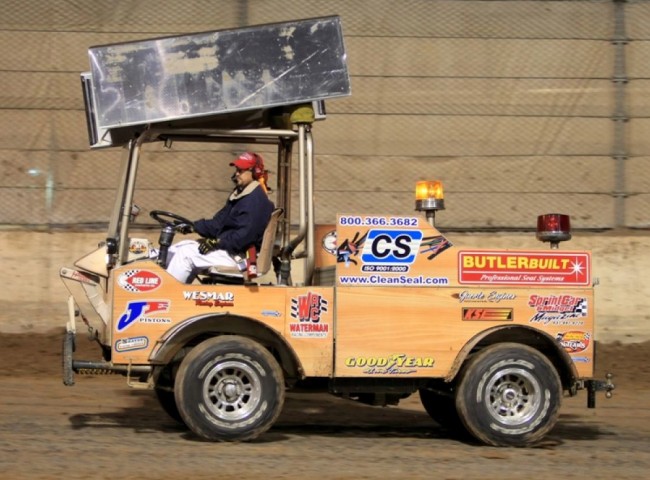
I ran across this unusually modified FC named Work’N Woody. According to this website, it’s a modified FC that has been a fixture at race tracks since 1978. It even has its own website. You can see a gallery of pictures here. Pretty cool! It must be a great place to watch a race.
Here are a couple pictures from the website:
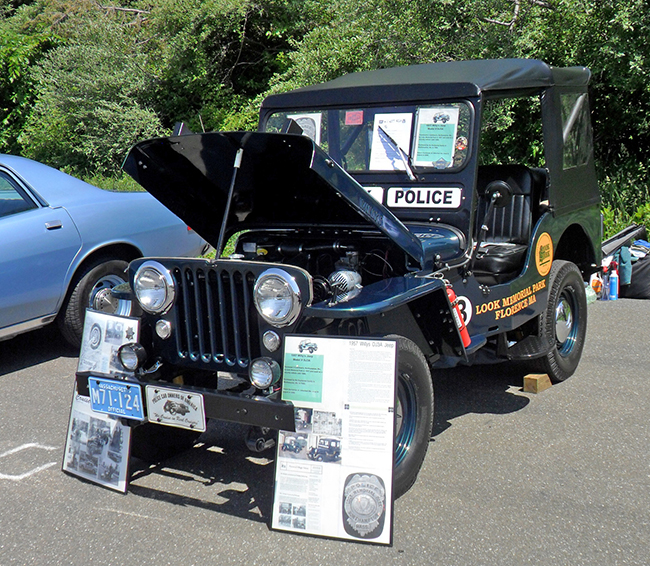
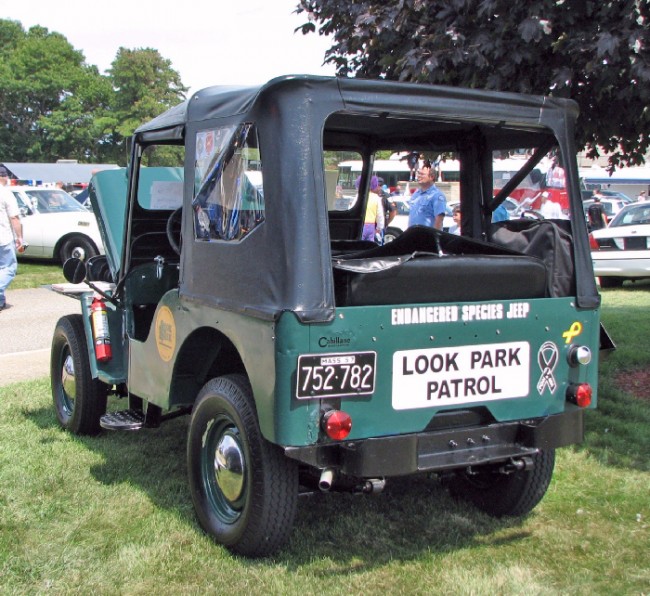
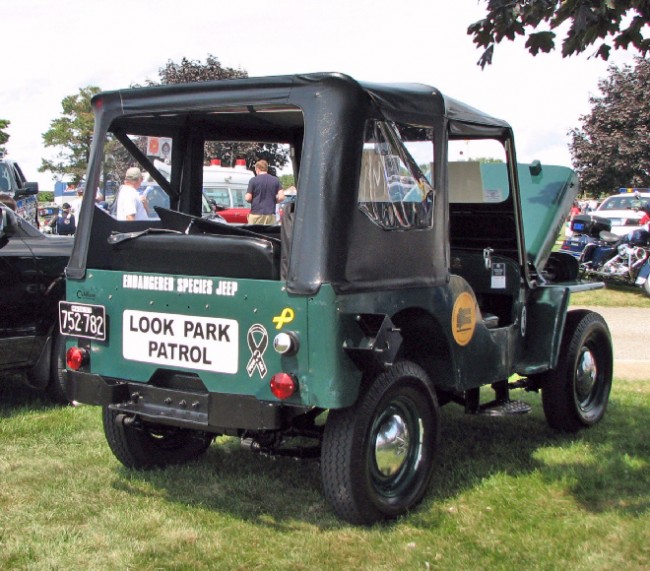
Look Park Police’s DJ-3A
Buz spotted this nice DJ-3A used by the Look Park Police in Florence, MA, from 1957 to 1986.
You can see more images of it here: http://policecarwebsite.net/yet/rwcar4s/lookpark.html
This DJ-3A was also mentioned in a cj2apage forum as well.
This picture was taken early this year by CTROADDOG and posted to FLICKR.
Wayne’s Wagon
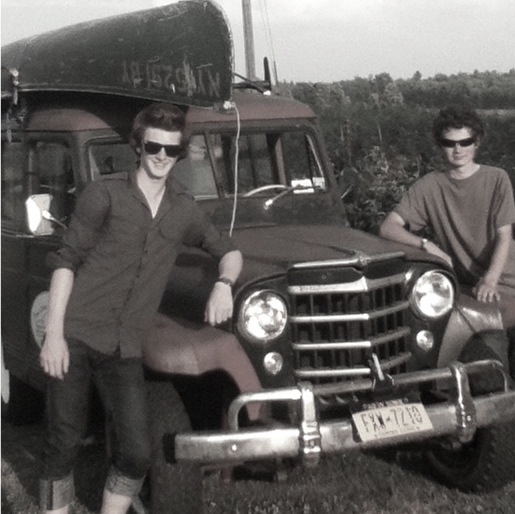
After searching around the NY area, Wayne finally spotted a wagon he wanted. Here’s a pic of it.
Wayne writes, “I am spreading the Willys disease; here is my 16 year old son and his friend after a canoe trip. The jeep gets used as a backdrop for quite a few pics around here.”

