Paul shared a couple of other recent milestones on his Willys journey.
1. The Throttle Spring:
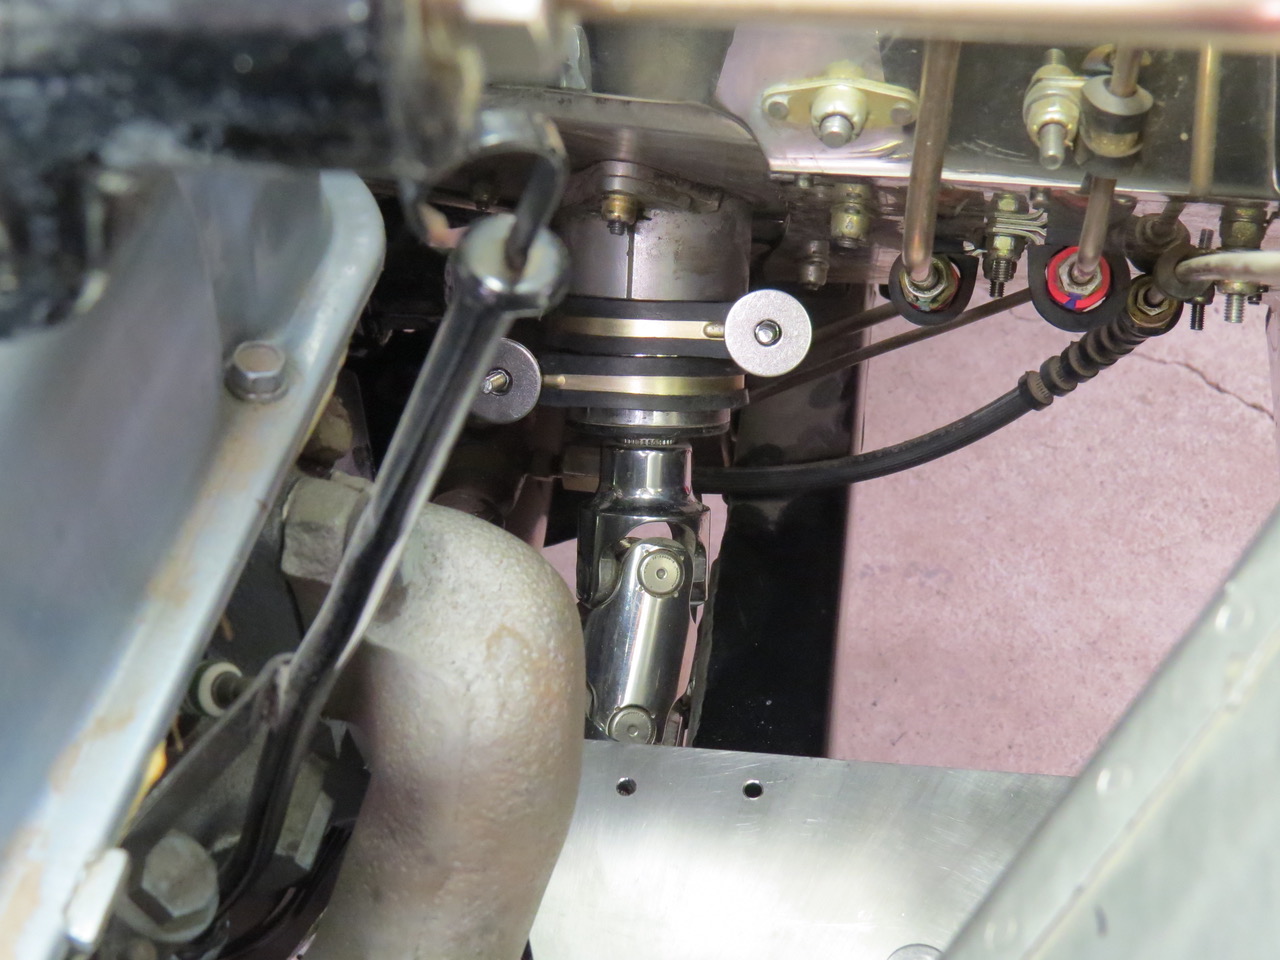
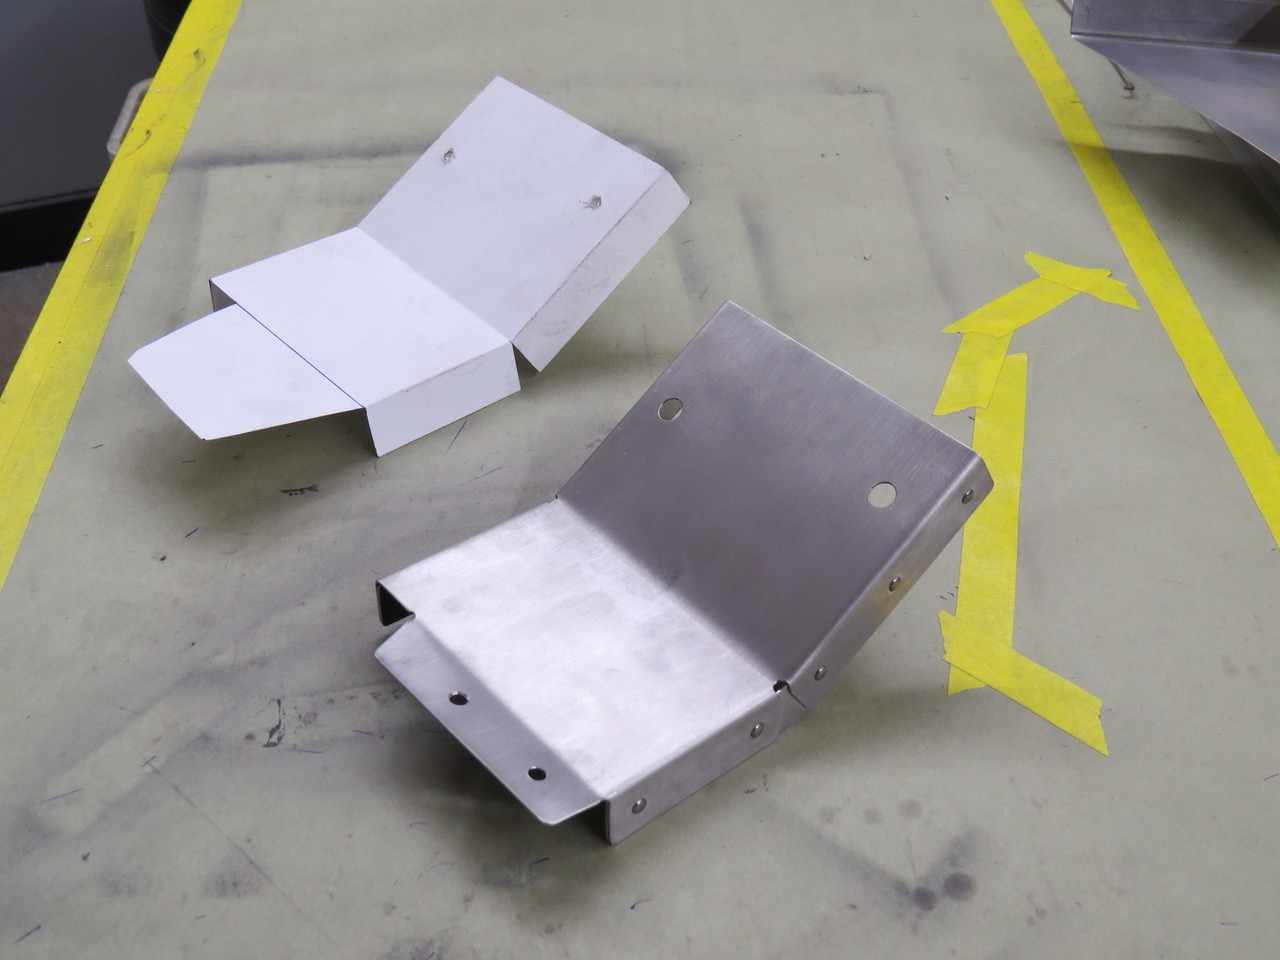
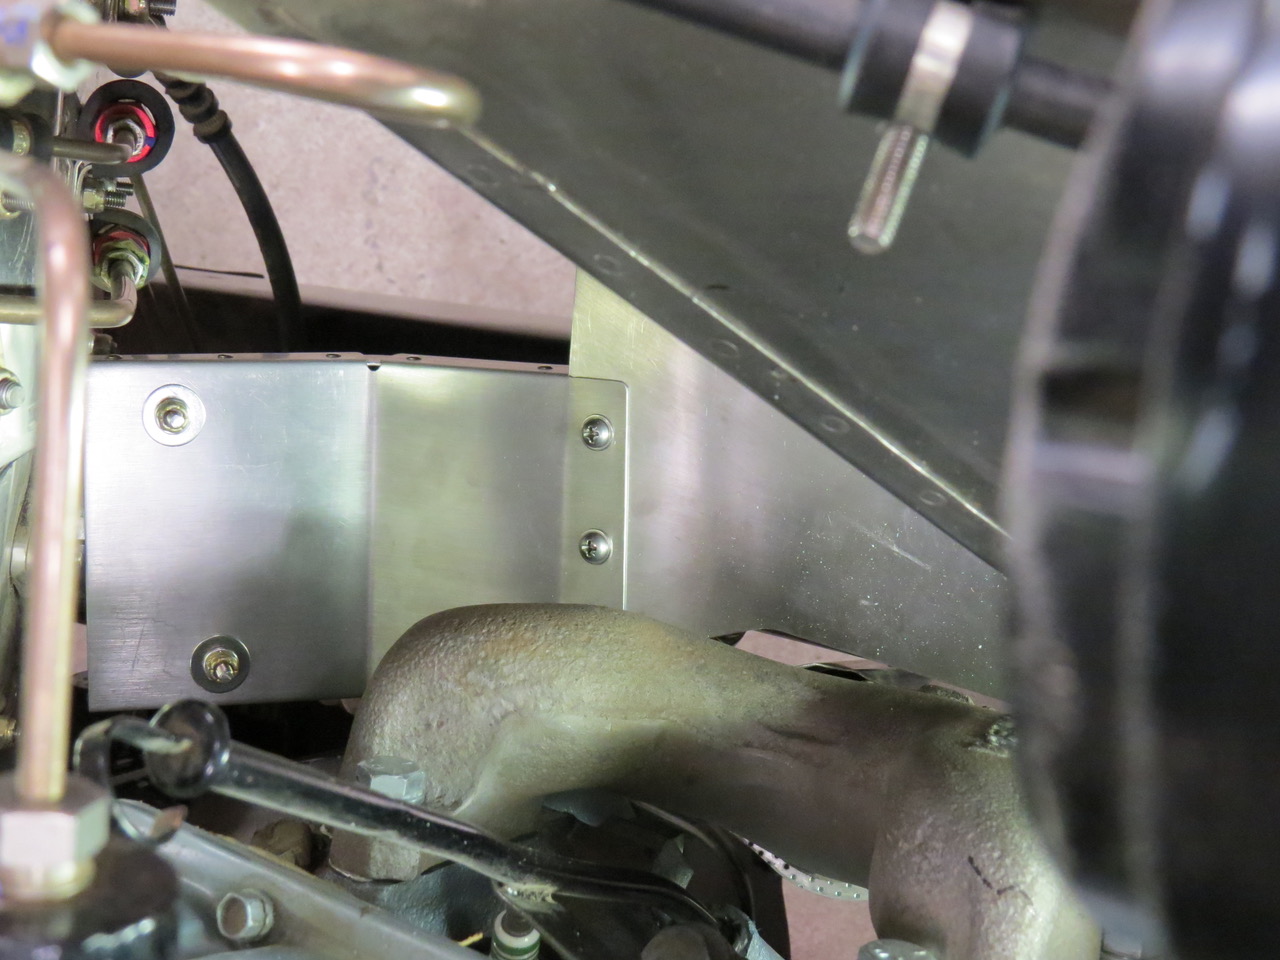
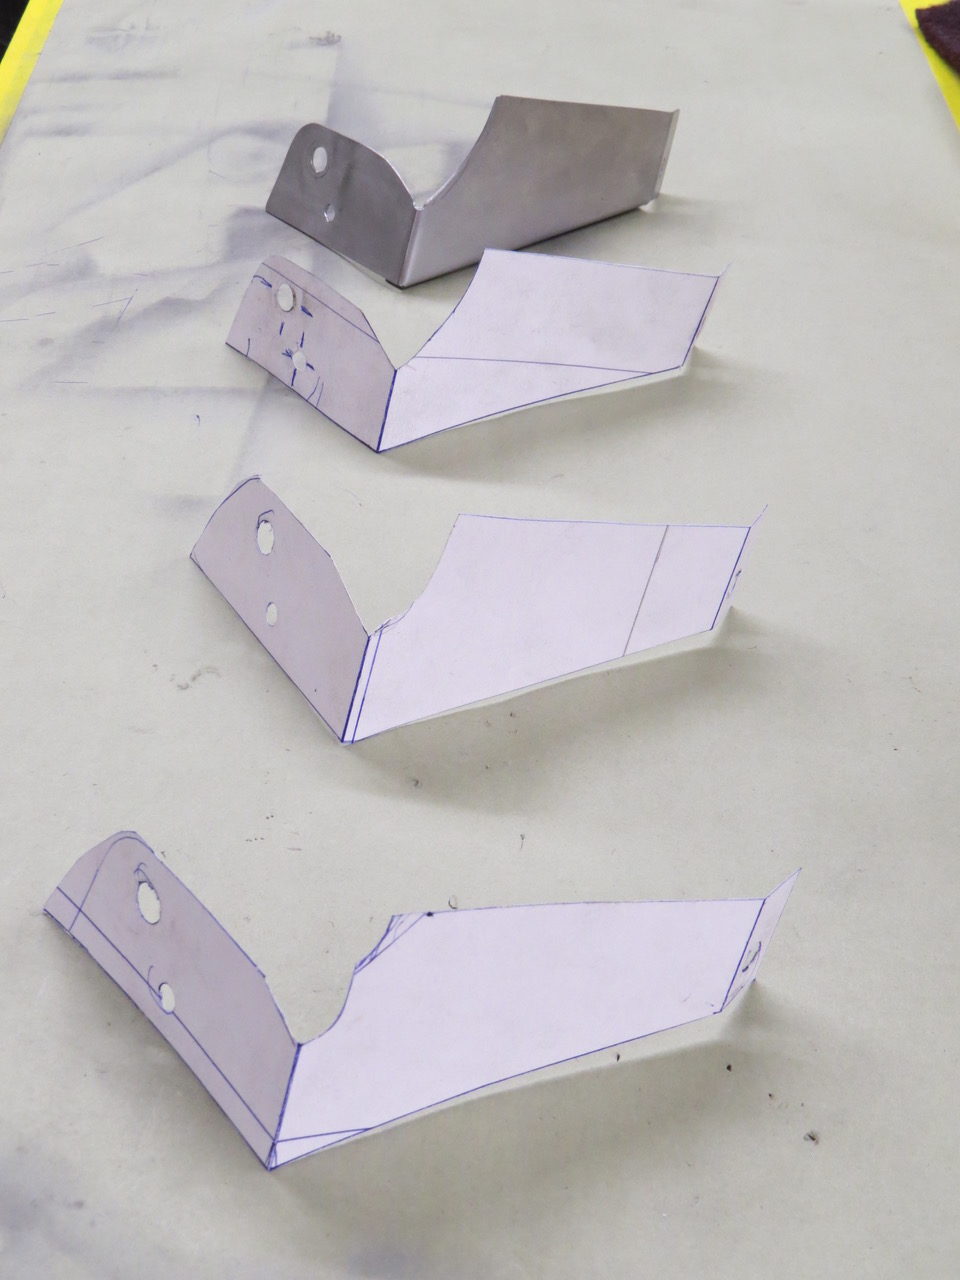
After hooking up the throttle linkage to the carb (a cable system) I realized not only was I missing a throttle return spring but I was also missing a throttle return spring attach point. A trip to the local auto parts store provided me with a selection of different throttle return springs but I was on my own when it came to the spring attach point. More poster paper was sacrificed to make three patterns before I came up with a return spring attach bracket I liked and that would fit without getting in the way of the distributer cap. I made the return spring attach bracket from stainless steel and incorporated a fastener to allow a coil wire clamp to be bolted to the bracket.
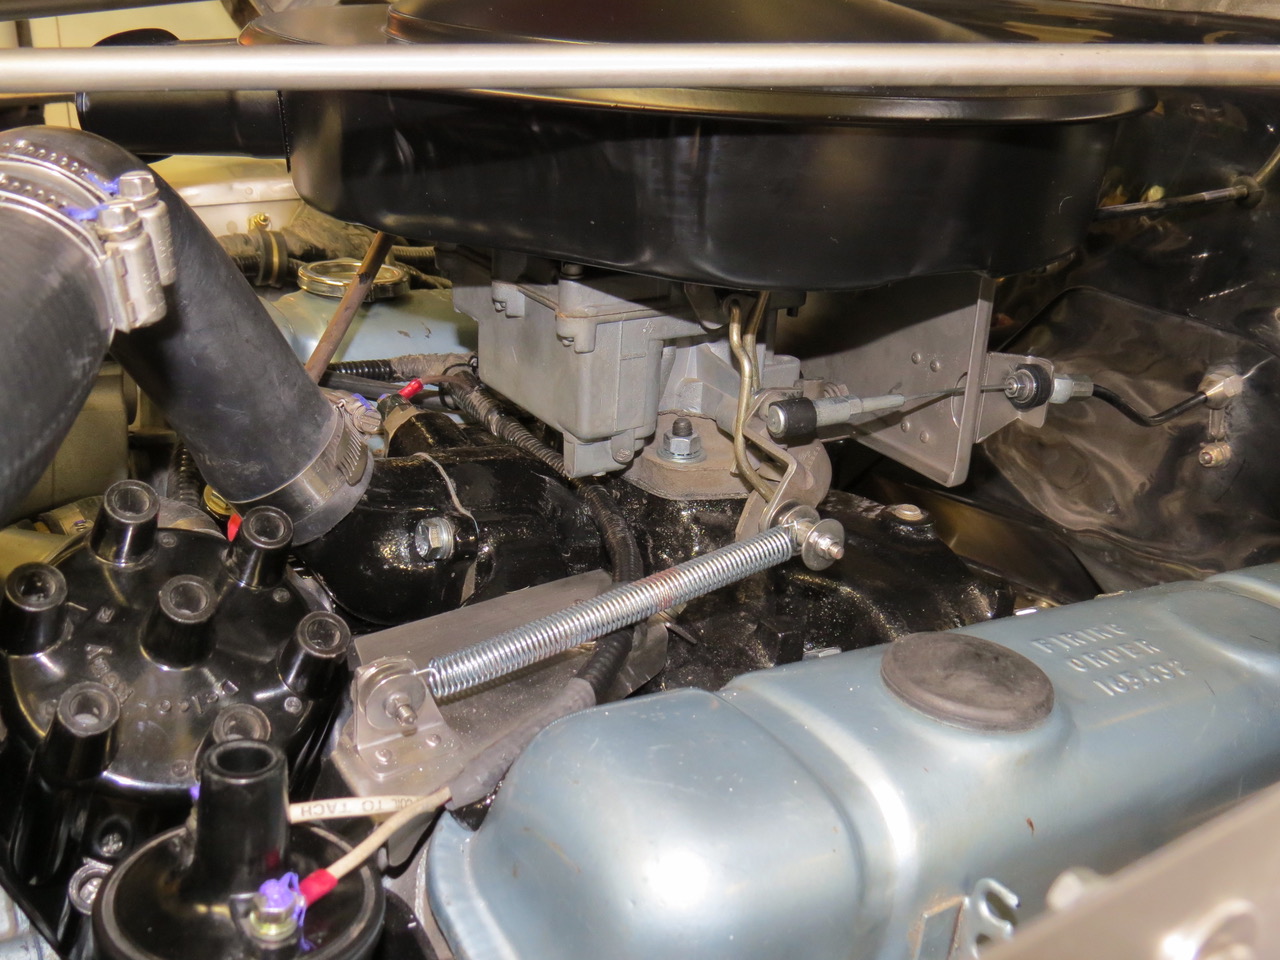
Here’s the cable throttle linkage, the throttle return spring, the return spring attach bracket and the clamp for the coil wires. The red on the return spring is dried blood …. I managed to poke myself quite a few times while attempting to curl the spring ends to match the attach brackets and those springs are sharp. Oh well, some folks pay people to poke them with needles and call it acupuncture. All I have to do is go out to the garage and work on the little Willys, there’s always some sharp edged stainless part waiting to cut me before I even realize it. That metal can be mean sometimes.
2. The Front Drive Shaft:
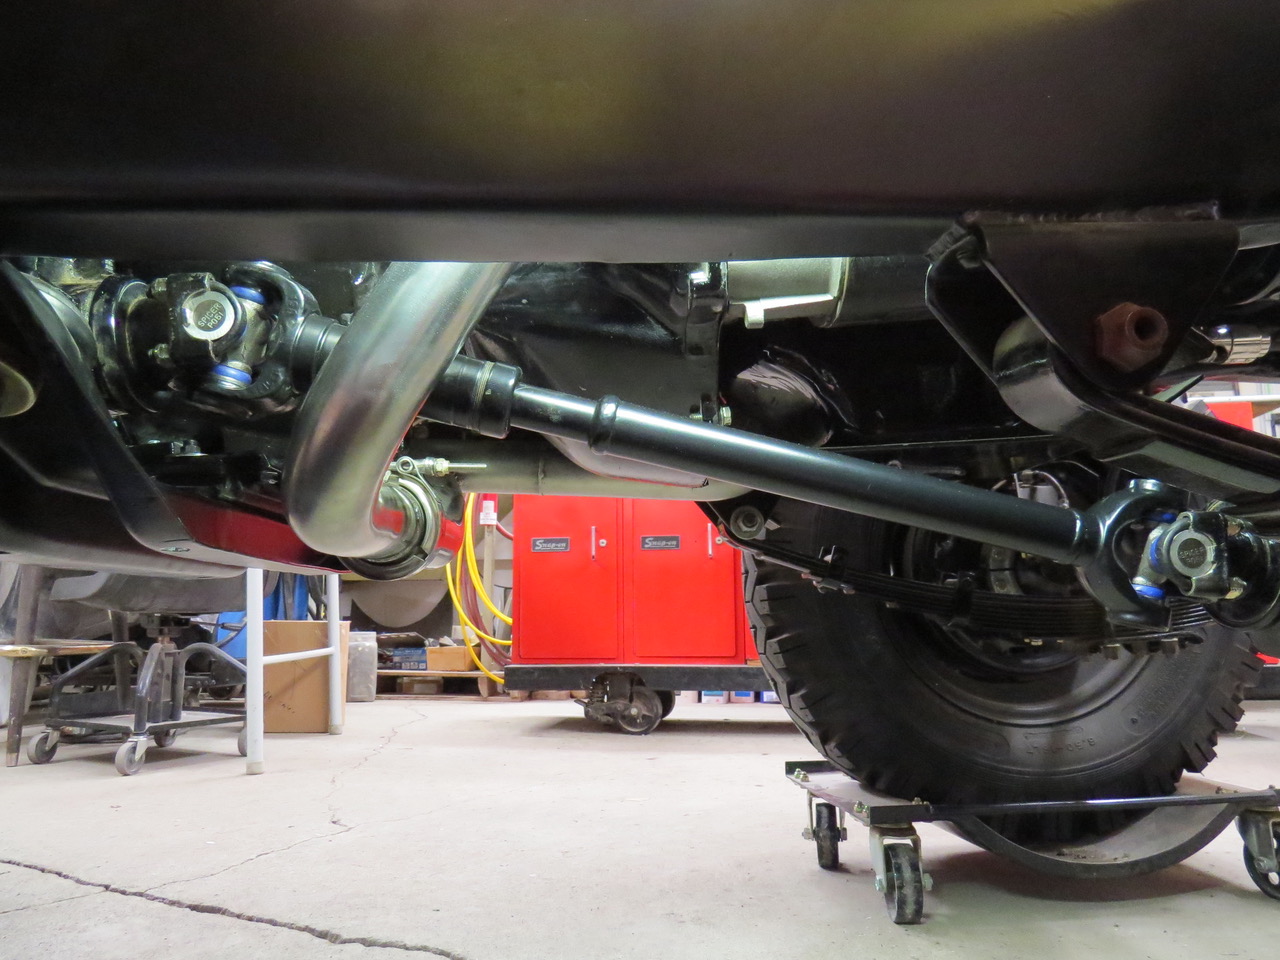
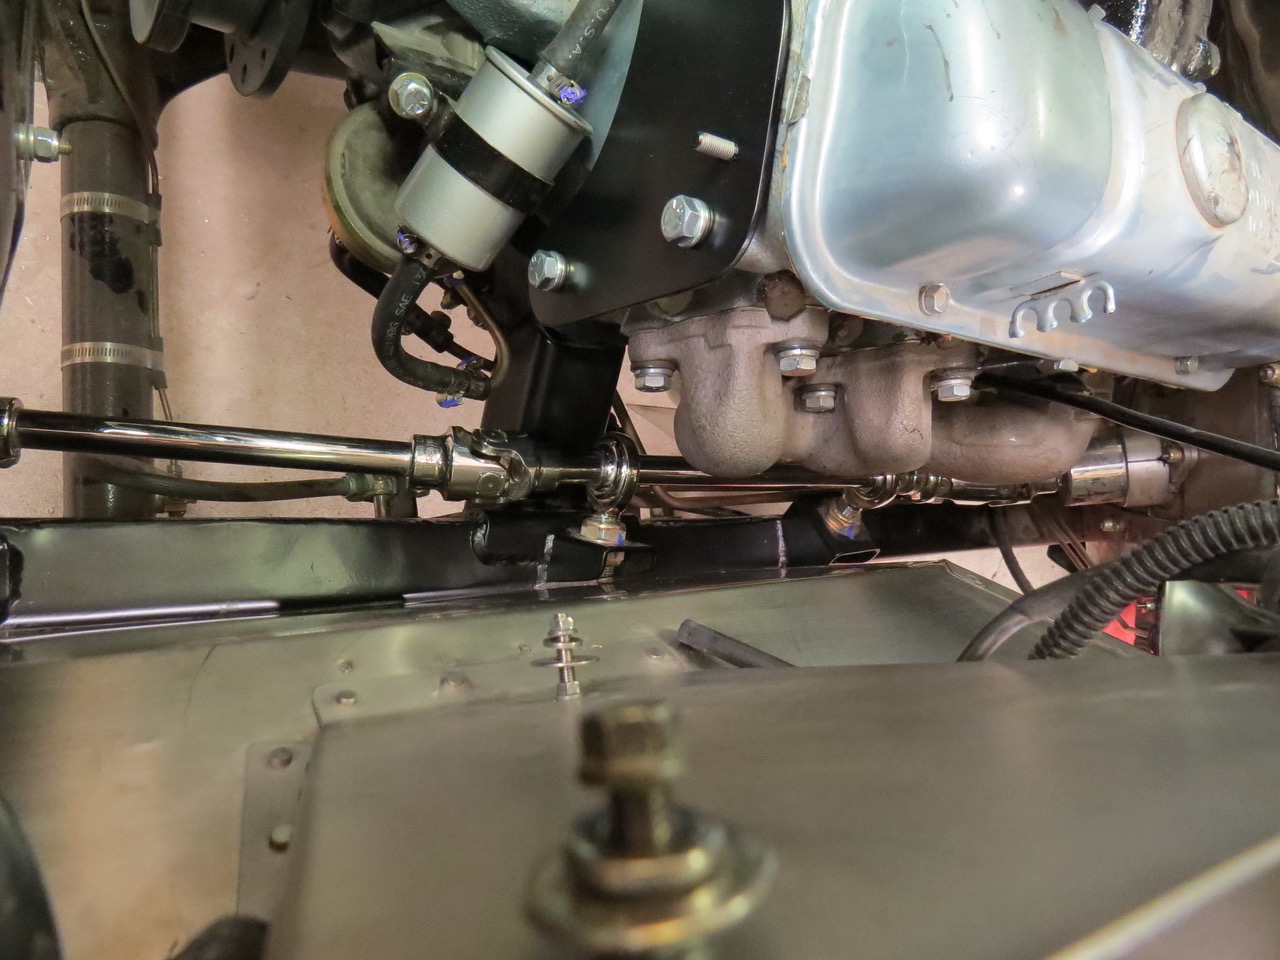
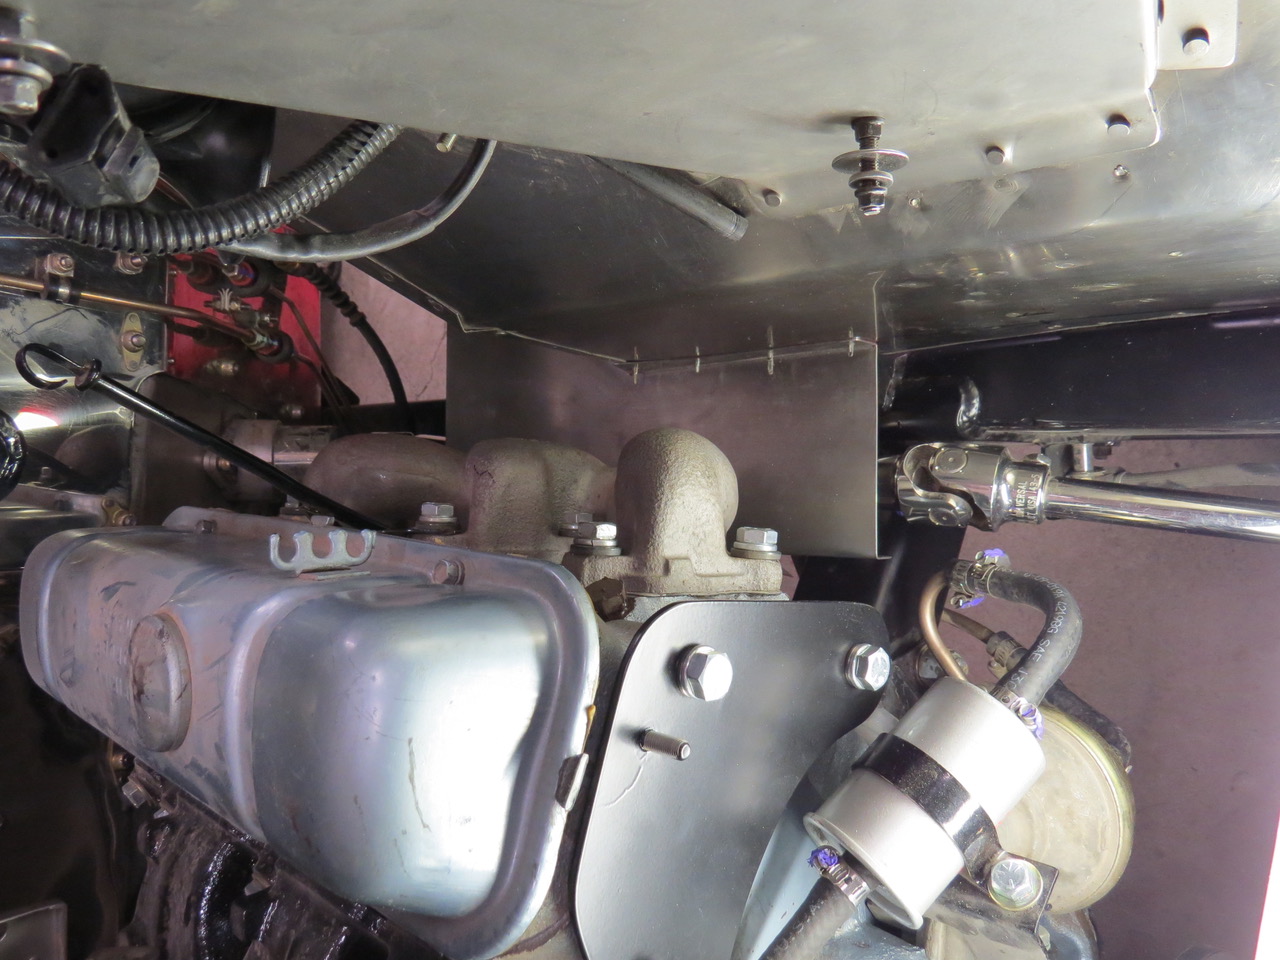
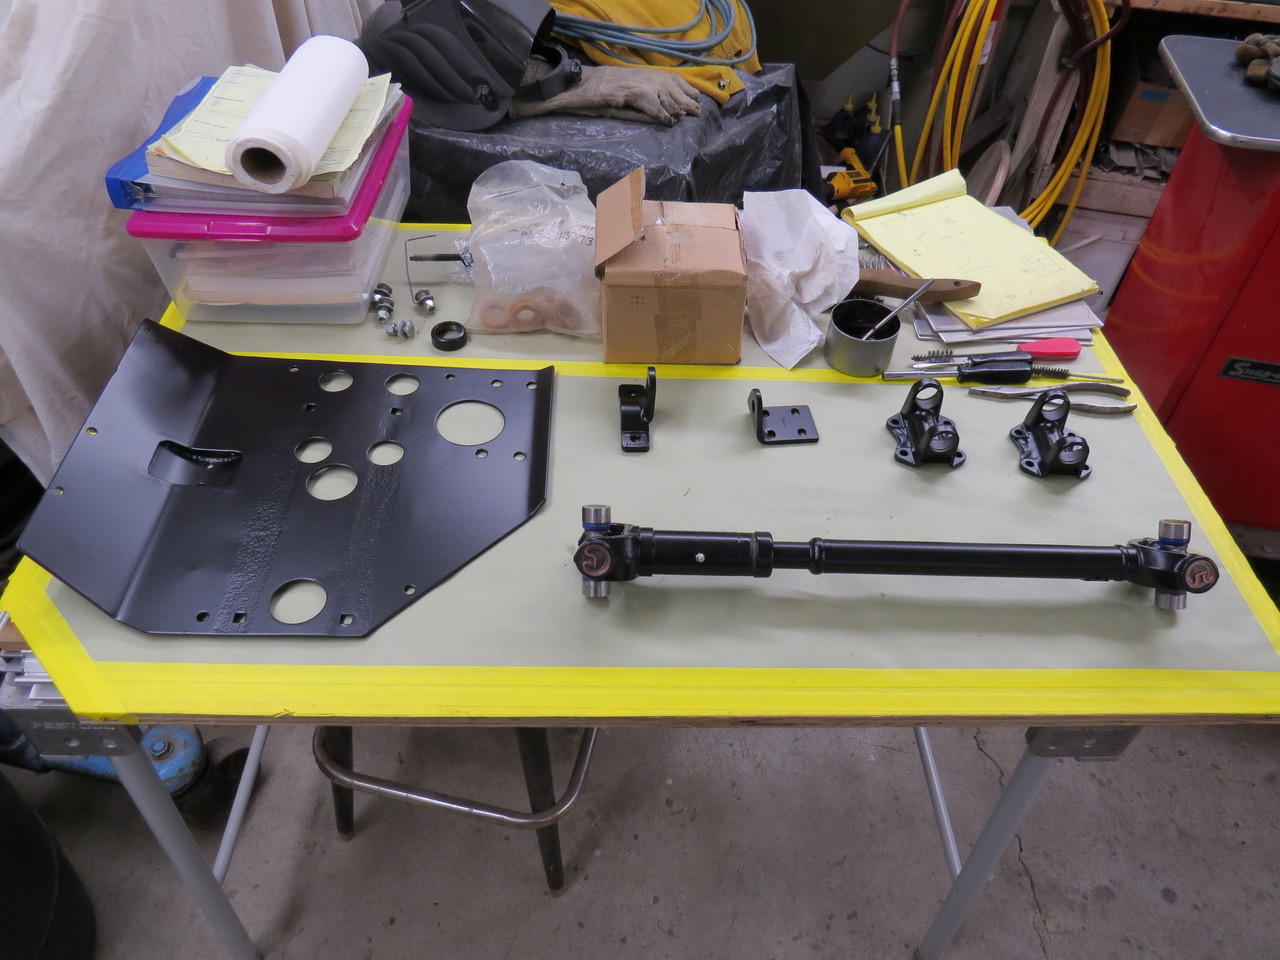
The position of the V6 engine made the original front driveshaft too long and the rear driveshaft too short but right now I’m concentrating on the front driveshaft only. I bead blasted the front driveshaft, took the necessary measurements between the transfer case outlet and the front axle attach point and it was time to visit with the local driveshaft guys. After cutting the driveshaft to the correct length it was welded back together, new universal joints installed and then balanced before returning to me. I removed the new u joints, did a quick bead blast cleanup (after removing all traces of the really sticky grease on the splines) and dropped it off to have it powder coated.
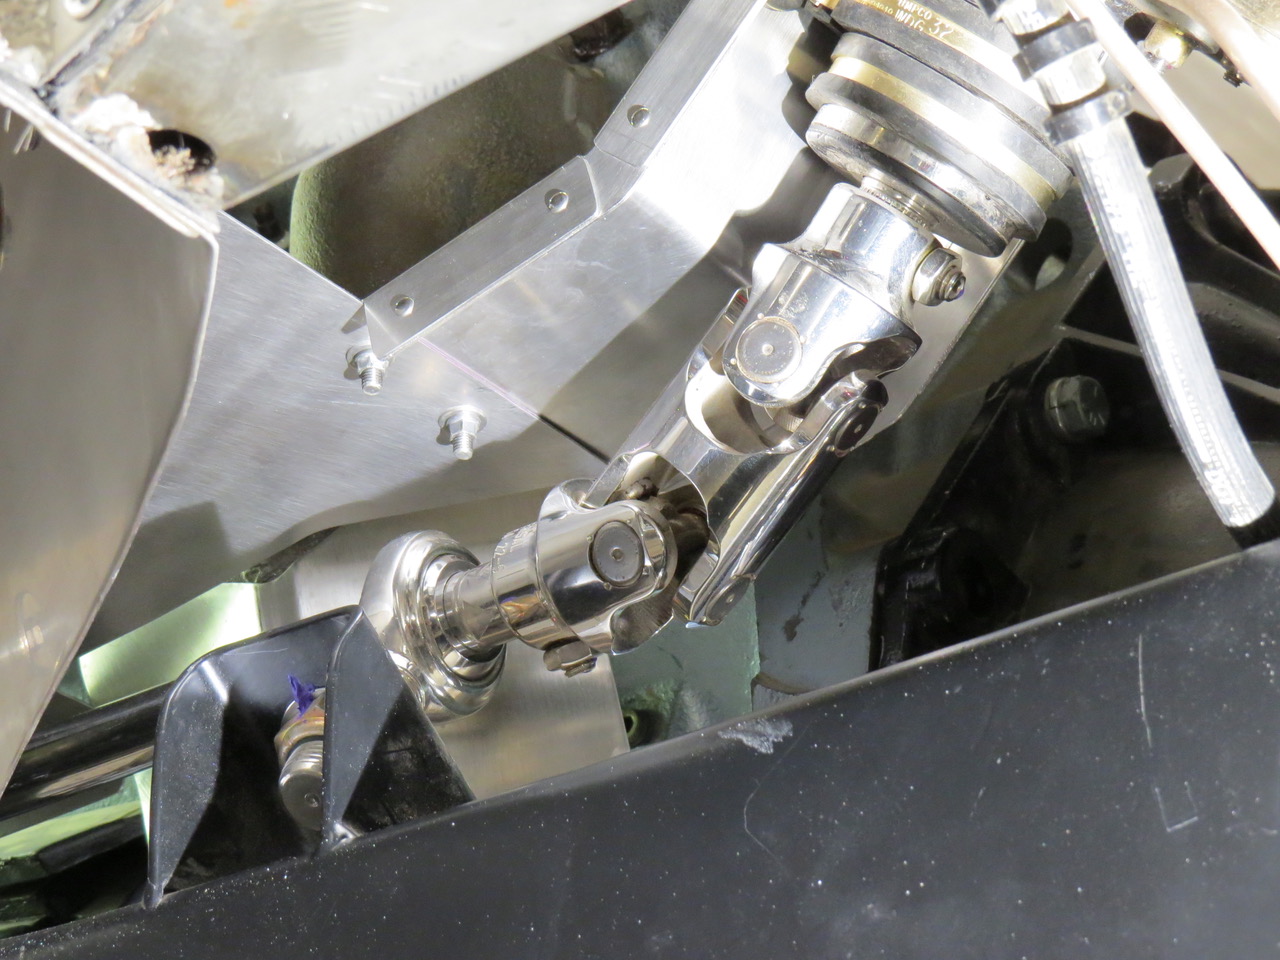
The next day the driveshaft was ready to come home so I could reinstall the new universal joints and then bolt this thing on the little Willys. The last time this driveshaft was installed on the little Willys was when it did it’s major meltdown in October of 1985. Wow, I’ve been waiting over 32 years to reinstall this driveshaft. It doesn’t seem it’s been that long but the color (or lack of it) or my hair tells me more than a few decades have gone by. I remember when I was still in my 30’s my hair was brown, not Arctic Blonde (White) like it is now.
Oh well, as much as I tried to take my time installing the driveshaft the four u bolts were quickly tightened and torqued and it was time to find the next to do item on the little Willys.
The front driveshaft is installed on the little Willys for the first time in over 32 years. WOW!