emailNeed to contact me and don't have my email? Click on email button.
About eWillys
Welcome to eWillys.com, a website for vintage jeep enthusiasts. I update this website nearly every day with jeep deals, jeep history, interesting reader projects, jeep related info, and more.
These quick searches can help you find things on eBay. People list in the wrong categories all the time, so don't be surprised to see brochures in the parts area for example. This section used to be split into jeeps, parts and other categories, but recent changes to eBay will require this information to be recoded.
The links to posts below show jeeps grouped by models, condition, and other ways. Some of these jeeps are for sale and others have been sold. If you are unsure whether a vehicle is still for sale or not, email me at d [at] ewillys.com for more info.
Importantly, the allure of buying a project jeep can be romantic. The reality of restoring a jeep can be quite different, expensive and overwhelming without the right tools and resources. So, tread carefully when purchasing a "project". If you have any concerns about buying a vintage jeep, or run across a scam, feel free to contact me for help, comments or concerns .
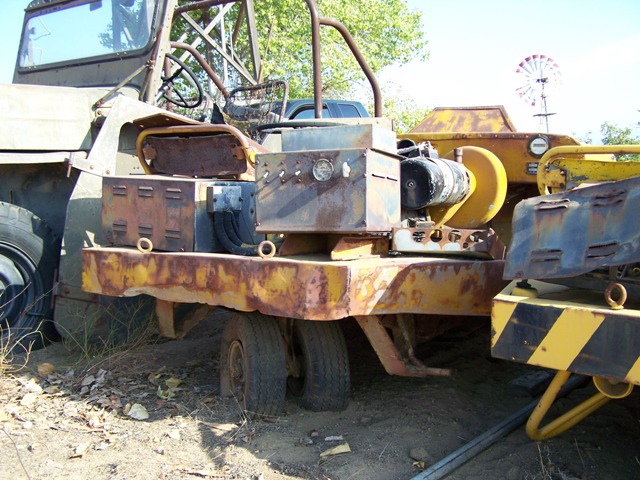
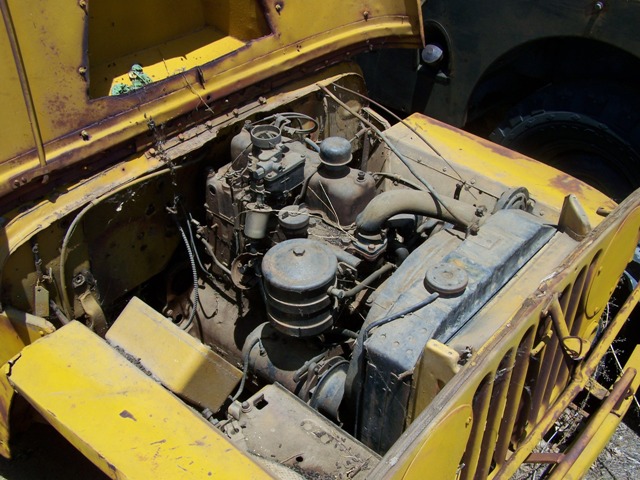
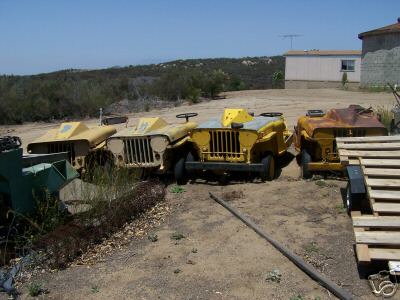
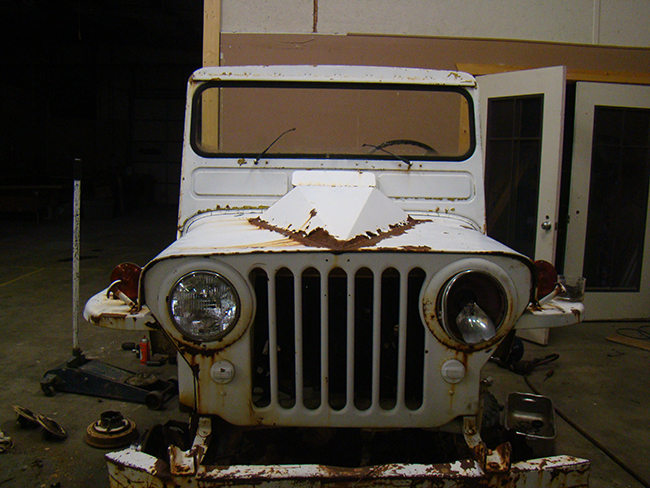
Tom’s been working on the restoration of this CJ-3A APU. He’s wondering if anyone knows anything about the three-wheeled APUs that were auctioned in California about five years ago. He’s hoping to find some of the hard-to-find APU equipment.
Here are a few photos of the APUs sold a few years ago:
Here’s how he started, with a jeep he didn’t know was an APU. Since then he’s been learning more about them.
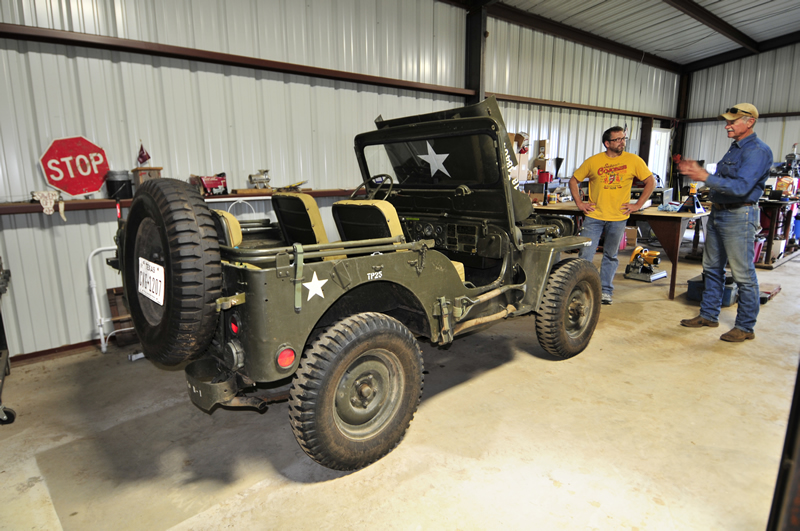
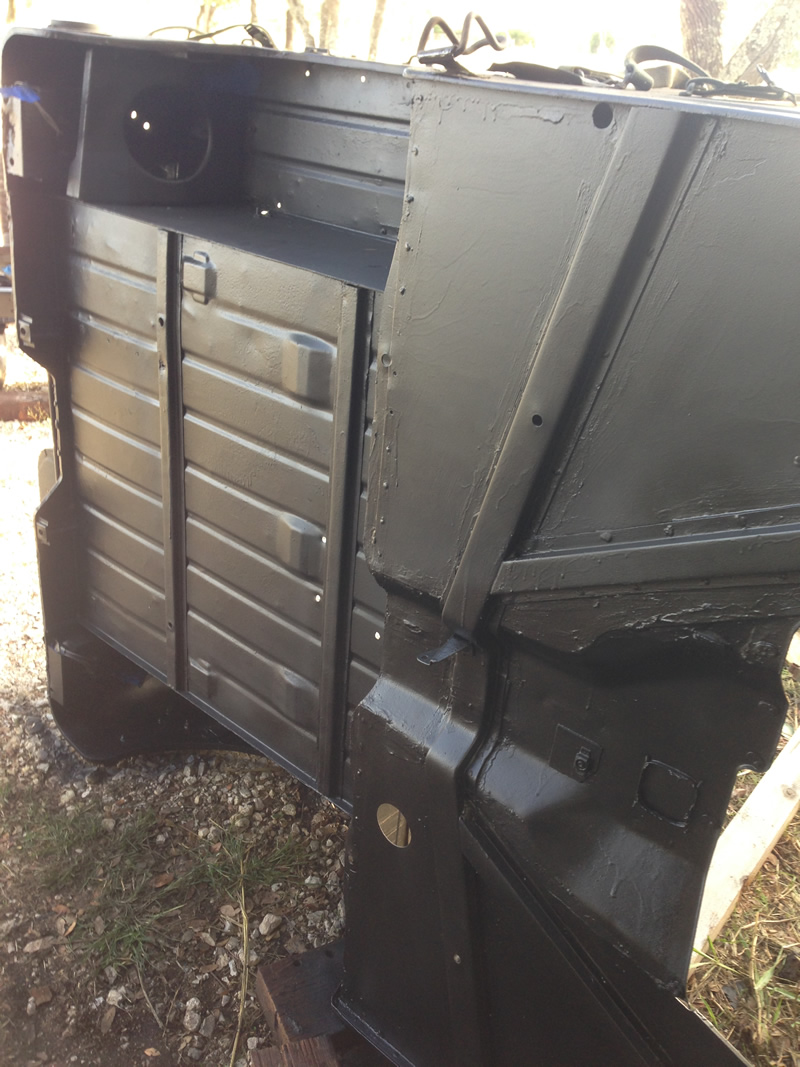
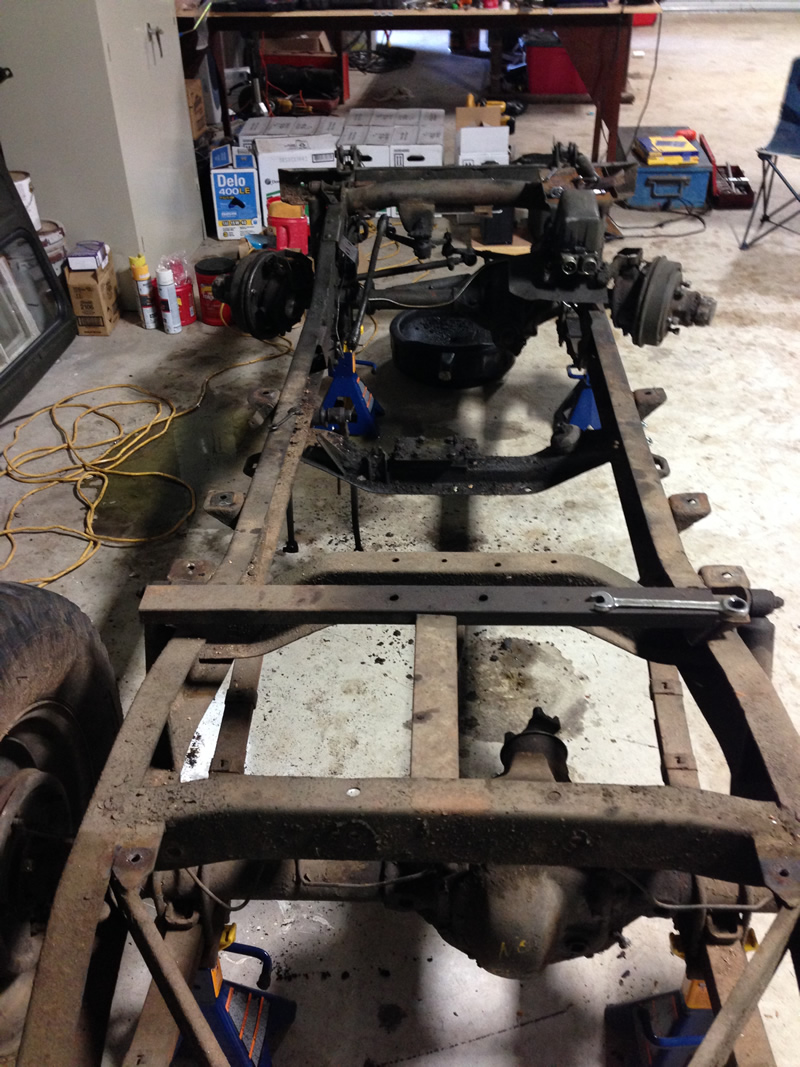
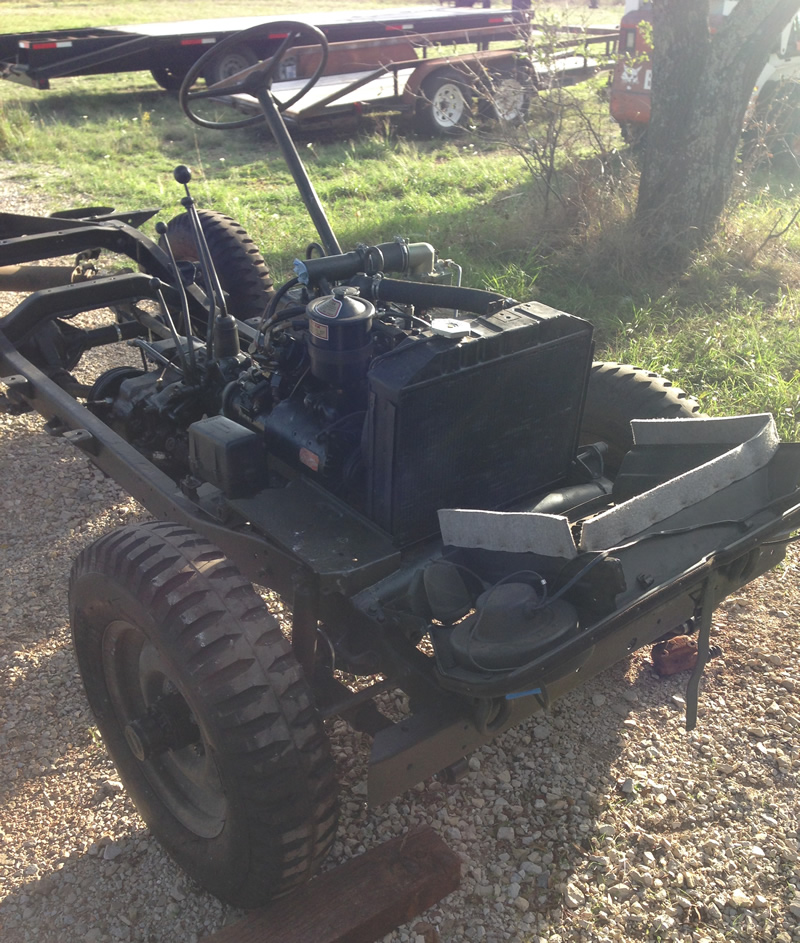
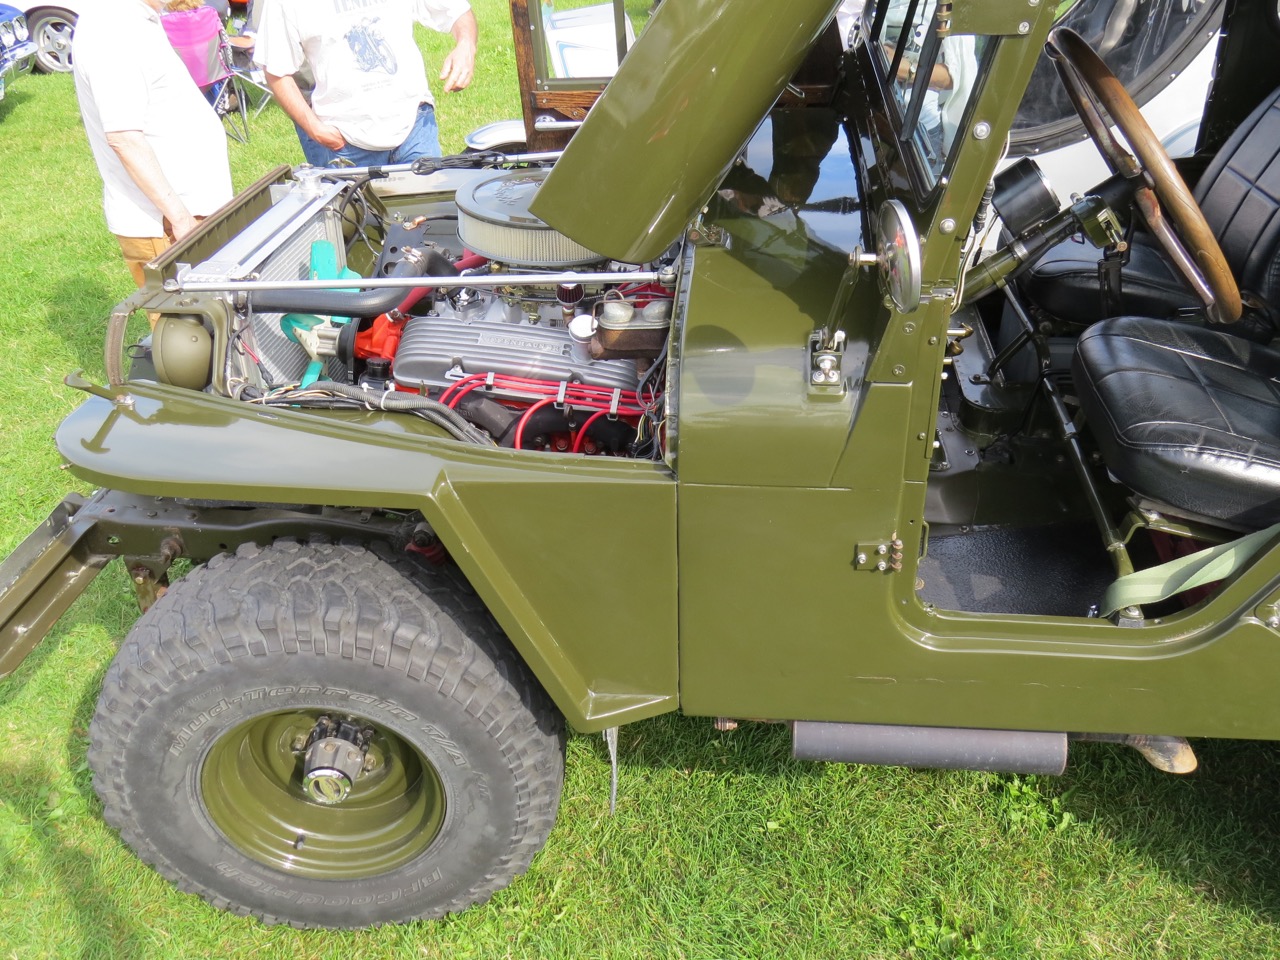
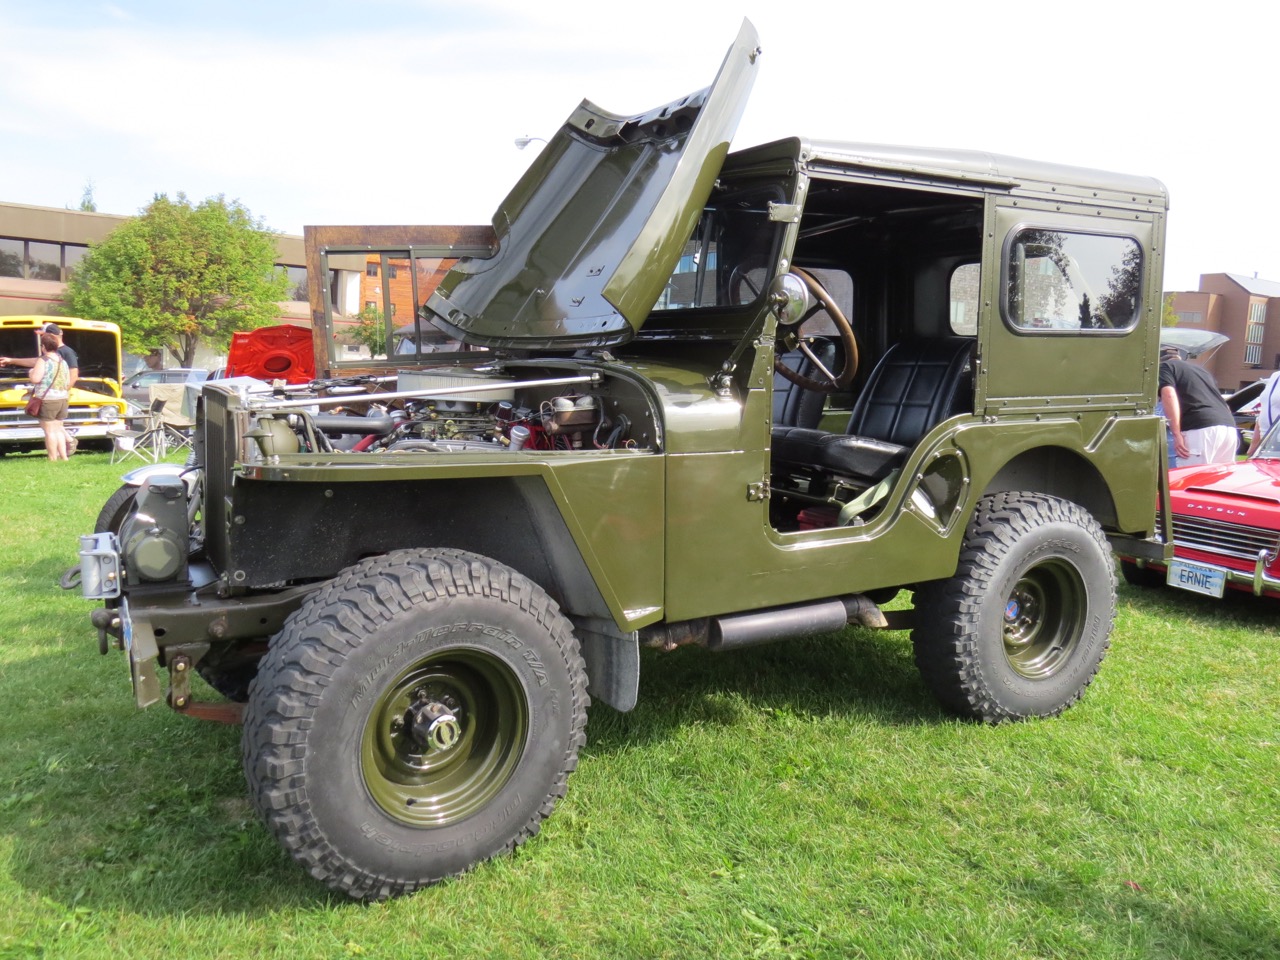
Lee’s shared some updated photos on his M-38. His goal has been to restore it back to stock. Though he’s got a great deal of stock jeep to use, as he disassembled it he discovered a few more problems than he’d planned. Despite some unexpected issues, he’s been working all summer since Ann and I visited he and his family last April in San Saba, Texas. He doesn’t have a great deal of time, between his job, farm, kids and wife, but he’s been making the most of it. He tells me he is almost done.
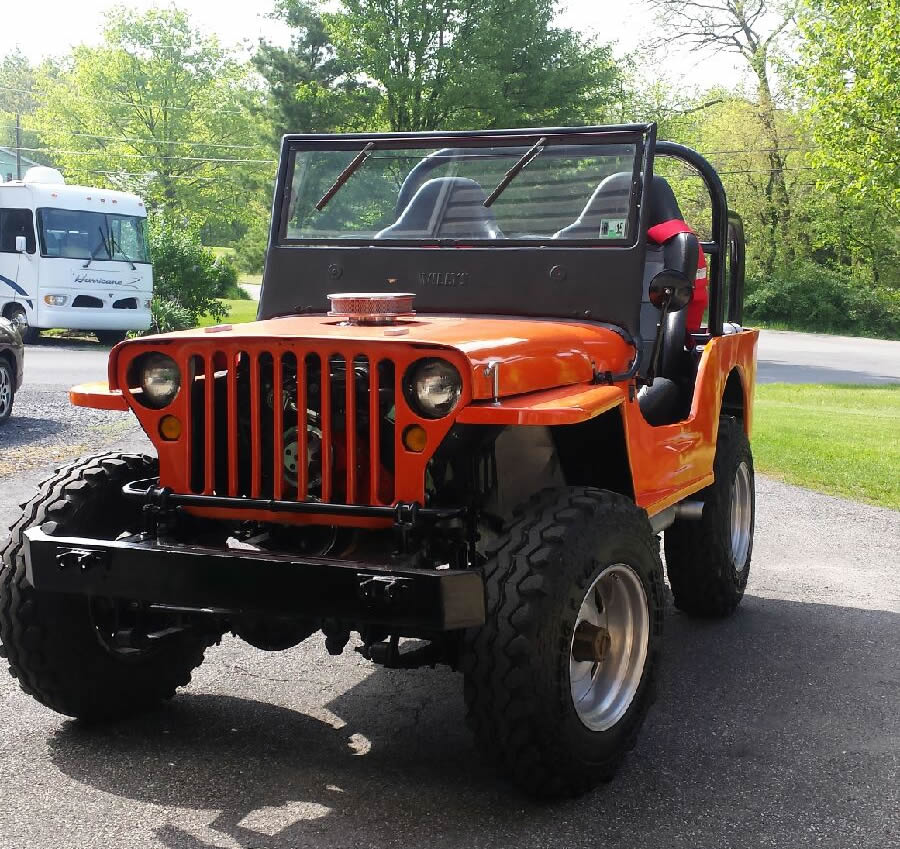
You may remember Robert’s 1942 GPW from this post last year. Since then his father and he have repowered their modified GPW.
Robert writes, It has been about 18 months since I wrote you about the GPW project that my father and I found on your website in 2010. You were kind enough to feature the build of our Willys last time. Since then we have made some drastic changes that I think you may enjoy.
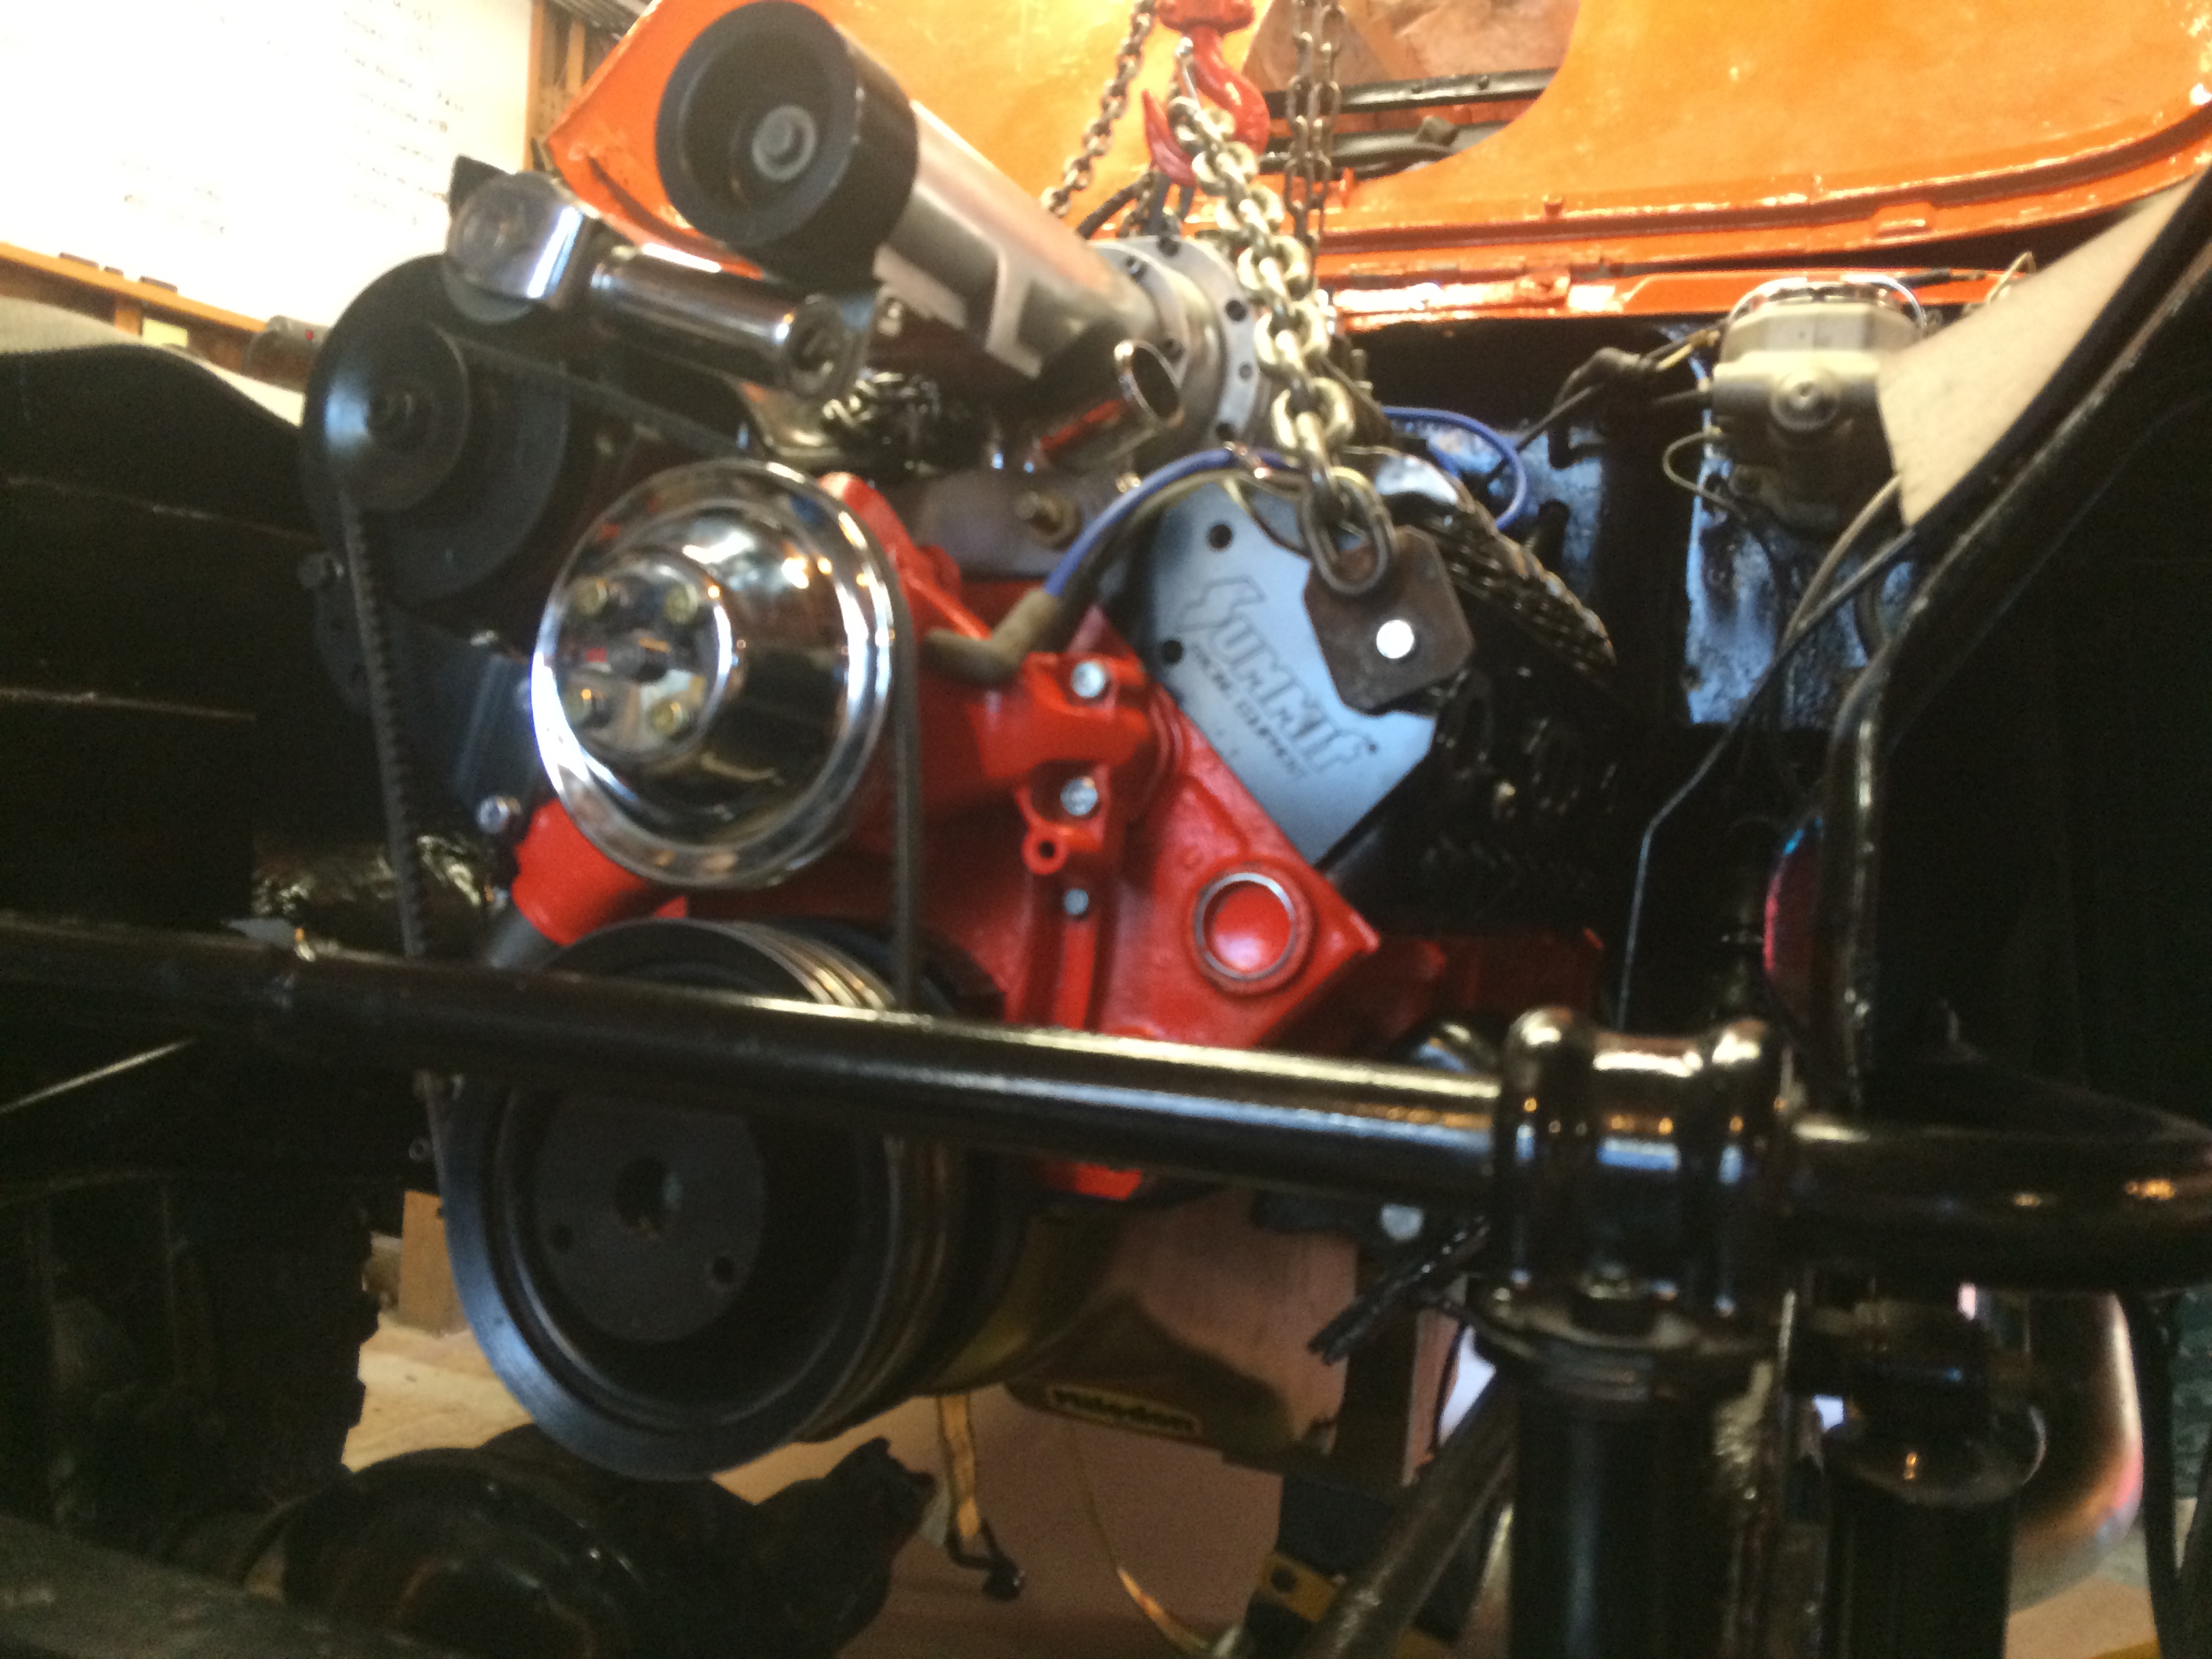
Things got out of hand last November when a simple craigslist browse lead to the purchase of a B&M 144 Supercharger from Ohio. Initially, we were not sure if the blower would find its way into the GPW, and decided to bore out a 350 that we had lying around. The plan was to build a supercharged 383 stroker for fun, and then decided what vehicle to install it in. As you may imagine the longer we had the blower in the garage the more inclined we were to see it tentatively installed in something, and the GPW was the easiest option. We pulled the 400 SBC and installed the 350 with no internals, but the blower on top to see how it looked. The result was amazing, and we decided that the Willys was going to get a new motor!
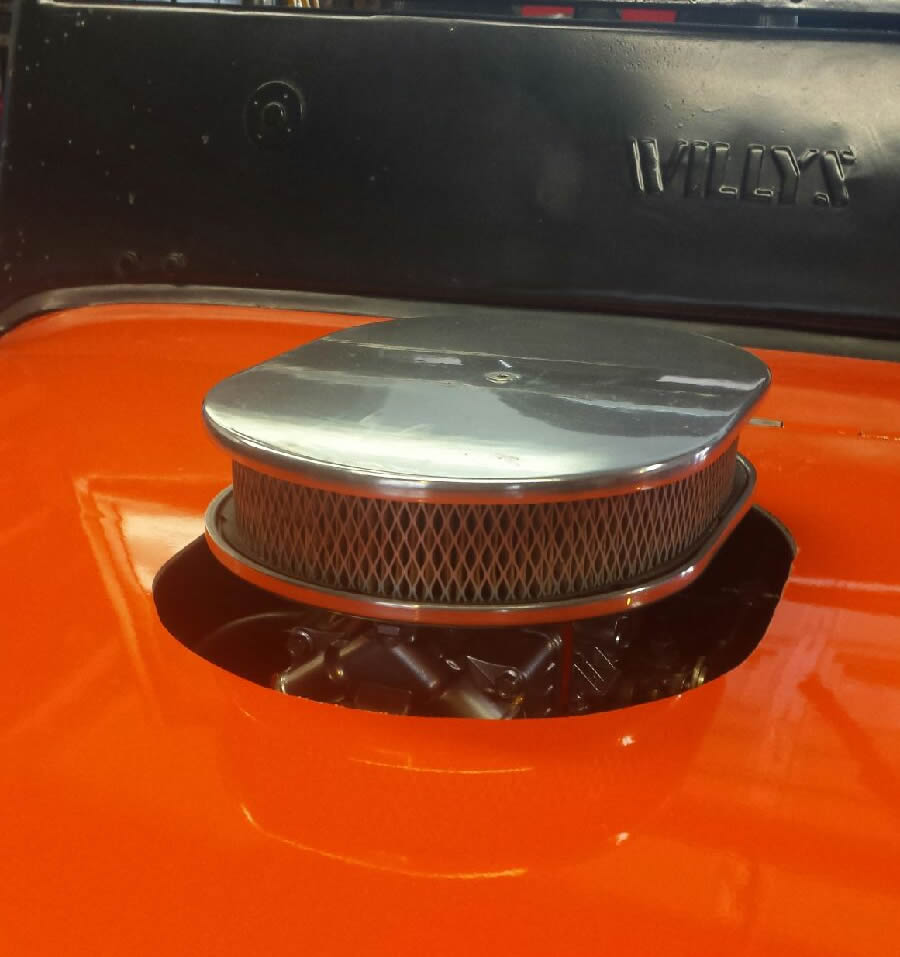
Installing a small block chevy with a blower in a Willys that came with a 4 cylinder comes with numerous obvious and unforeseen hurdles. For instance the blower is a bit taller than a traditional intake manifold, and consequently the hood would not close. Therefore, we moved the motor mounts down which actually helped the center of gravity! This alone did not clearance the blower, carburetor, and air cleaner though. However, we were undaunted, and decided that the only remaining option was to cut a hole in the hood and stuck the air cleaner out!
After we figured out how to fit the motor in up and down we decided to address the issue of front to back. The position of the motor already had the HEI distributor close to the firewall so there was no room to move the engine backwards, and the snout on the blower was too long for us to fit the single core radiator before the grill. Therefore, we completely removed the radiator from the engine compartment, and installed a new 3 core aluminum radiator on the roll bar behind the seats! We had to customize all of the plumbing for the cooling system, and my uncle assisted us with a very special bender borrowed from a former custom off-road shop. In addition to the bent aluminum portion we ran the same flexible lines along the frame rails that you can find on monster trucks.Continue reading →
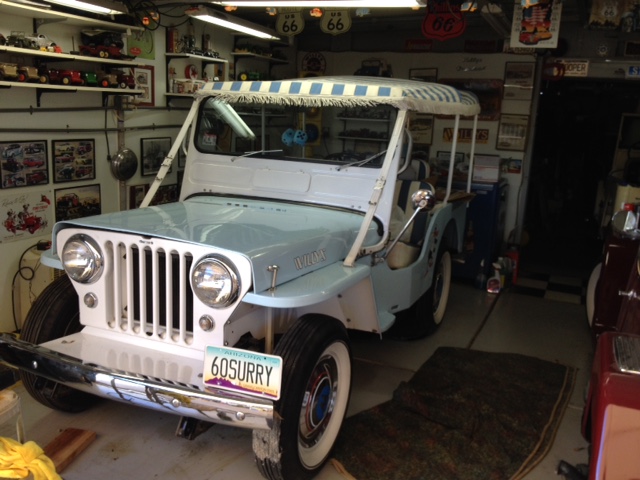
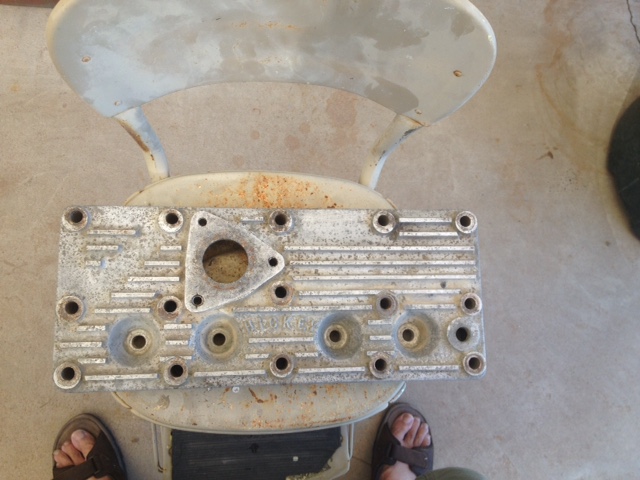
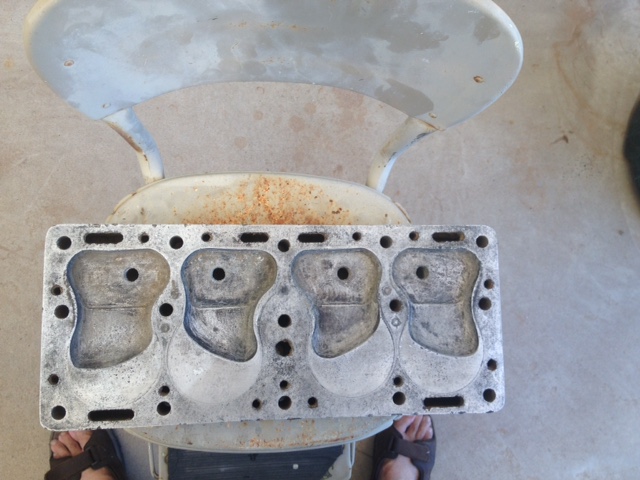
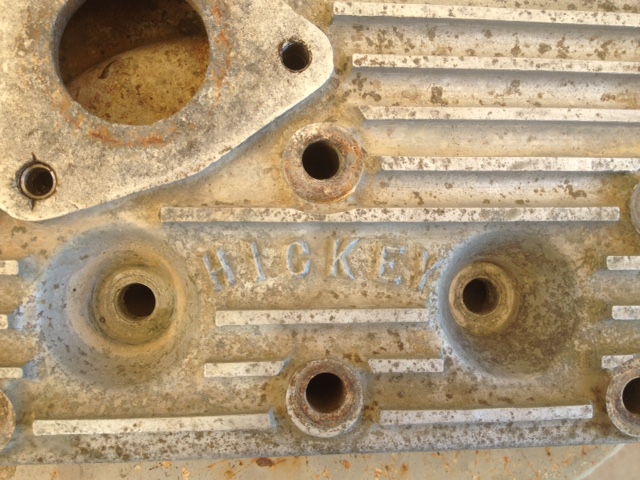
Colin bought a Hickey aluminum cylinder head to modify his 1960 Surrey, but ran into some problems with it. Below he describes the changes he made, the problems he encountered, and his current solution. Thanks for sharing Colin!
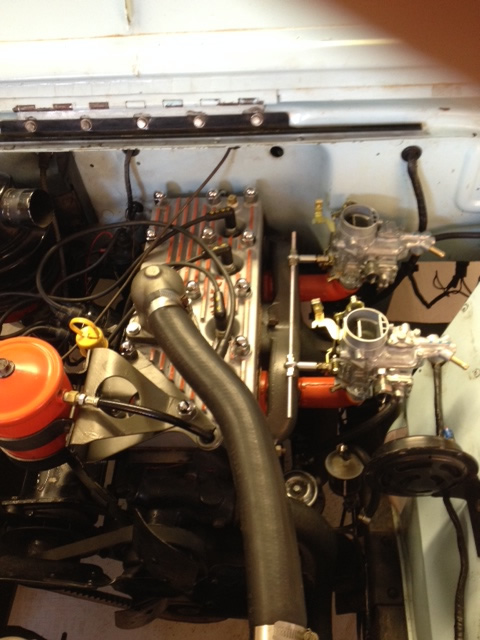
I started a hop-up project on our Surrey that involved the installation of a 1950s Nick Hickey aluminum cylinder head for the L-134. That morphed into the fabrication of a dual carb setup using two intake manifolds with a balance tube an F Head exhaust manifold that a very good friend, Steve Mason, and I fabricated out of an old manifold supplied by Jim Sullivan.
The first issue was the two new Weber carbs. They were supposed to be synchronized and jetted the sam, but weren’t. That led to the rear carb dumping extra fuel into #s 3&4, resulting in a blown head gasket which dumped coolant into those cylinders.
Hickey head top and bottom.
Took it all apart, rejetted the carbs and had the head resurfaced. I finished buttoning everything up and fired it up. adjusted the carbs slightly, running smooth, then noticed coolant in the #2 spark plug recess. Shut it off, pulled all plugs, could see coolant in #2, and steam coming from what must be a crack in the threads.
When I had the engine running previously I did not have water pooling in the plug basins. Upon looking at the plugs, the electrodes indicated the possibility of them coming in contact with the valves. Took a very hi intensity flashlight and looked into the cylinders and at least two of the valves I saw the imprint of the electrode on the valves.
So my theory is this:
I had the head resurfaced and in that process, the machine shop used an epoxy to smooth the surface indentations( corrosion?), and then did the resurface. The plugs I had used were nearly new from the original head. Those electrodes did not extend into the combustion chamber. The machine shop( guys who do a lot of work on Ford V8s with aluminum heads told me to get plugs with a slightly longer shank for better combustion. So I did. Only a small imperceptible difference in length.
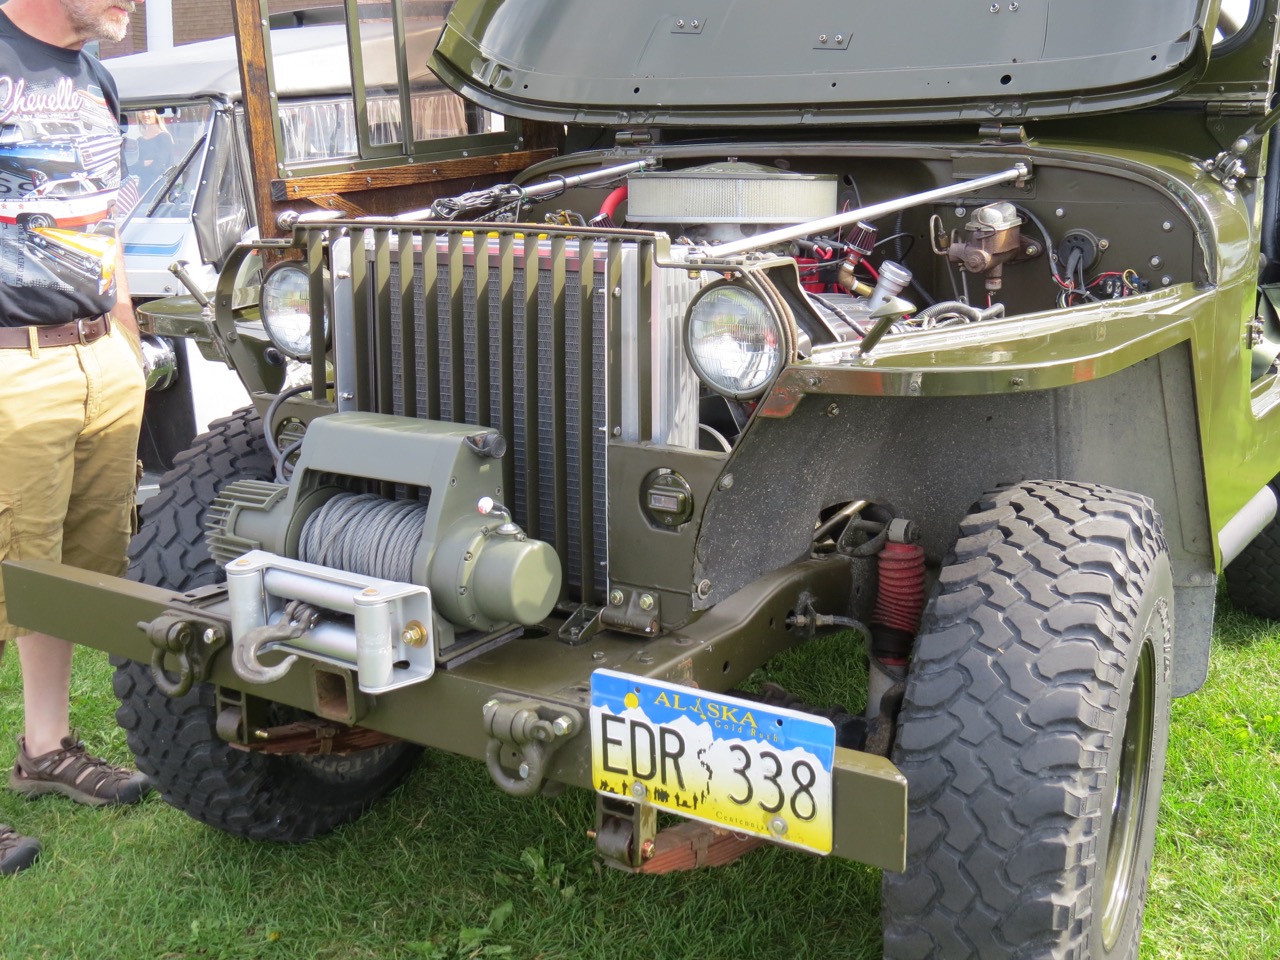
With winter settling into Alaska, Paul has returned to continue work on his Stainless M-38 (and a matching stainless trailer). I believe this is the 28th year of the project? Thanks for sharing Paul!
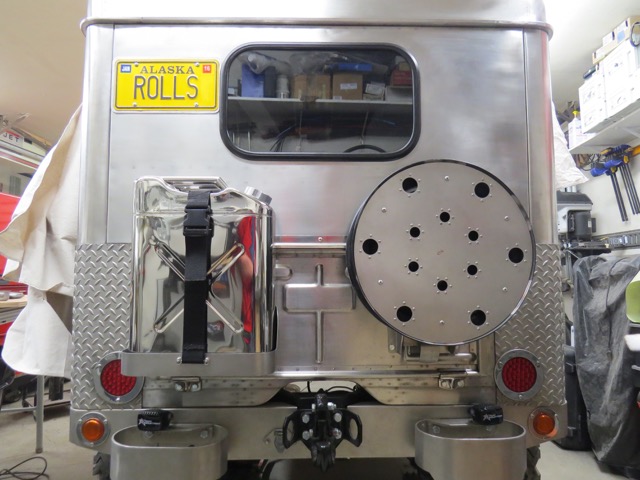
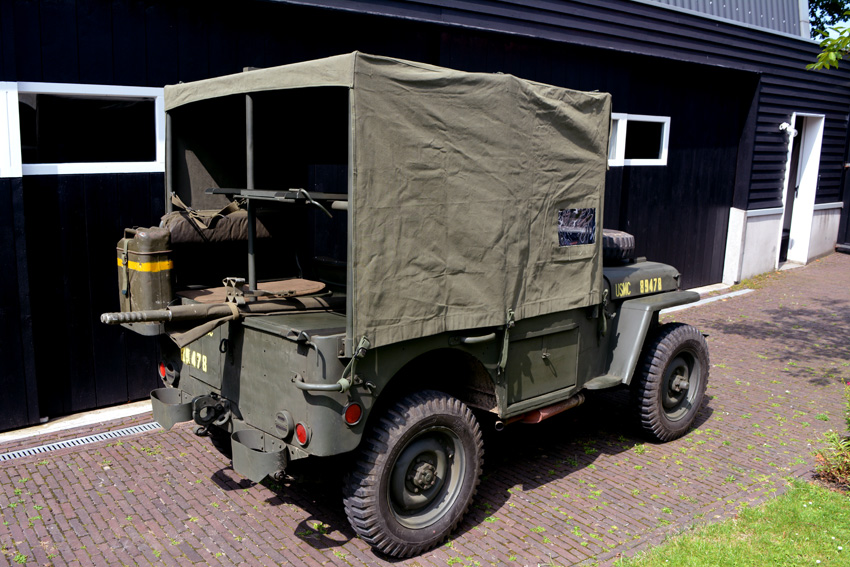
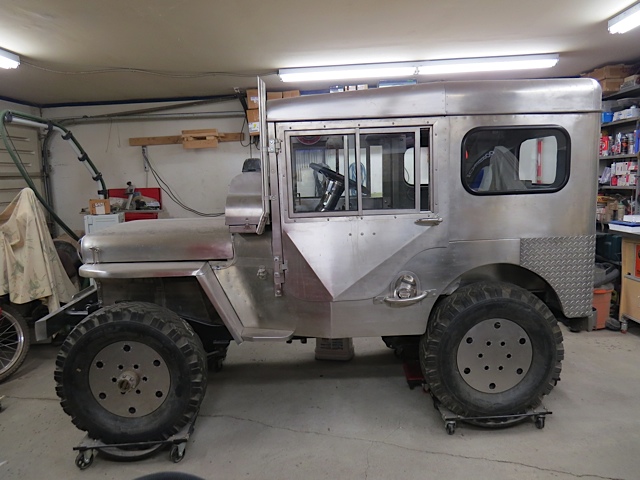
Knarley Rolls, Paul’s M-38. The spare with its cover is attached to the back of the jeep.
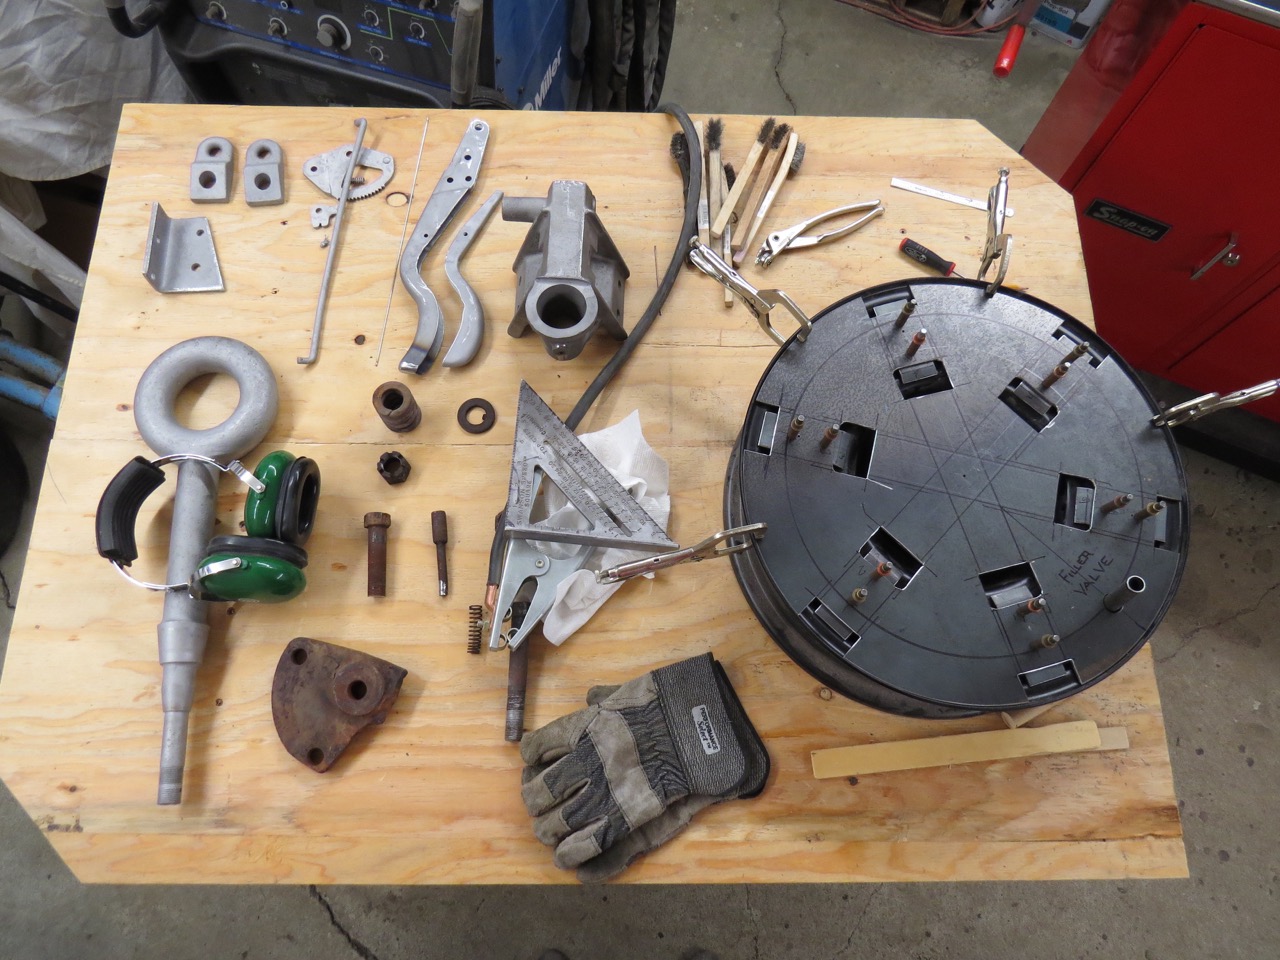
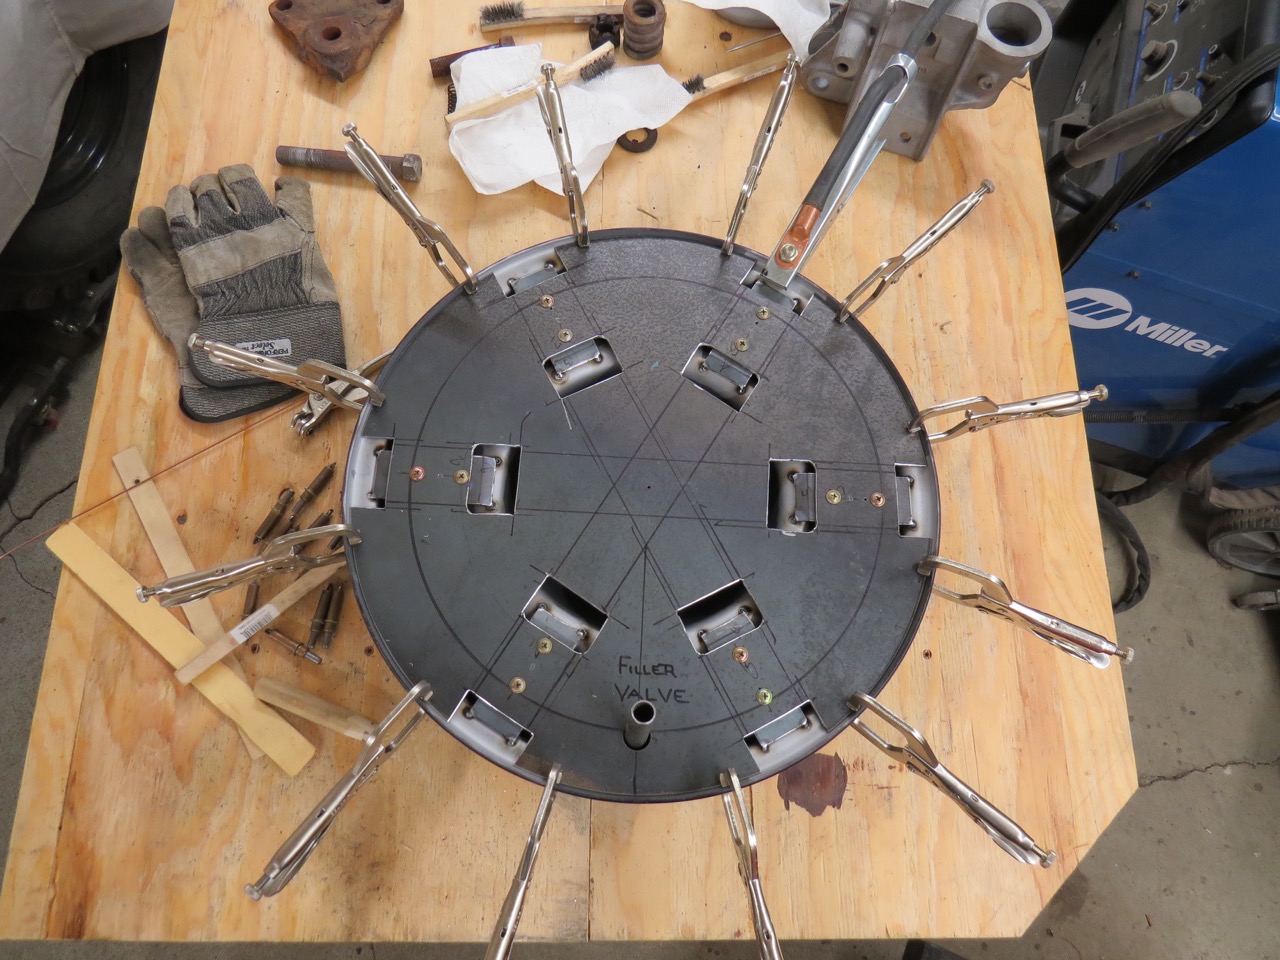
The black steel wheel in the photo below is one of 8 new wheels I purchased for the Willys (4 and a spare) and the M100 trailer (2 and a spare) so I need to modify these wheels to accept the stainless wheel discs I previously made. Each wheel will have 6 metal tabs (evenly spaced) welded to the outer face of the wheel with the tabs running from the outer bead flange to the raised inner ring around the lug nut area and each tab will have two nuts welded to the inner surface. These nuts will line up with holes drilled thru the stainless wheel discs to accept the wheel disc attach hardware and the tabs will provide additional support to hold the wheel discs while driving.
The black rim is to the right covered by a template. The other parts are trailer pieces from the disassembly of his trailer.
My original plan was to have only one nut per tab (so the wheel disc would be held on with six machine screws) but it’s much easier to weld two nuts to each tab while I’m making the parts than to have to add additional nuts and attach screws after the wheels have been powder coated just in case the discs wobble during rotation. I’ll try the 6 attach screws per wheel first and if the wheel discs stay smooth during driving I’ll leave the extra 6 nuts empty. If the disc shows any sign of instability while driving I’ll use all 12 screws to attach the disc for extra support.
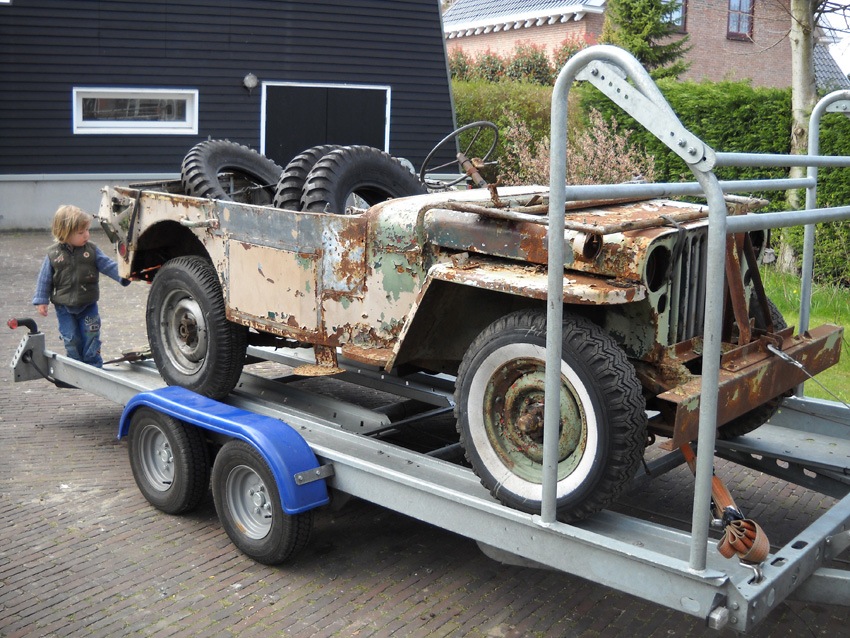
For just finished restoring this Holden Ambulance jeep. For more pic’s go to: www.yankreenactment.nl then choose “jeep”, there you find the amb jeep and the finnished project under “canvas top”. Looks great!
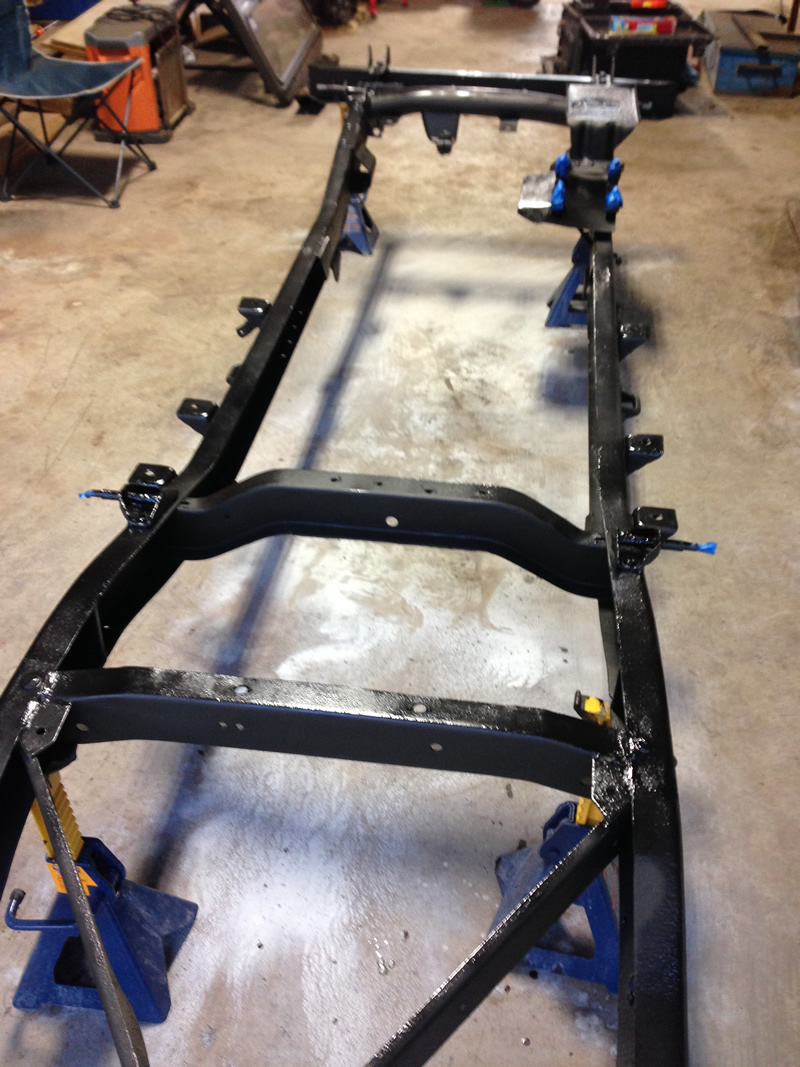
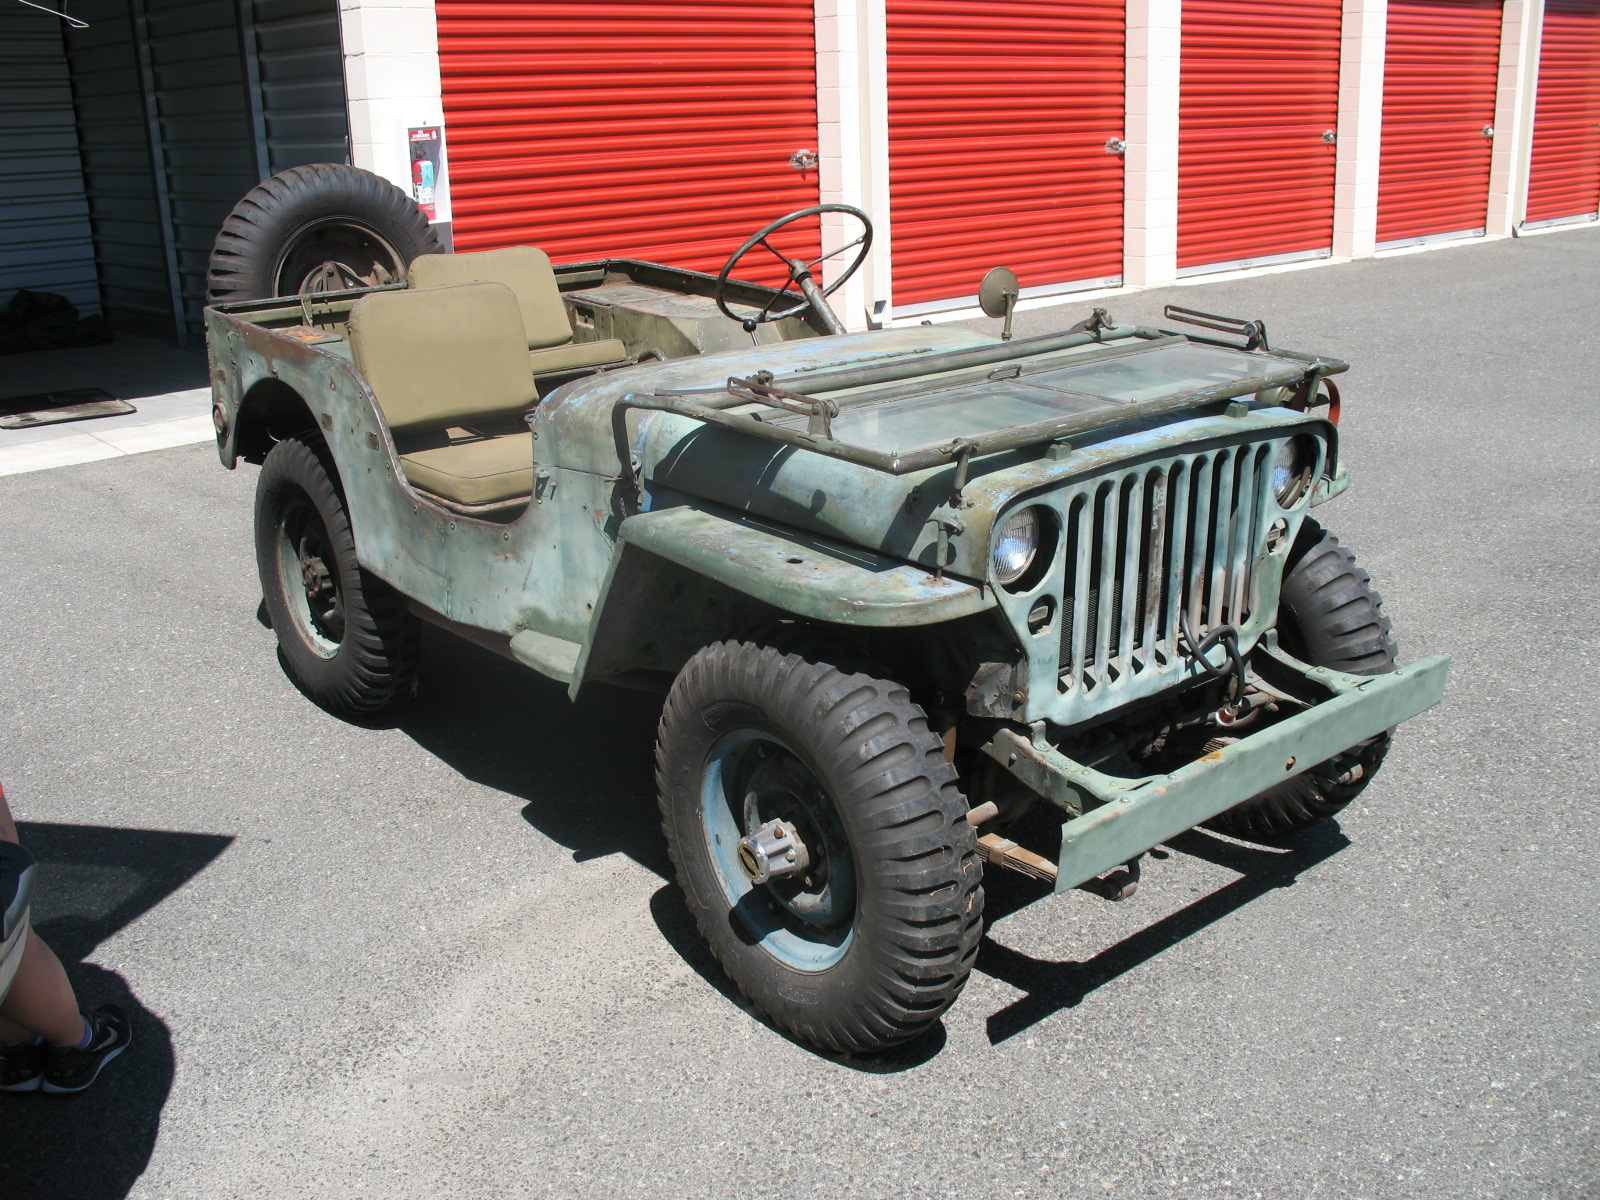
Craig recently inherited this 1943 GPW from his deceased father. His Honda Racing shop will be rebuilding this. The goal will be to keep it’s original look. He plans to have it completed in two months and share some photos when completed.
Here is a list of items to be done:
Body (tub) removed and sandblasted Rust locations repaired and sealed Repair rear bumperettes Underbody and frame powder coat black color Body to be painted in either original OD green enamel or we may color match that and paint with acrylic The problem is we are not allowed to use enamel in our spray booth legally We will not have any decals except for a small one on the back which says “1943 Ford GPW”.
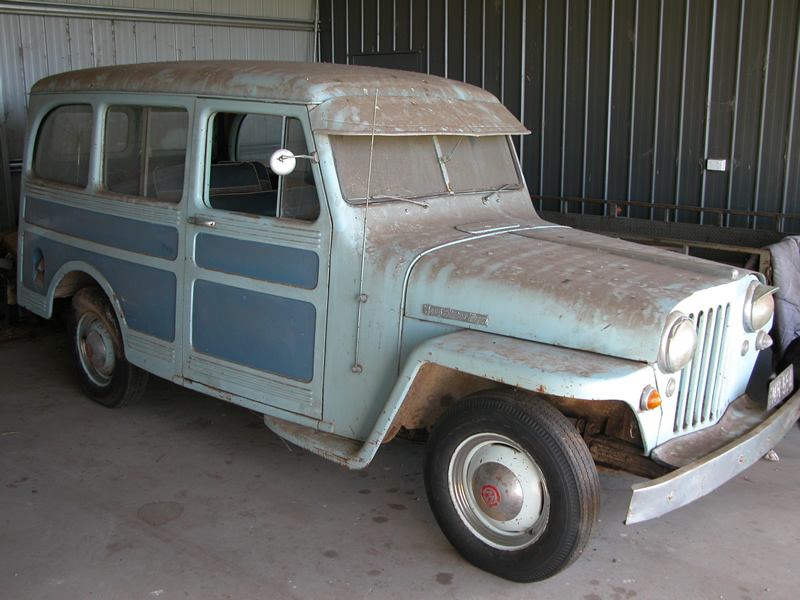
Leigh found this 2WD 1948 wagon that had been sitting in a shed in Australia since 1994. He plans on restoring while retaining the current look as much as possible. From what he has been told only about 400 Wagons of any description came to Australia so parts are a bit difficult, however he reports Kaiser Willys has been a big help.
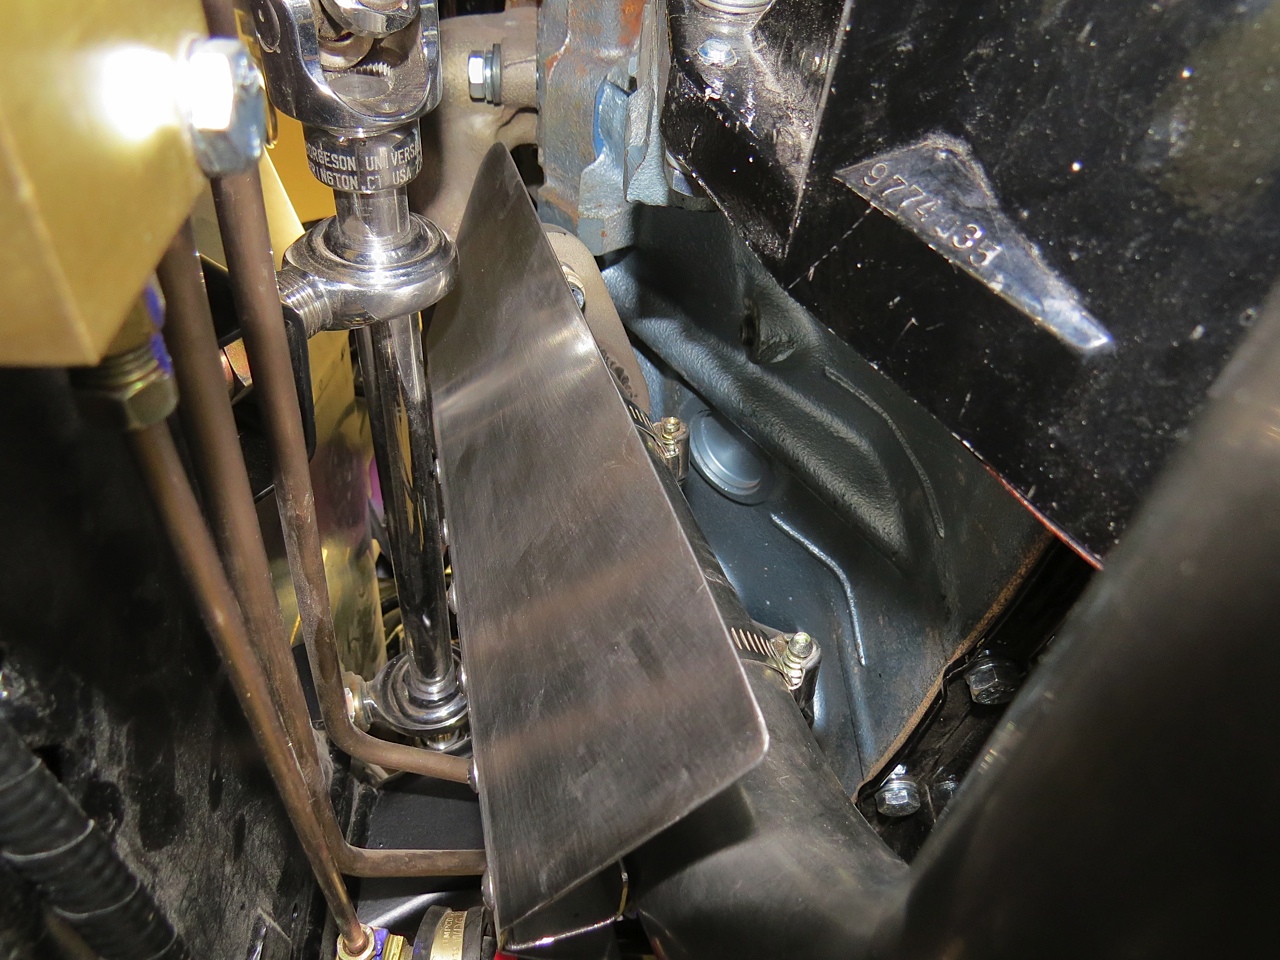
Paul built a heat shield to protect his steering assembly. I believe it’s his last project of the winter. Paul’s putting ‘Knardly Rolls’ to rest until Fall. It’s now time for him and the Goddess to drop the top on the Miata and explore the melting tundra.
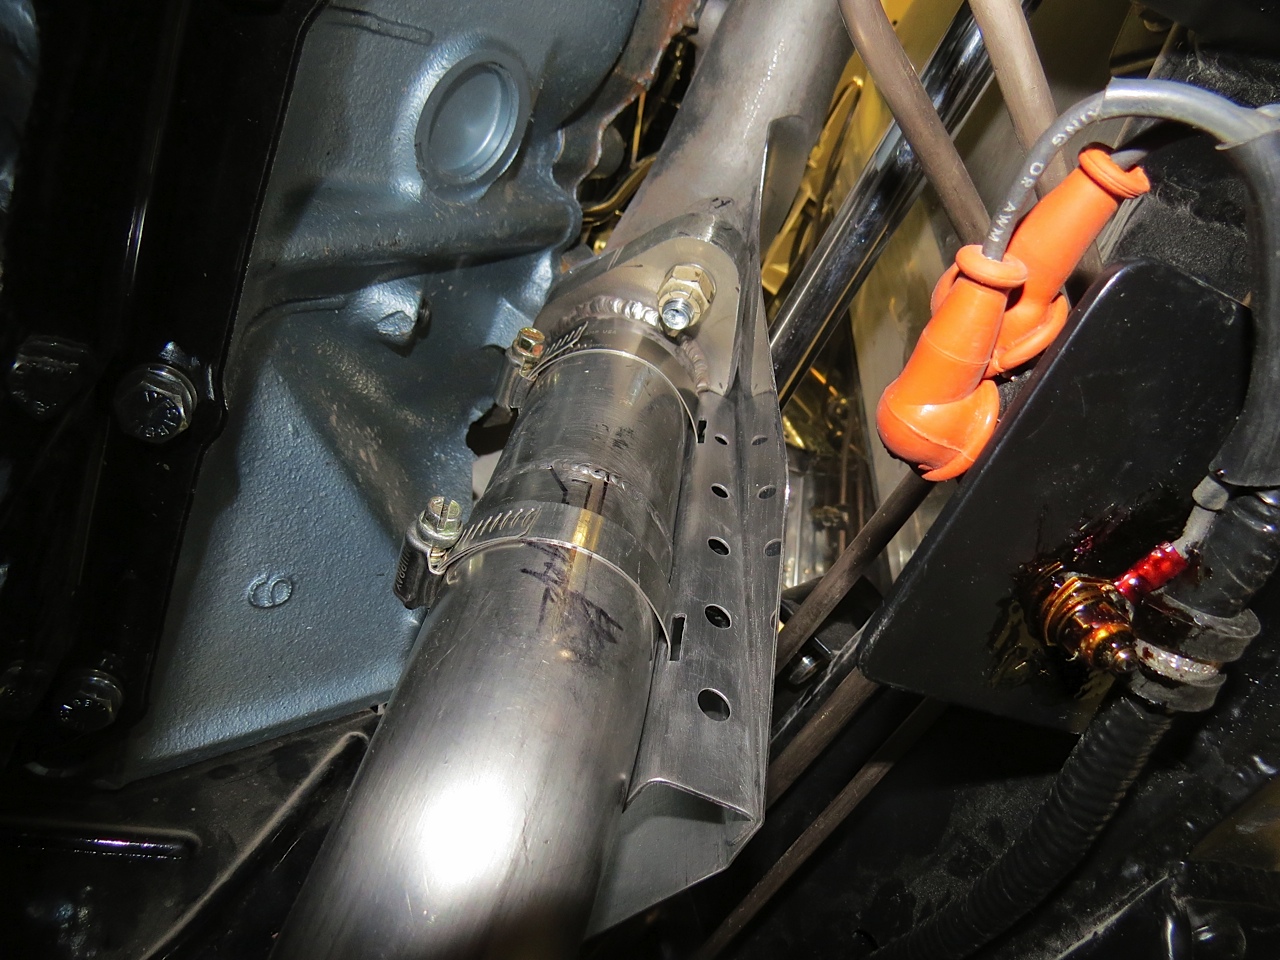
He writes, Here’s the heat shield I made to protect the steering assembly from the heat given off by the left exhaust manifold and exhaust tubing. As you might have noticed there’s very little clearance between the heat shield and the steering shaft. A penny will not fit between the heat shield and the steering shaft. The heat shield is .020” stainless and the attach bracket which clamps to the exhaust pipe is .050” stainless.
The decreasing diameter holes drilled thru the attach bracket will allow cooling air to pass behind the heat shield which will help keep the steering linkage from getting too hot. I hope. The brown coating on the brake light switch ground wire attach bolt is a gasket shellac that should prevent water from seeping between the ground wire connection to the bare frame so corrosion is prevented. The exhaust is held to the manifold by silver plated high temperature steel self locking nuts.
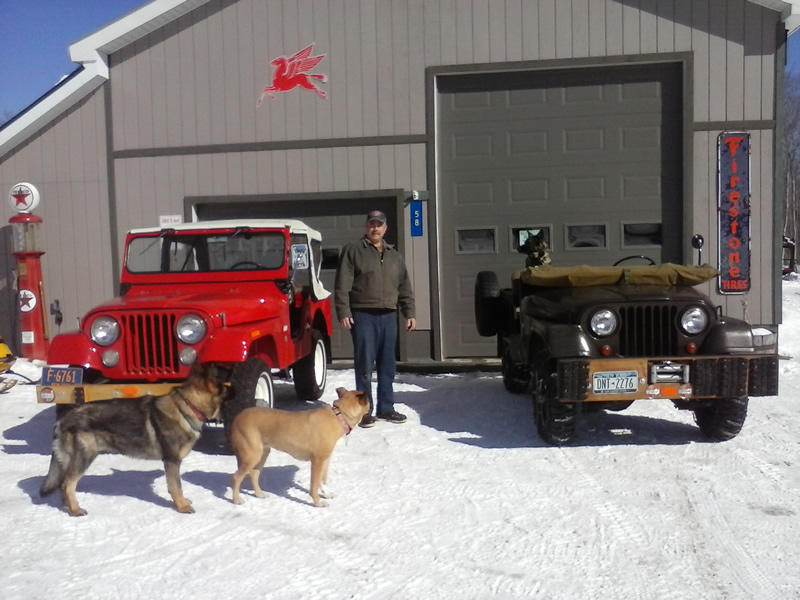
UPDATE: Eric shared some additional photos. They are located at the end of the post.
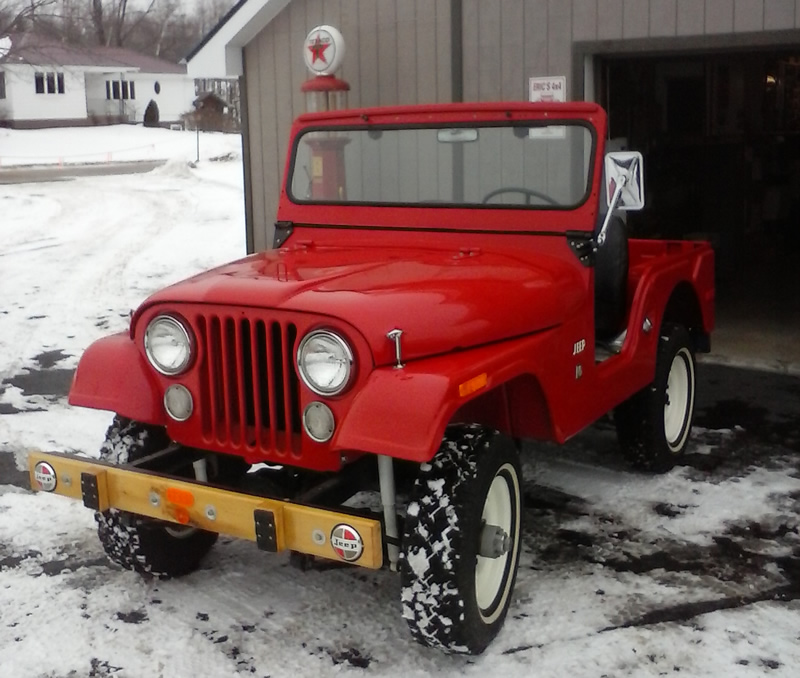
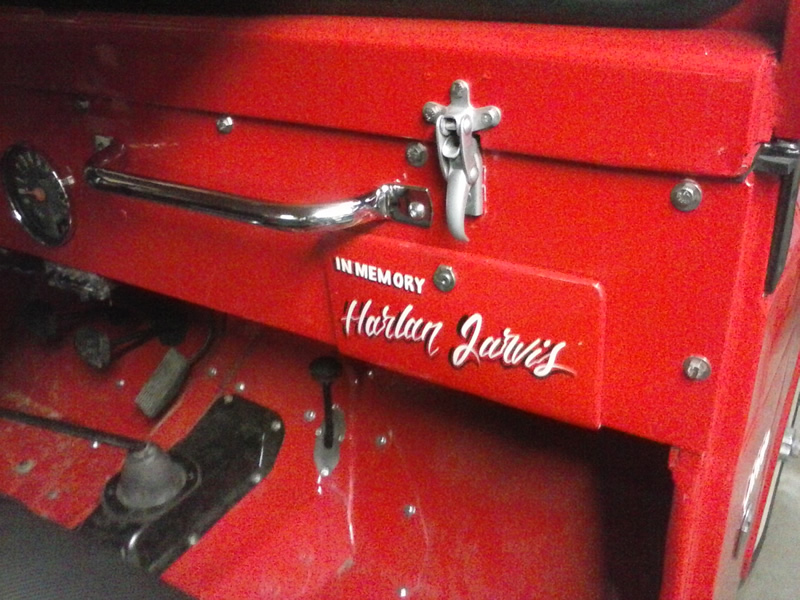
Eric Jarvis is learning that it is difficult to own just one jeep! He started with a 1964 CJ-5 like his grandfather used to own. Eric spent many years working on the red jeep until he got it just the way he wanted it. You can see the dedication on the glove box to his grandfather, Harlan.
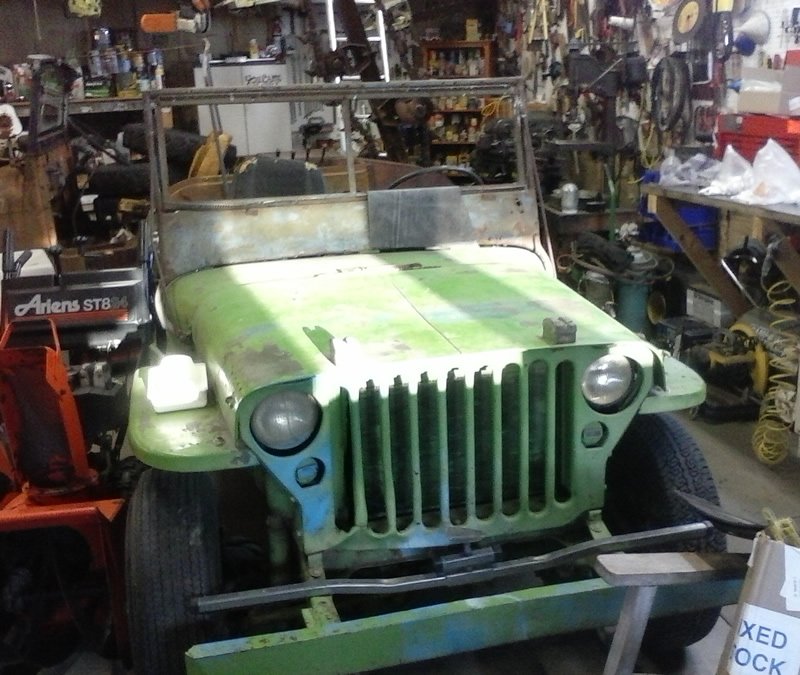
The green next to it is a 1967 CJ-5 with a Buick V-6 Eric uses around the shop. It sports a Koenig PTO winch on the front. He also just picked up a Monroe 3 Point Hitch from Ted Jordan he will install in the rear.
The 1943 GPW shown below was a jeep Eric purchased from Don Prine three years ago. He even got a chance to fly to the northwest and see Don’s jeep collection, a memory I’m sure he’ll cherish.
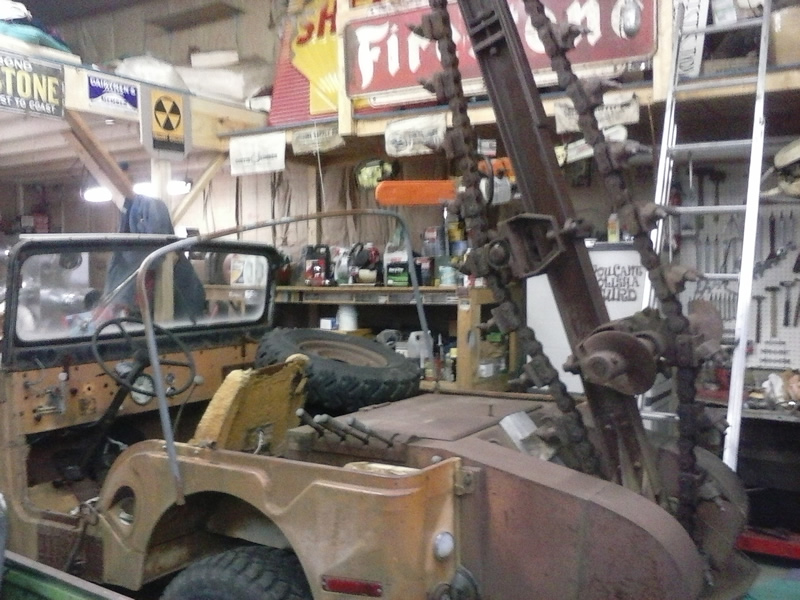
Finally, Eric recently purchased this CJ-5 with a trencher. It’s a retirement project that I suspect will keep him busy for a few years.
Paul continues to make progress on his jeep. He received his tires and has made some custom stainless rim discs.
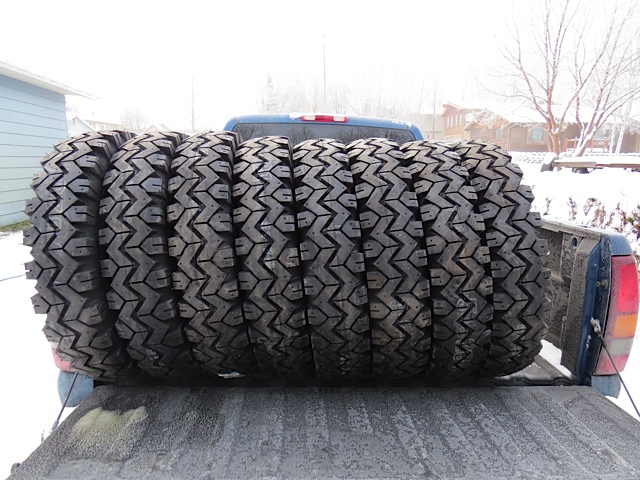
Paul’s new tires
TIRES:
He writes, “The New Tire Fairy arrived at the house today with eight brand new STA Super Traxion 6.50-16 tires along with eight new inner tubes for the little Willys. I’d been searching the internet for a vintage looking narrow tire with an aggressive tread design that would look good on the Willys so shortly after I discovered these tires I put my credit card to work and placed my order.
I wanted to replace the brand new but 30 year old tires on the Willys so that accounted for 5 tires and I needed 3 more tires for the military trailer (I want the trailer to have it’s own spare tire) so that’s why I bought eight. Shipping wasn’t too expensive since I wasn’t in a hurry and compared to Coker tire who wanted to ship their tires 2nd day air ($1,100 for the tires and an additional $900 for shipping) it was down right reasonable by Alaska standards.”
WHEEL DISCS:
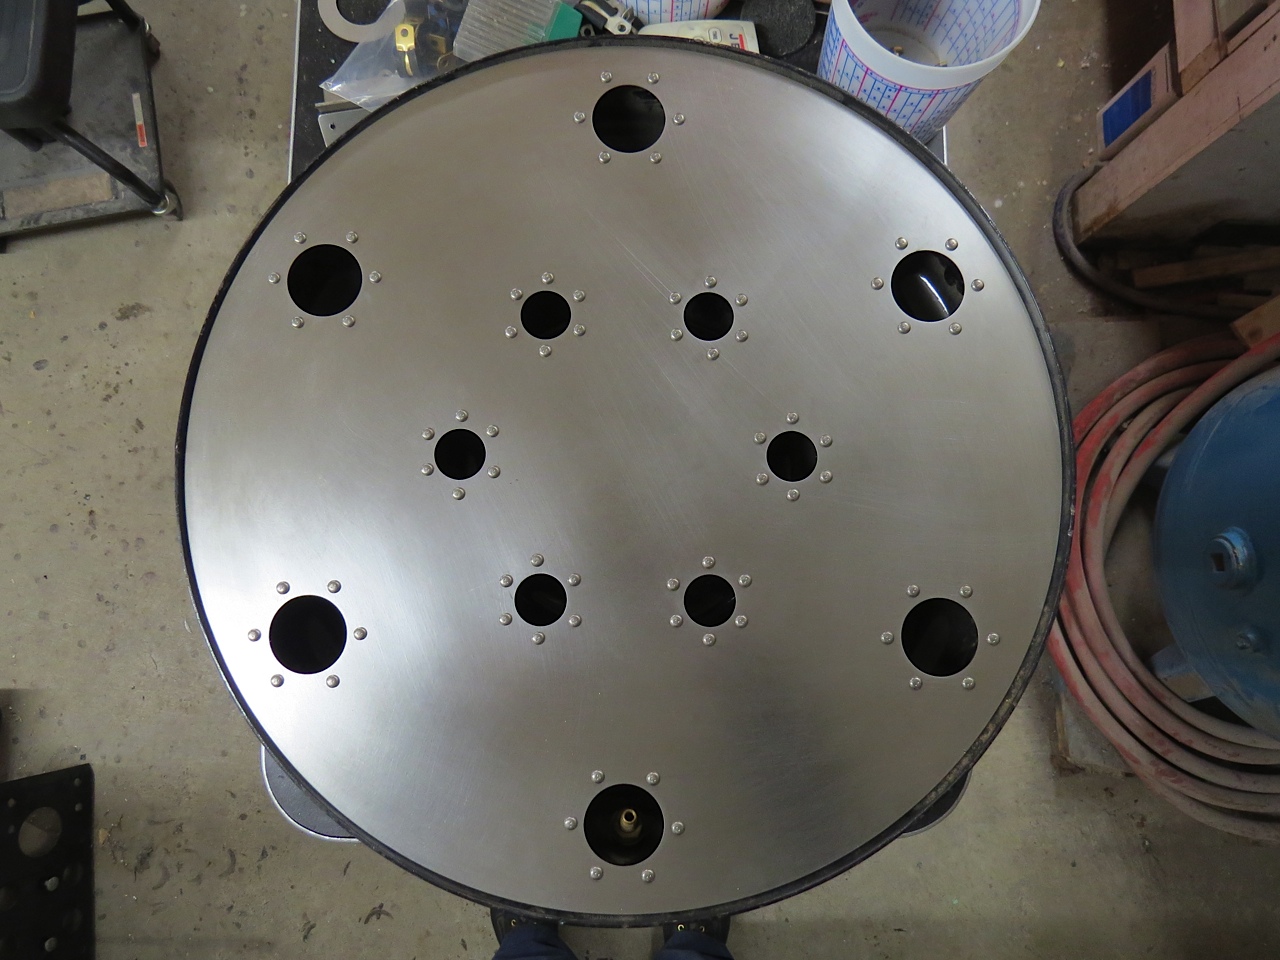
In this photo he’s testing out the disc concept with poster board.
He writes, “I bought some poster board that was large enough to make full size mock ups of the stainless steel wheel covers I’m thinking of making to cover the plain steel wheels I’ll be using on the Willys. The six larger holes are 1 & 1/2 “ diameter and the smaller holes are 1 “ in diameter. I’ve made other discs, some with more holes and some with less holes on each disc in various patterns but I keep coming back to this design. It’s simple, the spacing of the holes is easy on my eyes and the wheel covers make the tires appear larger and more heavy duty.
Each hole will have a reinforcing ring fastened to the back side of the disc either by 1/8th inch diameter monel raised head style rivets or 3/16” dimeter stainless steel machine screws (the size of the machine screws used on the door just below the window). These doublers and rivets are for style only and not necessary for strength. Each disc will be attached to a wheel by six stainless machine screws and these screws will thread into steel mounts welded to the wheels.”
A completed disc.
“Above is the first wheel disc with the holes drilled and the rivets installed. I gave the plain disc a brushed finish to see what it would look like … I think it’s about as close as I can come to matching the body finish. These wheel discs need to be easy to clean and easy to touch up the finish so a mirror polished disc would require lots of maintenance to keep the metal shiny. I don’t have enough energy to keep up with the mirror finish.
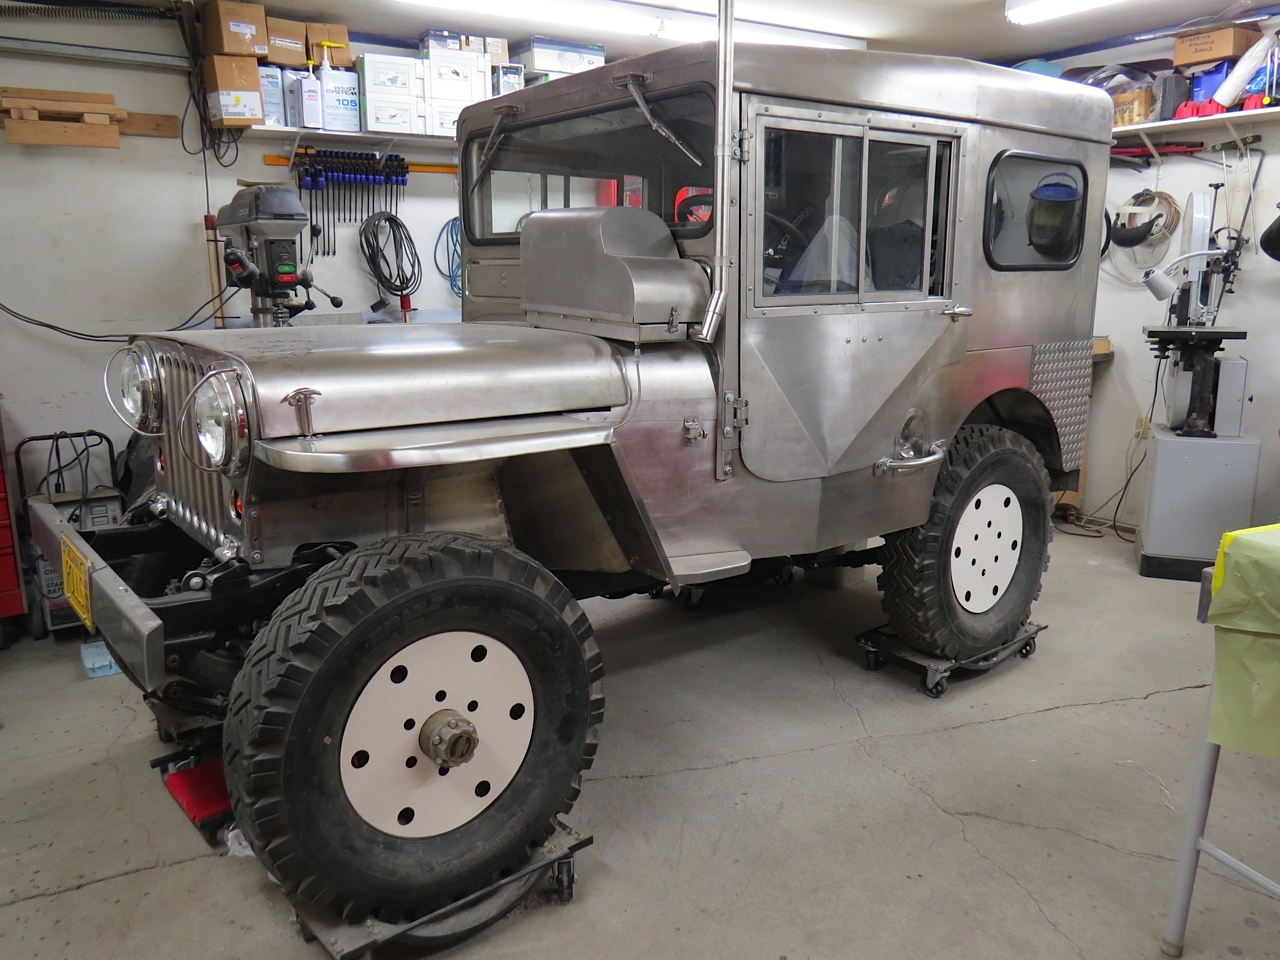
I finished riveting the last two wheel discs today then I cut a hole thru the center of the front wheel disc slightly larger than the Warn hub so these discs could be test fitted to the wheels on the Willys. The tires on the Willys are still the old new ones and not the new, new ones I recently received since the steel wheels currently on the Willys have the wrong offset and will be replaced with the correct wheels in the near future. Anyway, I think these discs match the Willys much better than the aluminum wheels I was originally planning on using.”
The wheel discs attached. The discs came out a little darker, but that’s probably because of the angle. The discs are made of the same stainless as the rest of the jeep. These are the old tires, not the new ones.