emailNeed to contact me and don't have my email? Click on email button.
About eWillys
Welcome to eWillys.com, a website for vintage jeep enthusiasts. I update this website nearly every day with jeep deals, jeep history, interesting reader projects, jeep related info, and more.
These quick searches can help you find things on eBay. People list in the wrong categories all the time, so don't be surprised to see brochures in the parts area for example. This section used to be split into jeeps, parts and other categories, but recent changes to eBay will require this information to be recoded.
The links to posts below show jeeps grouped by models, condition, and other ways. Some of these jeeps are for sale and others have been sold. If you are unsure whether a vehicle is still for sale or not, email me at d [at] ewillys.com for more info.
Importantly, the allure of buying a project jeep can be romantic. The reality of restoring a jeep can be quite different, expensive and overwhelming without the right tools and resources. So, tread carefully when purchasing a "project". If you have any concerns about buying a vintage jeep, or run across a scam, feel free to contact me for help, comments or concerns .
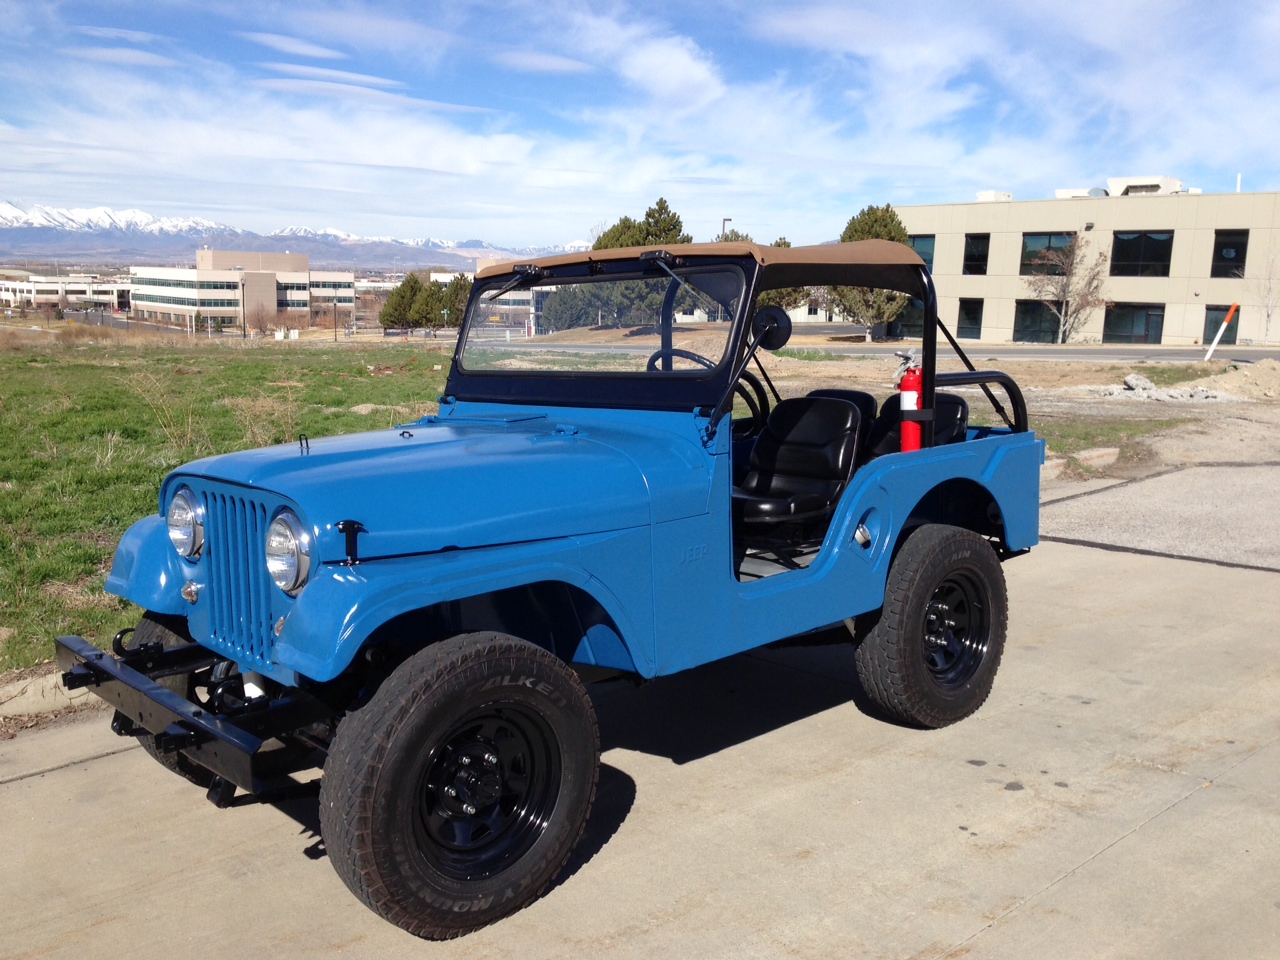
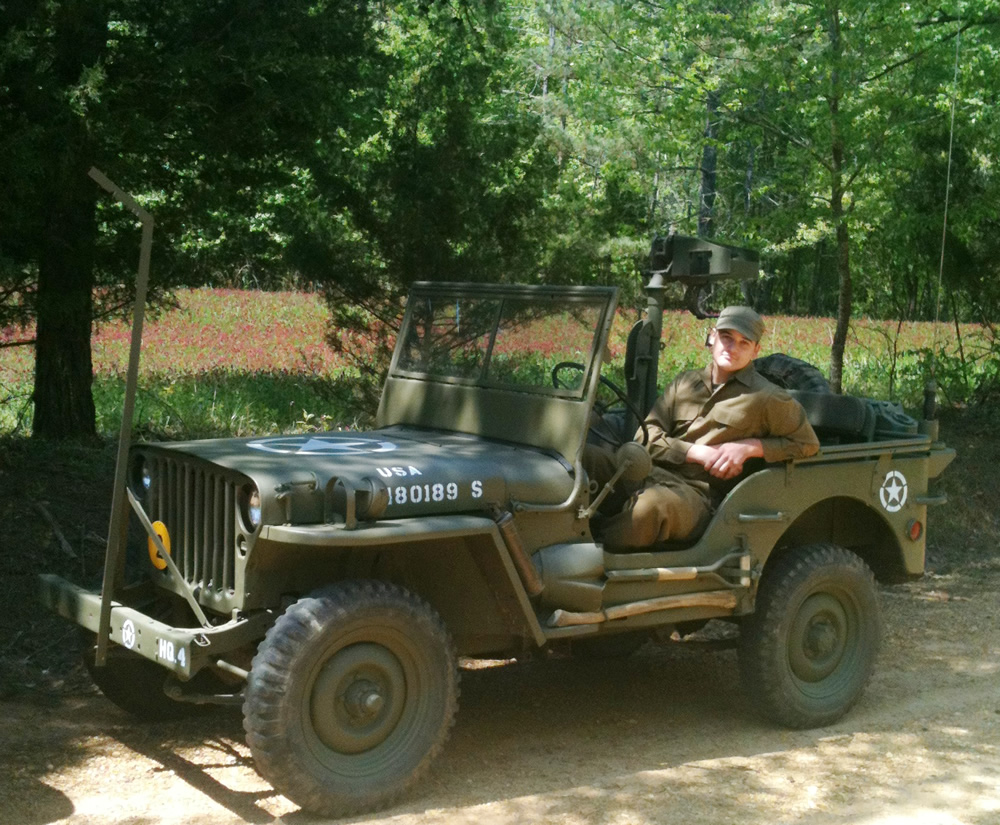
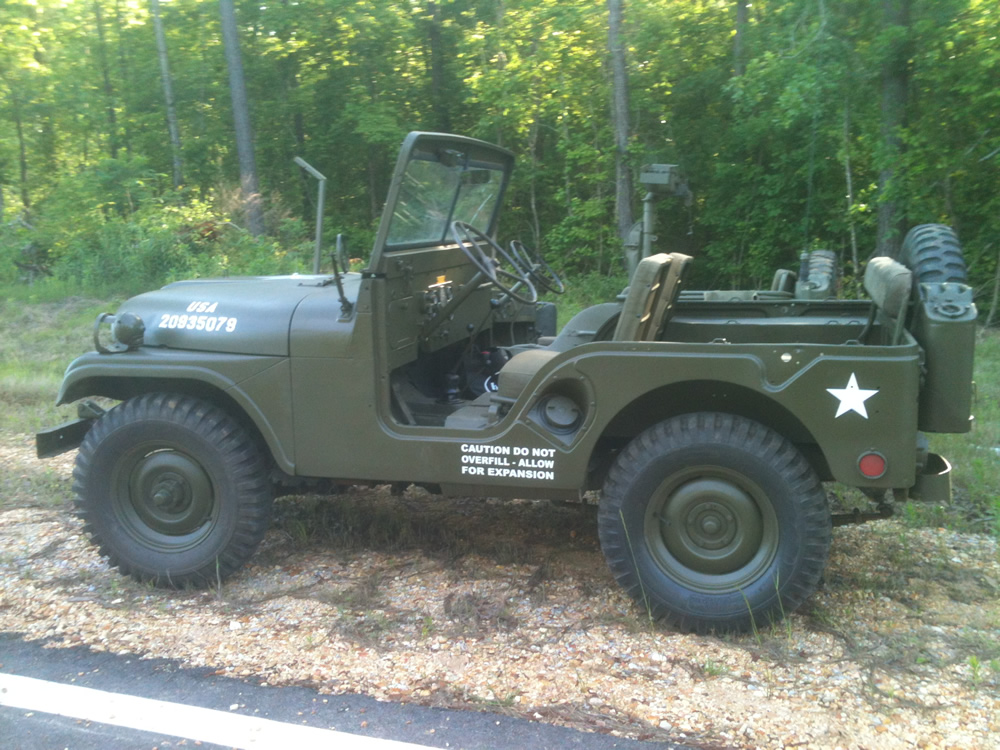
Jim Johnson, his father and brother are all Willys nuts. He says they can’t get enough of them. Each year they head south from Utah’s Utah County for the Jeep Safari with their vintage jeeps. They enjoy showing how well their ‘old’ jeeps perform against the new ones.
This first jeep is a 1962 CJ-5 that Jim got from his father. Jim fixed it up some and gave it another coat of paint. All three look ready for Moab again this year. Have fun!
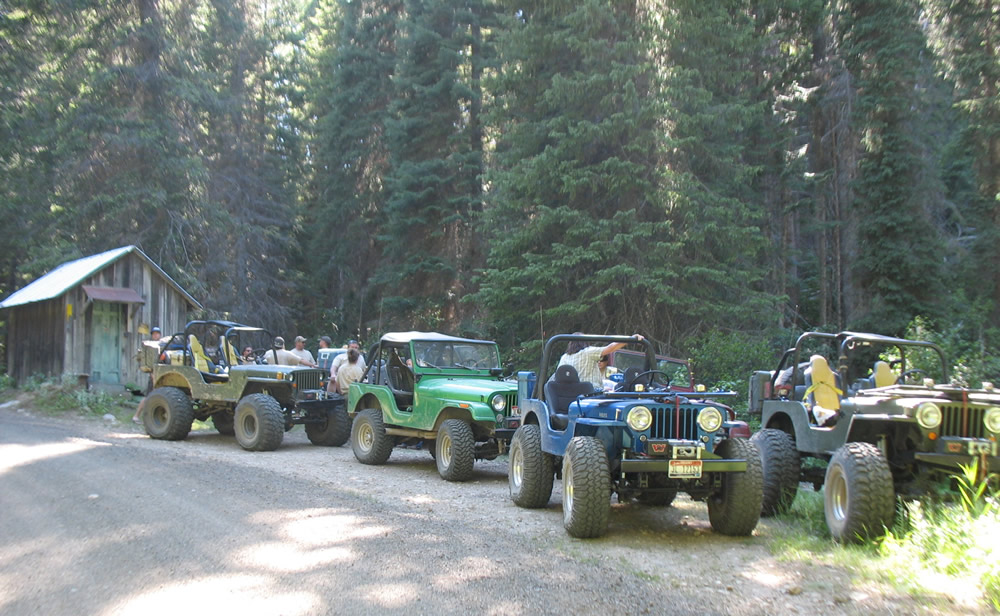
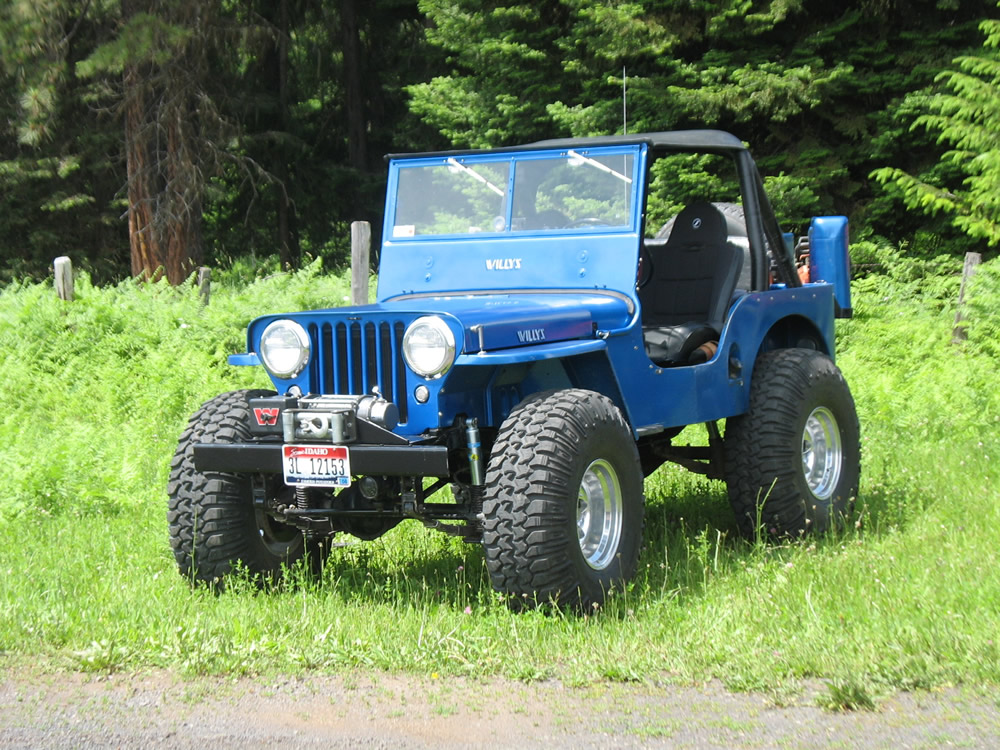
An Idaho summer trip with high school friends and their families. The Green CJ5 belongs to my sons’ friend Drew, he built this Jeep himself and is running an AMC 304 with a Dana 44-30 combo and ARB air lockers.
Longtime readers will remember the 2011 post about Randy and his boys’ jeeps. Randy shared how the three of them turned basketcase jeeps into viable, modified vehicles. They continue to drive and jeep them in Idaho. Since we last check in with them, they’ve made some updates to their jeeps. Randy describes the changes below (thanks for taking the time to write this up Randy!):
Randy’s Jeep before a summer trip.
Randy’s 46, CJ2a (blue):
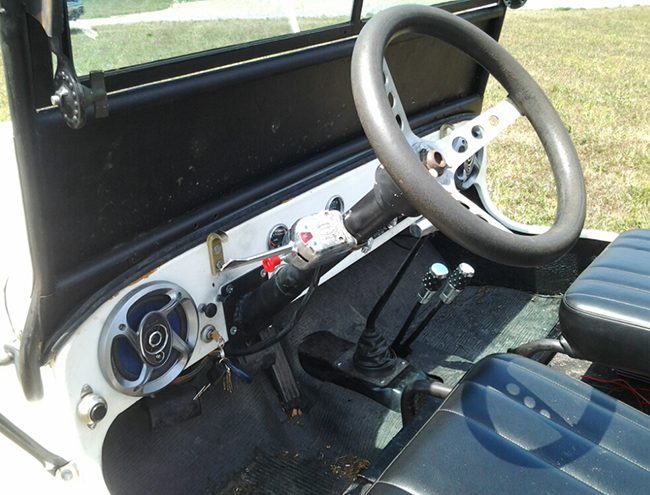
In the winter of 2012 Dusty and I swapped in most of the running gear that was originally installed in his Jeep when we built it in 2004. We Installed the Buick 231, radiator, transmission, exhaust and drivelines. I did a Saginaw power steering upgrade and installed disc brakes on the front axle as well. The springs were re-arched and Bilstein shocks were installed. In order to make room for bigger tires I opened up the back fenders about 3 inches behind the tires and moved the rearend back 1 ½ inches. The fender trimming is not noticeable unless there is a stock Jeep around to compare it to. Last spring I purchased a new set of 37 x 13.5 x 15 Super Swamper Truxus MT radial tires and mounted them on the 15 x 10 Mickey Thompson aluminum wheels that were originally on Devon’s Jeep. Those tires made an unbelievable difference when running in the snow. I usually air down to about 3.5 to 4.5 pounds of air pressure and didn’t have any trouble losing tires off the bead on our snow runs.
This past year I installed a set of suspension bucket seats made by Corbeau that are designed for use in a side-by-side such as a Yamaha Rhino. They have the same dimensions as the Jeep seats that Corbeau makes but the bottom of the seats are shorter which makes it easier to get in and out of the Jeep. I also notched the front of my rear inner fenders and moved the front seats back about 2 inches. Seat heaters were installed in the new seats as well. It is a lot more comfortable to drive now.
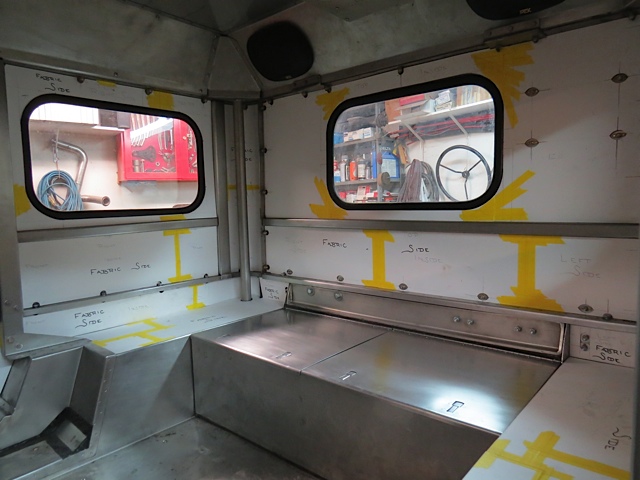
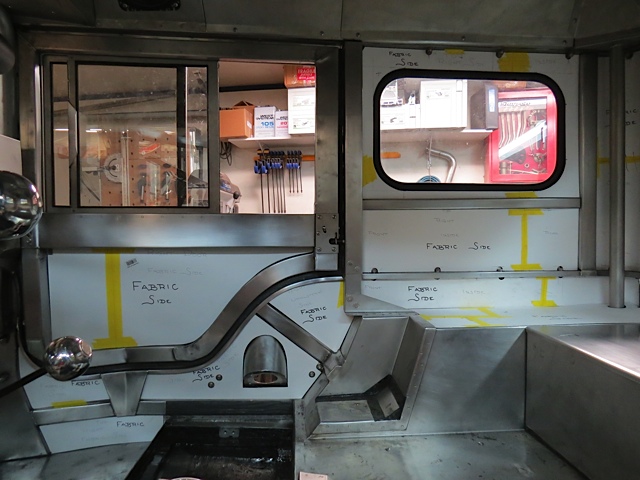
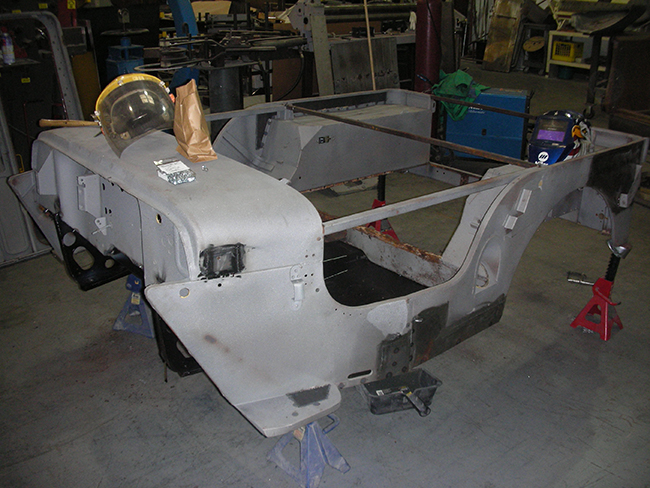
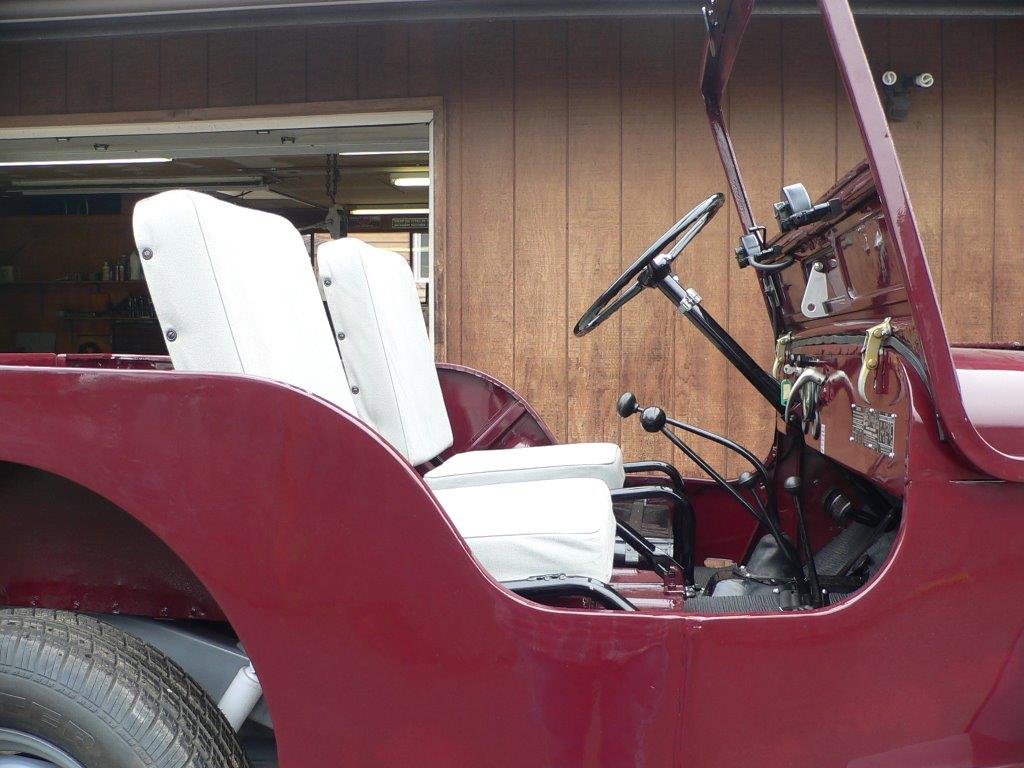
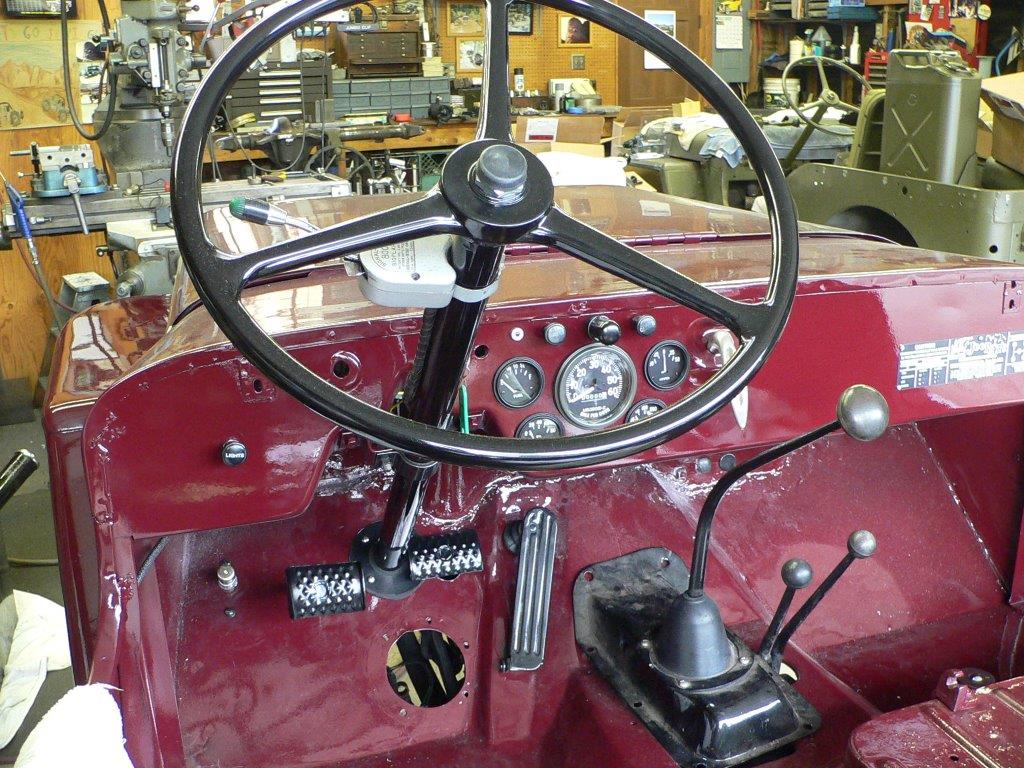
Paul writes, I’m using thin poster board to make patterns for the interior panels on the Willys. Since the reinforcing structure for the top and doors will be visible from the inside and not covered by upholstery I’ve had to make 33 individual paper patterns so far. After adjusting the fit of these patterns I’ll transfer their measurements to 3/4 inch thick high density foam and then it’s time for the upholstery wizards to work their magic. Fourteen yards of fabric are on order so that should be enough to cover everything but the floor. All of the top and side wall panels will be covered with a silver gray fabric and this same fabric will be used on the seats with the exception of blue insert panels covering the center of the seats. That’s the plan right now. I still need to buy some thick upholstery foam so I can begin cutting out the padding for the seats but I wanted to finish with the patterns first.
More pattern pictures. To have enough room to make the patterns and install the upholstery pieces it was necessary to remove the fuel tanks and both front seats. The more work I can do myself the lower the cost will be to get the upholstery done so I don’t mind constantly climbing into and out of the Willys all day long. Things would be a lot easier if the Jeep was just a little bit bigger or I was just a little bit smaller. Oh well, I guess I need to call a Waaaaaaaaaambulance. Paul
Here’s a good story about a young Teen named Ben Zenger reported in the Winston-Salem Journal on Wednesday. At 9 years old he decided he wanted a jeep. He saved up his own money and, with his parents approval, bought one: A 1954 M-38A1 that needs some work. Check out all the information at the website:
Like Lays Potato Chips, Mike just couldn’t stop with one. He recently picked up the yellowish CJ-2A on the left off of eWillys.
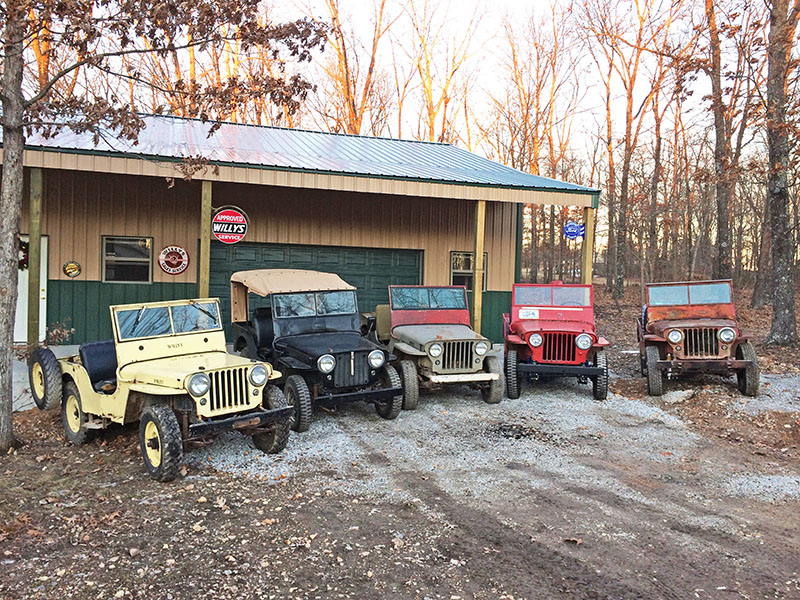
Mike wrotes, “I just finished the shop about a month ago. The picture is a little dark but I had to wait for the last one,(Jeep) to come home. A grandson was out checking his game camera with “His Willy”, I do love to see the grandkids drop by and ask to take a jeep out, they all seem to have their favorites. All ‘46’s except the one ’47, it was the city of Nixa Mo fire engine in its last life.”
I’m taking today off, but here’s one post for everyone.
James Turner from Mississippi emailed me the other day. A self-described ‘jeep freak’, James and his brother bought their first jeep, a 1947 CJ-2A, in 2008. Out of it they created a nice looking military replica. Since then they’ve added a 1942 GPW they are currently restoring, a 1952 M-38A1 that looks in great shape, a 1951 M-38 that they plan to restore and a 1946 CJ-2A. At this rate they’ll soon have their own private jeep force.
Here’s the 1947 CJ-2A they restored:
This is James’ 1952 M-38A1:
You can see they have some work to do on this M-38:
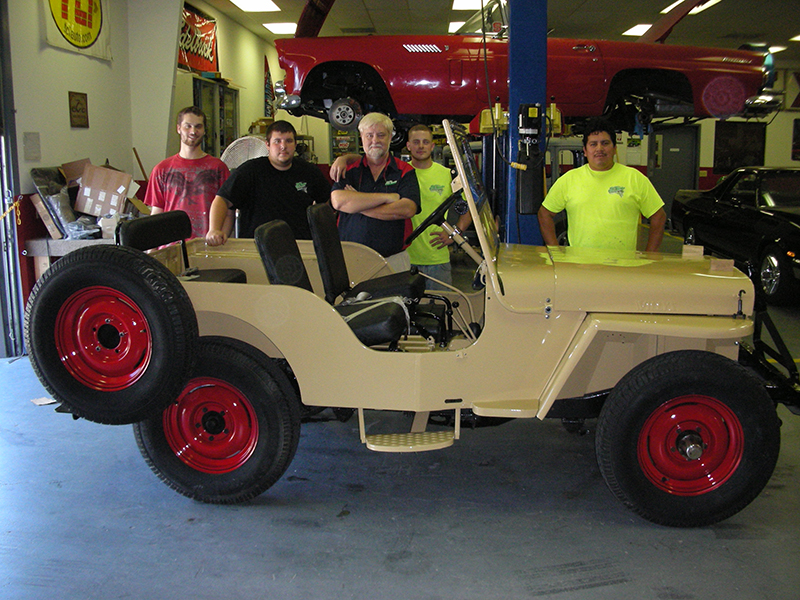
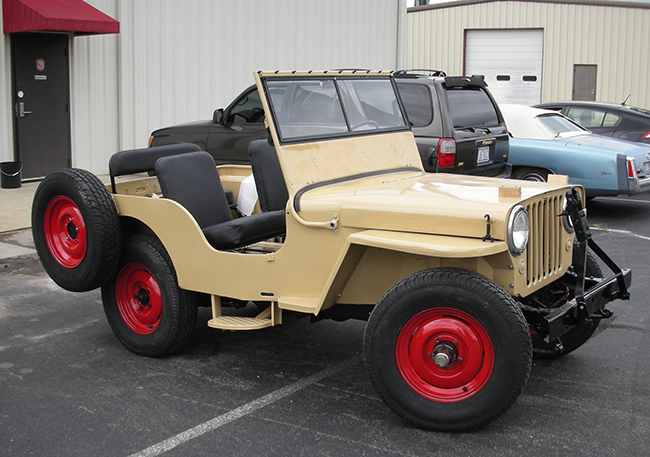
The staff at Bo’s Hotrods in Sanford, NC, just finished work on Jim’s restored CJ-2A. It looks like they do some good work. The jeep will now head to Maine where it will enjoy life in the country.
Here are some ‘before’ pics. As you can see, it appears it was thoroughly rebuilt.
I don’t know how many divorces eWillys has caused, but Hugh is pretty sure he’d be in trouble if he was married.
Hugh writes, “If it wasn’t for ewillys i wouldn’t have found these jeeps. Got them one year apart and have learned a tremendous amount between ewillys and the cj2a page. I have a highly modified jeep and a purist jeep. Your website is great Dave but costing me alot of money! Good thing im not married.”
Here’s Larry (left) and Moe (right). Larry is a fiberglass jeep that Hugh’s been slowly transforming into a MBish jeep. Moe is a pretty stock CJ-2A that hugh plans on continuing to restore as money allows.
Here are some before and after photos of Larry. Hugh’s keeping his budget tight and enjoying giving his jeep some military character. It just shows how little changes can make a big difference.
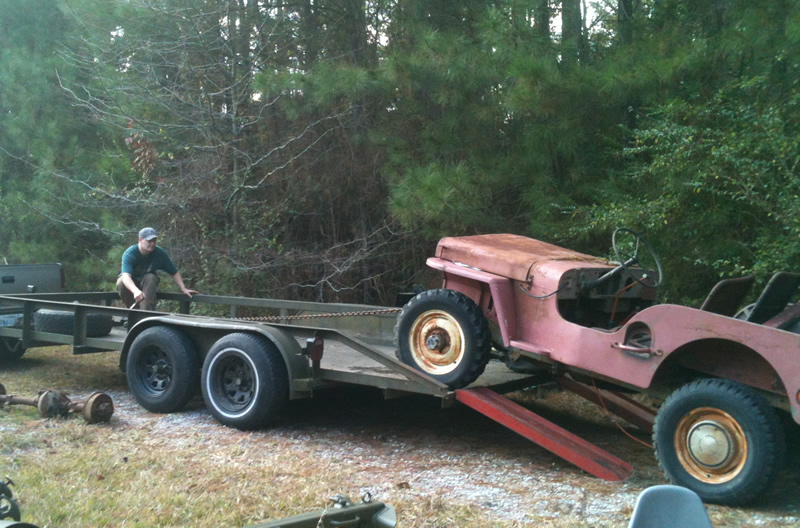
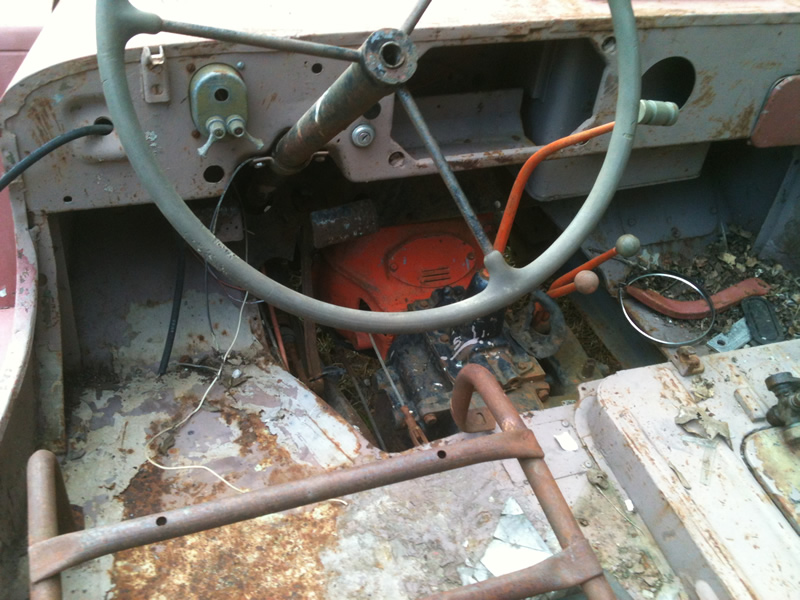
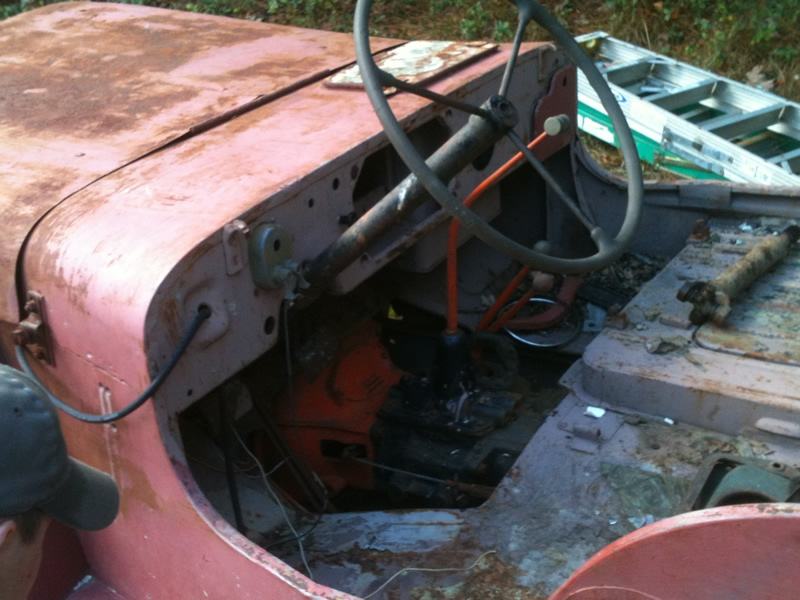
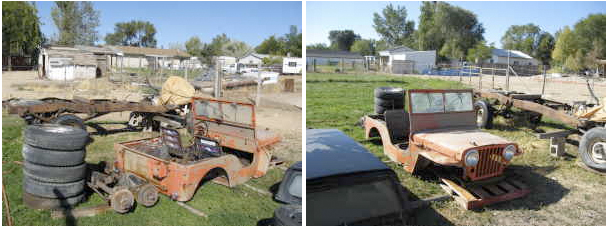
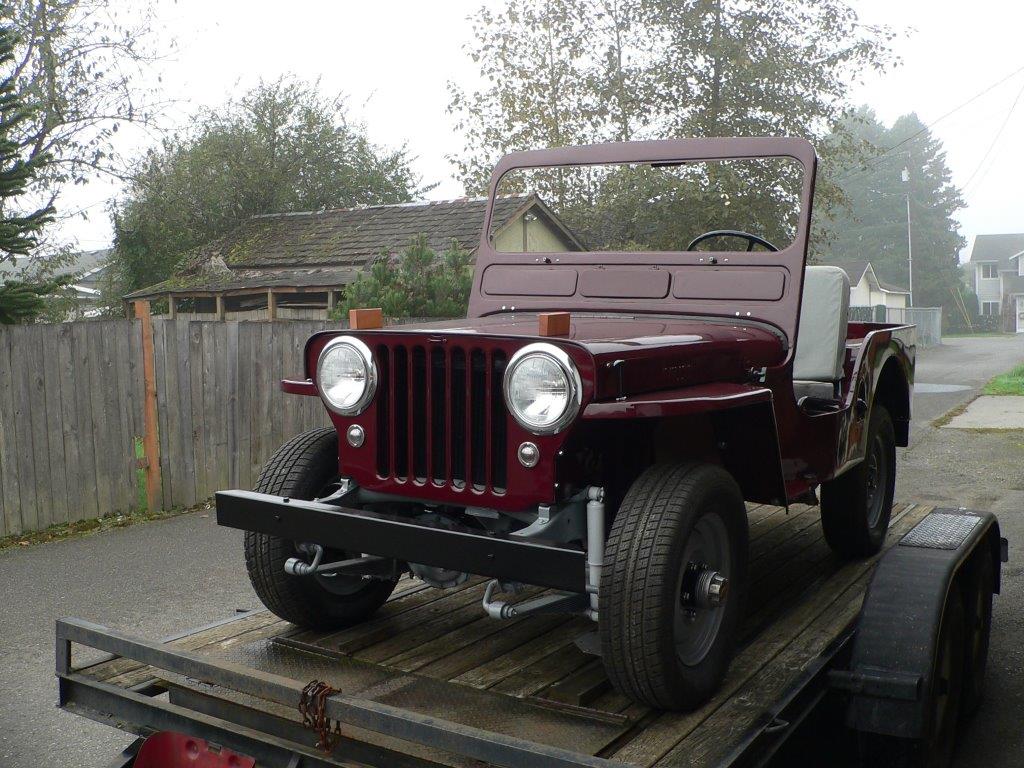
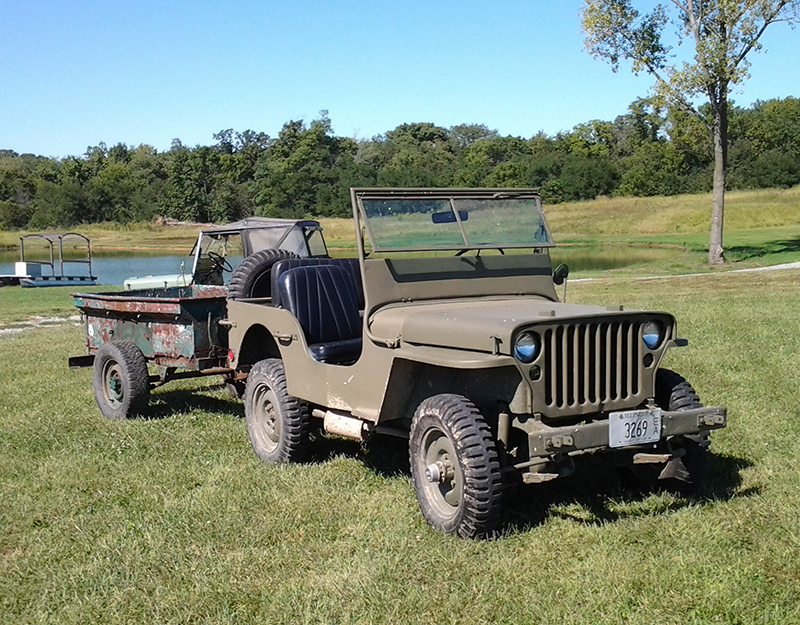
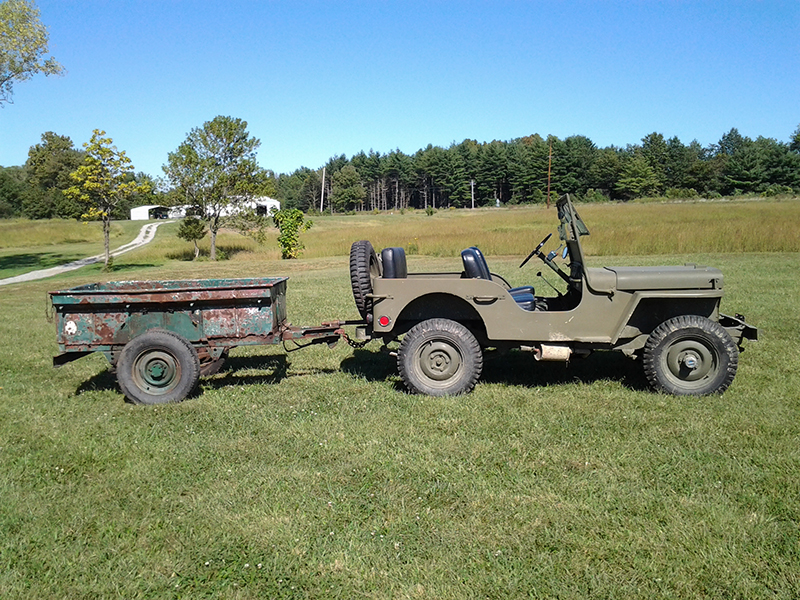
In 2009 I hauled up a flatfender body from a seller in Boise (where I was living) to Paul in La Conner, Wa. Since that time, he’s been busy rebuilding it. It sure looks good!
Paul writes, “What you see is a conglomeration of what you brought up here several years ago and a couple of “farm/orchard” jeep’s from Wenatchee plus new parts from major suppliers. it looks good, runs good and is “cute”. I have a roll bar I am going to re-configure (single hoop with stiffeners) that I will install for safety reasons and ad 3 point safety belts, no rear seat so no rear belts. It has 15 inch wheels and radial street tires on it now but a friend of mine found five really nice 16 inch wheels at the Monroe swap meet a couple of weeks ago so sometime soon we will add those with new era correct tires to the “look”
Here are the parts I loaded onto the back of a truck in 2009: