emailNeed to contact me and don't have my email? Click on email button.
About eWillys
Welcome to eWillys.com, a website for vintage jeep enthusiasts. I update this website nearly every day with jeep deals, jeep history, interesting reader projects, jeep related info, and more.
These quick searches can help you find things on eBay. People list in the wrong categories all the time, so don't be surprised to see brochures in the parts area for example. This section used to be split into jeeps, parts and other categories, but recent changes to eBay will require this information to be recoded.
The links to posts below show jeeps grouped by models, condition, and other ways. Some of these jeeps are for sale and others have been sold. If you are unsure whether a vehicle is still for sale or not, email me at d [at] ewillys.com for more info.
Importantly, the allure of buying a project jeep can be romantic. The reality of restoring a jeep can be quite different, expensive and overwhelming without the right tools and resources. So, tread carefully when purchasing a "project". If you have any concerns about buying a vintage jeep, or run across a scam, feel free to contact me for help, comments or concerns .
UPDATE: A reader would like to have one of these built for their project. See the comment below if you think you know of someone who could do this for them.
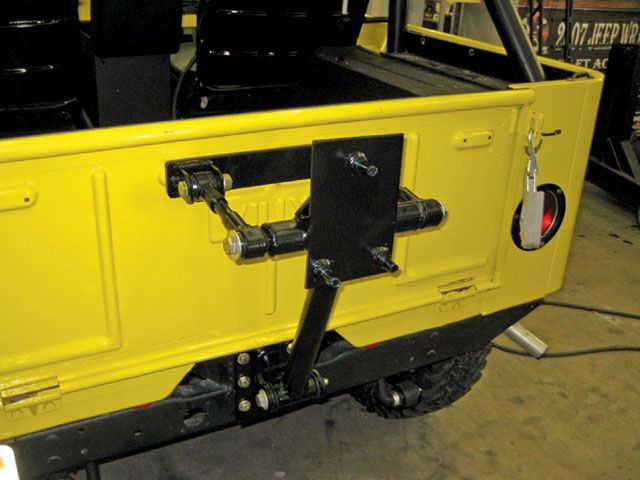
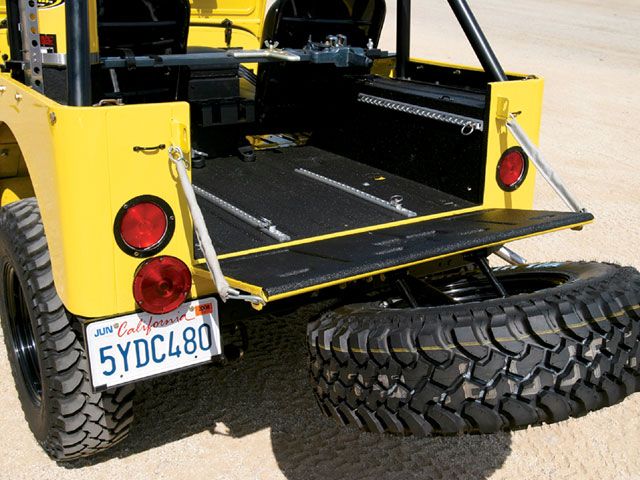
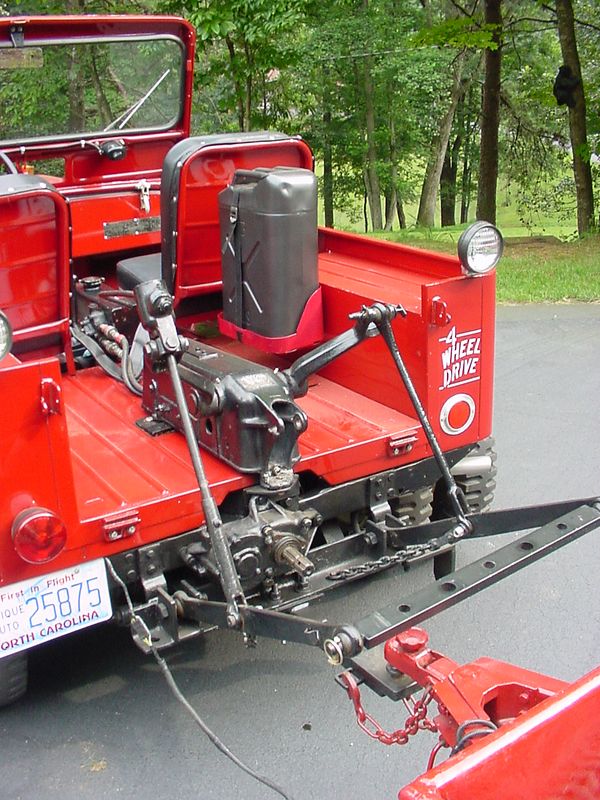
I was checking out Four Wheeler the other day and ran across this unusual spare tire carrier. Check out all the pics on this nice CJ-3A at Fourwheeler.com.
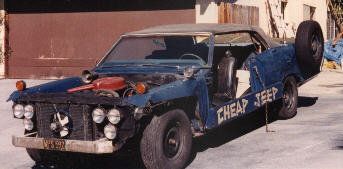
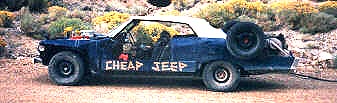
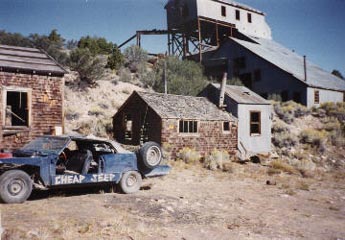
While it’s not a jeep in form, it certainly captures the spirit of a jeep in function. Two alternators, three batteries, and a host of features make this an unusual vehicle. The most recent cheap jeep was launched in 1974 for the purpose of desert and mountain travel, not unlike the way original mountain bikers back in 1976 utilized old tough schwinn bikes to tackle the mountains. It’s singular purpose –the next ghost town or bust — was a cheap, but dependable vehicle capable of on road and off road travel for thousands of miles over the period of a week. This vehicle is still used and images and video from 2009 can be found on the website along with links to all the places these intrepid adventurers have visited over the past years (scroll to the bottom of the homepage). View the video below to learn a little bit about the unusual features of this vehicle (or go to their video page).
Steve Ricketts writes on the westernghosts.com website, In 1974, I acquired a 1966 Pontiac convertible from another customer. This time the price was $75.00. Like the Chrysler Imperial, the Pontiac needed a lot of work. After extensive engine repair and a transmission rebuild and modification, it was able to be driven to my house where the first Cheap Jeep (Chrysler Imperial) was stored. The transformation from old cheap jeep to new cheap jeep began. The finished product is what you see today.
It is highly modified, and works better for our purposes than anything we could buy today. It is easy to repair on the road, and parts are readily available. It carries more than “regular” jeeps and is a lot cheaper to replace should it become necessary to abandon. I would really hate to take a $30,000+, four wheel drive (Blazer/Bronco, etc.) on one of these trips. At the very least, the paint and body would be badly damaged. It would also be next to impossible to repair in the field, and a very real possibility exists that I would someday have to abandon it. After all these years of use and modification, I still have less than $800.00 invested in the Cheap Jeep…and that includes the original purchase price.”
I found this dually earlier this week, but now can’t remember where. So, if anyone happens to know, send me the link and I’ll make sure the website (or jeep owner or both) gets the credit due them.
Steve tells me he spotted this M-38 on eWillys and decided to purchase it last July. On the right you can see the ‘before’ condition which is how Steve purchased it, but I think it pretty much tells the story. There was a bunch of metal welded onto the jeep in odd places and it was red, everywhere.
As you can see in the pics below, just taking off the metal and painting it green has done wonders for this old M-38.
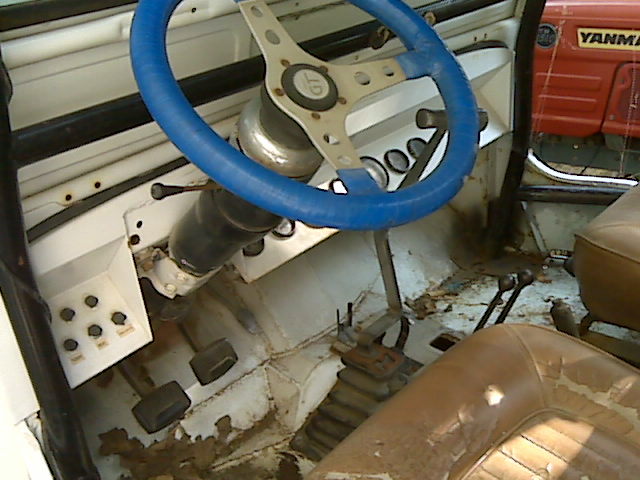
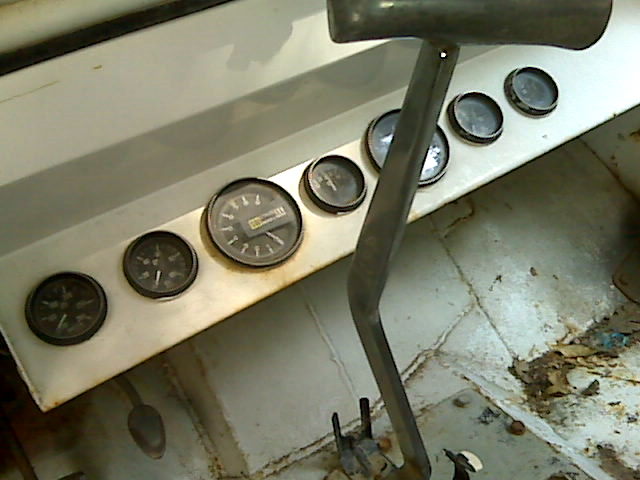
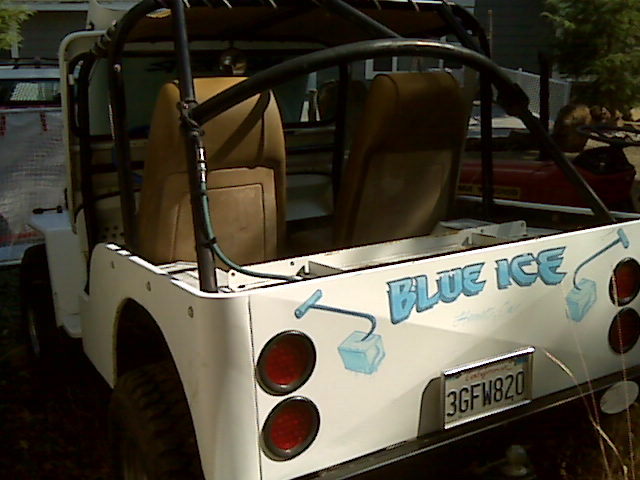
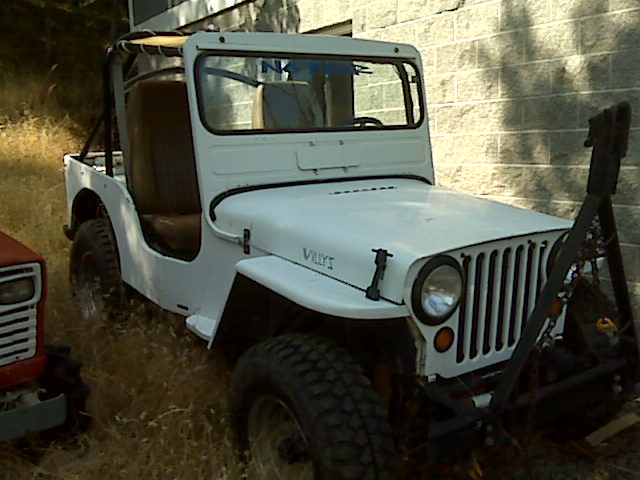
I gotta say I like this jeep. There’s enough old school stuff to make me smile. Check out the battery, the roll cage, the art on the back, the dashboard, the gauges, the gas pedal … I could go on.
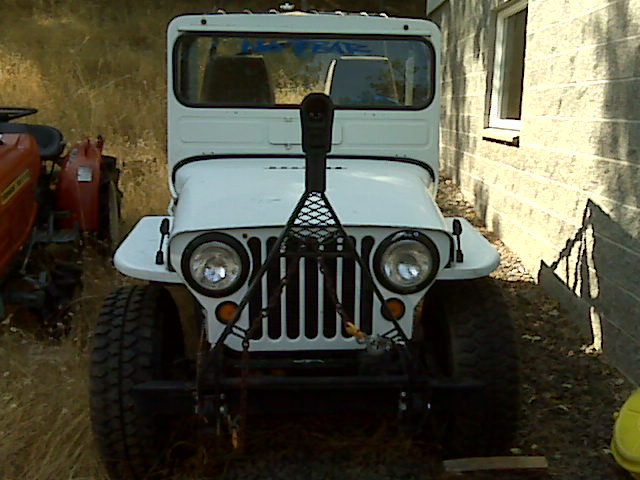
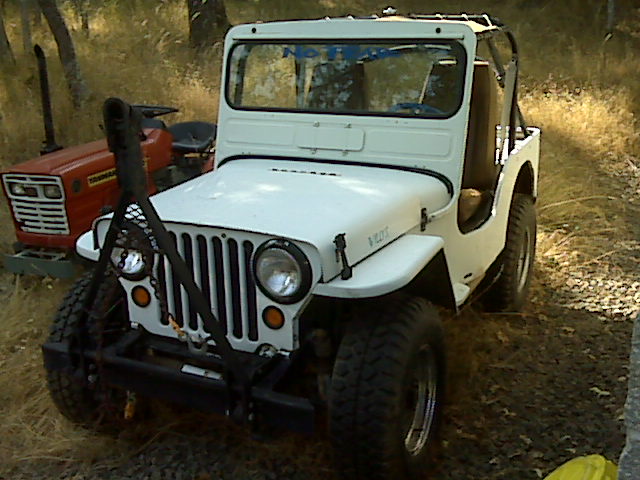
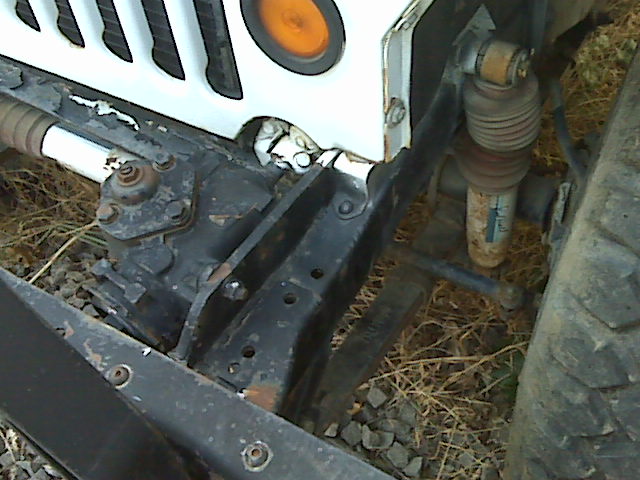
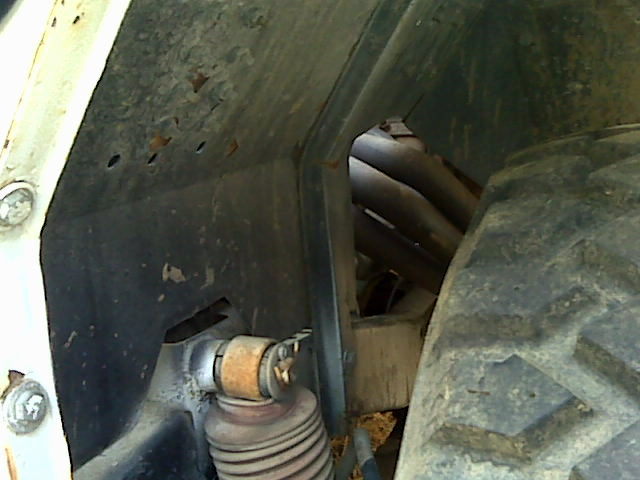
The owner of this jeep is 16 year old Trevor, who inherited it from his father. Trevor’s going to make some updates to this jeep, such as adding power steering. He asked for some advice regarding steering so naturally I asked for pictures.
Trevor wrote, “thanks so much for your time and advice! it really means a lot to me cause i wanna get this thing out on the trails like my dad did back in day.”
If you weren’t following it, Boomer, James and I were have a short conversation about Slat Grilles and how there are only a few Slat Grilles buit with a Glove Box. Apparently, early MBs (1941 dated slat grill) did not come with a glove box (maybe I was the only person who didn’t know that …). Glove boxes were not added till ser# 120680 (early to mid Feb. 1942). It made realize how little I actually know about Slat Grilles beyond the slat grille itself.
Boomer mentioned that he has a MB with the serial# 122723 born February 26, 1942. Glove boxes were added about a week before his was built. Of course, at that point I said ‘tell me more & send me pics’! Thanks for sharing!
Boomer not only sent some pics, but provided some nice history. My slat came from the original owner, who bought it 1946. It was originally bought from an Army Air station in Maine.
Total slat grill production was approximately 25,000 units or approximately 3 percent of total WW2 jeep production. Of those, only about 10 to 15 percent were equipped with a glove box. My research suggest there are barely 150 running/restored slat grills left in existance world wide.
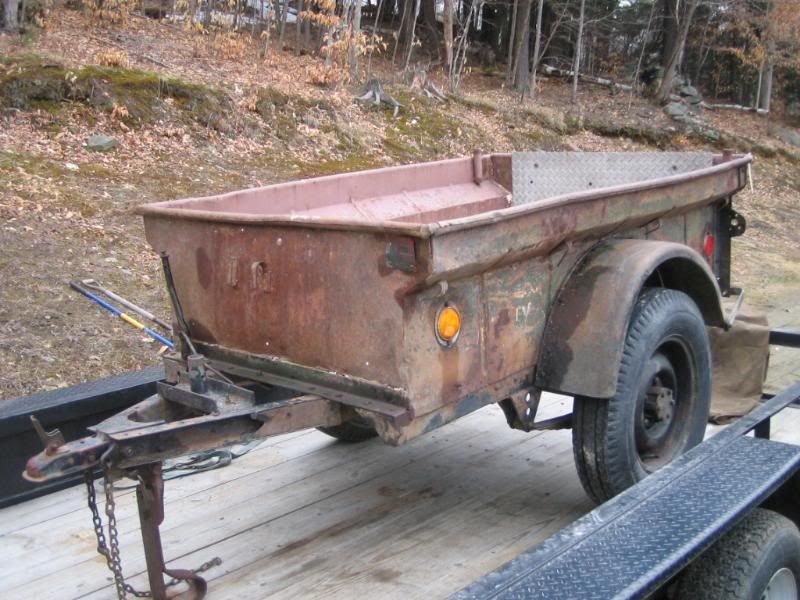
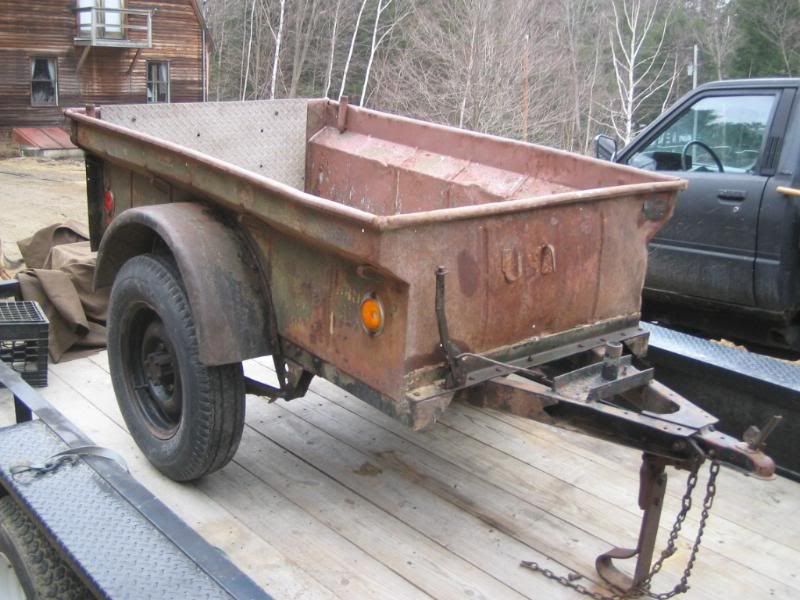
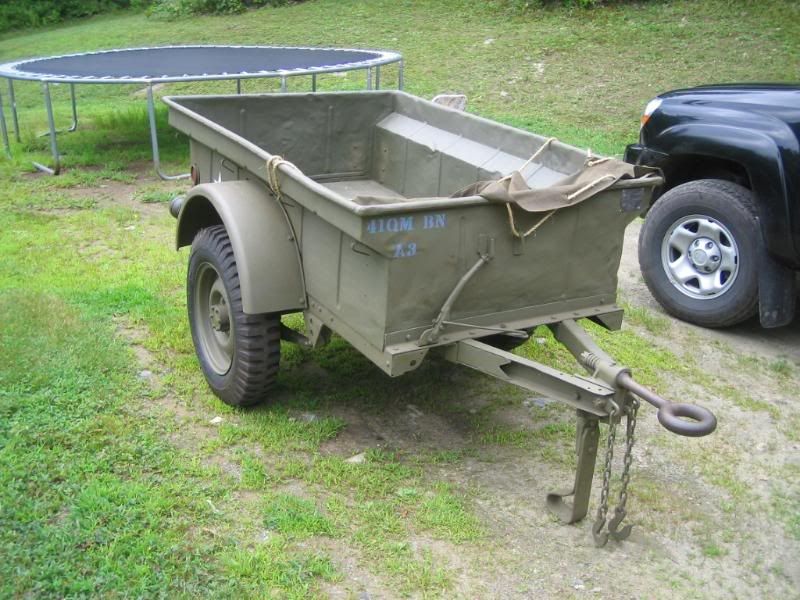
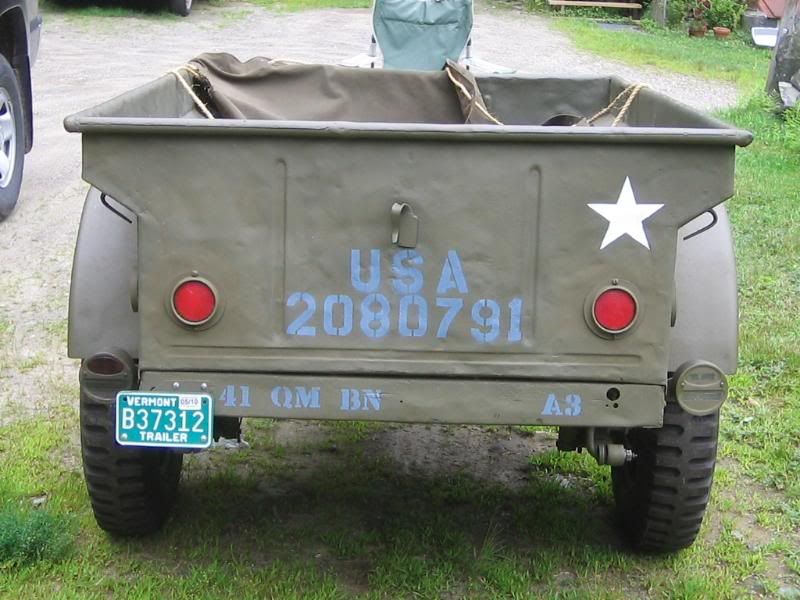
Regarding the trailer, it was saved by me from a local farm. It was being used as a horse trough. Date of delivery was June 1943. It was made by Willys, otherwise known as MBT.
According to the blog, James has been working on this about 2 years now. In the picture below, MetalRehab had just finished cleaning all the body parts. Recently, the parts were dropped off at Everman Paint and Body to get some body work done and paint (I think I’m right about the paint part).
And below is the engine running after a great deal of work cleaning all the parts.
James, obviously a man of high taste (I can tell this as I found a link back to ewillys on his site 🙂 ), would make a grandpa proud with this rebuild.
Yesterday (and today) I have enjoyed some correspondence from Sebastian, who hails from Colombia and currently resides in Pittsburgh, Pennsylvania.
In 1994, Sebastian and his father (who owns a blue CJ-3A), rebuilt a red 1954 CJ-3B, which can be seen to the right and viewed at the CJ-3B Page (sixth down from the top).
He writes, “My Willys is still in Colombia, so I only ride a couple times a year. Last May I went there for a week and put more than 250 miles on the jeep in less than five days. A couple years ago I became aware, and joined, the “Flat Fender Club of Butler” which is close to Pittsburgh. Butler is the place where the “Bantam” factory was located (the building is still there) and, therefore, it is the place where everything related to the Jeep started. The club is formed by a very nice group of people who are crazy about old willys. You can see some of the recent events and history of the club at: http://flatfenderclubofbutler.wordpress.com/ This blog also shows some pictures of the owners and our new T-shirts and Caps!”
For all the customizations I’ve done, I have to say I was still surprised, delightfully so, to receive this update from Brian about his metamorphasis of a GM sending unit into a Willys tank. Maybe it is just me, but it simply never occurred to me to try something like this. Moreover, as I turned Brian’s work into a post, I learned a great deal about gas tank sending units. Thanks Brian!
A quick note. After doing some research, I discovered one of the most common reasons for the older gas gauges to stop working correctly is a bad ground. So, if you are having problems with your old gas gauge, check the ground at the gauge and/or sending unit.
Take it away Brian:
I have tackled a variety of planned tasks on my CJ-3B, but as with any project, I’ve run across some unexpected issues as well. My gas tank sending unit is a perfect example.
*** DISCLAIMER: Before I begin, please be advised that when doing modifications to a gas tank it would be prudent (understatement) to drain and dry the gas tank. I hear gasoline is very explosive!!! ***
Prior to installing my gas tank, I decided to use an ohmmeter to test my sending unit to make sure it was in good condition. Unfortunately, I connected my ohmmeter and discovered my unit was dead. So, I thought this was a perfect chance to install a modern sending unit.
Btw, you can visit the 1945gpw website to get a nice overview about how to use an ohm meter to trouble shoot your old Willys sending units.
The stock unit on my CJ-3B is 40-0 ohm’s (which means the ohm meter would read 40 ohms when full and 0 ohms when empty). As I am upgrading my gauges to auto meter gauges, I had to make sure I selected a gauge that would work. There were four different gauges to choose from: 90-0, 30-0, 8-73, and 33-240 ohms. Note that the last two gauges are backwards for our purposes — the gauges would have read full when empty, and empty when full (if they worked at all). Also with my new gauge, I felt I would run into a problem with the ground, so I decided to replace the sending unit and make it work right.
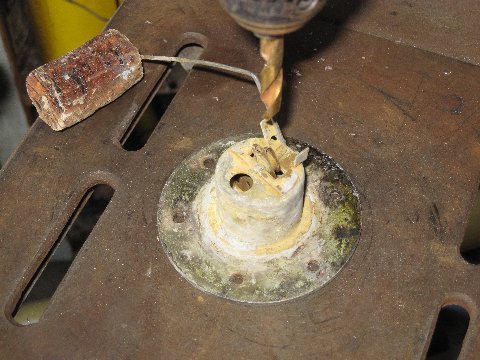
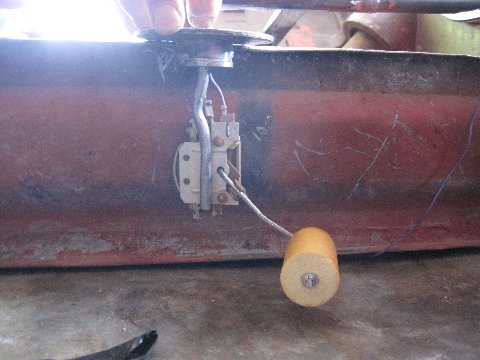
I had replaced a GM in-tank pump and sending unit on a friend’s truck and found a GM sending unit would fit though the tank opening of a Willys. So, with that in mind, I started by disassembling the old Willys unit. First, I removed the sending unit and the sending unit base from the gas tank. Next, I separated the sending unit from the base as I will be reusing this base (with some modifications) using my drill press.
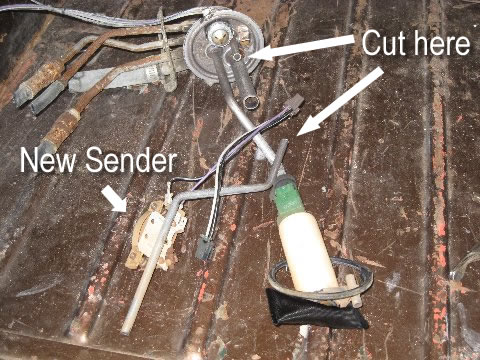
With that apart, I turned my attention to the GM Assembly. I removed the sending unit off the GM assembly by cutting the tube up high. I went over to Mick C. and we machined a plug for the old unit (a machinist is a good friend to have!). This GM unit is 90-0 ohms, a perfect match to the Auto Meter 105-2641 gage. It is also internally grounded, note the two wires.
Here is the unit assembled. The new plug had a hole in the center so I could run the new gas line through it. Also, the plug had a hole for the wires as well. I drilled three holes around the radius of the sending unit base and welded the plug in place. You can see the welds in the image below.
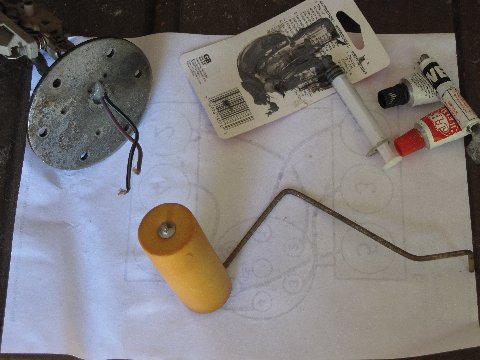
Note the J-B Weld. There is about 1/8″-3/16″ between the top of the plug and top of the unit. I used J-B Weld to pot and seal the unit. J-B weld (http://www.jbweld.net/products/jbweld.php) claims to be resistant to gas (from the website: “It’s strong as steel and impervious to water, gasoline, chemicals, and acids.”). DO NOT USE SILICONE!!!
[Editor’s note: Mitch mentioned months ago that he had a problem using J-B Weld to seal an old gas tank. Given the claims by J-B, maybe Mitch’s problem was more an adherence to the old tank rather than J-B itself? Any thoughts Mitch? This should be a good test of J-B and gasoline. ]
Now, I had to adjust the float to work correctly with the new unit. I cut the arm at the first bend from the float then turned it 90 degrees. I also cut the float down an inch.
Note: there is a pattern to the bolt circle on the old unit. Index the sending unit on assembly so the float will clear the internal wall in the tank. The wall runs across side-to-side; the float will have to do the same.
Adjusting the float was easy. I just held it to the top of the tank and bent the arm as needed.
One good thing about this modern sending unit is the rheostat can be replaced by removing two screws. You would have to get another one from a junk yard but can easily be rebuilt.
This works really well … I love these types of projects.
As a part of Crystal Tours, Tinker Bell is one of the official tour jeeps. Restored a couple years ago, Smitty documented some of his efforts. Smitty has restored several jeeps and operates Smittys Willys Online, where he writes about his restorations, his trips and restoration advice. Below is some info about his CJ-5 rebuild, but he also has a 1954 CJ-3B and a 1964 CJ-6 he has or is rebuilding.
On his website about the CJ-5 he writes, “The restoration work was started in August 2005 and substantially completed nine-months later in May. During that period seven-months labor and about $4,500.00 in parts and material was devoted to this restoration. The job took longer than expected due to the deteriorated condition of the body, and me — relearning the restoration trade and techniques, and reading everything available dealing with old Jeeps and their restoration. This Jeep is a RESTO-MOD. It’s a stock chassis and drive-train with minor modifications in the electrical, brake system and body….”