emailNeed to contact me and don't have my email? Click on email button.
About eWillys
Welcome to eWillys.com, a website for vintage jeep enthusiasts. I update this website nearly every day with jeep deals, jeep history, interesting reader projects, jeep related info, and more.
These quick searches can help you find things on eBay. People list in the wrong categories all the time, so don't be surprised to see brochures in the parts area for example. This section used to be split into jeeps, parts and other categories, but recent changes to eBay will require this information to be recoded.
The links to posts below show jeeps grouped by models, condition, and other ways. Some of these jeeps are for sale and others have been sold. If you are unsure whether a vehicle is still for sale or not, email me at d [at] ewillys.com for more info.
Importantly, the allure of buying a project jeep can be romantic. The reality of restoring a jeep can be quite different, expensive and overwhelming without the right tools and resources. So, tread carefully when purchasing a "project". If you have any concerns about buying a vintage jeep, or run across a scam, feel free to contact me for help, comments or concerns .
Sebastian, whom I mentioned in this post (a couple posts down), taught me a couple things about Willys in Colombia today.
1) Willys are very popular in Colombia. They started arriving during the 50’s and immediately became a sensation. They are still used regularly in the coffee plantations. He assures us that every single coffee beam that we enjoy in a Colombian Coffee has been transported at some point in a Willys (most probably a CJ-3B). There are cities and towns where you can see Willys everywhere, being used as work vehicles. For somebody from this country it would be like going back on time. They are also used as taxis, carrying people by the dozen. [Editor’s note: Nice work Sebastian; I am sold on a trip to Colombia :-)]
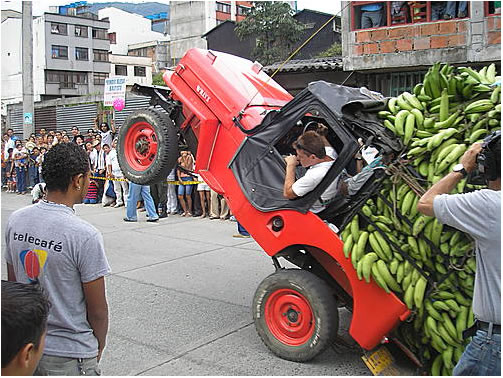
2) There are many Jeep festivals in Colombia. Most of them occur between September and October; they are called “Yipaos”. The festivals were started in 1988. The vehicles are driven through the main streets of a city and the Jeeps with the largest amount of objects carried with the most harmonious arrangements earn prizes. In fact, in February 2006, a Guinness World Records was established for the “Longest Jeep Parade” in Calarca, with a caravan of over 370 Jeep Willys vehicles. It seem to me that we need to break that record back!Here’s an article about it on the CJ-3B page.
Sebastian also sent me a powerpoint with some nice big pictures of one festival. You just gotta see it to believe. Check out the mud flaps … I’ve been looking for some older looking mud flaps!
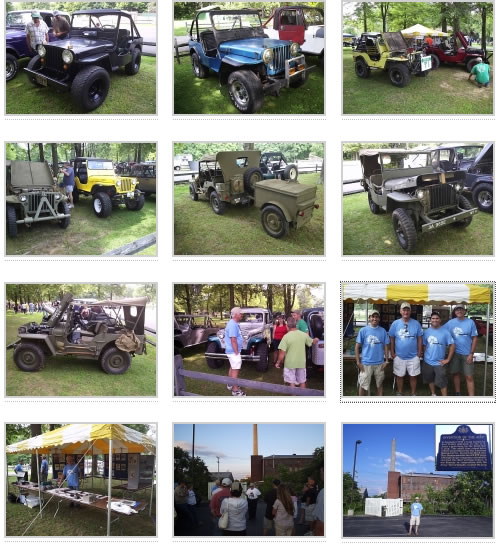
As I mention in the post below, Sebastian wrote me yesterday and told me a little about the Flat Fender Club of Butler. As I understand it, Sebastian launched the club website last year. It sounds like it’s kind of an ‘open source’ club.
Sebastian writes, “The Flat Fender Club of Butler is a very nice group. I am doing my best to help out. A friend of mine from Colombia helped me with the logo and the t-shirt design and I started the blog at the beginning of the summer. The club is very informal, with no dues and no officers, only the president and founder Dave Zibrat (great guy!). Butler is the place where the “Bantam” factory was located (the building is still there), and therefore it is the place where everything related to Jeep started.”
It appears several of the club members are readers of ewillys and I look forward interacting with more.
Yesterday (and today) I have enjoyed some correspondence from Sebastian, who hails from Colombia and currently resides in Pittsburgh, Pennsylvania.
In 1994, Sebastian and his father (who owns a blue CJ-3A), rebuilt a red 1954 CJ-3B, which can be seen to the right and viewed at the CJ-3B Page (sixth down from the top).
He writes, “My Willys is still in Colombia, so I only ride a couple times a year. Last May I went there for a week and put more than 250 miles on the jeep in less than five days. A couple years ago I became aware, and joined, the “Flat Fender Club of Butler” which is close to Pittsburgh. Butler is the place where the “Bantam” factory was located (the building is still there) and, therefore, it is the place where everything related to the Jeep started. The club is formed by a very nice group of people who are crazy about old willys. You can see some of the recent events and history of the club at: http://flatfenderclubofbutler.wordpress.com/ This blog also shows some pictures of the owners and our new T-shirts and Caps!”
For all the customizations I’ve done, I have to say I was still surprised, delightfully so, to receive this update from Brian about his metamorphasis of a GM sending unit into a Willys tank. Maybe it is just me, but it simply never occurred to me to try something like this. Moreover, as I turned Brian’s work into a post, I learned a great deal about gas tank sending units. Thanks Brian!
A quick note. After doing some research, I discovered one of the most common reasons for the older gas gauges to stop working correctly is a bad ground. So, if you are having problems with your old gas gauge, check the ground at the gauge and/or sending unit.
Take it away Brian:
I have tackled a variety of planned tasks on my CJ-3B, but as with any project, I’ve run across some unexpected issues as well. My gas tank sending unit is a perfect example.
*** DISCLAIMER: Before I begin, please be advised that when doing modifications to a gas tank it would be prudent (understatement) to drain and dry the gas tank. I hear gasoline is very explosive!!! ***
Prior to installing my gas tank, I decided to use an ohmmeter to test my sending unit to make sure it was in good condition. Unfortunately, I connected my ohmmeter and discovered my unit was dead. So, I thought this was a perfect chance to install a modern sending unit.
Btw, you can visit the 1945gpw website to get a nice overview about how to use an ohm meter to trouble shoot your old Willys sending units.
The stock unit on my CJ-3B is 40-0 ohm’s (which means the ohm meter would read 40 ohms when full and 0 ohms when empty). As I am upgrading my gauges to auto meter gauges, I had to make sure I selected a gauge that would work. There were four different gauges to choose from: 90-0, 30-0, 8-73, and 33-240 ohms. Note that the last two gauges are backwards for our purposes — the gauges would have read full when empty, and empty when full (if they worked at all). Also with my new gauge, I felt I would run into a problem with the ground, so I decided to replace the sending unit and make it work right.
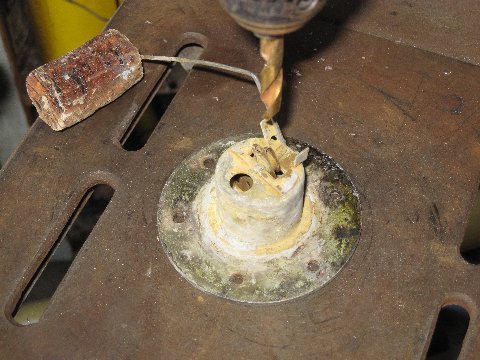
I had replaced a GM in-tank pump and sending unit on a friend’s truck and found a GM sending unit would fit though the tank opening of a Willys. So, with that in mind, I started by disassembling the old Willys unit. First, I removed the sending unit and the sending unit base from the gas tank. Next, I separated the sending unit from the base as I will be reusing this base (with some modifications) using my drill press.
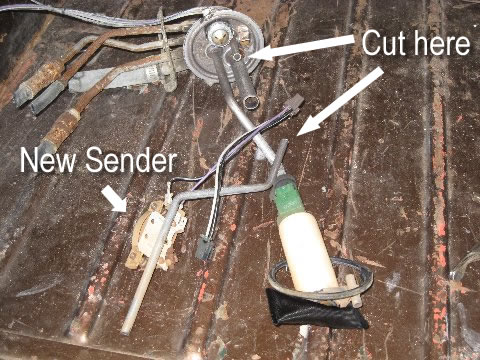
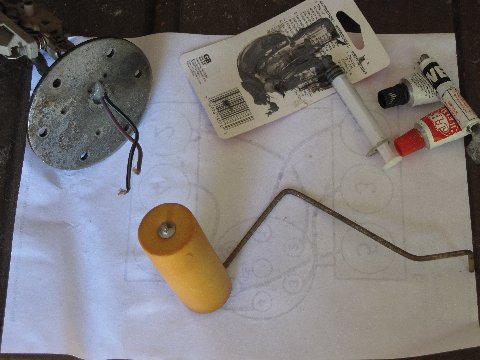
With that apart, I turned my attention to the GM Assembly. I removed the sending unit off the GM assembly by cutting the tube up high. I went over to Mick C. and we machined a plug for the old unit (a machinist is a good friend to have!). This GM unit is 90-0 ohms, a perfect match to the Auto Meter 105-2641 gage. It is also internally grounded, note the two wires.
Here is the unit assembled. The new plug had a hole in the center so I could run the new gas line through it. Also, the plug had a hole for the wires as well. I drilled three holes around the radius of the sending unit base and welded the plug in place. You can see the welds in the image below.
Note the J-B Weld. There is about 1/8″-3/16″ between the top of the plug and top of the unit. I used J-B Weld to pot and seal the unit. J-B weld (http://www.jbweld.net/products/jbweld.php) claims to be resistant to gas (from the website: “It’s strong as steel and impervious to water, gasoline, chemicals, and acids.”). DO NOT USE SILICONE!!!
[Editor’s note: Mitch mentioned months ago that he had a problem using J-B Weld to seal an old gas tank. Given the claims by J-B, maybe Mitch’s problem was more an adherence to the old tank rather than J-B itself? Any thoughts Mitch? This should be a good test of J-B and gasoline. ]
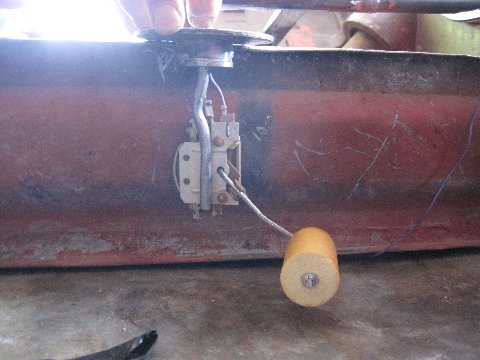
Now, I had to adjust the float to work correctly with the new unit. I cut the arm at the first bend from the float then turned it 90 degrees. I also cut the float down an inch.
Note: there is a pattern to the bolt circle on the old unit. Index the sending unit on assembly so the float will clear the internal wall in the tank. The wall runs across side-to-side; the float will have to do the same.
Adjusting the float was easy. I just held it to the top of the tank and bent the arm as needed.
One good thing about this modern sending unit is the rheostat can be replaced by removing two screws. You would have to get another one from a junk yard but can easily be rebuilt.
This works really well … I love these types of projects.
A reader named Robert noted my interest in an alternative emergency brake. He purchased the one to the right and says it looks pretty good, though he still needs to install it. While this isn’t exactly what I’m seeking, it is a great price at $4.95.
“Can be made to fit many applications. Originally designed as brake cables on Military trailers and Jeeps Unused/Unissued. Handle style and color may vary.”
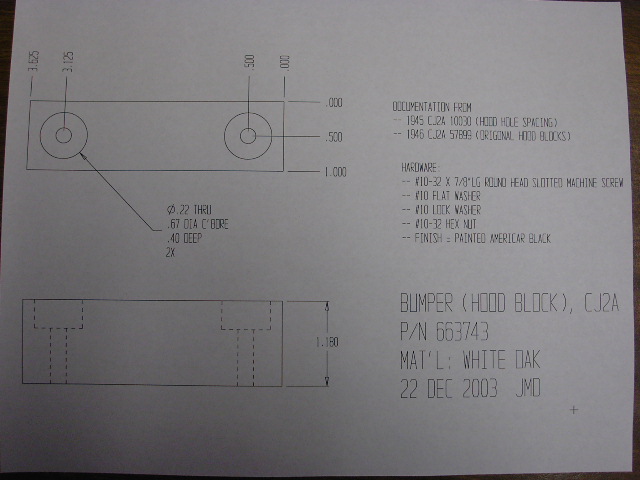
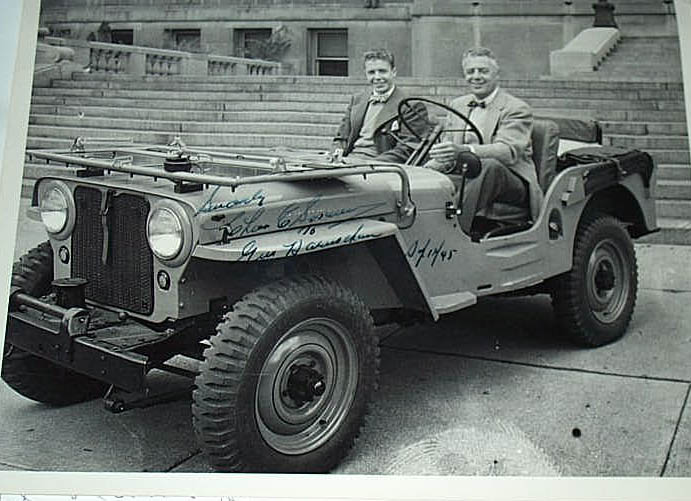
A reader asked about the original size of CJ-2A hood blocks. A quick search revealed this was a forum topic on the CJ-2A Page. Please visit the forum to learn more. I tried to create a quick link to the picture in the forum, but the forum won’t let me, so here’s a copy of the drawing submitted and a great pic of a 1945 CJ-2A which shows the blocks really well. There’s also a CAD drawing that you can find in the forum as well that should help with the blocks.
The photo was posted to the CJ-2A page forum by the forum moderator Sean and the drawing was done by Joe DeYoung.
And here’s the pic and caption of the ’45 willys submitted to the CJ-2A forum by the forum moderator Sean [This is a 1945 photo of a new 1945 CJ2A (photo courtesy Bill Oakes)]:
A reader asked about finding chromed lug nuts that had right and left hand threaded types.
I responded with this information:
“I got my lug nuts from my local schucks store. They carry the Mr Lugnut brand. I needed to get some special ones due to the thickness of my cast aluminum rims. However, I only needed right handed threads and not lefty’s. http://www.mr-lugnut.com/
Here’s a page that might be helpful too http://www.discountjeepparts.com/index.php/cPath/1714_302 It appears they have both right and left hand threaded chrome bolts that will cover the whole stud. Another thought (which doesn’t sound like much fun) is to knock out the left hand threaded studs and just go with right handed ones all around?”
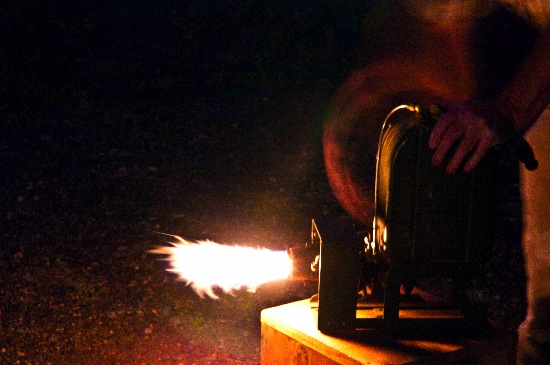
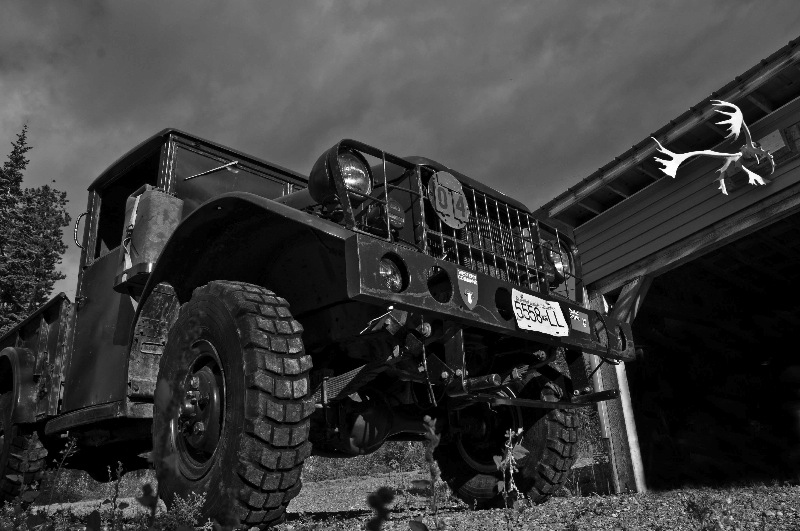
Dennis, who’s heater is featured here, decided to fire up his heater at night, creating this cool picture. He also sent an unrelated artsy pic of an M37 he thought he’d share. Thanks!
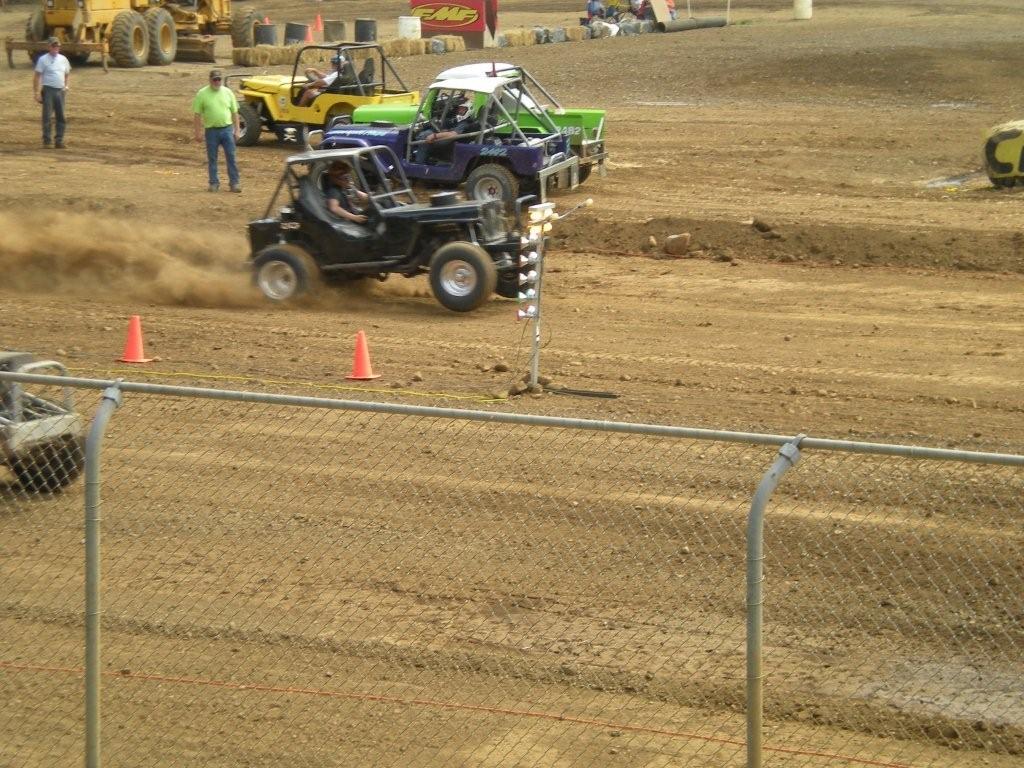
Troy forwarded me this great pic of his son Tyler dragging at the PNW Summer Convention. Tyler is 18 now and Troy writes, “I HAVEN’T HAD TO RIDE WITH HIM AT THE RACES SINCE HE TURNED 16…. I MADE A BIG MISTAKE THIS YEAR AND RODE WITH HIM ON THE X-CROUNTRY…..THE KIDS GOT IT, BUT @#!%&##@ HE SCARES THE HELL OUT ME…LOL.” You can see both the race jeep and troy’s other jeep here. Looks fun!
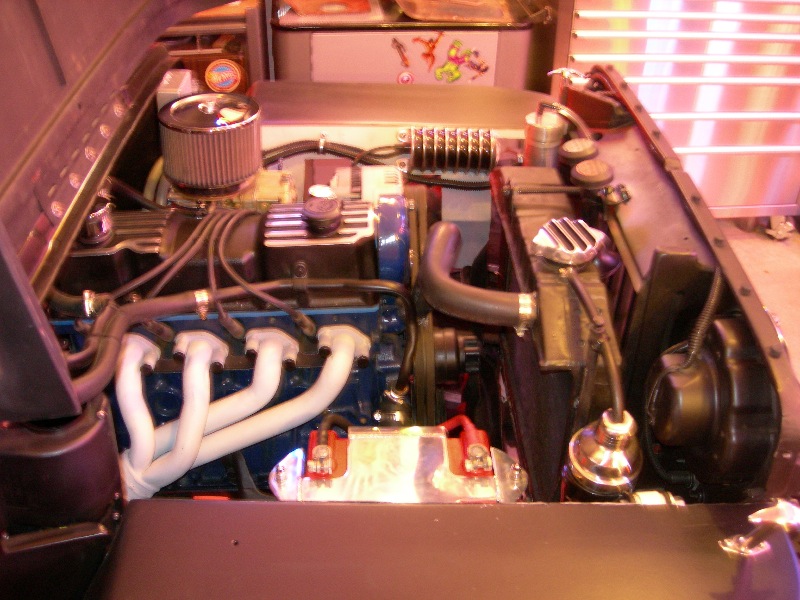
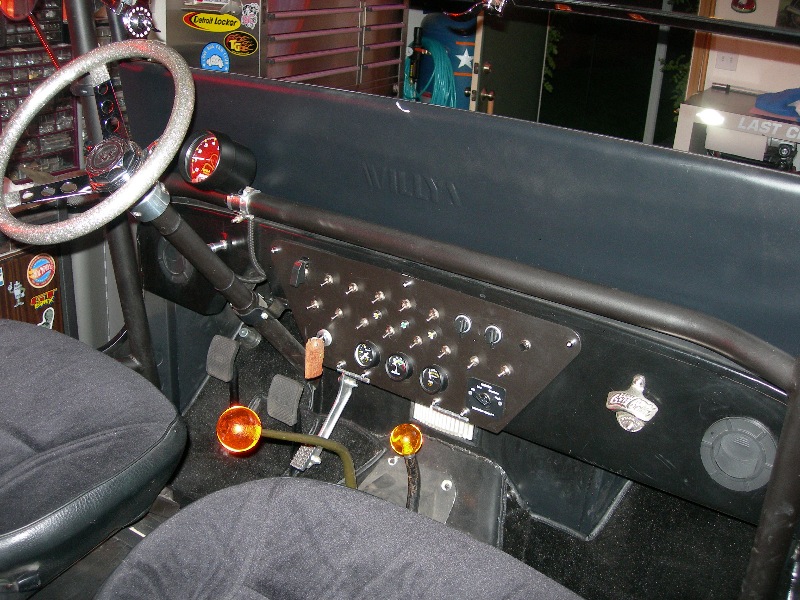
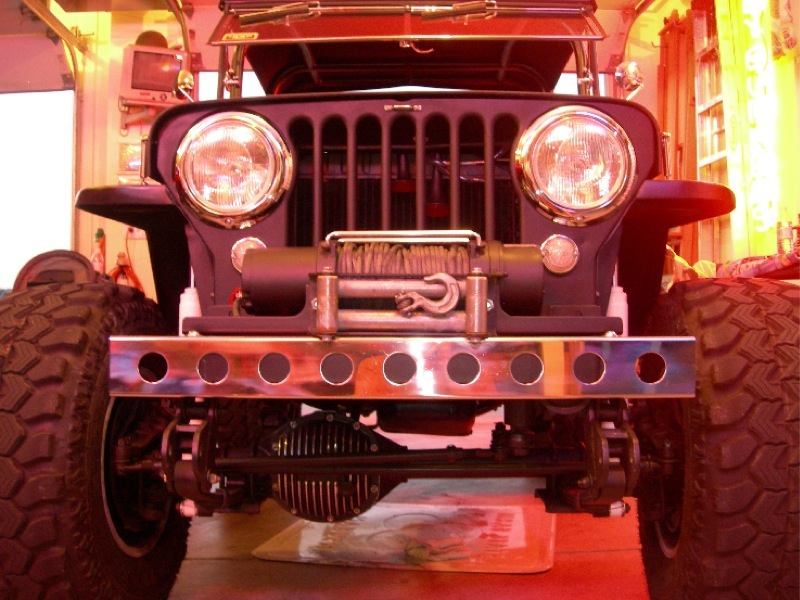
I didn’t get many specifics on this build, other than it is a barn find that was carefully rebuilt and is located in or near deer park, washington. There are lots of great details on it. Thanks for the pics Michelle!
Here’s a poem quickly penned earlier this decade by the girlfriend of a jeep.
Whether at war time
or at peace
Its wonders never cease
It will conquer anything
standing still
That’s a mountain
To a Jeep it’s just a hill
That’s a river
Just a puddle I see
That’s a ditch
Just a pot hole to me
Lockers and tires-37 inch
If that don’t work, use the winch
There’s no stopping this machine
Persistence like this you’ve never seen
So when you think an incline too steep
You might consider owning a Jeep
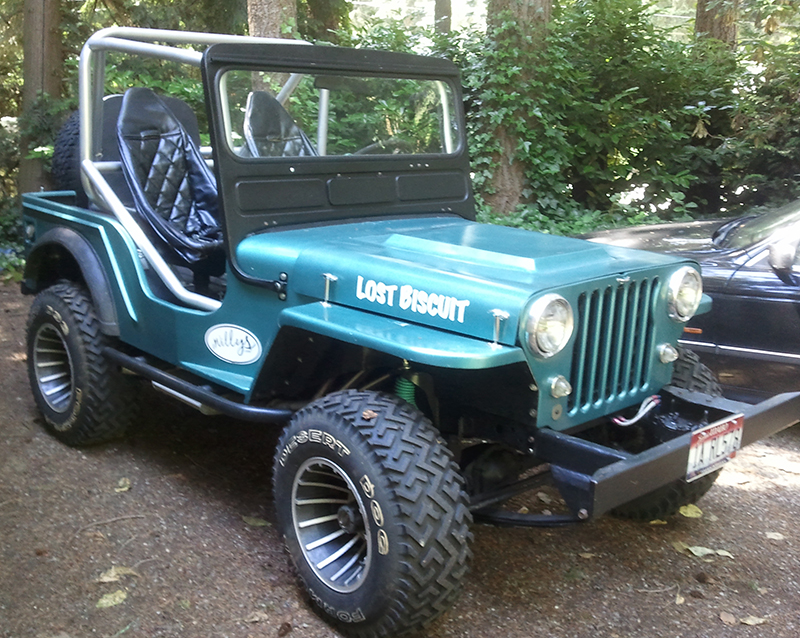
 Sebastian, whom I mentioned in this post (a couple posts down), taught me a couple things about Willys in Colombia today.
 2) There are many Jeep festivals in Colombia. Most of them occur between September and October; they are called “Yipaos”. The festivals were started in 1988. The vehicles are driven through the main streets of a city and the Jeeps with the largest amount of objects carried with the most harmonious arrangements earn prizes. In fact, in February 2006, a Guinness World Records was established for the “Longest Jeep Parade” in Calarca, with a caravan of over 370 Jeep Willys vehicles. It seem to me that we need to break that record back! Here’s an article about it on the CJ-3B page.