emailNeed to contact me and don't have my email? Click on email button.
About eWillys
Welcome to eWillys.com, a website for vintage jeep enthusiasts. I update this website nearly every day with jeep deals, jeep history, interesting reader projects, jeep related info, and more.
These quick searches can help you find things on eBay. People list in the wrong categories all the time, so don't be surprised to see brochures in the parts area for example. This section used to be split into jeeps, parts and other categories, but recent changes to eBay will require this information to be recoded.
The links to posts below show jeeps grouped by models, condition, and other ways. Some of these jeeps are for sale and others have been sold. If you are unsure whether a vehicle is still for sale or not, email me at d [at] ewillys.com for more info.
Importantly, the allure of buying a project jeep can be romantic. The reality of restoring a jeep can be quite different, expensive and overwhelming without the right tools and resources. So, tread carefully when purchasing a "project". If you have any concerns about buying a vintage jeep, or run across a scam, feel free to contact me for help, comments or concerns .
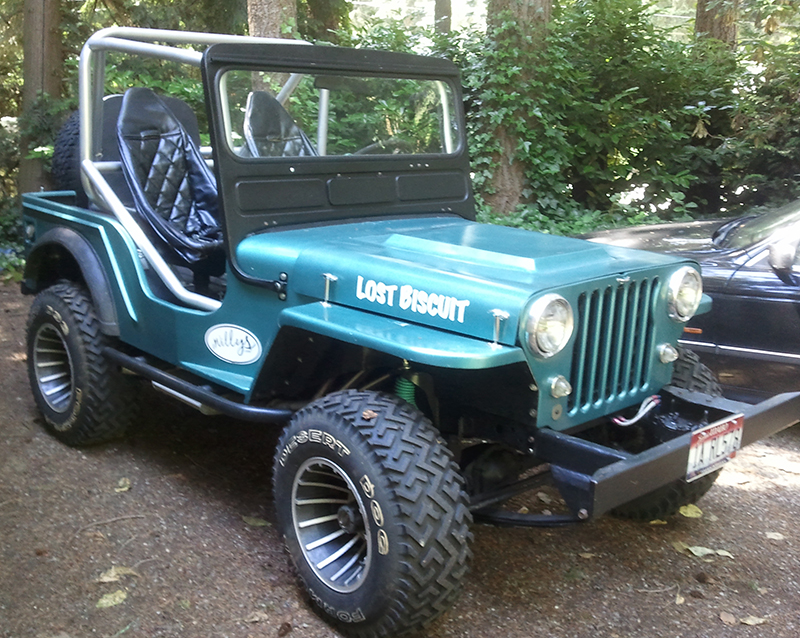
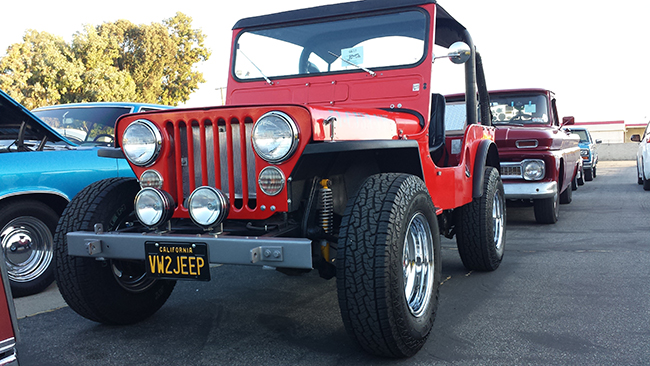
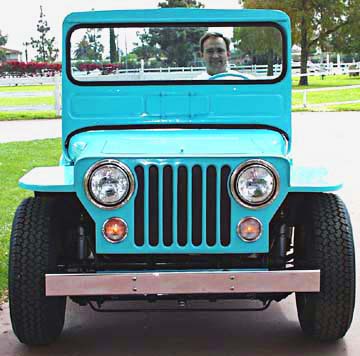
Based on a reader’s inquiry, I decided to do some research regarding the Veep. I’ve seen a few of these for sale over the past couple of years, but it doesn’t happen often and I really knew nothing about them. So, here’s the little bit I learned.
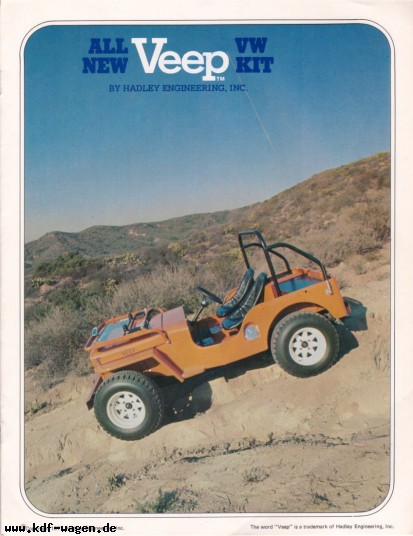
According to the Dune Buggy Archives, the Veep was sold as both a completed jeep and as a kit by Hadley Engineering, which was based at 1778 Monrovia, Costa Mesa, CA 92627 (maybe they are still there). The company claimed that any Beetle or Karman Ghia could be used to build a Veep in about 40 hours.
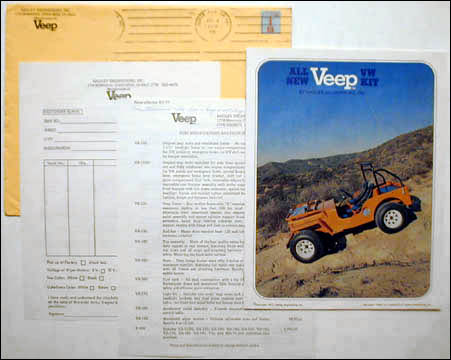
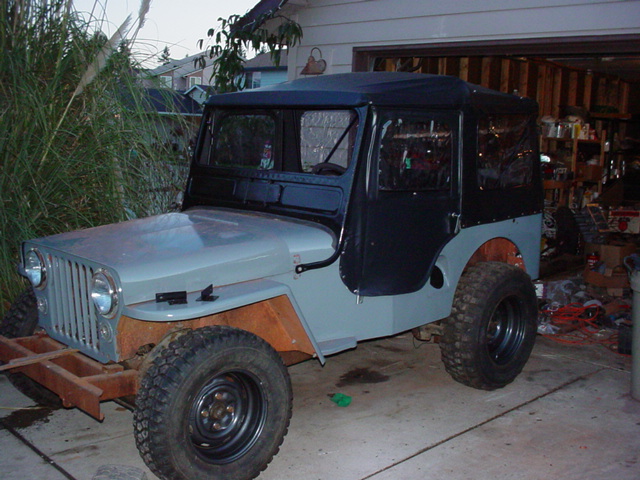
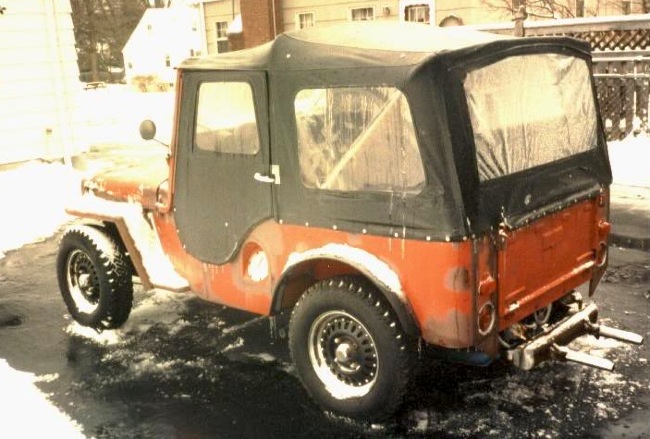
I’ve only seen two engine sizes so far, a 1600 cc or a 1800 cc VW motor. The suspension, frame, and running gear is all VW. Most of the veeps appear to use a replacement M-38 body, though one ad below claims a ’42 body (mb or gpw) was used. The gas tank is mounted in the front, which simply looks odd when you open the hood. Below is a couple brochures and some misc Veeps. In the posts below are some additional Veeps.
I’m still hardly an expert on these, so if you have additional information, I’d love to learn more.
Gerald found these pics. If anyone has or runs across any similar pics, I’d like to see them.
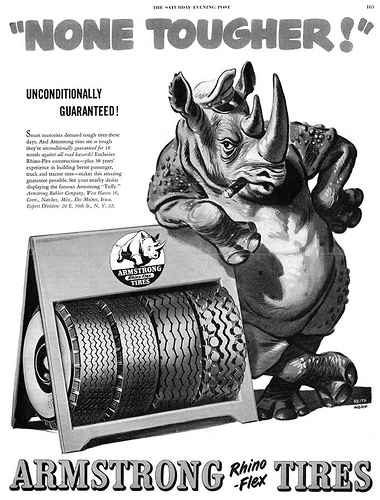
1. Here’s an ad for the older Armstrong tires:
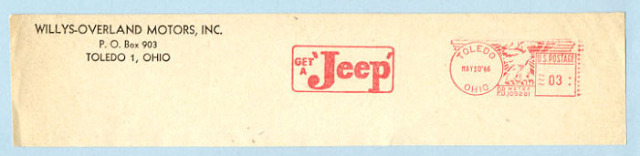
2. A vintage 1946 stamped envelope top from Willys Overland:
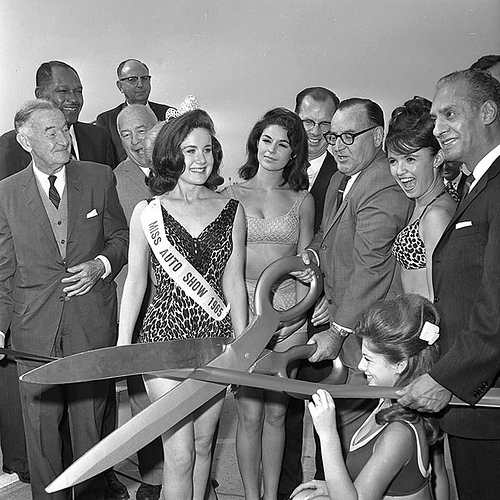
3. During a search for the 1960 auto show pics, Gerald found this image from the 1965 auto show. He immediately thought of the show Mad Men. The girls may be as lovely as the ones on the show, but the men are much older (compare the photos below and you decide!
I ran across this website, which shows pictures of Phil’s former 1953 CJ-3A. According to his website, he has sold this jeep. It’s solid looking, nice jeep.
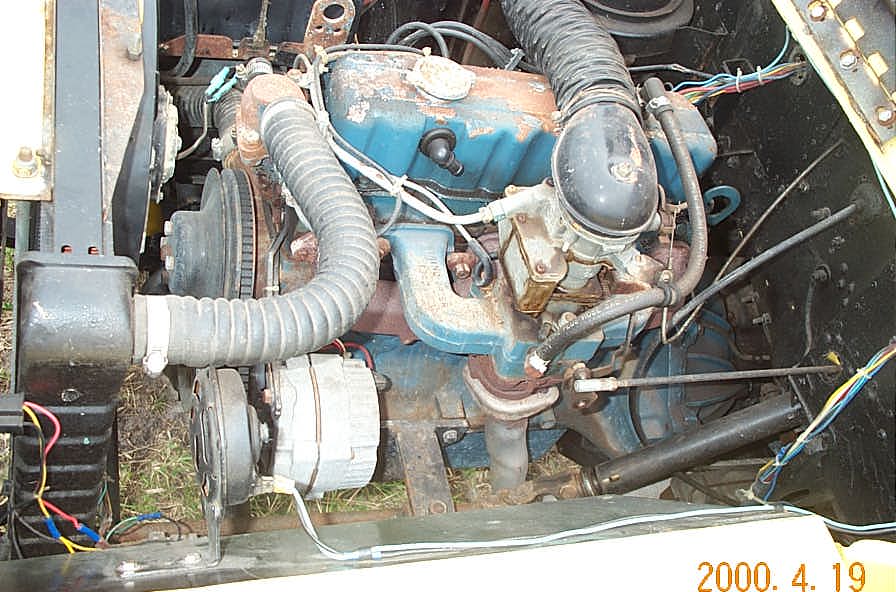
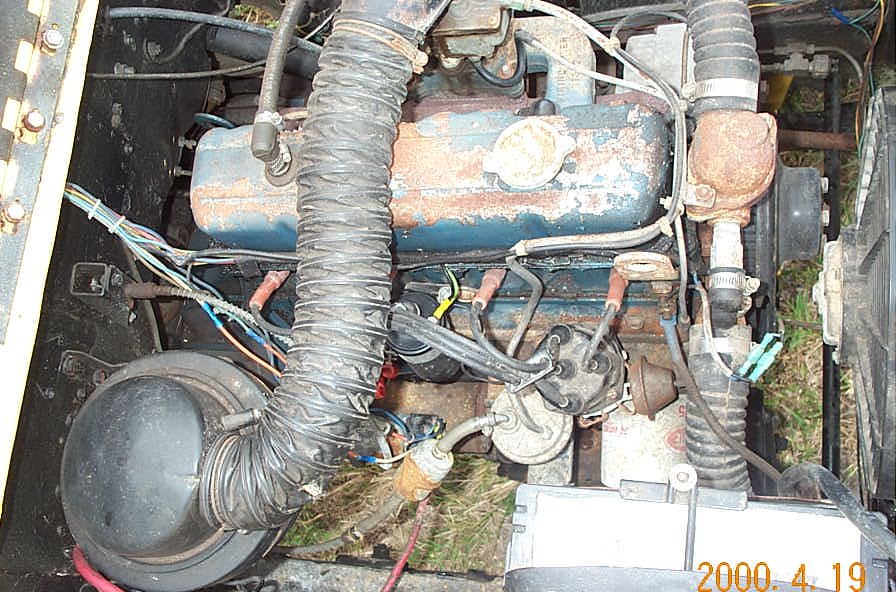
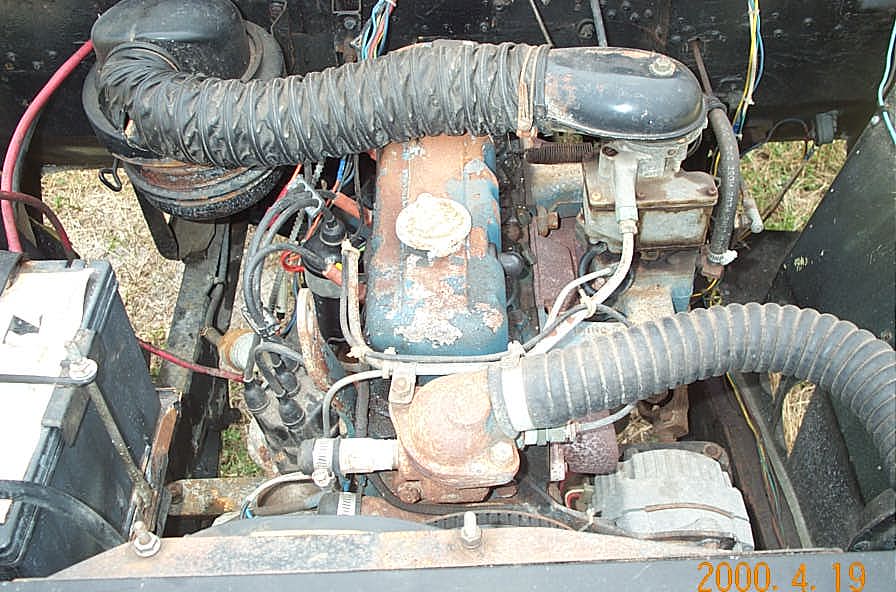
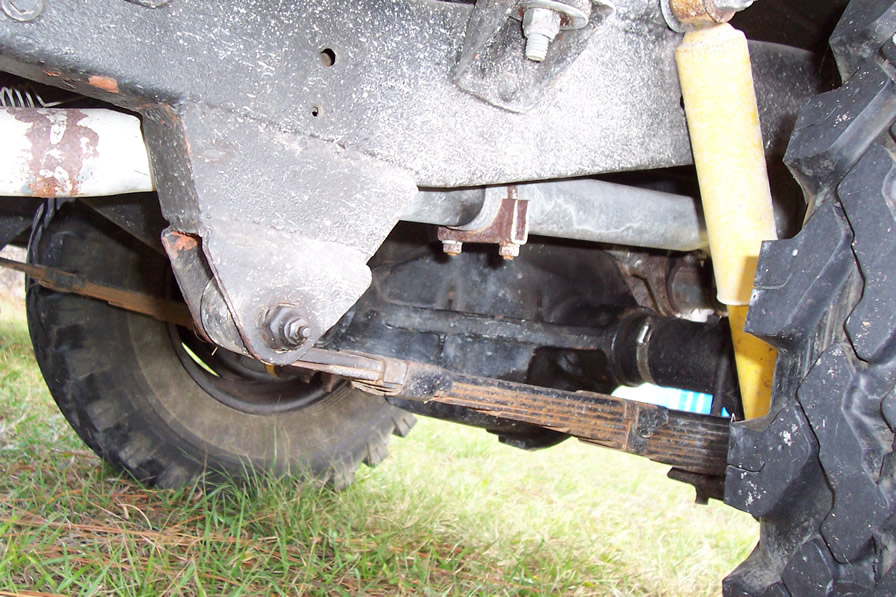
What I liked about some of these pics is that they show a solution for installing a taller engine into a flattie. I figured there might be some readers out there who would find this interesting.
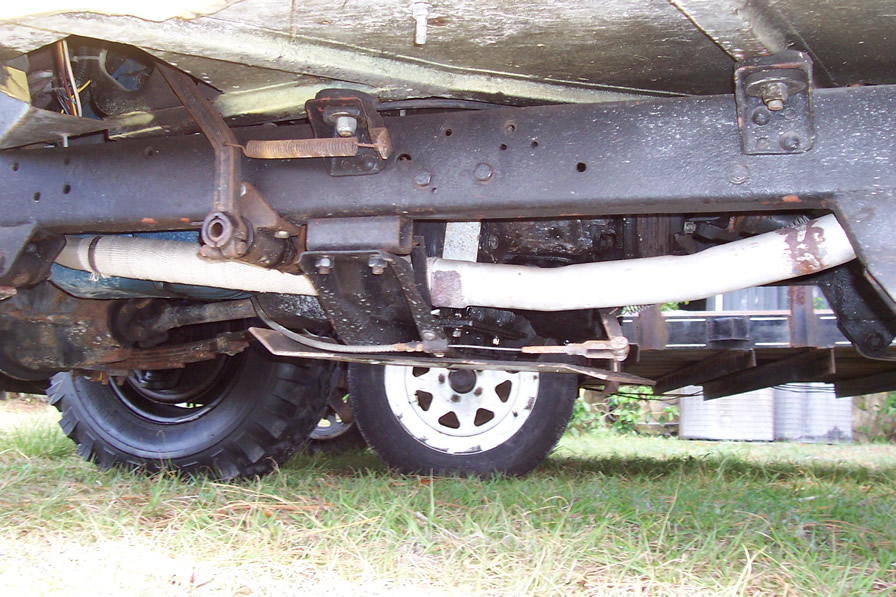
Here’s some pics of the transfer case/tranny undercarriage. Note how it has been dropped with some square tubing.
Now look at how the engine has been dropped. Solid plates and arms reach out from the engine to the frame and mount on top of something welded to the side of the frame. It I were doing this, I’d probably beef up the metal that spans the gap from the engine to the frame. What I can see is if there is rubber underneath the point where the engine mount meets the frame.
Note the back of the frame has been lifted by inserting a block between the shackle and the frame. Strangely, this wasn’t done in the front.
Note the hood on this CJ-3A. It appears to be a trimmed down CJ-3B Hood.
Titled, the “CJ-2A 1948 Willys Overland Jeep Restoration Project“, this blog follows the rebuilding of a 1948 Willys by Mac and Jason in Houston, Tx. It’s clear they don’t know a great deal about jeeps (neither did I when I started on my jeep many years ago), but are jumping in with both feet none-the-less. Kudos to them; it looks like they are learning already.
I was doing some research and found some pics from a female photographer on flickr who calls herself 03Jeepgirl. She owns two jeeps, though she didn’t get specific about what she owns. She’s posted a large number of old vehicle pics, including these flattie shots.
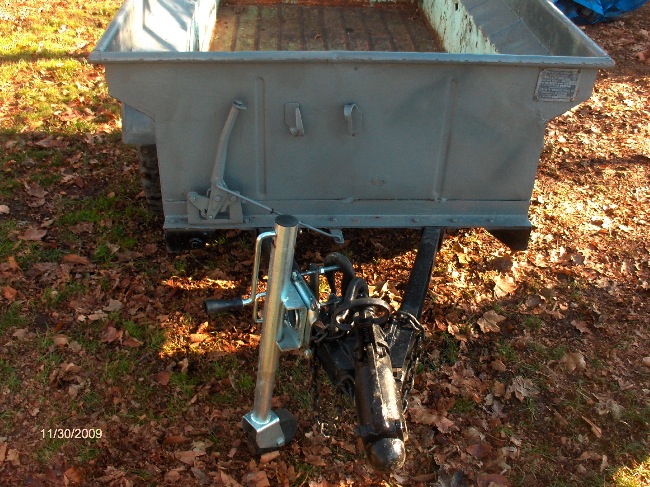
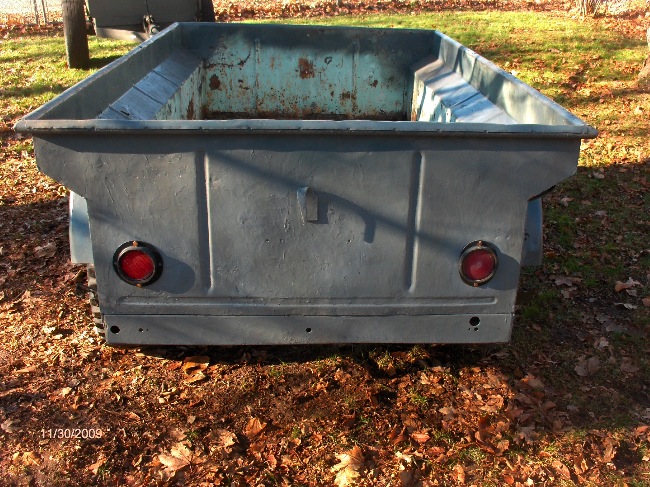
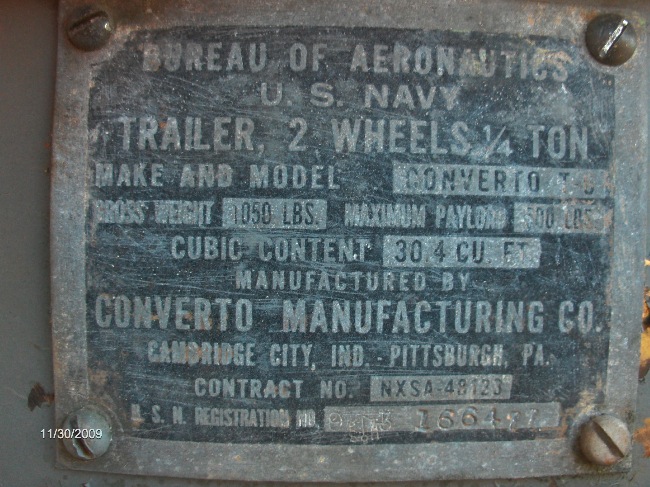
Josh sent over some pics of a very rare WW2 US Navy Converto T6 Trailer. Josh is curious to know if any other readers have or know of these trailers. I’ll be happy to set aside some space for Converto trailer owners to gather and share information.
Also, he’s got another trailer for sale on eBay (Converto Airborne Dump Trailer — see post below this one).
Josh writes, “Here are some pictures of my WW2 US Navy Converto T6 trailer I mentioned to you a while back. I found it here in Boise, though it was never advertised for sale. It is almost identical to a more well known Bantam t3 or a Willys MBT. During the war there were a number of companies producing nearly identical trailers for the military. The only notable difference between my MBT or T3 and the Converto T6 are a different brake hand set up, dataplate, and, in the case of my trailer, a ball hitch that is stamped USN 1944. (My hitch is different from the two other Converto T6s I’ve heard about — They both have the standard military lunettes) The data plate was originally riveted to my trailer but the past owner removed it to paint it grey again with spray paint. The under side of my trailer has what I believe to be the original paint and some yellow stenciling that has shipping info/load info. I plan to fully restore and hold onto this T6.
Converto also produced a T7 (same 1/4 ton trailer as the MBT/T3/T6 but with a tailgate) and a Converto Airborne Dump Trailer which is a 1/2 ton but used with the jeep. There is really little info I can find out on either the T6 orT7, but the Dump trailers do have a lot of info available including a military TM. I have had a few Converto Airborne Dump Trailers. They are very hard to find as it is estimated only about 6500 where produced. I’m unsure how many T6/T7 were produced. Not very many based on how few are still around. Maybe we can find a few more with your readers??”
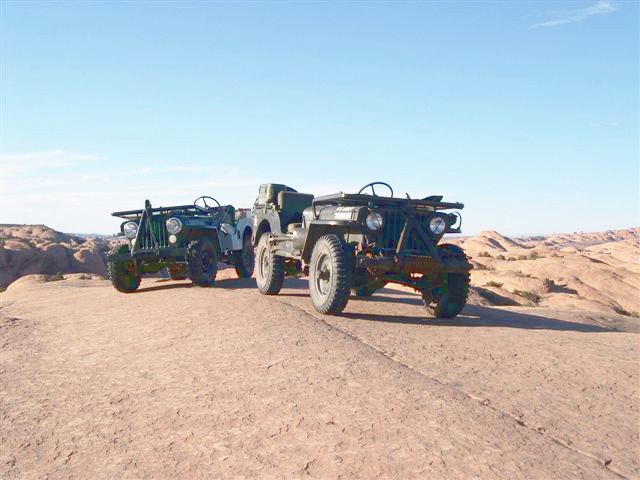
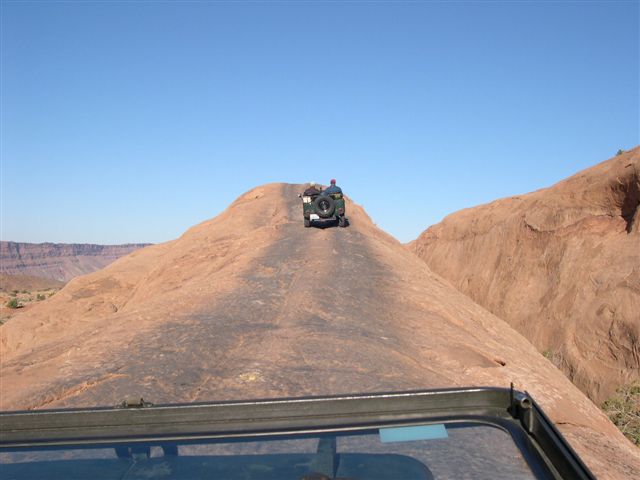
I’ve seen lots of pics of modified vehicles that crawl the slickrock of Southern Utah; so. it’s a nice change to see these two classic jeeps cover the trails without issue.
Randall writes, I thought maybe some other old school jeepers might like to see a few photos of a recent club outing to Moab. The jeeps did great and the scenery was absolutely awesome. The “slickrock” on “Fins&Things” and “Hell’s Revenge” trails was amazing.
The M38 is a 1952, all stock with four banger, T-90, and Dana 44 with 5:38’s. The other is a ’52 3A. Also bone stock with Dana 41. The only upgrade on it is 11″ brakes and 12v. This was our first trip, but probably won’t be our last. We went the first week of Nov. and hit great weather by luck. We’d hoped to have more jeeps make it but too many conflicts for everyone. Had a blast with just four of us in the two jeeps. They climbed just about anything a sane, middle aged man would need to climb and the gears made descents very doable with little need for much braking. HOWEVER, I was glad the brakes were in very good condition when we first went down some of the trails.
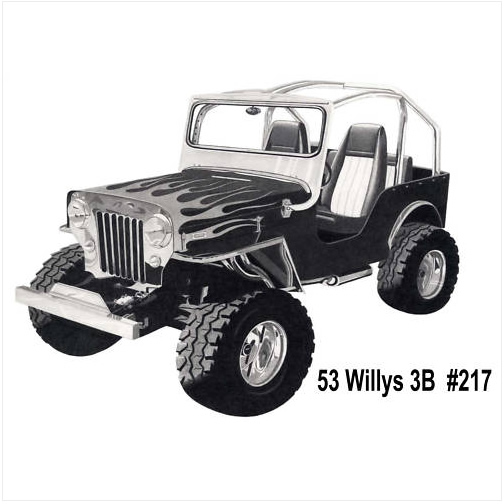
I found the image below on eBay. The bidding has ended, but I”m sure it will return. I thought it looked very similar to Brian’s CJ-3B (or former CJ-3B — did you ever sell it?). After located a pic of the CJ-3B, I concluded it must have been used as the model of the drawing.
According to an old ebay listing, this particularly drawing is a run of 250 prints of a drawing by artist Duke Edwards. I didn’t know who Duke Edwards was, so I did a google search and found the information below from the ‘Automotive Art Gallery‘.
“Duke has been “doodling” for almost 40 years but had limited his clientele to friends and local car clubs. Since making his work available to the public, he has received international recognition and has pieces on museum display as well as in private collections. For just “doodling” Duke is amazingly talented.”
I found this article on Automotive.com, though it’s really an article from JP Magazine. The article highlights improving performance on a variety of Jeep engines. Here’s two excerpts and a great pic.
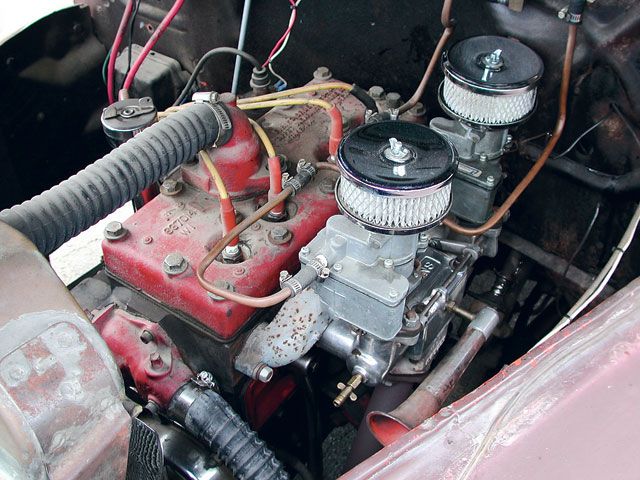
“Dual carburetor manifolds in the ’50s were available for just about any engine you could imagine and an old-time company, Burns, made a log-type manifold that utilized two Stromberg FordV-8 carburetors for the Jeep four-cylinder. I’m sure these helped the four-cylinder flathead’s performance, but, still, the long-stroke 134.2ci engine needed a lot more than this…”
And a little on the F-head
“The next step was to swap in a later model F-head engine. It wasn’t technically an engine swap because it was a direct bolt in. Still the same basic engine, but a new cylinder head design with the intake valves upstairs in the head instead of the block. Depending on the compression ratio, which ranged from 6.9 to 7.8 (depending on year and usage), it was rated at 72 to 75 horsepower at around 4,000 rpm and torque was up to 114lb-ft. This one got a balance job, some performance pistons from Speed-O-Motive, and a Holley carb from a Falcon six. My new performance motor maybe made 100 horsepower on a good, damp day.
Harry Buschert, who owned a farm implement repair shop in Hemet, California, was a real innovator in design. He built up a very-modified, four-cylinder F-head that even had a Paxton Blower that he had salvaged off a Packard….”
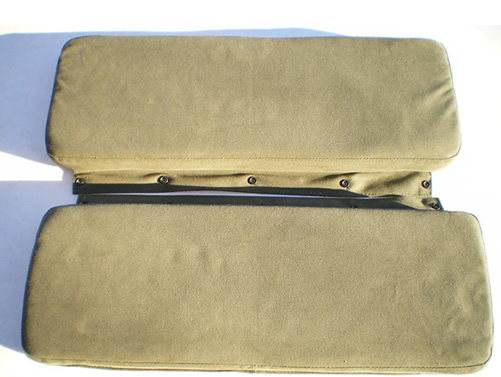
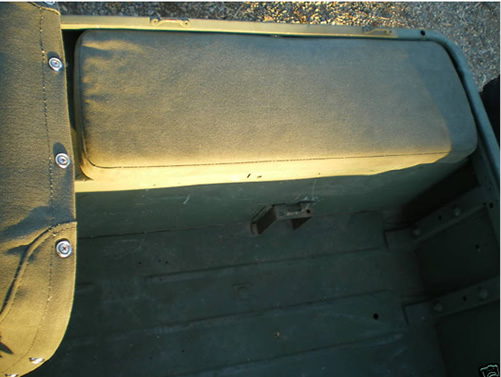
UPDATE: Jim used to make these seat cushions, but no longer does. I’ve decided to keep these here just in case someone is looking for ideas for Seat Cushions.
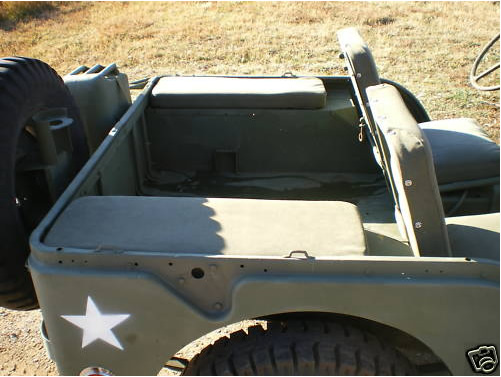
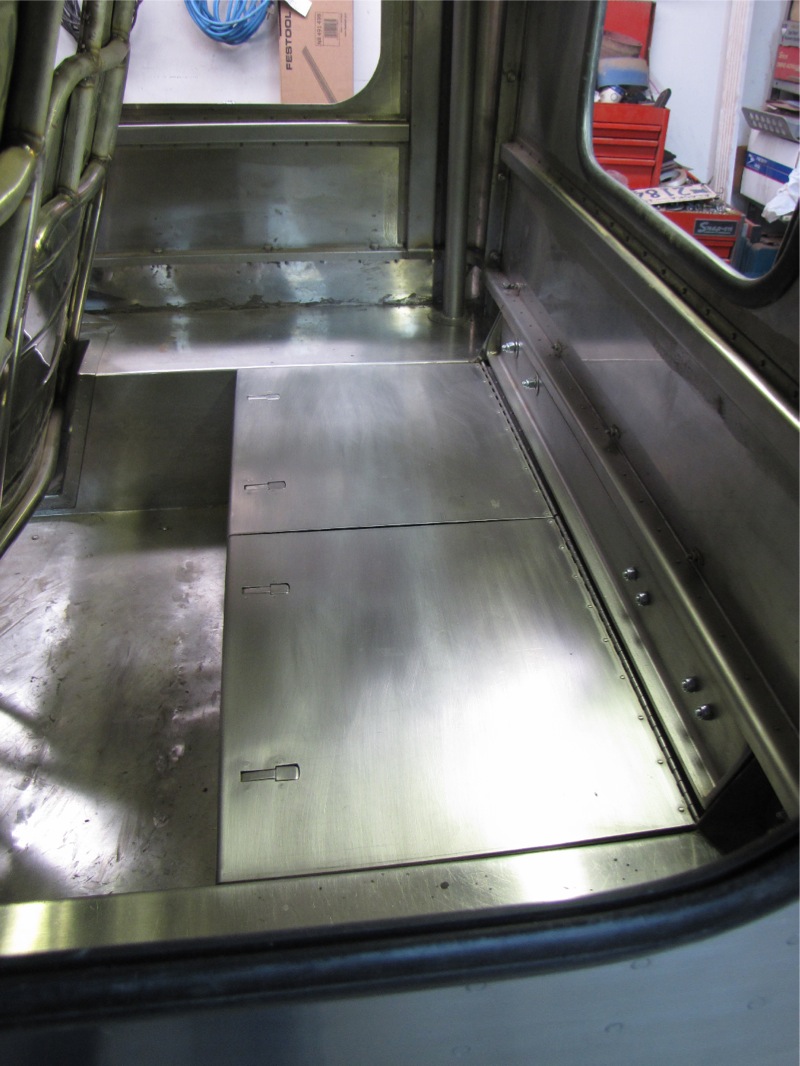
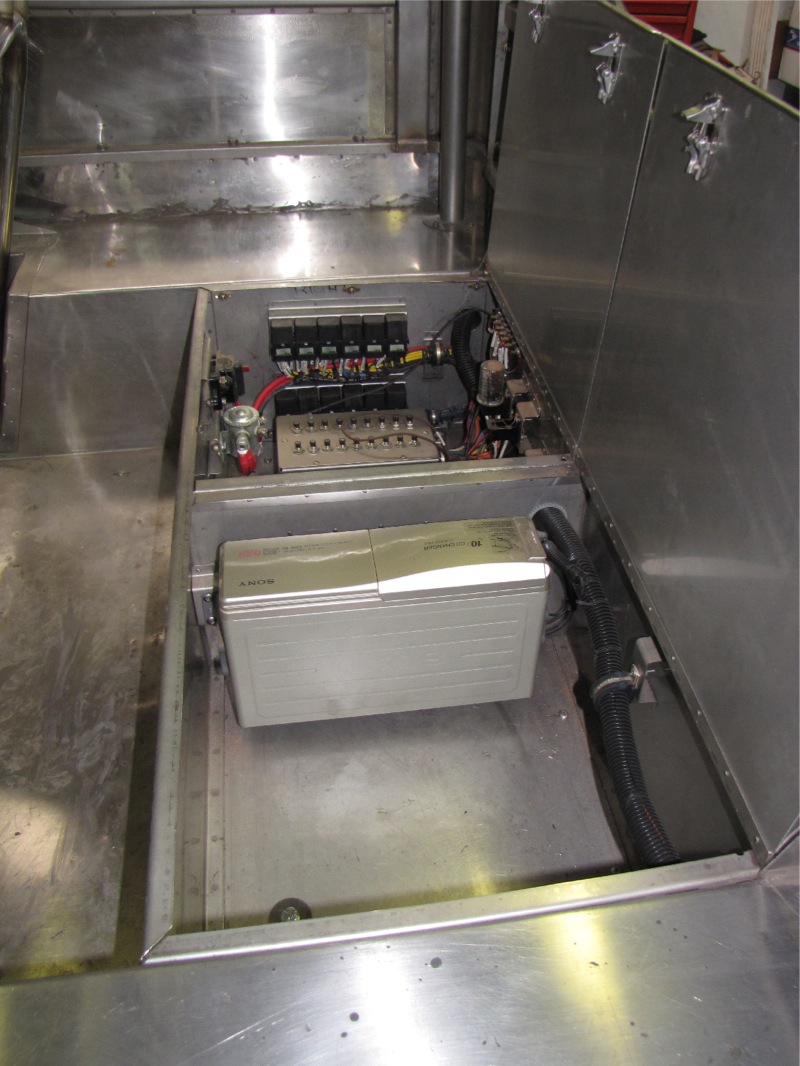
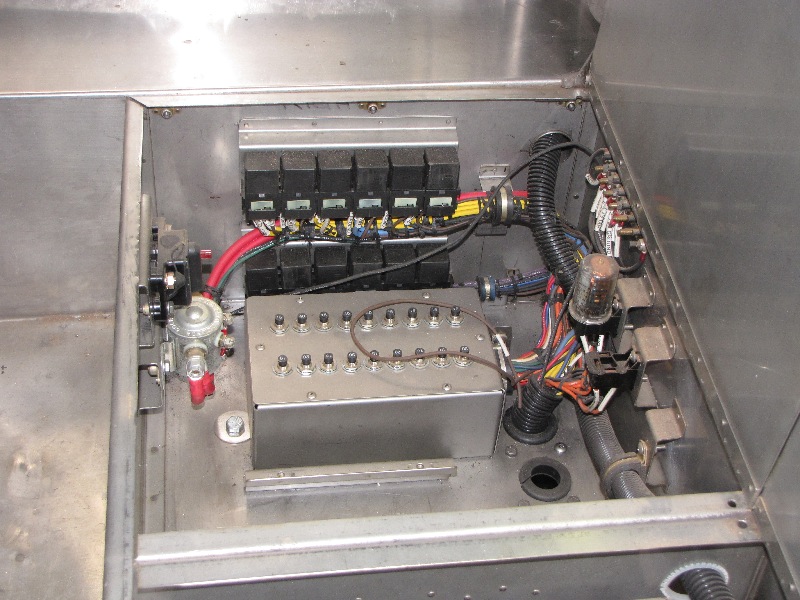
Paul Bierman again with a few more pictures of the never ending Willys project. I didn’t want a rear seat (Who can fit back there anyway?) so I fabricated a storage box which spans between the rear wheel wells and is divided into two sections. The half behind the passengers seat is the new battery location along with the circuit breaker panel, the master relay and circuit breaker and most of the switch relays. The half behind the driver’s side is the home of a now vintage (but it’s still brand new, I bought it quite a while ago) ten disc cd changer with some room left over for an out of view storage compartment. I’ve replaced just about all of the wiring with new (there’s some original wiring on the gas heater still but I’ll get to that sometime) with some fancy pants, super flexible cold weather wiring which stays flexible down to 55 below zero F. Boy, doesn’t that just make you feel dandy. If it’s that cold I’ll wait till spring, besides I try to draw the line on outside work when the temperature drops past 40 below zero F, nothing’s worse than having to take a leak when you’re wearing multiple layers of clothing eight inches thick and Little Mr. Wizzard shrunk up to an inch and a half. No matter what you do you know at least one of your boots is going to get wet.
Moving the instrument panel above the windshield caused still more problems but the most annoying one was how I could get all the wires from the gauges down to the main body without my work looking like crap. I was at work thinking this over (Ok, I was in the bathroom but I do my deepest thinking sitting down) when I happened to glance over at the wall and saw a beautiful stainless steel handle just the right size with curved ends, satin finished and everything! Problem solved, until I mentioned this great solution to my boss and his exact response was, “Touch it and die.” Geeze, guess I’ll have to spend my own money and purchase some handicap grab handles. The local home supply store had quite a selection of stainless handles but I ran into a problem with an over enthusiastic clerk wanting to help me with my bathroom remodel. He’d never heard of a 52 Willys bathroom renovation. The handles worked out great, you can see them on the pictures of the windshield/instrument panel photos by the door posts.
Winter was late getting here (I love global warming!) but I have lots of cold dark days ahead of me so the Willys will get a great deal of attention before this latest batch of snow melts. Next week I’ll have the side and rear window glass cut and then I’ll have to make patterns for the door window glass and they’ll be ordered when my wallet says it’s ok.
PS … I’ve really enjoyed the comments left by fellow Willys wackos, the concern about welding above the jerry can was nice but the can had never been used and I threw it out after I’d made the gas can mount. If I was to worry about welding safety I should have thought about the beef and bean burrito (with cheese and onions on top) I’d eaten for lunch, not so much for the flamability aspect (the poor garage just isn’t that tightly sealed) but the thrust developed after lunch could have blown me off those fancy bucket workstands!