emailNeed to contact me and don't have my email? Click on email button.
About eWillys
Welcome to eWillys.com, a website for vintage jeep enthusiasts. I update this website nearly every day with jeep deals, jeep history, interesting reader projects, jeep related info, and more.
These quick searches can help you find things on eBay. People list in the wrong categories all the time, so don't be surprised to see brochures in the parts area for example. This section used to be split into jeeps, parts and other categories, but recent changes to eBay will require this information to be recoded.
The links to posts below show jeeps grouped by models, condition, and other ways. Some of these jeeps are for sale and others have been sold. If you are unsure whether a vehicle is still for sale or not, email me at d [at] ewillys.com for more info.
Importantly, the allure of buying a project jeep can be romantic. The reality of restoring a jeep can be quite different, expensive and overwhelming without the right tools and resources. So, tread carefully when purchasing a "project". If you have any concerns about buying a vintage jeep, or run across a scam, feel free to contact me for help, comments or concerns .
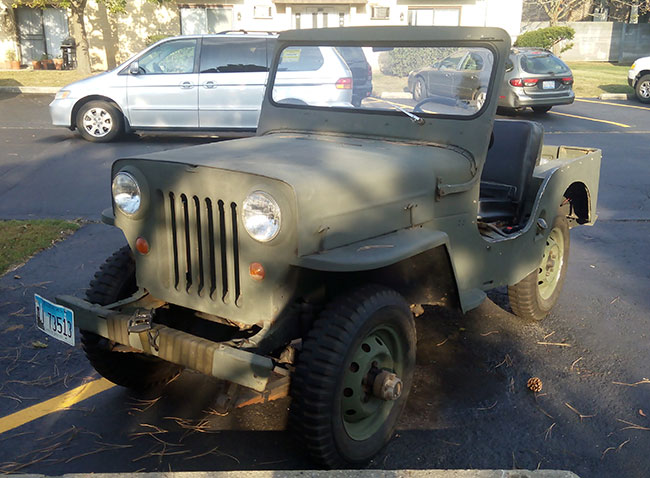
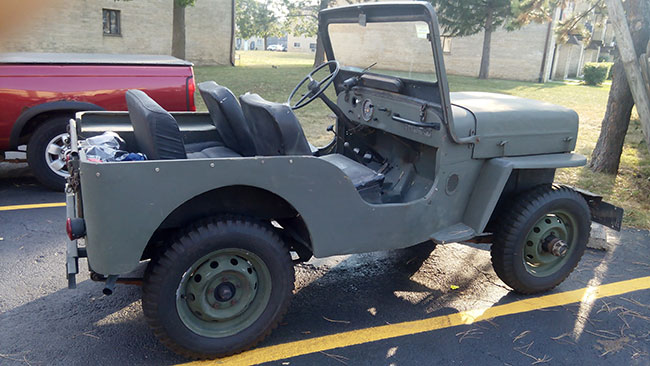
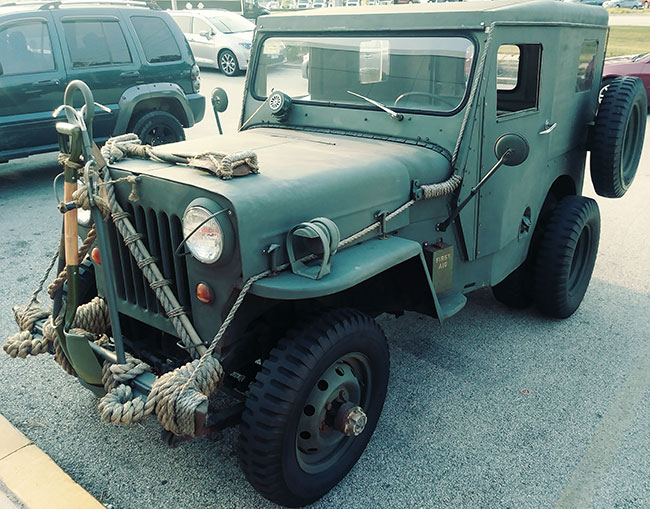
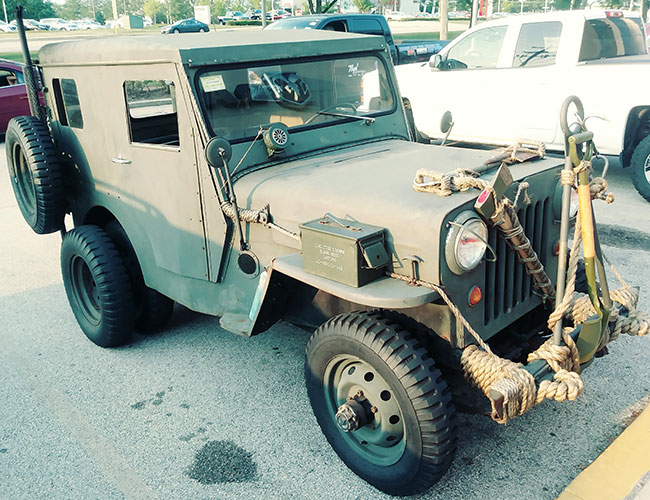
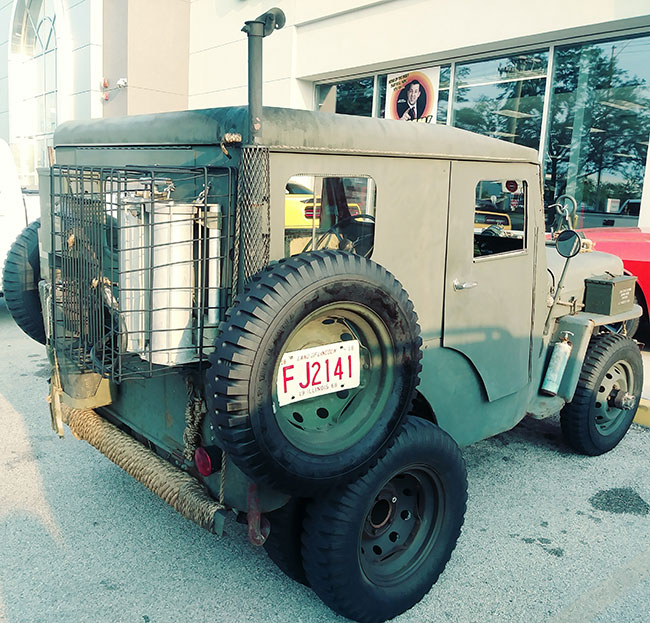
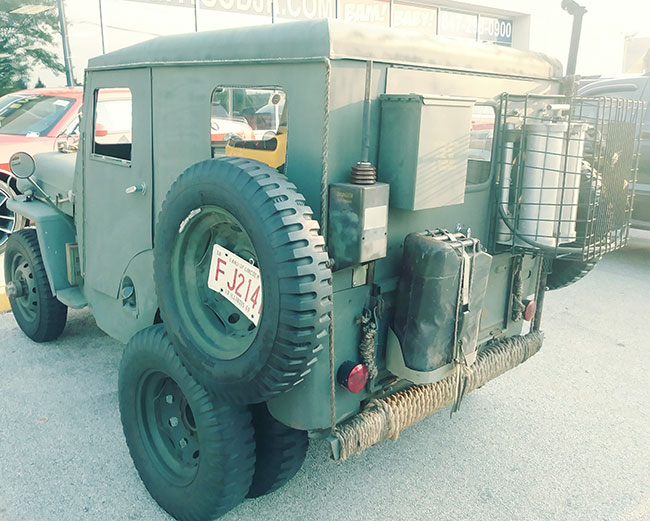
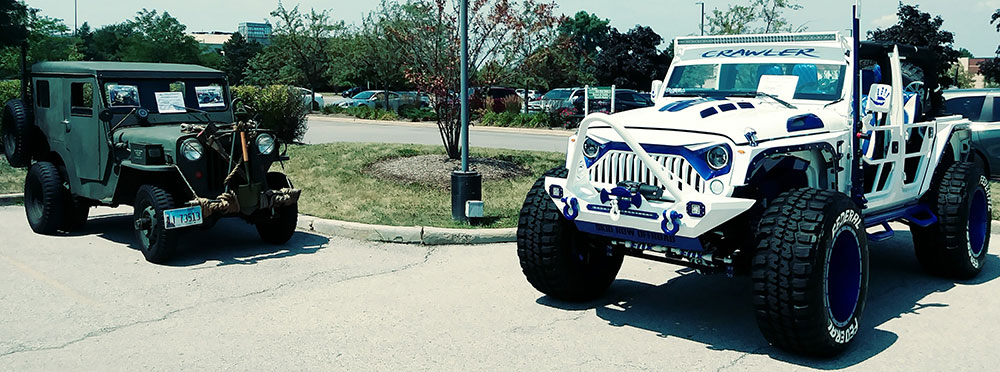
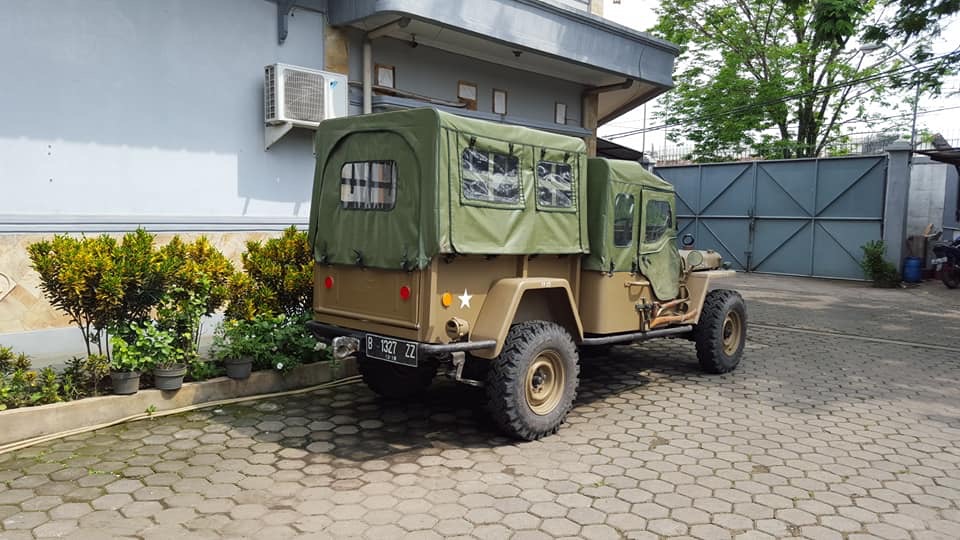
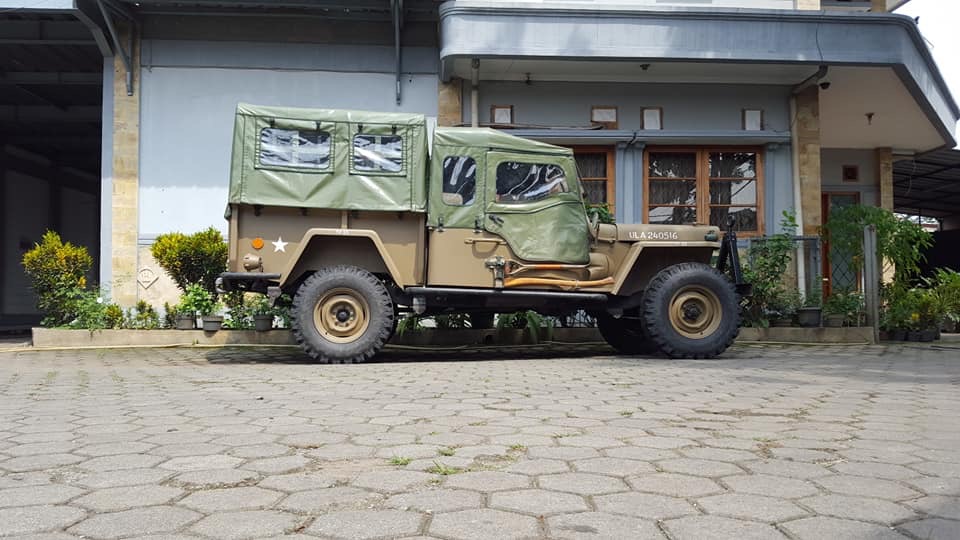
Terry bought this running late model CJ-3B for a great price, then doubled his investment in the jeep by fixing it up and adding some fun extras like rear duallies, a hardtop, and rope (just for kicks). Despite the additions, almost none of it altered the original jeep he bought. He says the changes made the jeep popular with folks and 99% of people didn’t realize it was not a military jeep.
The other day he went into a dealership and the dealer offered to buy it. Though not planning to sell the jeep, the amount offered by the dealer, double Terry’s entire investment in the jeep, was too good to refuse, so he sold the jeep. With his new found cash, he picked up a wagon that he plans to restore. Here are a few pics of the CJ-3B.
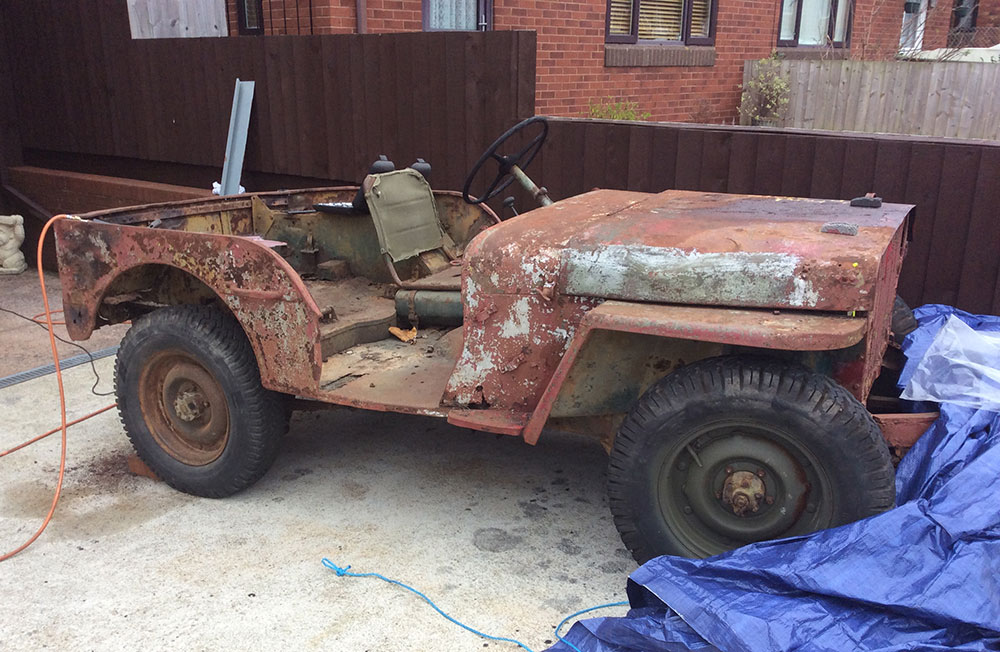
Before his changes:
After his updates, including the purchase of a hardtop:
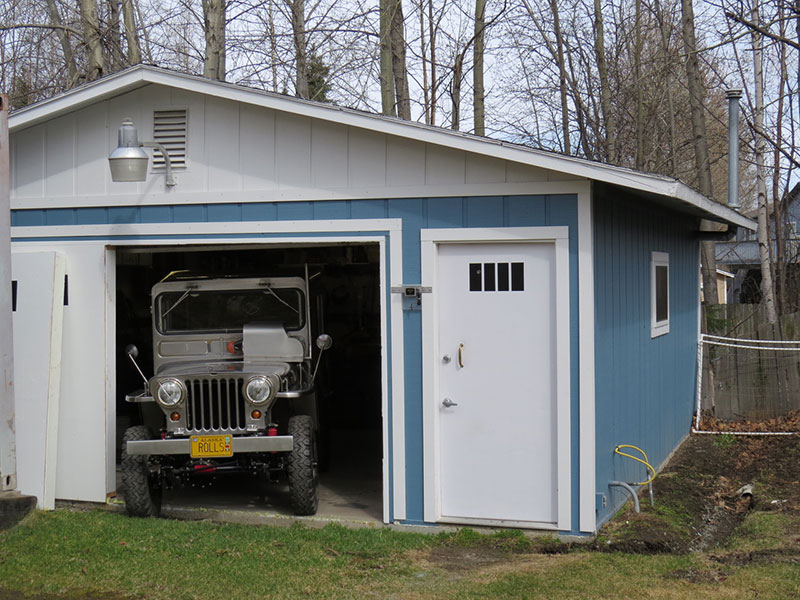
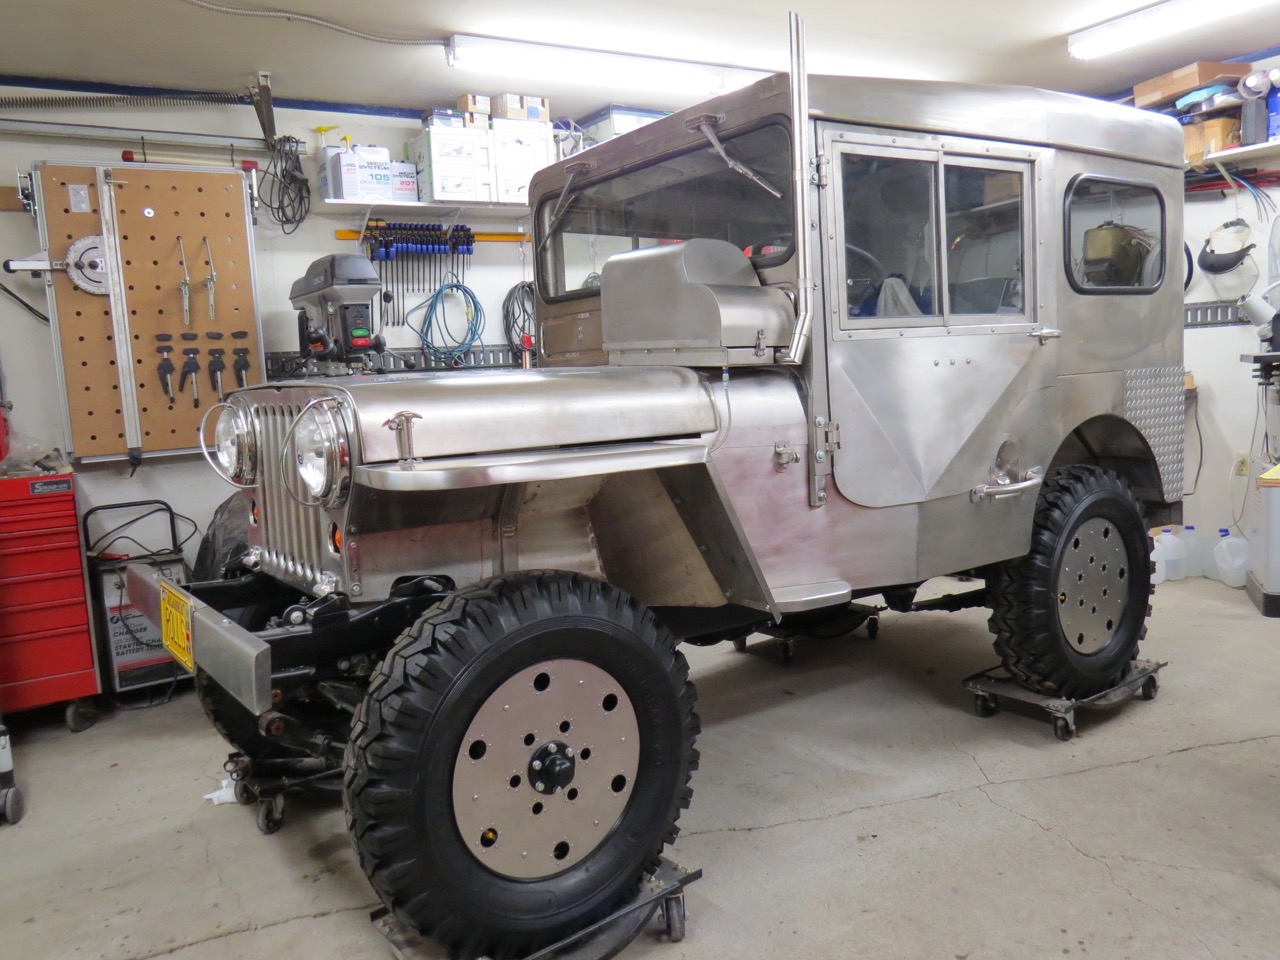
Paul ceremonially rolled Knardly Rolls out of the garage on Monday.
Knardly Rolls seen peeking out of the garage, wondering if it’s safe.
He writes, “Today (May 7th) I opened the garage door and then removed two of the four insulated panels positioned against the outer surface of the garage door so there would be enough room to move the little Willys from the dark garage and into the May sunshine. I quickly learned I need sun glasses. Most of the body has a brushed pattern on the stainless steel but even brushed stainless is rather reflective when the sun is shining. I’m real glad I didn’t polish the body, that would have been blinding on a sunny day.
The little Willys has been moved into the connex where I’ll fuel it up, check for leaks and see if the engine will start. Once the engine runs well I’ll support the Willys with jack stands and begin testing the operation of the transmission and axles.
However, before I begin any ground running I’m going to repaint the interior of the garage. The last time I painted the garage was 30 years ago so new paint is long overdue.
Anyway, here’s a photo of the little Willys escaping from the garage. It was a whole different perspective for me since the small garage only allowed me close up views but once it was outdoors I was able to back away and get a view of the entire Jeep. Quite different from what I’m used to.
I’m still having a hard time believing the little Willys is finally done but seeing it outdoors makes it seem more real.”
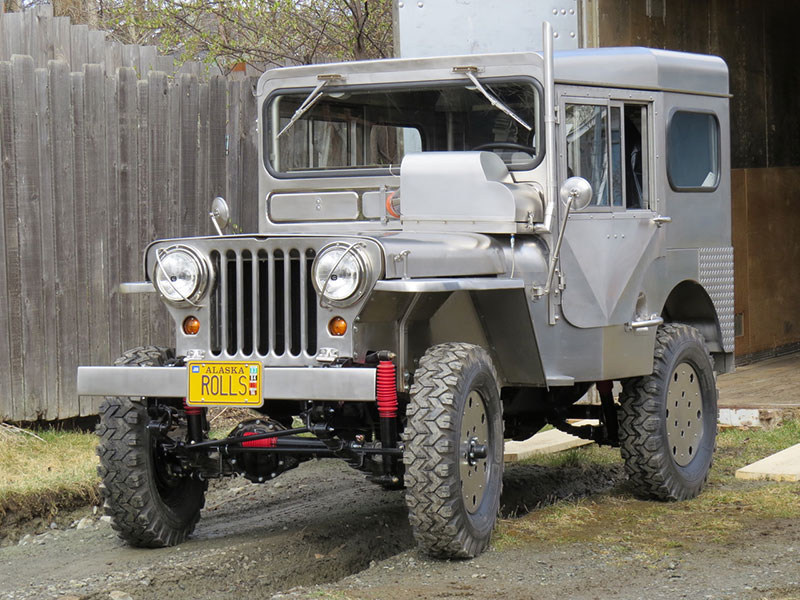
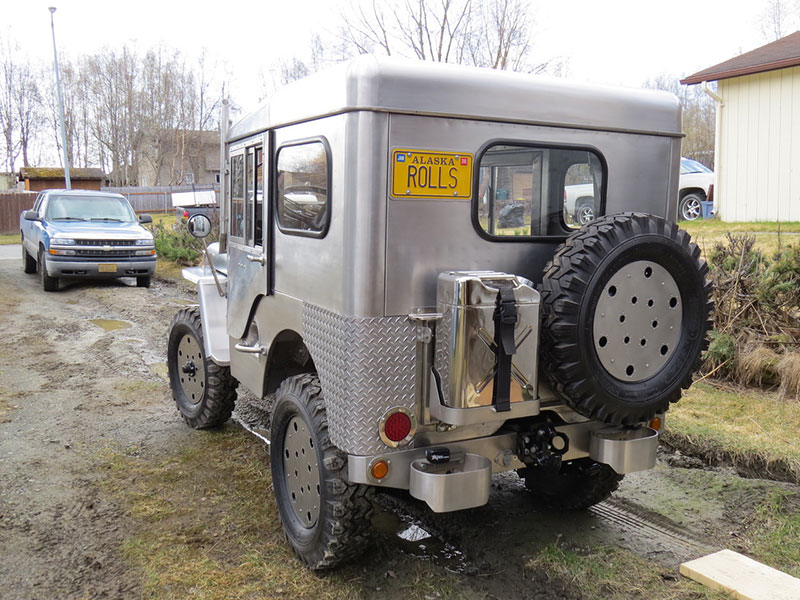
Well, he did it. A big CONGRATULATIONS TO ALASKA Paul. He installed the final part onto his stainless 1952 M-38 Knardly Rolls on May 2nd, 2018. I, for one, look forward to hearing about the inaugural run!
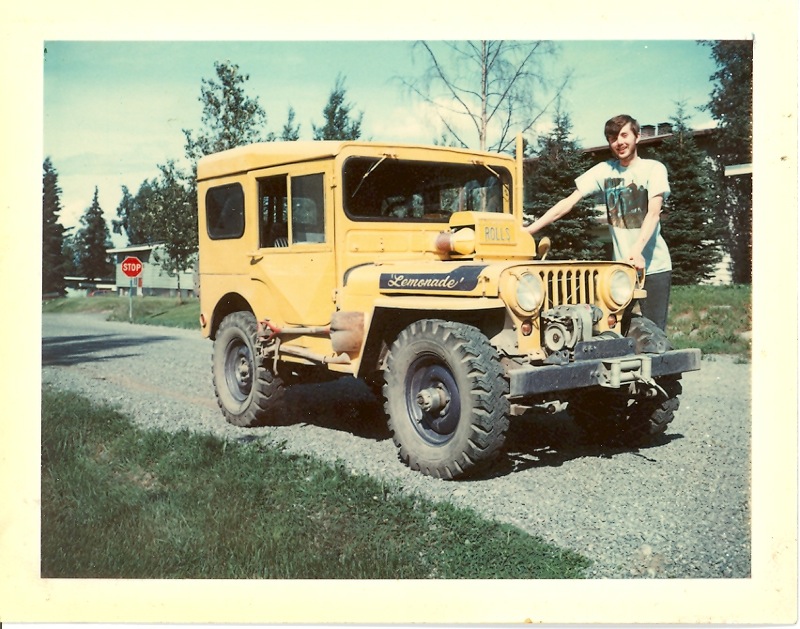
From:
To this 32 years and 5 months later:
Here’s what Paul wrote,
“Somehow, despite my best efforts, I finally managed to complete the never ending rebuild of the little stainless steel Willys. The last part (the rear driveshaft) was bolted to the axle at 12:30 pm today, May 2nd 2018 ending a multi decade effort that began when I dropped the engine off at the rebuilders on December 2nd 1985. Over the years I’ve used the date the stainless steel body was ordered as the project start date but that happened over a month after the engine went to the rebuilders.
From the starting date to the completion date this project took 32 years and 5 months of time. I realize I’m slow but I never expected I’d take over three decades to rebuild one Willys Jeep …… it’s good I don’t do this for a living. I’m glad I finished it while I’m still flexible enough to climb into the driver’s seat, the Goddess suggested I make a stainless steel walker because I might need one before I finished the little Willys. She’s helpful that way.
The backyard is quite soggy so I’ll have to wait a week or so before I can reposition the Willys from the garage to the connex for leak checks and static runs. If things go well I hope to be cruising thru the neighborhood by late May.
Naturally, the garage must be filled with a project before winter so this fall I’ll move the remains of the 1951 M100 trailer inside where I’ll begin to fabricate a stainless steel box on the original frame.
Other than that the Goddess and I are having fun under the midnight sun here in the northland. By mid May the trees should have leaves, the night time temperature should stay above freezing and we shouldn’t have anymore snowfall until late September.”
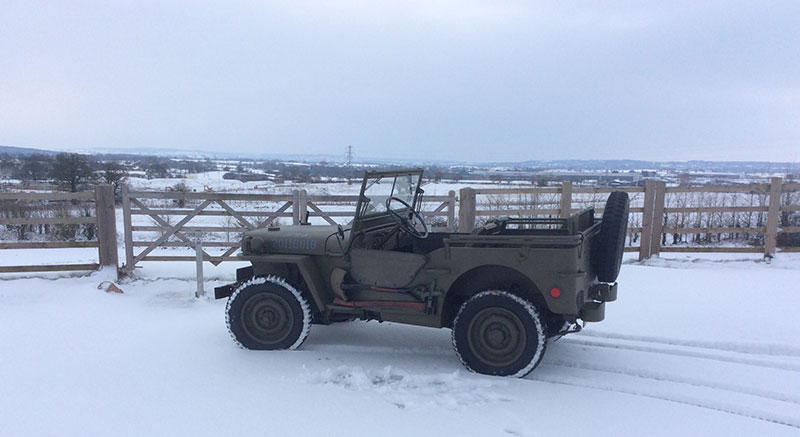
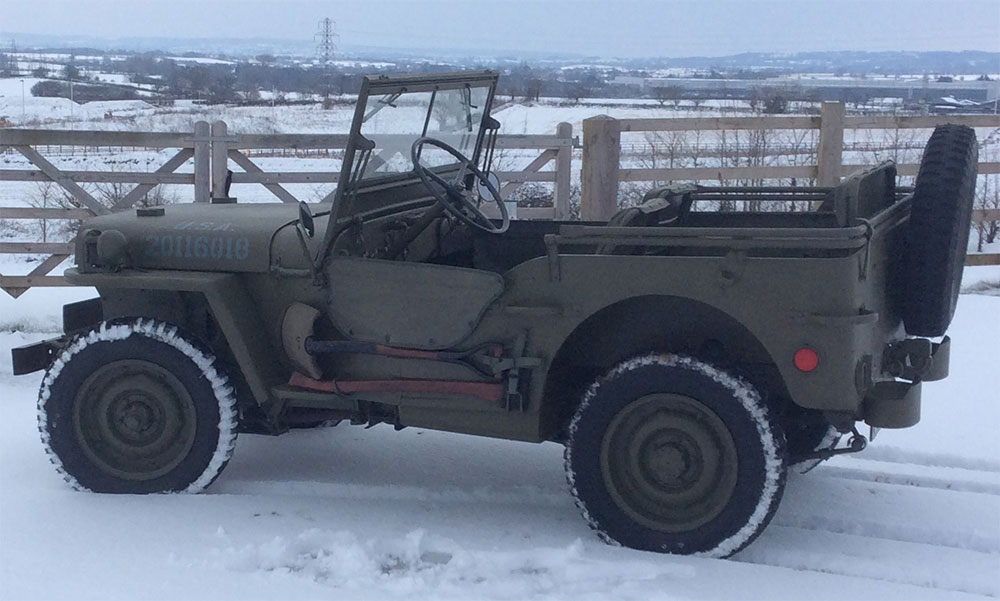
Danny recently finished the restoration of his jeep (MB?). It only took him two years (“that’s 2 years of hard graft,” he wrote). A recent, unusual storm, in the United Kingdom gave him a chance to snow-test it. Looks like he had fun!
Nate’s at it again. He got to thinking about upgrading his steering on Ted, his CJ-3A. One thing led to another and soon he was developing a fairly non-invasive (no saginaw-like alterations) way of improving his steering. He’s spent the past month and a half writing it up on the earlyCJ-5 page.
Paul shared a couple of other recent milestones on his Willys journey.
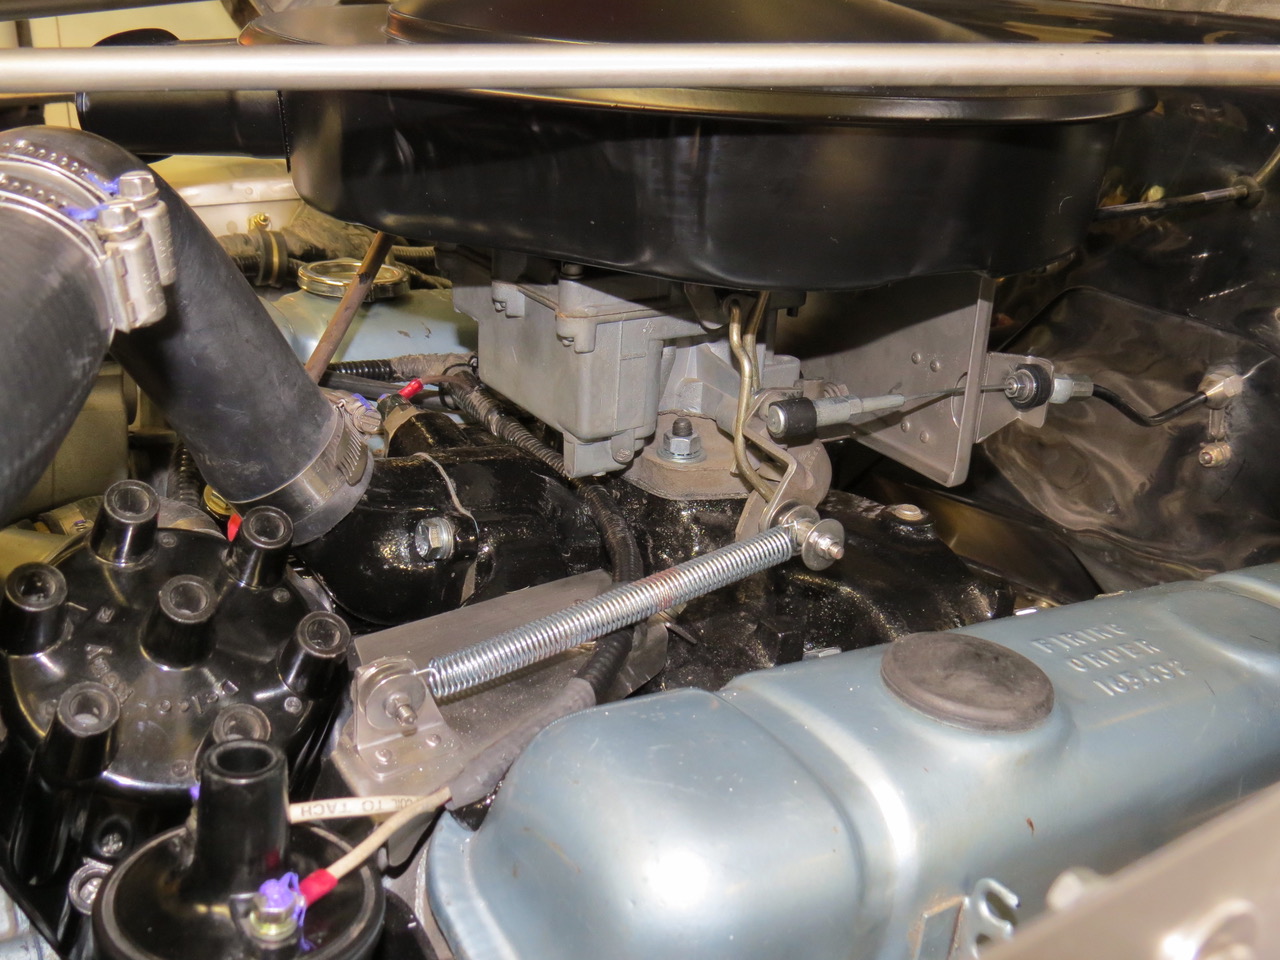
1. The Throttle Spring: After hooking up the throttle linkage to the carb (a cable system) I realized not only was I missing a throttle return spring but I was also missing a throttle return spring attach point. A trip to the local auto parts store provided me with a selection of different throttle return springs but I was on my own when it came to the spring attach point. More poster paper was sacrificed to make three patterns before I came up with a return spring attach bracket I liked and that would fit without getting in the way of the distributer cap. I made the return spring attach bracket from stainless steel and incorporated a fastener to allow a coil wire clamp to be bolted to the bracket.
Here’s the cable throttle linkage, the throttle return spring, the return spring attach bracket and the clamp for the coil wires. The red on the return spring is dried blood …. I managed to poke myself quite a few times while attempting to curl the spring ends to match the attach brackets and those springs are sharp. Oh well, some folks pay people to poke them with needles and call it acupuncture. All I have to do is go out to the garage and work on the little Willys, there’s always some sharp edged stainless part waiting to cut me before I even realize it. That metal can be mean sometimes.
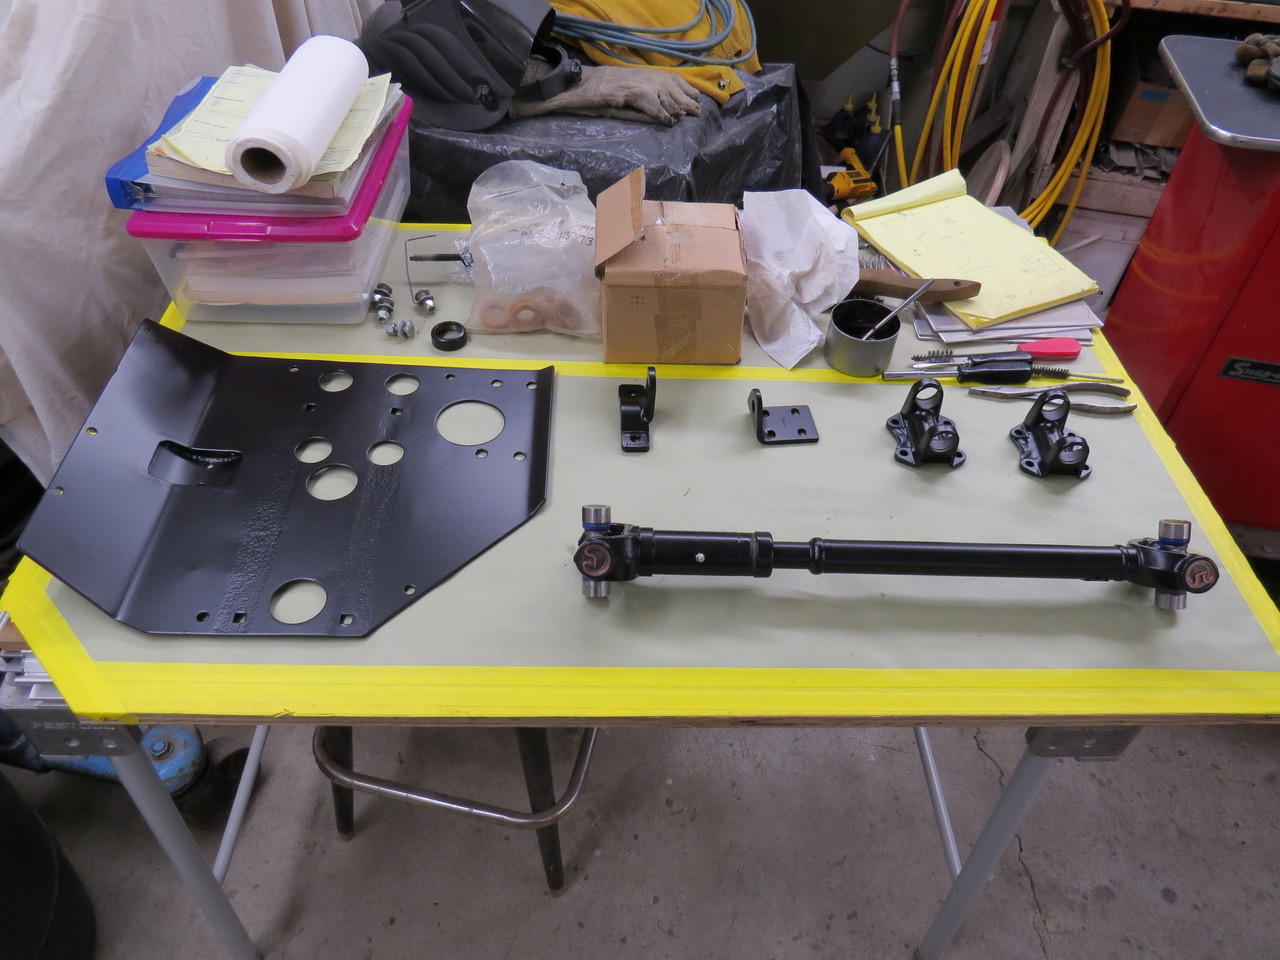
2. The Front Drive Shaft: The position of the V6 engine made the original front driveshaft too long and the rear driveshaft too short but right now I’m concentrating on the front driveshaft only. I bead blasted the front driveshaft, took the necessary measurements between the transfer case outlet and the front axle attach point and it was time to visit with the local driveshaft guys. After cutting the driveshaft to the correct length it was welded back together, new universal joints installed and then balanced before returning to me. I removed the new u joints, did a quick bead blast cleanup (after removing all traces of the really sticky grease on the splines) and dropped it off to have it powder coated.
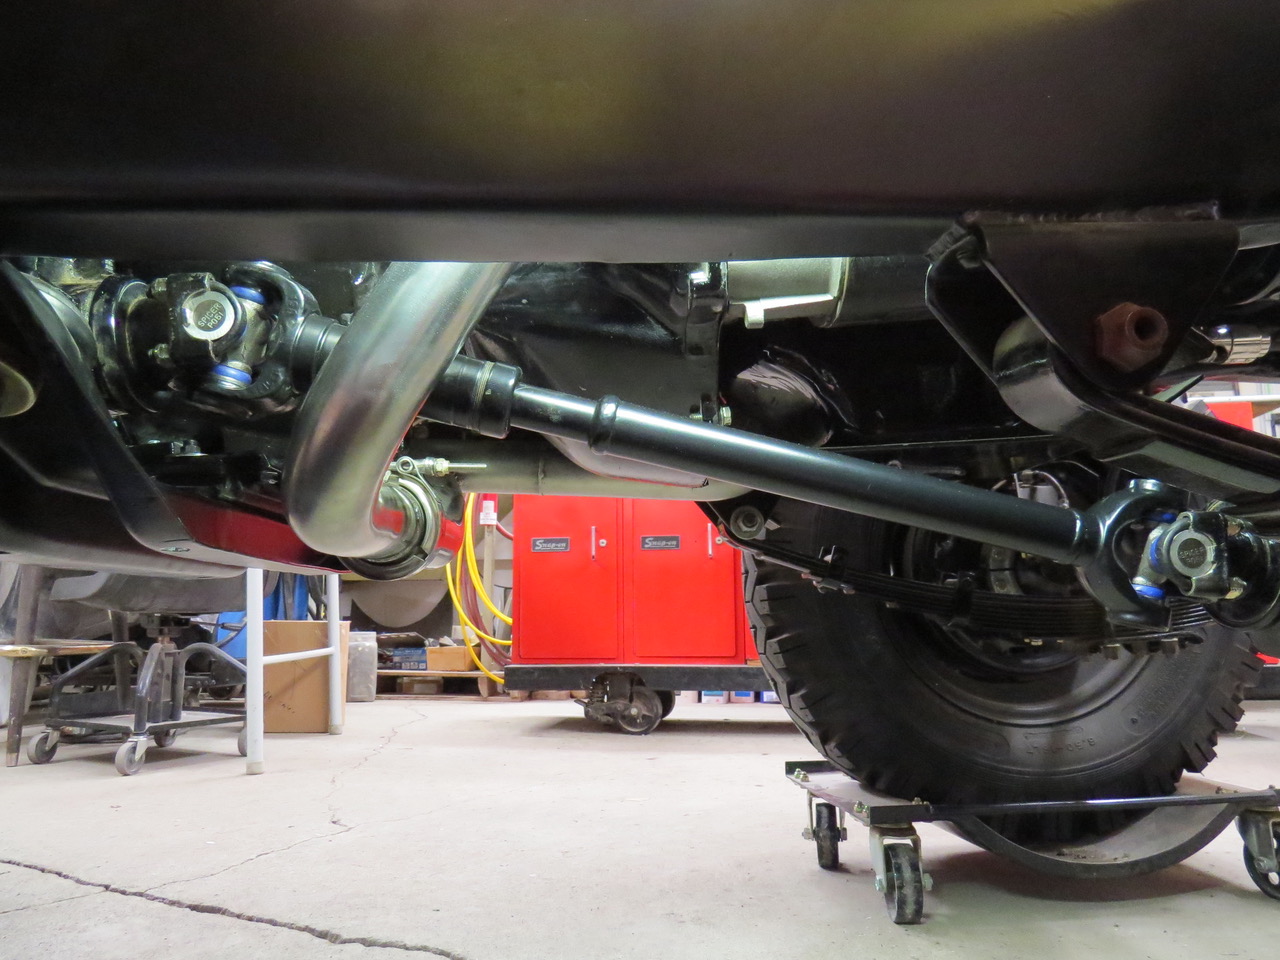
The next day the driveshaft was ready to come home so I could reinstall the new universal joints and then bolt this thing on the little Willys. The last time this driveshaft was installed on the little Willys was when it did it’s major meltdown in October of 1985. Wow, I’ve been waiting over 32 years to reinstall this driveshaft. It doesn’t seem it’s been that long but the color (or lack of it) or my hair tells me more than a few decades have gone by. I remember when I was still in my 30’s my hair was brown, not Arctic Blonde (White) like it is now.
Oh well, as much as I tried to take my time installing the driveshaft the four u bolts were quickly tightened and torqued and it was time to find the next to do item on the little Willys.
The front driveshaft is installed on the little Willys for the first time in over 32 years. WOW!
Paul shared this update on some custom heat shields for Knardly Rolls.
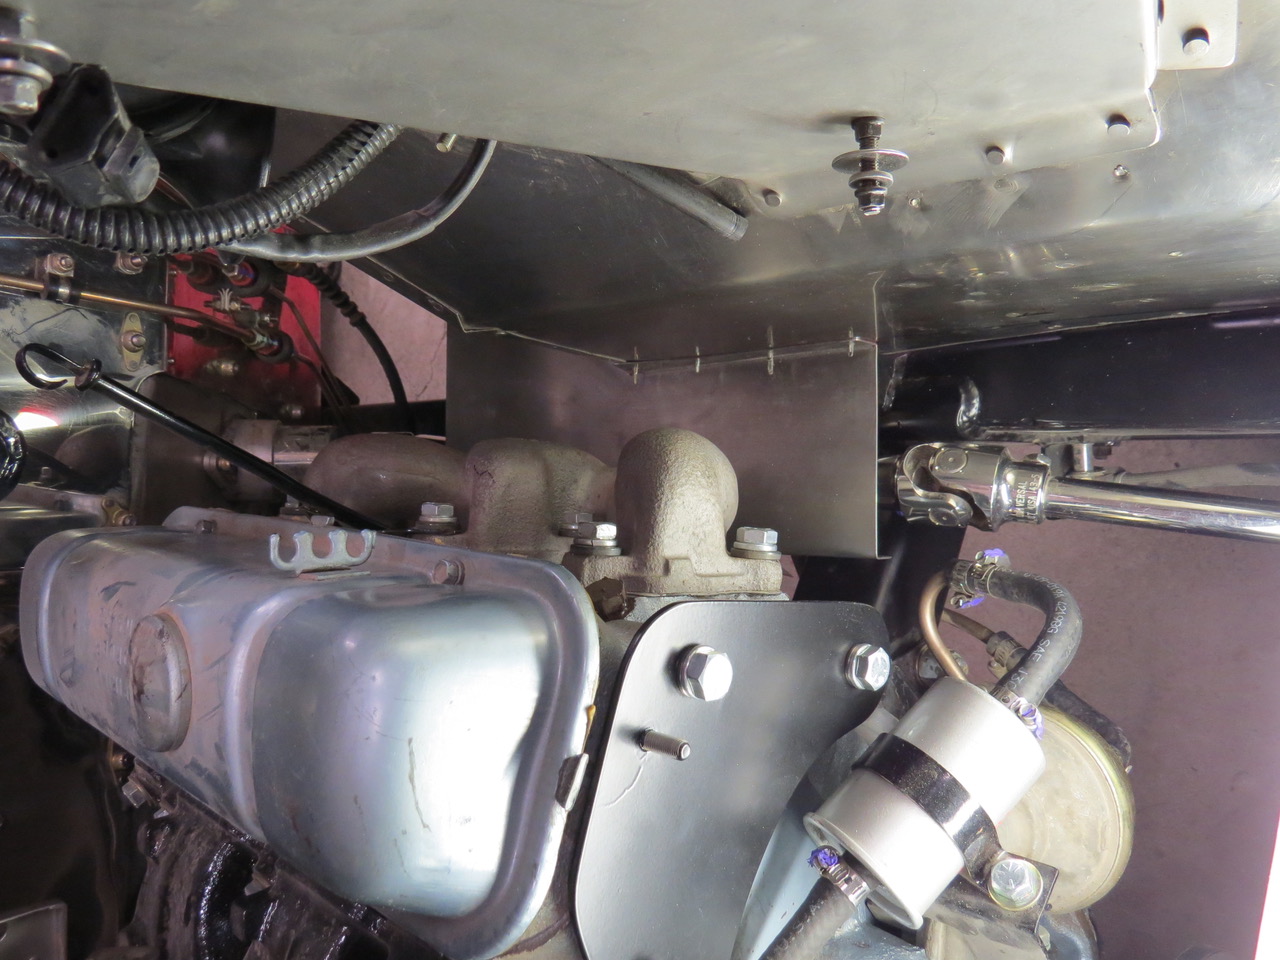
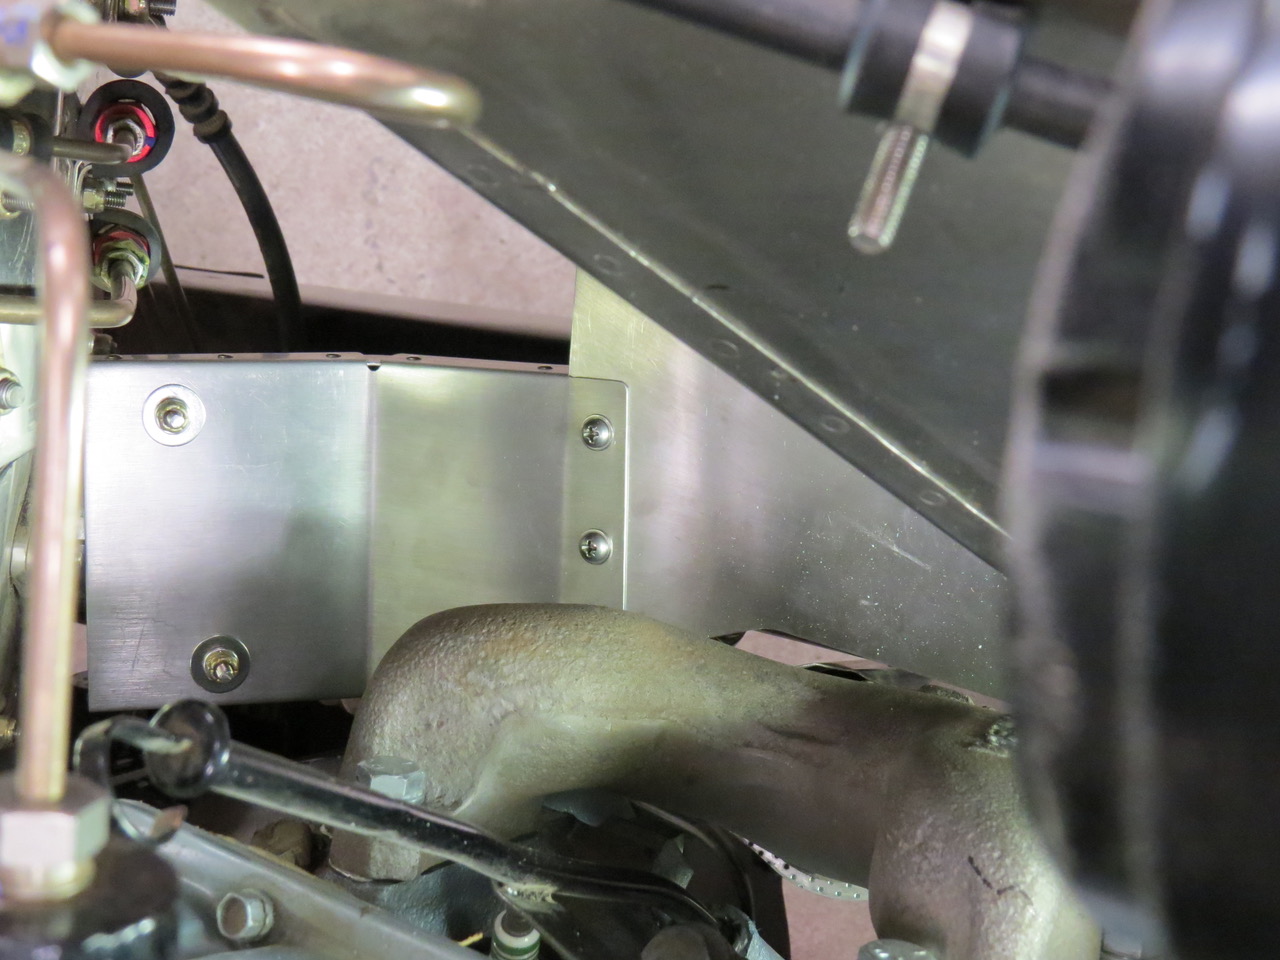
Paul writes, “The exhaust manifold is closer to the steering linkage than I’d originally intended but there isn’t any easy way to increase the distance between these two systems so I decided the best solution to this problem was to make some stainless steel heat shields that would bolt to the fender and fit between the exhaust manifold and the steering linkage.
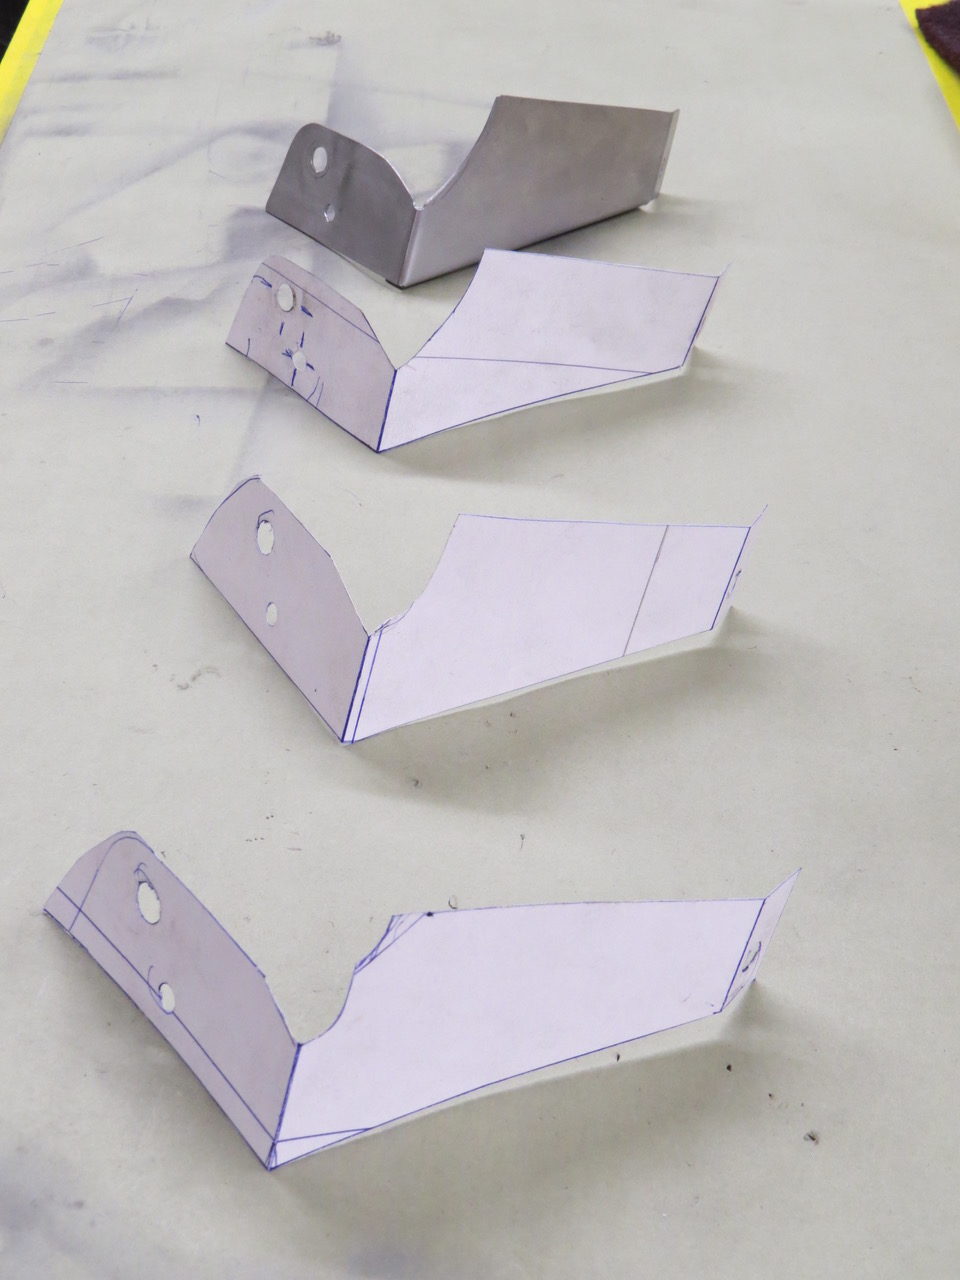
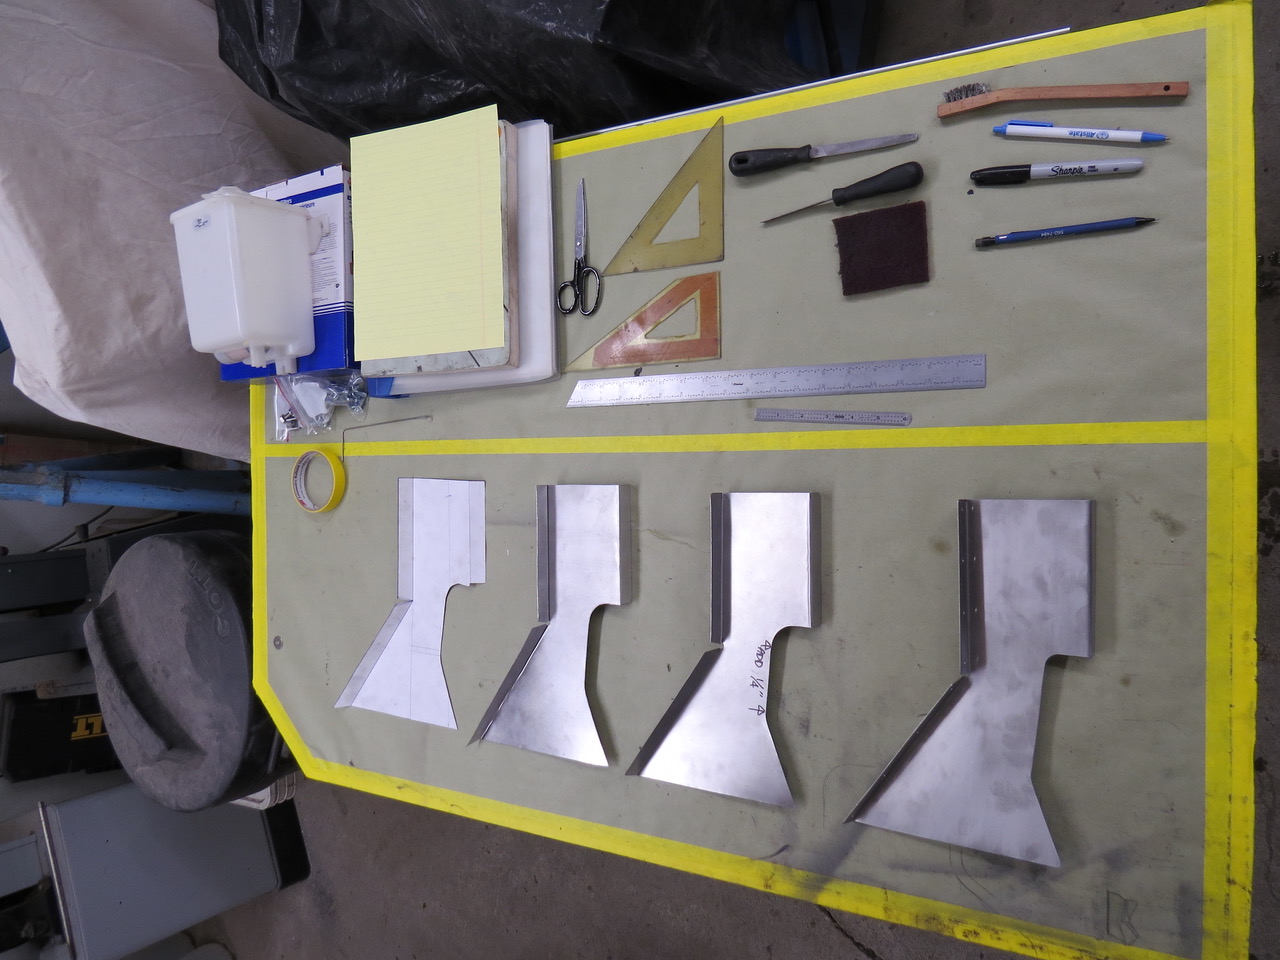
First I quickly made a test shield from some leftover poster board so I could check how this paper part would fit before I cut any stainless sheet. Once I had the shape of the heat shield figured out I made a test piece from thin gauge aluminum.”
“First I made a test heat shield from poster board to check for the correct shape. Once I was satisfied with the shape of the heat shield I made one from thin aluminum to double check any clearance issues. After the aluminum shield was modified I made a third shield from thin stainless sheet but I saw a need to fit the fourth and final heat shield a little closer to the manifold and also use a thicker gauge of stainless to prevent unwanted flexing during use. Once the fourth shield was fitted I drilled the attach holes and bolted the shield to the front fender.”
“Here’s the final heat shield temporarily attached to the front fender using Clecos so I could drill the fender and the heat shield at the same time.”
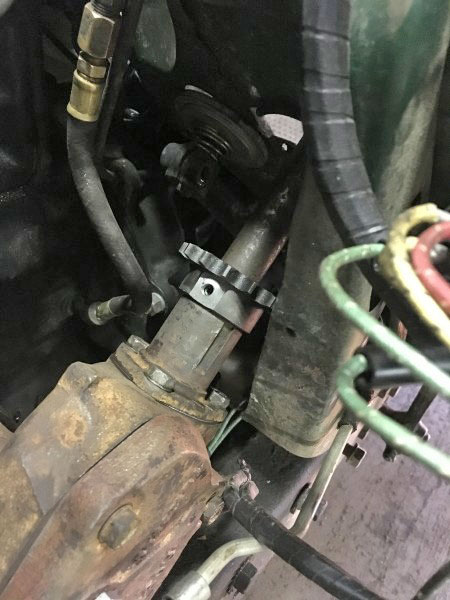
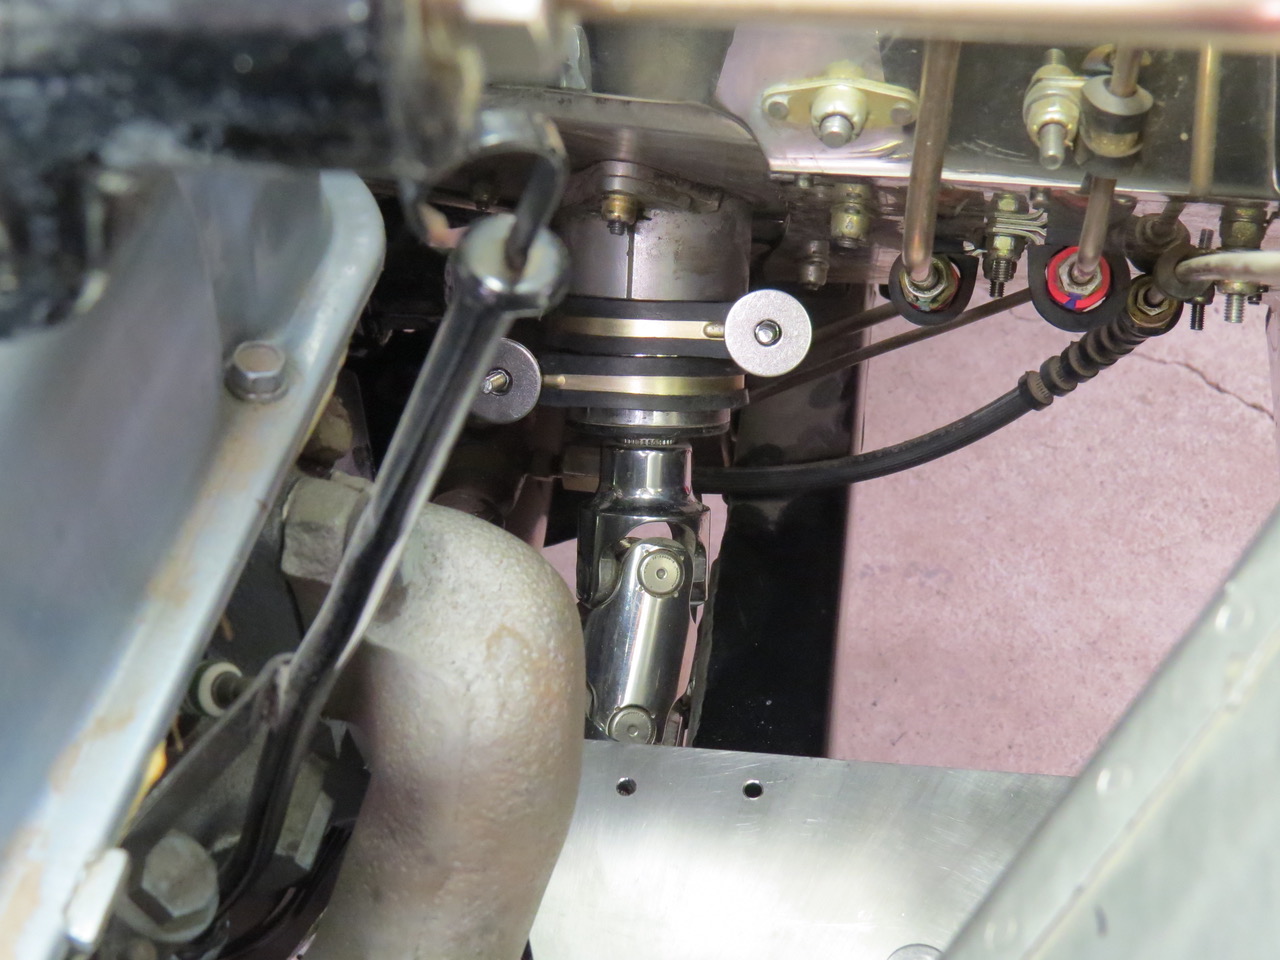
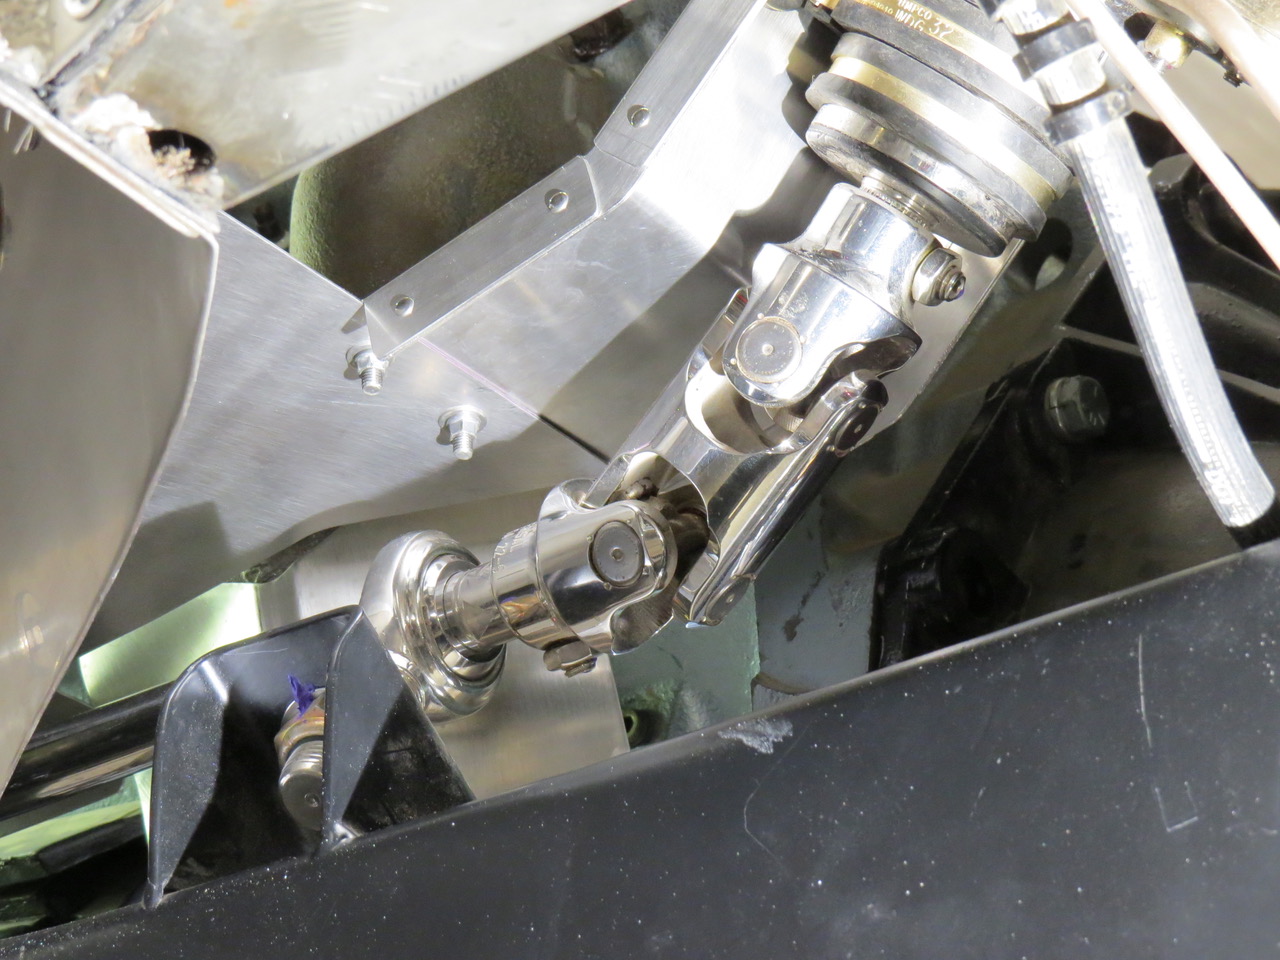
“As you can see, the double U joint between the lower end of the steering column and the first steering shaft is still exposed to heat from the exhaust manifold so another heat shield was necessary. This smaller heat shield will be attached to the steering column by adel clamps so it’s easily removed for maintenance. The two adel clamps are bolted to the column with enough threads exposed on the fasteners to attach the aft end of the second heat shield while the forward end of the second shield attaches to the aft end of the first heat shield where the two empty holes can be seen. If you read that last sentence fast it sounds like a square dance call.”
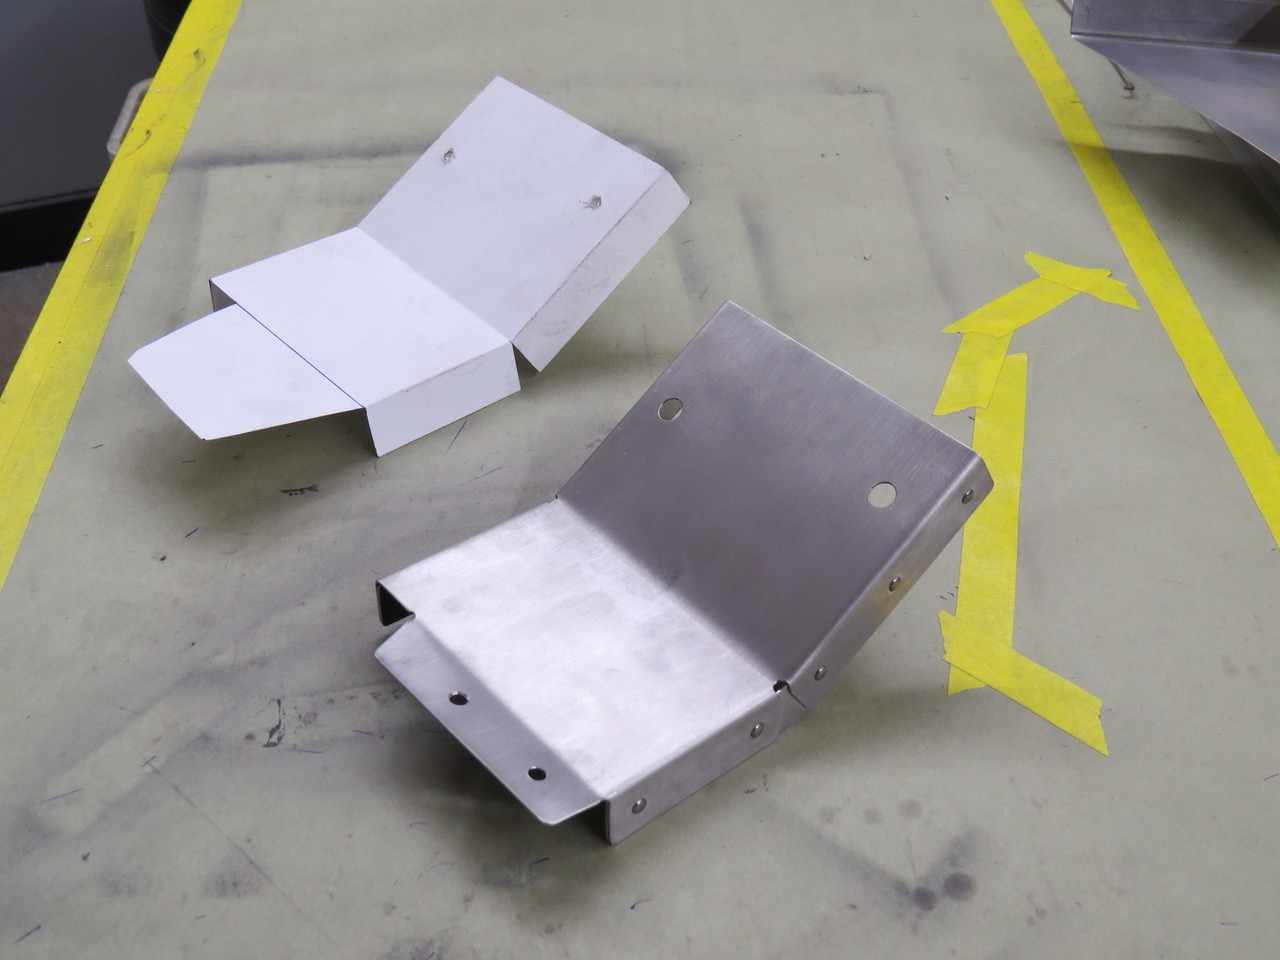
“Here’s the paper pattern and the finished stainless steel second heat shield ready for installation.”
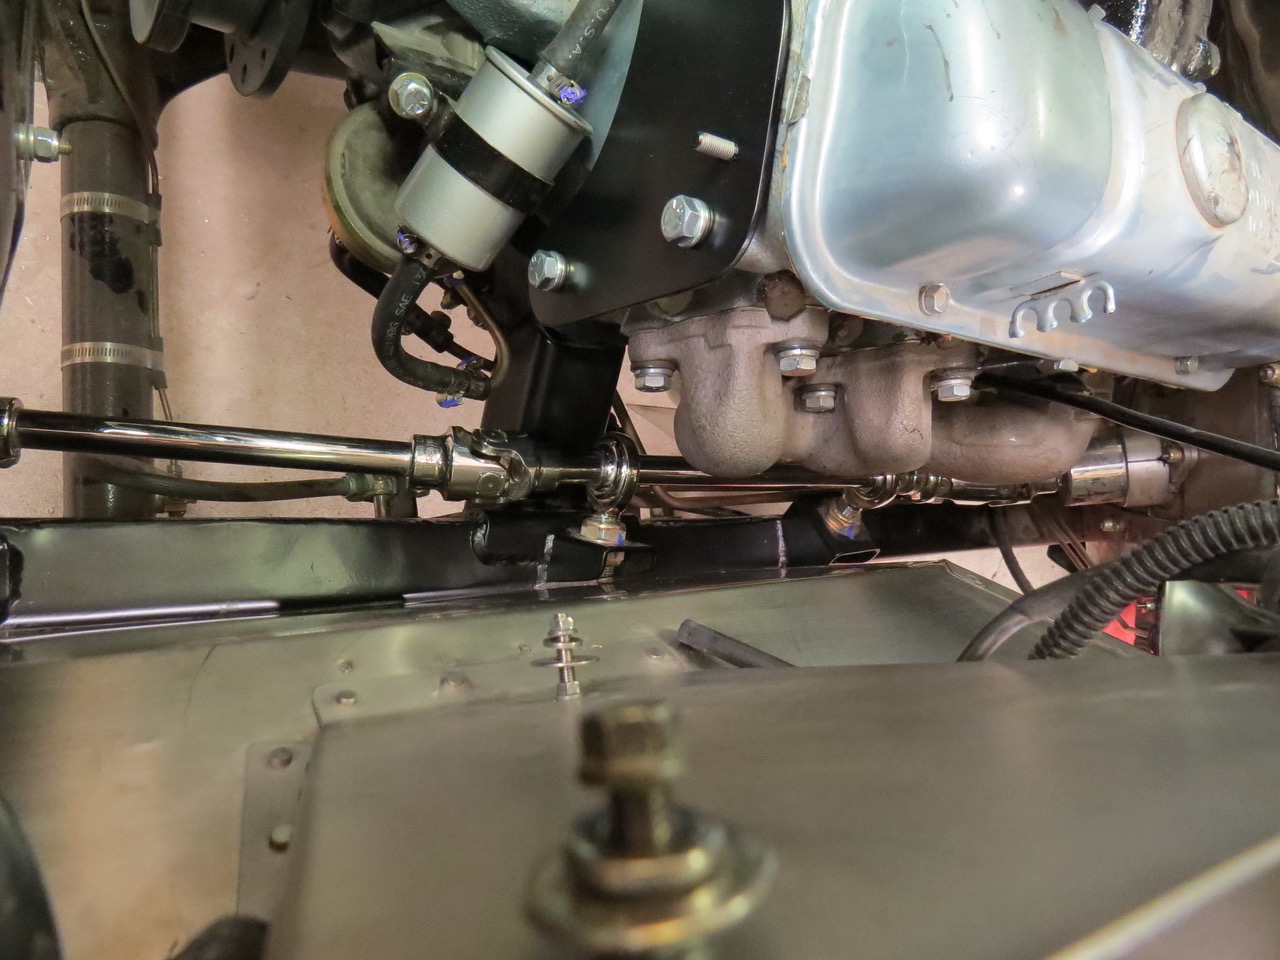
“With the second heat shield installed I think most of the exhaust manifold heat will be deflected away from the steering linkage thus preventing damage to the U joints and shafts.”
“An underside view shows the clearance between the steering linkage and the heat shields”