Builds Research Archives

To Top

Dan Details the Thor “Lectro-Matic” Hub

• CATEGORIES: Builds, Features This site contains affiliate links for which I may be compensated.

UPDATE: I posted this Thor post over a decade ago (how times flies). Below is a look at the switch used to engage the Thor “Lectro-Matic” Hub, which came from this post. Since the below post was first published, there’s also been some history about Thor Products on a shared on another post.
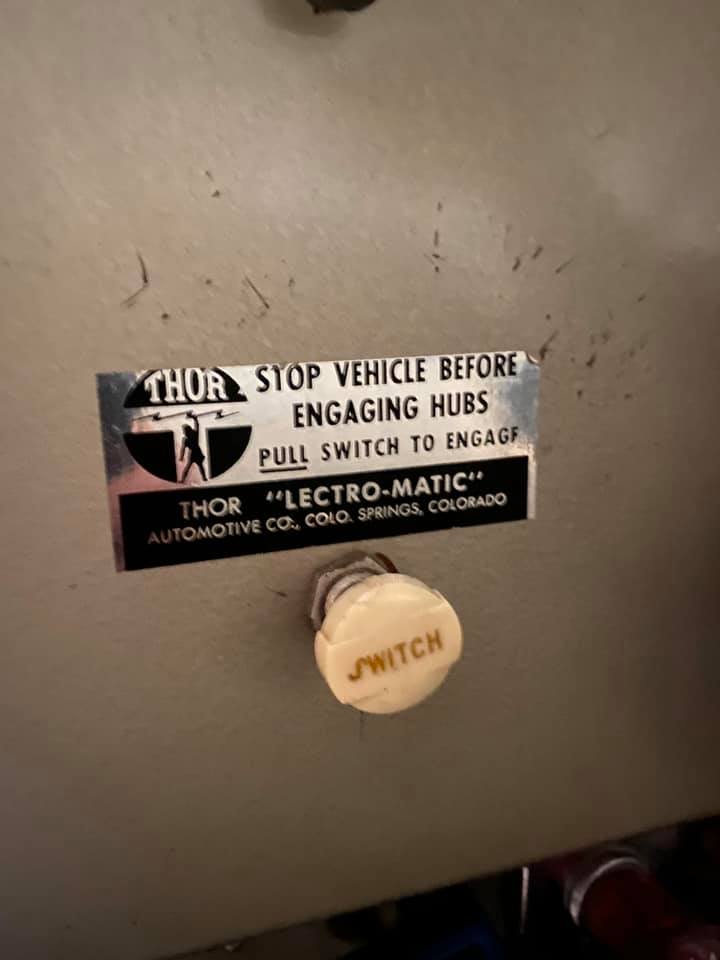
thor-auto-hubs-switch

==========================

Originally posted January 2010: 

Dan dropped this into my inbox this evening.  It’s a detailed look at the Thor “Lectro-Matic” Hub (or lectromatic hub). Dan completed this 18 page document, with disassembling the hubs and discussing each step.  You can download the PDF here Great work Dan!

Dan writes, The Thor “Lectro-Matic” hubs off of my 1955 CJ-5 were a bit of a mystery. These must have been some of the first “push button” 4WD systems to come out. There was little to no information on them so I decided to take them apart and see just how they work. Here is what I have learned.

When my Dad said that they were electric, I assumed that they had a little motor that would “spin” them in or out of engagement. What I realized was that they were more like a solenoid or electromagnet.

There is a coil of wire on the wheel side of the hub. When power is applied to the coil it becomes a magnet and draws itself to the axle side of the hub. There are little “teeth” machined into the facing sides of the hub. These teeth engage and the axle side of the hub turns the wheel or magnet side of the hub. A wire is ran through the back of the backing plate through a hole and provides the electricity to the magnetic coil. A contact mounted on a spring transmits this electric power through a slip ring inside the brake drum to the hub.

I imagine that the hubs could be engaged while the vehicle is moving, but I think this would cause the teeth to slip for a moment and lead to premature wear of the teeth. A toggle switch or a maintained push button could be used to turn the hubs on and off. One could even use a limit switch on the 4WD lever of the transfer case to automatically turn them on when the vehicle was shifted into 4WD. The hubs would only remain engaged as long as power is applied to the magnetic coil. If you left the switch on and had run power directly off of the battery to the switch, it would eventually drain your battery after the engine is shut off. If you ran power from the ignition switch to the on/off switch, your hubs would automatically disengage as soon as you shut off your engine.

If for some reason they didn’t want to work, there was a little screw on the outside face of the hub that you could turn to manually engage or disengage the hubs (as you can see below).


On the top of the hub you can see the wire that passes through the brake drum to power the magnetic coil.

Download and read the entire document here

[fb_button]
 
To Top

Bob’s Longtime Militarized CJ-2A

• CATEGORIES: Builds, Features This site contains affiliate links for which I may be compensated.
GE

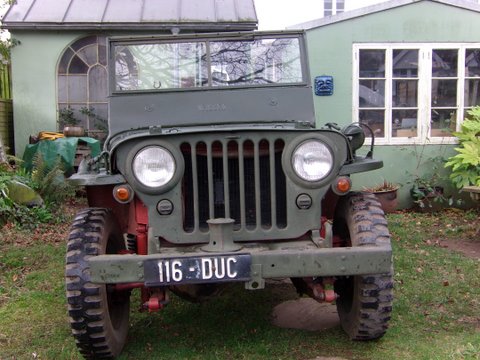
Bob Le Marchant’s militarized CJ-2A

Bob Le Marchant discovered eWillys last month. Now 72, below he shares some tales with his beloved CJ-2A.

Bob started jeeping at age 17. His ‘crazy neighbour’s’ father (an ex-submarine captain) ran a yellow Ford Jeep. He dearly wanted one too, but ended up with a 1946 CJ-2A. It was not only his first jeep, but also Bob’s very first vehicle. Metamet, a British company that offered a wide variety of modified WWII jeeps, soon became his central place for purchasing spare parts. He loved going up to London and finding Daleham Mews.

The CJ-2A, being his first vehicle, was what he used to pass his driving test (the tester spent the whole test reading the dash plates and talking about Jeeps … he had driven jeeps in the war). As a teenager, Bob discovered there were two sorts of girls: the ones who looked crest fallen and said ” Oh, shame it isn’t a little sports car”, and those who said “Wow!! Where shall we go in that!”

GE

GE

After graduating as a mining engineer (he proudly notes that Ben Carlin was one too), he shipped his Jeep out to South Africa to work. For a while he worked near Johannesburg in what was then the second deepest mine in the world at 11,700 feet. Bob wrote that, “At that depth the intrinsic rock has a hydraulic pressure: the floor is as much likely to burst up as the roof fall down. Square tunnels soon become circular as shards come off. The natural rock temperature is 150 degrees or so, with 100% humidity. Heat stroke was the main killer down there. Everything he has  ever done since then has been a “piece of piss!”

Later, in the 1970’s, he DROVE his jeep back to the UK to do work a job blasting a tunnel for the Ffestiniog Railway in Wales. However, to get to Wales, he had to take the long way because, due to politics, he couldn’t get north of Kenya, so he shipped his jeep to Bombay, then drove northwest via Kyber Pass and Istanbul.  The adventure was a trip of a lifetime.

“This Jeep has travelled,” he noted. Unfortunately, his ex-wife has all the pics.

GE

GE

GE

Currently, he lives in Devon in South West England. His longtime CJ-2A is still a very road worthy, nearly everyday vehicle. The engine uses a Hotchkiss block. He also has a Metamet dash plate on the wall. He loves his jeep!

[fb_button]
 
To Top

Icon 4×4 Rebuilt 1965 Jeep Wagoneer

• CATEGORIES: Builds, Features This site contains affiliate links for which I may be compensated.

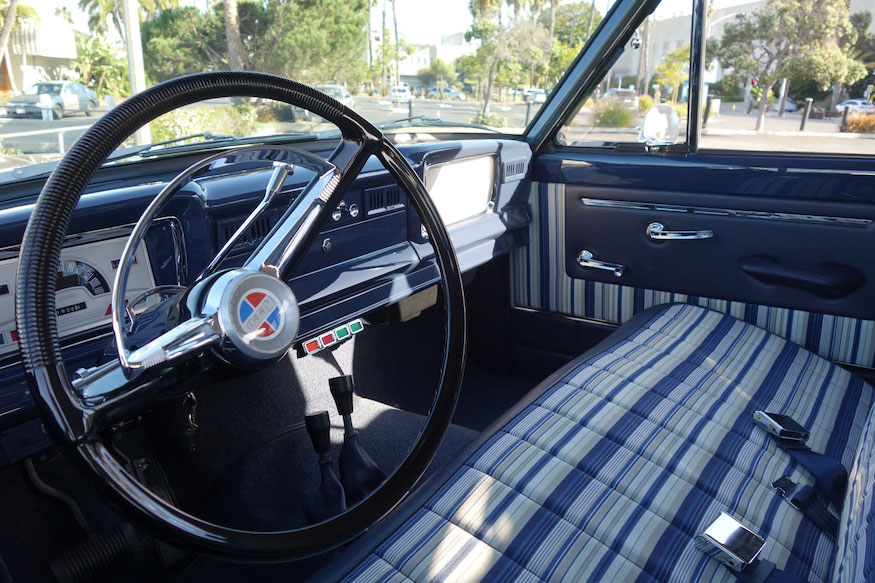
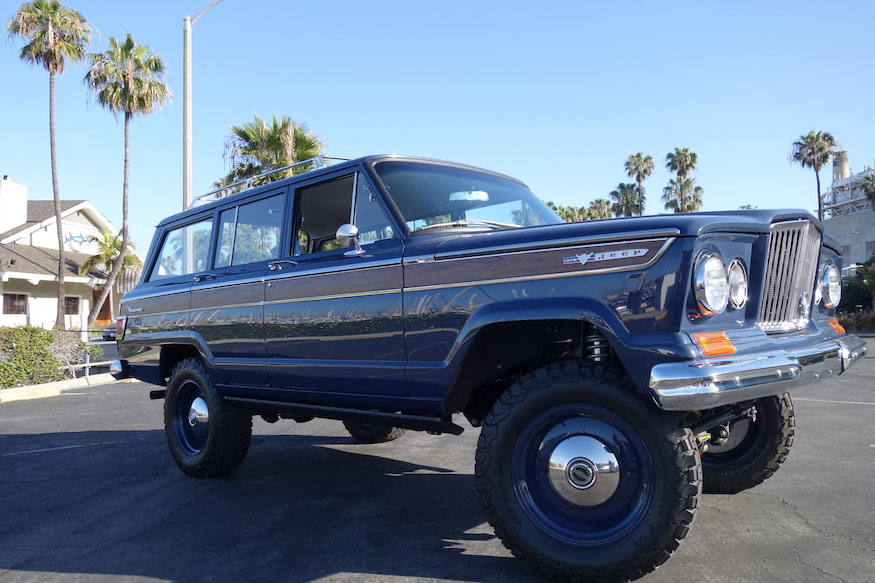
Maury shared this video and article about Robert Wood and Icon 4×4’s rebuild of a 1965 Jeep Wagoneer into a more modern driver: https://www.automobilemag.com/news/icon-1965-kaiser-jeep-wagoneer-reformer/

Also, if anyone has a circa 1965 Wagoneer steering wheel, Robert Wood might be interested buying it. They are looking for one for their Cherokee. Email me at d @ deilers.com (no spaces around the @) for Robert’s contact info.

1965-wagoneer-icon-4x4b

1965-wagoneer-icon-4x4a

[fb_button]
 
To Top

Javier’s Restored M-38

• CATEGORIES: Builds, Features This site contains affiliate links for which I may be compensated.

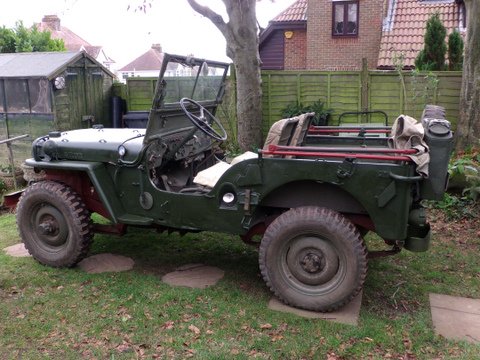
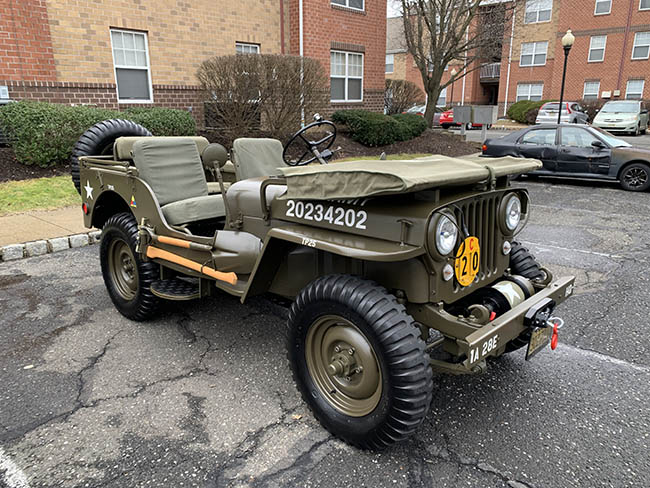
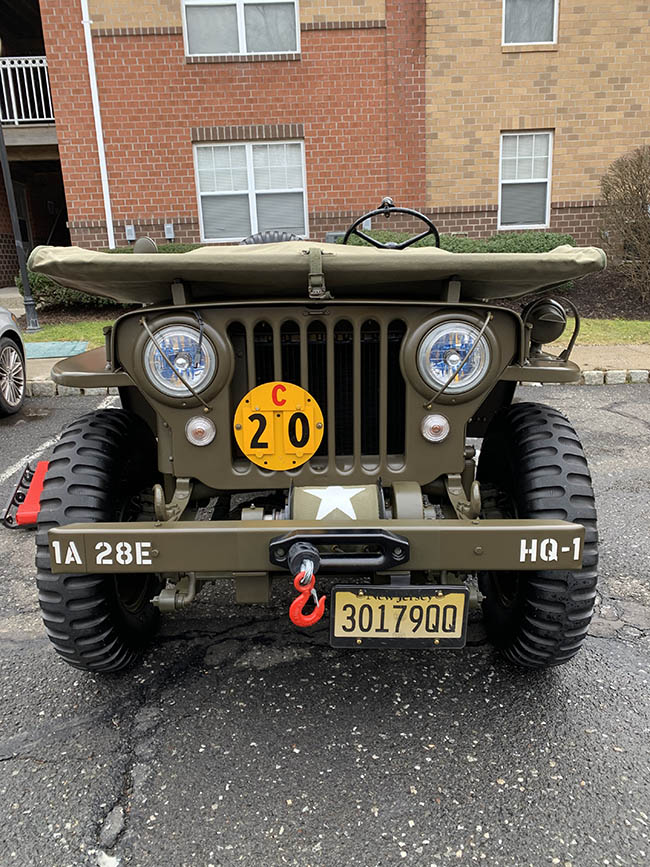
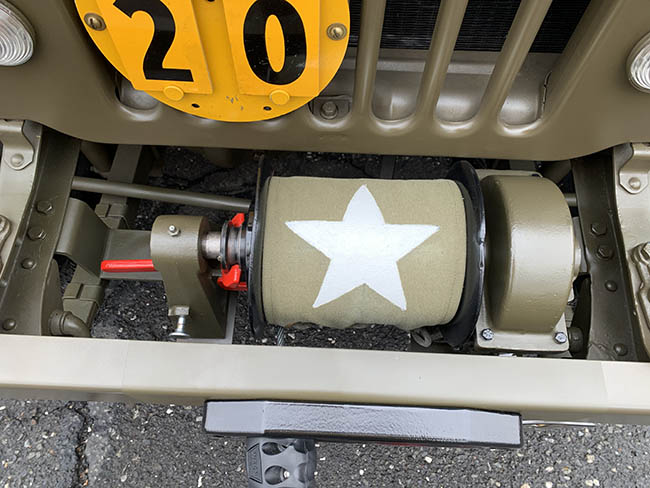
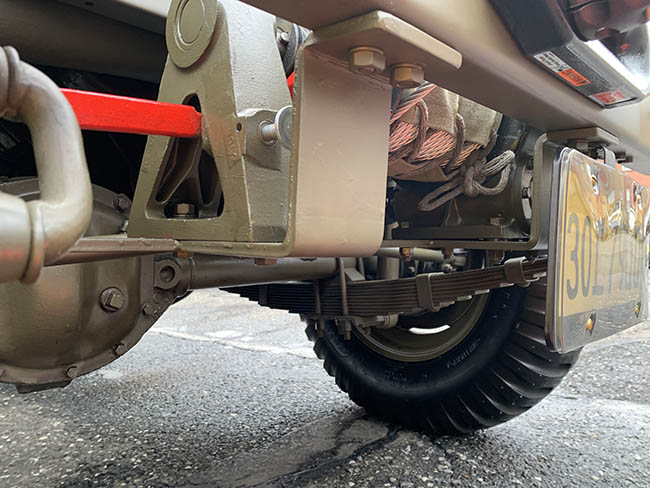
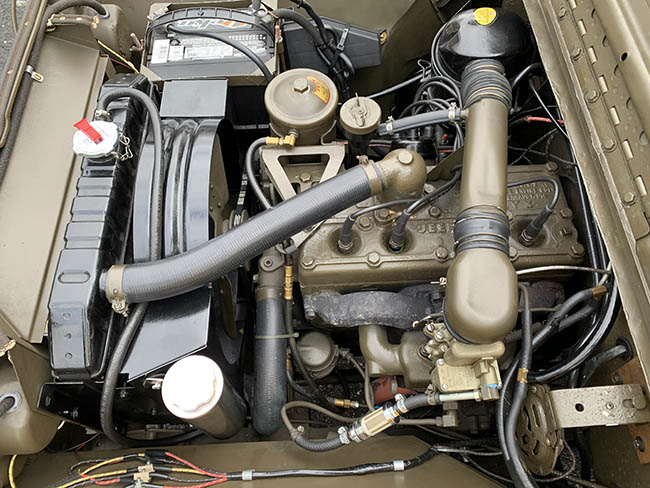
Javier rebuilt this nice looking M-38, thanks it part to finding parts through eWillys and readers comments. During the rebuild, he added a few additional safety features such as Herm’s dual reservoir setup. He notes that M-38 does have a few CJ parts on it as well. The unique frame for the winch was something he and a friend built after testing out different scenarios with cardboard. The winch cover is a nice touch, too. Thanks for sharing Javier!

javier-m38-01

javier-m38-02

javier-m38-03

javier-m38-04

javier-m38-05

Continue reading

[fb_button]
 
To Top

Headlight Bezels Over the Years

• CATEGORIES: Builds, Features This site contains affiliate links for which I may be compensated.

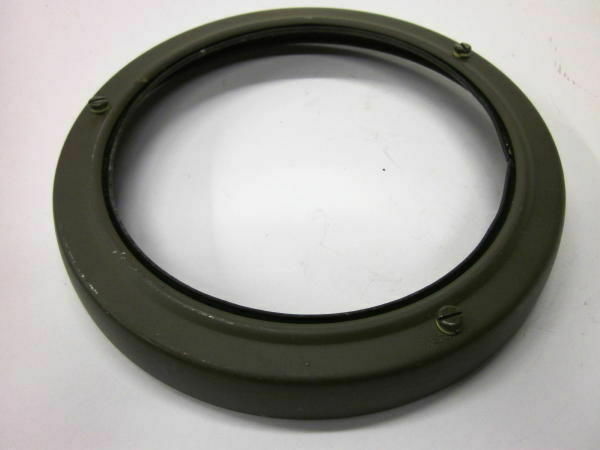
The other day someone asked me about headlight bezels (or if you prefer, headlight ‘heads’) and how they changed through the years. I did not have a good answer to that reader’s question, so this working thread about bezels is the result. Along the way, I learned that some folks call these parts “heads”, but perhaps that is more military related?

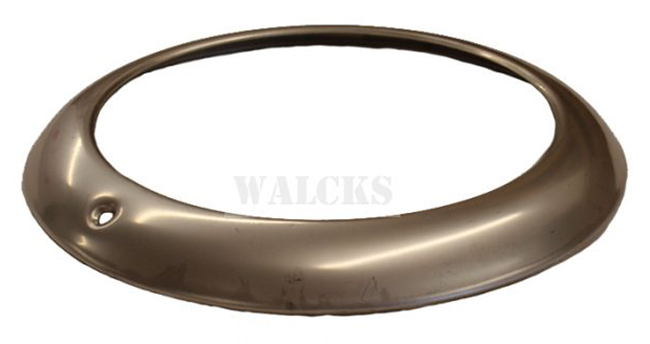
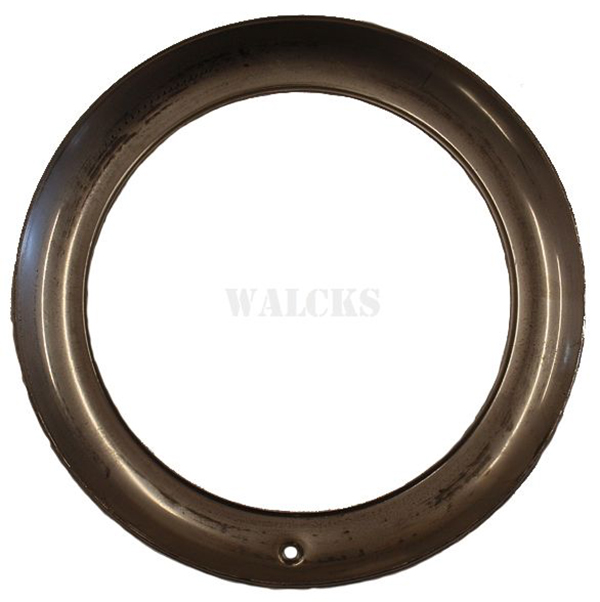
1. 1945-1946 Early Painted Bezels on CJ-2As
Early CJ-2A bezels were painted, not chromed, until approximately #38687, according to the CJ-2A page. As far as my research indicates, only Walcks carries new, unpainted bezels. This is the flatter style of bezel without the tab.

bezel-1945-1946-vec-cj2a

bezel-1945-1946-vec-cj2a2

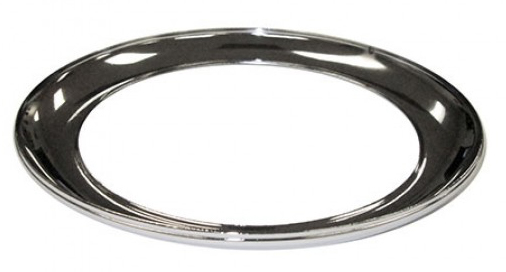
2. 1946-1953 Later CJ-2As, CJ-3As and 1956-1959 DJ-3As
After roughly CJ-2A #38687 the bezels were chromed, but their shape was the same. They lasted through the end of the CJ-3A production run and into the early DJ-3A production run (1956-1959). These example images are from Kaiser Willys.

bezel-1946-1953-cj2a-cj3a-2 bezel-1946-1953-cj2a-cj3a-1

3. 1950-1952 M-38s, 1953-1971 M-38A1s, and M-170s:
I didn’t realize that M-38 and M-38A1 bezels were the same. It’s on the M-38a1 site that I encountered the alternative term “head” for the bezel. Peter Debella has NOS rings.

bezel-m38
bezel-m38-top

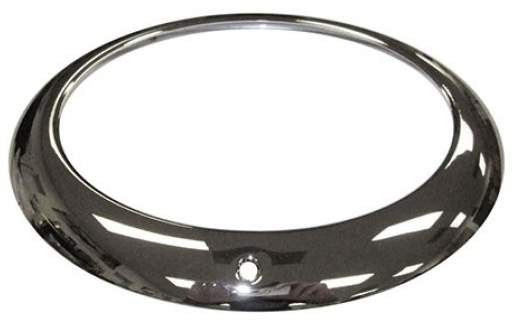
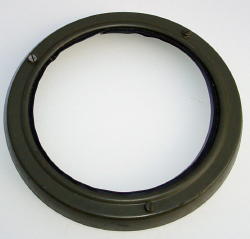
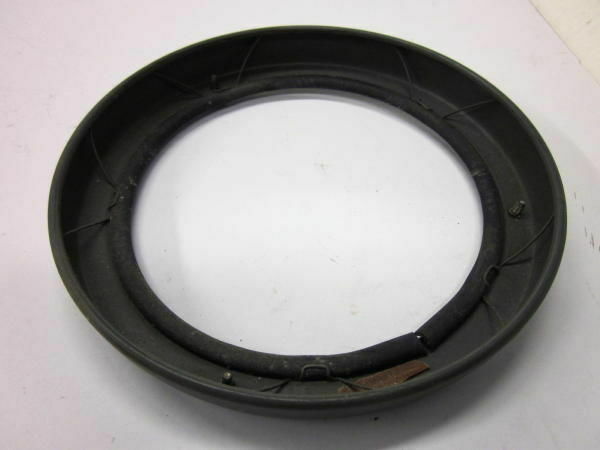
4. 1950 USMC CJ-V35 Blackout Lights ‘bezels’
Thanks to Mike Wixom for helping me out with these rare blackout lights.

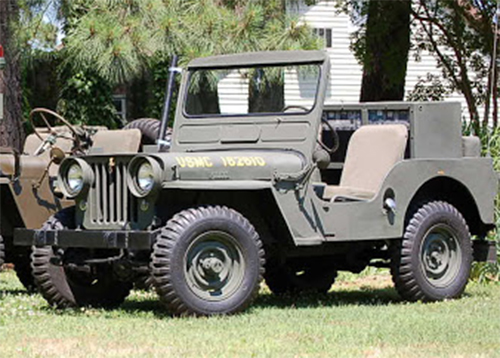
This type of headlight bezel, or more correctly blackout ring (although not that effective), was used only on Marine Corps Radio Jeeps as far as I know. Specifically on the CJV35/U and possibly on the MZ-2 and MZ-3 Radio Jeeps from Late WW2. They were installed at the factory on all 1000 CJV35/U Jeeps built in May of 1950. These were eventually replaced by the actual blackout lights found on the M-38.

Because these aren’t readily available, someone posted this writeup on how to inexpensively recreate them:

OLYMPUS DIGITAL CAMERA

Here is a different, larger version of a CJ-V35 bezel. Mike believes the ones shown below may have been fabricated and not original, but perhaps the owner can offer input on this.

bezel-cjv35-larger

Continue reading

[fb_button]
 
To Top

A Slat Grille Rebuild

• CATEGORIES: Builds, Features This site contains affiliate links for which I may be compensated.
slat-grille-kees-3

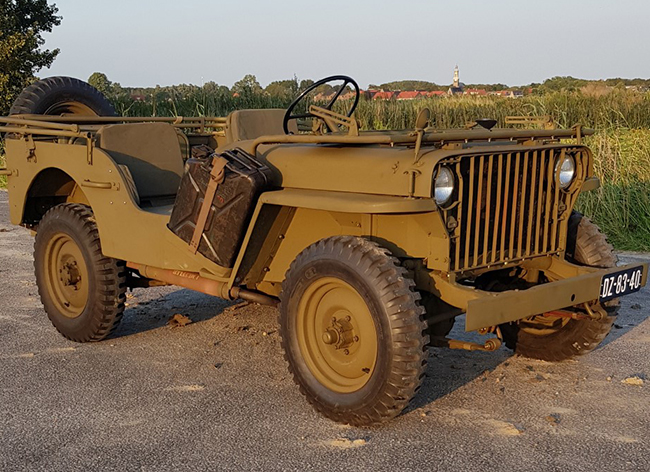
Kees’ nearly restored Slat Grille MB.

There was some debate on G503 back in 2016 about whether a modified jeep for sale was a slat grille MB or not. After seeing the jeep for sale in October of 2016 on eWillys, Kees took a chance that it was a slat grille and bought it.

He had it shipped to Rotterdam, only to learn it was in worse shape than he’d hoped. What happened next was several years of hard work to bring it back into drivable condition. Here’s his story:

Hi Jeepers,

slat-grille-kees-12
In October 2016, I bought a Jeep that I saw for sale on Ewillys. I had hoped it the Slat Grille I had been seeking, but was it really a Slat Grille?? A lot of folks on G503 were not convinced. Nonetheless, I took the risk.

When it arrived in Rotterdam I was shocked. It was in VERY bad shape. The body was covered in a layer of bondo, up to one inch in places. The sidepanels were almost gone. The gas tank was a drum bolted onto the cargo bed and the body was bolted to the frame with pieces of scrapmetal. There was a giant dent in the dashboard and the front of the jeep was a mess, replaced by bubba modifications. No effort had been made to clean the jeep, so it was covered with rust and dirt.

slat-grille-kees-11

Did I feel lucky? Not at all. But, it’s not like I could send it back! So, I started forward, one step at a time.

The first thing I did was bring it to our version of the DMV for inspection. The VIN in the title was 11358, but we could not find it on the frame. Fortunately, we did find a body number of 15160. With those two ID numbers the department did some investigation with their American collegues and found out the VIN is 111358. That was great, because they were able to determine that it was an original Slat.

Once that was settled, I sent a lot of detailed photos to an friend who is an expert on Slats. It was from him I learned I had a lot of rare Slat details like axles, body, frame and some engine parts.

The first year was no fun at all. None. Zip. Nada.

slat-grille-kees-9

I spent month after month cleaning, sandblasting and torching bondo. Yet, under all that bondo, I found perfectly good, shiny metal in some places.
When the body was clean I brought it to a welding expert, a pensionado who liked to keep busy welding. Thankfully, he was not expensive because it took him many weeks to reshape the complete body. The only replacement he did where the 2 side panels and the fuel tank container. He was able to restore all the other parts. In the meantime I was busy cleaning the frame. Continue reading

[fb_button]
 
To Top

Flattening a Mitsubishi Fender

• CATEGORIES: Builds, Features This site contains affiliate links for which I may be compensated.

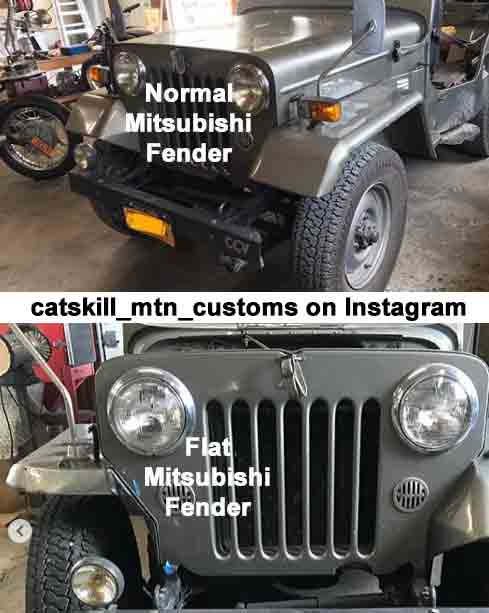
Gary shared this Instagram post by catskill_mtn_customs that demonstrates how to alter a Mitsubishi fender into a CJ-3B style fender.

flat-fender-catskill-mtn-customs

[fb_button]
 
To Top

Hudson Steering Modification Pics

• CATEGORIES: Builds, Features This site contains affiliate links for which I may be compensated.

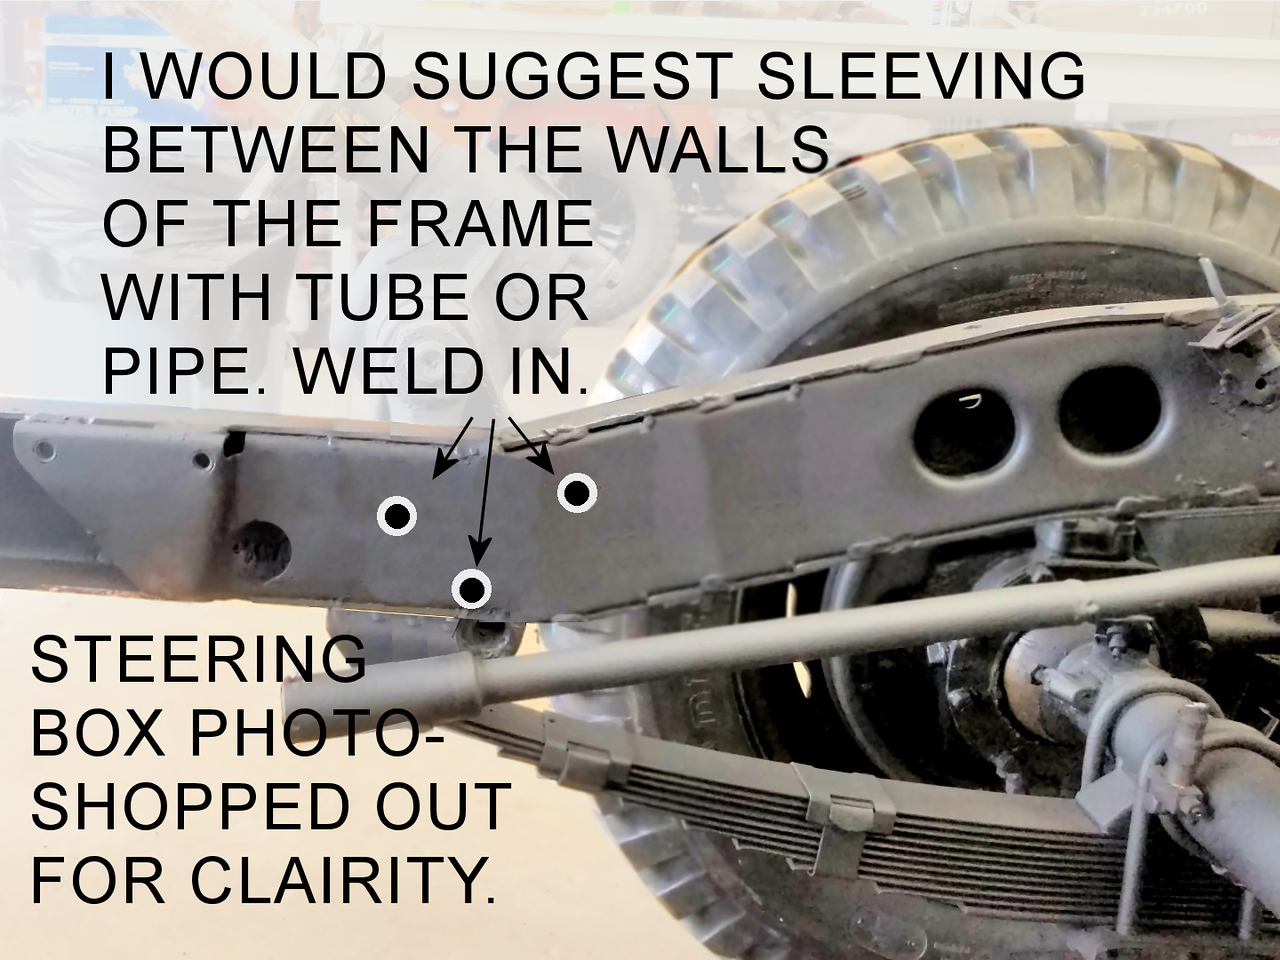
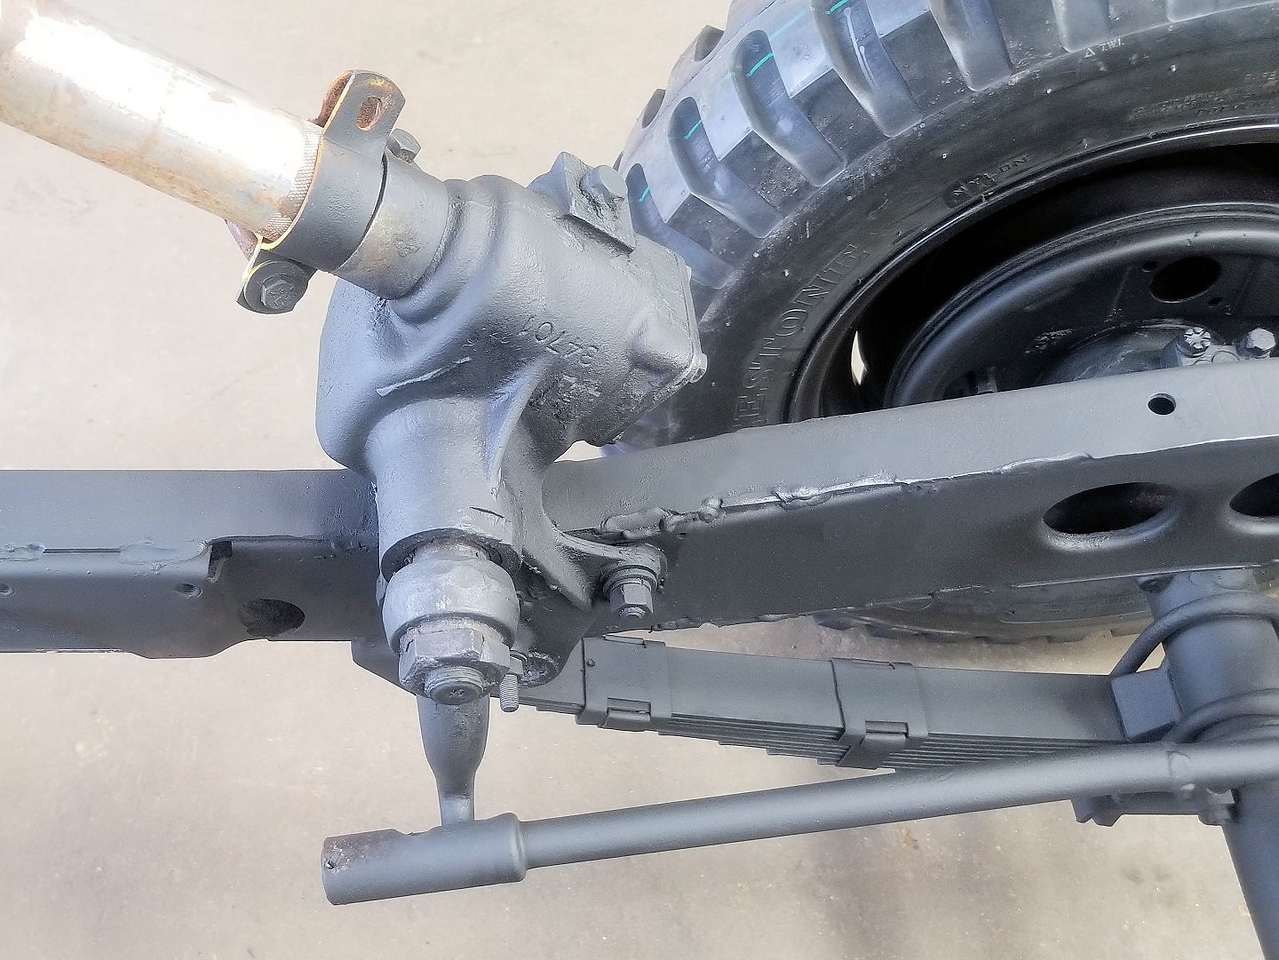
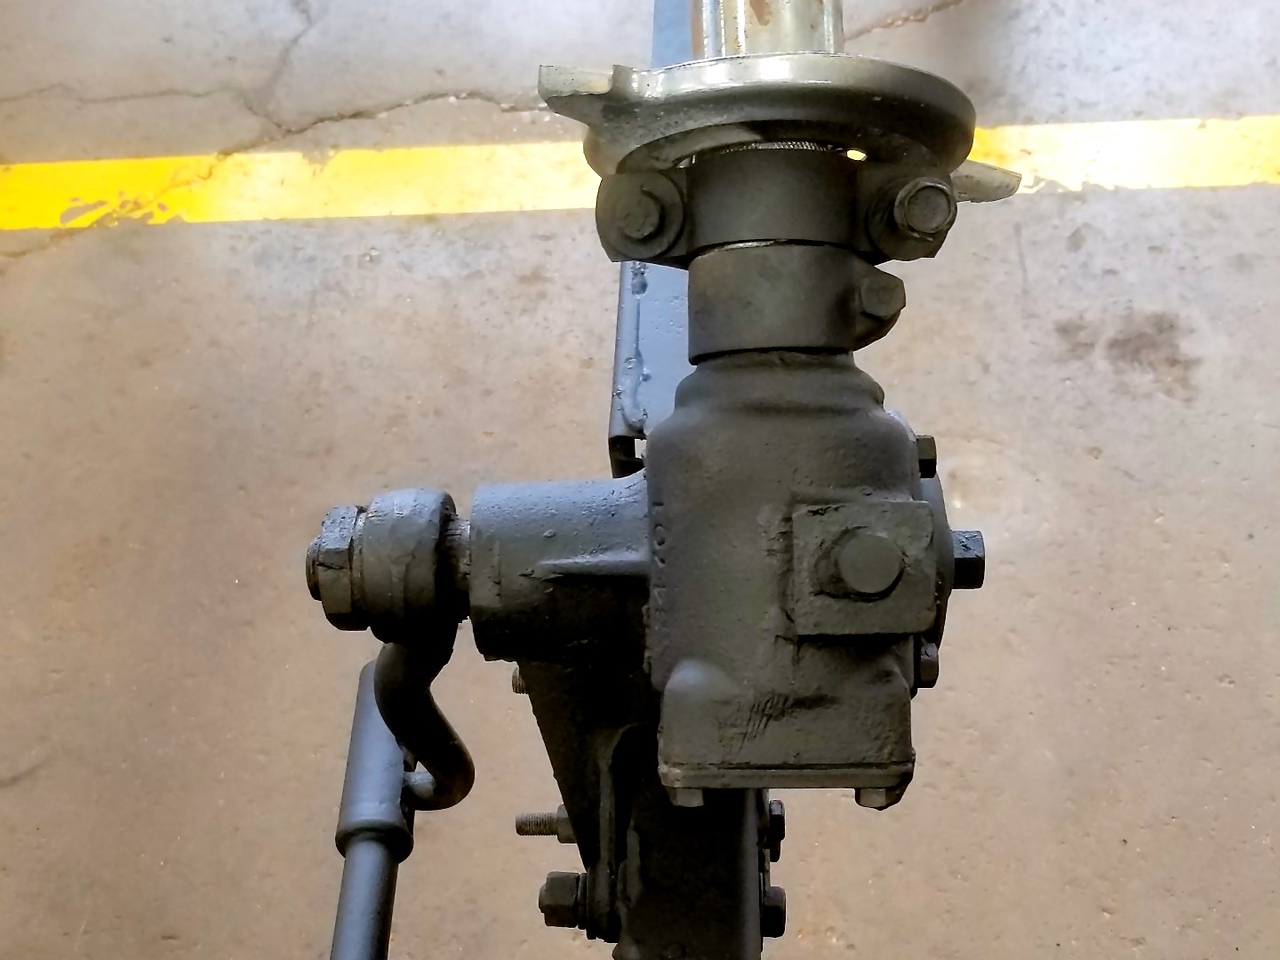
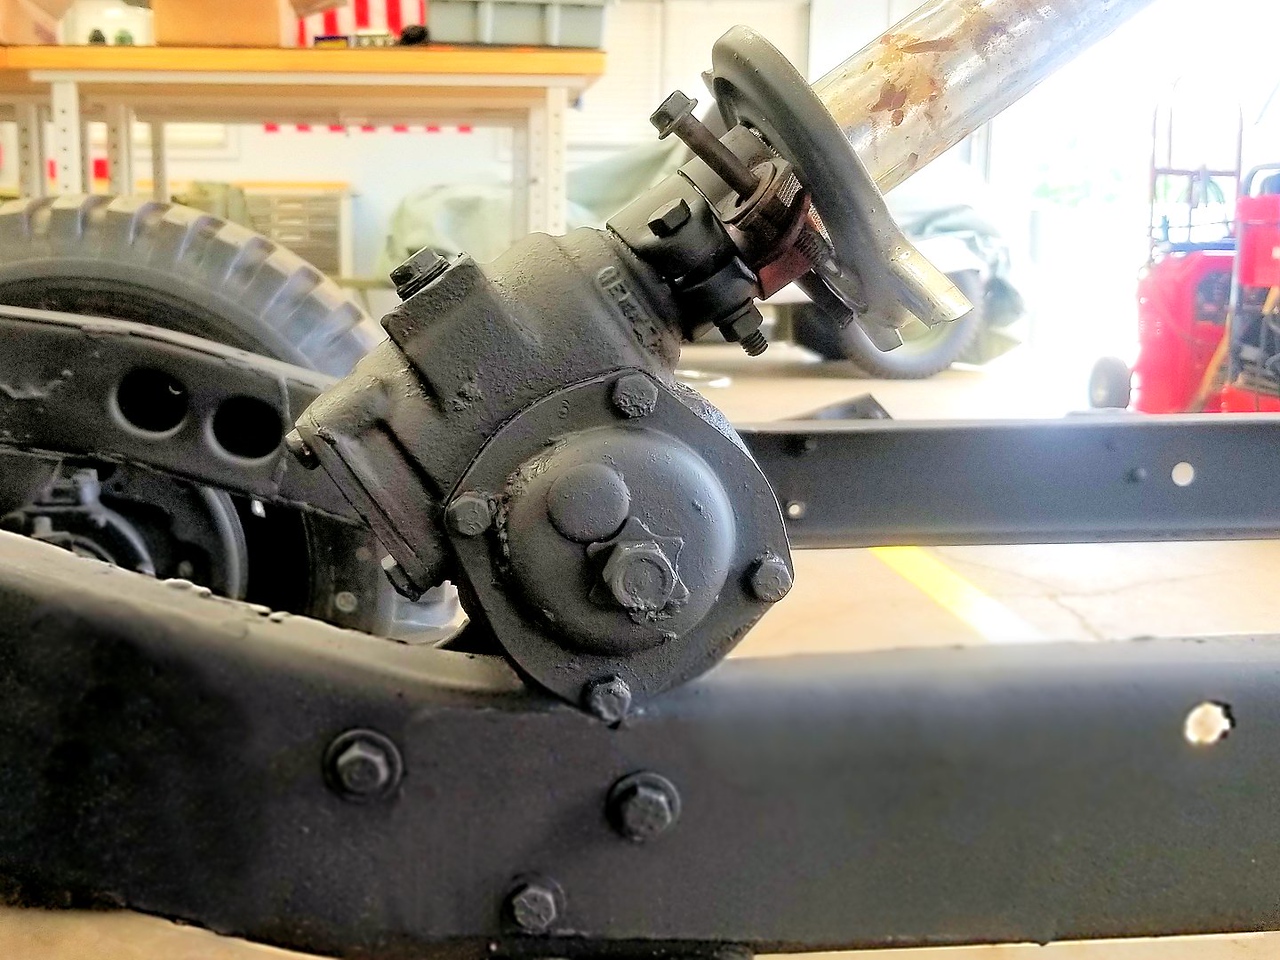
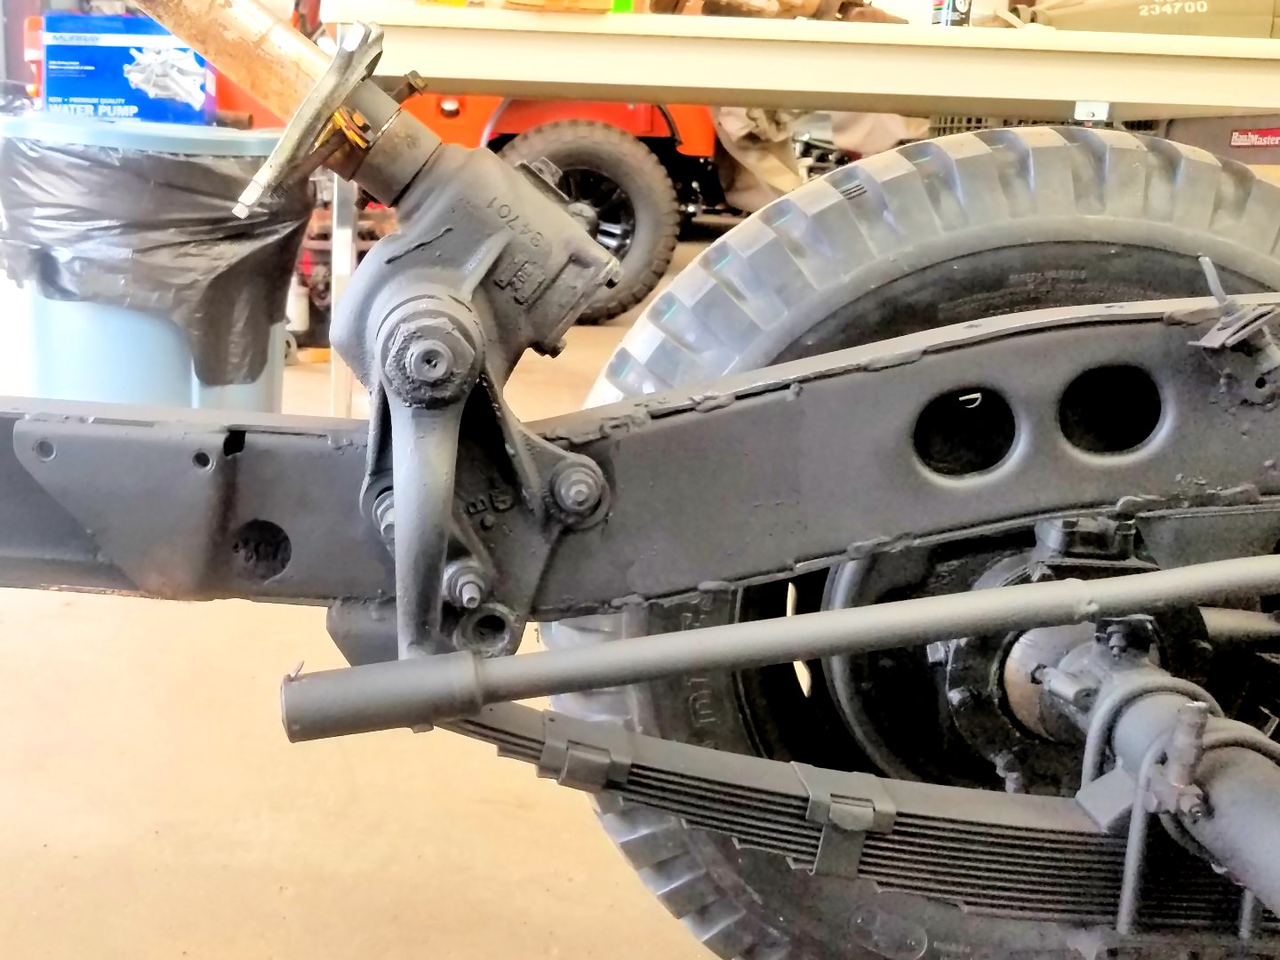
Barry Ogletree has been working on another great project, this time has installed a Hudson Steering system on a Willys frame. I’ve seen several jeeps for sale with this system over the years, but I’d never seen the parts up close. According to Barry:

I have found a unique steering conversion on the chassis of the wooden bodied Willys (Woody) that is worth a look. I have tracked down that it is a Hudson Car box. The beauty is that it sits about perfect in the Willys frame rail. 3 bolts and you are done, and it tucks perfectly against the frame for exhaust/pitman arm clearance. This is the best fit that I have seen in years of this kind of work. Regards Barry Ogletree.
Barry was awesome enough to post a bunch of pics at this location: https://texasflatfenders.smugmug.com/STEERING-BOX-HUDSON/

Below are a handful of pics: hudson-steering-mod-barry01 hudson-steering-mod-barry0 hudson-steering-mod-barry2 hudson-steering-mod-barry3 hudson-steering-mod-barry4

[fb_button]
 
To Top

Paul Finished His Stainless M-100 Trailer

• CATEGORIES: Builds, Features • TAGS: This site contains affiliate links for which I may be compensated.

As always, Paul’s detailed work has resulted in a work-of-art. Well done Paul!

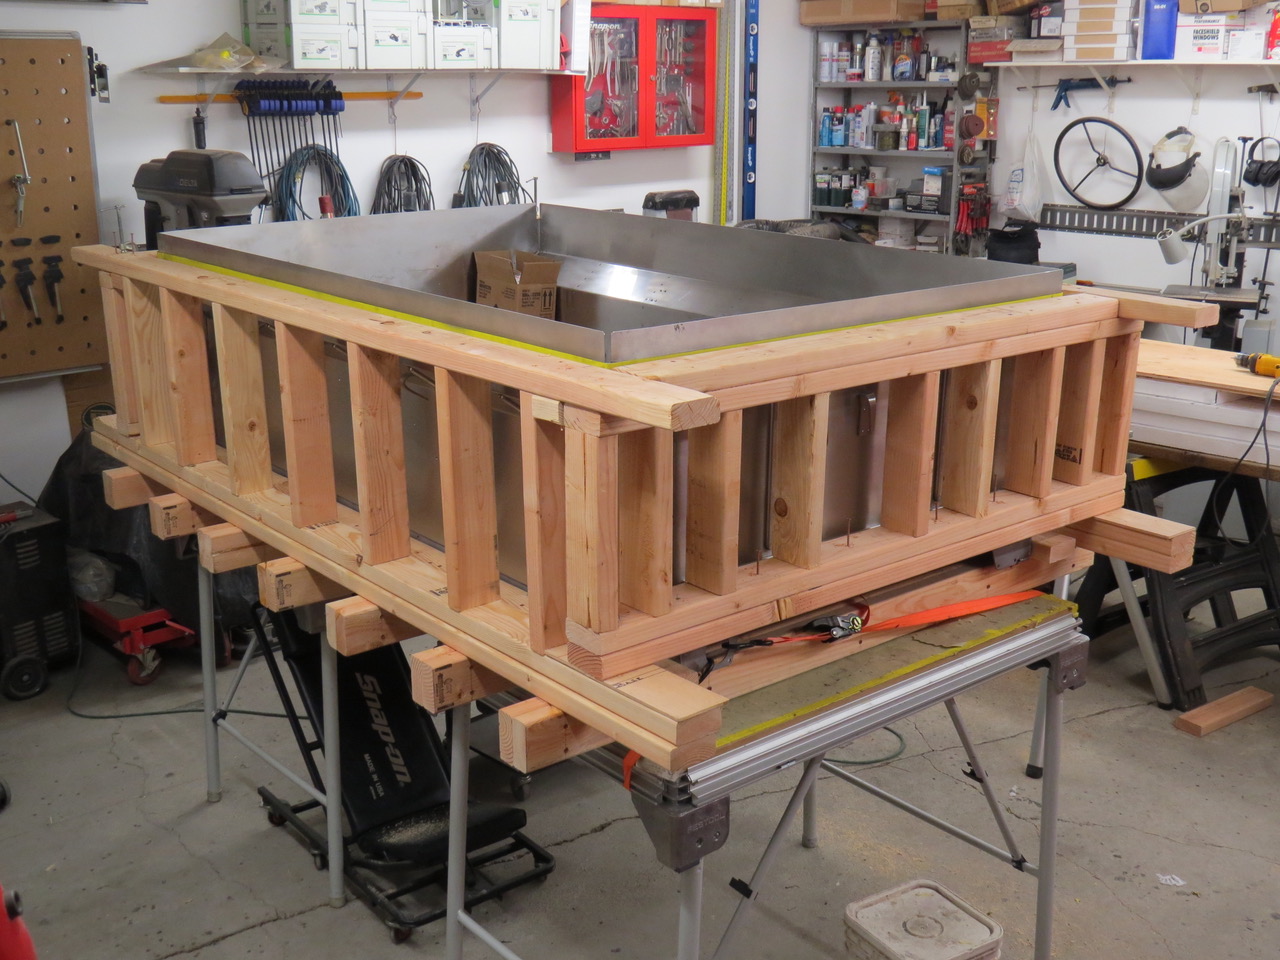
Paul writes, “The earth has calmed down these last few months so I’ve made good progress on the M100 trailer rebuild. In fact, other than measuring the length necessary for the trailer safety chains and the electrical harness everything else is finished. While I still spent over 300 hours to build the stainless steel box and rebuild everything I planned on reusing it was easier than I’d anticipated. I had no idea I’d need so many 2X4’s but the local Home Depot store was happy to take my money.

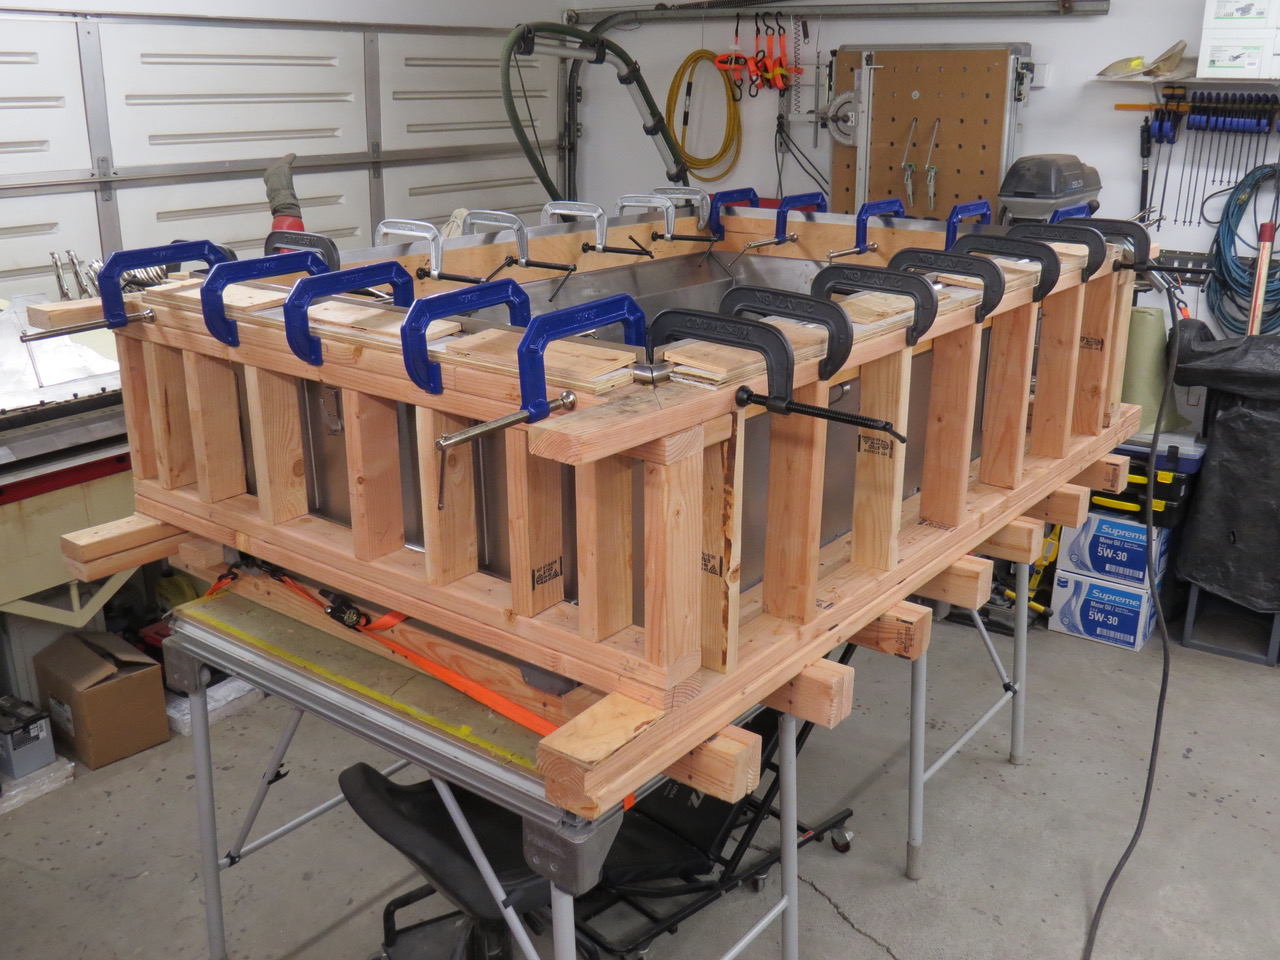
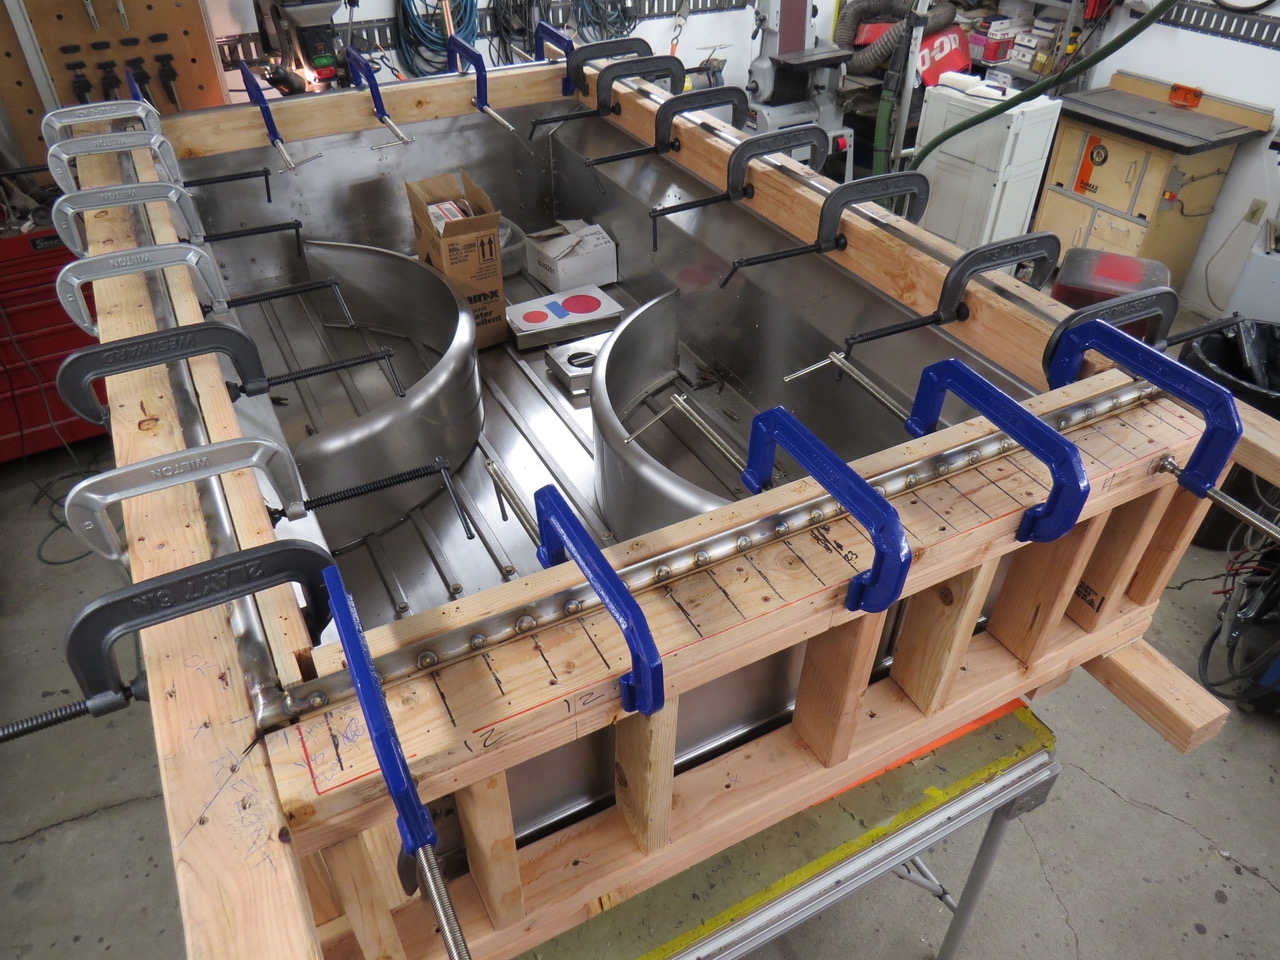
This photo shows the jig I made to keep the trailer box in alignment while I fabricated the upper tube reinforcement and rolled the sheet metal before tack welding the edges.”

2019-02-27-m100-trailer6

The upper tube has been fitted and held in place with strips of plywood and 24 6 inch C clamps.

2019-02-27-m100-trailer7

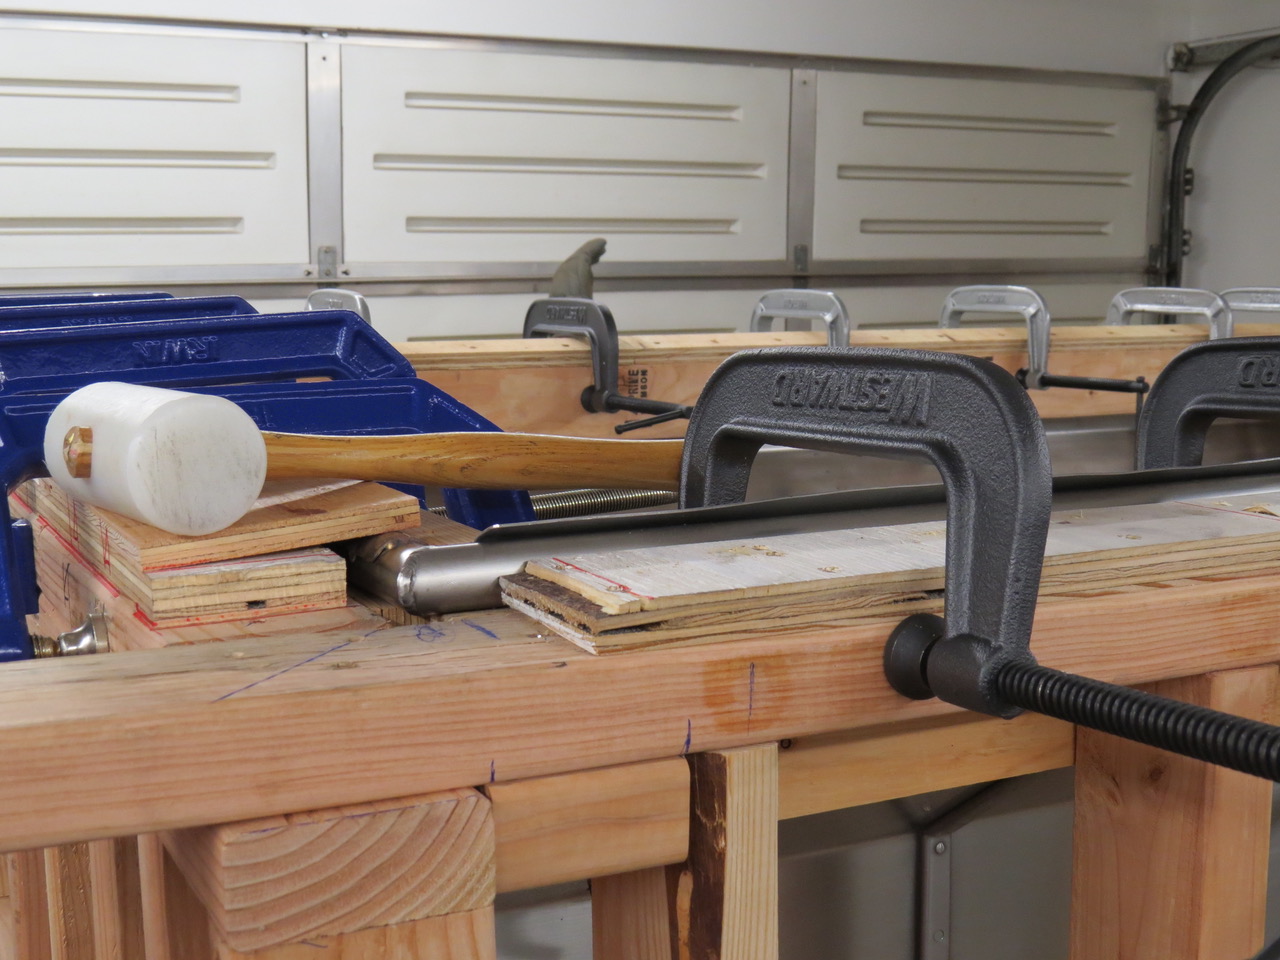
I used a plastic hammer to gently form the sheet metal over the curve of the reinforcing tubing. The C clamps were repositioned often to allow hammer access to the 20 feet of 18 gauge stainless sheet metal around the upper edge of the trailer box.

2019-02-27-m100-trailer8

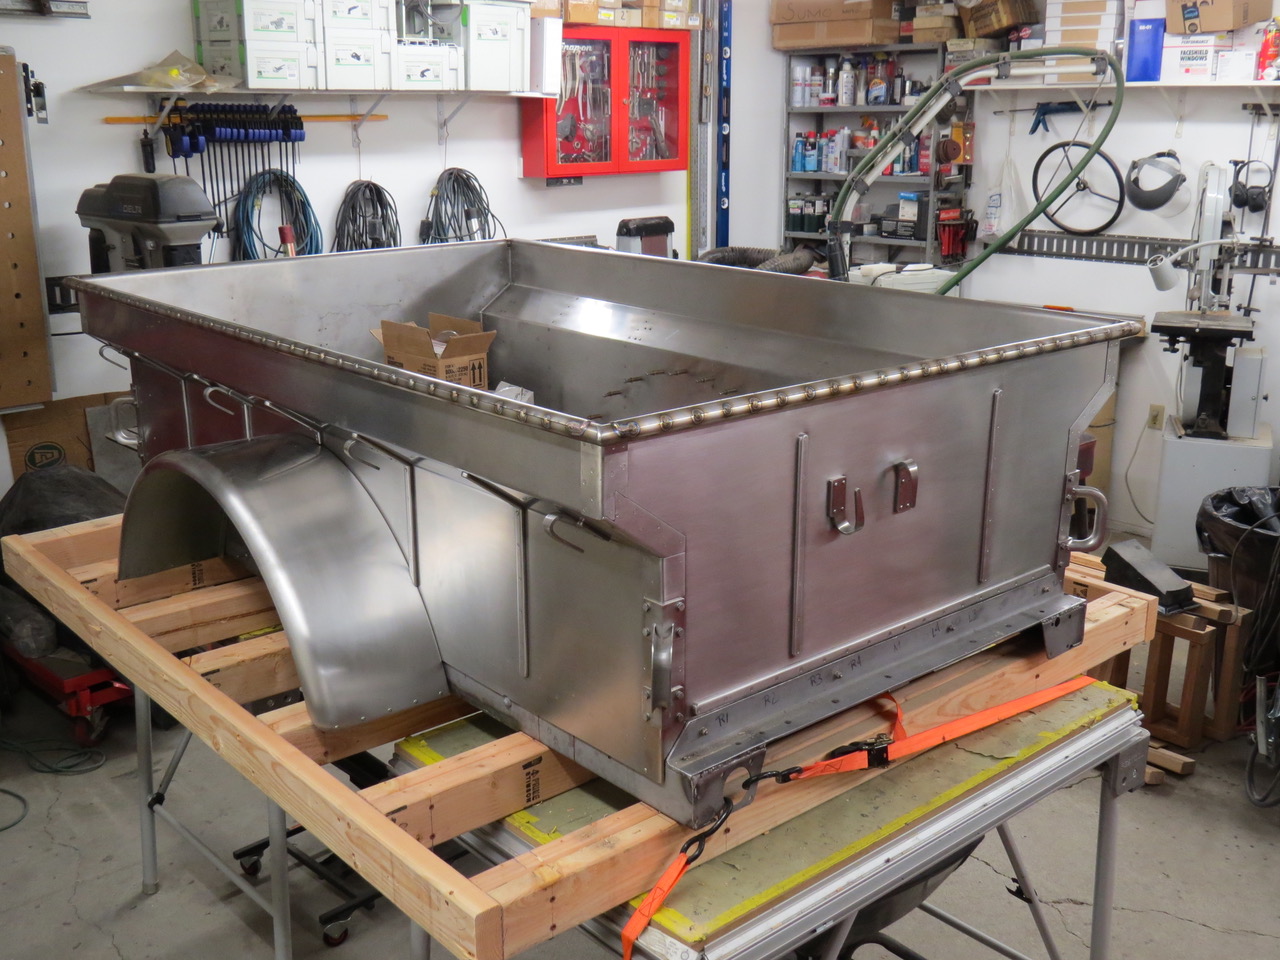
The tack welds are complete so the 2X4 jig can be removed

2019-02-27-m100-trailer9

The replacement box is bolted to the original trailer frame and tie down straps hold the frame to the work tables. I had to plan my work around earthquakes.

2019-02-27-m100-trailer10

Continue reading

[fb_button]