emailNeed to contact me and don't have my email? Click on email button.
About eWillys
Welcome to eWillys.com, a website for vintage jeep enthusiasts. I update this website nearly every day with jeep deals, jeep history, interesting reader projects, jeep related info, and more.
These quick searches can help you find things on eBay. People list in the wrong categories all the time, so don't be surprised to see brochures in the parts area for example. This section used to be split into jeeps, parts and other categories, but recent changes to eBay will require this information to be recoded.
The links to posts below show jeeps grouped by models, condition, and other ways. Some of these jeeps are for sale and others have been sold. If you are unsure whether a vehicle is still for sale or not, email me at d [at] ewillys.com for more info.
Importantly, the allure of buying a project jeep can be romantic. The reality of restoring a jeep can be quite different, expensive and overwhelming without the right tools and resources. So, tread carefully when purchasing a "project". If you have any concerns about buying a vintage jeep, or run across a scam, feel free to contact me for help, comments or concerns .
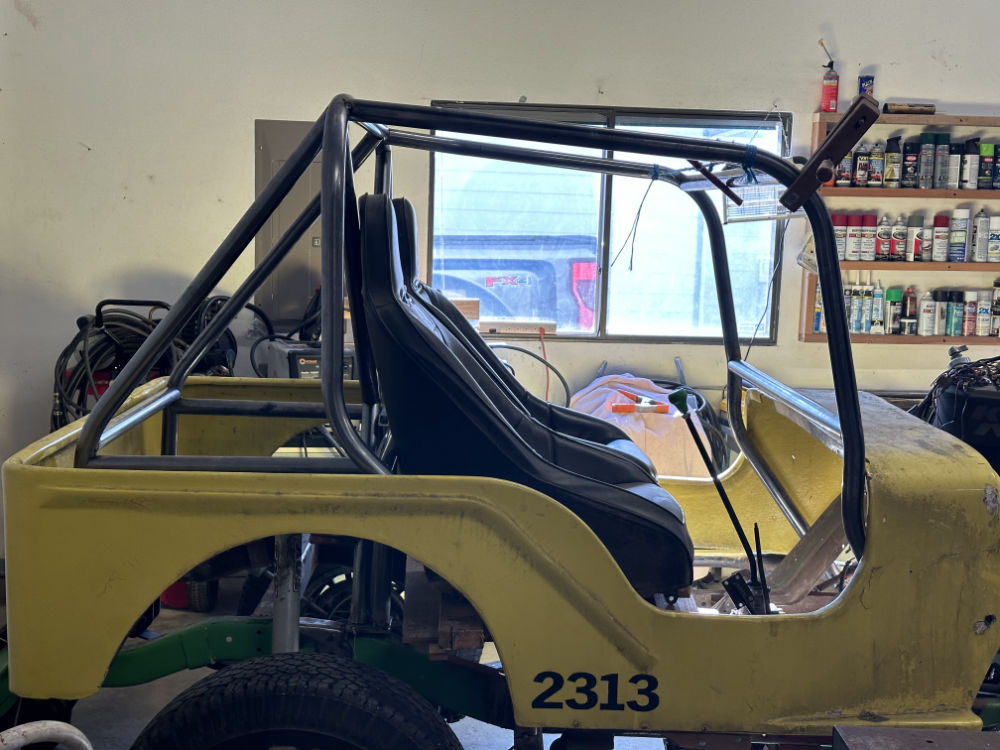
The weather has warmed up some, which made working outside much more pleasant! Since the last set of pics, I made some corner brackets and added them to the cage. I’ve also added a cross bar that will be the base for the sets and some curved support bars on eat side of the front loop.
I’ll post some pics of the cage below, then add some pics of how I made the brackets (in case that’s of interest to anyone.
Below I show how I made the corner pieces.
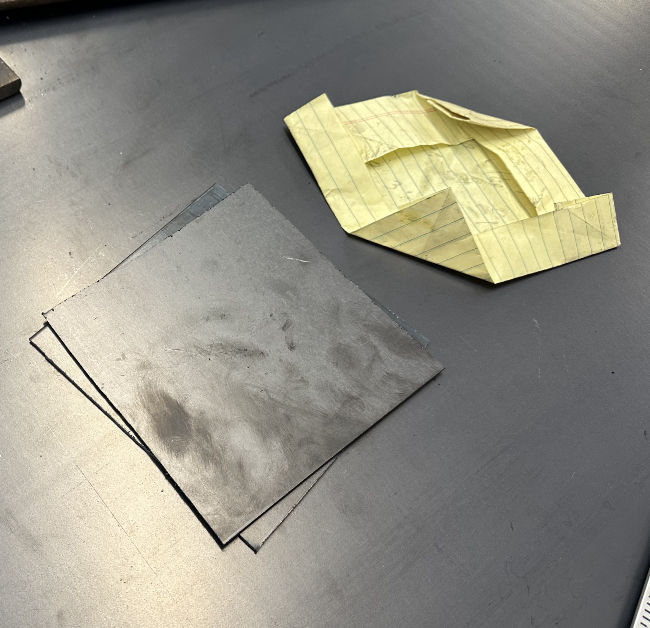
This first pic shows 5 1/2″ x 5 1/2″ 16 gauge steel squares. The paper above it shows my attempts to figured out the rough size I wanted:
Once the water got fixed (found a retired local plumber who still does small jobs and did previous work on our house, so that worked great), I returned to the cage.
The front “loops” have been bent and added, along with a top and mid cross bar. I also added one side bar, with the other almost ready to spot-weld in place. Unfortunately, I ran out of materials, so I need to get a couple more tubes.
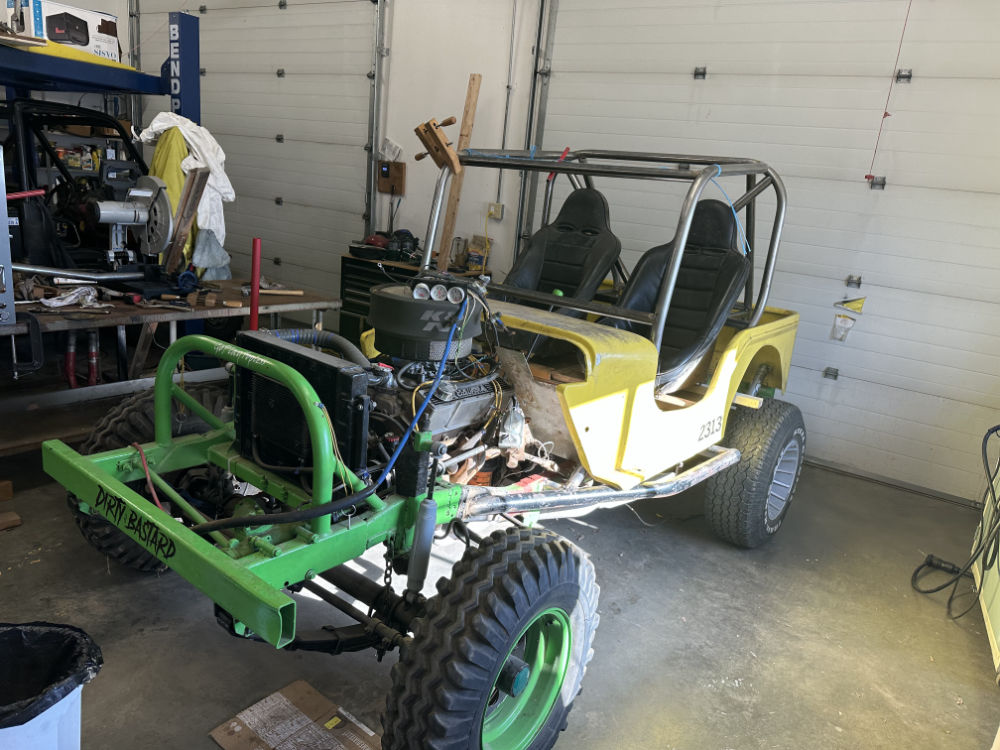
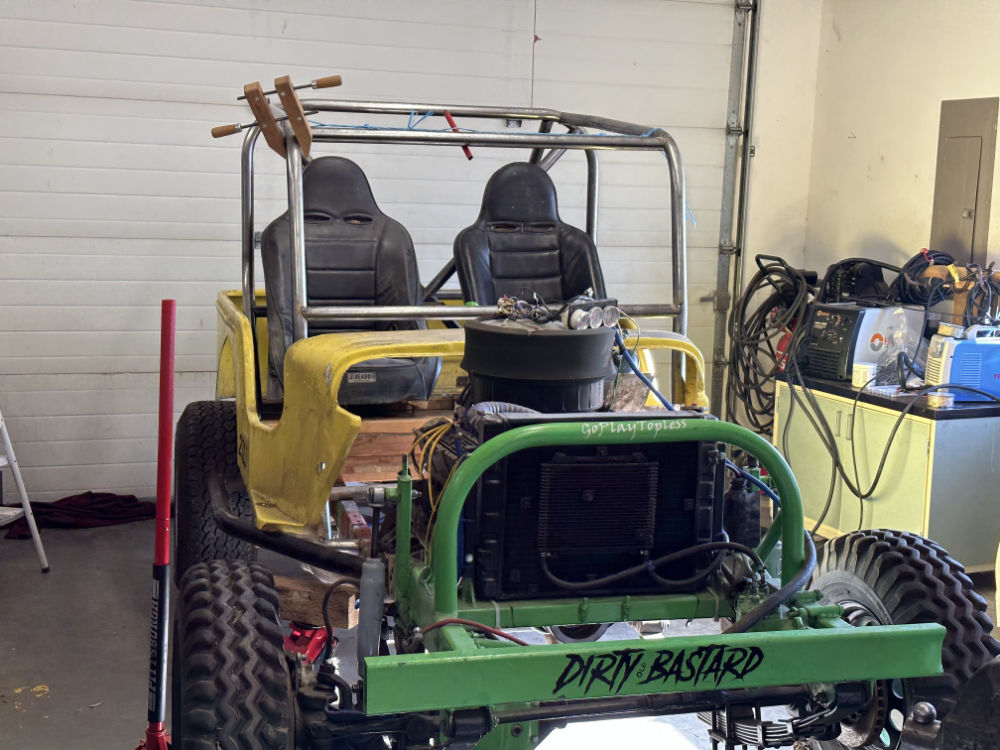
As you can see below, I found a seat placement I like. My head rests just below the top of the seat, so plenty of room for a helmet. Now, I just have to figure out how I want to mount them. I was going to weld in the seat frames, but I think I am going to bolt them. This will make it 1) easier to install the floor pan and 2) allow me to change up the seats/position if I’m unhappy with how it feels.
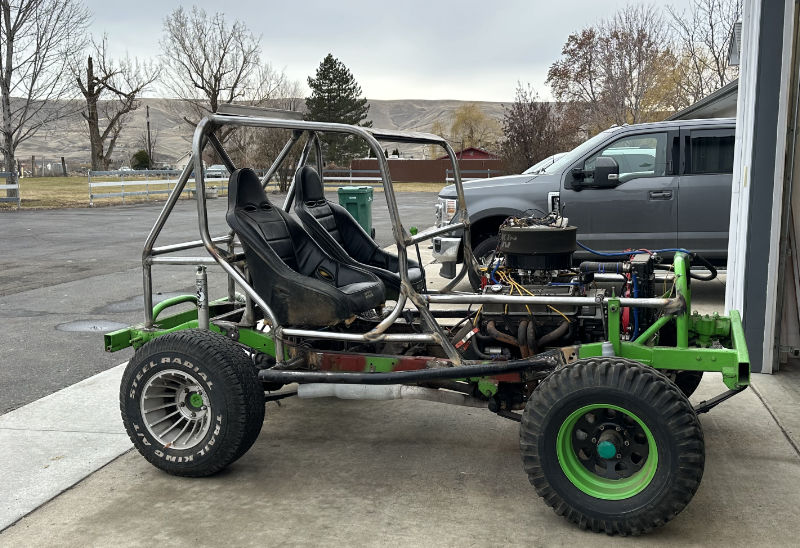
After an unexpected detour of 6 months, I finally had a chance to return to working on the racer.
My first project was to create the side bars by reusing the 2 1/2″ side bars from the yellow racer. You can see them mounted on the old racer here (my finger is accidentally pointing out the driver’s sidebar in this pic). I cut both of them off this chassis.
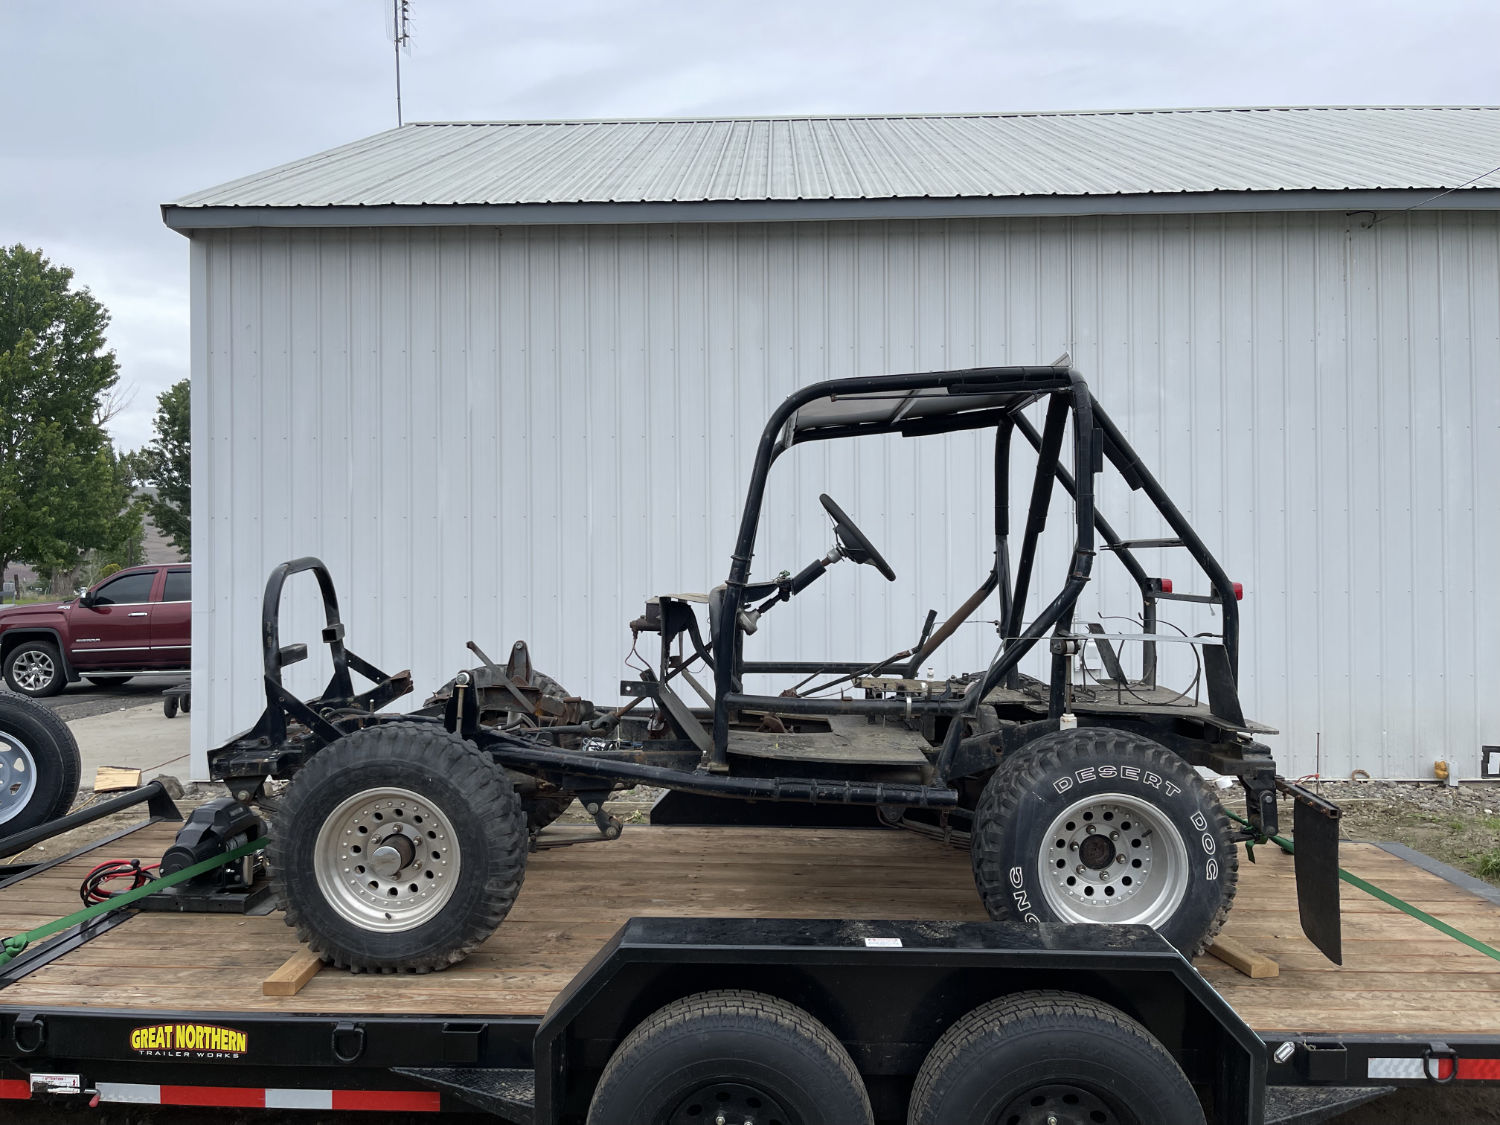
Here is a side view of the old chassis. These sidebars are angled upward to attach at the angled portion of the frame near the engine mounts. I liked the look of them, so figured I’d reuse them. At this point, I also plan to build the new racer cage similar to what you see blow, but with a few changes.
Somehow, I managed not to take many pics of this process, but I started with my new metal saw by cutting the side bars so they’d sit flat (I removed the sidebars from the other chassis with a sawz-it-all, so the cuts weren’t great).
Trying to get this angle just right on the front portion of the bars was tricky. So, I cut the back bar first to the optimal length, then dropped the front of the bar over the edge of the table until the tube was level. Then used the flat edge of a carpenter square to draw a straight edge on the bar.
Here, the cut has been finished.
Next, I welded plates to each tube end. Then, I clamped the tubes to the sides of the frame. With that done, Ann and I put the body in place to make sure it fit over the angled side bar, which it does.
Here’s a view from the back:
Since it looks like things will fit correctly, I will pull the body back off, pull the side bars off, clean off the paint where I need to weld on the frame, and attach the sidebars.
Next, I’ll spend some time determining how the floor, cage, firewall, and the seats will mount, and how the side of the body will attach to the cage (the body sides are weak rather flimsy, so it needs a good mounting system).
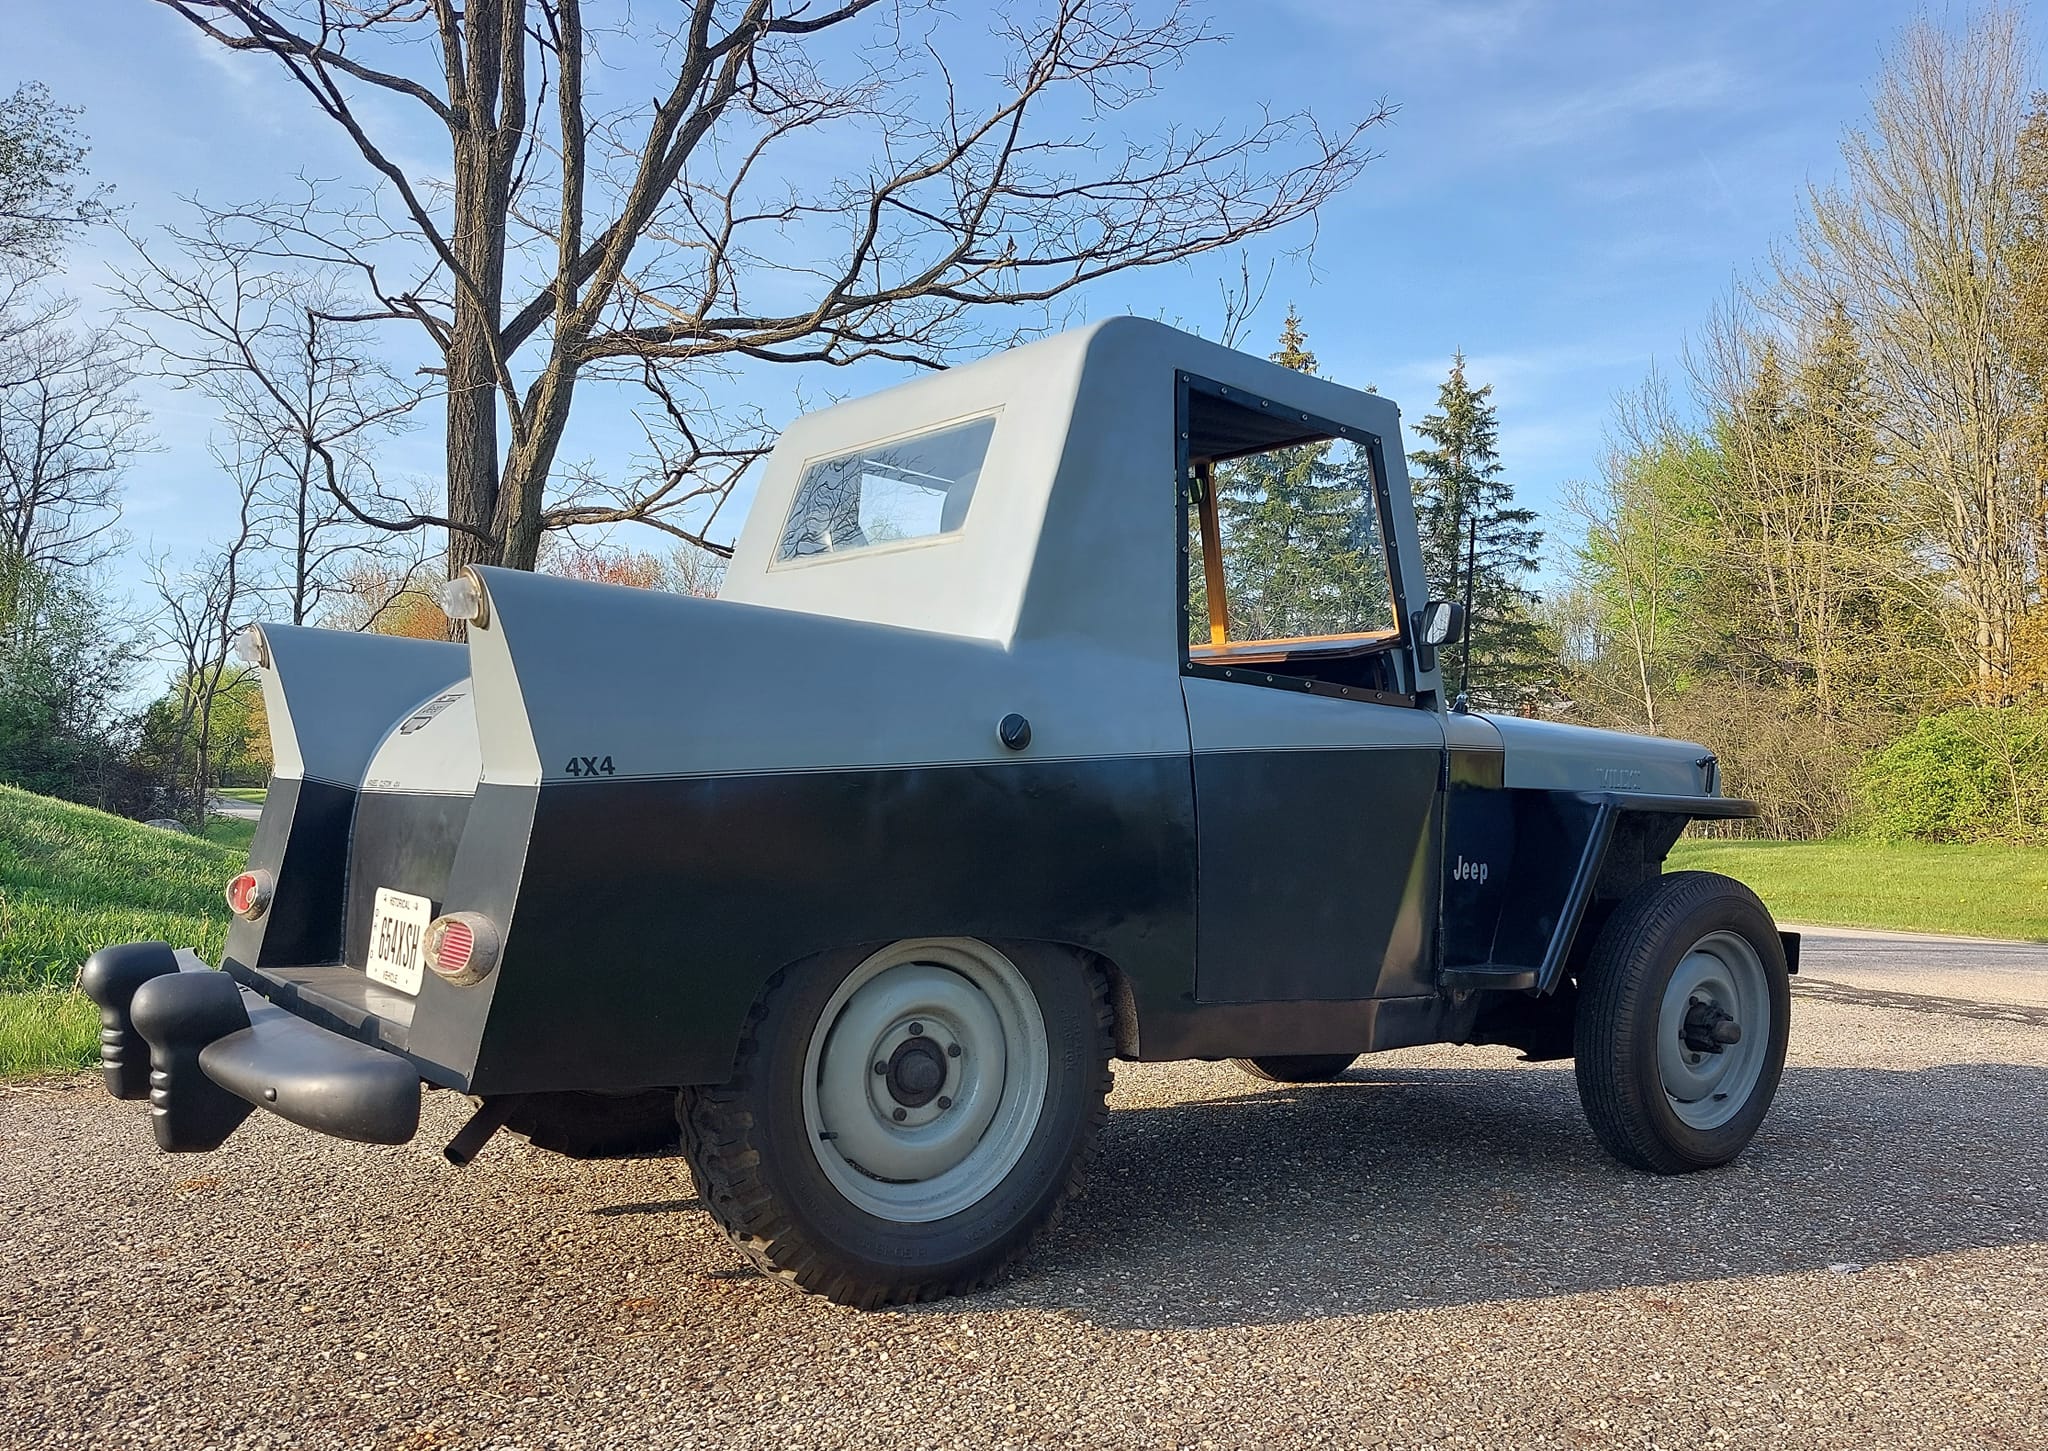
Robert Baxter posted this “CJ-3B” to Facebook the other day. He spotted it at a car show in El Segundo, California. The chassis is a deuce-and-a-half. It looks like the body is extra tall and stetted, which gives it an unusual look. Cool rig!
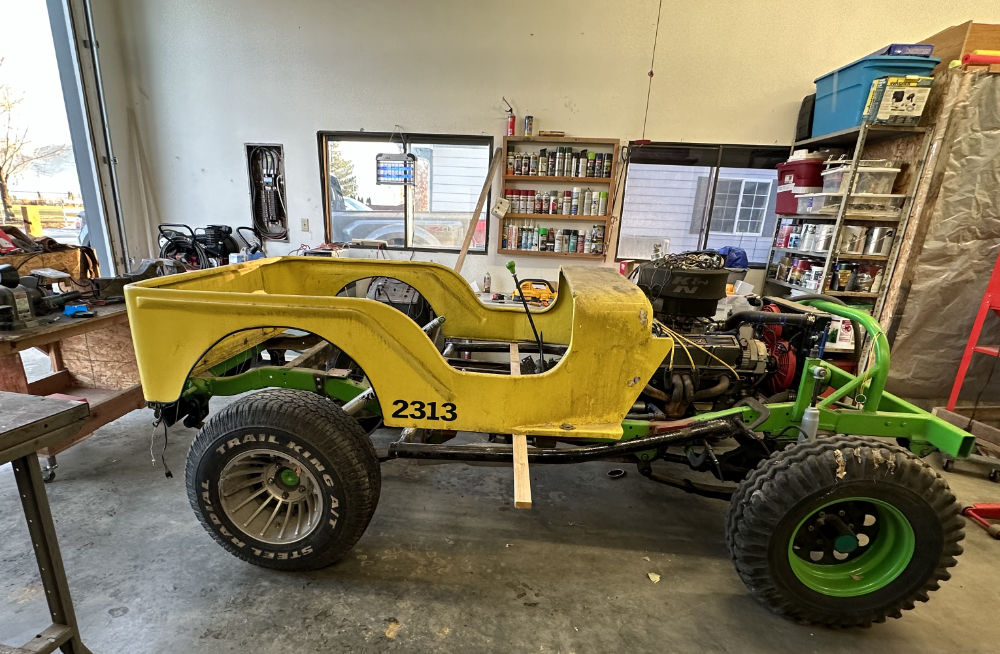
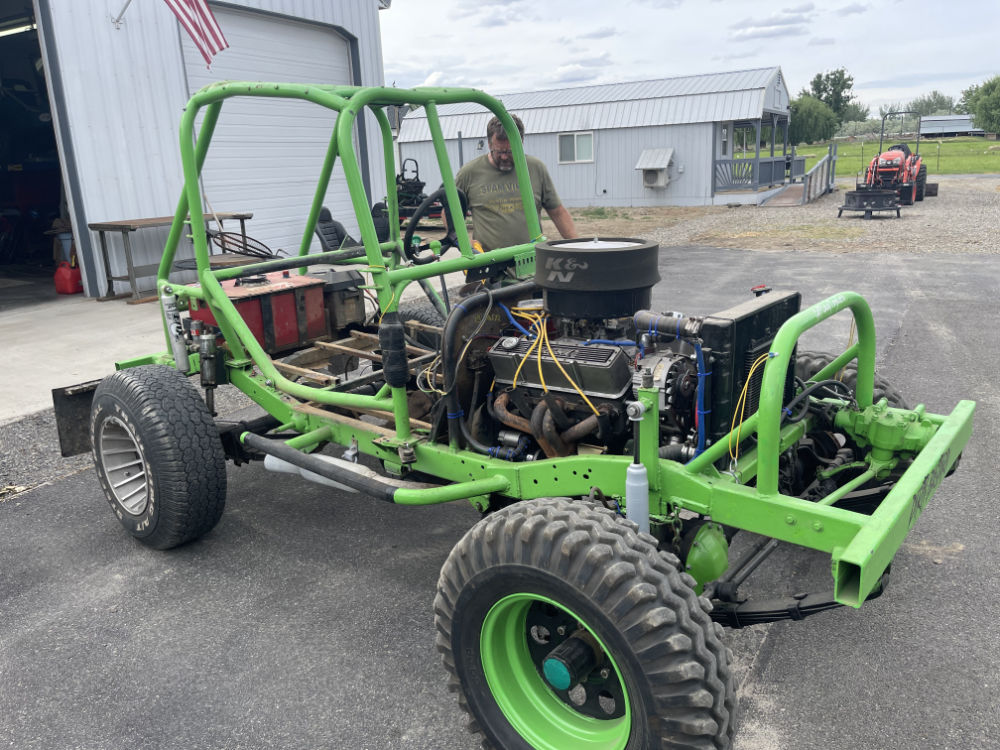
A couple days ago I took disassembled some of the black and green race jeep. The cage for the narrow body is tool small to be useful for me. So, I will bend my own cage, built for the yellow parkette body, and outboard the rear springs while I am at it. I will also swap out the current swing pedals for the ones on the yellow racer. Hopefully, I can get this project done by August, in time for Summer Convention. We will see….
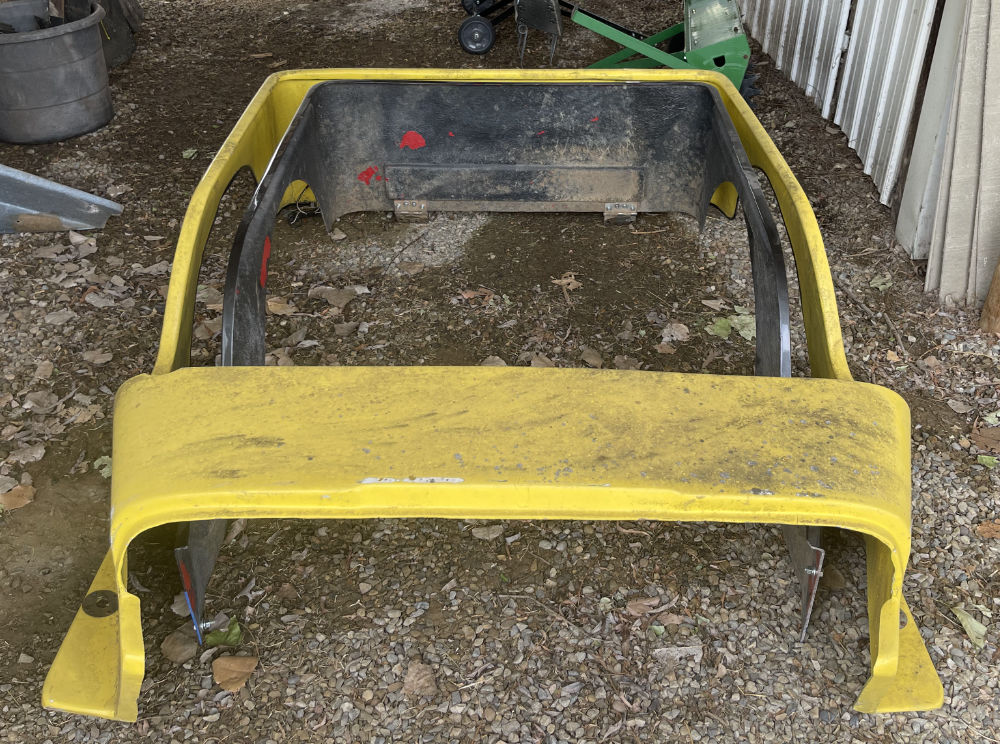
Here is a comparison of the Parkette full-size body vs. the narrow body. The difference is enough to give a person more room at the feet (more room for gas, brake and clutch). The narrow body would probably work better for an auto transmission with just a gas pedal and brake (I prefer to have enough room to the left of the clutch to help brace myself.
The narrow body seems better built, perhaps a slightly thicker fiberglass job. The Parkette needs some reinforcement in my opinion (which I will do).
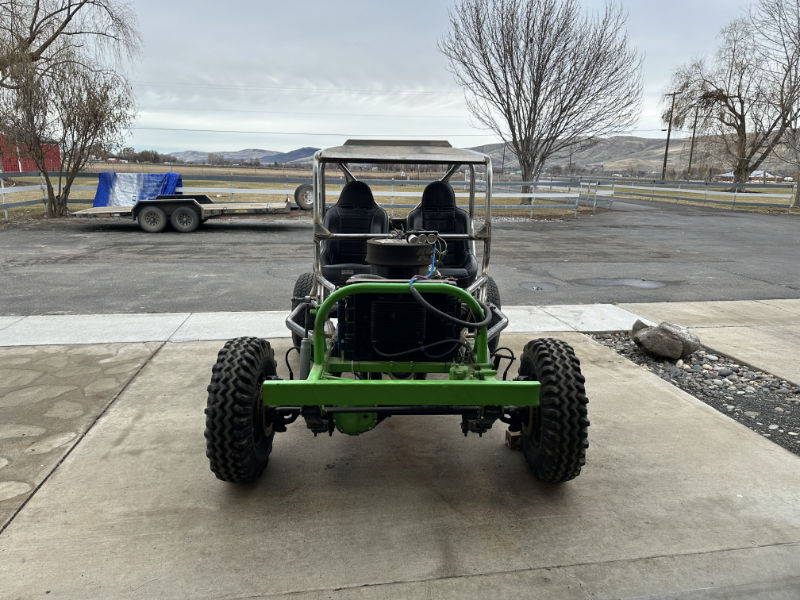
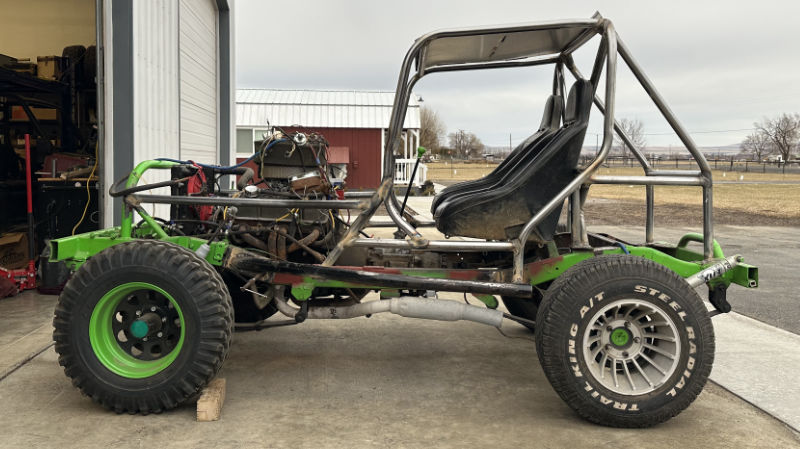
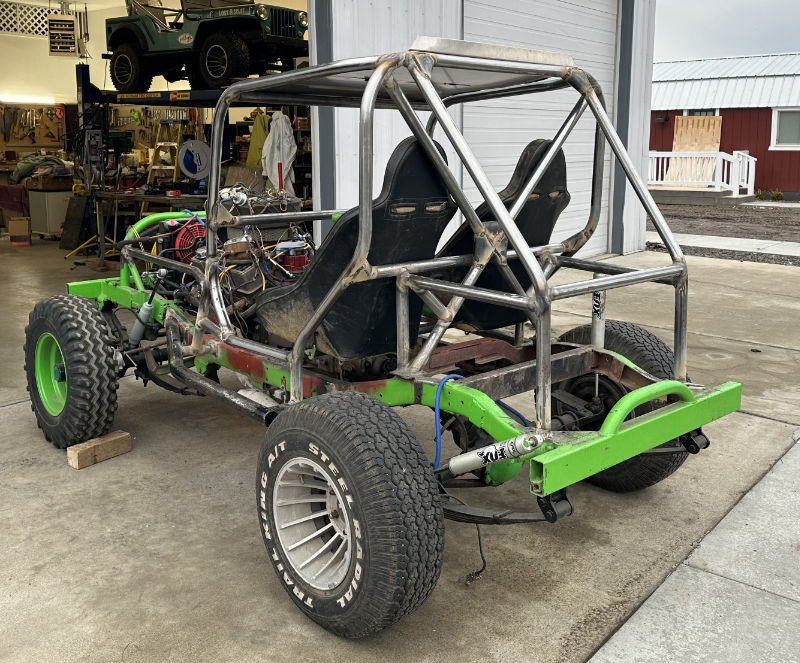
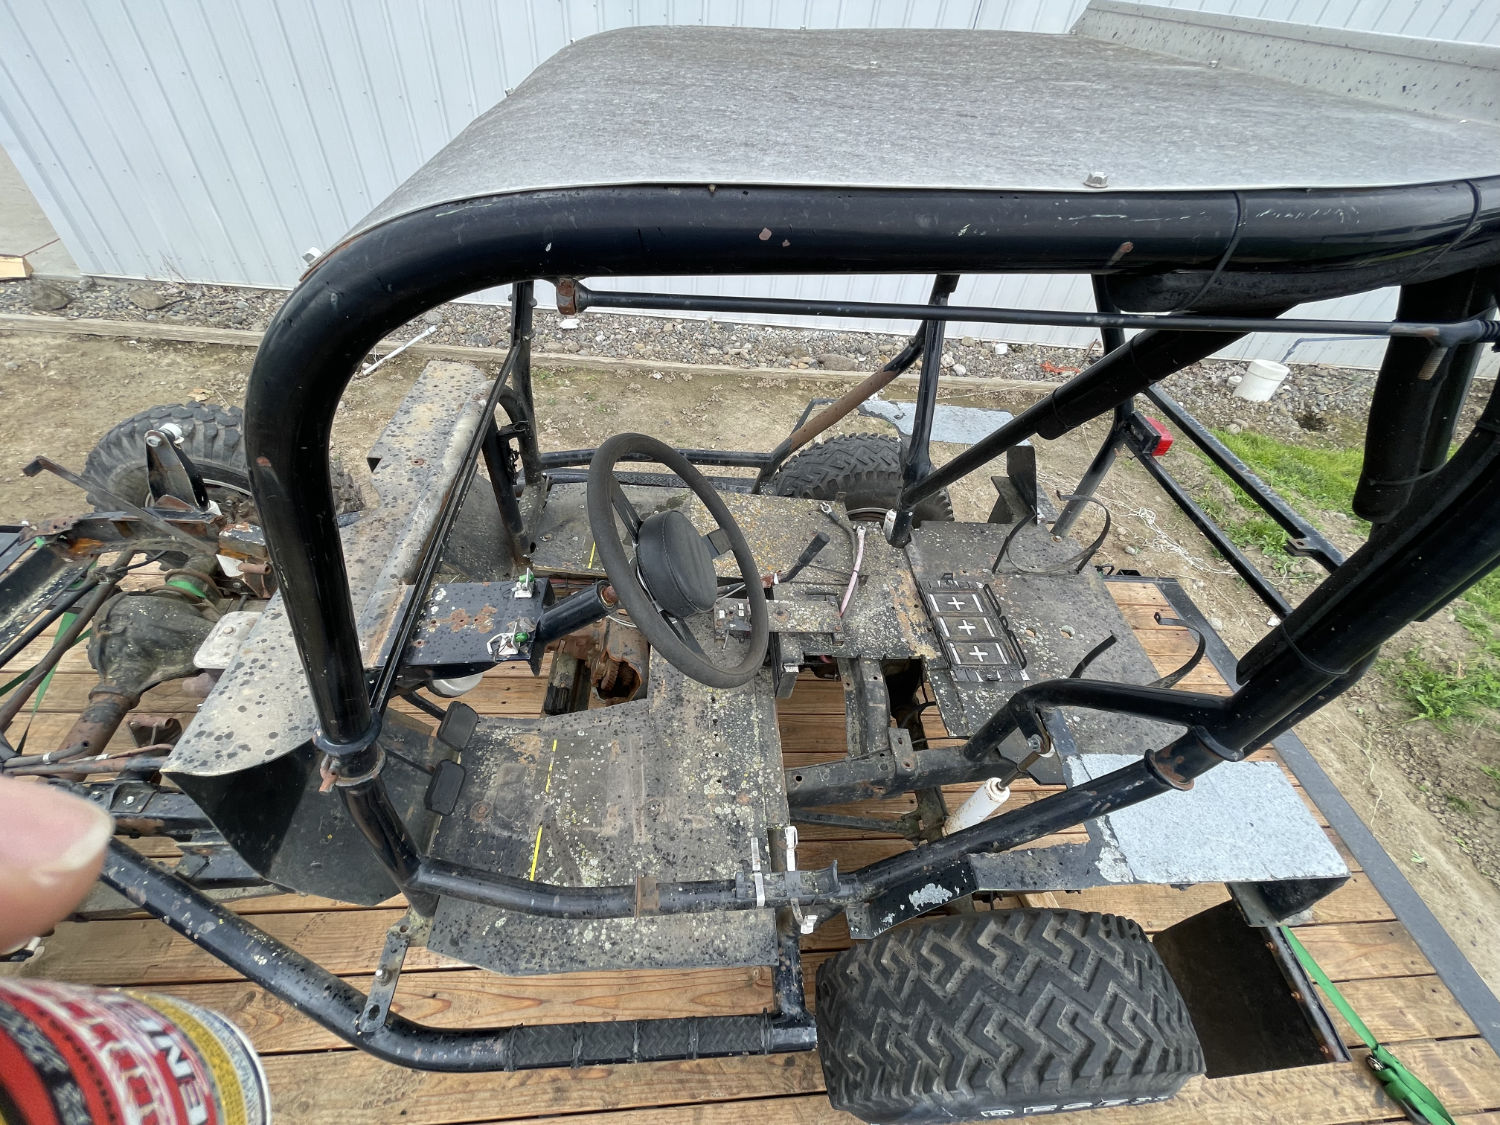
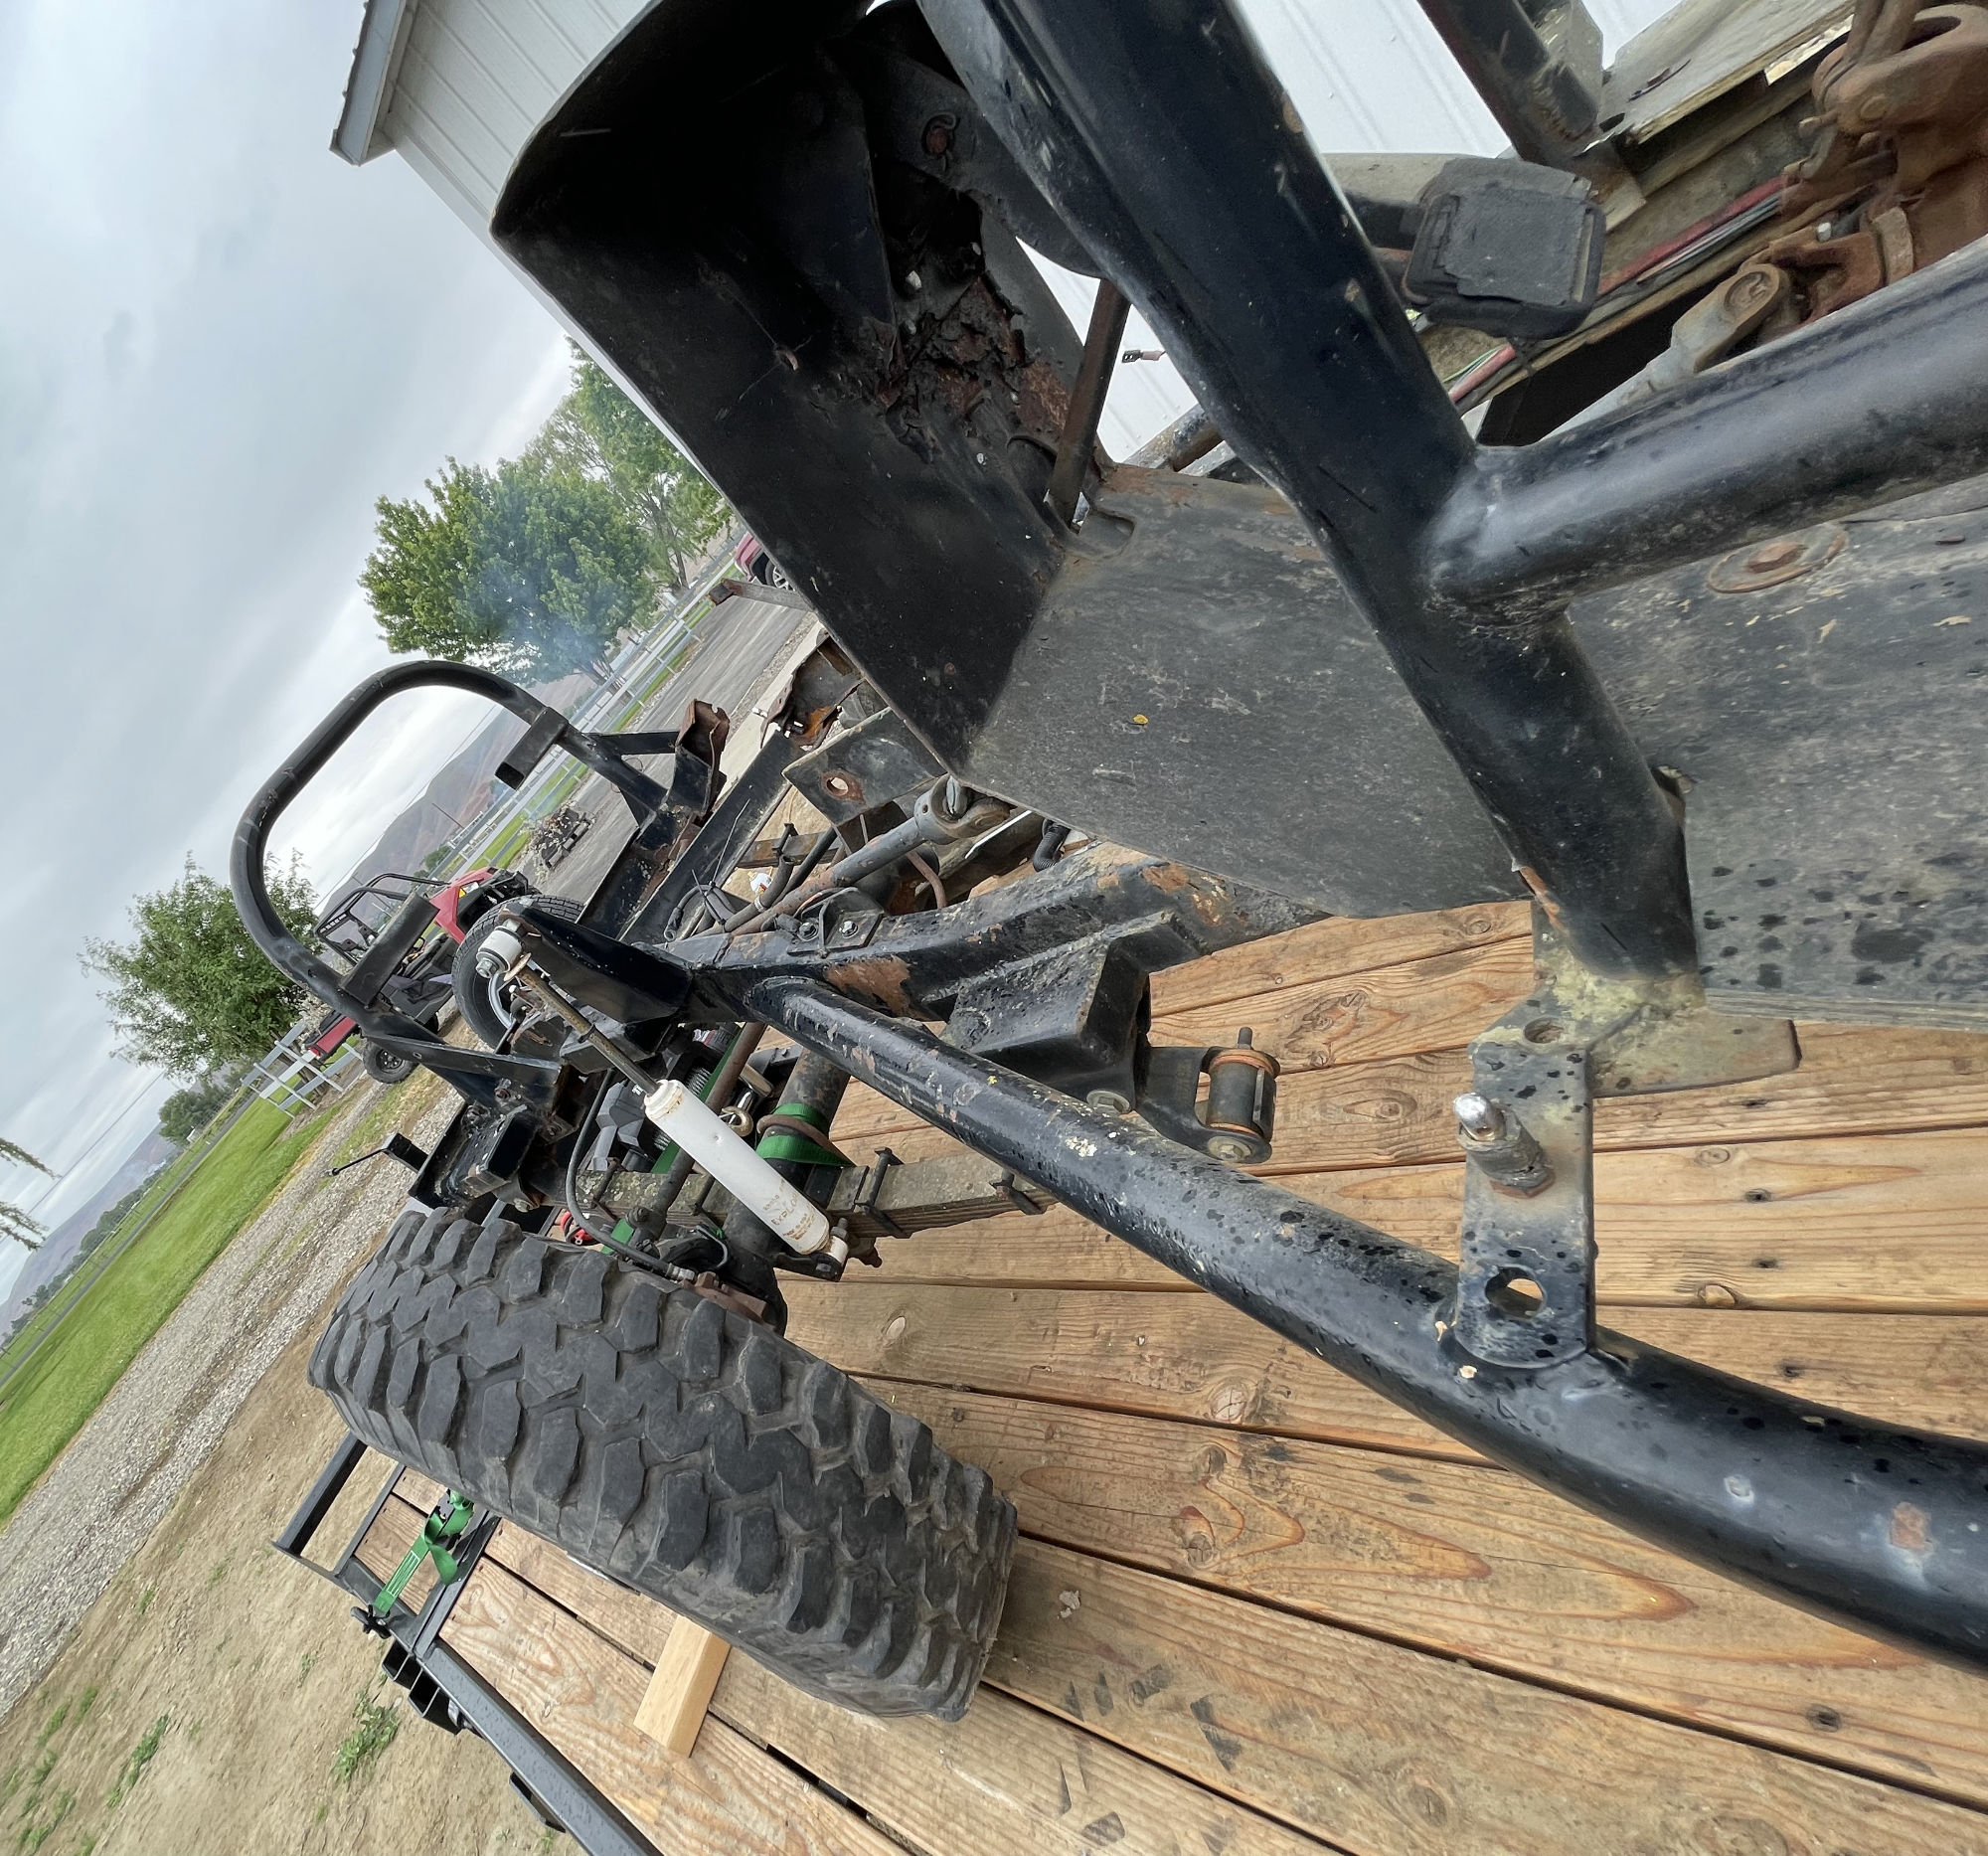
Her’s the narrow body racer without the body. Thankfully, unlike the other racer, this cage was bolted, rather than welded, to the frame.
Well, the seat support piece was welded to the rollcage and to the frame, but it was easy to cut. I will have a different setup for the seats. Note the broken driveline ‘safety’ loop, that wasn’t very safe. I have a much stronger one from the other chassis.
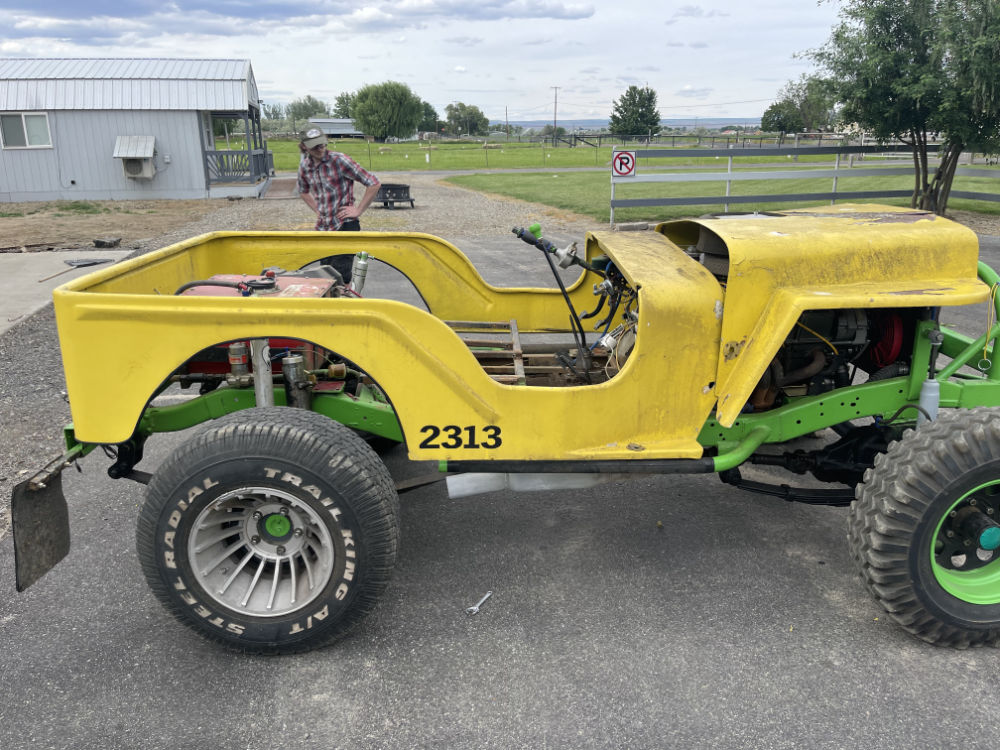
Here is a trail run of Parkette body on the racer.
Besides the new roll cage and the rear springs being out-boarded, the side bar will need replacing (it was built for the narrower body). A new firewall needs to be built (it will be wider, thanks to the wider parkette body, than the current one). The steering wheel needs to be angled differently and will have a tilt column (my preference).
Thankfully, the power train can remain in tact, as will the front spring setup. So, that saves a bunch of work.
Ann has dubbed the yellow racer “Little Miss Sunshine”, due to the yellow color. I don’t know if that’s the end-all name, but it’s a fine name for now.
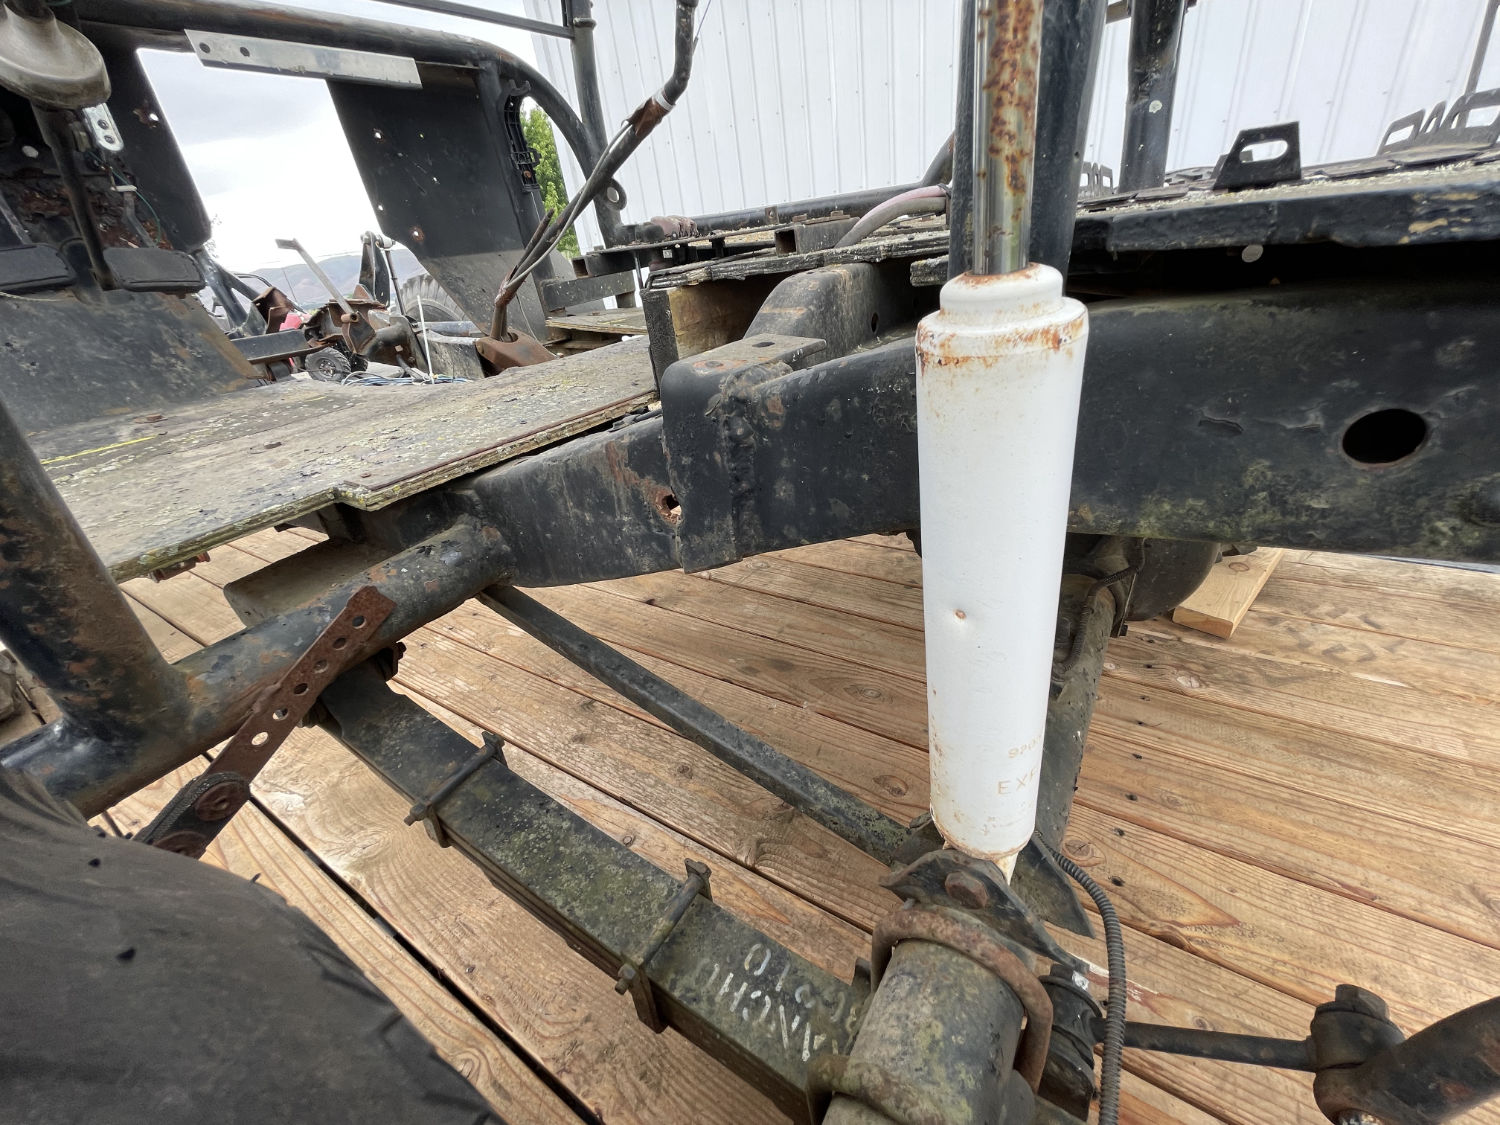
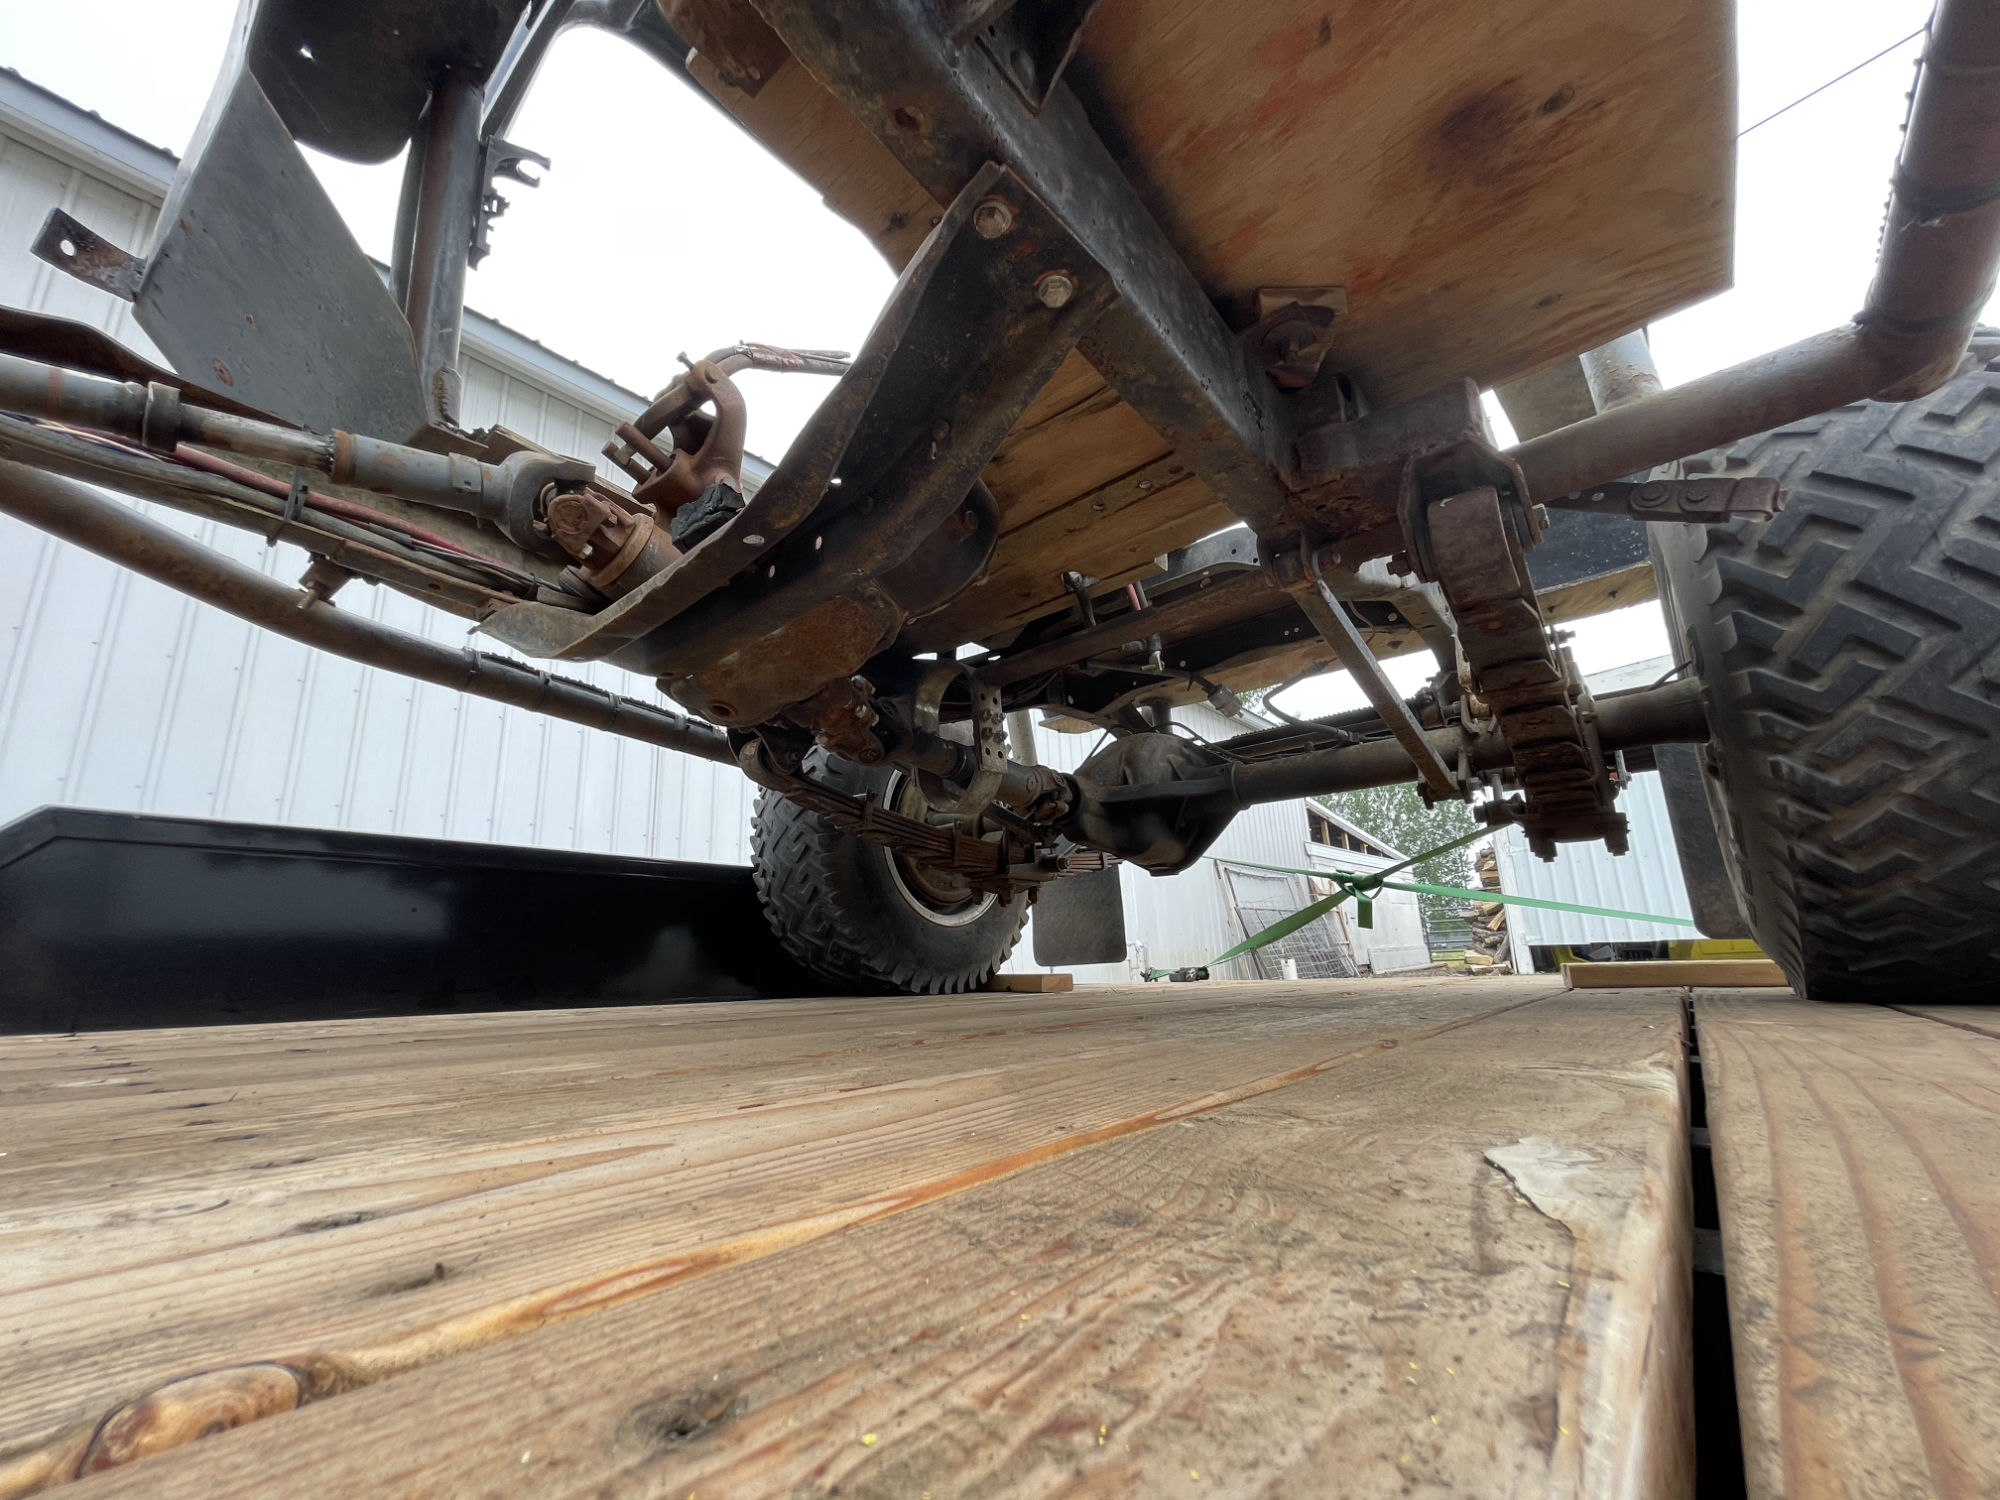
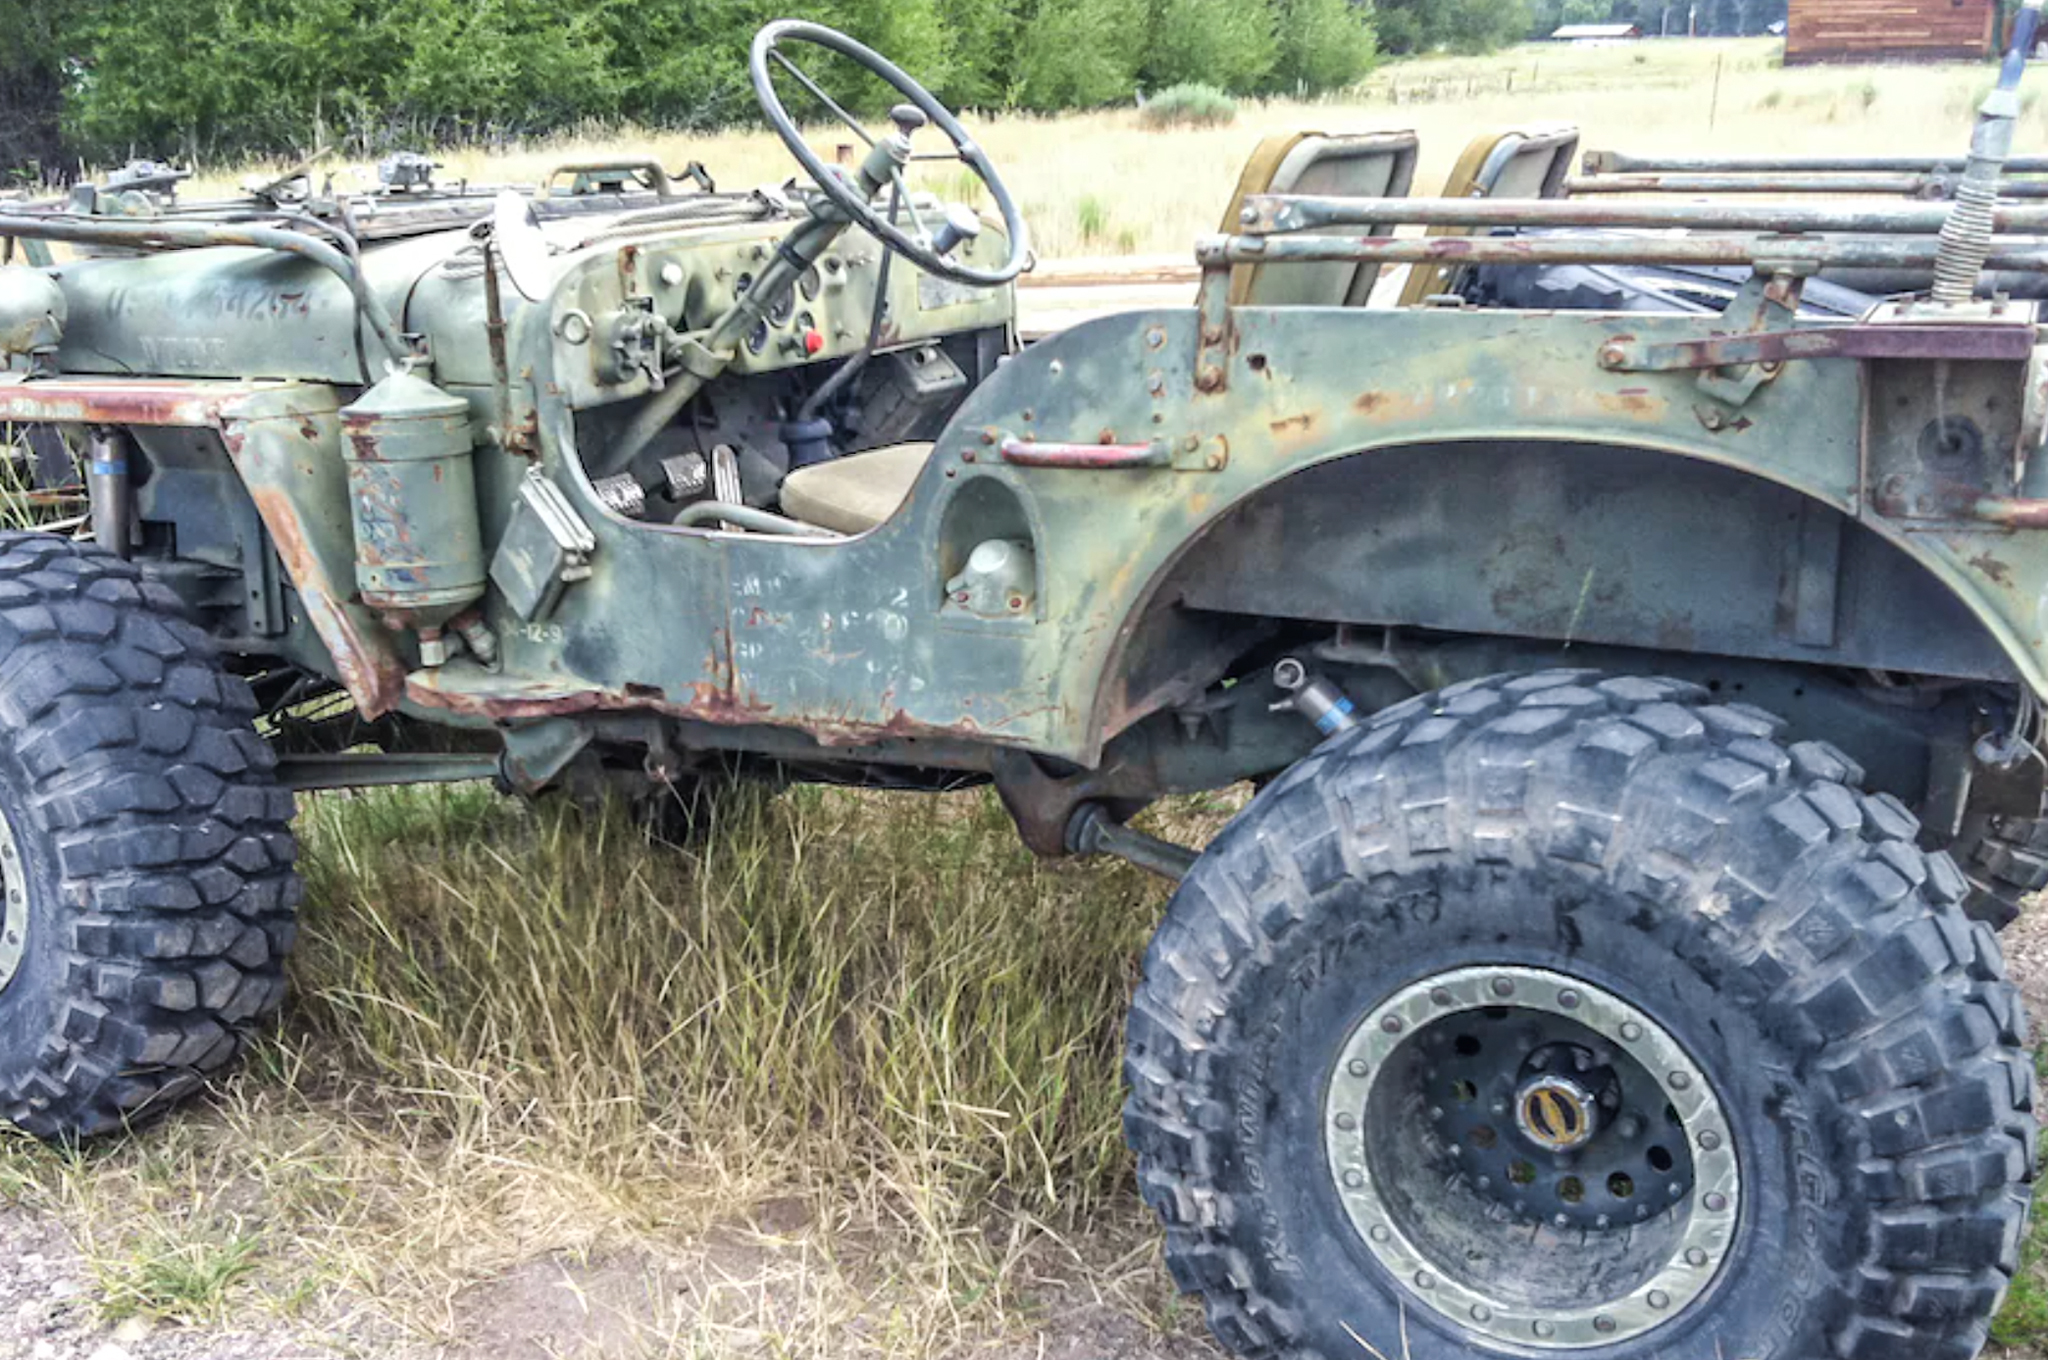
Yesterday, I decided to remove the body so I could get a better look at the condition of the cage and the suspension.
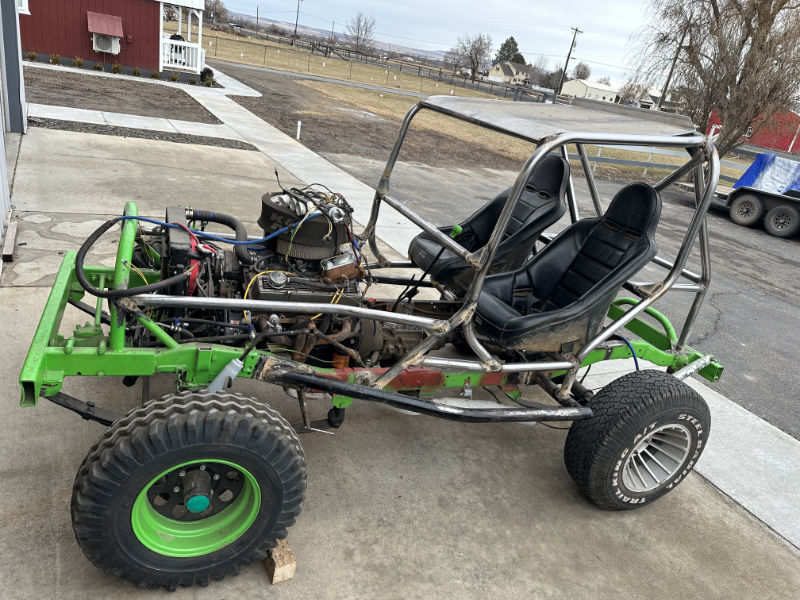
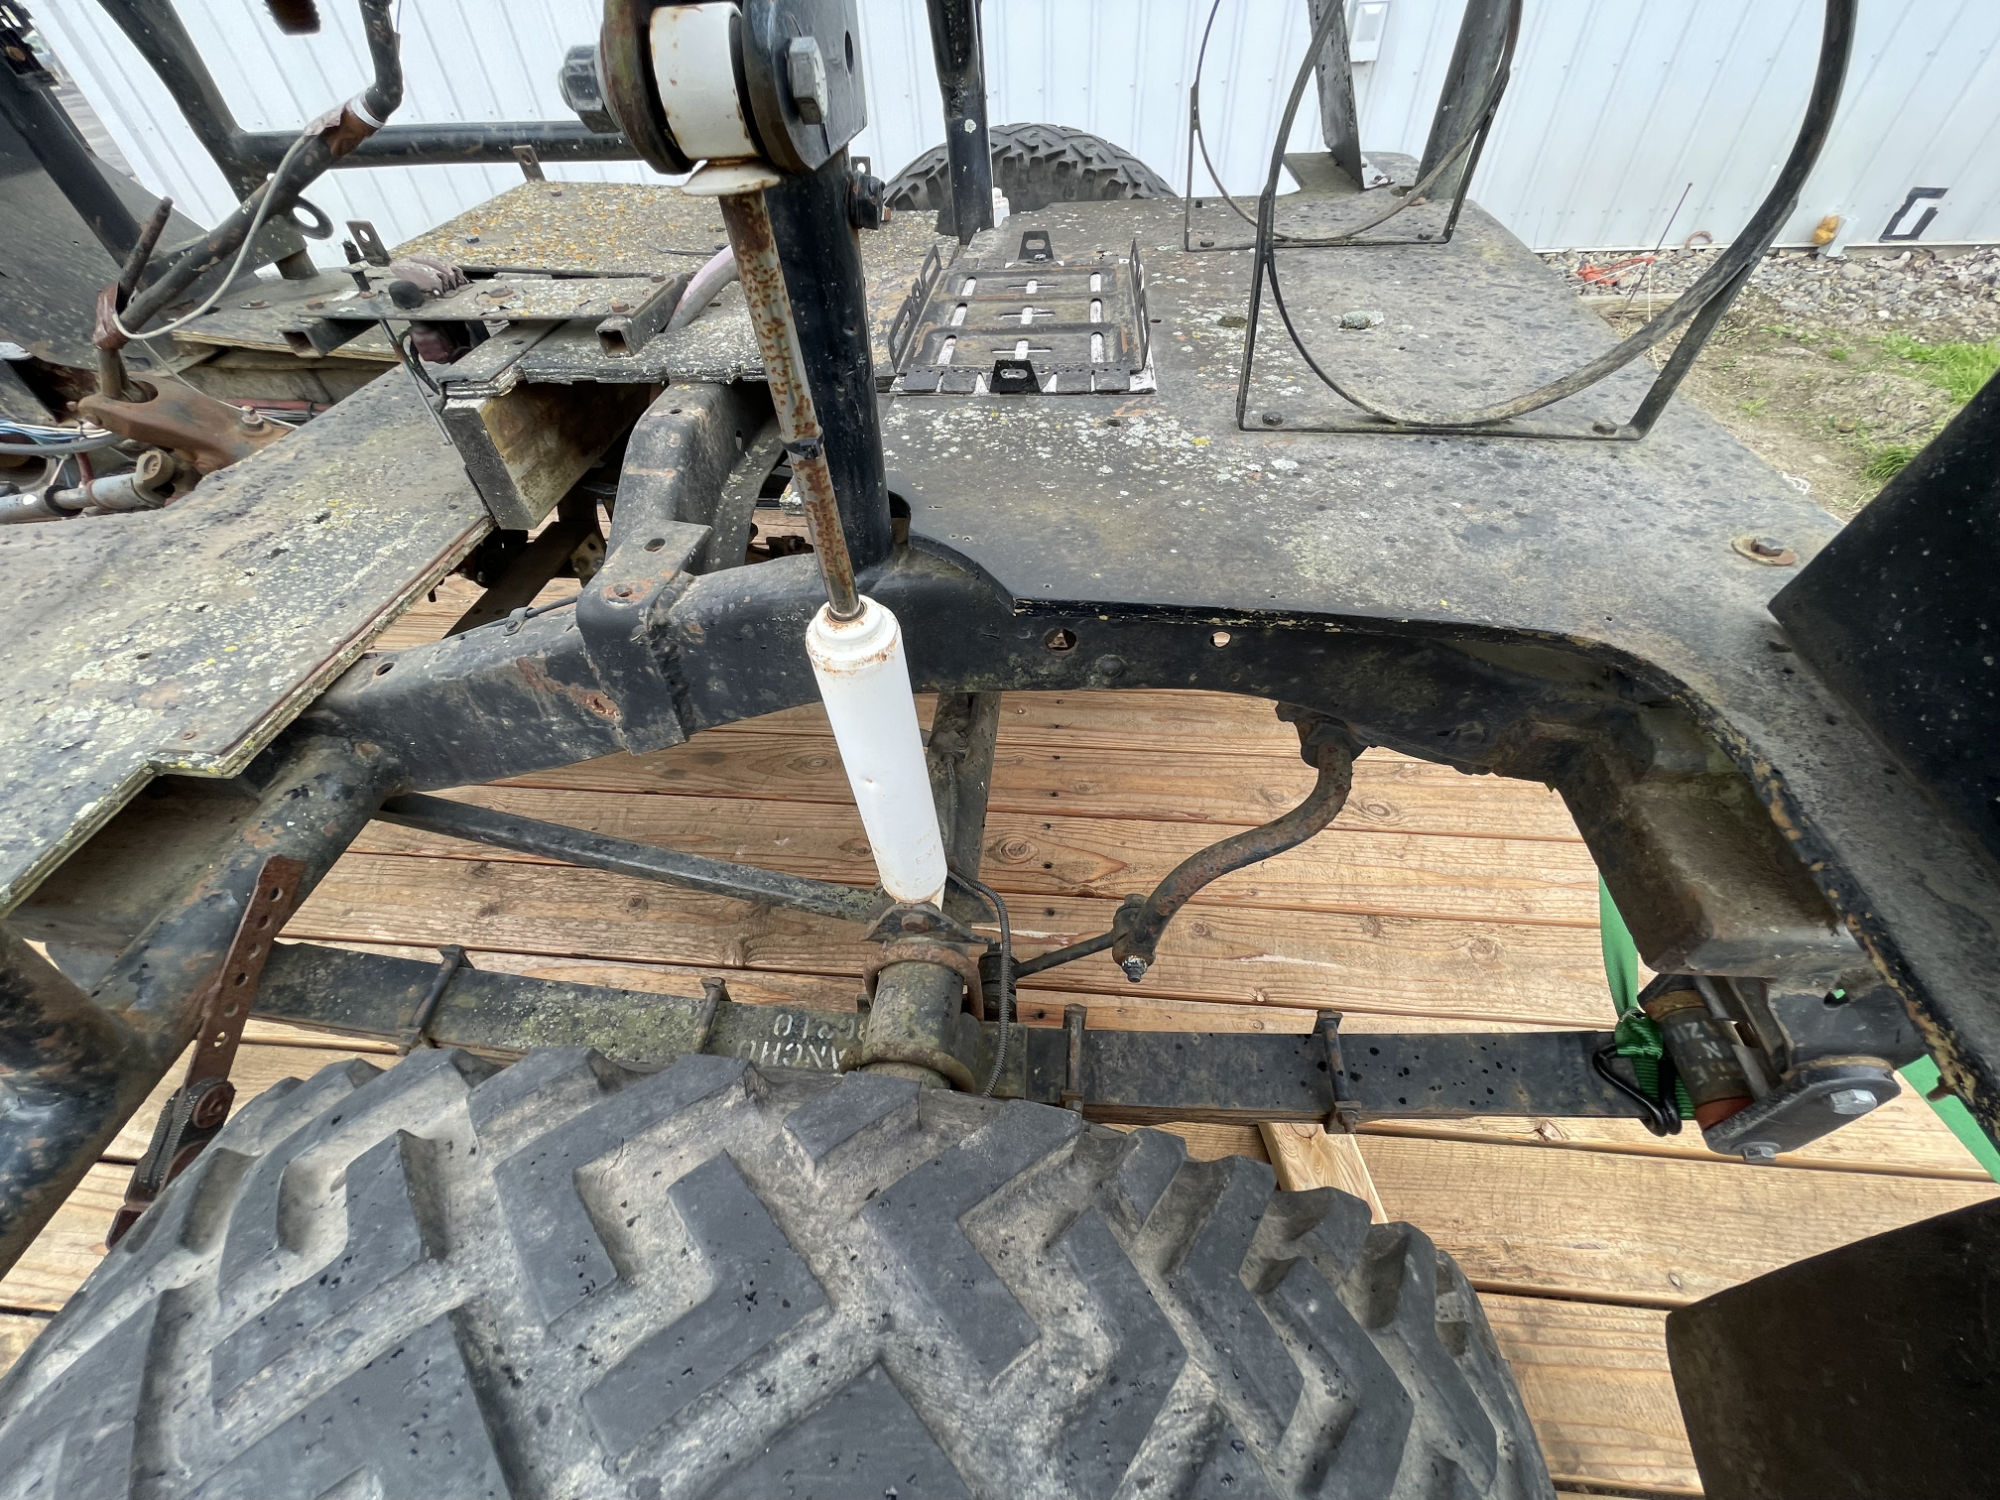
Let’s take a look first at the rear suspension. The suspension in the rear consists of 2.5″ ranch springs that have been outboarded, to which a sway bar and arms have been added. In the pic below you can see the sway bar behind the axle and the arms in front, connected under the frame. The springs are outboarded six inches. For example, the spring holder in the back consists of a 2×4 rectangular tube, positioned horizontally (under which the spring holder is welded), was welded to a 2×3 tube positioned vertically, which was welded to a 1/4″ plate that was then welded to the frame.
The front of this rear setup is similar, only for additional strength, a 2.5″ tube was welded to the spring holder and frame, which is then welded to the side bar that sits outside and under the body.
Eric postedthis cool little jeep to the Willys CJ-2A Facebook page. His grandfather did the original work. The redesigned jeep had fallen into disrepair before Eric began the work necessary to resurrect it back to how his grandfather’s build.
Bill shared this post about a rough CJ-3B that was rebuilt into a CJ-2A-looking jeep. The result looks good, but it is also a good reminder that what appears to be a particular model may not be so thanks to the interchangeability of parts.
Bill shared this article that describes this custom build as a 1948 M38. However, it’s appears to be a modified CJ-2A. It’s an interesting build, but calling it one of the “greatest flat fenders ever built” is a stretch (in my opinion).
“Fans of the War Wagon, the Scorpion MK1, and this apocalypse-ready toy hauler might already be familiar with this Willys M38 (the military version of the civilian Jeep CJ-3A) built by Soni Honegger. It’s been called the “Slickrock Spider” for its remarkable ability to articulate its way over and through some of the hairiest obstacles known to four-wheel drive vehicles, especially with Soni at the helm. Let’s take a look at what makes this machine one of the greatest Flatfenders ever built.”
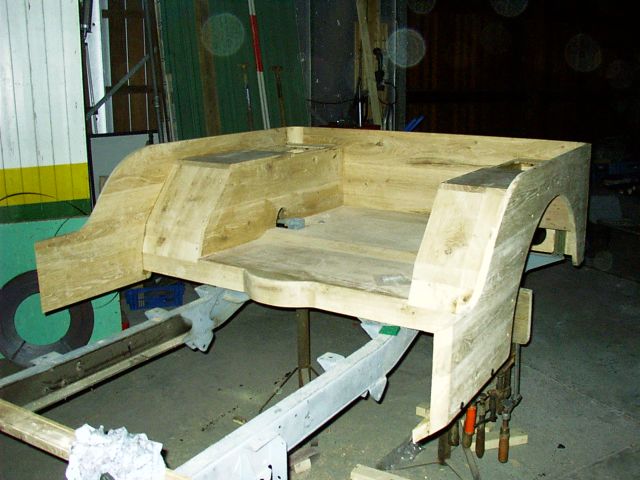
Here’s a good bit of history on the efforts to create a wood body for the WWII jeep. This group built a wood body replica, which, given the lack of specific info, was a good challenge. Check out the finished body using the link below:
Antonio reached out to me from the Dominican Republic the other day. He told me he collects jeeps and was working on restoring an M-38. He needs the following parts: A windshield, the hood and the radiator front grill. Can be used but in good condition to restore. (If you think you can help him out with the parts he needs, email me at d@deilers.com and I’ll share his email.)
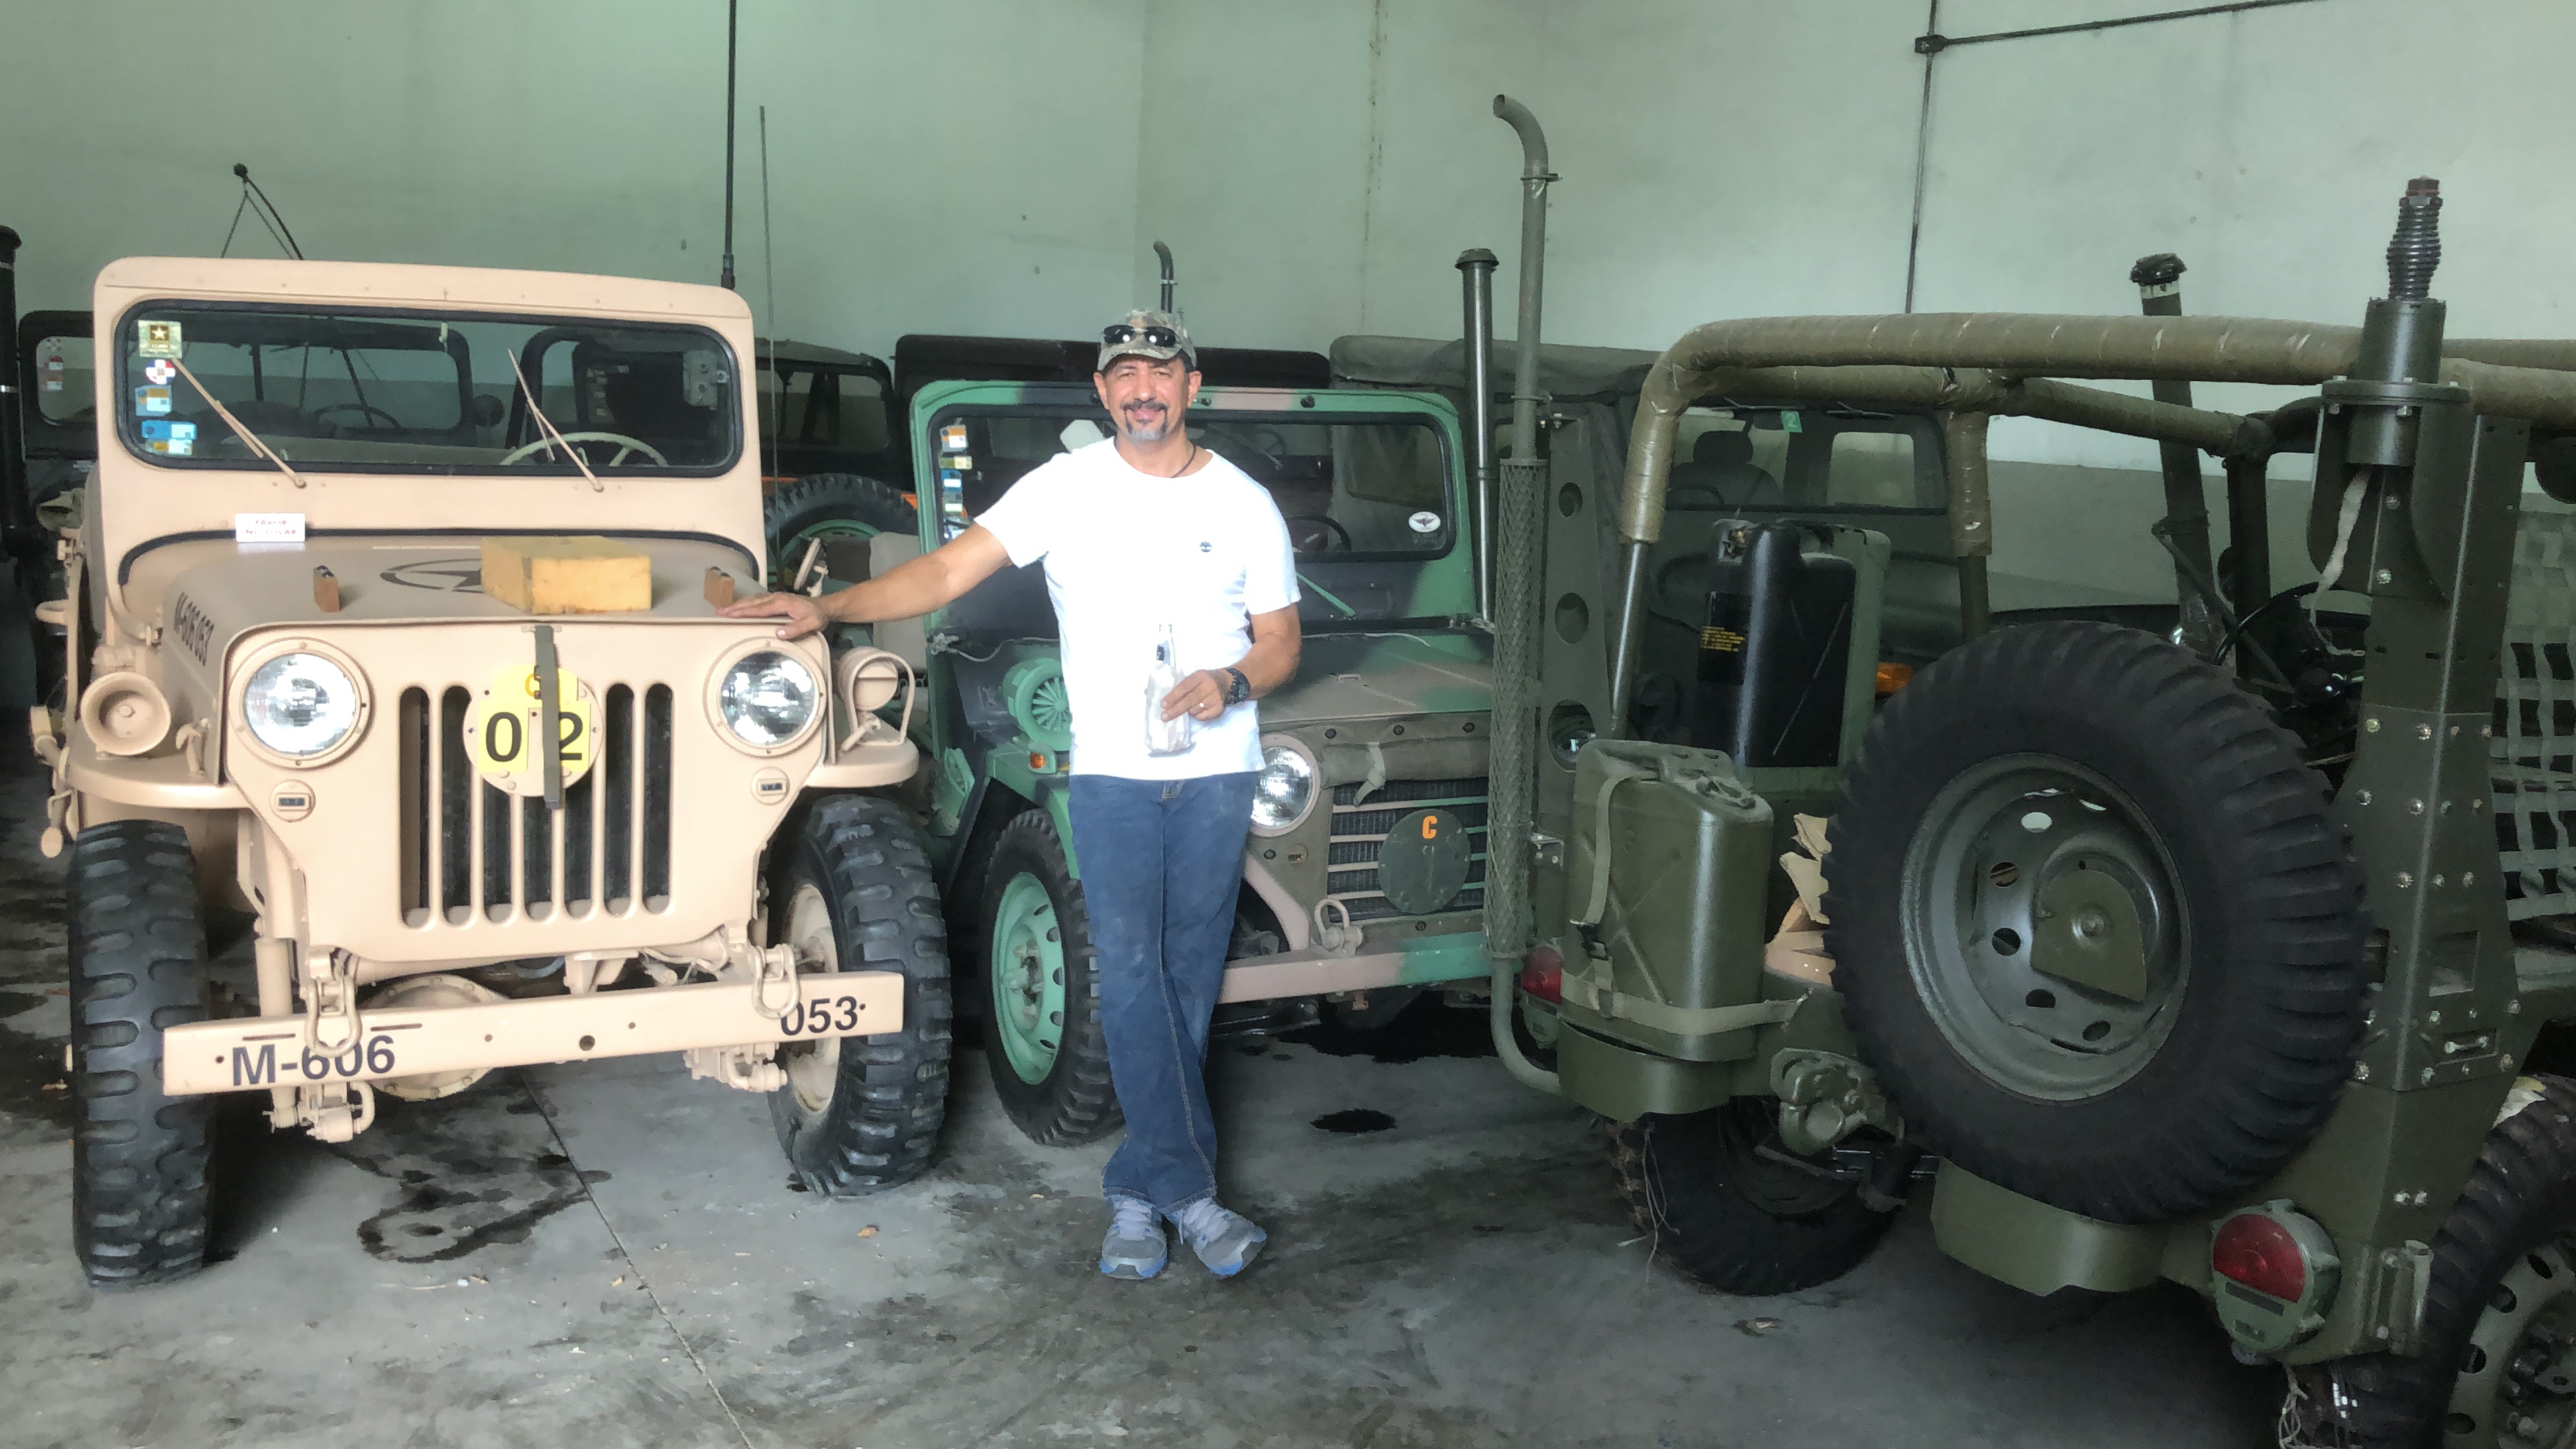
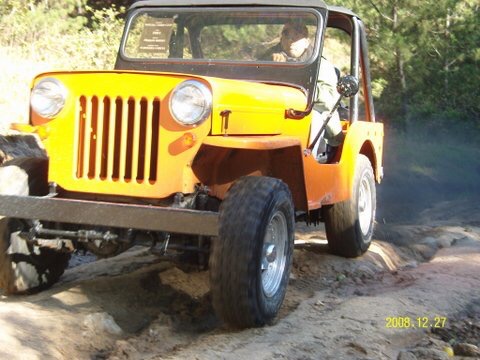
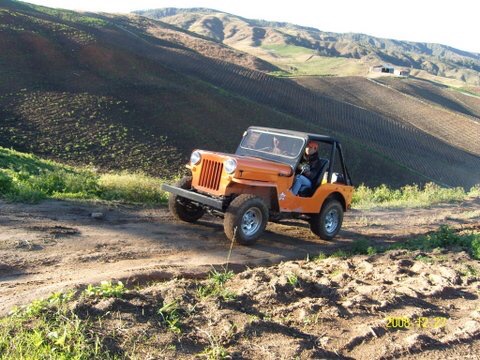
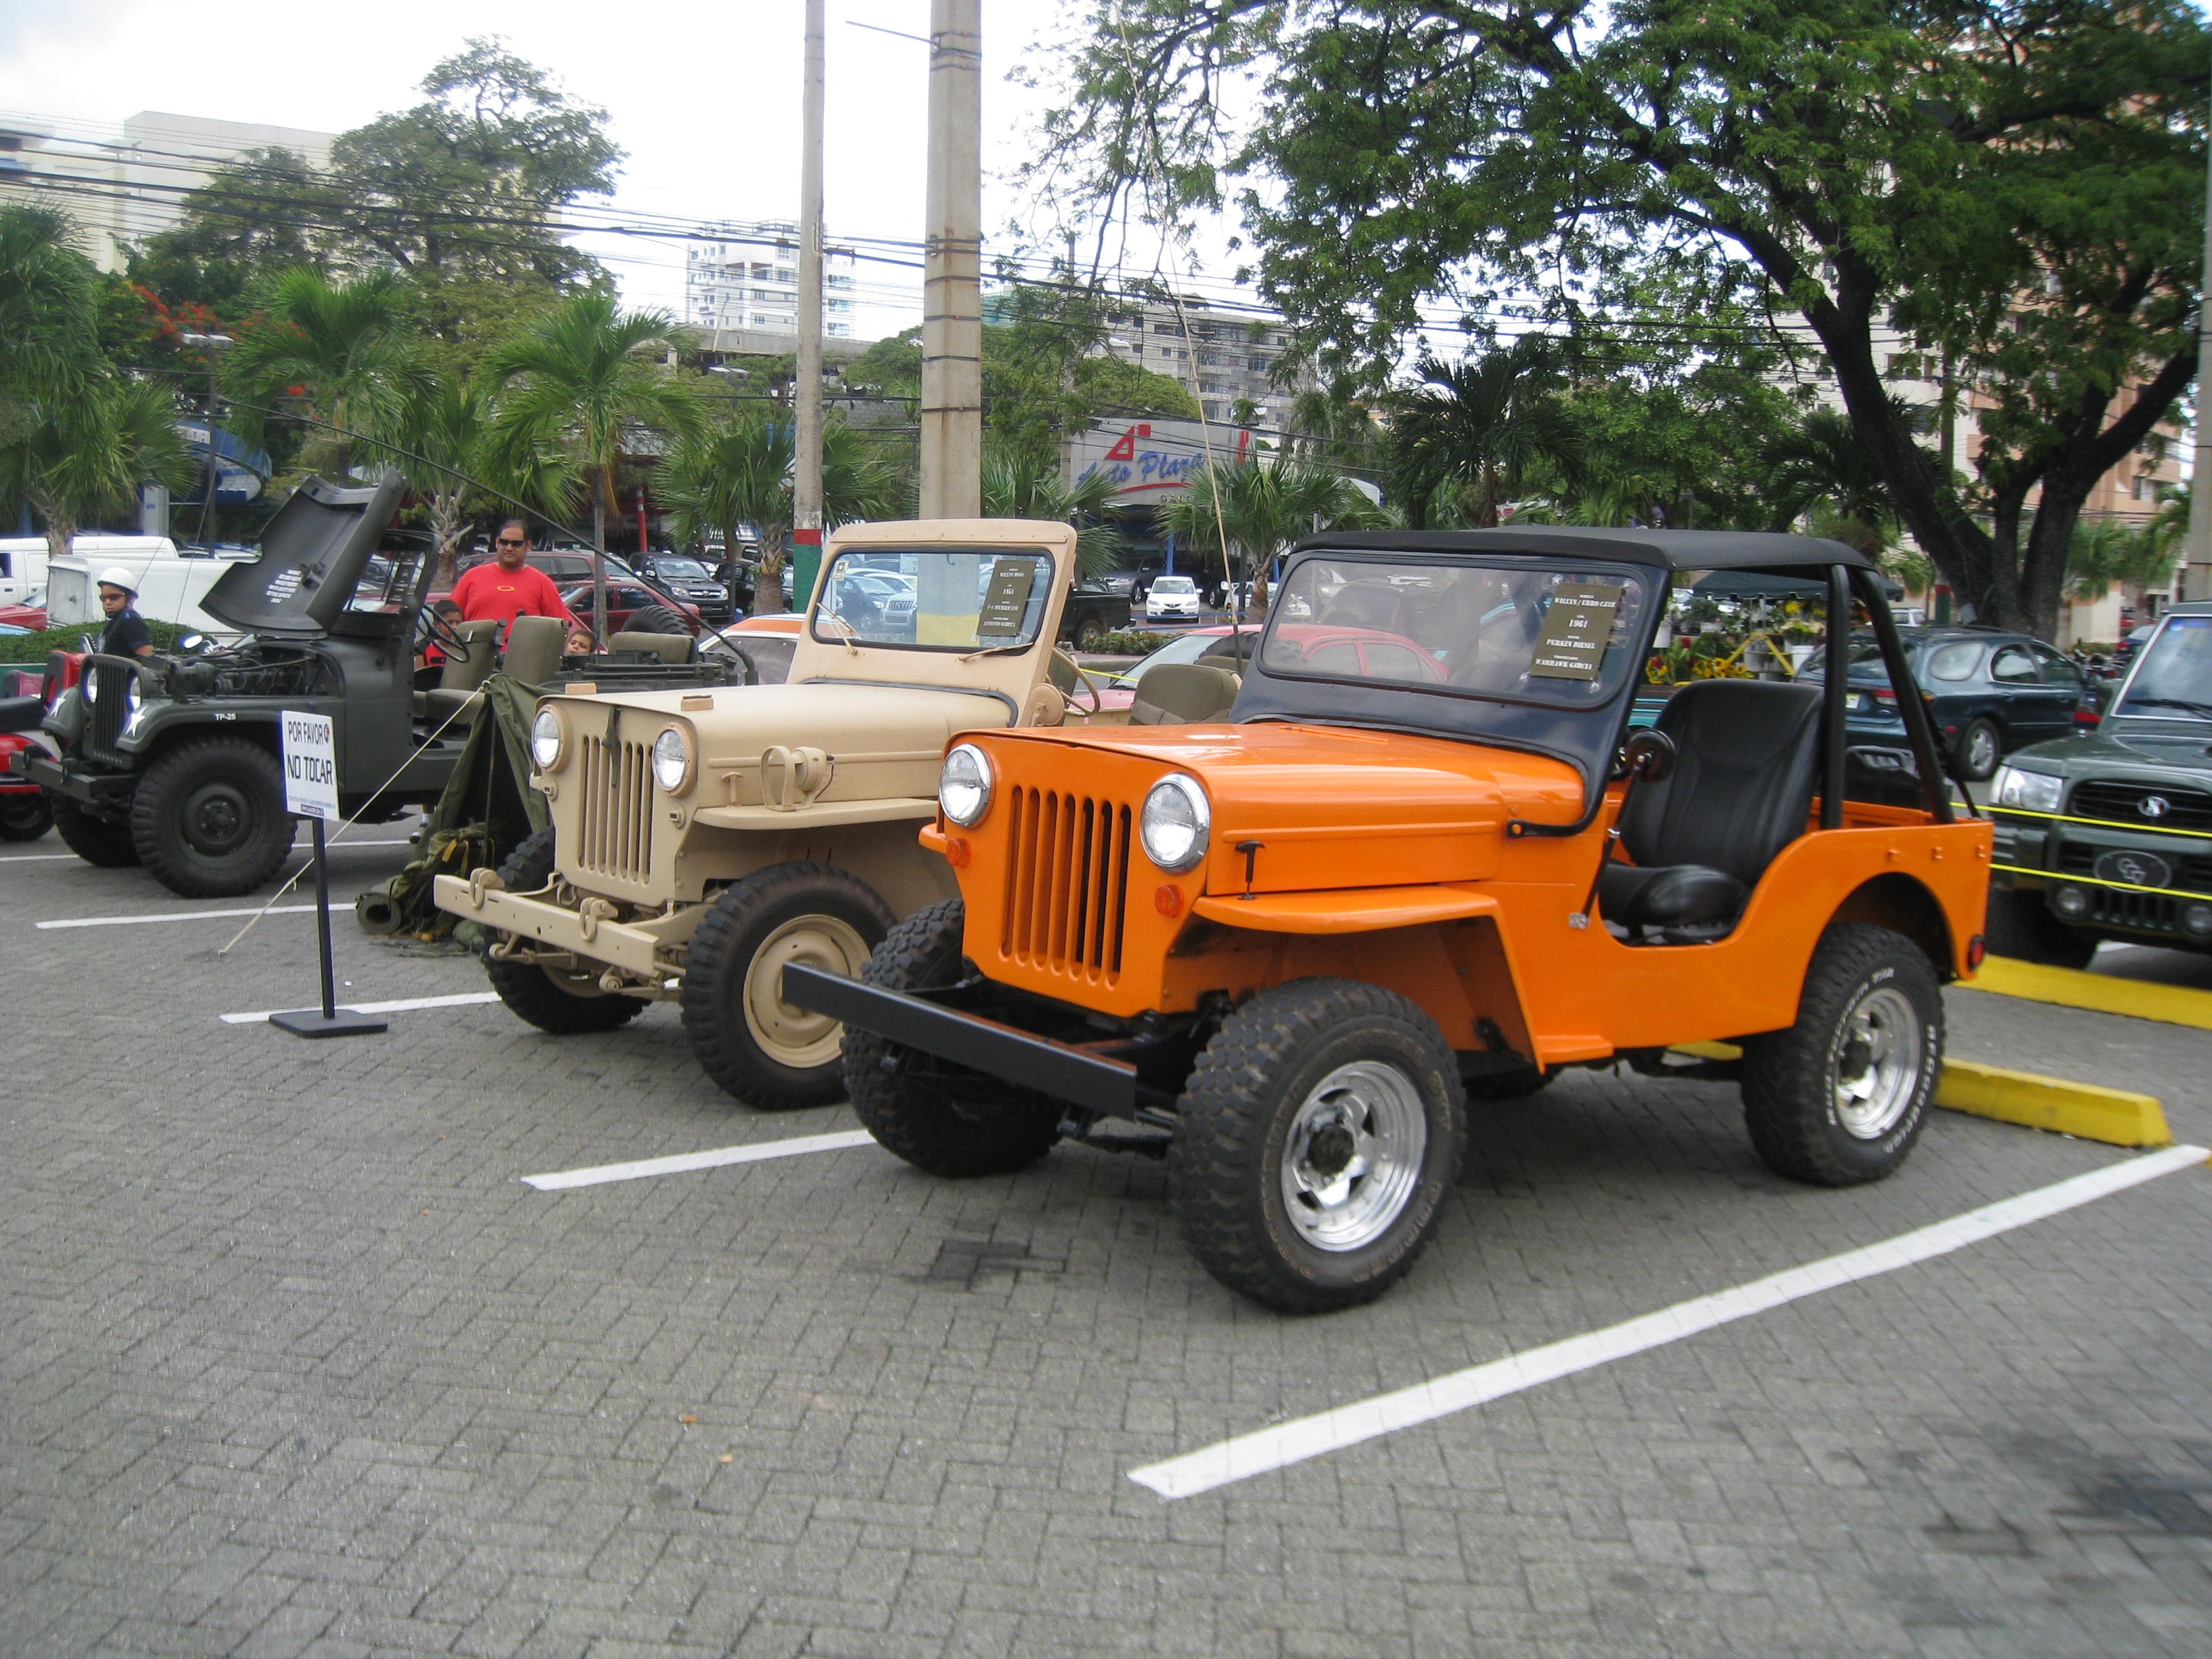
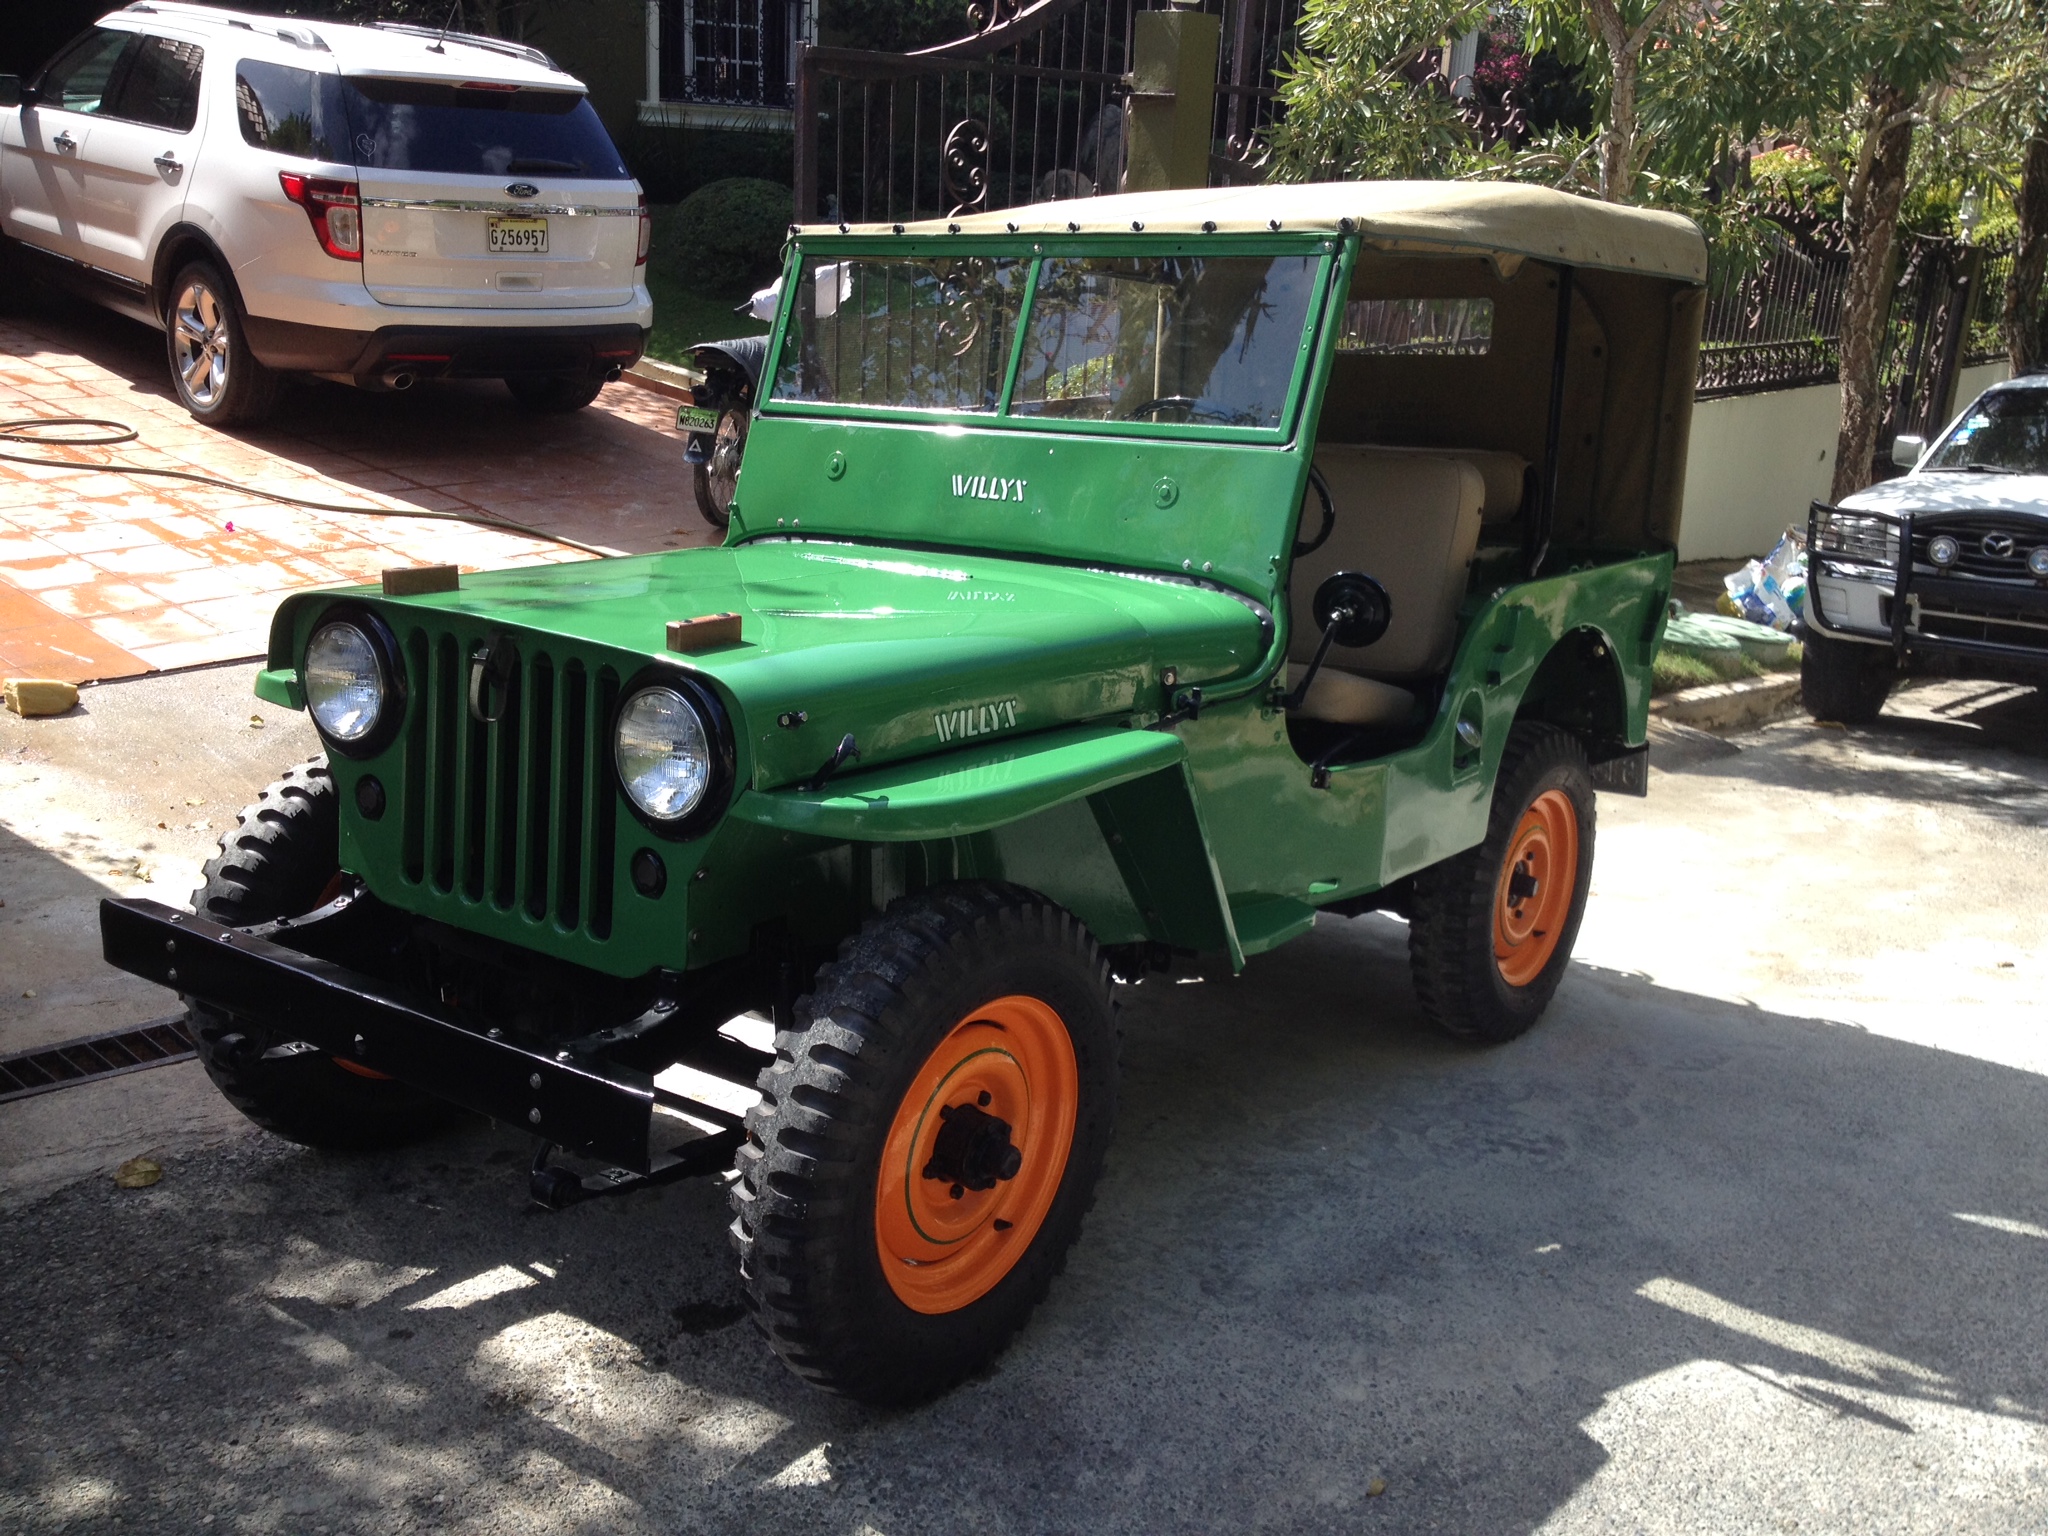
I wrote back and asked if he could send some pics. He generously shared the following pics and a short history of how he got hooked by the Willys Sickness.
“My first vehicle was a Willys cj3 b that I bought in 1989, after several years using to work on it, I sold it. Several years later, in 2002,
I acquired another cj-3b which was very poorly rebuilt and I decided to convert it to military originality, (M-606 Sand desert in the photo), then I acquired an M-38-a1 and rebuilt too.
From, that moment I have not been able to stop. Now, I have several military Jeeps which I have rescued and rebuilt as best as possible.
I also have other willys from Japan and another from Spain, Ebro brand.
In the future I intend to create the first jeep museum in the DR. It would be located in my hometown, Constanza, a military city located in the center of our island, which is the coldest and highest city in the country.”
Here’s a good pic of his collection:
This show one of Antonio’s sons jeeping with a 3B in the mountains of the Dominican Republic.


