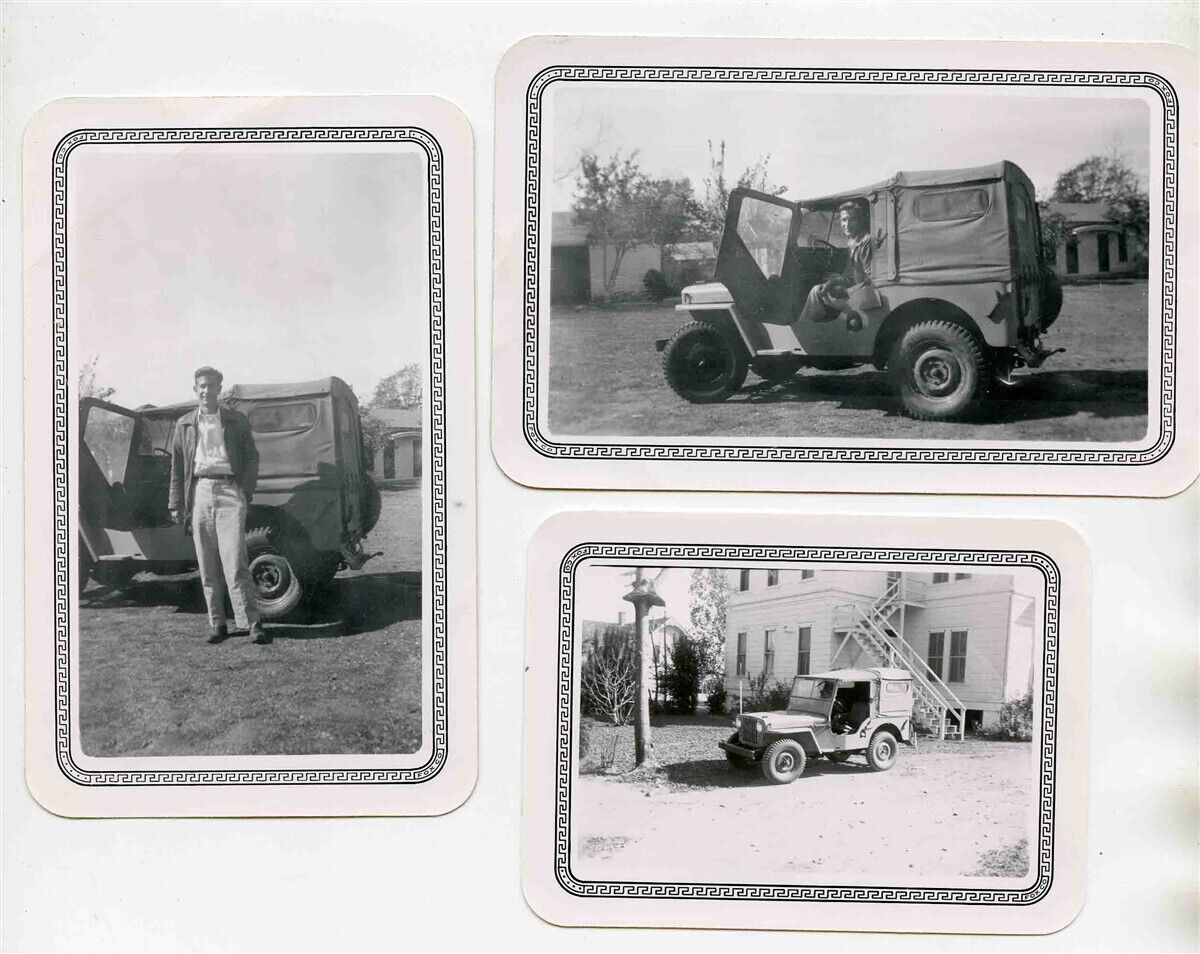
3 of the 5 images in this small photo collection show a CJ-2A with a canvas top taken in 1946. The CJ-2A was new or near new in them.
View all the information on eBay
“5 Colonel Leck & Willys Jeep CJ Black & White Photos 1943 & 1946”
emailNeed to contact me and don't have my email? Click on email button.

Welcome to eWillys.com, a website for vintage jeep enthusiasts. I update this website nearly every day with jeep deals, jeep history, interesting reader projects, jeep related info, and more.
These quick searches can help you find things on eBay. People list in the wrong categories all the time, so don't be surprised to see brochures in the parts area for example. This section used to be split into jeeps, parts and other categories, but recent changes to eBay will require this information to be recoded.
The links to posts below show jeeps grouped by models, condition, and other ways. Some of these jeeps are for sale and others have been sold. If you are unsure whether a vehicle is still for sale or not, email me at d [at] ewillys.com for more info.
There are plenty of interesting, unusual, historic and surprising stories related to Jeeps and their owners. In addition, some of these features have nothing to do with jeeps. This link will display all featured stories starting from the latest.
Looking for parts and not sure where to go? There are a variety of large and small new and used parts sellers both online and offline.
Importantly, the allure of buying a project jeep can be romantic. The reality of restoring a jeep can be quite different, expensive and overwhelming without the right tools and resources. So, tread carefully when purchasing a "project". If you have any concerns about buying a vintage jeep, or run across a scam, feel free to contact me for help, comments or concerns .
3 of the 5 images in this small photo collection show a CJ-2A with a canvas top taken in 1946. The CJ-2A was new or near new in them.
View all the information on eBay
“5 Colonel Leck & Willys Jeep CJ Black & White Photos 1943 & 1946”
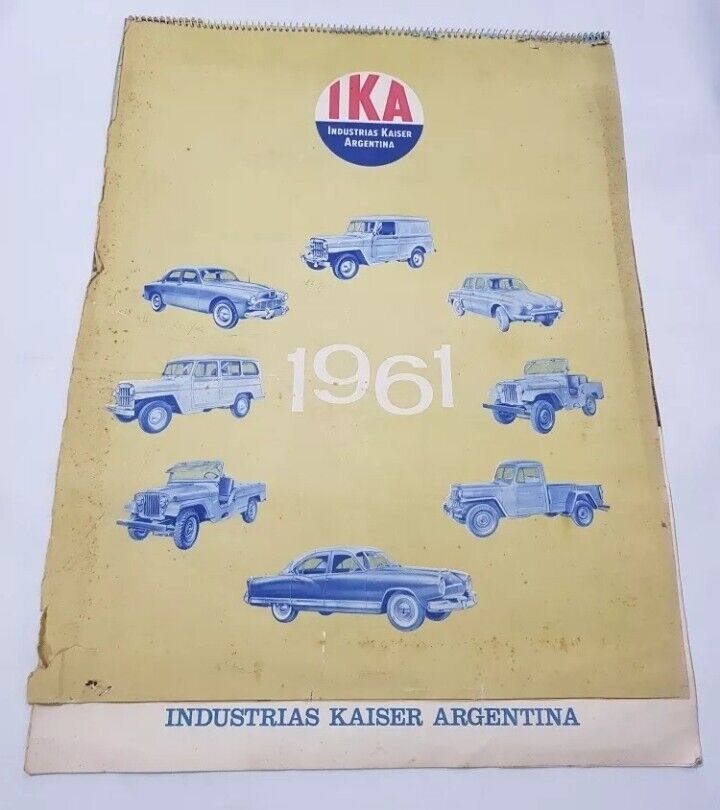
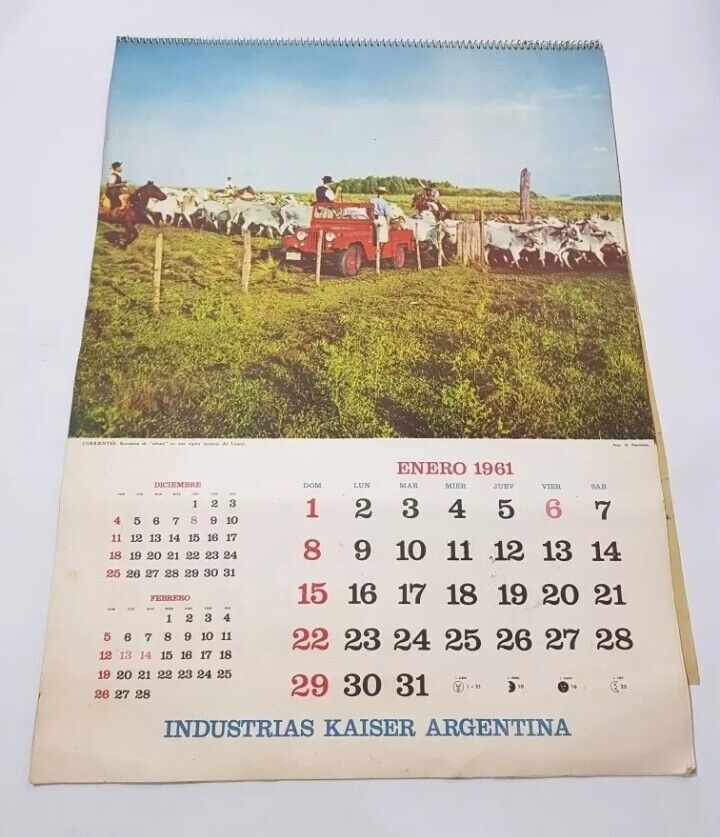
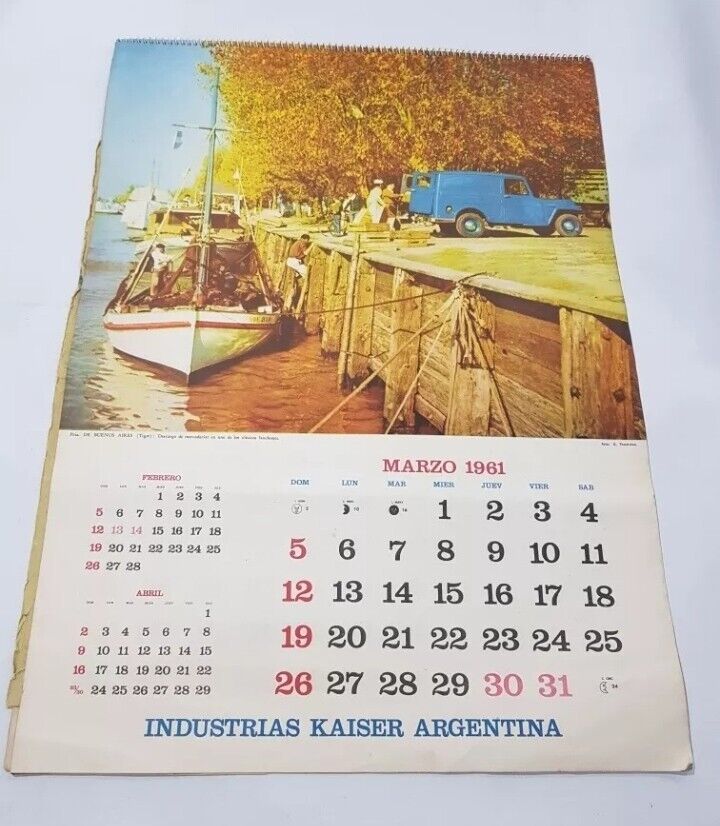
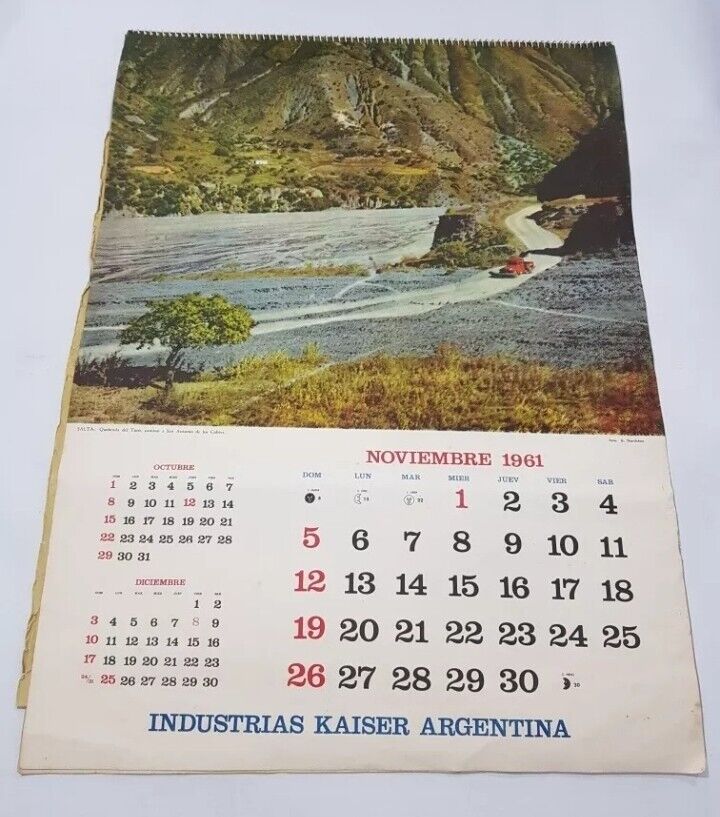
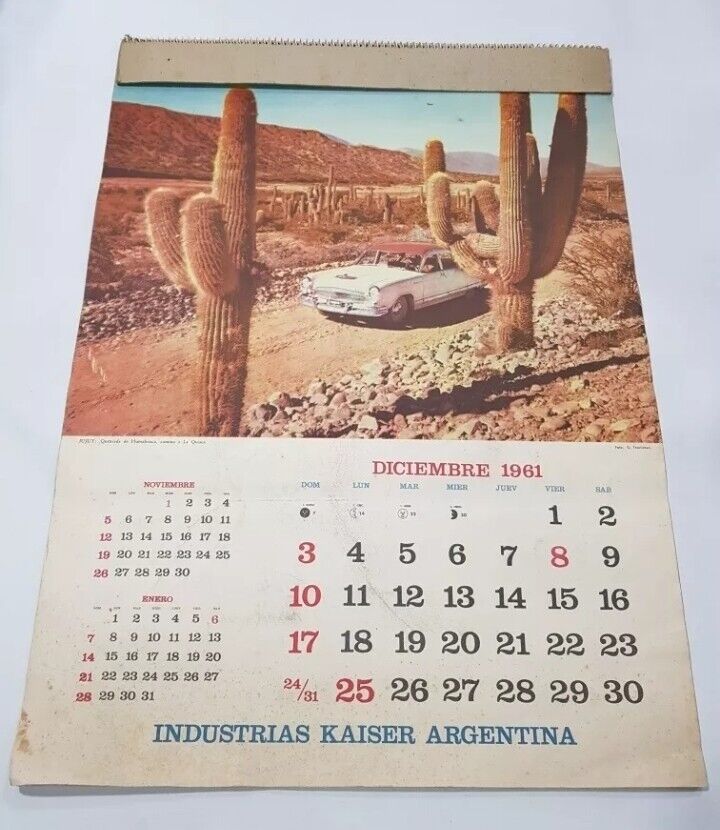
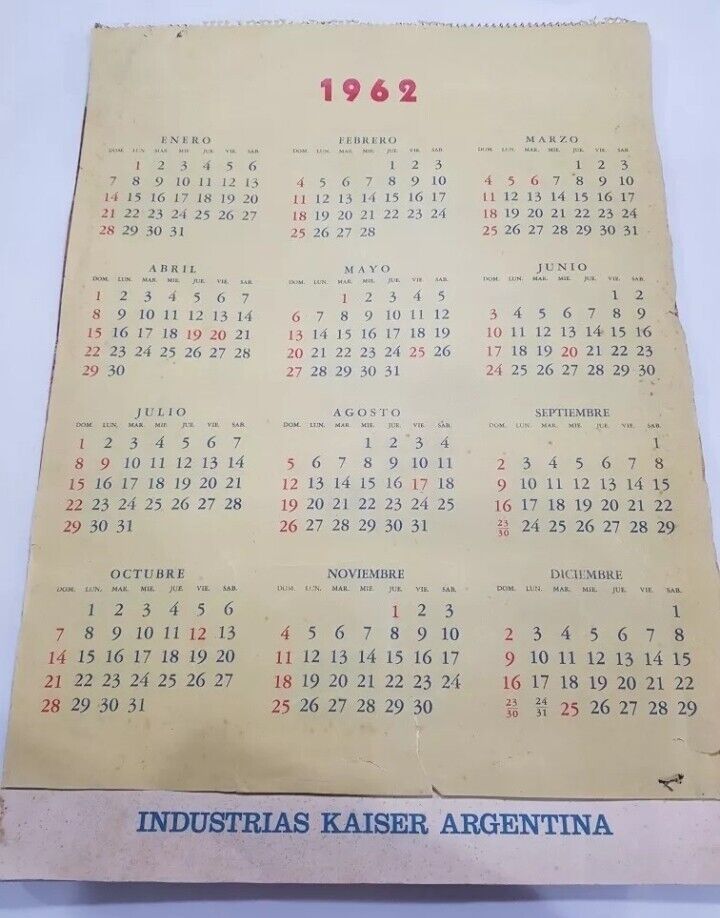
Matt spotted this cool, rare calendar from Kaiser’s Argentina arm. Sell will consider offers, but the buy-it-n ow price currently is $349.90, especially given this is coming from Argentina where the exact same item is priced at US$71.20 (61,702 Argentine Pesos).
View all the information on eBay
“ORIGINAL CALENDAR IN VERY GOOD CONDITION.
SMALLS DETAILS IN COVER.
MEASURES: 58 CM x 42 CM.
PLEASE SEE THE PICTURES !”
This “J” logo with the Willys sign is odd, as the Willys sign is shown moved to the left. Usually, the “J” portion of the logo “hangs” off the Willys logo.
View all the information on eBay
“TEMPESTA JEEP WILLYS DODGE CAR MATCHBOOK COVER: DEXTER, MAINE MATCHCOVER”
![]()
![]()
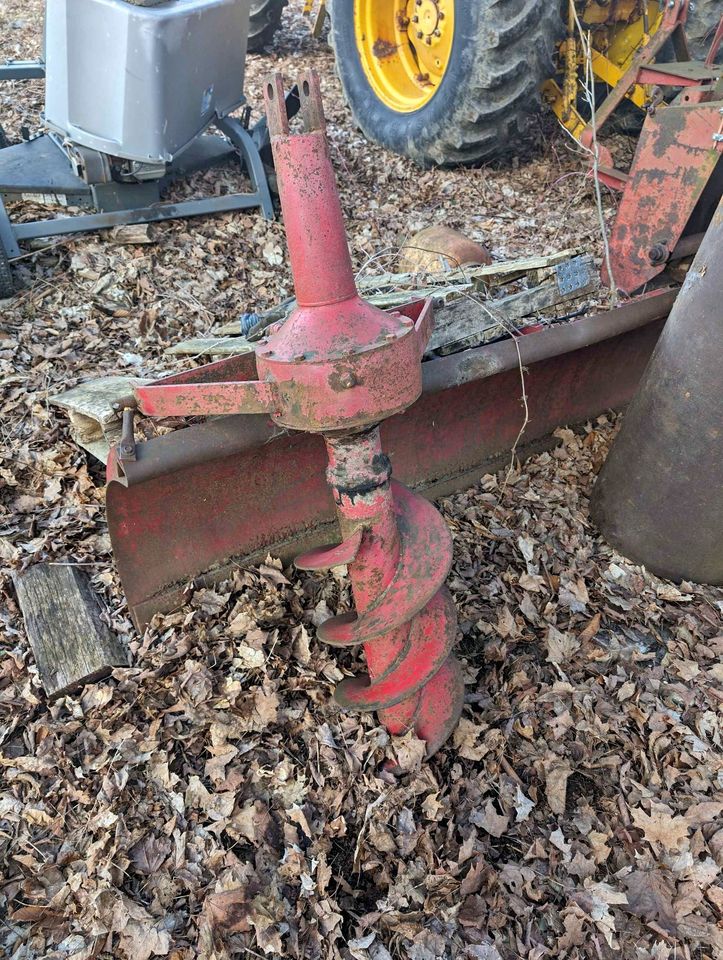
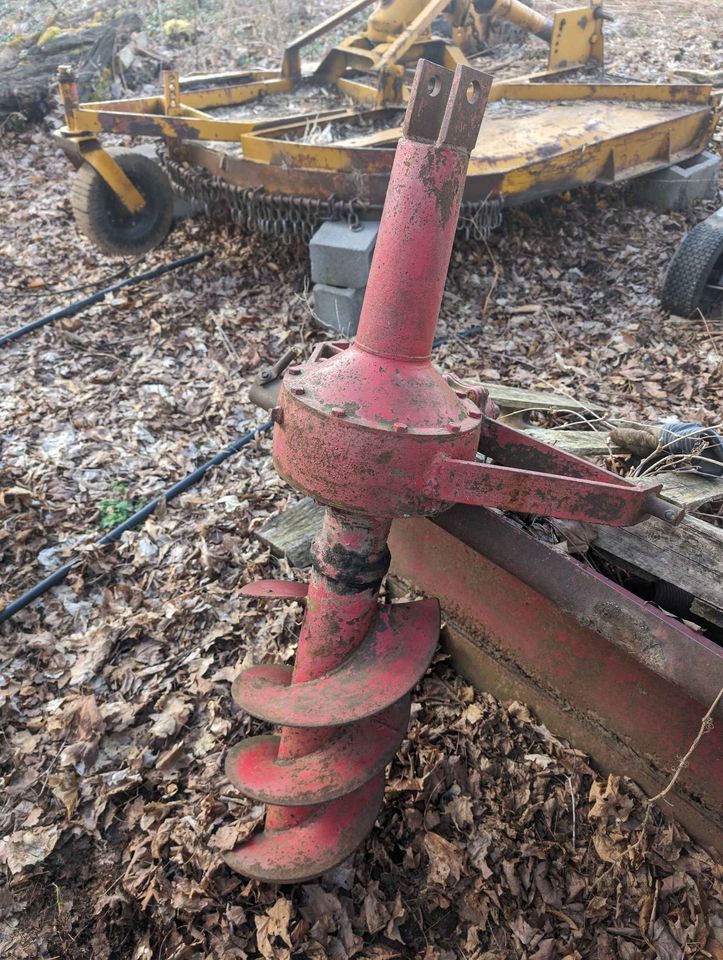
Andy spotted this one. Appears to be missing the arms and the driveshaft (1955 brochure)?
https://www.facebook.com/marketplace/item/1139549280742202
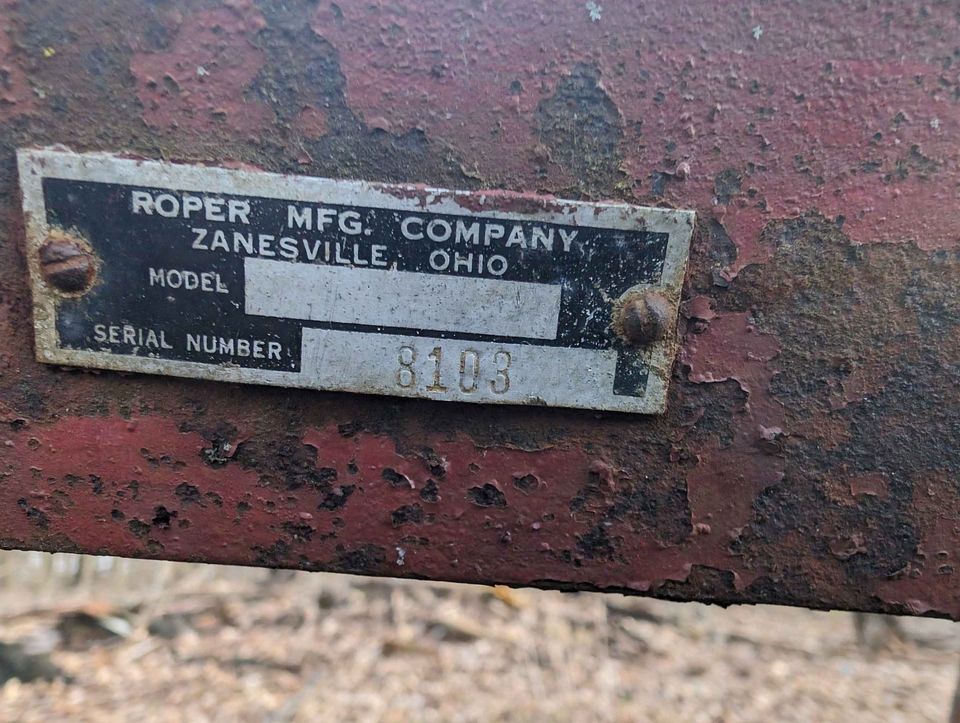
“Up for sale is a Roper Post Hole attachment that I believe goes to a Willys Jeep. Was on our property when we bought it, so I don’t know much about it. Auger wiggles at gear box, so believe gear box is free. What you see is what I have. Will sell to the best reasonable offer”
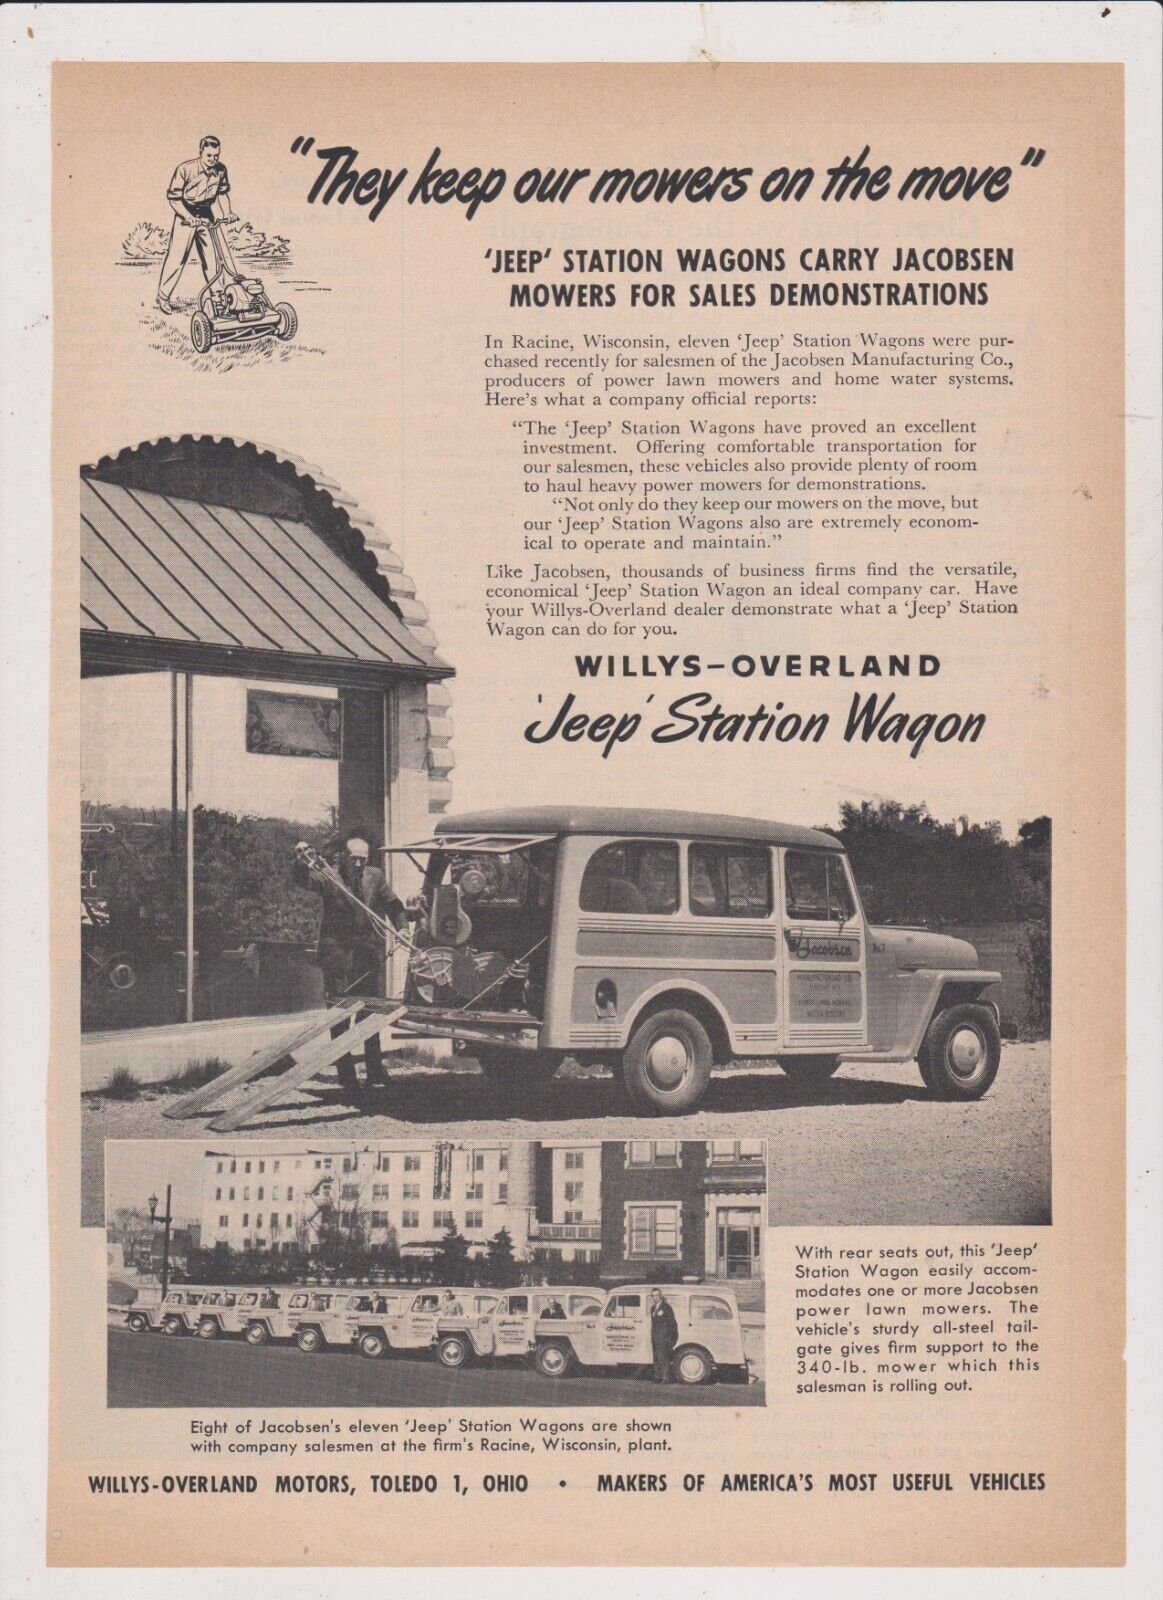
This ad was published in Time Magazine, date unknown, which often published unique ads that I haven’t seen other places. The use of Willys-Overland about the model name suggests to me it might be a 1947 or late 1946. I don’t remember the Jacobsen Manufacturing or its mowers appearing in any other ads.
View all the information on eBay
Priced at $10 OBO, this is a nice looking CJ-2A. Not obvious date.
View all the information on eBay
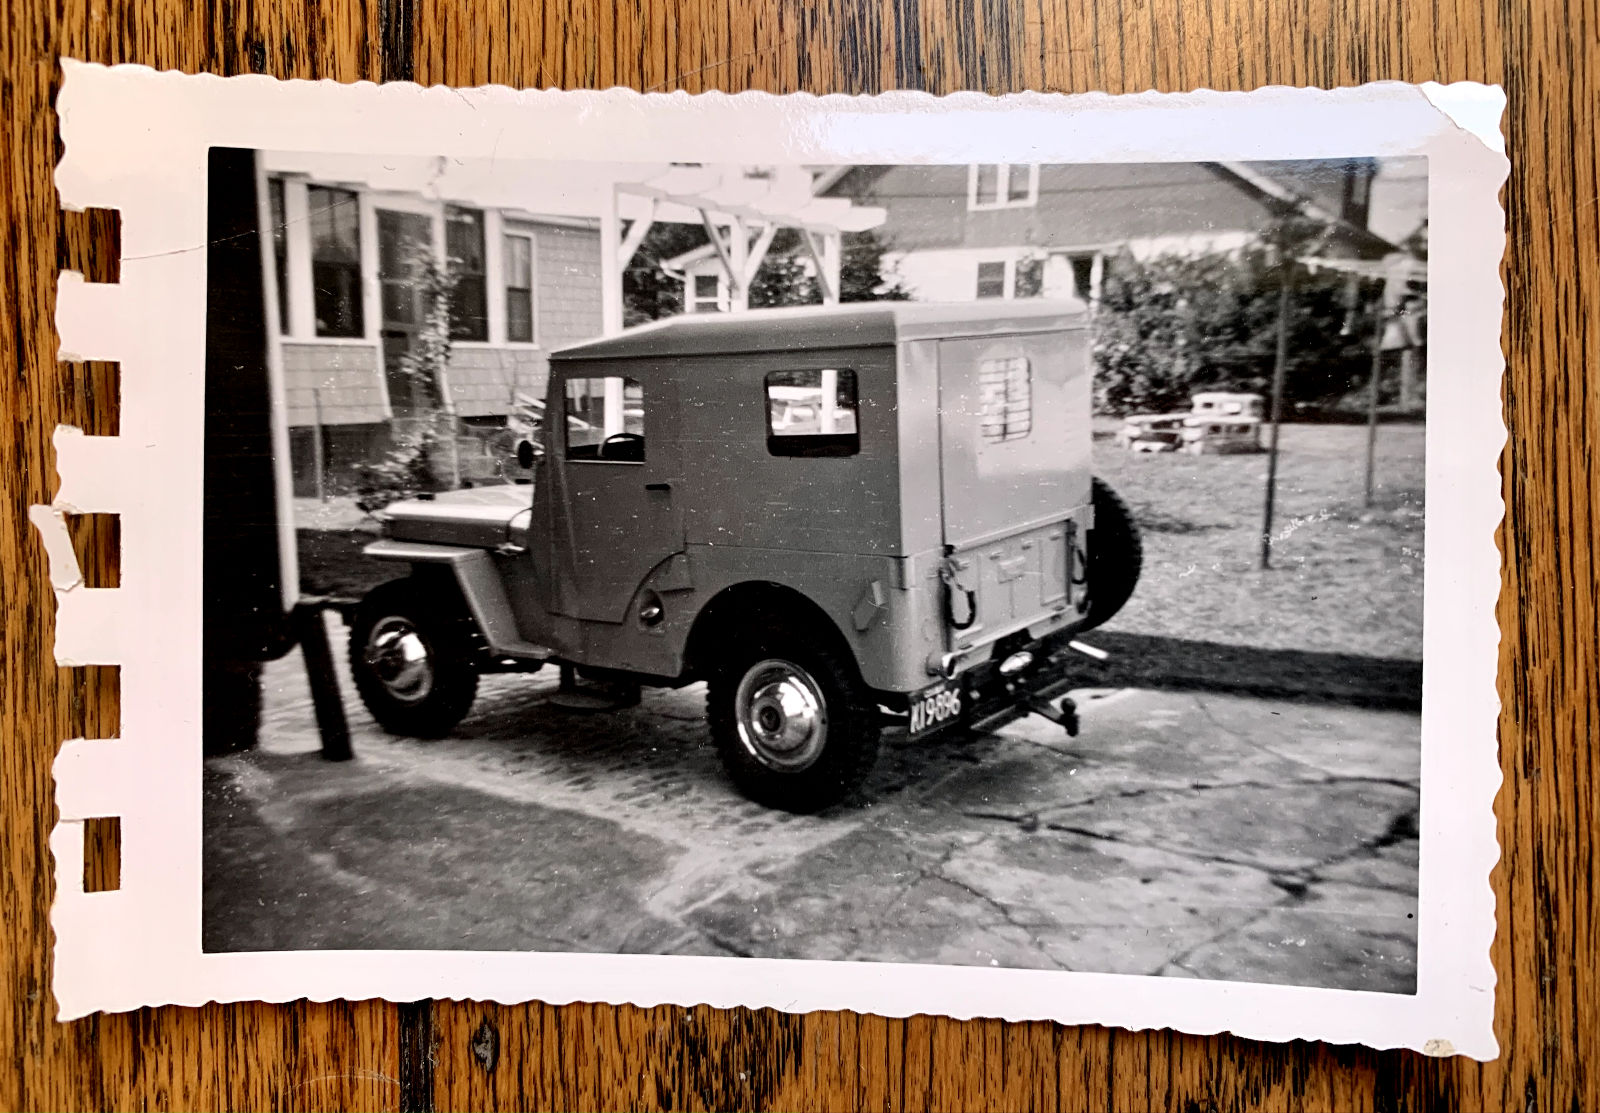
“Beautiful photograph from roadside America. Jeep CJ-2A with full hard top. Super-clean vehicle. Post-war period, photo is undated. Suburban background subject matter. Pic is chemically produced on glossy scalloped-edge photo paper and is a good black and white. Rectangular pic measures 3.5″ x 5.25″ and is in excellent condition.”
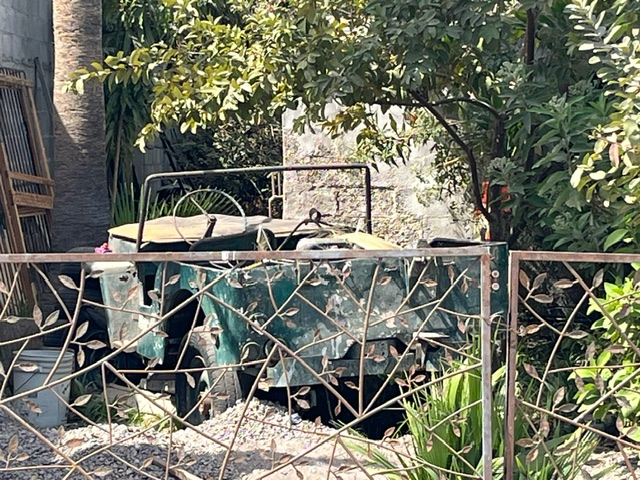
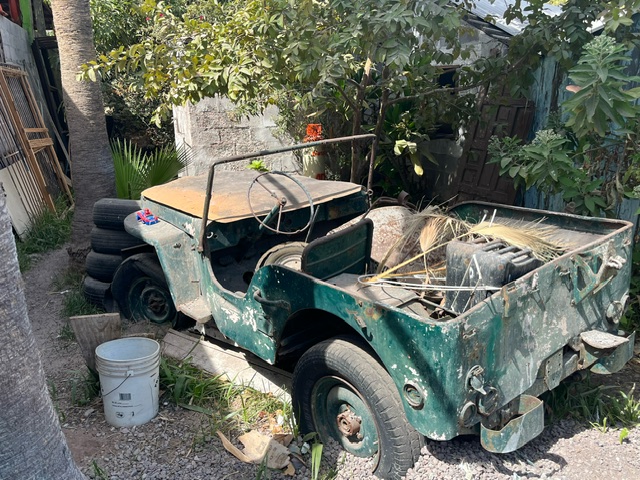
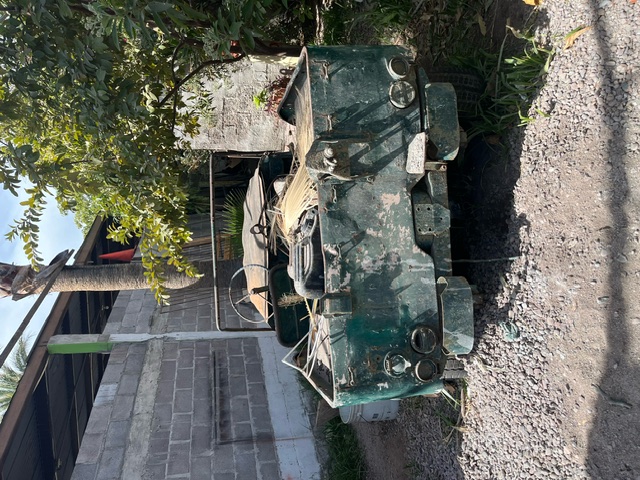
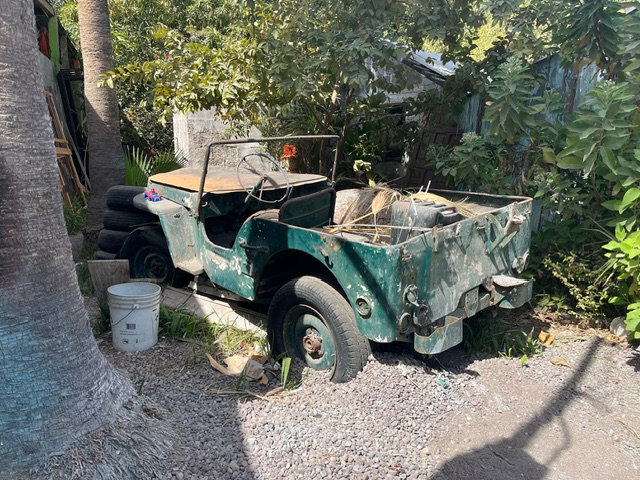
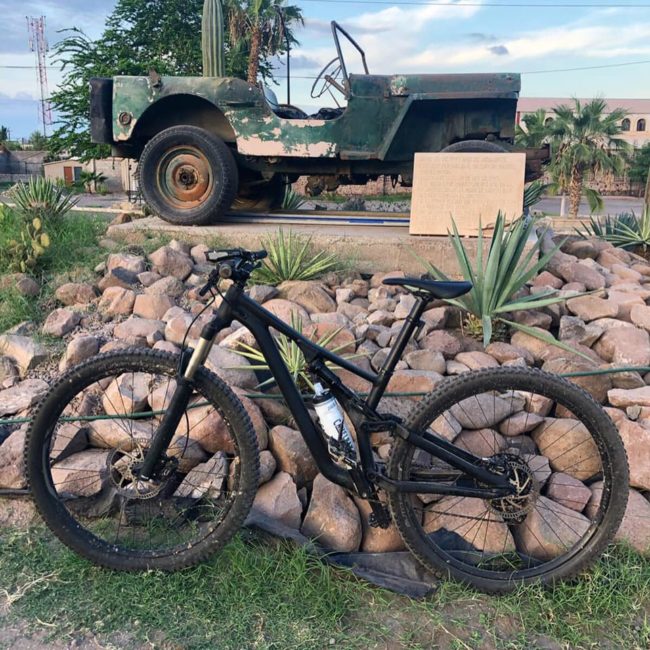
UPDATE: Thanks go to Floyd for updating this post about the jeep monument in Loreto, Baja, Mexico. Sadly, it appears this jeep is no longer sitting on the cement pad shown in the pictures from Guillermo De Lara (see at bottom). Instead, it’s sitting in someone’s backyard. Floyd didn’t get a chance to see what’s currently sitting on the pad (if still there) and Google Earth still shows the jeep at that spot.
Here are Floyd’s pics. He was visiting Loreto for 10 days and walked past the jeep multiple times, but didn’t notice it due to the leaves and dark backyard.
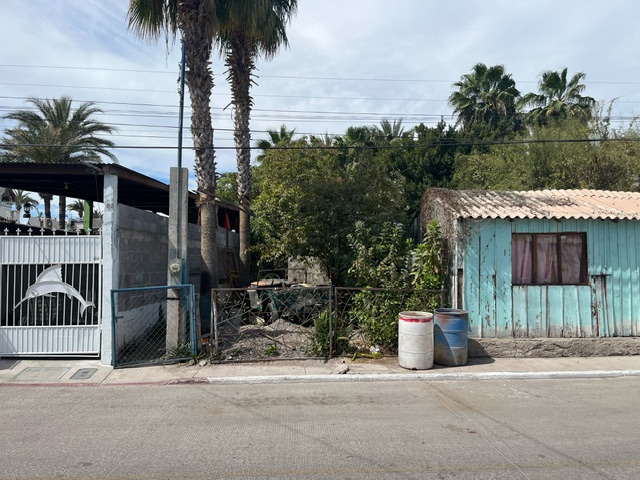
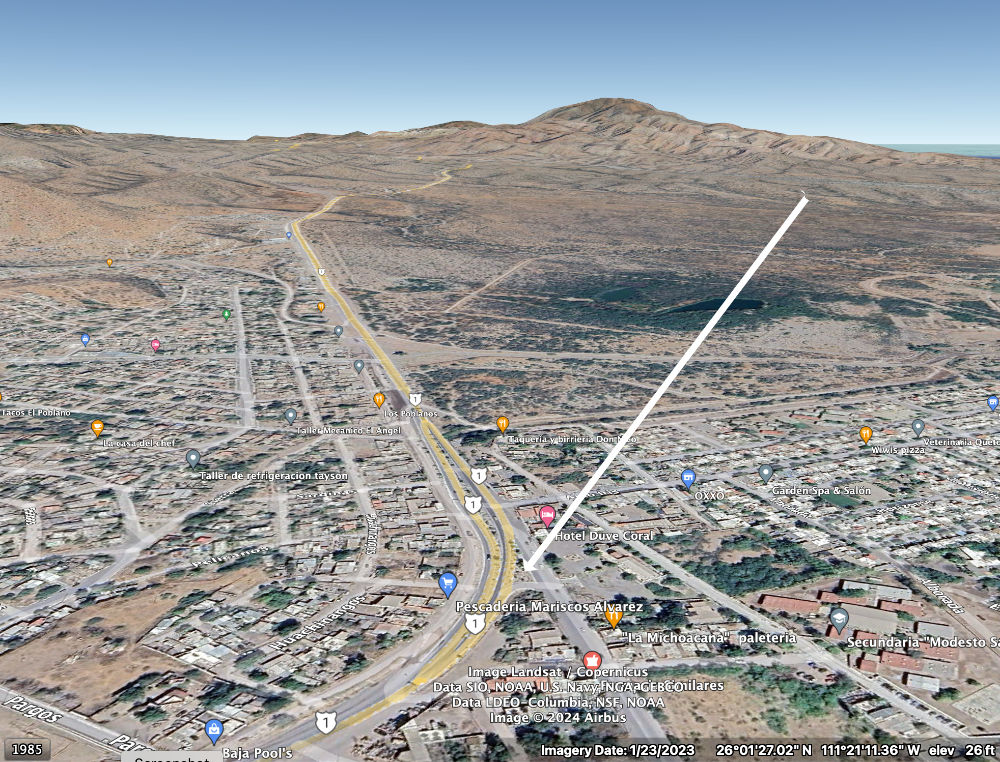
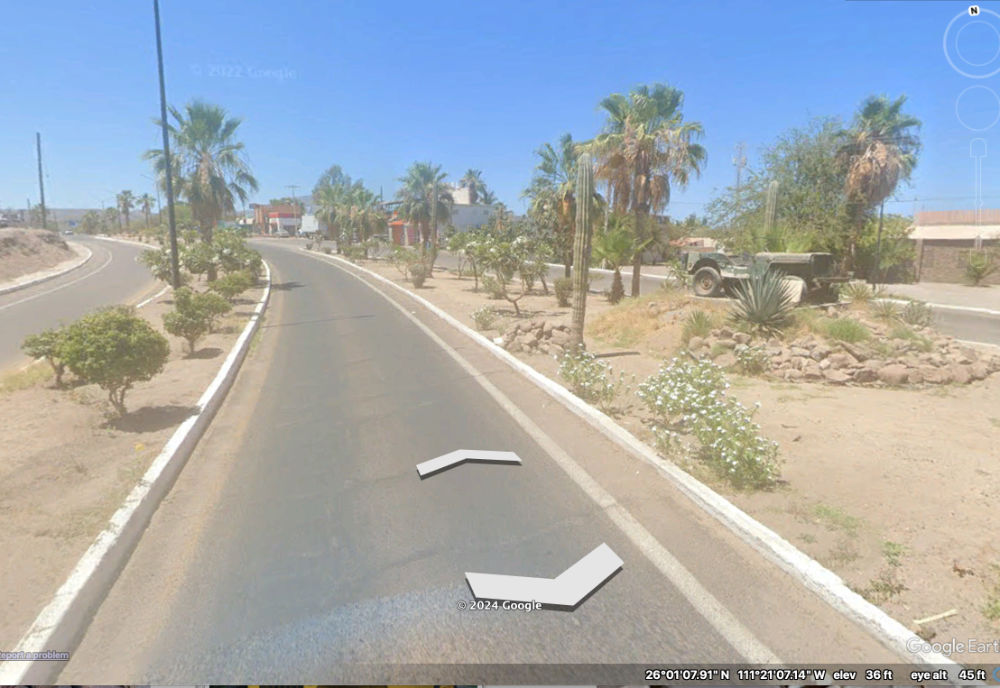
Using Google Earth, I screen captured these two pics. So, now we have a better idea of where this was located when sitting on the cement slab of the monument.
========================================
Originally posted September 27, 2019:
I ran across information about the above monument by Guillermo De Lara when he posted it to the Facebook page of Jeep CJ Mexico. There’s more history about this posted to this Baja thread: http://forums.bajanomad.com/viewthread.php?tid=31087. However, according to a book by Ann O’Neil, the actual jeep was a pickup and not an MB/GPW like that pictured. I’ve purchased the book and will update this post with the actual vehicle and the broader story.
Just a few updates today. The cows were involved in some shenanigans when I switched around their Hotwire, which dashed my hopes to provide updates. So, blame the cows!
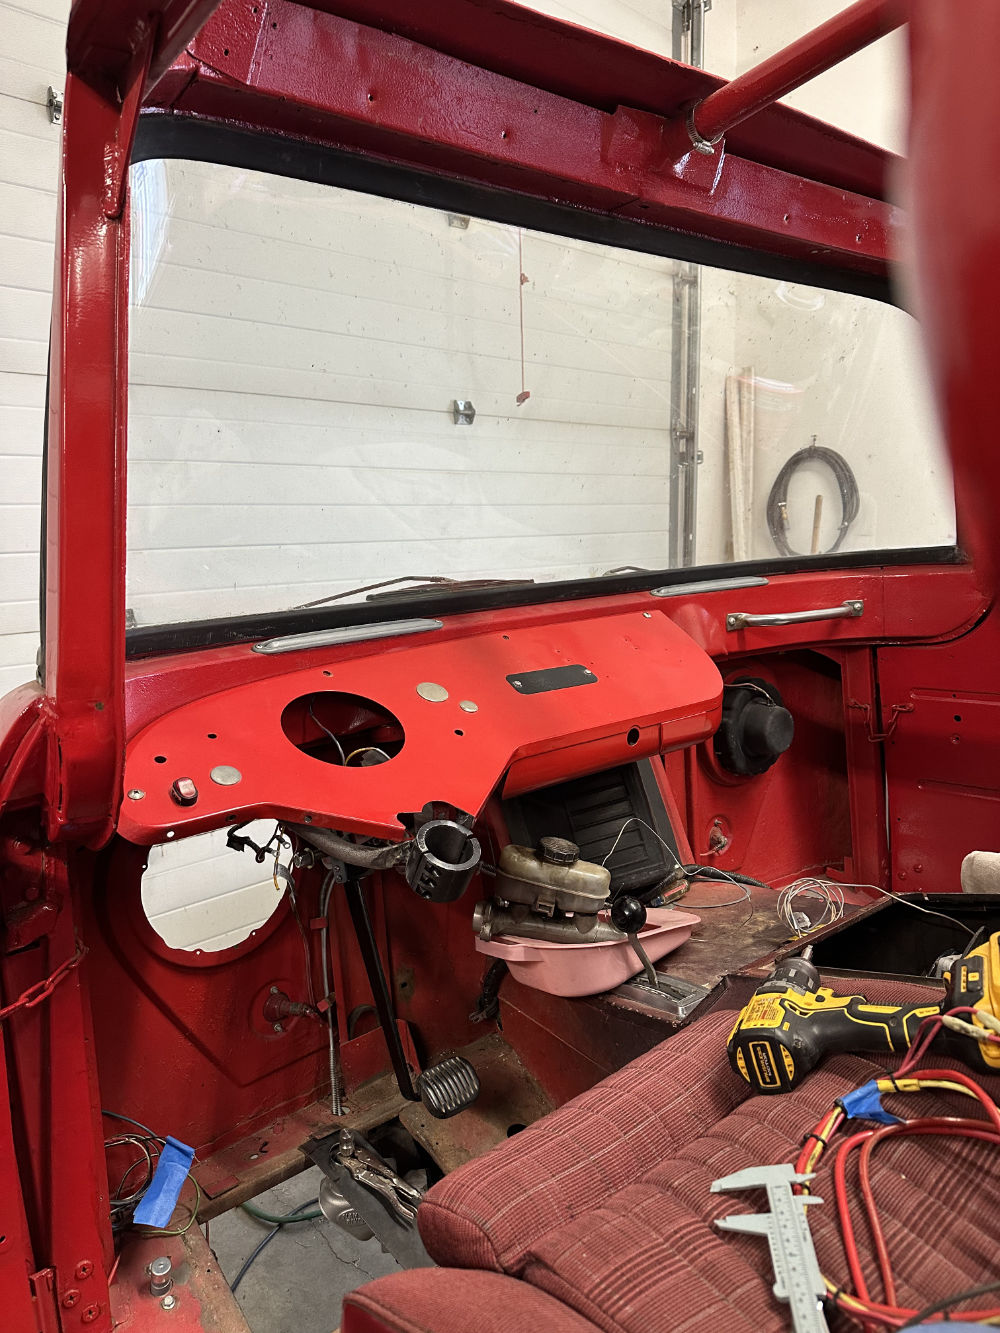
Over the past few days I was able to finally clear out the wiring. I expect the under dash area to be this free of wiring when I’m finished. I also want the dash to be as easily removable as I can make it.
I also removed the gauges and extra wide mirror across the top of the windshield (don’t have a good before-pic). I wanted to free the top of the windshield for some sun visors for those drives into the late evening sun.
Still to be built is a piece the bolts under the dash, wraps around the steering column, and attaches to the other side of the dash. That will be a challenge for me (I think a stock piece might be too small?)!
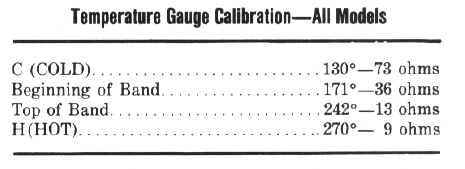
SPEEDOMETER QUESTIONS:
In my quest to preserve some sense of stock-ness to the cab, I am hoping to learn more about the the stock speedometer’s features as possible. But, I do have some questions.
These questions refer to this Stewart Warner 0-9 speedometer:
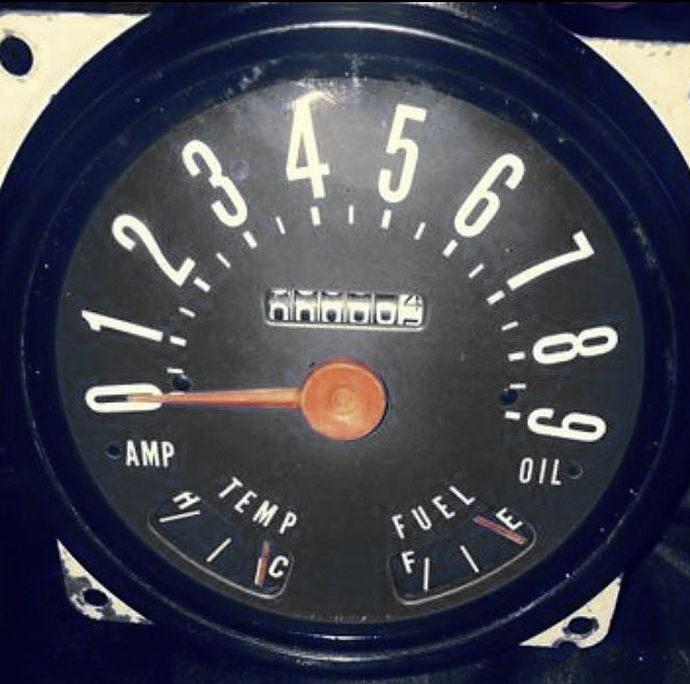

Thanks for any help!
John shared this puzzle that includes Smokey Bear and, as he also noted, a somewhat inaccurate jeep. Still, looks fun!
I found a used version on eBay, which I bought. There are some others on eBay, but watch the shipping prices! You can buy this new at Cabelas (closest one to us is 2+ hours away) for $29.99 or Amazon for $39.99 or other sellers at varying prices.


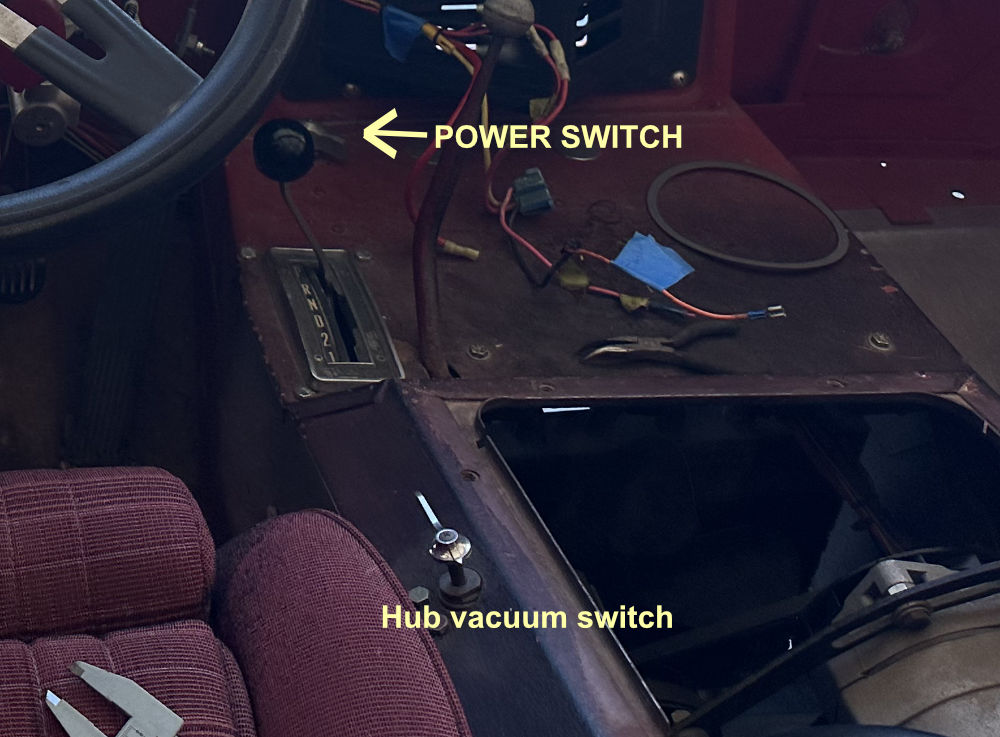
There were lots more internet searches, measurements, and disassembly over the past two days. One of my goals is to have the option to put in an original heater into the heater space, so keeping that area free has been a goal. In keeping with that, I decided to remove the power switch and put it in the spot where the vacuum hub switch was located (Just to the right of the driver’s seat). Meanwhile, the hub vacuum switch is removed and sitting temporarily on the engine; it will eventually go near the transfercase shifter to make it clear they work together.
Here’s where the switches were originally located:
Here’s another diagram. Here I have test-installed the switch, which fills the hole left by the vacuum switch, but sits lower than the vacuum switch. Meanwhile, I’ve mocked up how the transfercase lever should look once it is installed, with an arrow showing approximately where the vacuum switch will land next to the shifter.
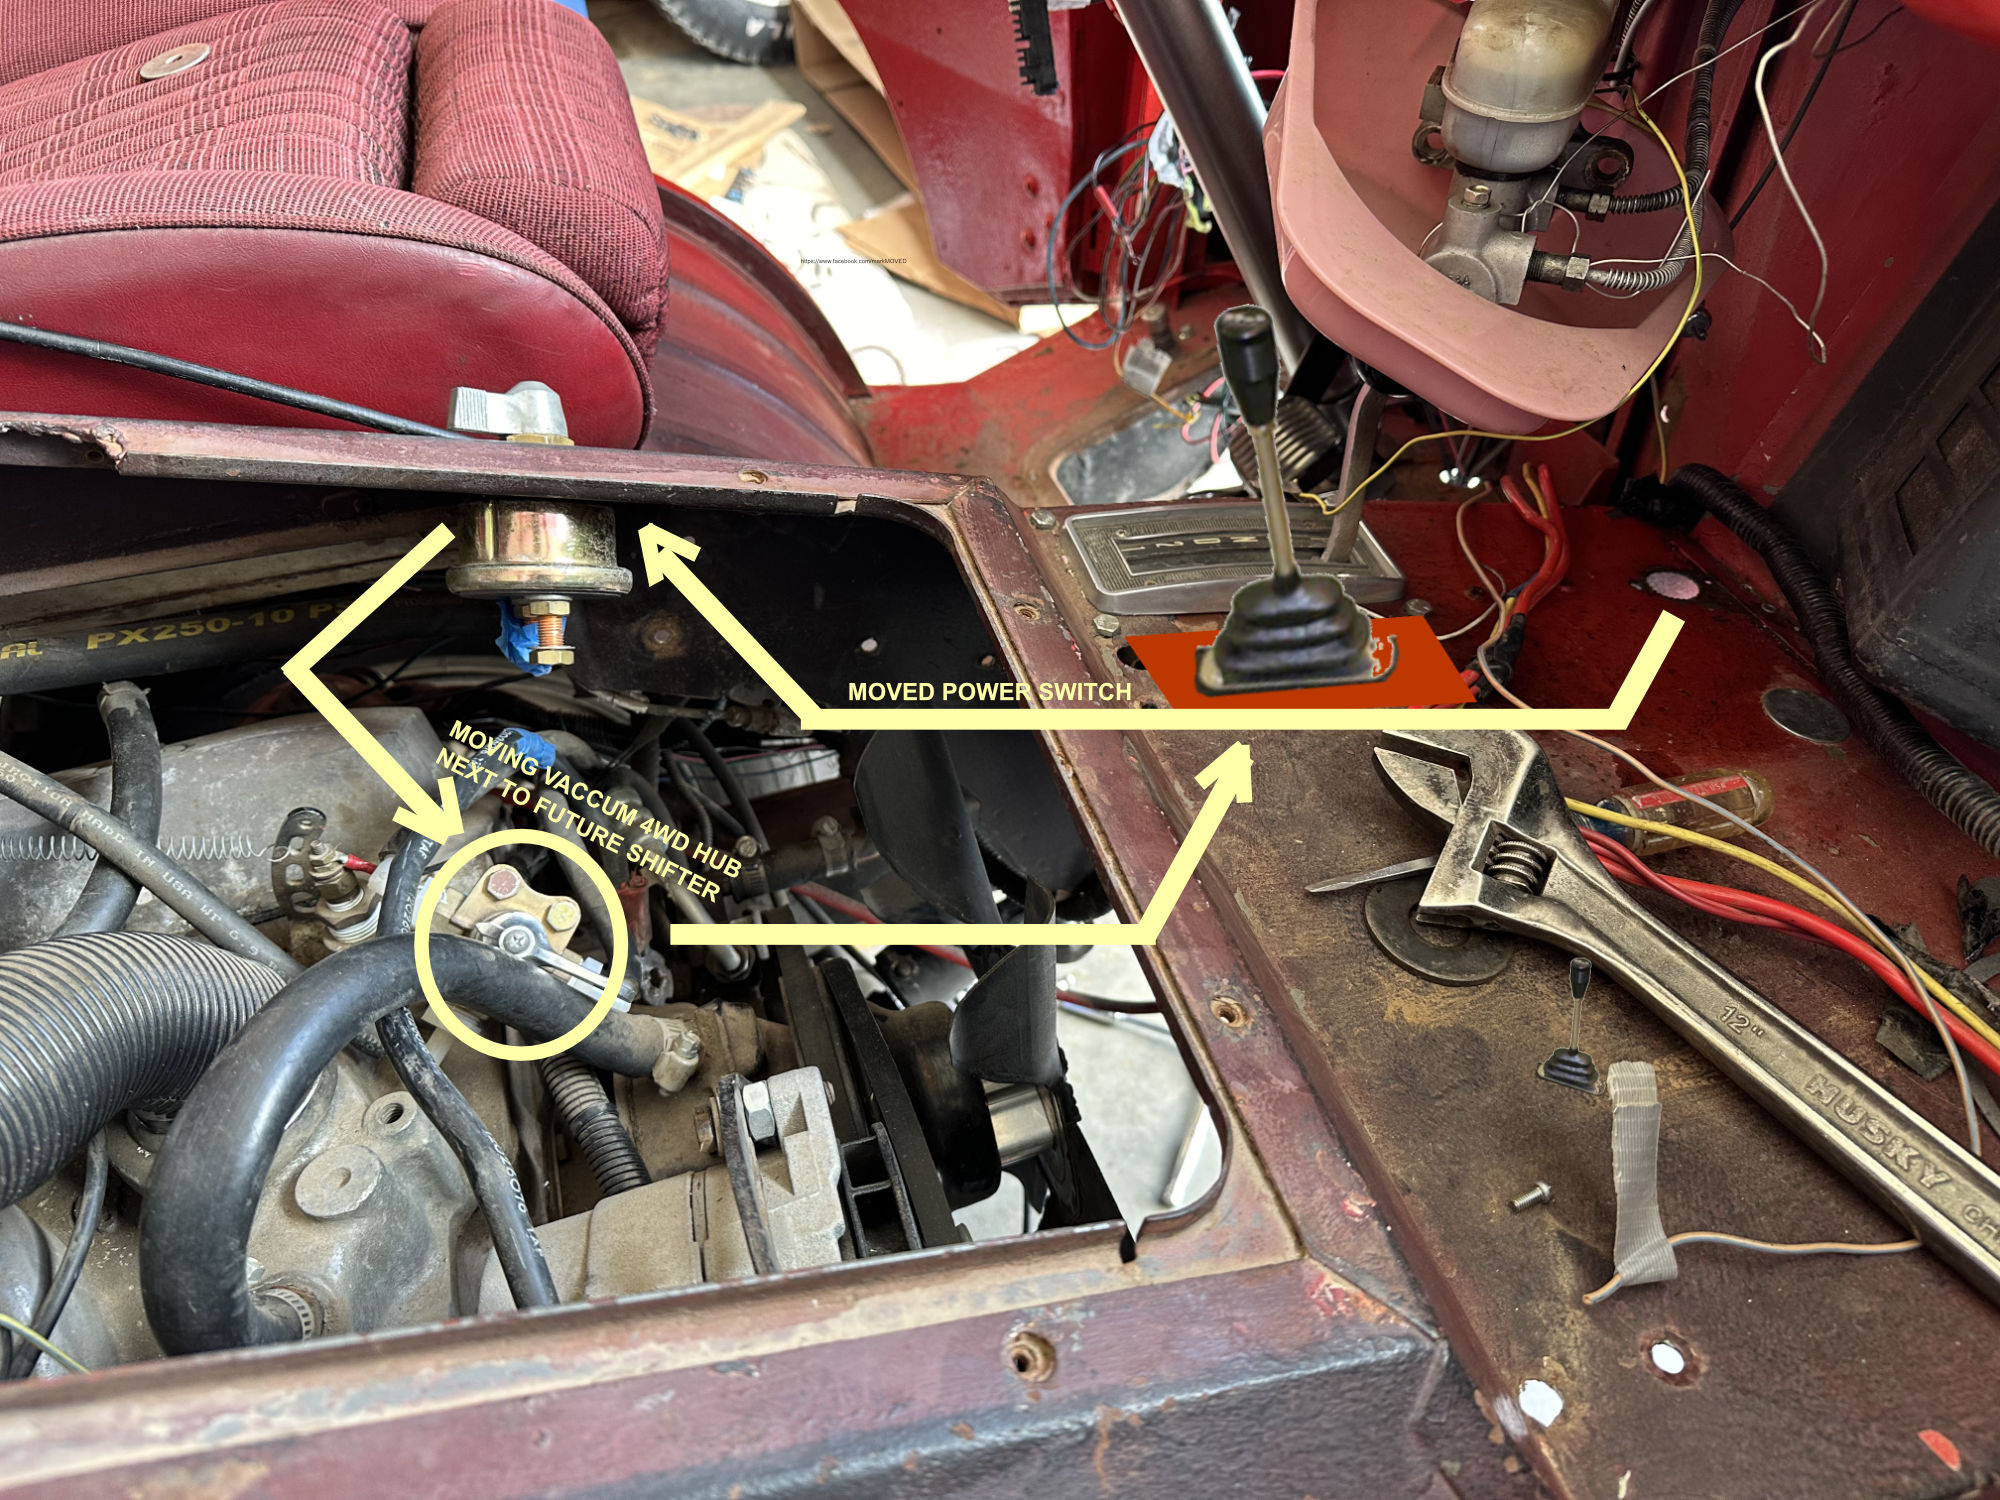
Moving the power switch shortens the run from the battery and starter to the switch, it also cleans up the area behind the grille. In addition, when looking through the grill from the front you could see the wiring crossing the tunnel to the bottom of the switch.
Yesterday, I spent time staring up at the tunnel area from the ground, measuring tape in hand, pondering and plotting. I discovered that the water pump fan, used in this case to cool the transmission cooler, will not allow any of the after-market transfercase shifters to fit. Given the fan doesn’t really align all that well with the cooler anyway, I have decided to get a transmission cooler-electric fan combo. I can position in under the tunnel in a way that is more flexible.
So, things seem to be coming together. I still want to find a place for the extra gauges and am pondering a 4-in-1 gauges which will be a more compact and less obtrusive option, but haven’t found one that satisfies the specs.