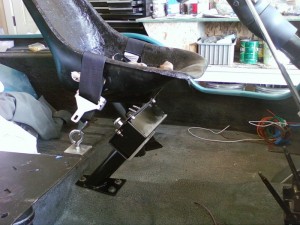
 I made more progress this weekend on the jeep. Most importantly, I planned and excecuted a design for my center console.
My center console stands between the front seats. It’s purpose was two-fold: 1, provide a place for me to put power and ignition/kills switches, along with a start button, and, 2, provide a more accessible location for plugging in my cell phone (which will sit, along with a few other items, in a compact water proof bike bag that I can easily remove).
Now you ask, and reasonably so, why install a start button and switches when you have a perfectly good key switch on the steering column?
Well, that’s a good question. There’s only one answer. I always wanted a jeep that started with a simple push button. So, I just had to get that urge out of my system. Trust that the key solution would have been easier, as my wiring harness was all set up for a GM column. This meant I had to remove the GM plugs from the harness, decode the wiring, and rewire the critical wires to the correct points in the center column.
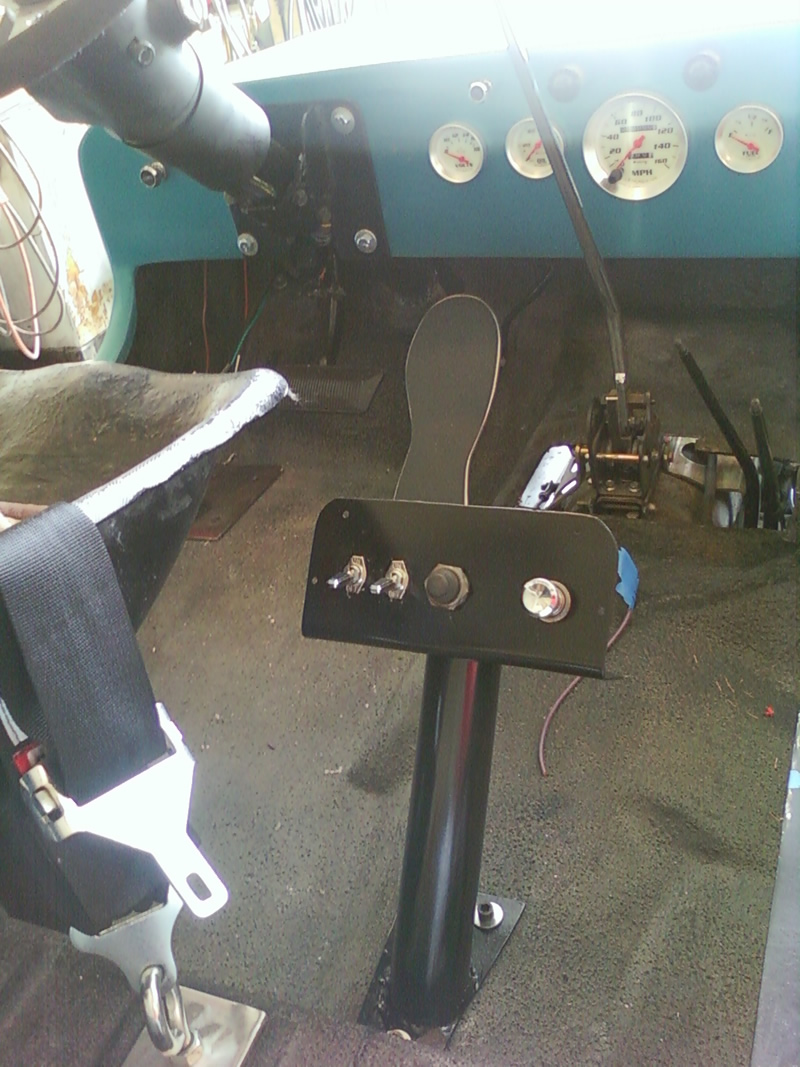
With that said, here’s my console:
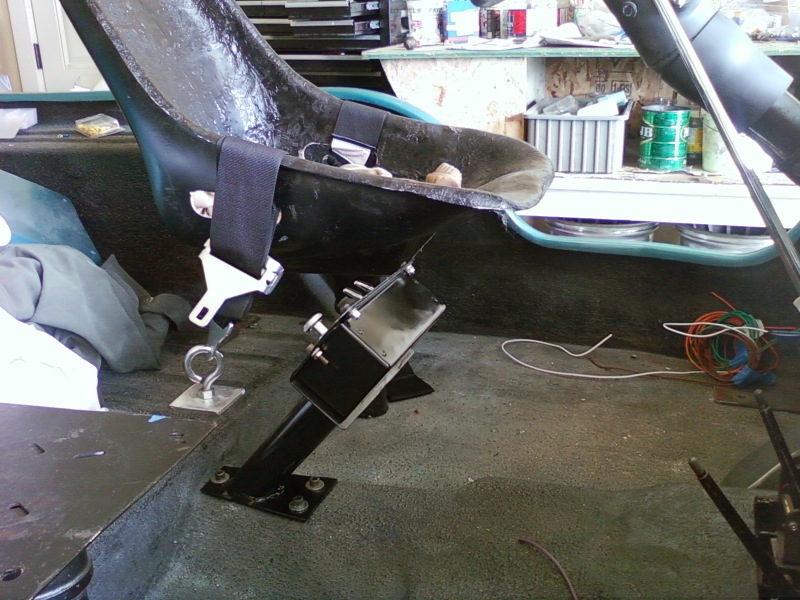
After considering a variety of designs, I came up with this simple post and console design.
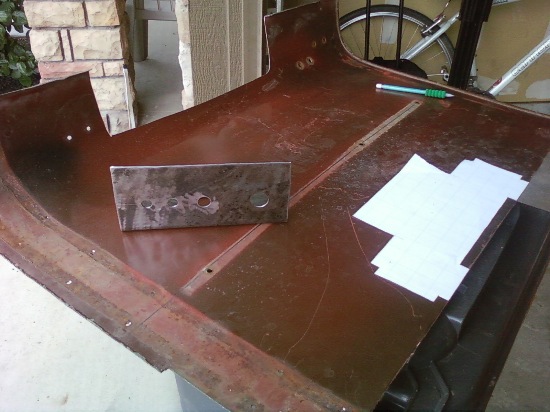
Below are the steps for cutting out the back of the console. I had an old hood that I have been using for some spare sheet metal. Below is the paper template on the hood. Also on the hood is the bent and drilled console.
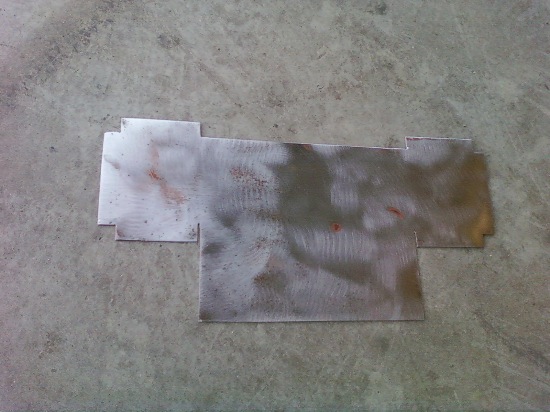
Next, I cut out the metal using a grinder with a cutting wheel. Then I used a paint remover on my grinder to remove the paint.
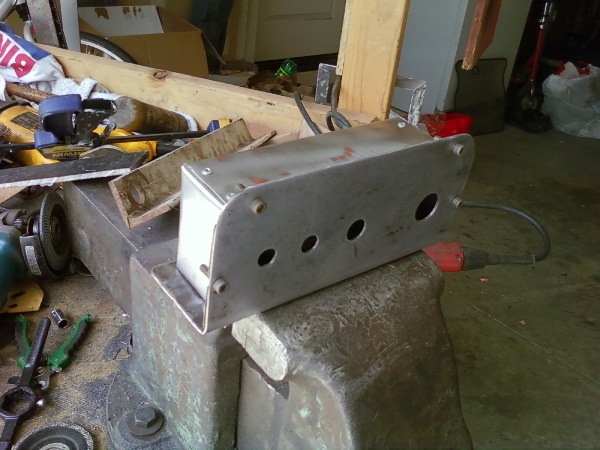
Next, I need to bend and drill the various pieces so that it would bolt onto the back of the console.
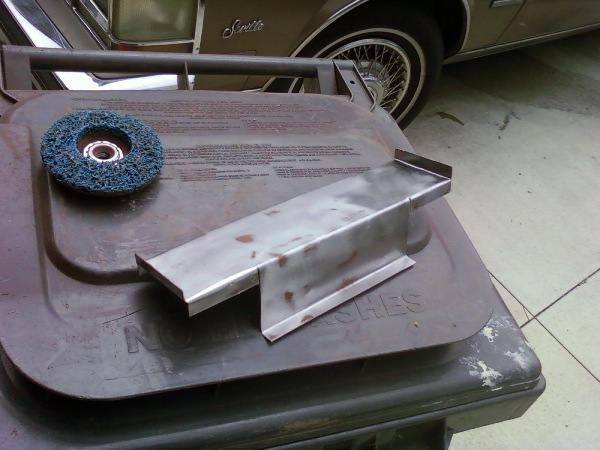
Next I need to bend the two ends upward.
Then, I had to carefully bend the two ends to create the box. Once that was done, I drilled holes for rivets and riveted the ends in place. Finally, I drilled the holes so the back of the console could be bolted to the front.
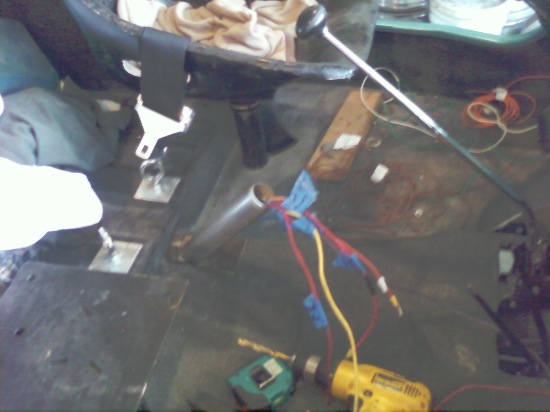
With the console box complete, I welded the post onto the base. Here I’m testing the partially finished product with the wires.
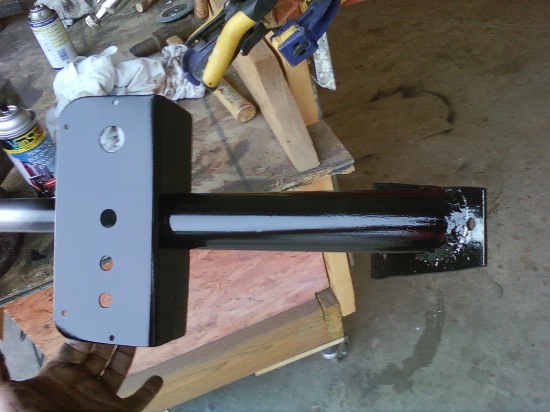
Happy with the base, I now had to weld the console onto the base. Then, came the paint.
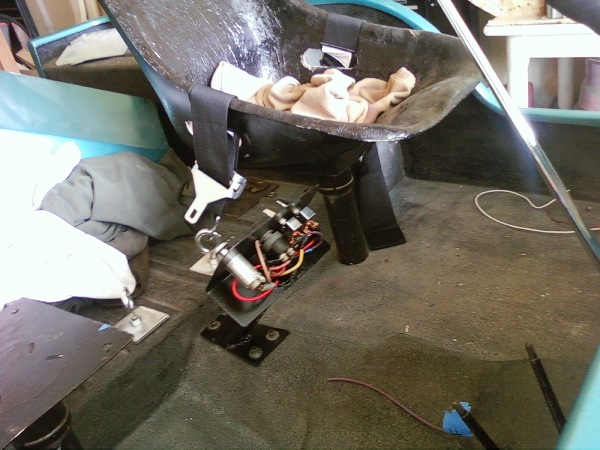
With the paint dry, I installed the console and wired up the various electronics.
And here’s the final console again


Pingback: My Build: Where to put the CB? | eWillys