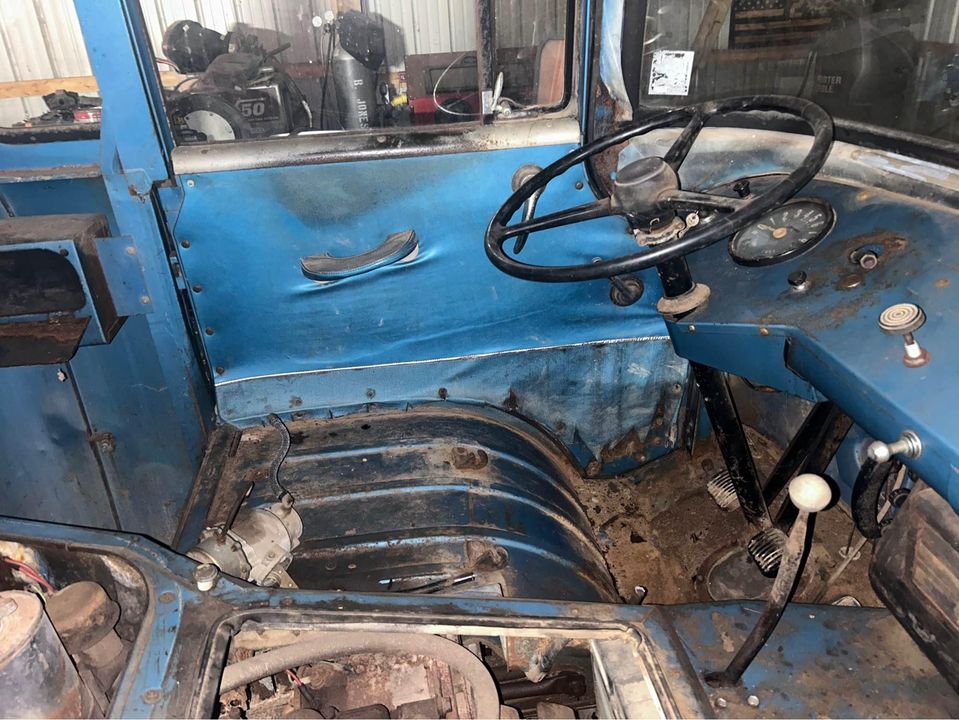
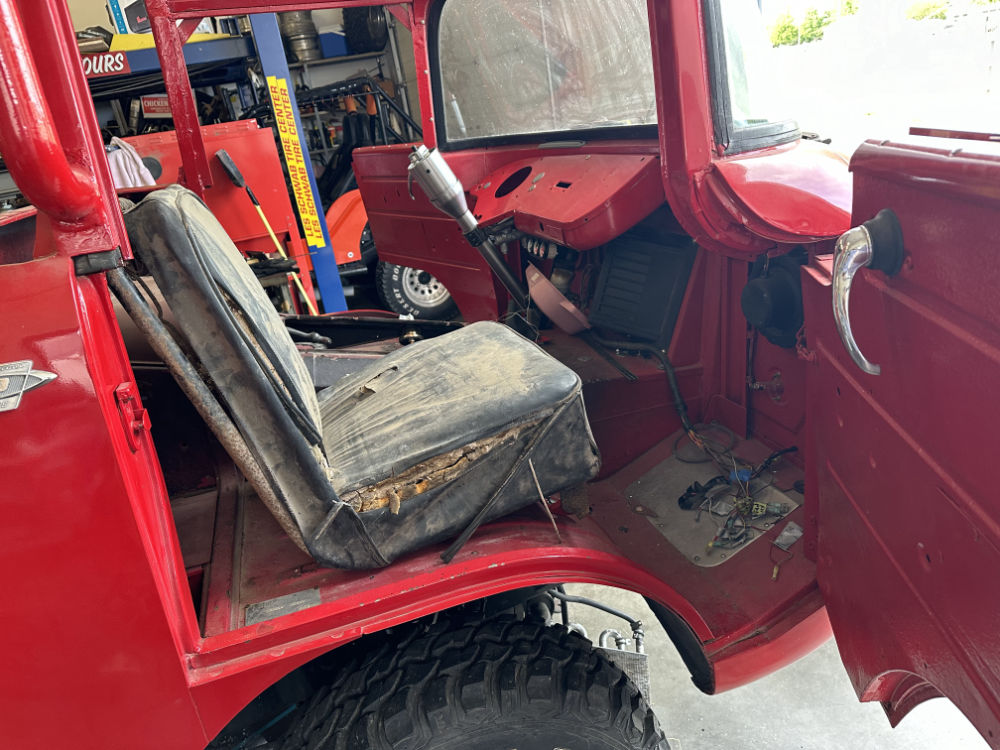
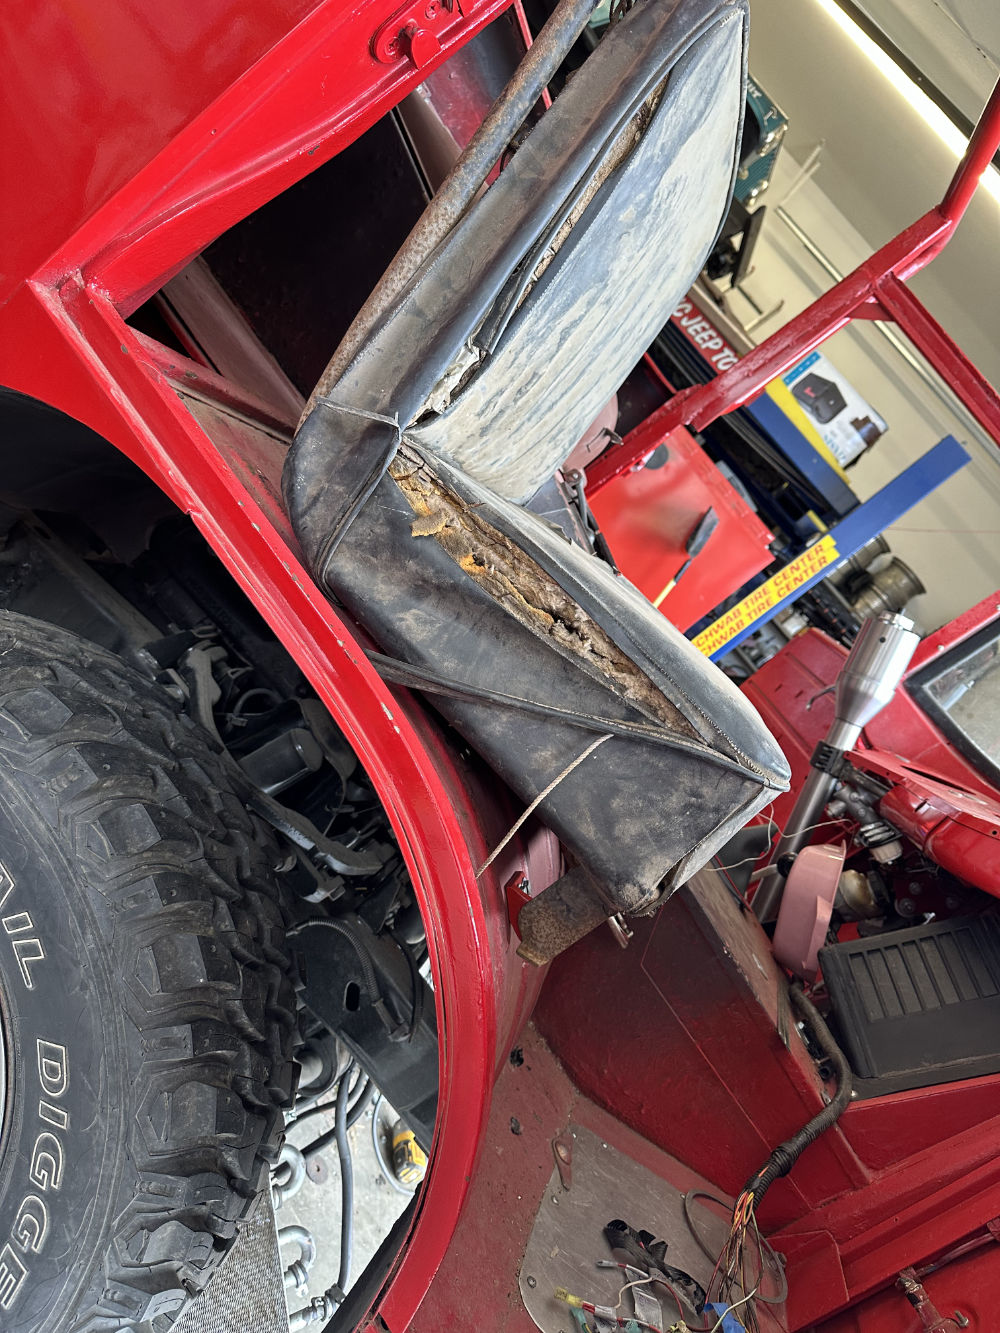
Progress on the FC continues, of course slower than I’d like. First up, I’ve located a local upholstery shop that’s supposed to be good with vintage automobile stuff, so will be taking the seats to them and seeing what they can do. Thanks to Steve, I also have a line on patterns from a shop he worked with in Iowa, so that may save some money, too.
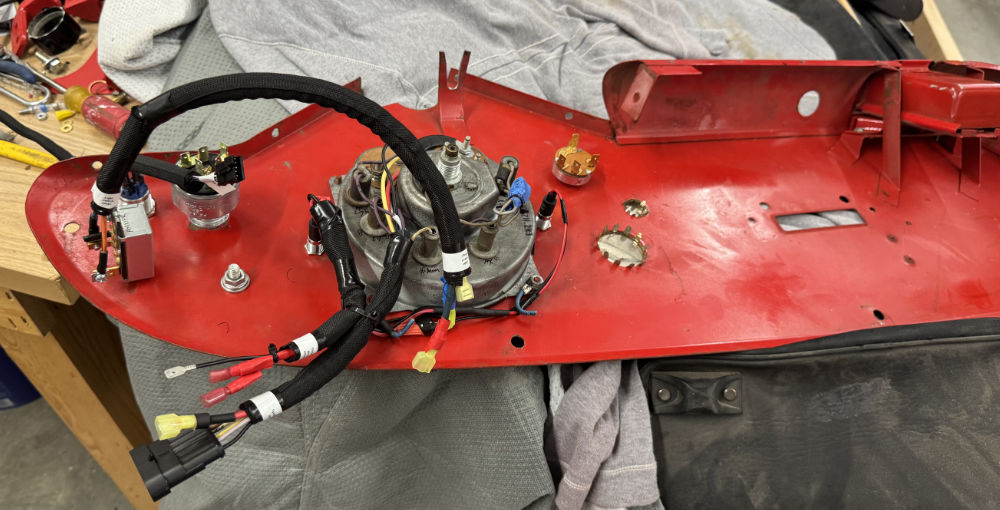
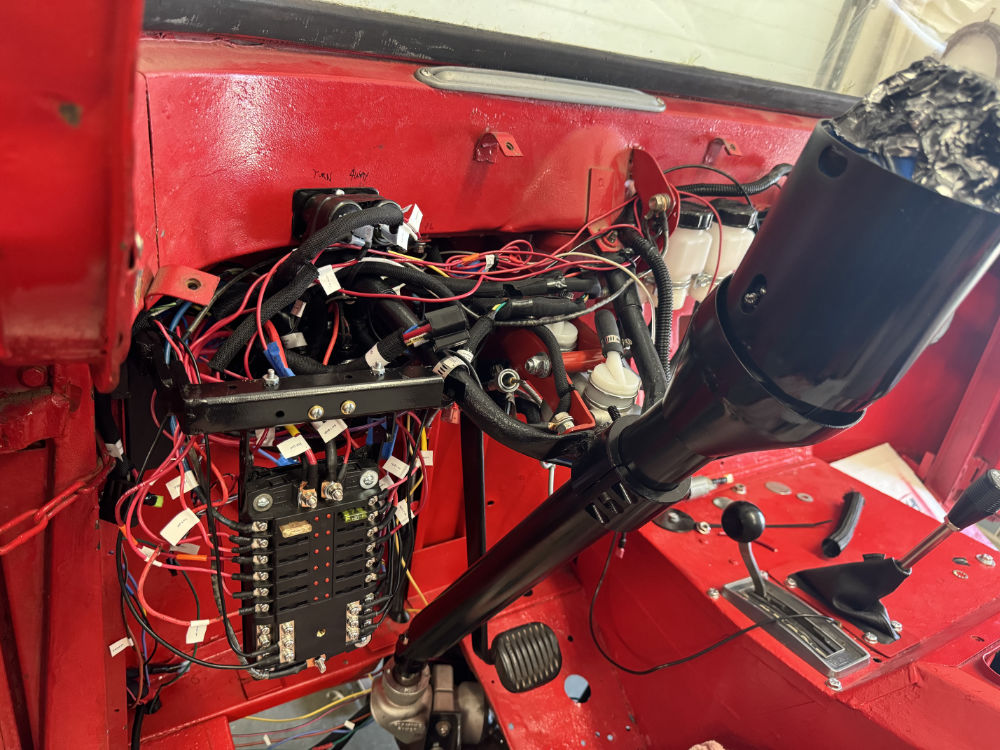
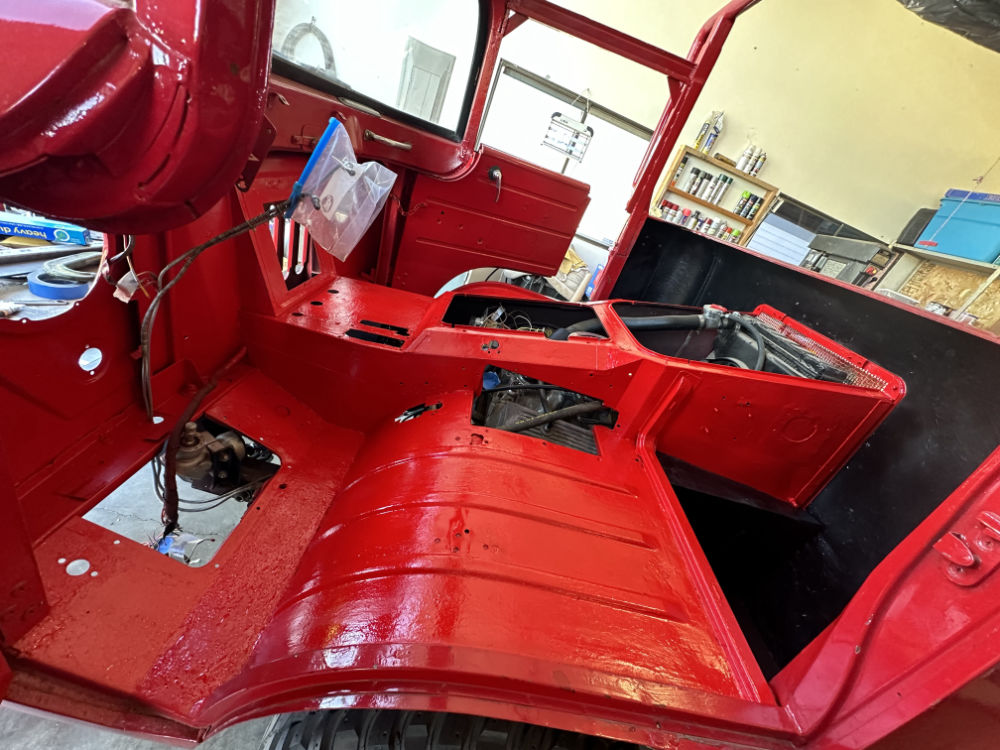
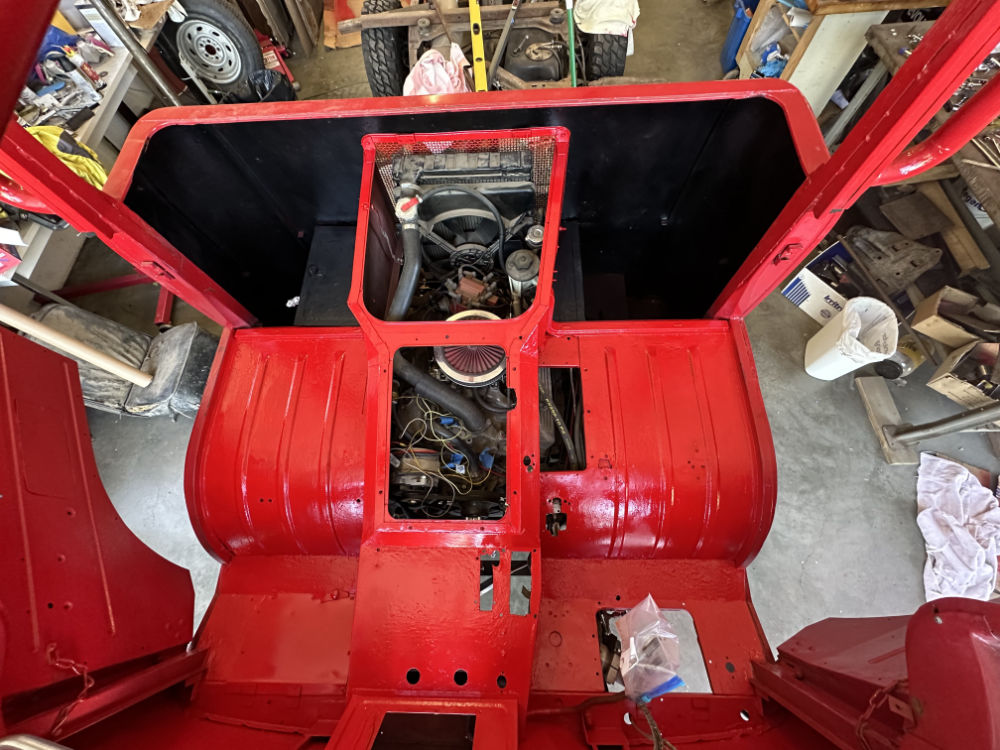
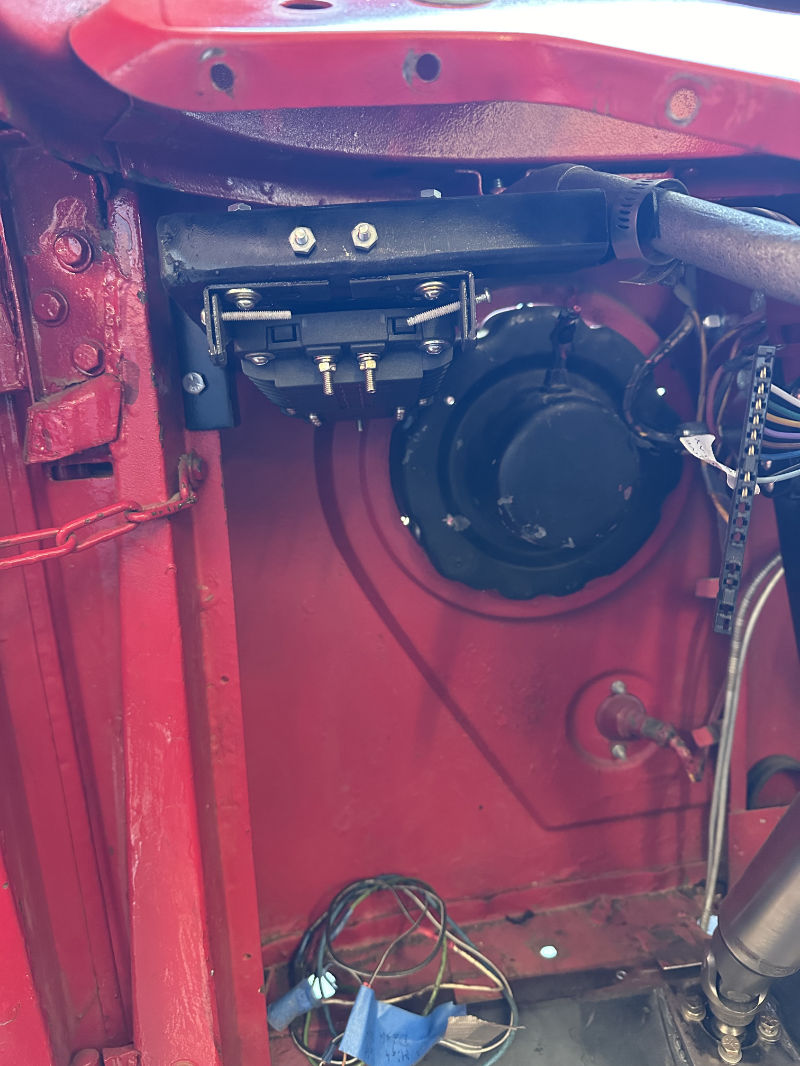
I’ve begun installing things on the FC. First up was the parking lights, then the new electric wiper motor. For a central ground, I’m using the old parking brake bracket, which will also hold a bracket for the brake MC remote reservoirs, which sit under the dash (no pics of that just yet).
Next I installed the brake MC and pedal bracket. One thing that I never tested (oops) was wether the existing brake nuts fit the new Wildwood MC (Of course they were a different size .. ugh). I will either use adapters or cut and reflare the lines with new, smaller brake nuts (most likely I’ll do the latter).
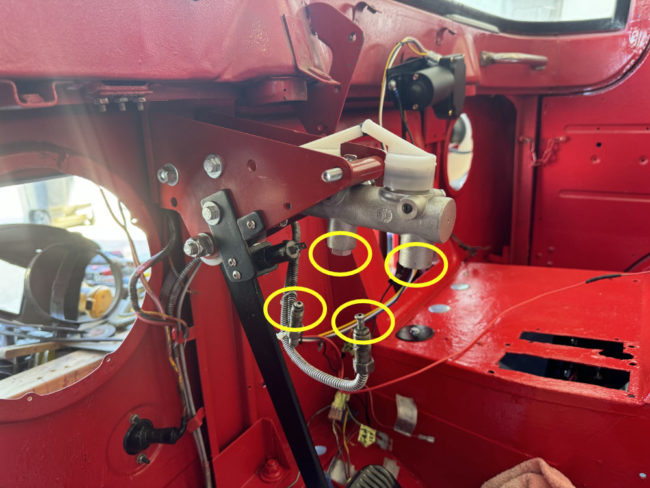
I hate it when my nuts are too large!
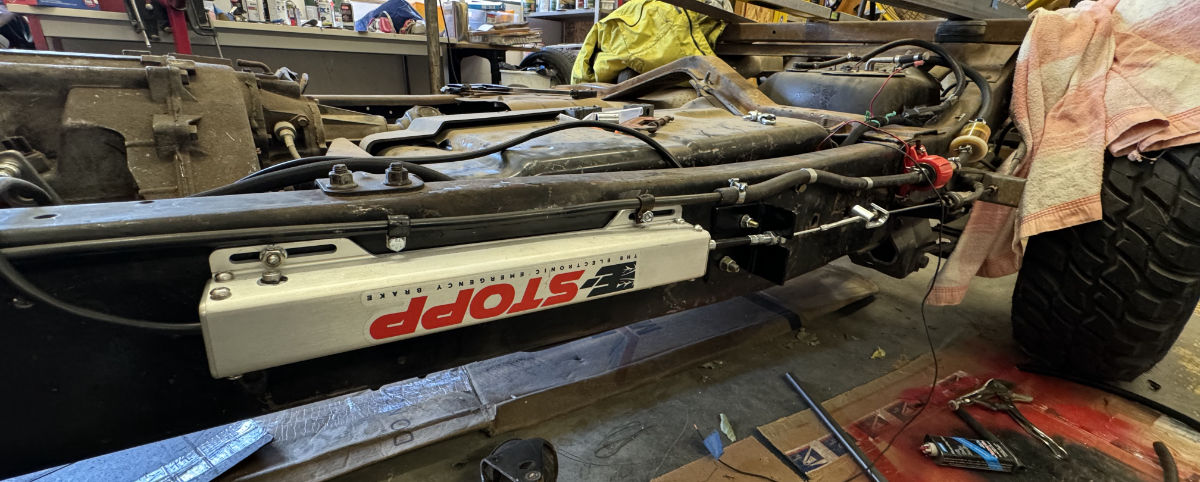
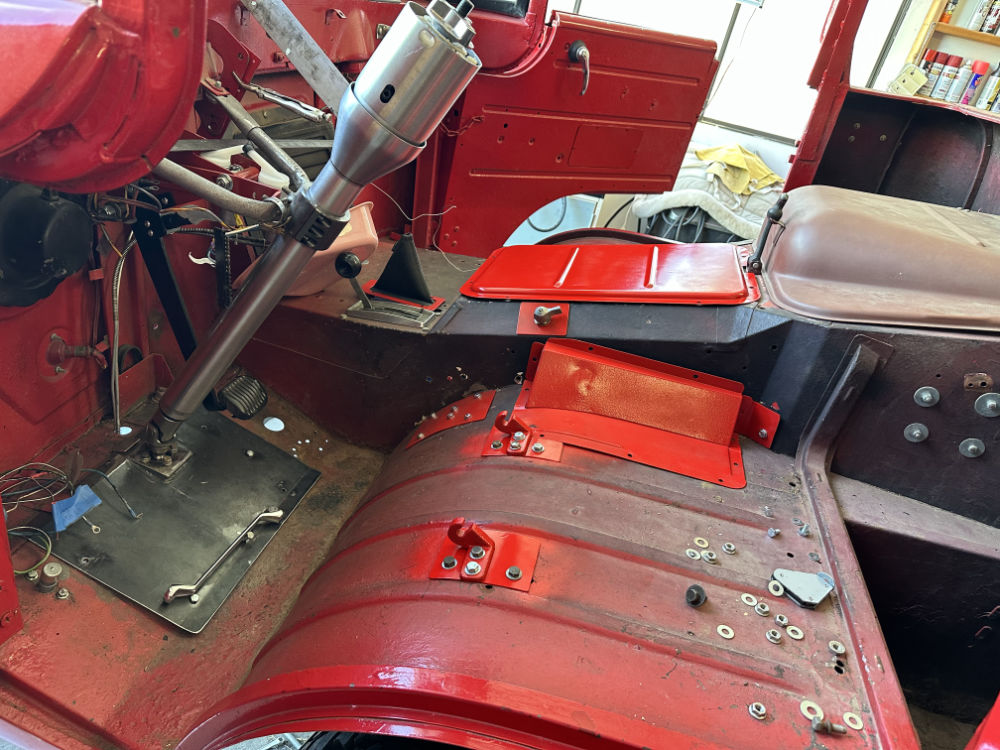
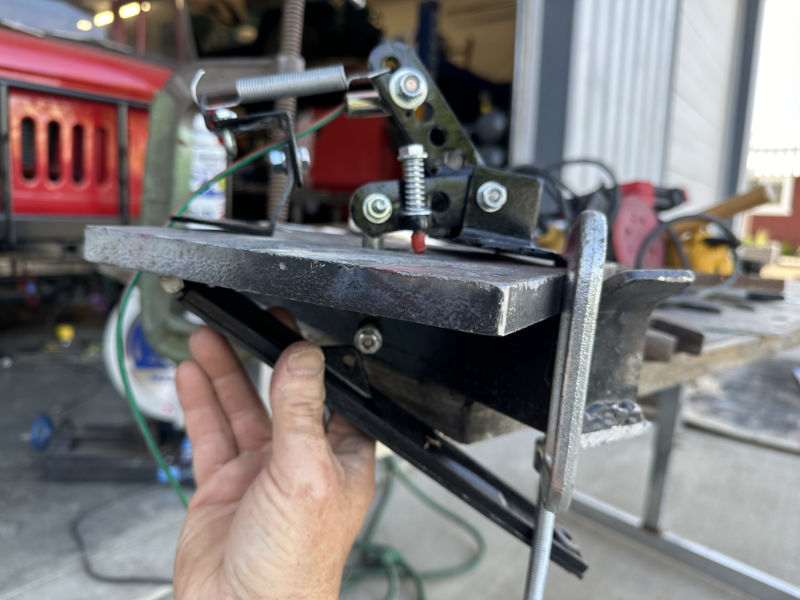
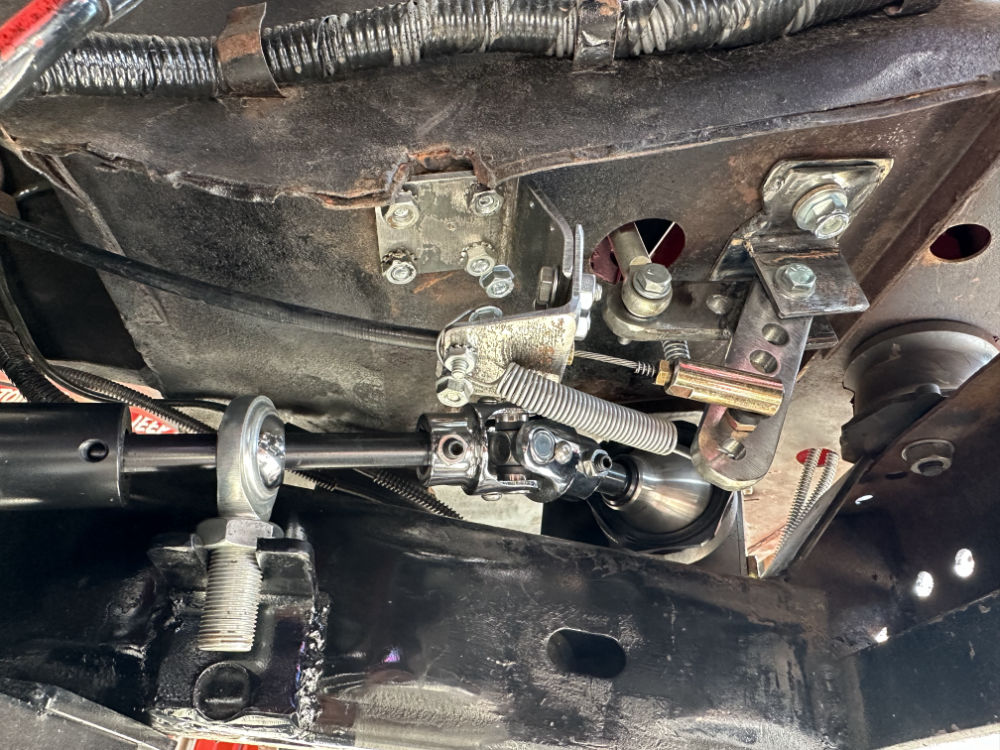
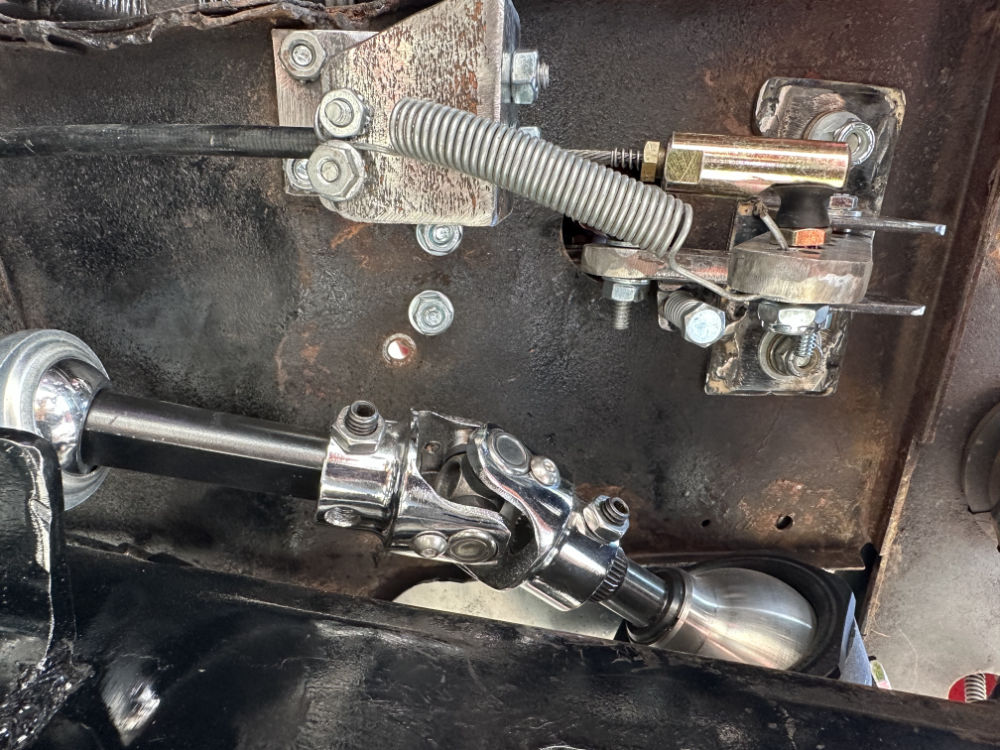
While I waited on solving the brake nut issue, I decided to work on installing the e-brake. One known issue was that the original Explorer body mount had to be removed, which I was okay with because I want the body mounts to be aligned with the bed’s front two roll bar loops, so I’d planned to move them anyway.
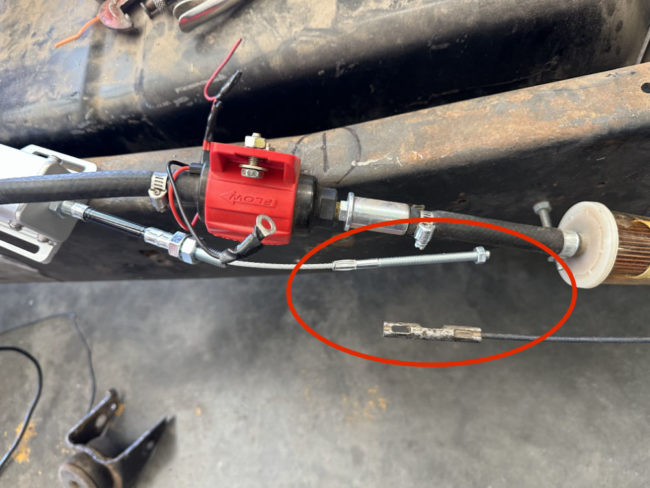
Now the challenge is to connect the 1/4″ finely threaded bolt from the ebrake to the original parking brake cable end. I want the solution to be adjustable (be able to turn the nut to tighten or loosen slightly) and I think I have found the answer in the form of a Dorman e-brake bracket. But, we’ll see how it fits …

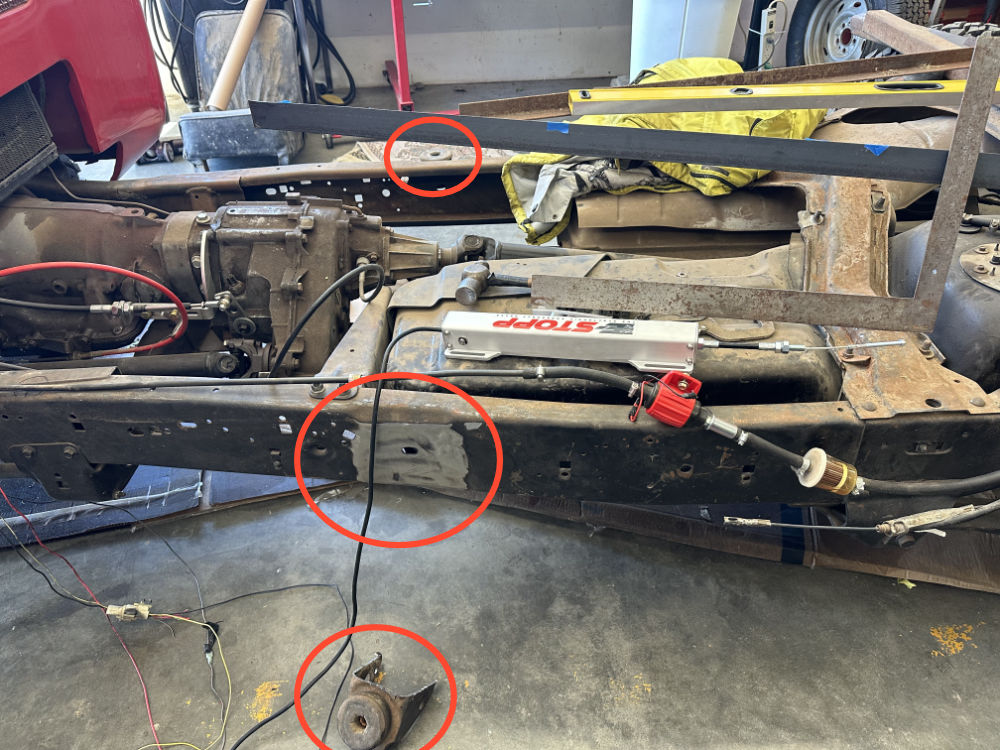
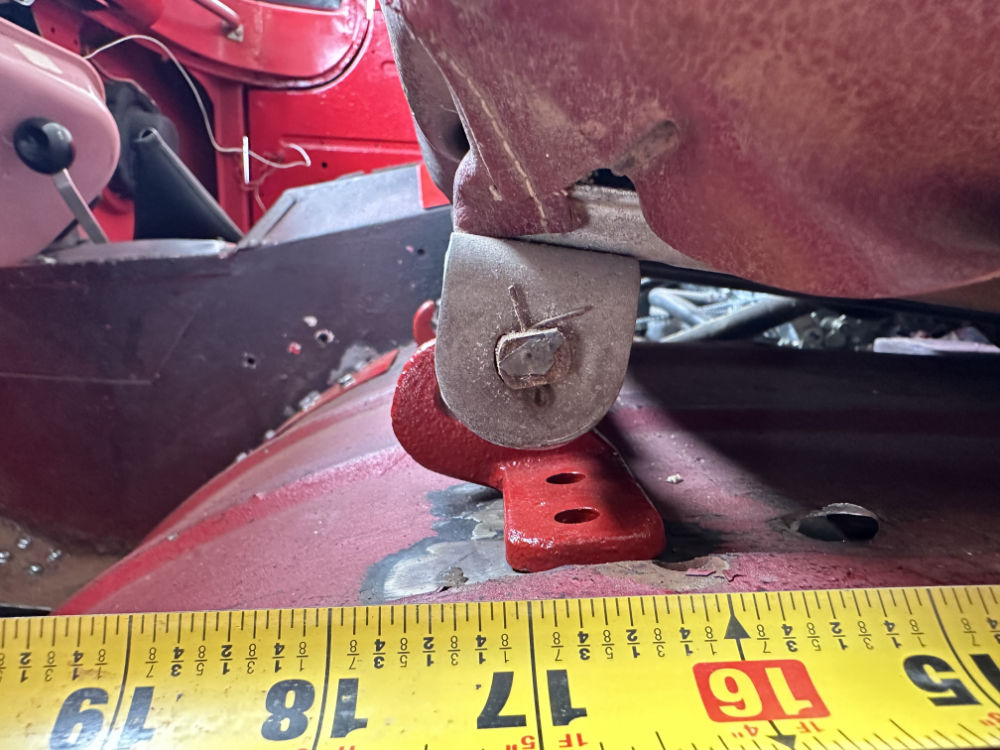
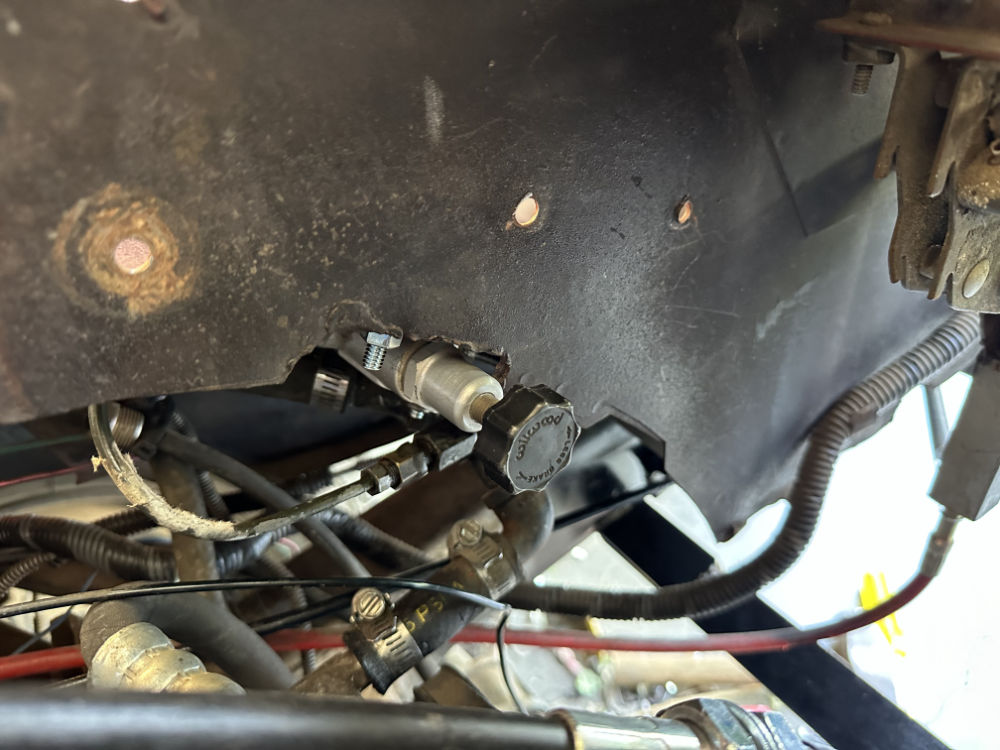
This shows the body mount in the foreground having been removed from the frame.
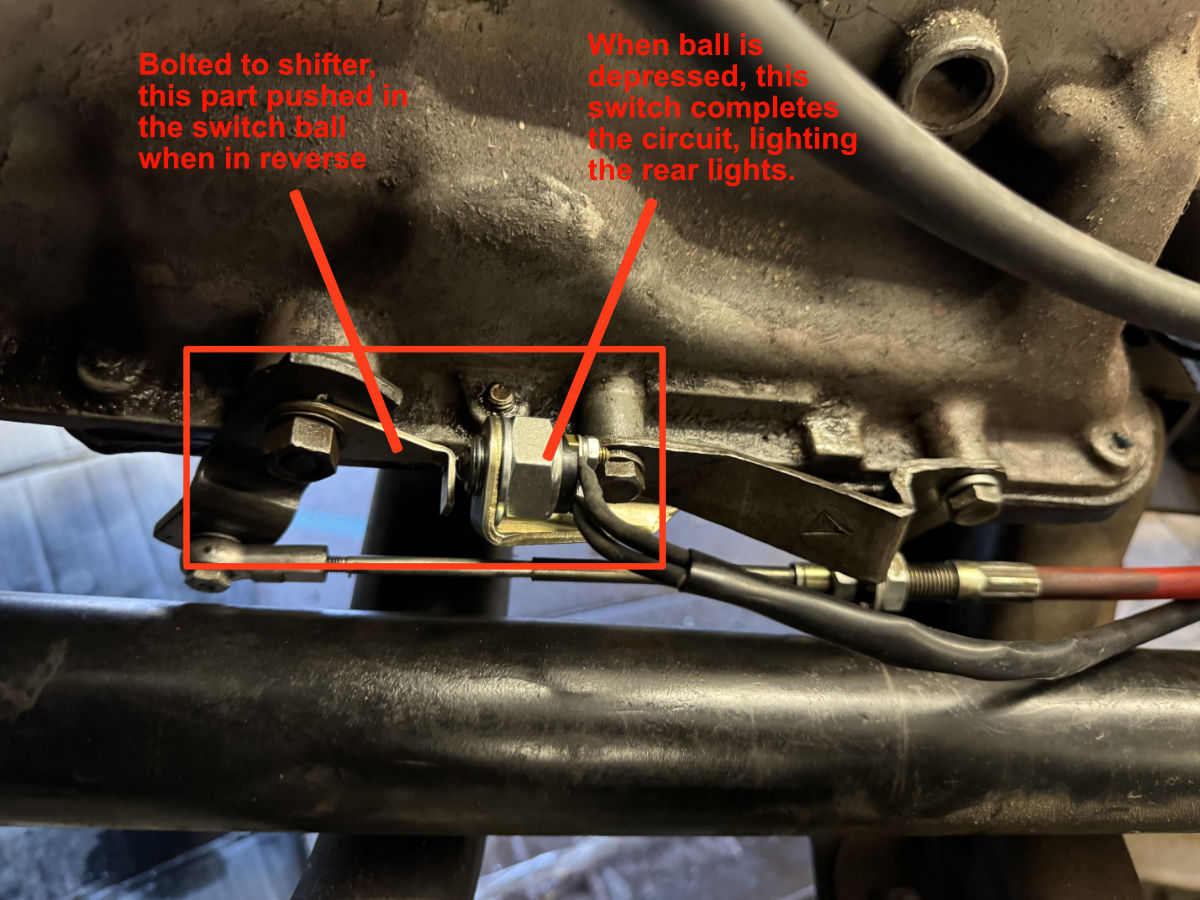
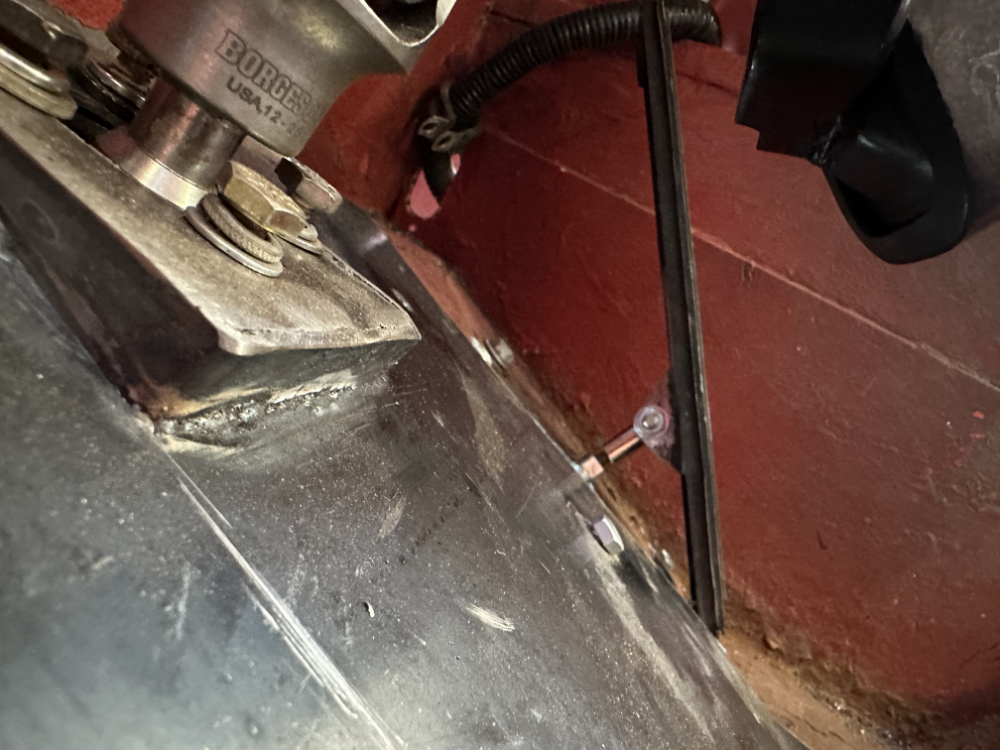
This shows the bolt (with nut) from the e-brake vis-a-vis the stock parking brake bracket (which is actually broke, so needs to be removed anyway). The circle shows the location where the roll cage crosses the frame, so clearance will be necessary to allow the e-brake to work (Prob hole in the bracket).
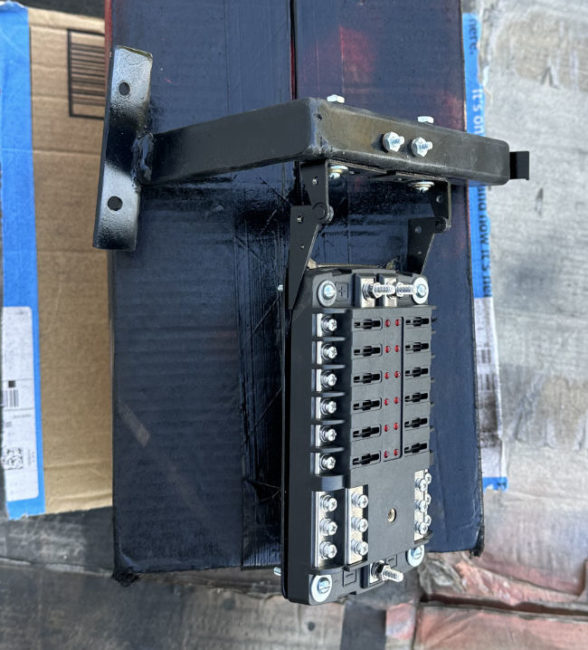
Finally, since the FC is already equipment with a hitch receiver and since it might be handle to be able to a trailer with it. One of my pet peeves is crazy wiring splices in the back of vehicles to allow for towing. So, I’ll be running wires to a terminal block at the rear which I can use to add a 4 of 7 pin plug if need be. the bracket is built and ready to be mounted. The wires will then be color coded to a typical RV 7-pin setup, but I need to confirm our trailers are wired that way.
I expect more progress over the weekend.
[fb_button]


