Biscuit Research Archives

My Rebuild

To Top

Biscuit’s Gas Pedal Design

• CATEGORIES: Biscuit This site contains affiliate links for which I may be compensated.

When I built my first jeep, I used the gas pedal from a CJ-5.  It was fine for driving around on flat smooth roads, but when I hit a bump, my foot tended to flop against it, which meant I would accelerate unintentionally.  It was just too sensitive an arrangement (dad used a CJ-5 pedal in his CJ too and had the same problem).

Eventually, I found a solution to the pedal problem. However, it took a bad day of racing to get there ….

Early in the Spring of 1985 I was at a PNW race competing in a team relay event somewhere north of Everett, Wa.  I remember the conditions clearly:  It was cold, it was damp, and it was rainy.

Jim, Tim, and Steve Carter and I teamed up for the relay event.  Between us we had three jeeps (my jeep, Otis and Priority I — or maybe II or III — I can’t keep track of all the Priority versions …).

It seems to me we advanced to the first round with no issues.  However, during the second round, things went awry.  Frankly, the precise details of how the rest of the race played out have faded with time.  What I do remember is this; First, my front driveline broke as I made my way around the course.  Then, when driving Priority, I broke its front drive line.  Finally, when driving Otis, I was trying to drive carefully as I REALLY, REALLY didn’t want to break another driveline.  At one point I got a little stuck (it was really muddy) and thought I had broke it (ugh!).  Fortunately I didn’t … I was perfectly happy to stop racing that day (we got eliminated in the 3rd round I think).

I tell this story, because while racing Otis, I noticed that my foot didn’t bounce and nor did the pedal no matter what bumps I encountered.  It was solid, yet the pedal depressed when necessary.

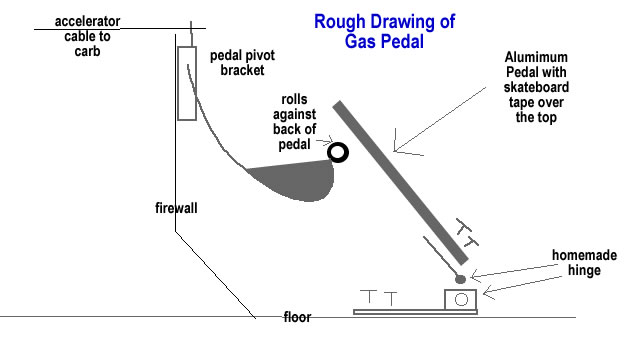
Later in the day, after racing, I looked at Otis’ pedal and discovered Jim had set it up so that the there was a roller behind the pedal.  While more complicated than the normal pedal, it really improved the ability to keep driving and accelerating smoothly over bumps.

So, I implemented that in my first build and loved the results.  I had hoped to implement the same thing in Biscuit using a classic foot shaped pedal like the Moon Aluminum Pedal. However, I couldn’t justify the cost (read here that my budget was getting tight), so I implemented what I call Version 1.0 of the pedal.

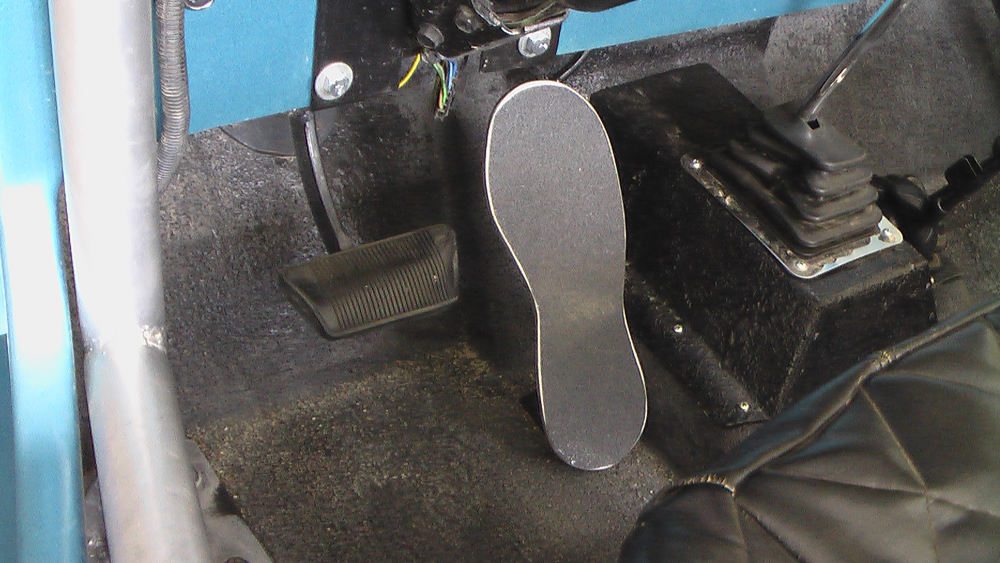
Using some aluminum plate I already had, I drew the shape of my foot onto the plate, cut it out, and then shaped it with my grinder.  Then, I went down to a locate skateboard shop and purchased some skateboard covering (sandpaper-like on the front and sticky on the back).  I cut the covering into the shape of the foot and stuck it onto the plate.  It isn’t beautiful, but it works well.

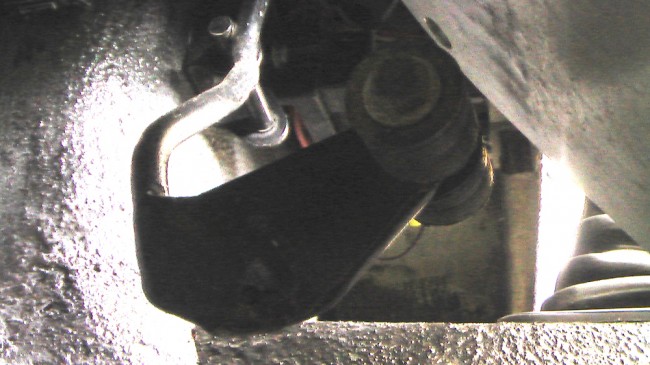
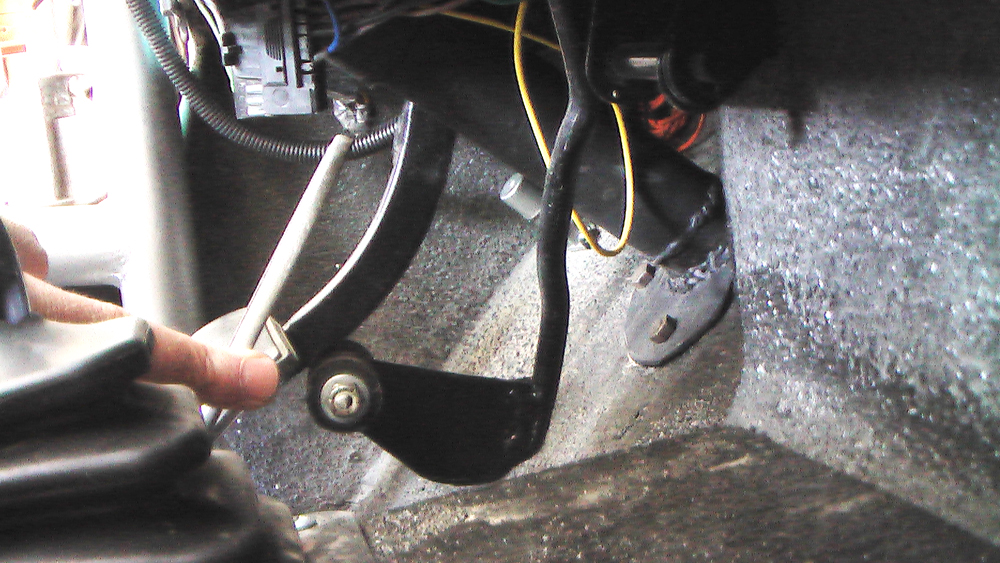
I’d like to clean up some of the rough edges in Version 2.0.  Below are some pics and a highly(?) technical schematic.

BTW, that race was the last day I broke a driveline.  I’ve never had a problem since.

Continue reading

 
To Top

Always Double Check Your Lug Nuts …

• CATEGORIES: Biscuit This site contains affiliate links for which I may be compensated.

It all seemed simple enough.  I’d pull off the front, driver’s side tire, pull off the front brake drum, adjust the brakes (The front right was pulling some on braking, so I needed to adjust the front left), and put everything back together … easy enough, yes?

Well, that was last night.  This morning, I hopped in the jeep and drove down to the local gas station to get some gas, before heading to the local home/garden shop (Zamzow’s).

As I exited the station, my pedal suddenly drops to the floor.  Hmm .. not good.  I jump out, lift the hood, and, sure enough my accelerator cable connector had come loose. I re-attached the cable and drove back home to more permanently fix the solution.

So, I’m back on the road, heading to Zamzows again. Life is good.  I drive about 2 miles and I start hearing a tinging; “an odd sound,”  I think to myself …. I listen more closely; “That is coming from the front left side.”

And then it hit me, “had I tightened the lug nuts from my brake work the night before?”  Crap, I couldn’t remember.

At just that moment, when the grip of dread descended upon me that I might have forgotten to tighten the nuts, I was looking down at the driver’s tire, driving about 35 mph, when a silver bullet shot from the wheel and landed in the grass divider (never did find it).  Holy shit!  That was a lug nut!  I pulled over into the median (it’s a rural road with a grass median) and checked out the situation.

After doing some accounting (yes, that MBA of mine really came in handy about now), I concluded the situation was not good.  1 lug nut missing.  2 lug nuts loose.  2 lug nuts holding on the rim.  0 tools … and 1 idiot standing there (yes, that would be me).

What to do?  Head back home very slowly.  Every 1/4 mile or so I stopped, jumped out, hand tightened the lug nuts, got back in, and kept going.  Drive another 1/4 mile & repeat.  You get the idea!

I finally did make it home, tightened everything back up, PACKED MY TOOLS, and took off again. No more problems the rest of the day … whew!

However, to add insult to injury, my adjustments still didn’t fix the pull to the right I have!  Just know that I won’t be forgetting to double check my lug nuts in the future!!

 
To Top

Me and Dad Circa 1982 near Milk Lake, Wa

• CATEGORIES: Biscuit, Features This site contains affiliate links for which I may be compensated.

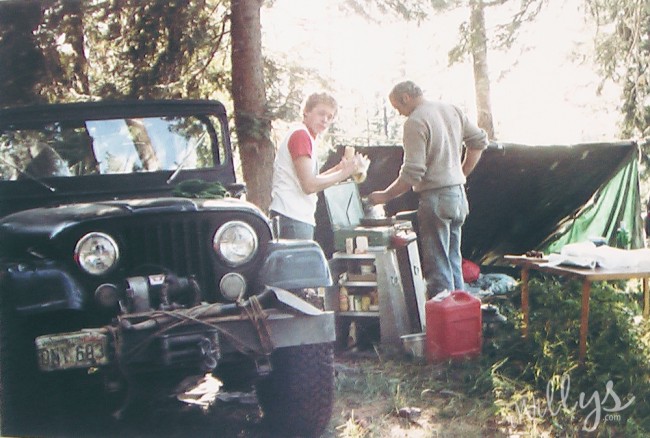
From the scrapbook archives comes this image of Dad and I readying ourselves for another day of jeeping.  I believe this was in 1982 (which would make me 17 and dad 49).  I remember the overnight at Milk Lake because we slept in the lean-to (see the blue tarp in the background), which was the first time I can remember doing that.

In the pics you can see the aluminum storage units with some supplies in them.  Dad built those from Boeing Surplus leftovers, rivets and a rivet gun.  They were light, easy to pack, and stored over the wheel wells, between the roll cage bars, so they were accessible on the trail as well.

 
To Top

Biscuit’s Back Seat Project

• CATEGORIES: Biscuit This site contains affiliate links for which I may be compensated.

With the kids coming up to visit, I wanted to add a backseat that would allow more than two people to go jeeping.  My goal was to combine the seat with a new tire carrier and have the entire unit easily installed and removed.  This current setup doesn’t allow for a tail gate; however, I don’t care about that right now.  In fact, I could create a back that is permanent with this unit at some later time if I wanted a tailgate.

So, here are some pics of the process:

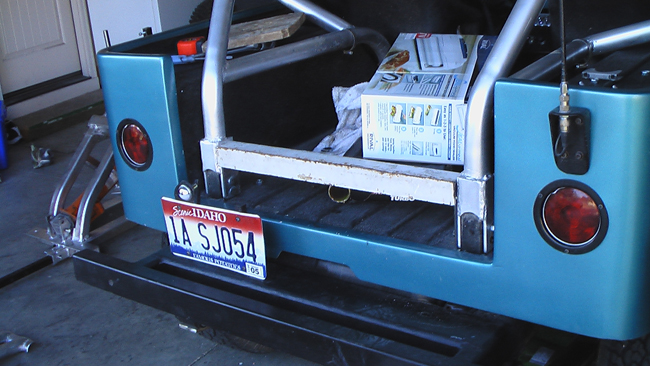
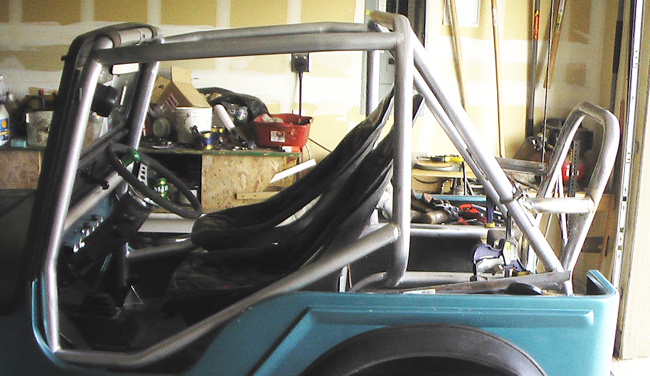
I started with a couple brackets that bolted to each side of the rear portion of the roll cage that were connected by a heavy piece of angle iron (I have lots of heavy angle iron).

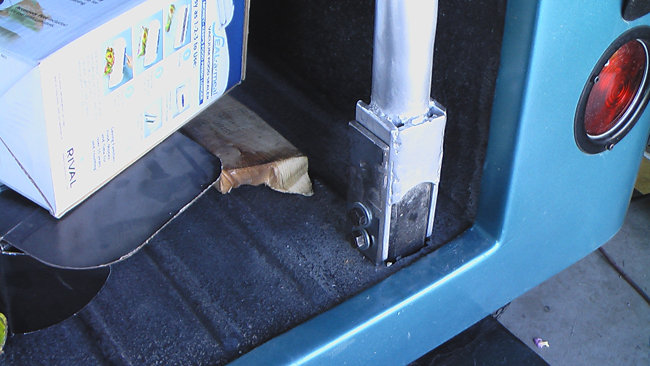
Next I bent a loop from some roll bar tube and then welded it to the angle iron (you can see that I needed to trim a bit from the bottom of the loop).  Then, I added a left and right arm that I attached to half-tubes which I clamped to the roll bar.  The loop leans backwards at the same angle as the front loop angle leans backwards.

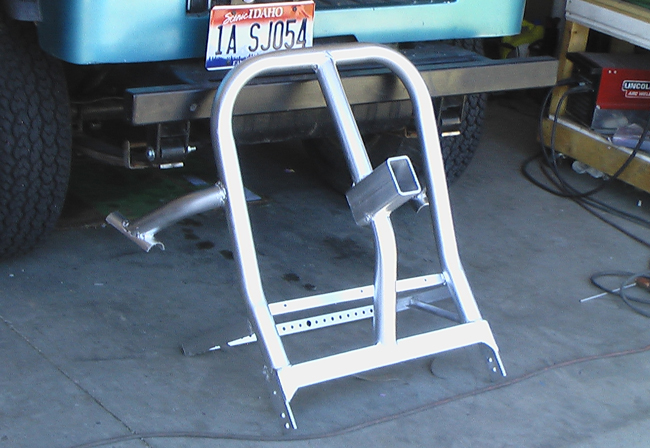
The next step was to add an attachment for the rear tire carrier.  I welded a piece of tubing to the top of the loop and a bent piece of tubing to the angle iron.  In between, I welded a piece of rectangular tubing.

Then, I added a platform for the bottom of the seat.

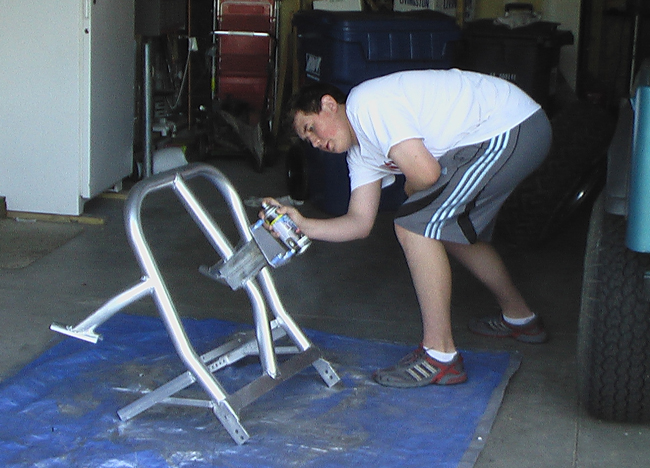
After creating a template for the plate that will hold the spare tire, I cutout a piece of heavy metal, drilled three holes, inserted the studs, and welded them in place.  Then, I welded the plate onto the until.  Here, Karson is doing some spray painting.

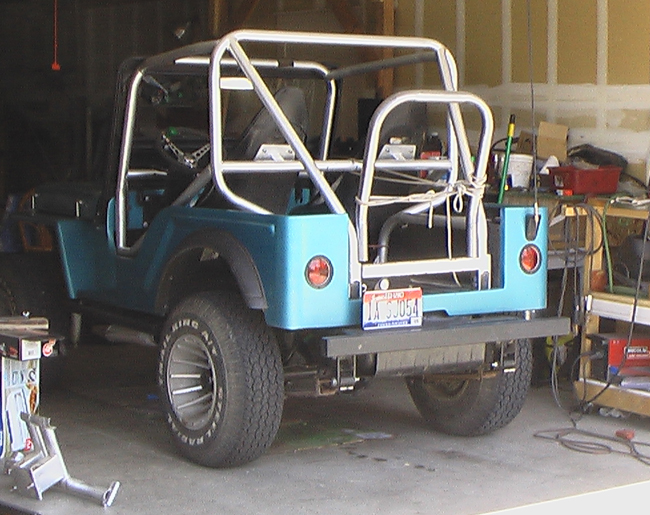
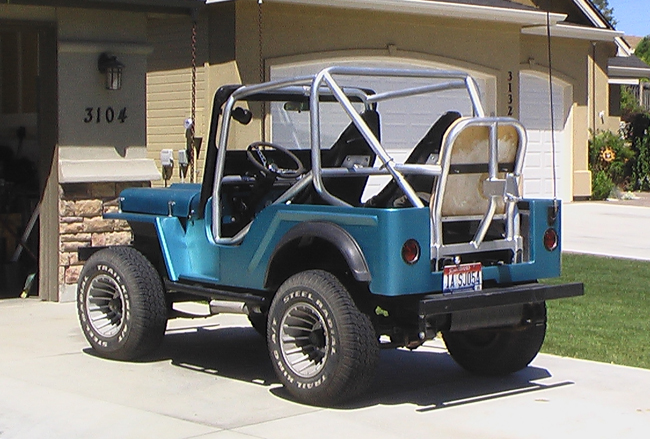
Next, I added a strip of metal across the back loop so I could bolt on the back of the seat (made from wood).  The bottom is also wood and bolts in place.  Both still need to be padded.  The final pics below show the entire unit in place (though I have since painted the wood black and the strip across the back the color of the tubing).  This is nothing fancy and, though not as wide as I’d like, will meet my needs for now. And, we tested it out today and the kids love riding back there 🙂

 
To Top

Some Updates …

• CATEGORIES: Biscuit, Builds, Features This site contains affiliate links for which I may be compensated.

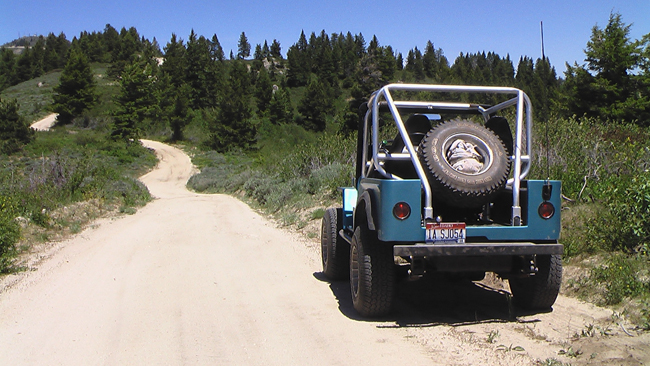
For the Fourth of July, I celebrated by heading back to the formerly snow bound roads near Boise’ only ski area, Bogus Basin.  As you can see in this pic, the snow is gone (see snow pics here), the mountains are now in bloom, and more progress was made.  More on that tomorrow ….

A 1950 CJ-3A: Today, Darrel had to talk to me.  So he stopped next to me, while I waited at a stop light, rolled down his window, and started asking me questions — what year was my jeep, who did my roll cage, and more …

Now, I had no idea who Darrel was.  However, in the time it took for the stop light to finally change colors, Darrel had explained through his passenger side window that he A) liked what I had built, B) had a 1950 CJ-3A, C) wanted his jeep rebuilt for his daughter, D) had his jeep nearby, and E) wanted me to follow him there.  If I learned that much at a stop light, I wondered how much I would learn about him once we stopped to see his jeep.

True to his word, he lived very close and had a 1950 CJ-3A that needed some work — hadn’t been run in 15 years.  It had a V-8 conversion, solid body, rotted top and plenty of potential.  And, to my surprise, based on my jeep, he asked me to do the work (and will pay me). I don’t have pics of this just yet.  I’ll share more about this if we go forward with the project.

Brian wrote to me late last week to share a sad tale.  As a part of the continued testing with his new build, he learned the hard way what happens if the oil in the front pumpkin housing gets too low AND the 4wd somehow gets accidentally shifted into gear (how that happened is still a mystery to him).  The result:  his front pinion started freezing up, resulting in some ugly sounds and a twisted driveline. See the pics to the right.

The good news is that everything else continues to behave well.