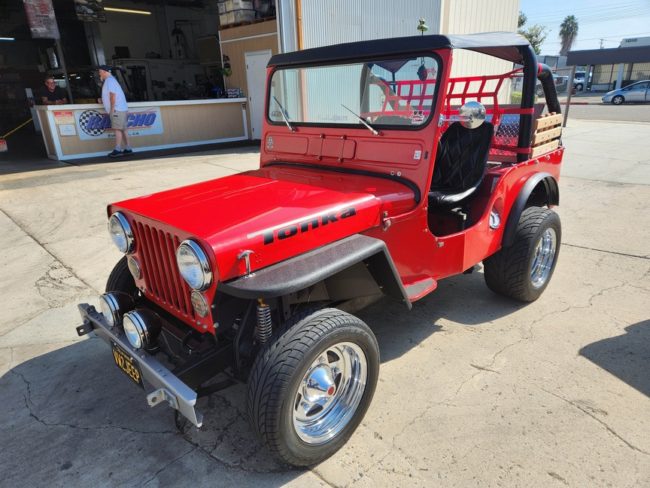
David, a reader from Texas, shared this video of an abandoned jeep made to run again. Called a CJ-3A in the video, it is clear it was was originally a 2WD DJ-3A. Given the Stewart Warner gauge coupled with the lack of a passenger-side heater vent, this is likely a ’58 or ’59 model. The jeep was adapted to 4WD using the axles from a WWII jeep (steering on the front axle; full floaters on the rear). The transmission cross member is likely WWII as well, though it could be from a 2A. I didn’t watch the entirely of the video, but maybe there are more clues (such as T84 vs T90).
Builds Research Archives
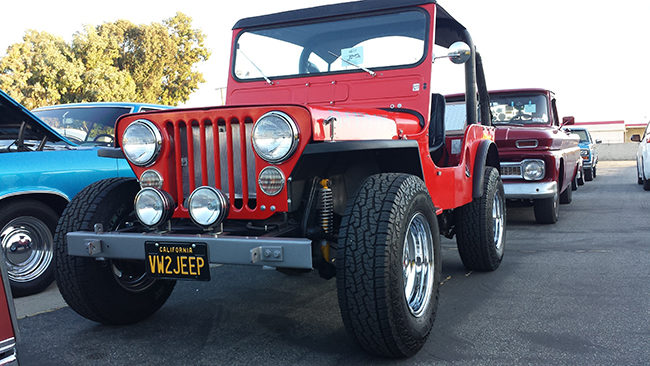
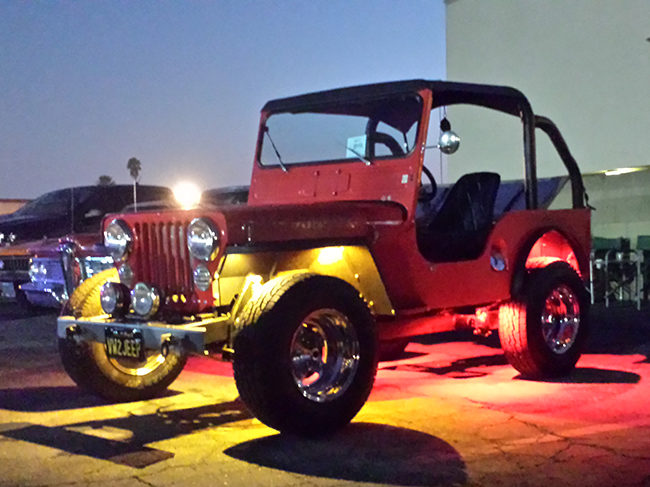
Update on Mike’s Customized VEEP
UPDATE: Mike continues to update his VEEP. You can view more pics via this blog post:
https://ranchotransaxles.com/vw-veep-visits-rancho/
============================
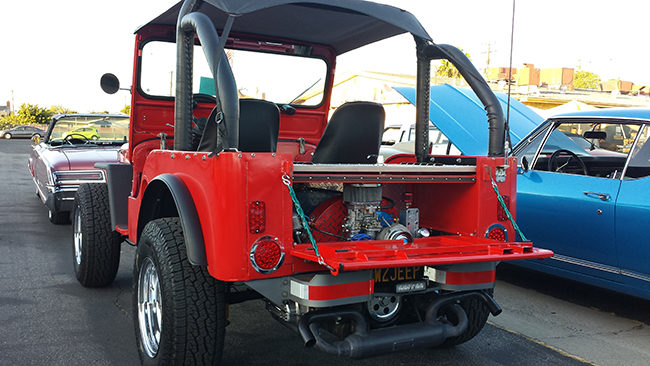
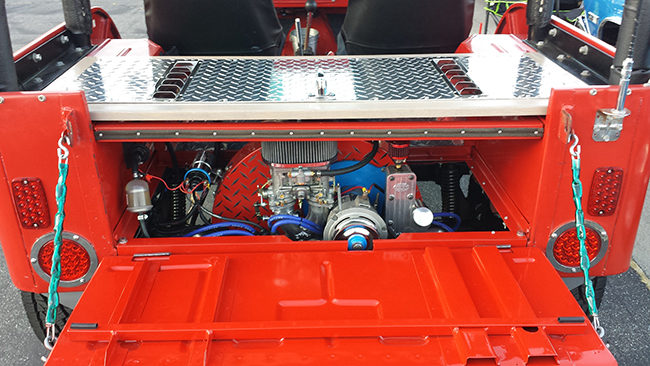
Originally Posted January 4th, 2020: Mike bought this VEEP in September of 2018 in Arizona. It ran, but had lots of surface rust on the paint. So, he blasted the body, rebuilt the engine (to 1915cc), redid the engine compartment, and added some other custom elements. His goal was to enter it in local car shows and, so far, he’s won four trophy’s with it. Nice work!
More Progress on the FC & New Mobile eWillys HQ
We’ve spent the past couple of weeks researching and viewing motorhomes (so much learned). We have decided upon one we like (powerful, 10k towing, easier to maintain, strong resell market, locally made, plentiful solar power), which I’ll unveil later this week, assuming everything goes well (we have a bit of a drive to go get it). I’ll discuss this more later.
It’s first ‘event’ will be in two weeks at the PNW4WDA summer convention. Here is a sneak peak (again, if all goes well);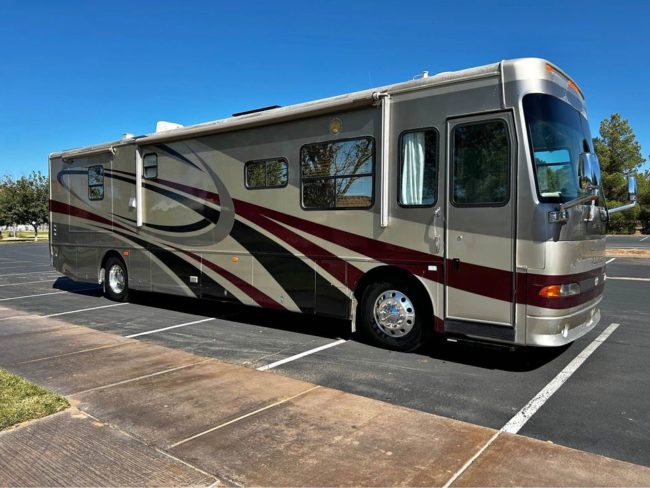
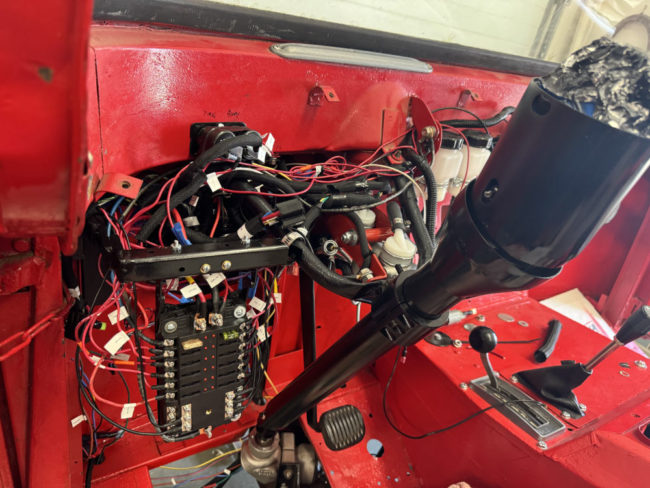
All that time and research, plus more heat and Ann’s short vacation, definitely slowed progress on the FC. But, I was able to get most of the wires labeled using Ann’s label maker, though I didn’t realize until half-way through that I could create multiple lines (insert head exploding emoji here); so, for example, “Bat-to-Ign” on one line could be better labeled “Battery to Ignition” on three lines.
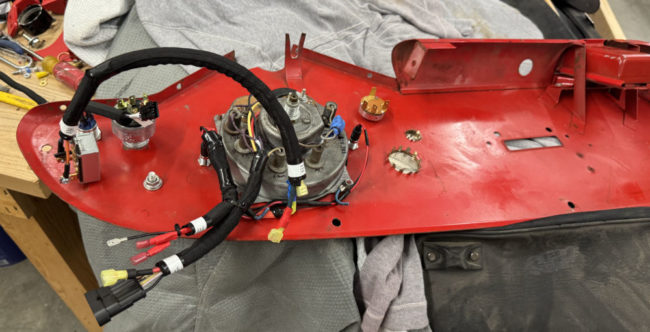
Once I complete that task, then I can bind the wires up more tightly and cleanly and begin testing systems. As you can kind of see below (not the best pic), the wiper knob, the light switch, the ignition switch, the dash-turn blinkers, and the speedometer are all connected using plugs. They all have labels, so identifying their corresponding plug should be easy. In addition, I tried to use different types of plugs so that plugging something incorrectly would be nearly impossible. The lighter is also easy to unplug. More difficult is the three gauges under the dash, as two of them are mechanical (I couldn’t find 1.5″ electric temp and oil gauges). So, the gauge panel has to be unbolted if the dash is completely removed.
Here, most of the wires have been labeled. I can’t wait to clean up the spaghetti!
FC Update
Progress continues on the FC, though if feels at a snails pace at times. I was near done running wires, but then decided to wire the main electric fan the correct way by installing a relay setup. I also decided to install the somewhat vintage Sun tachometer onto the left corner of the dash (in an existing hole), as it would be good to see the RPMs for when the transmission shifts. The brake lines, the speedometer cable, and all the wires from underneath the cab come up through two holes, so that should help clean up the look of the driver’s side.
I looked into solid state blinker setups, but haven’t found one that fits my needs. I may just go with the old school round flashers.
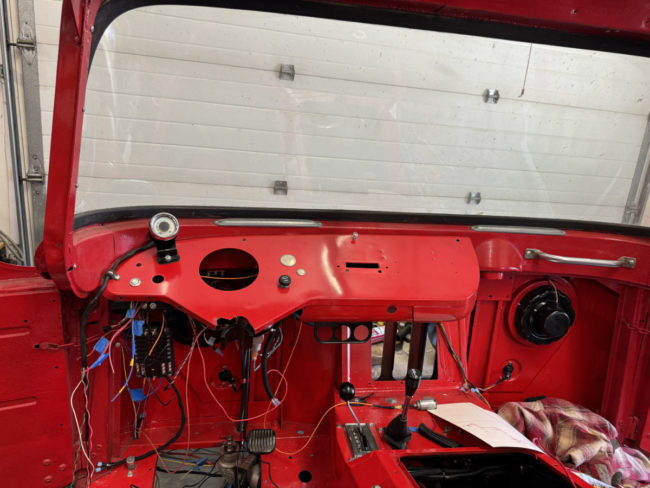
Here’s a pic of the dash. The spaghetti is laid in place to be cleaned up once all the wires are in their respective locations.
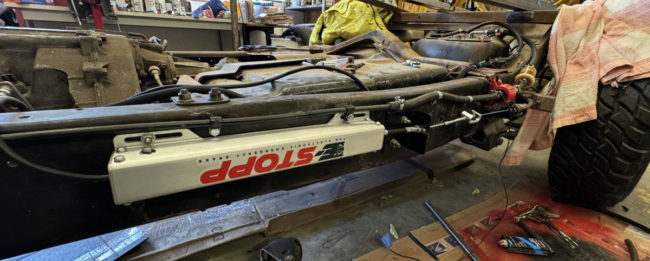
Below is the e-stopp parking brake installed, with the redone gas line just above it. I will be dropping that one high spot in the gas line, but, over all, I think this setup will work just fine. I’ve tried to leave space for the forthcoming mounting bracket for the rear cage & platform.
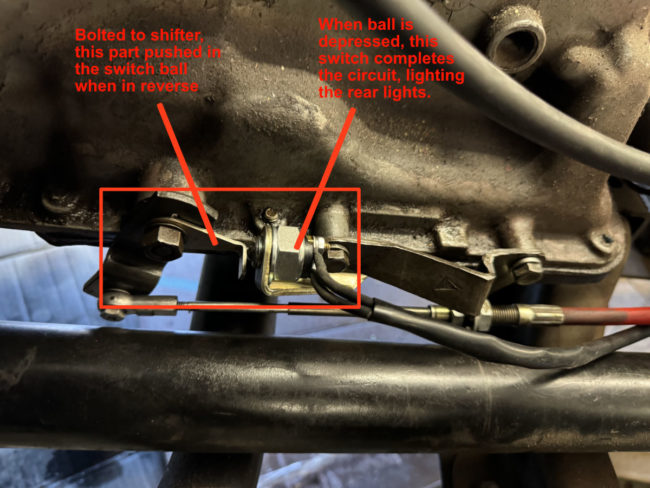
This phot shows the installed rear light switch, with the initiating bracket bolted to the shifter bracket. The wiring to/from the brake light still needs to be secured and won’t be laying on the front drive line as pictured! Everything fits well in there.
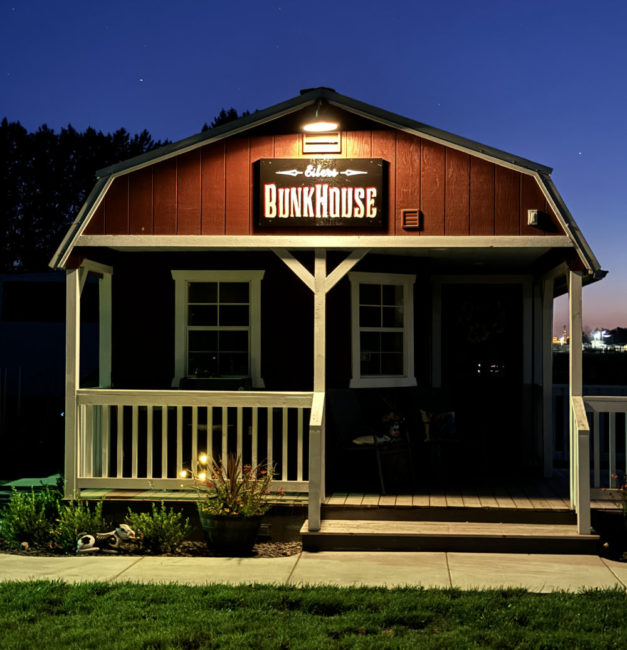
Finally, just for kicks, we finally mounted Ann’s sign. It looks great, though I think the “bunkhouse” should probably be renamed the “paint studio”, as Ann mostly uses it to work on her canvas paintings.
