patterson Research Archives

To Top

What the Bell Crank?

• CATEGORIES: Builds, Features • TAGS: This site contains affiliate links for which I may be compensated.

I made an puzzling discovery about bell cranks the other day. I ordered a rebuild kit for Rusty’s bell crank. When I began assembling it, I discovered the original and new bolts were different. So, I had to use my old bolt (which fortunately was in good shape). Going back online, all the bell crank rebuild kits show the left hand bolt below (anyone need a new bolt .. I don’t). Do any other jeeps use the shorter bolt in their bell cranks?

Both of the DJ-3As have the same setup. The bolts they use lack an indent (used to secure the bolt to the bell crank mount). They are slightly shorter and 1/16th larger in diameter than the replacement crank. The DJ bolt lacks the hole at the end.
2017-05-22-bell-crank-bolts2 2017-05-22-bell-crank-bolts1

Here it is reassembled. The horizontal bolt clamps the unit together, but does not anchor the bolt.

2017-05-22-bell-crank-bolts3


To Top

Patterson’s Windshield Sprayer

• CATEGORIES: Features • TAGS: This site contains affiliate links for which I may be compensated.

One unique feature that came with Patterson is this foot pump activated windshield sprayer. This is how the bag looked when we bought it. The top was corroded and the bag was empty and dirty.  You can see the hose running from the top to the firewall.

2017-05-22-allstate-windshield-washer-before-cleaning

Under the dash, the hose ran to the pump.

2017-05-22-allstate-windshield-washer-pump

Here’s the whole system after the parts were cleaned up.

2017-05-22-allstate-windshield-washer-system

Unfortunately, the rubber on the pump isn’t any good. I found an NOS food pump on eBay that’s affordable, but would love to find the same pump again. Continue reading

 
To Top

Fixing Patterson’s Seat Mounts And The Extra Channel

• CATEGORIES: Builds, Features • TAGS: This site contains affiliate links for which I may be compensated.

UPDATE II: Add are some instructions (thanks Terry!) for installing DJ-3A seats:

1956-06-15-dj3a-seat-install-directions1-lores 1956-06-15-dj3a-seat-install-directions2-lores

======================

ORIGINAL POST UPDATE MAY 2017: I’ve added a couple pics at the end and included a discussion on the extra channel DJ-3As have.

Last fall, when disassembling Rusty, I thought it was odd that the 2/3 1/3 seats had been mounted on wood blocks. I assumed this had been done by the previous owner to raise the seats.

Yesterday, I discovered that Patterson’s passenger seat was loose. When I examined it more carefully, I learned that it was loose because one of the wood blocks under the seat had broken. I can only conclude that all DJ-3A’s with 2/3 1/3 seats were mounted on wood blocks? Or maybe only the early ones?

The photo below shows the passenger seat tilted forward. The front of it is mounted in a way that allows it to pivot forward. The mounts are bolted through a piece of wood, then through a piece of cloth, through the body, and into a welded bolt. The rear of the seats rests on the two mounts at the back of the well. The long piece of wood is a well-seasoned (at least 45 years old) and stained piece of oak that will work perfect for replacement blocks.

2017-05-20-seats6

Unlike the passenger seat, the rear of the driver’s seat rests on two posts; slide onto the ends of the posts are rubber feet. Those rubber feat sit on blocks of wood also. 2017-05-20-seats7

A close up of the rubber foot. The hole is 1 inch in diameter, so I ought to be able to find rubber feet to replace these tired ones.2017-05-20-seats8

This shows how great the floor on this DJ is.

2017-05-20-seats9

Another angle. Blocks 1, 4, 5, and 6 were the same size. Blocks 2 and 3 were larger and screwed down to the body. The rear 2/3’s seat rested atop those blocks.

patterson-seat-blocks

I’ve drilled cut and drilled the blocks. They are ready for installation. I plan to add a thin piece of rubber under the blocks. Once I remove the rusted end of one bolt that broke, I’ll be able to reinstall the seats.

If you take a look at wood block #1 and block #6 there’s something curious. While the body area under wood block is similar to a CJ-3A, the body area under #6 has an additional channel (btw, we’ve yet to document any under DJ-3A body channels with wood in them).

This is the passenger side with the extra channel and a welded bolt.
patterson-dj3a-underside2

No channel on the driver’s side even though there is a bolt welded there. patterson-dj3a-underside3

Finally, the DJ-3As used wood blocks between the frame and transmission crossmember.

patterson-dj3a-underside1


To Top

Assembling a DJ-3A Column Shift

• CATEGORIES: Builds, Features • TAGS: , This site contains affiliate links for which I may be compensated.

Yesterday I assembled Rusty’s column shifter. In my head, I took all kinds of photos. One in particular I took (again in my mind) showed the layout of all the parts prior to assembly. Alas, somehow that photo never made it onto my phone!

The DJ-3A shifter is slightly different from a VEC CJ-2A shifter. I can’t say how much it differs from a Jeepster or wagon column shifter. But, i can say that following these VEC CJ-2A instructions were very helpful.

After laying out the parts (and not taking a photo) I began the assembly process by learning how to install the horn wiring. After looking up how to do it on a 3B (thanks CJ-3B Page!), it turned out to be quite easy.

Step 1) Thread some of my grandfather’s wire through steering shaft.

2017-05-20-column-shift-assembly1

Step 2) Attach the wire to the horn wire end. In this case, I ran it through wire connector and then bent it so that the wire would not pull back out of the connector. 2017-05-20-column-shift-assembly2

Step 3) Pull the wiring carefully through the end of the shaft.  2017-05-20-column-shift-assembly3

With the wire installed, next on the list was assembling the shifter. The first step involved installing a washer, a spring, and a second washer onto the column shift tube Next, the interior shift lever must be screwed onto the shift housing. Then, slide the shift housing onto the column shift tube, pushing it far enough up so that a special metal pin can be inserted. Once that is done, you have to weld the end of the tube to the pin to secure it.2017-05-20-column-shift-assembly4

Continue reading

 
To Top

Fixin’ Patterson’s Windshield

• CATEGORIES: Builds, Features • TAGS: This site contains affiliate links for which I may be compensated.

Another item I tackled yesterday was Patterson’s windshield, specifically the twisters and a rear view mirror.

It wasn’t until yesterday that I realized Patterson didn’t have a rear view mirror. Fortunately, I had the mount from Rusty and a nearly correct mirror thanks to Chris McKay. This is before I added the mirror:

2017-05-20-windshield1

And after the mirror. 2017-05-20-windshield2

Next I addressed a couple of broken twisters. These are one of the unique features of a DJ-3A Convertible. The windshield is nearly like a CJ-3B, accept for the way the convertible top is supposed to attach to the windshield. Instead of a sliding mechanism, it uses those twisters. Two of Patterson’s twisters were broken. I had a few that I removed from Rusty (most of Rusty’s were broken), so I installed two of those onto Patterson. 2017-05-20-windshield3

The windshield is now complete and ready for a convertible top.

 
To Top

DJ-3A Column Shifter

• CATEGORIES: Features • TAGS: This site contains affiliate links for which I may be compensated.

Just a few updates tonight. We’d changed plans slightly when we left Klamath Falls on Monday. We were supposed to go to Renton, but Ann was suffering from some brain fluid issues again (pressure, head ache, nausea), so we hightailed it straight to Pasco. I guess this trip was just a little too long for her. Once we got her home and she could lay down, she felt a little better.

On Wednesday, she still wasn’t feeling great, so I brought Patterson up to Renton by myself. Yesterday, I had the time to do some work. Unfortunately, I discovered something a little disheartening. More on that later ….

I began the morning with a simple task: remove the column shifter handle and replace it with Rusty’s.  The lever at the top is Rusty’s (it should be chrome rather than black, but that will have to wait). On the bottom is Patterson’s broken one. Patterson’s may be repairable, but it will take some time.

2017-05-18-column-shift4

For comparison, here’s a CJ-2A shifter (this site shows how to assemble a CJ-2A column shift mechanism). It’s got a little more primitive looking end:

cj2a-shifter

One of the first things I had to figure out was how to mount the anti-rattle spring.

2017-05-18-column-shift5

This spring is slightly different from the spring used on CJ-2A column shifters.

For comparison, here is a CJ-2A spring drawing:

cj2a-forum-spring

Continue reading

 
To Top

“Patterson”, Our Newest 1956 DJ-3A

• CATEGORIES: Features • TAGS: This site contains affiliate links for which I may be compensated.
2017-05-13-karson-graduation-dad

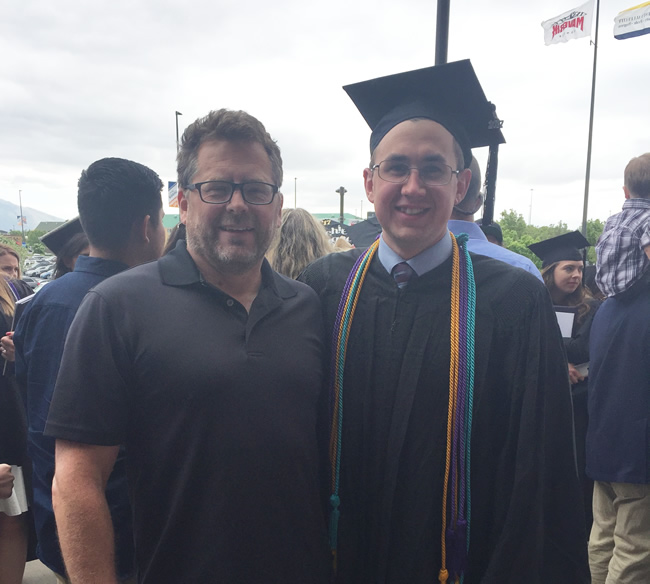
Karson Eilers (right), college graduate!

It was late Sunday night when I wrote this, so it’s going to be briefer than I’d like. We spent most of the day yesterday driving (after a long drive the day before). I believe I may be a little loopy; time to get some rest, so this is tonight’s only post.

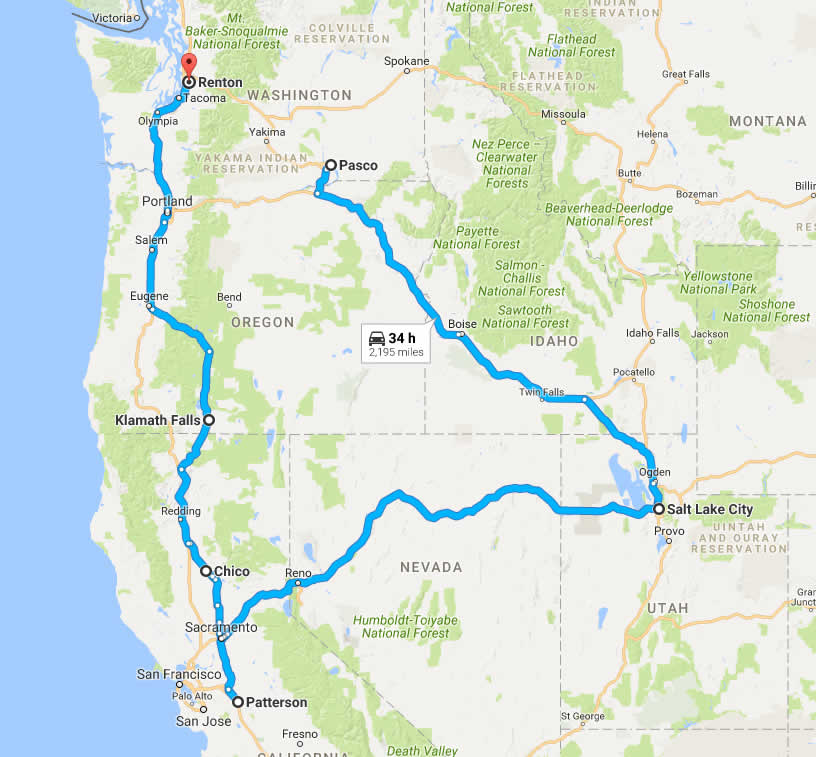
For several weeks we’d been planning to go to Salt Lake City May 13th to celebrate my son’s graduation from Westminster University. It was only last week that this trip turned into a jeep purchase, this in turn led to a more circuitous route home. It is all the result of an ad I saw on Craigslist last week.

2017-05-14-slc-patterson-trip

We left Thursday. last night we stayed in Klamath Falls, Oregon.

It was just another evening of reading through ads when I happened upon a Craigslist ad with no pics and a short description of a 1956 2WD jeep. Curious, as I thought it could be a DJ-3A, I sent an email, asking if it was wagon or truck. I quickly received a friendly email describing the jeep as a 1956 CJ-3A. What followed was me explaining what DJ-3A was, with my intent only being to educate and help the sellers find a good buyer. Pretty soon, I had a series of photos which depicted a very original 1956 DJ-3A with what appeared to be original seats, zero rust, and a variety of other parts.

At some point I showed Ann pictures of the jeep. Then, Ann’s mother piped up and said that she’d loan me the money if I wanted to purchase it. That led me to investigate the DJ-3A further.

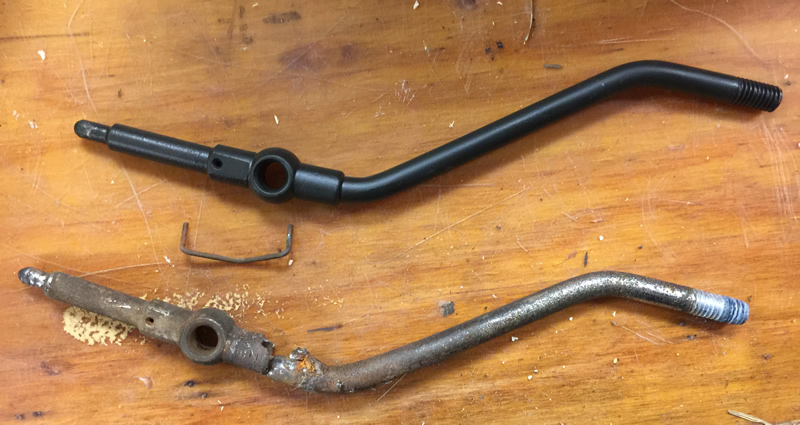
The sellers, Nick and Erika, were wonderfully patient in their responses to my questions. When I asked for photos of some aspect, they were always quickly accommodating. After discovering there was a brake problem, some peeling paint, and a broken column shifter, I made an offer, which factored in my concern that there were other problems and one that also considered the distance we would have to travel to pick it up. The sellers accepted my offer, satisfied that it would go to someone who understood its value and would keep it stock. It was very generous of them.

Fast forward to Sunday (I won’t go into installing a hitch and activating the tow package in the jeep, which required a dealer), we arrived at 10am to meet Nick and Erika. They turned out to be as wonderful in person as they had been over email: gracious and kind.

nick-erika-patterson

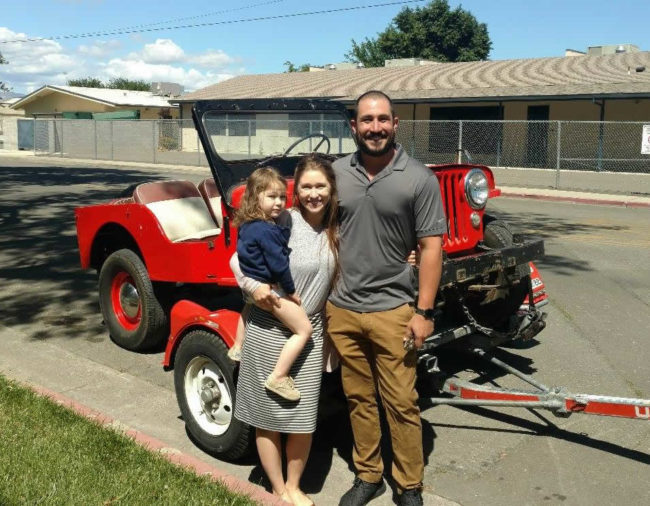
Thanks Nick and Erika! We’ll take good care of Patterson.

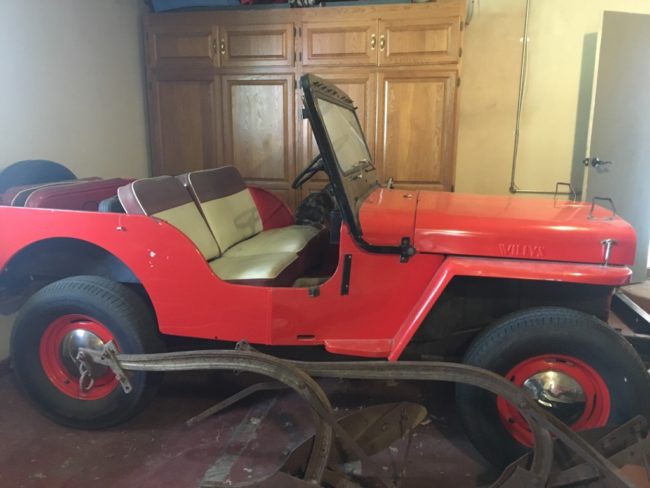
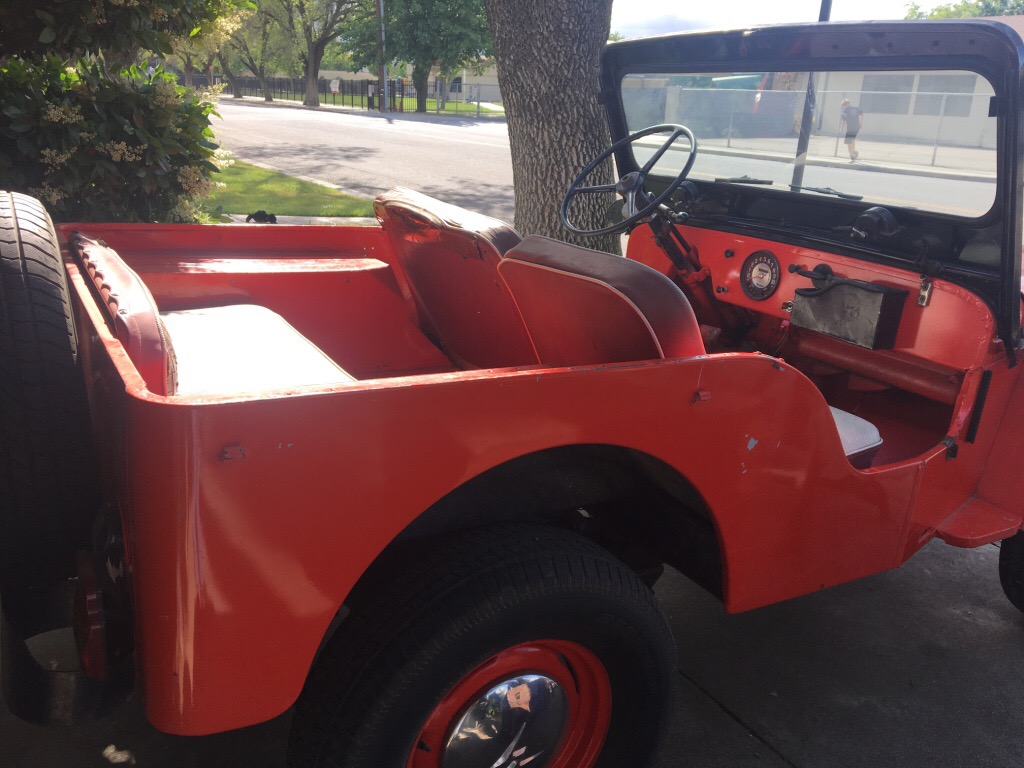
Nick explained the history of the jeep. The city of Patterson (and reason behind the jeep’s name) is known as the apricot capital of the world. An apricot farmer there bought this DJ-3A new. The farmer used it on his farm and also drove it around town. I am even wondering if the color of this jeep is meant to be “apricot”, maybe special ordered? I looked extensively under the cowl and couldn’t find another color. And, it has an Apricot-themed license plate. I will keep investigating this.

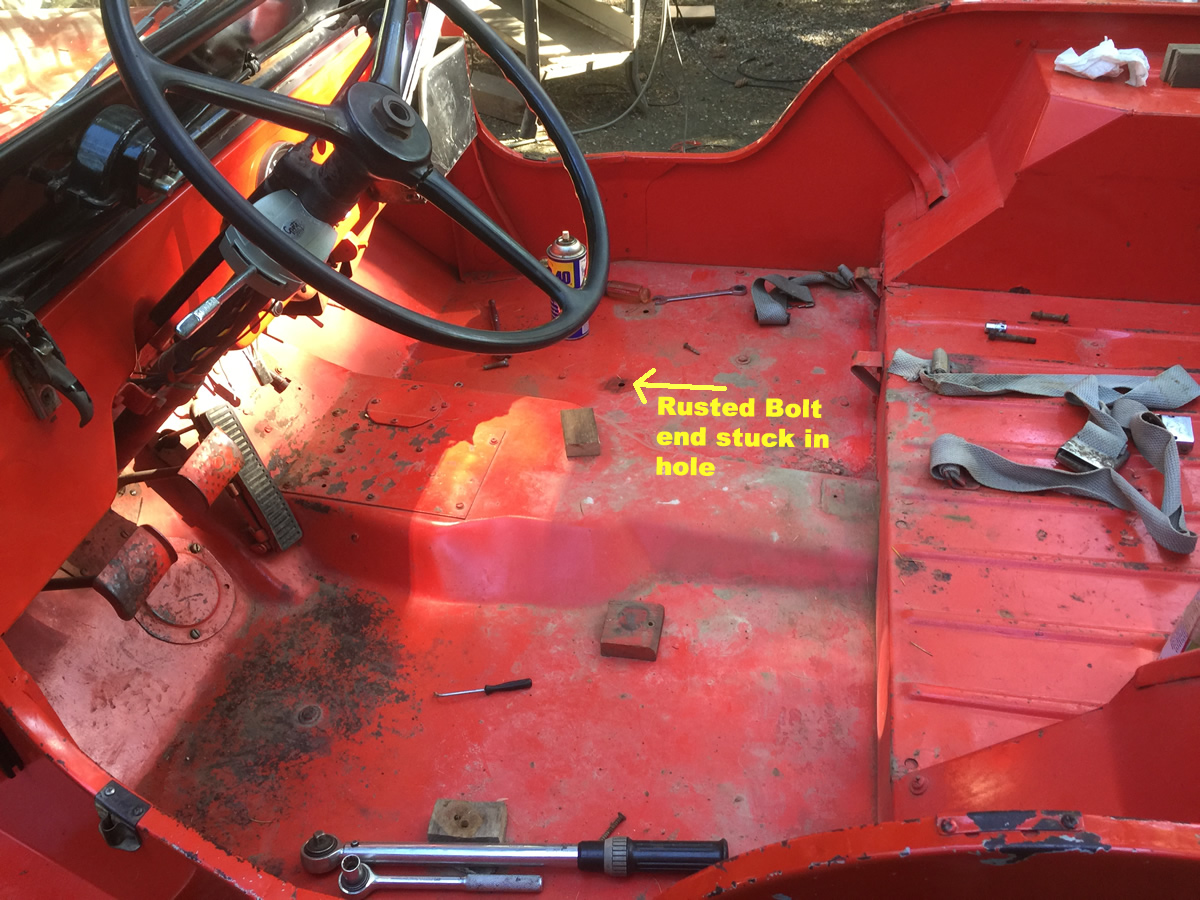
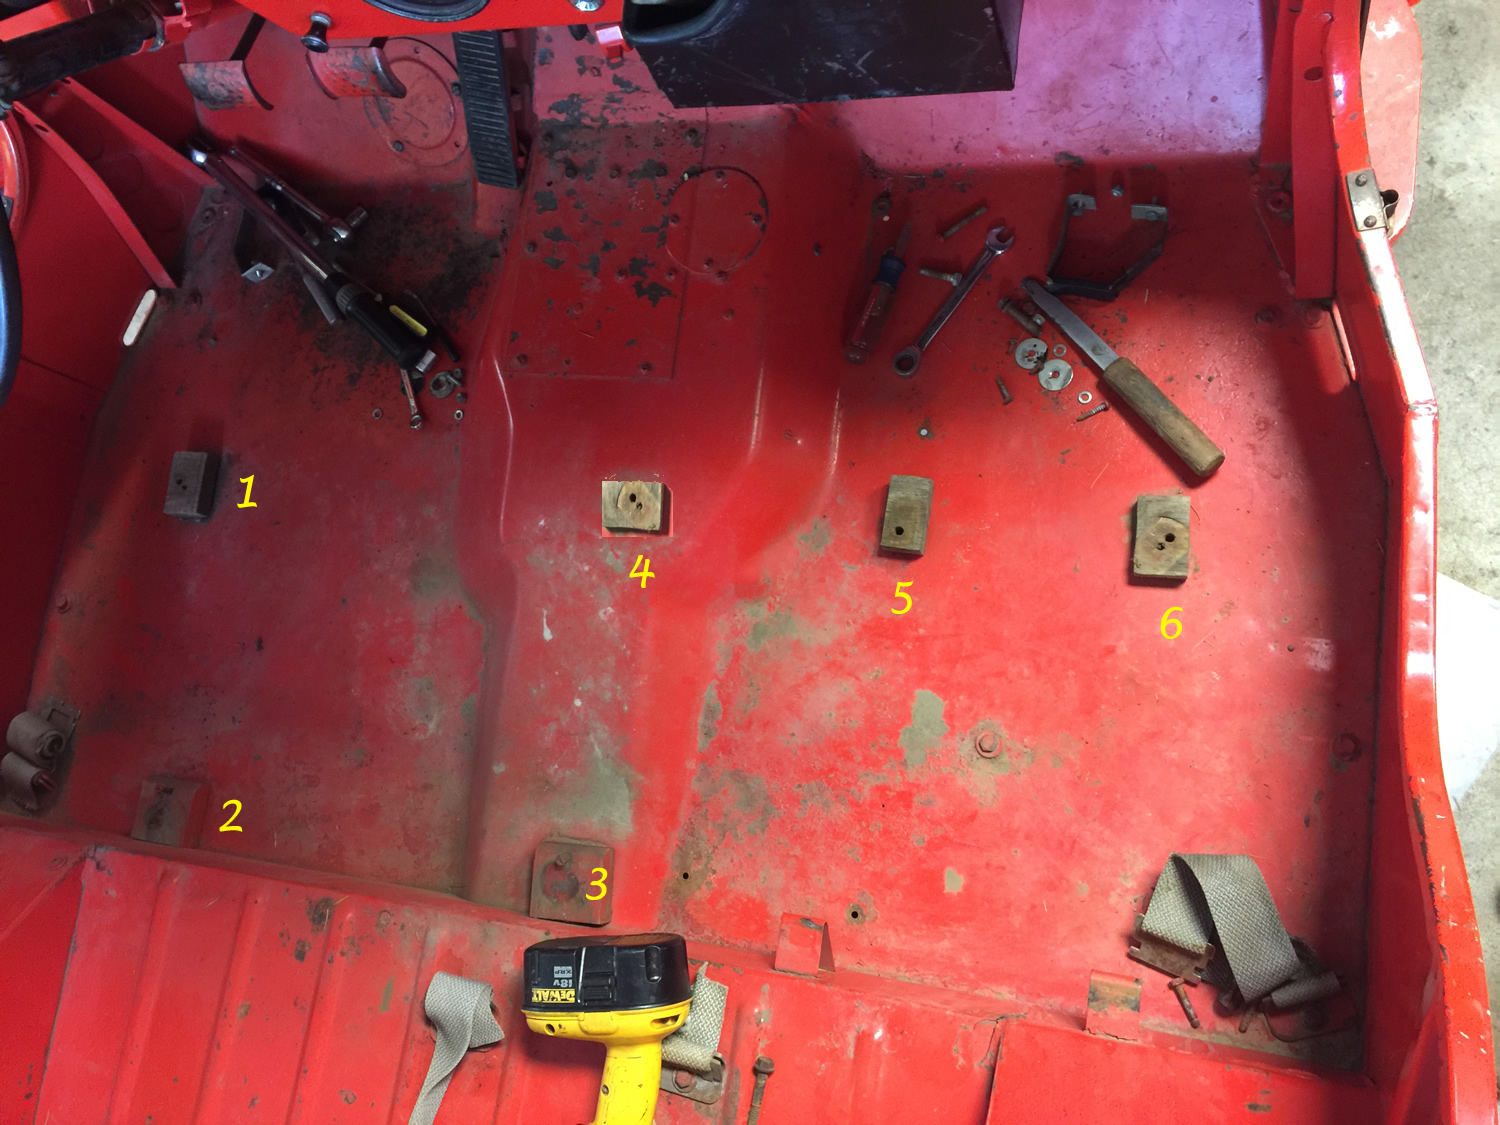
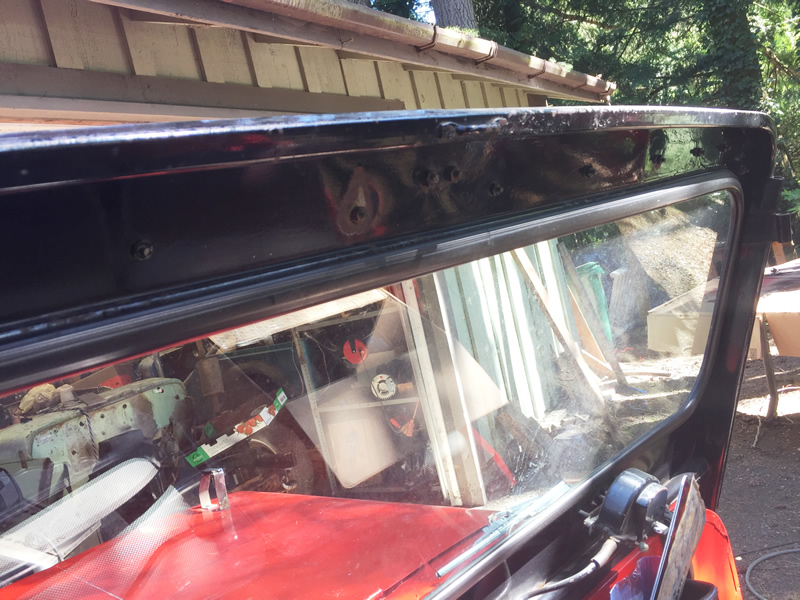
There’s more to tell, but for now, here are some photos:

1956-dj3a-modesto-ca3

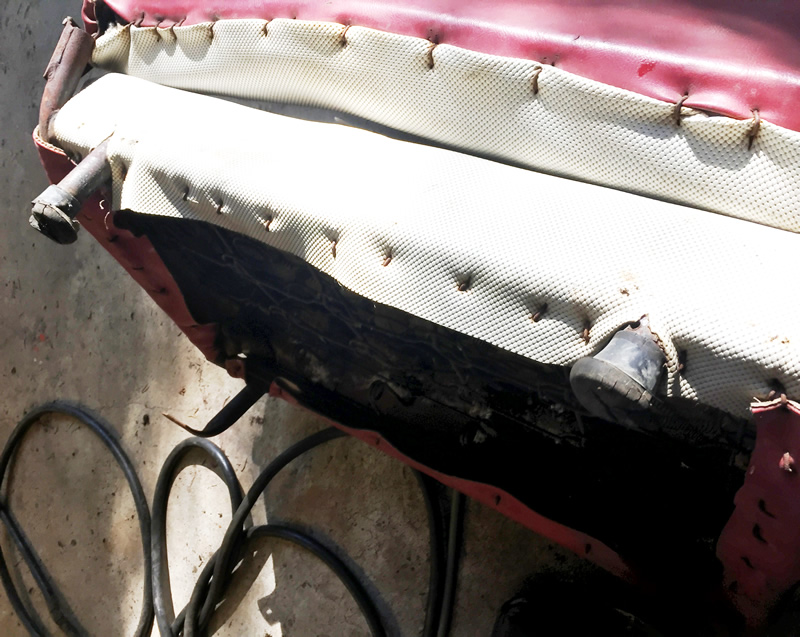
Has a rear seat. The seats look original.

1956-dj3a-modesto-ca2

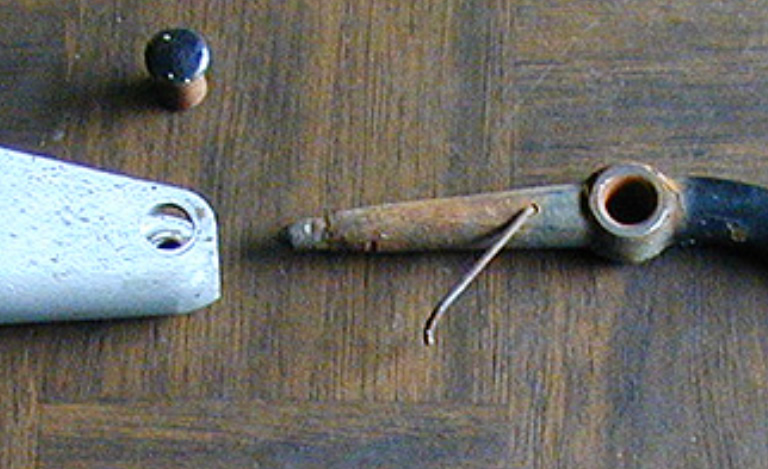
The wood hood blocks had been replaced; the replacements work well.


1956-dj3a-modesto-ca5

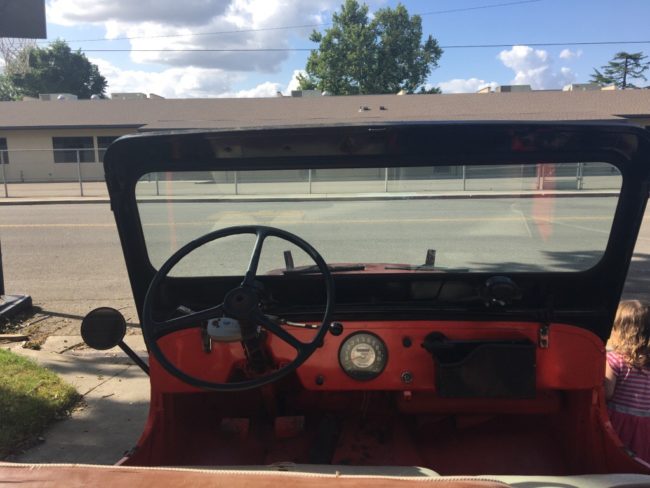
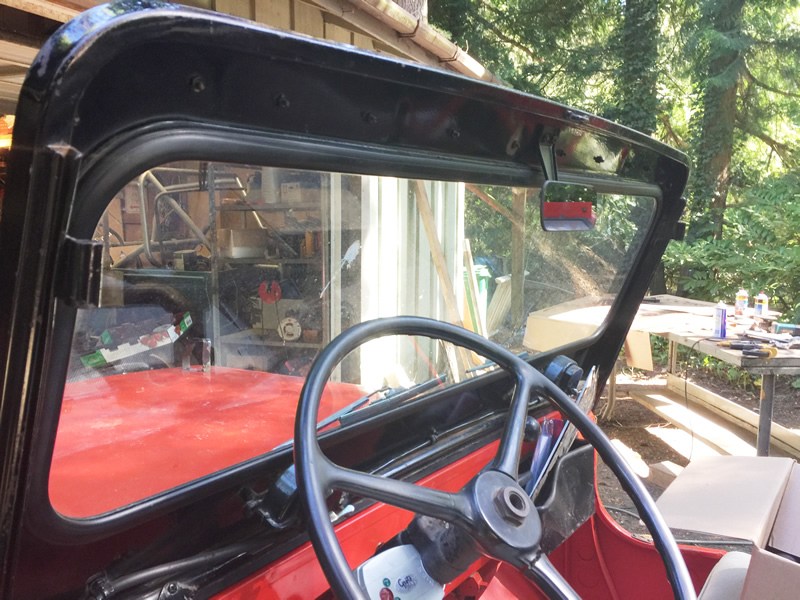
Note the early CJ-5 0-10 speedo. This appears to confirm that the earliest DJs came with that speedometer.

1956-dj3a-modesto-ca4

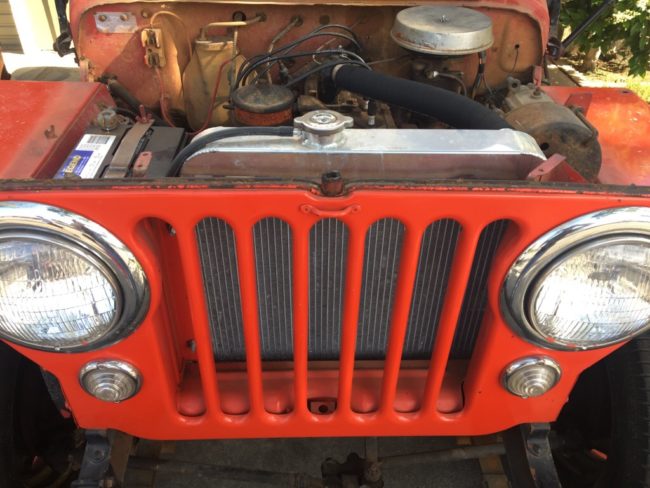
New radiator built by Nick’s friend. It looks great!

Continue reading