
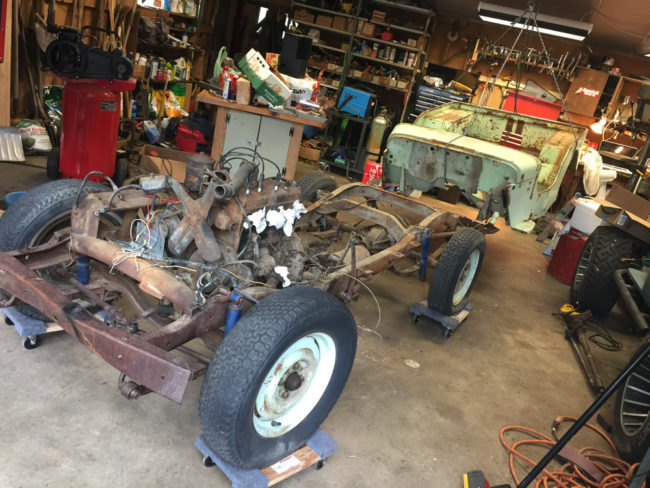
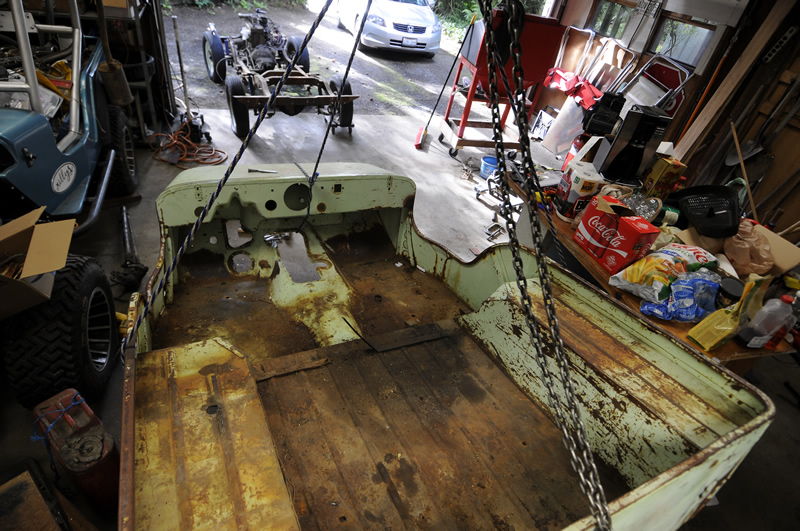
There’s nothing like disassembly to reveal all the problems that remained unseen. Once the body came off, the realities revealed themselves.
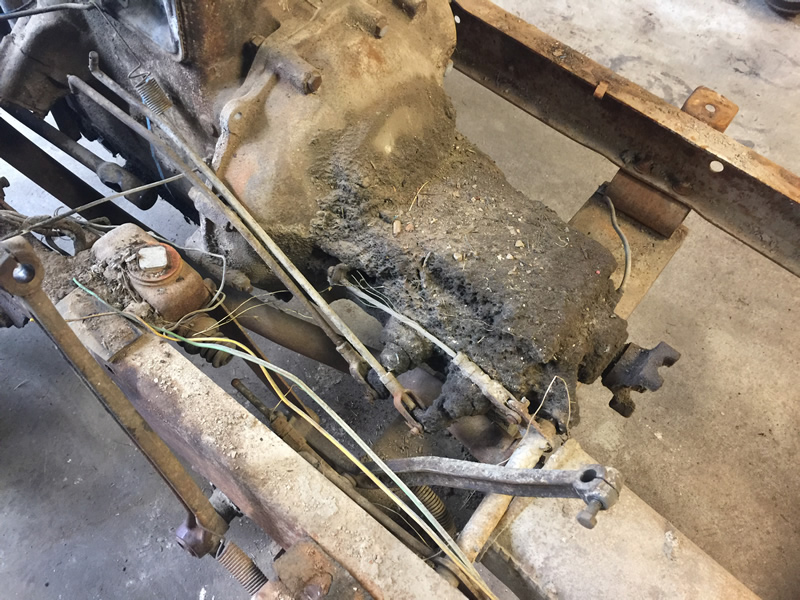
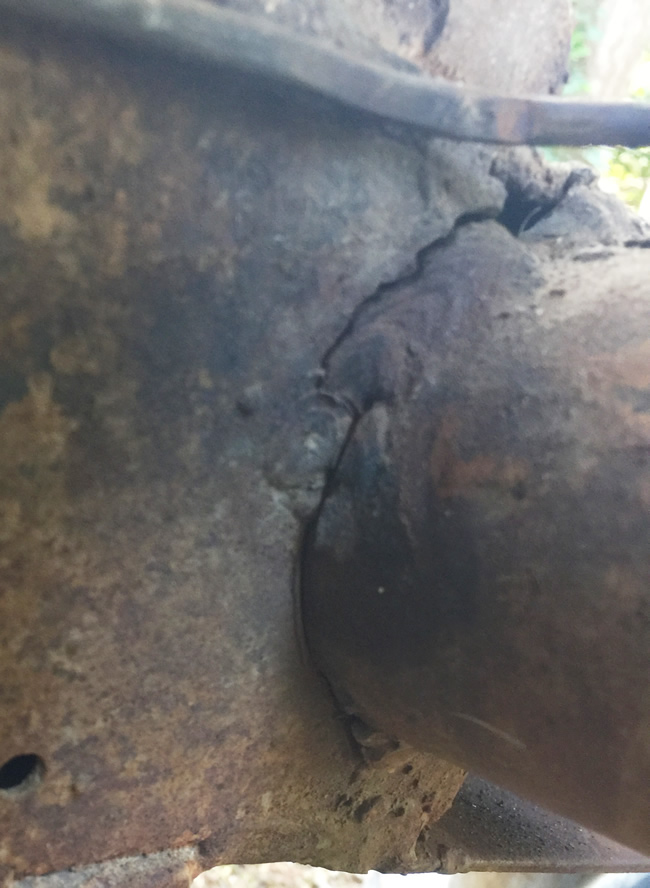
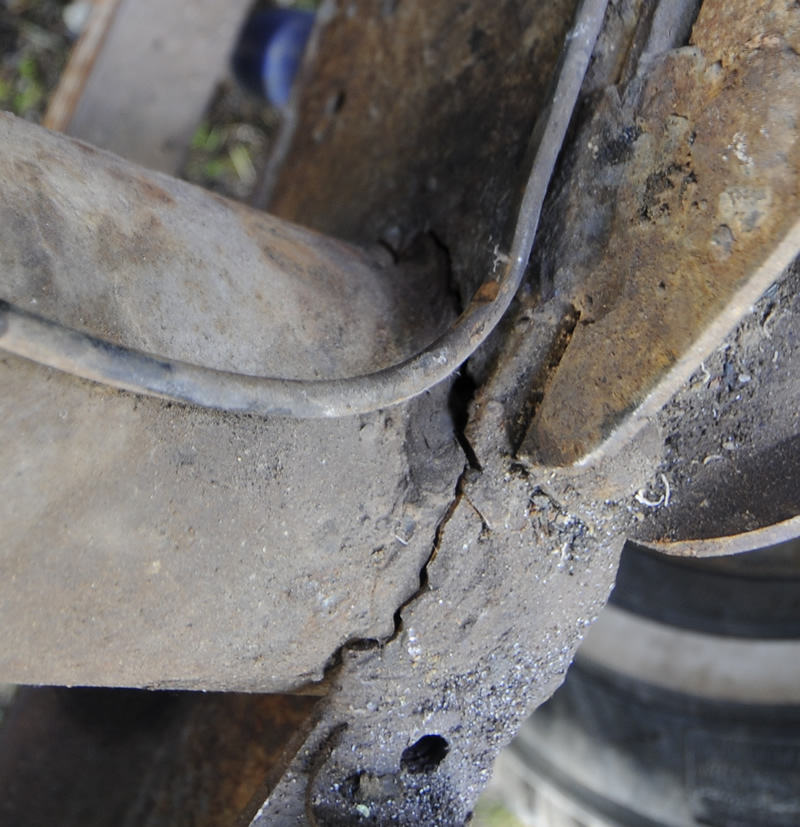
The front cross member is cracked on the driver’s side (no surprise there — funny how I didn’t notice it with the body on it). The transmission is so packed with muck that I doubt any oil could leak through it. There are also some odd bends, like the mid cross member, which had something hit it with enough force to bend one side. Maybe the driveline broke at some point and flew up into it? Of course, there were rusty bolts, too, some which not even PB Blaster could save. At least it is getting closer to being disassembled.
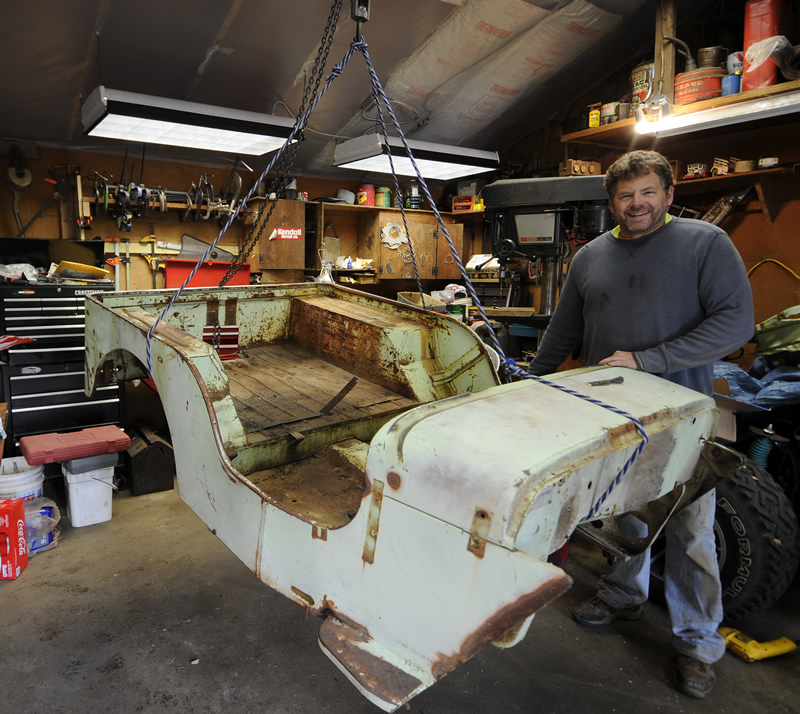
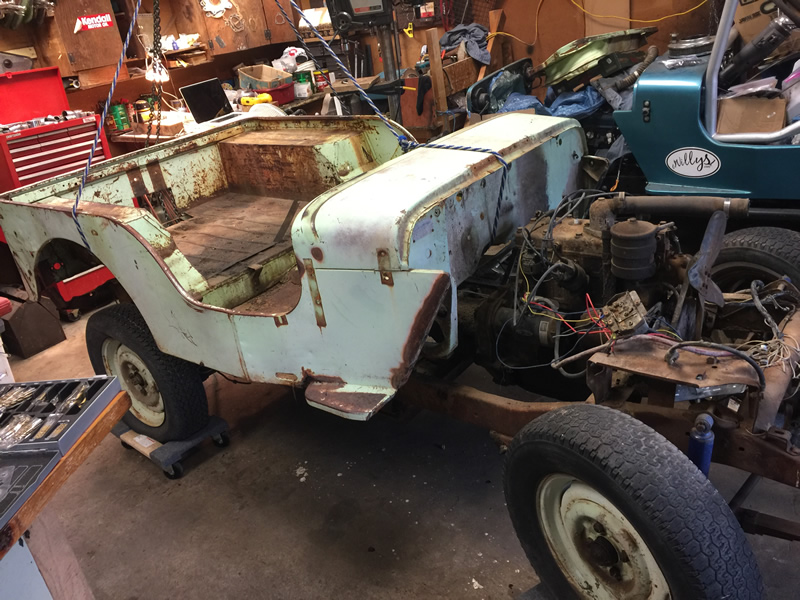
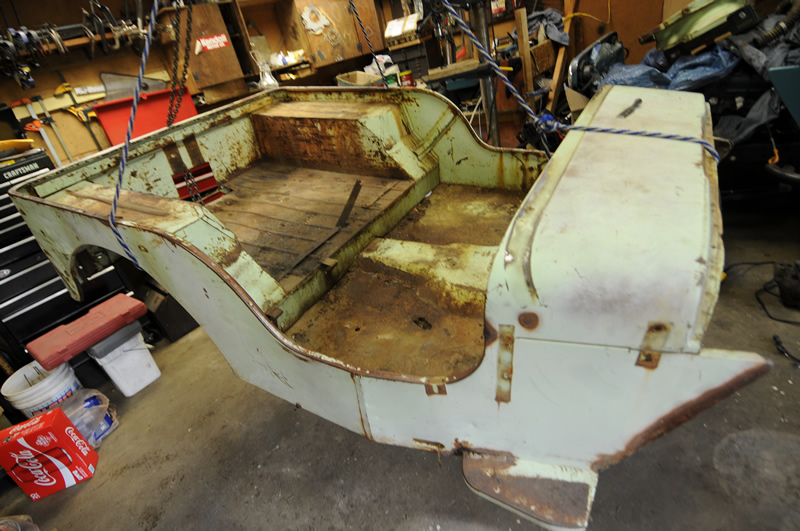
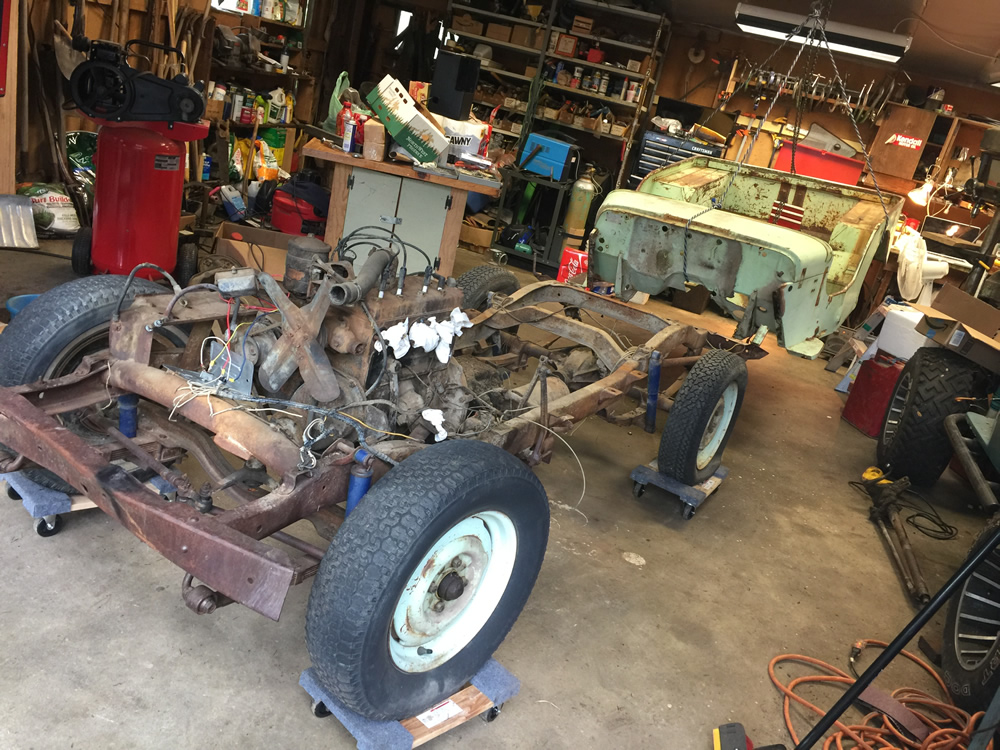
The first big event was the removal of the body. I used a block and tackle to pull the body off:
Next I tackled the rear bumper. Ideally, it should be replaced. But, for now, I will straighten it, weld the cracks, then reinforce the bumper for the trip so it can carry a load (jerry cans, spare tire, and stuff). As you can see, the previous owners were rough on it.
For the most part, I used vices to re-form the bumper back into shape.
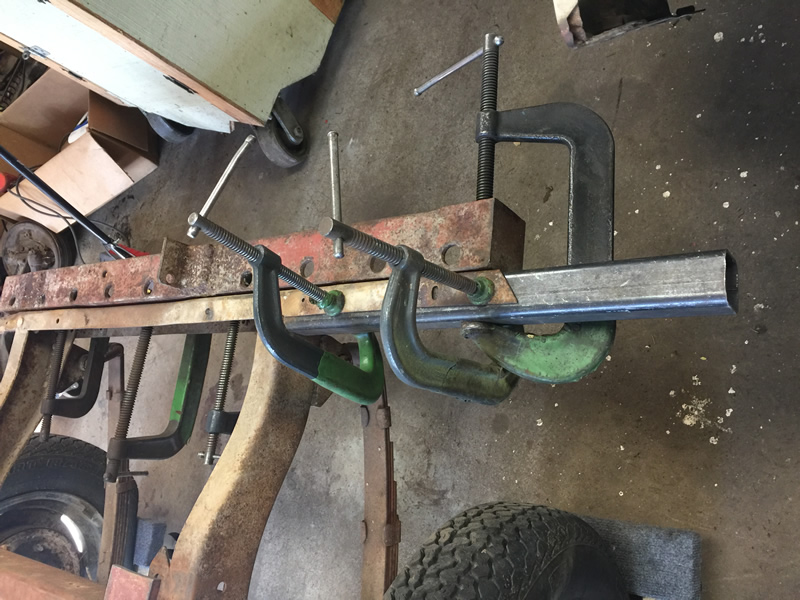
The pic below shows the driver’s side fixed, now it’s the passenger side’s turn. 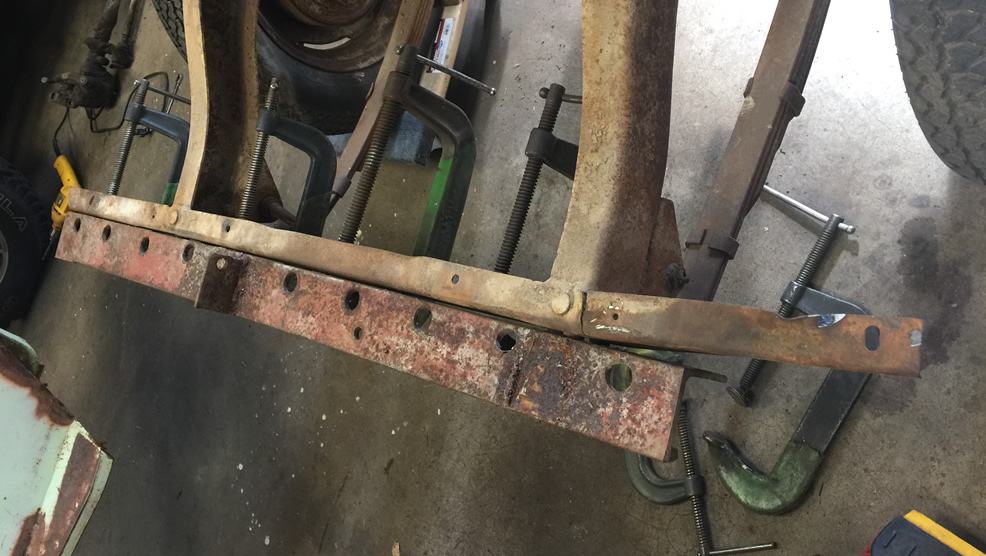
Again, there are a couple cracks that need welding, but the bumper is good enough for now.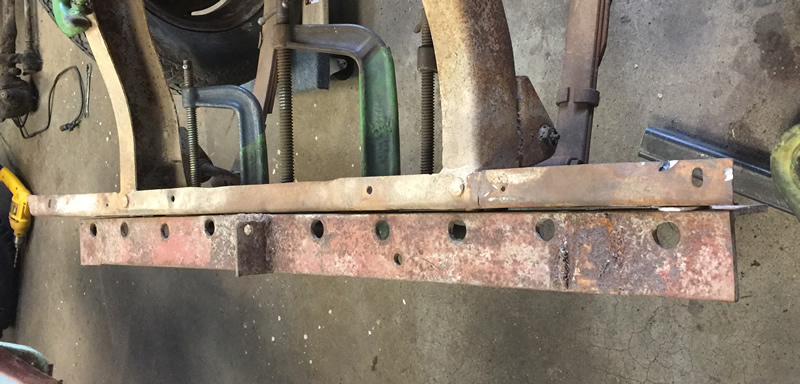
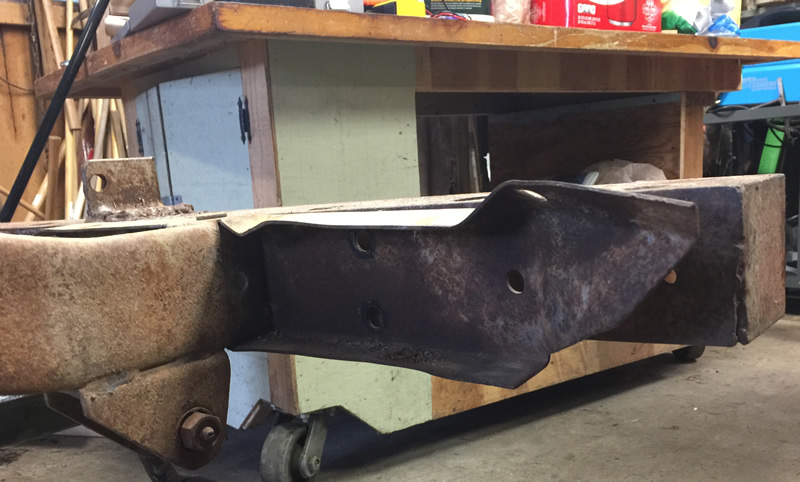
With that “good enuf”, I stepped forward to fix the mid-cross member. Please explain to me how that got bent? Could the rear differential have gone that high? I find it hard to believe, but I guess it is possible, especially if they had it loaded in the back (there are only a few leaves on a DJ spring).
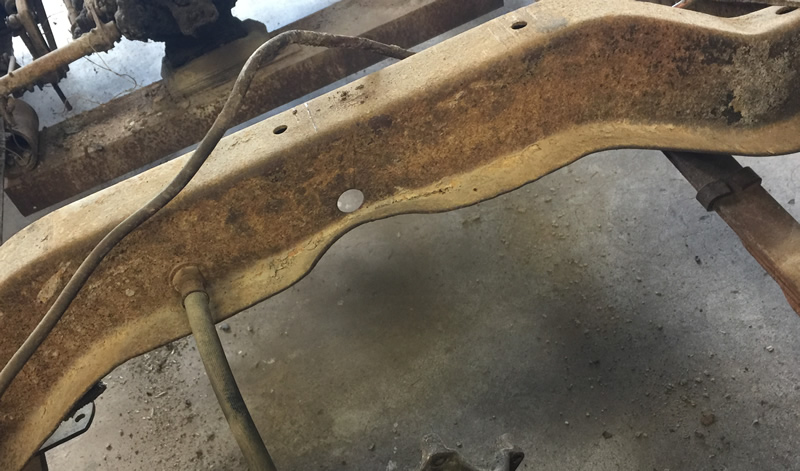
So, I pressed the metal flat again.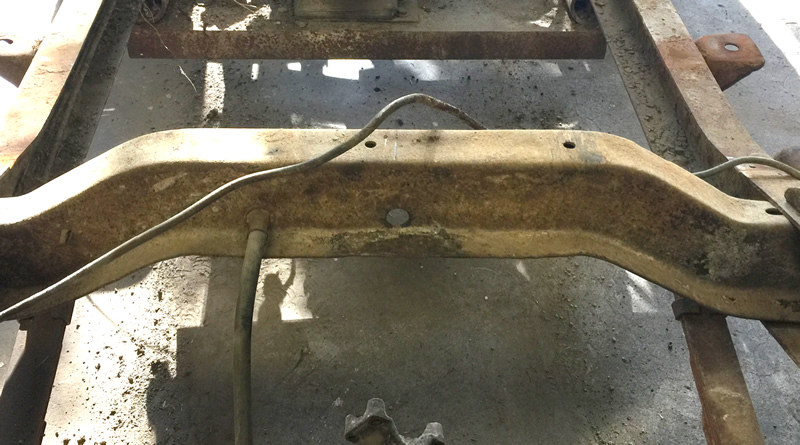
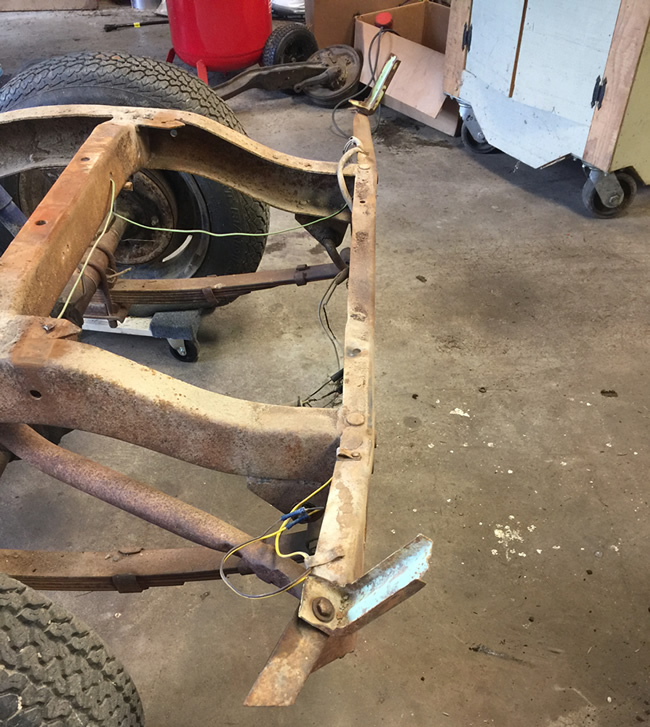
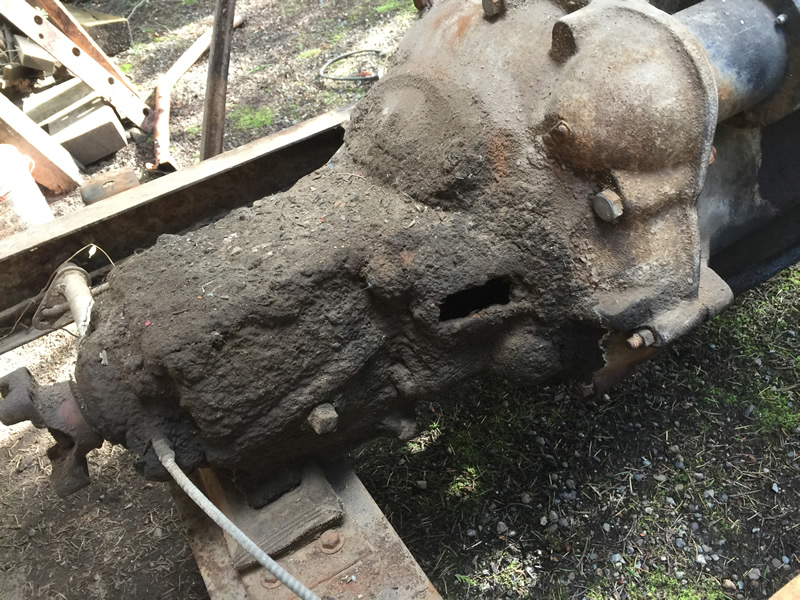
As I was doing these repairs, the rains came, and went, then the sun came, and went, then the cycle repeated itself. I really wanted to roll it outside to remove the front bumper. Finally, the sun returned and I rolled the chassis outside. A close inspection revealed a few things. First, the tranny is filthy:
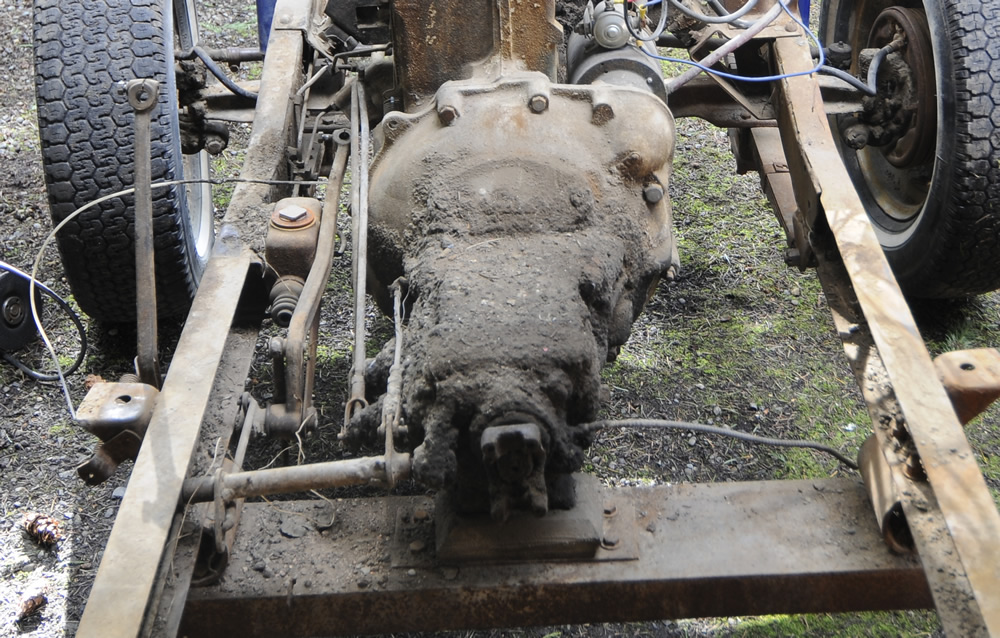
Next, I looked more closely at the front cross member:
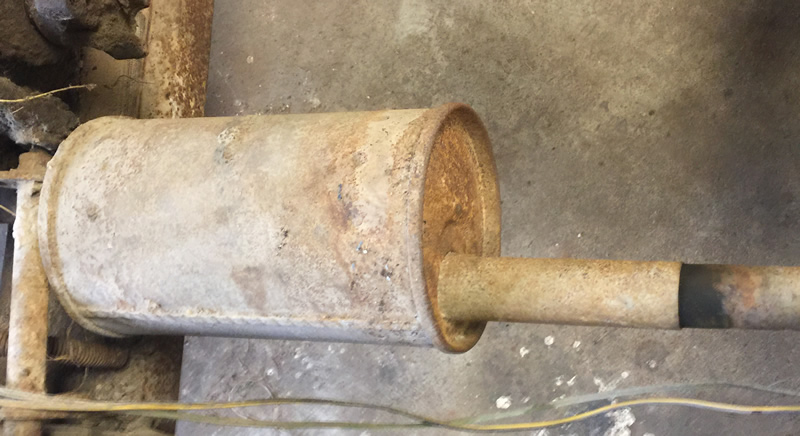
On the bright side, the muffler looks in great shape. The former owners didn’t even bother to clamp the bumper to the tail pipe!
Of course, no post would be complete with out an image of PB Blaster! Here, I’m acting as if I’m doing something for the photo op … this is why I never became an actor!

I plan to remove the bumper and clean things a bit, but will be traveling south to Spanaway, then on to Roy to visit my sister for the evening.

Lookin’ good…but I think your folks need a bigger garage !!
While the body shell isn’t really that heavy, I’d still suggest you use something a little more suitable than climbing rope to hold it up.
It looks like you have enough space in there for a car lift, which would have made your job a LOT easier. After I installed one in my garage, I found that a job that used to take 6 hours with jacks, a gantry crane, and blocks of beefy wood took only 30 minutes. That time savings, plus the safety factor, allowed me to get the nod to purchase from the much suffering better half. A side benefit to having the lift is that your car friends will be over to use it on weekends, unless you leave a car on it. LOL
Great progress, Dave! Are you planning to bead/sand blast and repaint the frame while you have it all exposed? …or even wire brush and rattle can it? While CraigInPA may be correct I was impressed with your rigging plus block-and-tackle solution
Nice work Dave. How are you going to get the gunk off the transmission? Scraper, wire brush, and Simple Green?
Dan,
That stuff is baked on! I’m thinking hammer and chisel. Out of this rough block I shall carve a transmission! I am an arteeest!
– Dave
Yes David carve us a Michaelangelo. In the promo, you sure you didn’t just bust a knuckle and bent over in anguish to get in the right “acting frame of mine” or are you really praying to the Jeep Gods in anguish? Good to see the progress continue, it gives us strength to see you thru to the final product.
Dave, that’s a nice size garage. It’s big enough for two Jeeps, tools and still has room for a table to hold the snacks necessary while wrenching. I like it.
Great progress Dave! Amazing what you can discover when these Jeeps start coming apart, literally and figuratively! I lifted the body off my CJ3A using my engine hoist and 4 nylon tie downs and no problem. I did the same with my Corvette body years ago, but we lowered it back down on the frame with a fork lift!!
That trans will take some elbow grease. Try soaking it in Simple Green for a couple of days to loosen the mud up and then go after it with a good putty knife or sheetrock mudding knife. Then maybe a trip to the local DIY car wash!