

All work and no noodles makes David grumpy! Good thing I found a new Ramen noodle place just a few minutes away from my parents. I had them add some pork belly. It was awesome!
More progress on Rusty, one part at a time. I wanted to remove the u-joints so I could sand blast and paint the driveline.
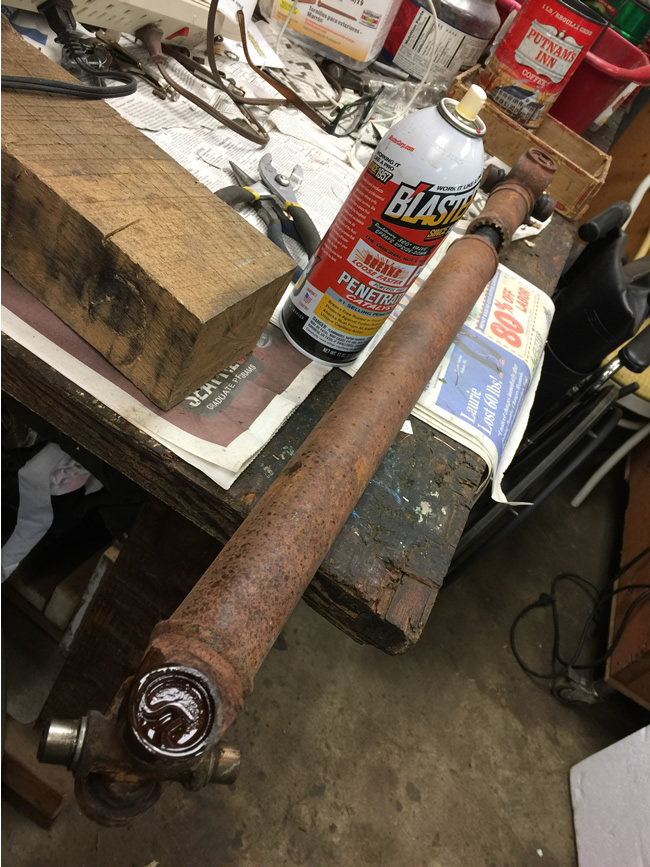
To remove them, I used my favorite vice, something that’s been around longer than me. Using two different sized sockets (one to slide through and one to catch the u-joint as it slides through, I pressed it through. Make sure the grease nipple is NOT on the side you are pressing or it will cause you problems. This shows the u-joint after the springs are removed, but before I began pressing.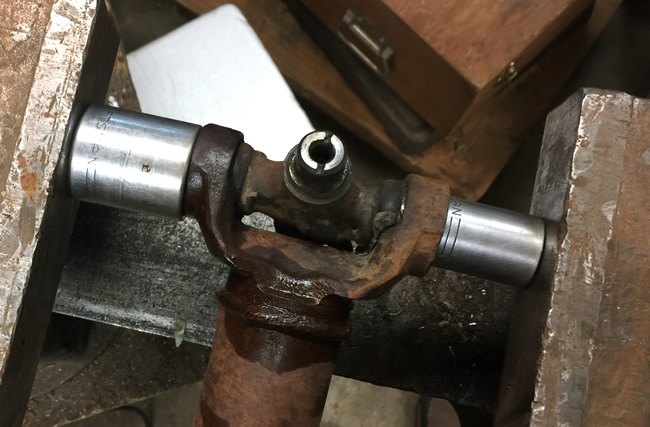
This shows the u-joint after pressing it through. 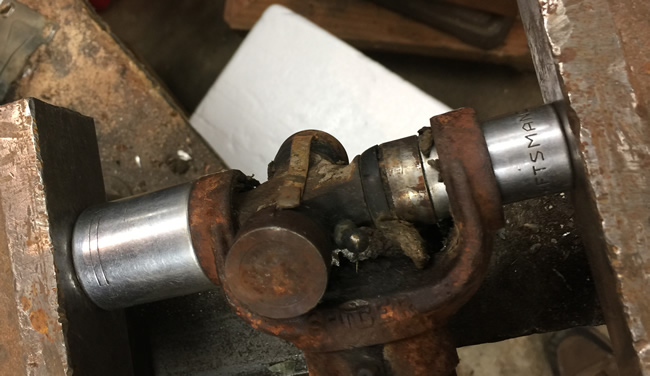
When I pulled the u-joint apart, I discovered this cover piece was bent quite a bit, so I set out to fix it.
The fix was simple. The hard part was finding a perfectly sized socket to correct the teeth evenly.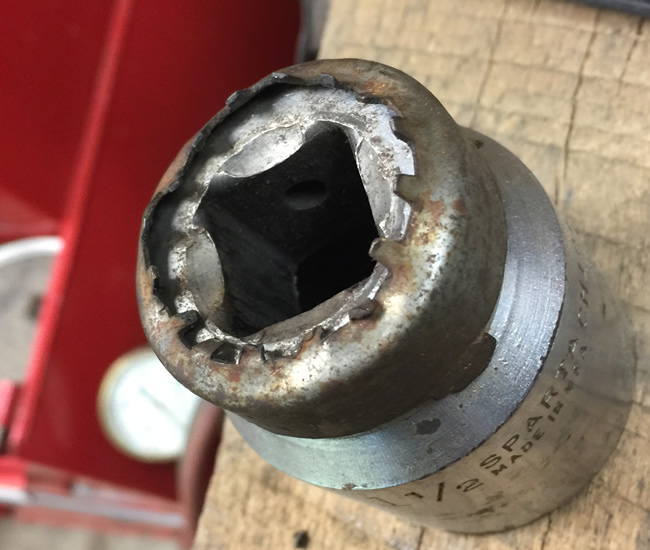
Mucho better!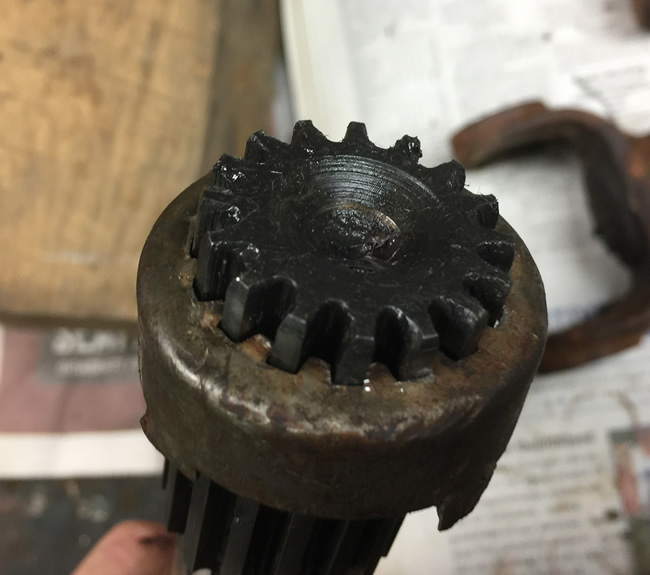
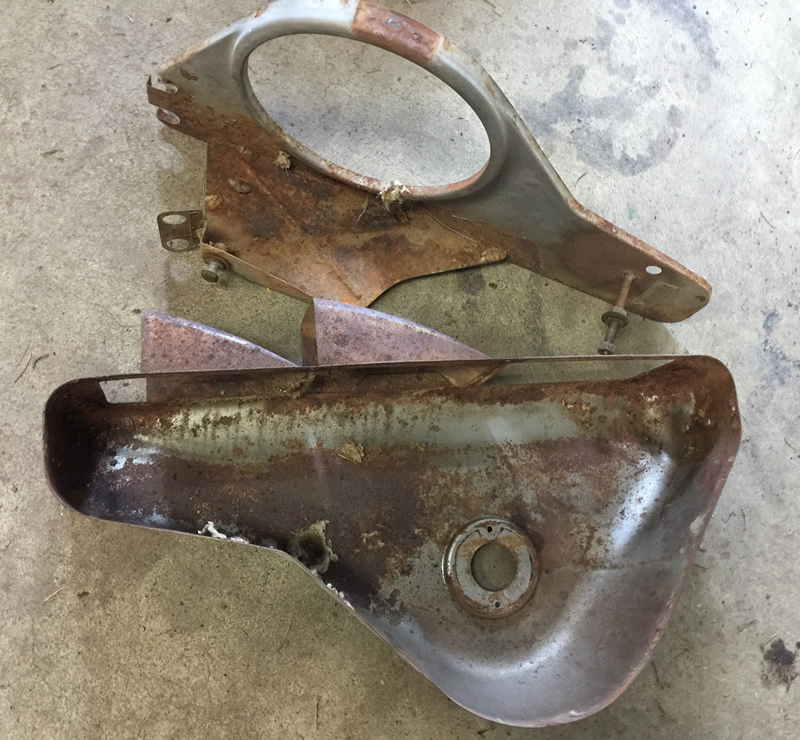
When I turned my attention to the heater, I encountered a problem. The inner piece (the piece at the top in the pic below) had a long, narrow, rust area.
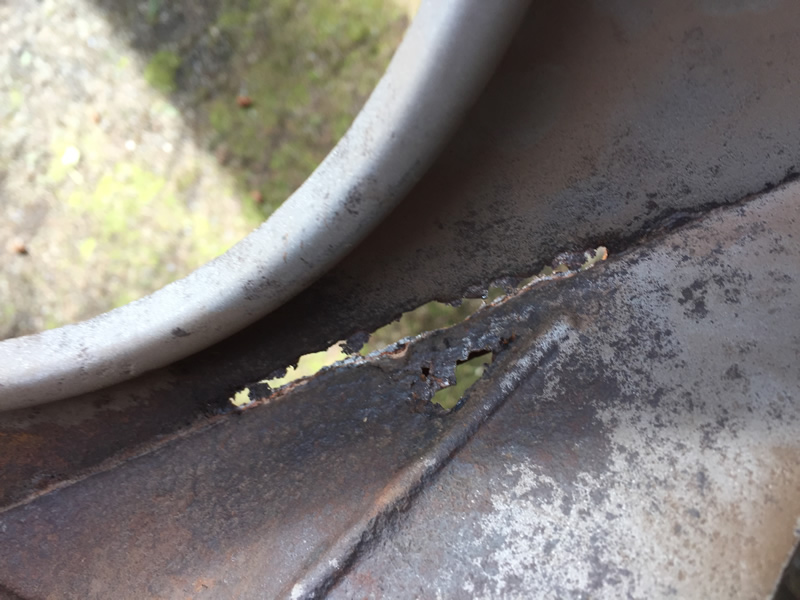
This is a closeup of the rust. It’s repairable, but before I make the effort to sand blast both pieces and fix the hole, I want to make sure my heater core is repairable. If the core isn’t worth repairing, I will be searching for another heater.
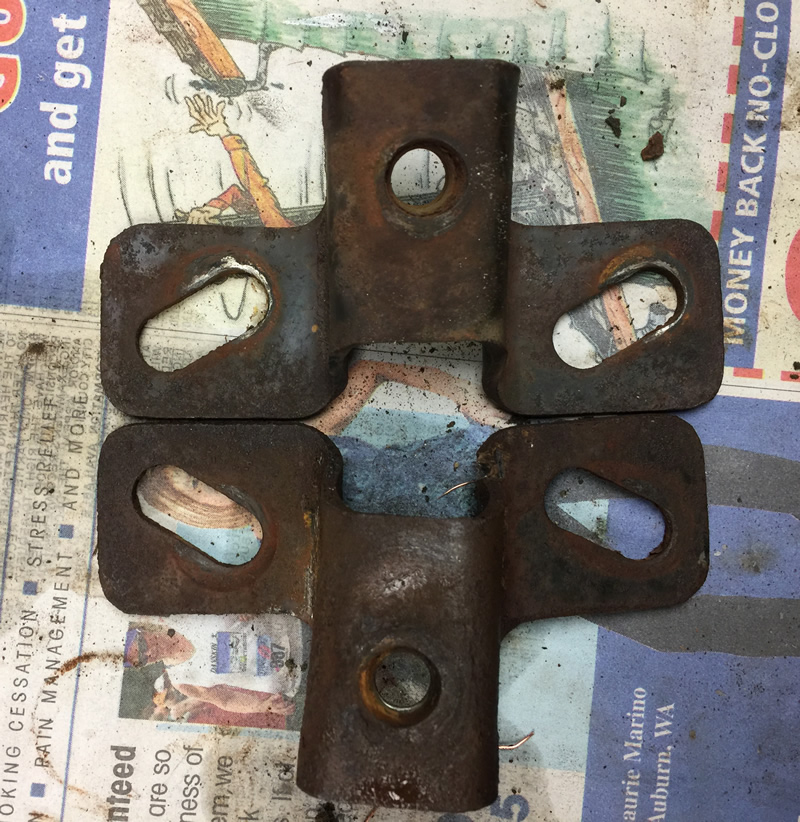
When I pulled my windshield mounts off the body, one had a noticeable bend to it (the one at the bottom in the below photo). I am not sure if it is worth repairing or not, given the metal is already weakened. If I had unlimited time, I’d attempt to straighten it, then add a small bridge across to strengthen it. If anyone happens to have an extra, I’ll take it!
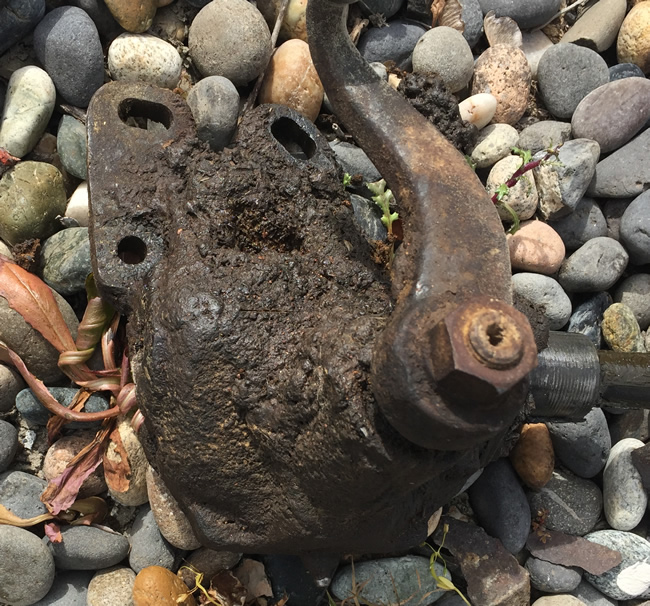
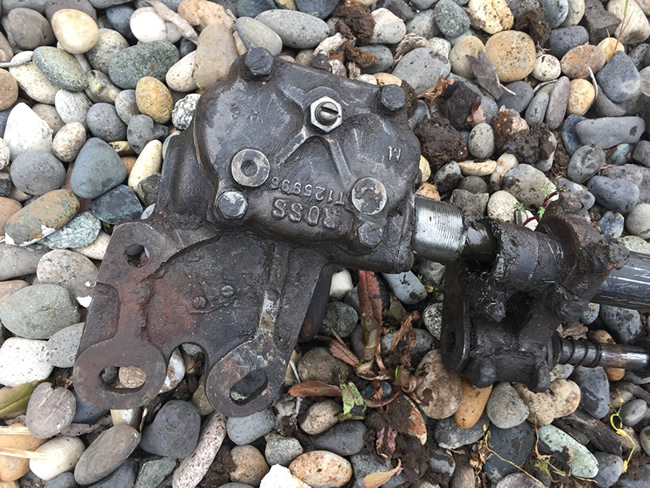
It turned out there was a steering box under all that mud after all! I plan to pressure wash it a little cleaner tomorrow.
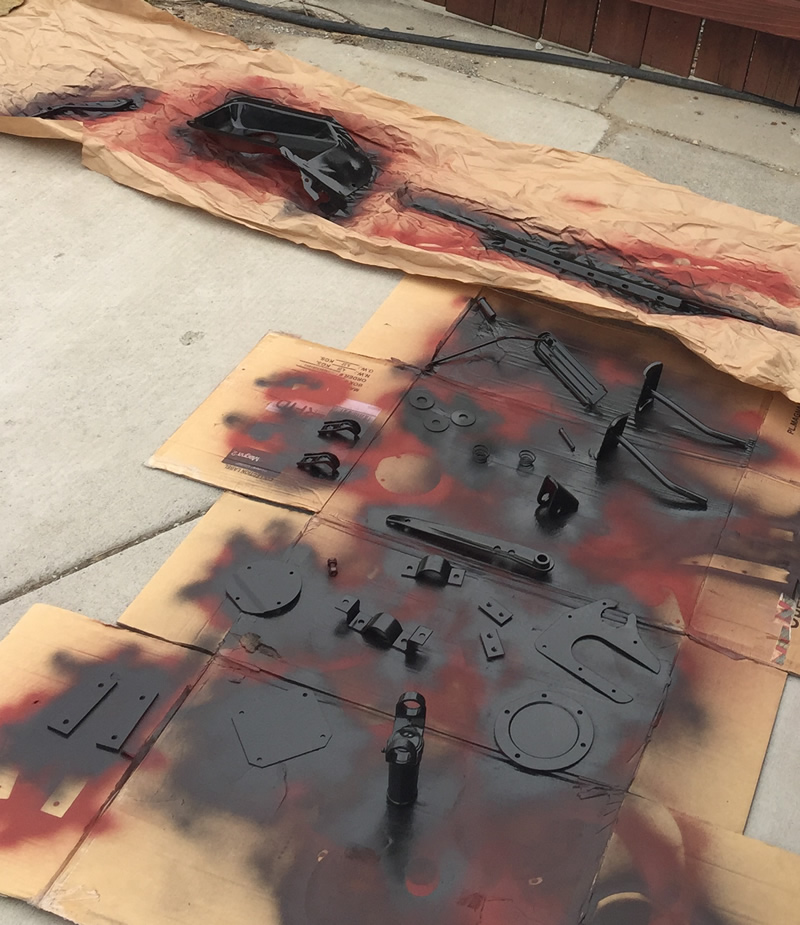
And, more painting (primered red and 2 coats of matte black) … Ideally, this would be done in a closed environment. But, I’ve concluded this will not be a full, perfect restoration, so it will look good for the trip. At some future point, I can do everything better.

Lookin good Dave. I think your correct term in Castilian spanish though is Mucho Bettero.
Dave, I’ll send you a pivot bracket
Looking good dude, but what’s that lying on the rock pile? How’s mum gona react to the dirty rocks? LOL, probably say something like, ” well he’s my little boy, you know he’s always been that way!” “He’s always been a creative little guy you know.”. LOL, that is way I do things too. But Honey I’ll clean things up. Just turn them over.
Lew: Obviously, I am in desperate need of Castilian Spanish lessons!
Chris: Thanks. I’ll send you a message update.
Barry: That patch of rocks is in Pasco. It’s a small dead zone on the property where nothing is allowed to grow (there’s a community connection box there). I plan to clean up the big chunks, but most of it is just hard mud/dirt.
LOL, next time me a favor. On a small rope tie three knots then one cut half way thru and drop it in the box. I won’t to see how many people head for the hills and hunker down. That was a good one Dave!! LOL ? ?? ,?
?? ,?
I was told by a radiator shop that a new heater core could be made very easily. I’d go ahead and fix the box.