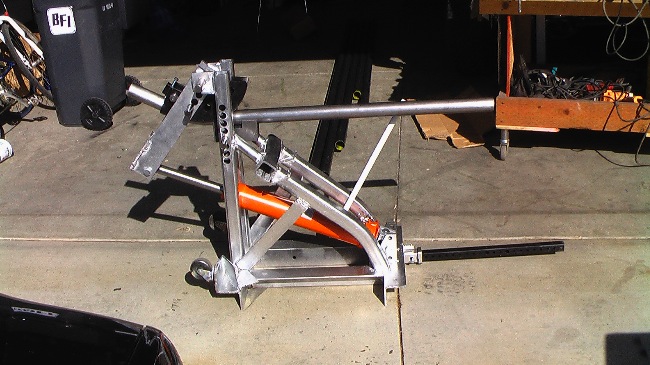
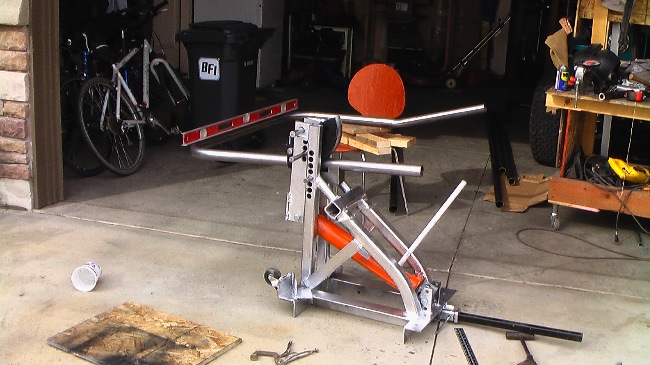
I spent much of the day doing the initial bending of my cage. I managed to complete the front loop and back loop. I was very pleased with the results and the bender. Thanks to Mitch for the front and back loop measurements. Those proved invaluable!
I will delay a discussion of my tube choice (size and type). I spent A LOT of time researching various forums on the pros and cons of various sizes. Then, there’s the whole DOM vs. HREW vs. CREW vs. Sched 40 vs. Chromoly … and more. I’ve also been filing away various roll cage designs so that readers and builders can see all the different ideas. In the end, my cage reflects the need to tie into my frame due to the fiberglass body, I also wanted it to look like my previous cage in my first jeep, and it includes a workaround for the mid loop attachment as I put the mid loop attachment closer to the seat then I wanted (oops). I also need to talk a little about the bender I built and the plans I used, but will save that for later too.
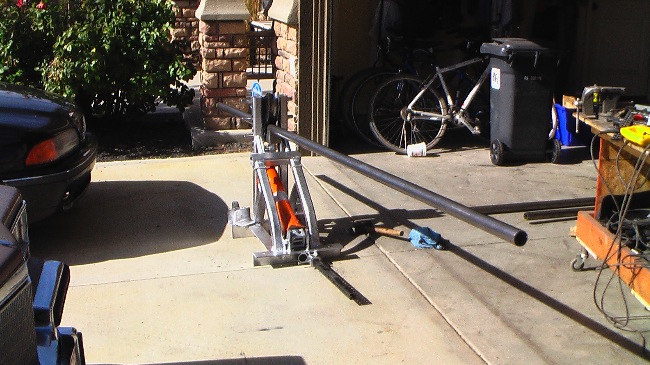
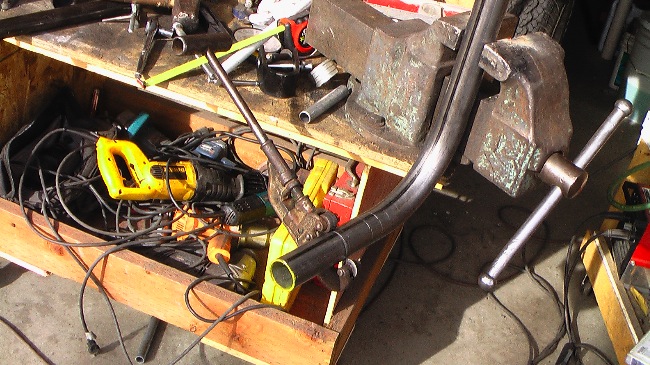 The first thing I needed to do was calculate exactly how the bend of the tube changed the measurements and determine the inner and outer radius measurements so I could measure the loops correctly. I started by marking off a tube in 1 inch increments up to about 15″. Then I put the tube in the bender and bent the tube. I learned that my 2″ die created an outer radius of 7.5″ and the length of a 90 degree bend from start to finish was 10″. You can see the inch markers and the tube cutter I was using in the pic to the right.
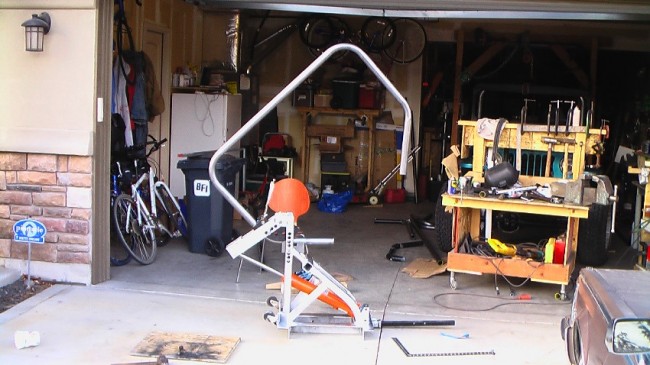
Another thing I learned was that I had to bend the tube about 3 degrees past the amount I wanted, as it would spring back 3 degrees when released from the bender (you can see it bent past 90 in the pic below).
Knowing that information, I measured and bent the front loop. The first two bends of 90 degrees went smoothly. Then, I cut down the bottom pieces so that, after I added the windshield contours, the front loop would measure 45″ from the loop to the floor boards. Next, I bent the loop with the windshield angle. My windshield sits at an angle of 15 degrees and the bend needed to start 20″ from the floor board. These also bent perfectly.
So far so good.
Next was the back loop. Based on Mitch’s measurements and the look I was after, I decided that 43″ from the loop to the back floor would be a perfect distance. I made the width the exact distance between the body sides, which is slightly narrow than a standard jeep due to the wider lip on the fiberglass body. Again, the 90 degree bends went perfectly. Then, I had to do 45 degree bends back towards the body. Unfortunately, after testing the loop on the jeep, 45 degrees wasn’t the angle I actually needed, so I had to bend both sides twice in order to increase the angles to the point where it would work correctly.
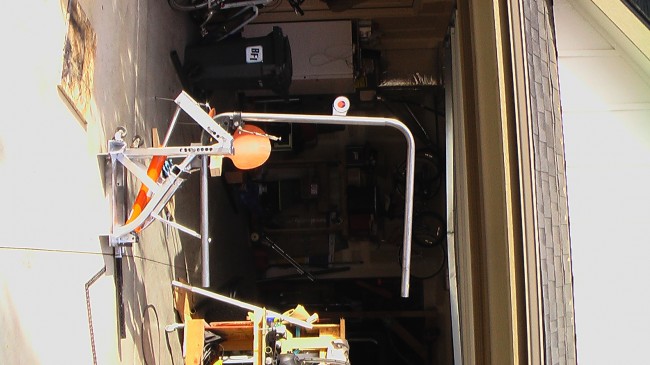
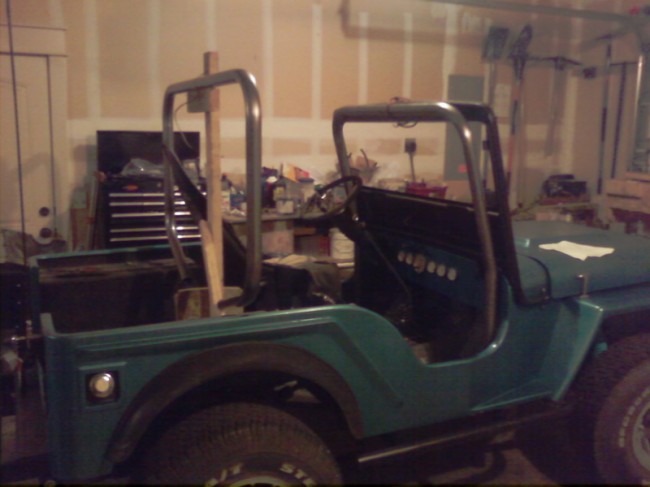
Here’s a poor quality shot from my camera phone of both loops in their respective places.
With the two toughest parts of the cage out of the way, the sun set and I moved inside. I also was getting a little tired, because when I attempted to bend the back supports, I managed to bend BOTH wrong — one was bent the wrong angle and one was bent in the wrong location. Fortunately, I can salvage the tube and use them in other places. At that point, I thought it best to head inside and cook dinner.
More pics tomorrow night.

Nice way to start, looking good.
Dave, I have the impression you stood at the edge of the garage in the morning with a cup of coffee scratching your head figuring things out. As the day progressed the beverage changed but you were still standing at the edge of the garage scratching your head figuring things out. Have any hair left?
Yes, I can see you understood perfectly. Fortunately, I got my mother’s hair and there is plenty left!
Actually, it was a Monster rather than coffee (I never really developed a taste for coffee), but yes, that was pretty much it. I probably should have switched to beer at some point, but I was so focused, I didn’t even think of it!
🙂
Pingback: My Build: Cage Painted and Installed | eWillys
The cage and advice is great. My question is where did you find the bender? I’m doing a garage build as well and that setup for the bender is what I have been looking for. Any help would be appreciated.
If you want to hit me up personally. It’s Jeremy
gralaurhomes@gmail.com
Hi Jeremy,
I built that cage using a tube bender I built, but I don’t think the plans are available any more? I tried to contact the gottrikes.com guy who sold me the plans late in 2022, but had no luck, as I had sold my bender and needed to build another. Eventually, I bought this one https://www.affordablebender.com. However, I was actually happier with the bender I built, as I could get full 90 degree bends with it, but couldn’t with the affordable bender. I still have the gottrikes.com pdf that contains the plans, but I no longer have the password to open the document (sigh).
I hope that helps,
– Dave
https://www.gottrikes.com/Tube_Bender.htm