Two bits of good news from Paul. One, his jeep was NOT affected by Alaska’s recent earthquake. He had the sense to bolt things to the wall that could potentially fall onto his jeep. Two, he’s made some more updates to Knardly Rolls! So, read on . . .
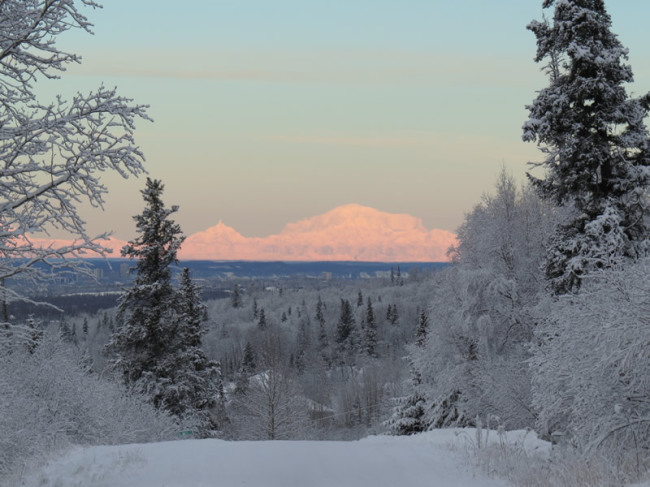
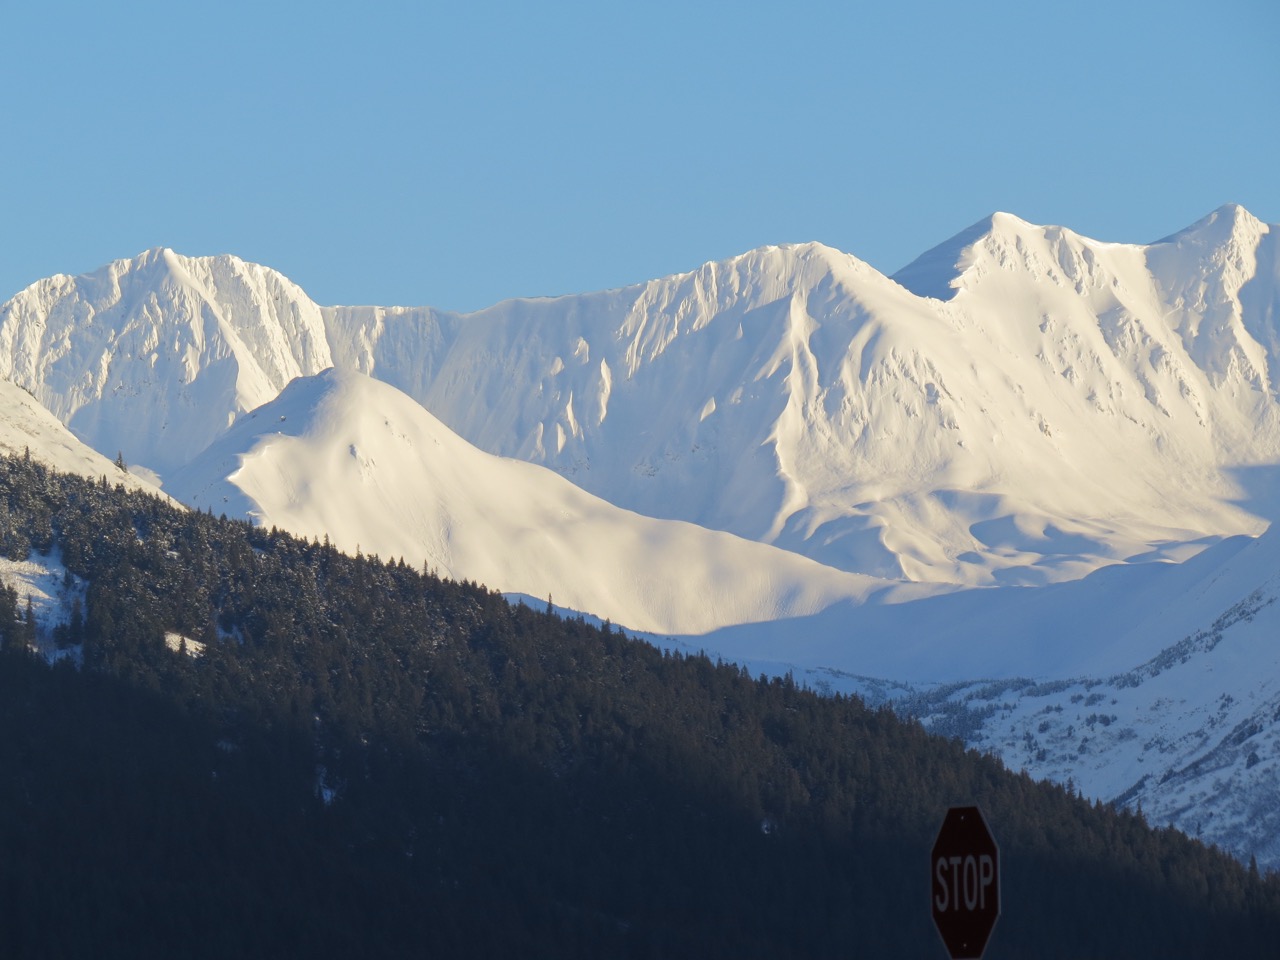
Looking towards Anchorage and the mountains beyond, January 2016. This was pre-earthquake, though it pretty much looks the same after the earthquake.
Paul writes, the progress so far this winter season on the Willys has been a little weird. Things started to get strange when I decided to fill the cooling system for the first time in 30 years. I’m an optimist but I like to think I’m based in reality so I told myself there’s always the possibility of leaks in the cooling system and having a couple of empty buckets ready to catch dripping antifreeze might be a good idea. With the empty buckets cleaned and placed nearby I poured the first gallon of antifreeze into the radiator.
After a short pause to inspect the hoses and connections for system integrity I began pouring the second gallon of coolant into the radiator and I quickly noticed my feet were getting quite wet. I managed to wedge the empty but rapidly filling buckets under the front axle where most of the escaping antifreeze could be captured since the leak appeared to be from the front of the engine by the timing chain cover. Oh well, it looks like yet another unexpected repair or modification needs my attention.
After the leak slowed down to a slight drip I repositioned one of the buckets directly below the radiator drain and began transferring the antifreeze from the cooling system into the bucket and then back into the gallon containers which is where this green fluid came from about 15 minutes earlier. When no more fluid flowed from the radiator drain and the recaptured antifreeze was safely back into the gallon containers I decided to call it a day and leave the heavy thinking for the tomorrow.
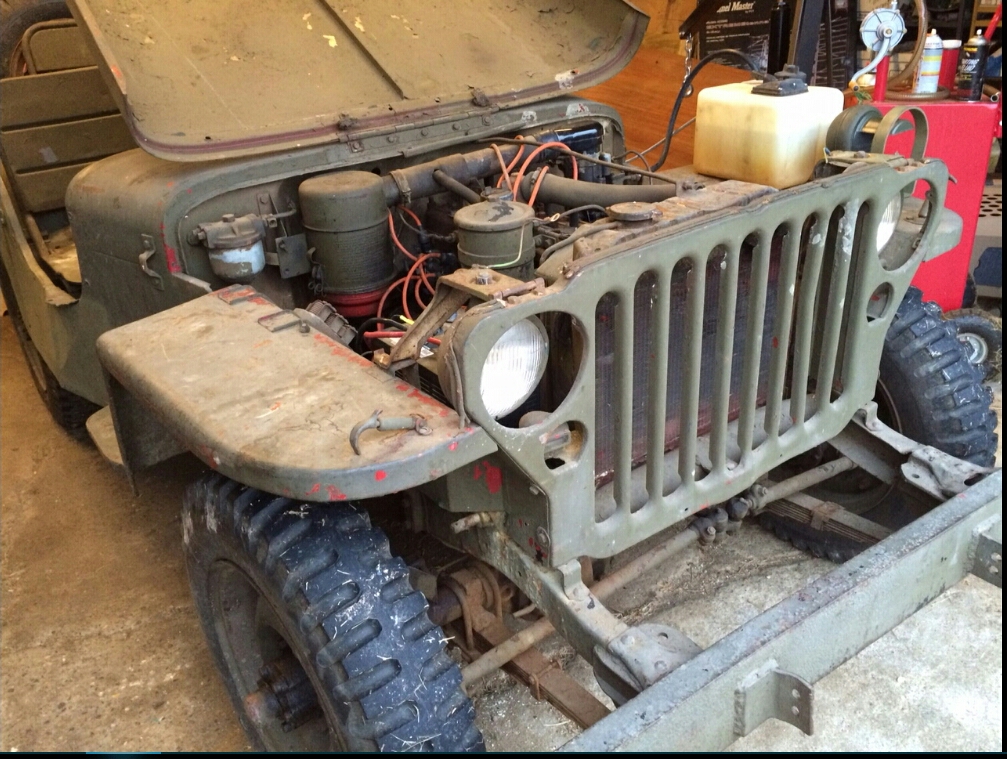
After having strange dreams throughout the night concerning the coolant leaks on the Willys, by the next morning I ready to start pulling components off the front of the engine so the timing cover could be removed for troubleshooting. Since the engine has never been run after being rebuilt this was a fairly quick and easy task.
Once the timing cover was out of the way and the front of the cylinder block could be inspected I learned an interesting bit of information about the Buick V-6 engine. The front of the block has 4 bolt holes (2 on the left and 2 on the right) for the timing cover to attach, BUT the timing cover is manufactured as either a 2 or a 4 bolt type.
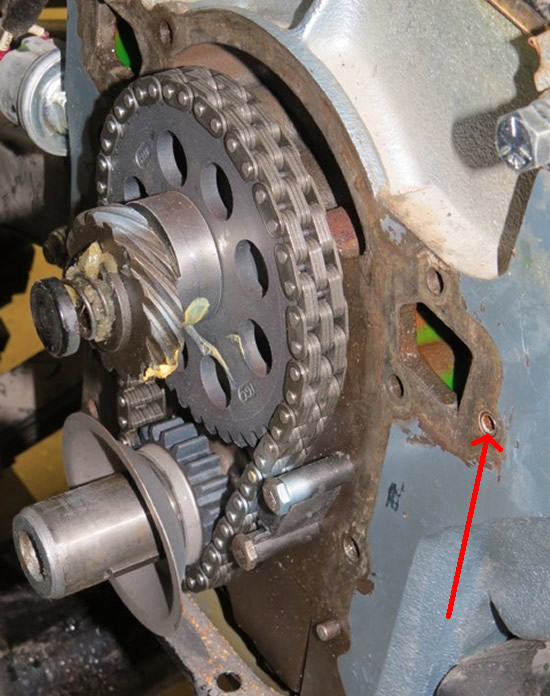
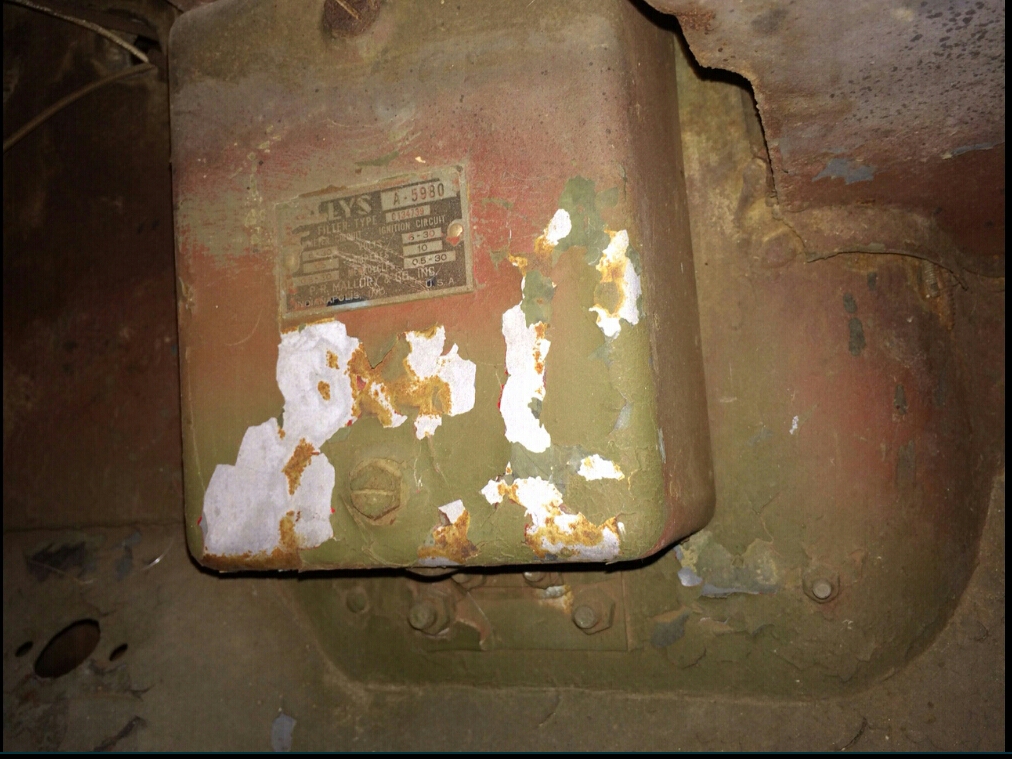
The plugged bolt hole is the one closest to the right edge of the photo, it was left unplugged and partially exposed by the timing cover so the antifreeze flowed out quickly.
The timing cover on my engine is a 2 bolt type (where the coolant passage flows into the water pump) so the two unnecessary threaded holes in the block should’ve been plugged to prevent antifreeze from leaking. The unused threaded hole on the block is drilled into the coolant passage but the unused hole to the right is a blind hole and not open to the cooling system.
To prevent anymore leaks and to make me feel better I installed internal wrenching hex plugs in the unused holes . These plugs were screwed into position after the threads were cleaned and dried and the threads on the plugs were coated with gasket compound, then it was time for reassembly. Things were going pretty well until I noticed the rubber on the crank pulley damper was cracked and bulging out along the seam so this project came to a halt until the damper made a trip south to the Damper Doctor for a rebuild.
[editors note. I *think* it was in one of those holes that, during my very first engine rebuild, I put too long of bolt into one of the holes. I tightened it down, though it got difficult near the end. Imagine my surprise when the #1 cylinder piston kept hitting something while i tried spinning the crank. OOPS, I’d damaged the cylinder wall!!]
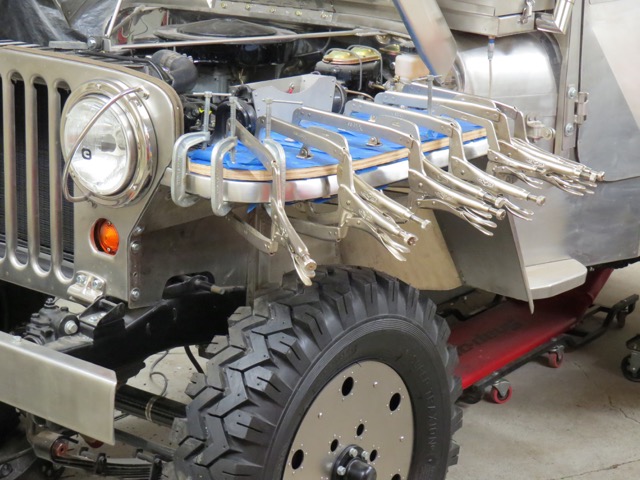
Two pieces of 3/4 inch plywood spread the clamping pressure and prevent damage to the metal when installing the abrasion panels to the underside of the fender.
Continue reading →


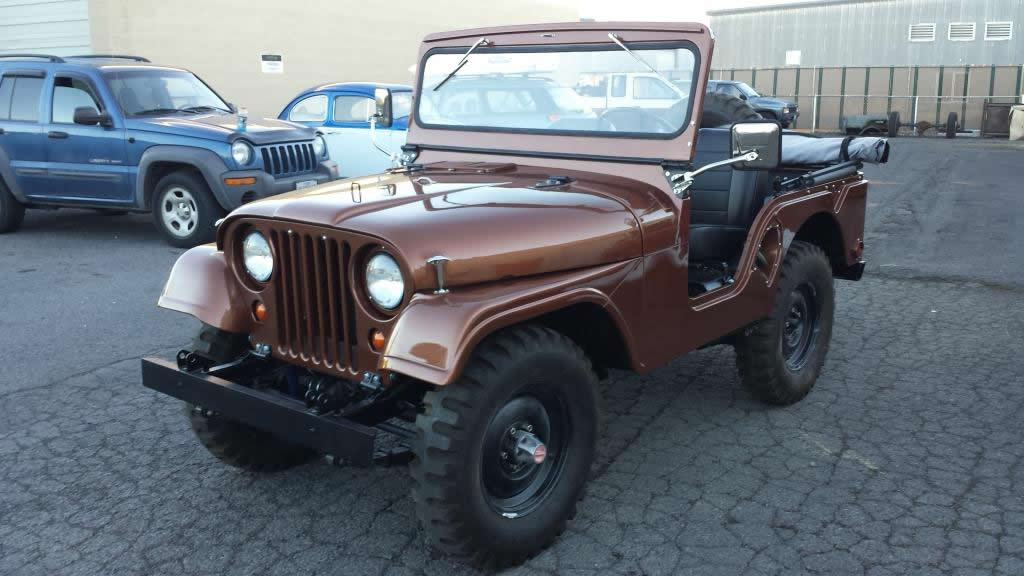
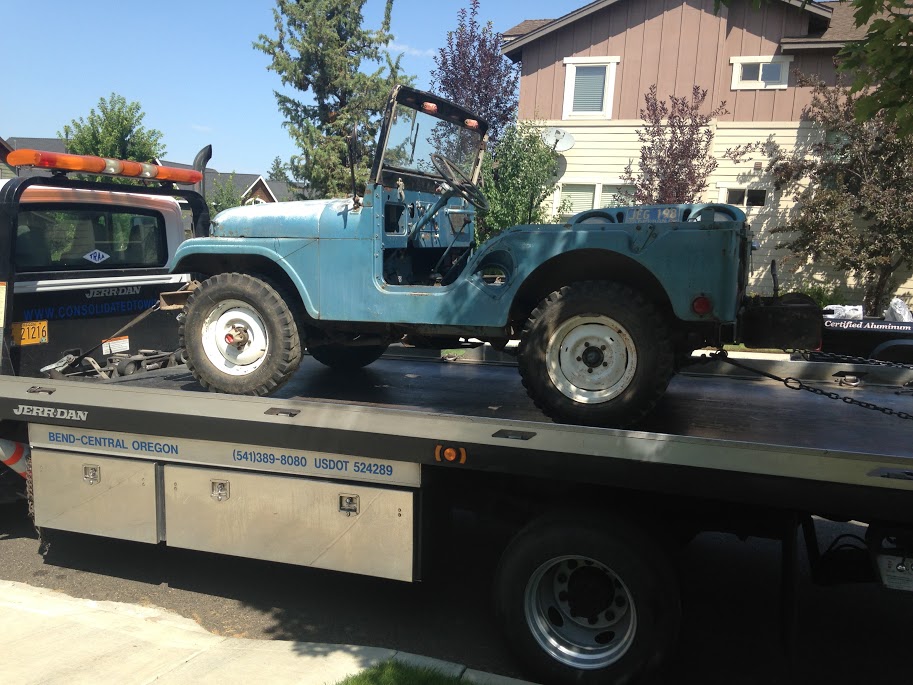

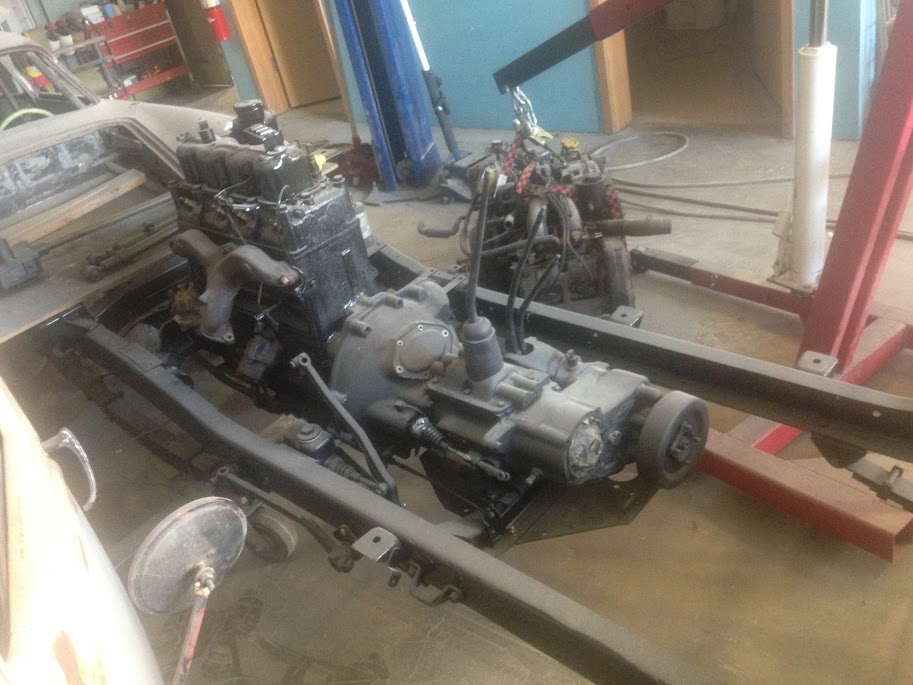
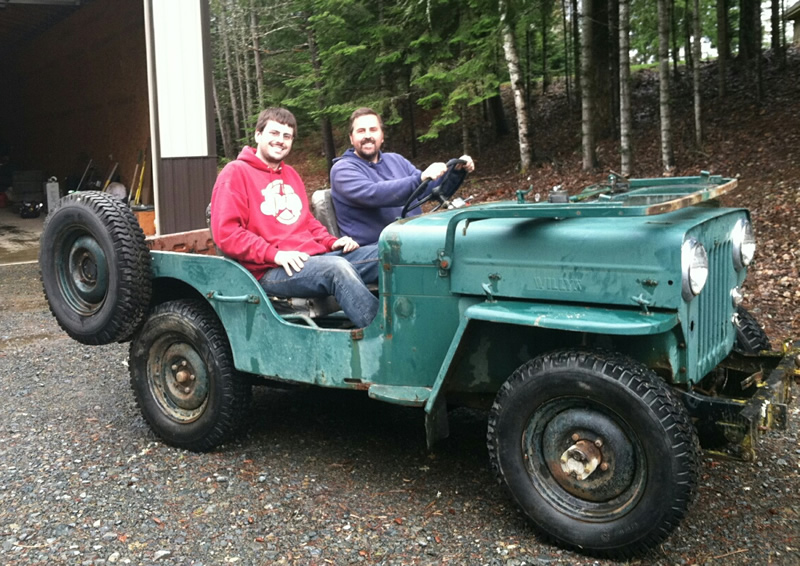
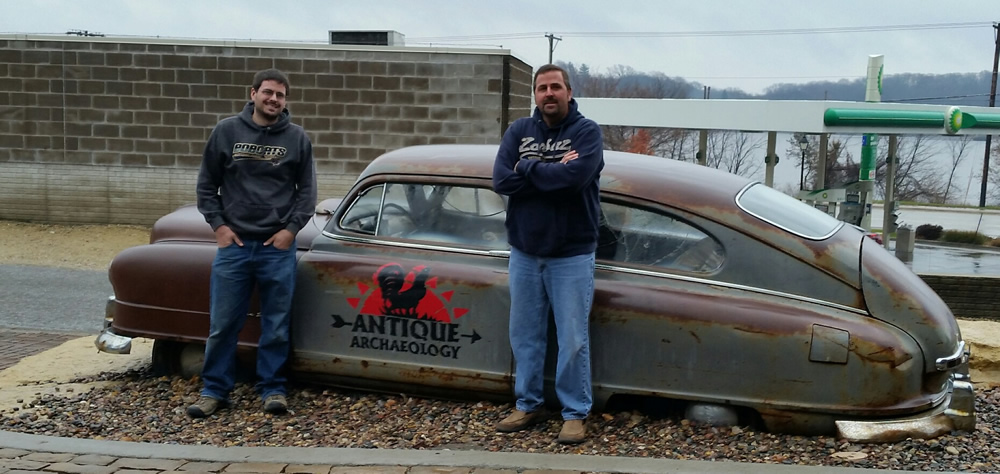
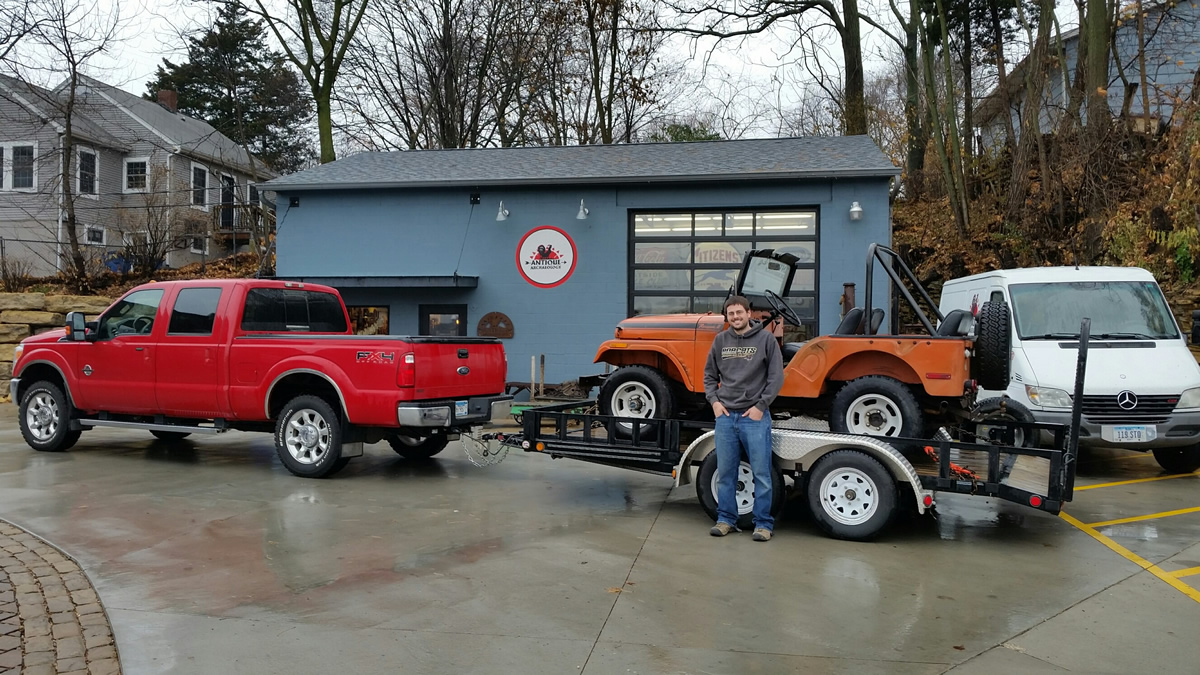
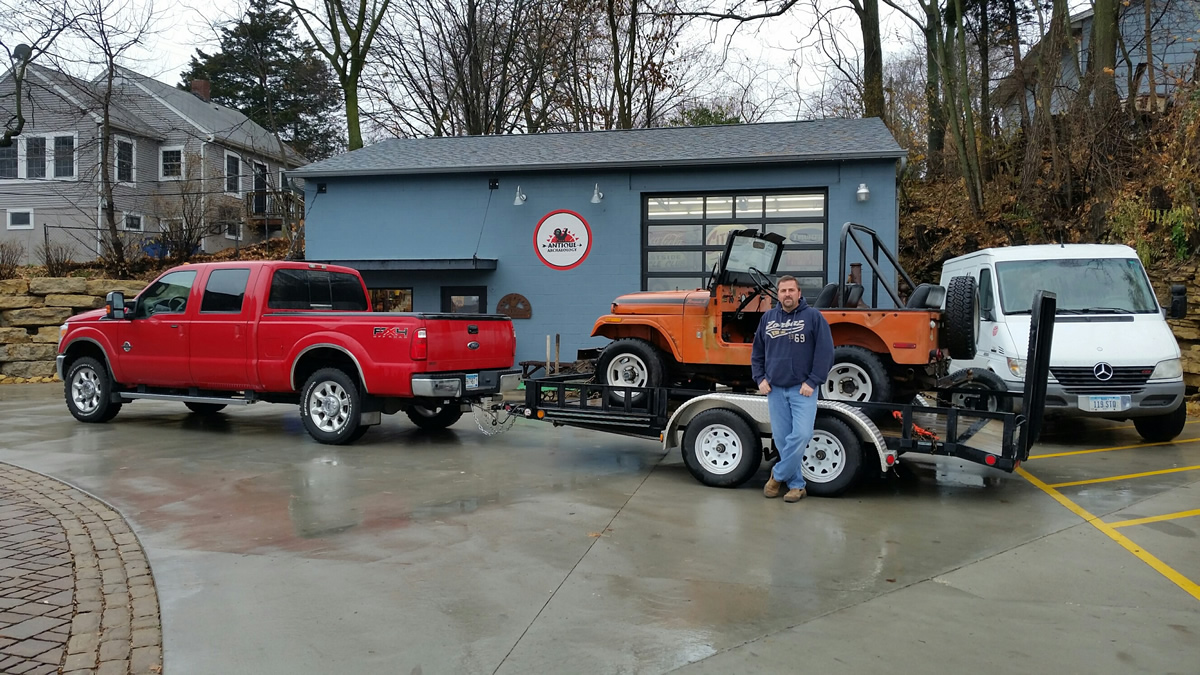
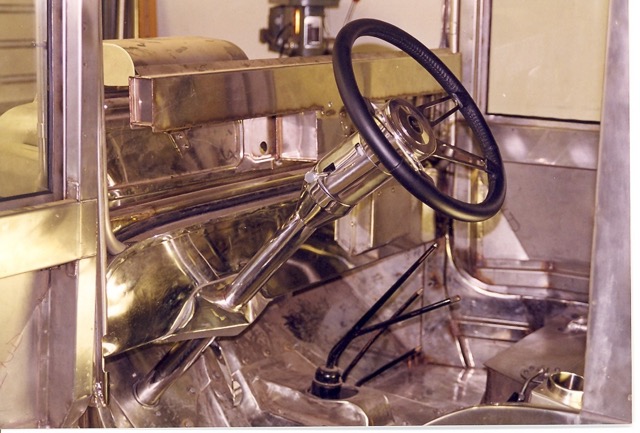
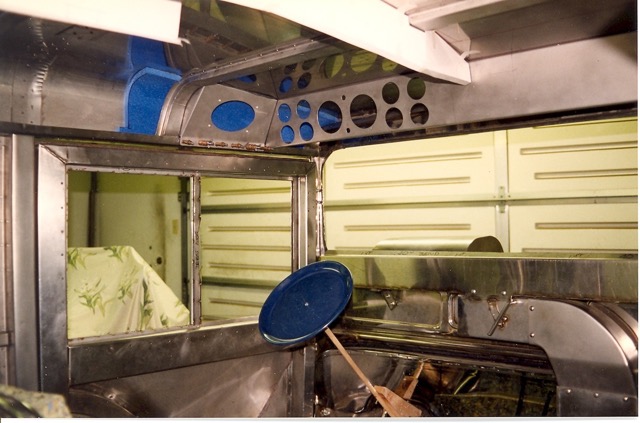
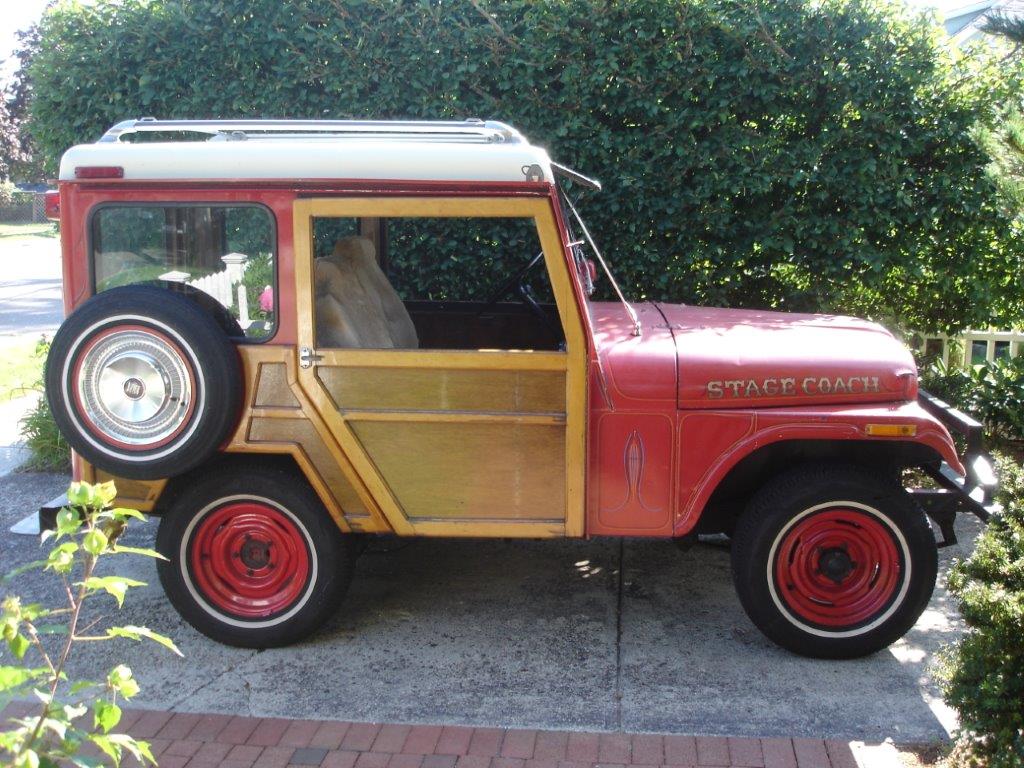
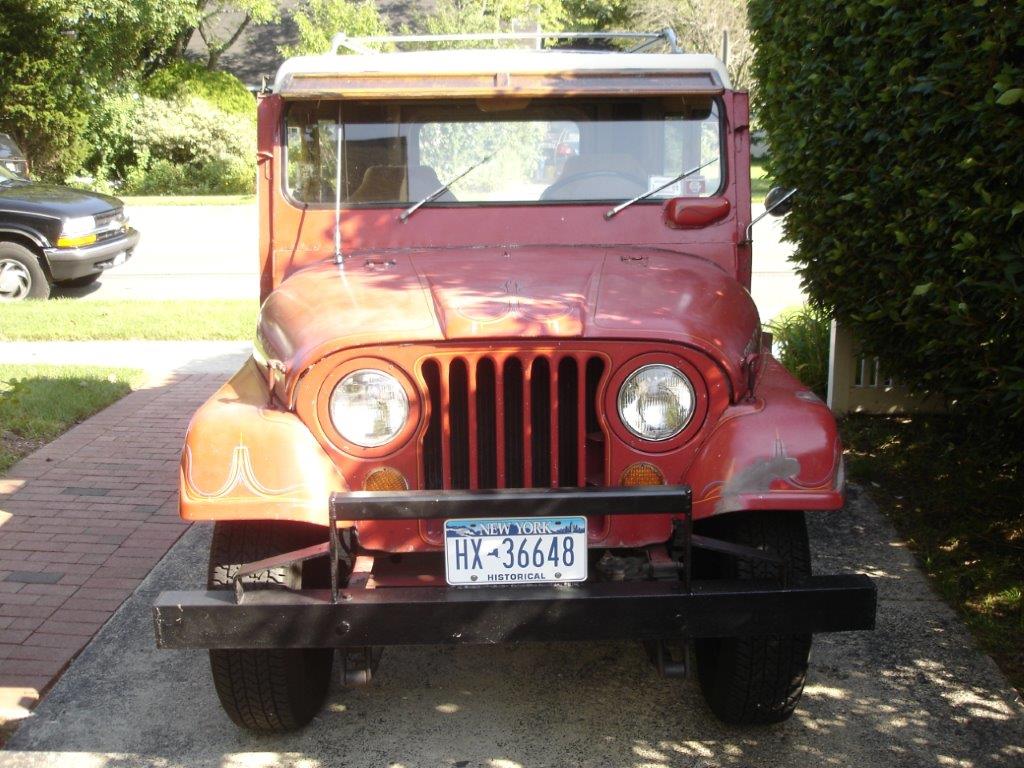
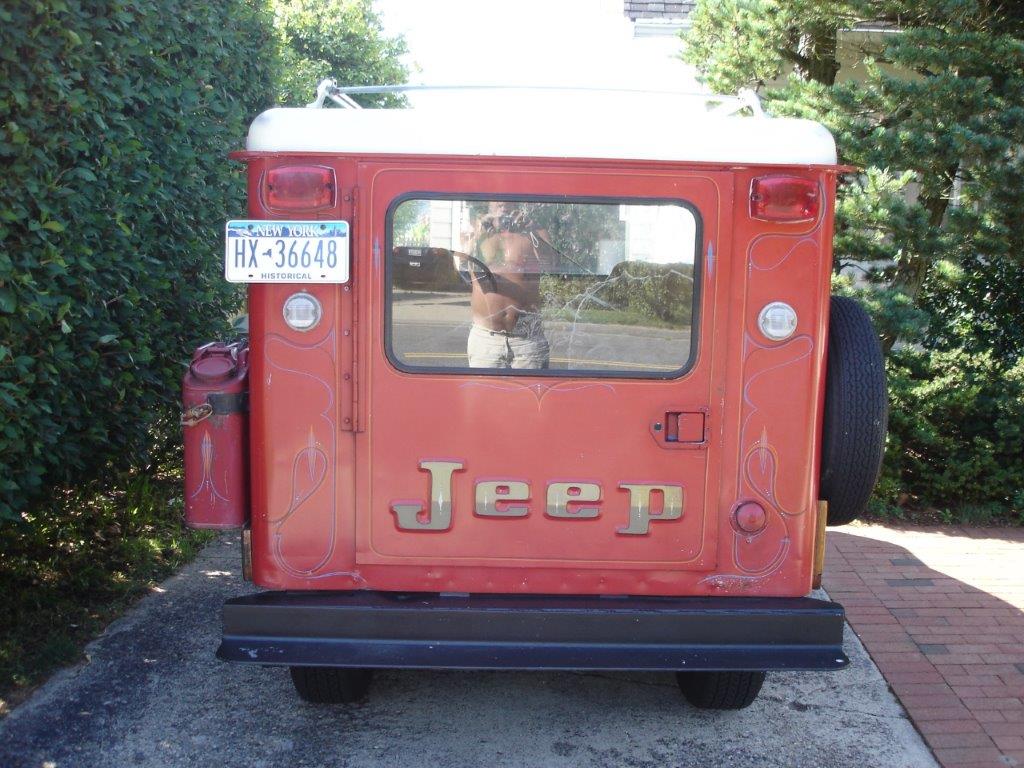
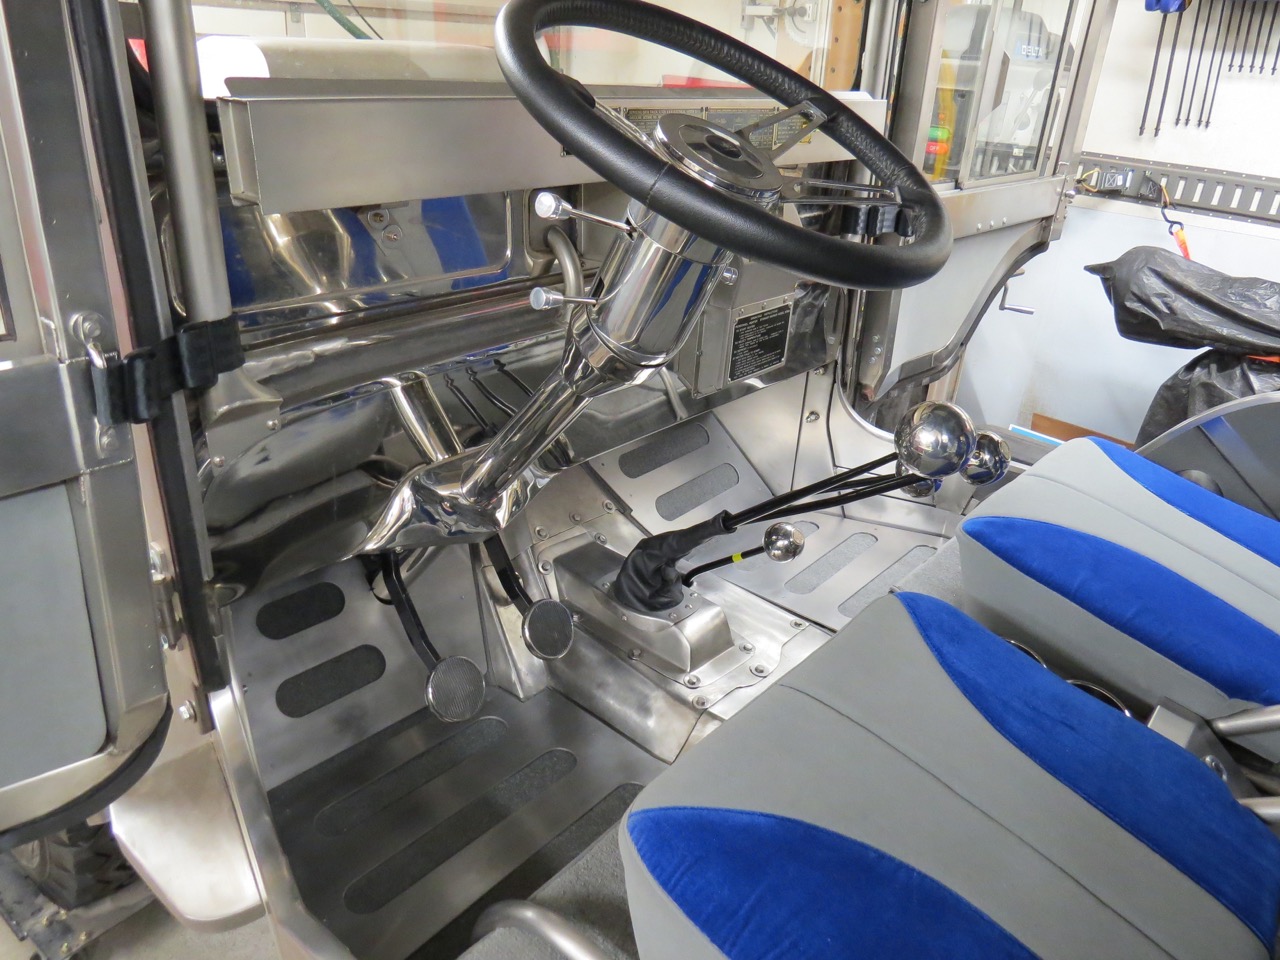
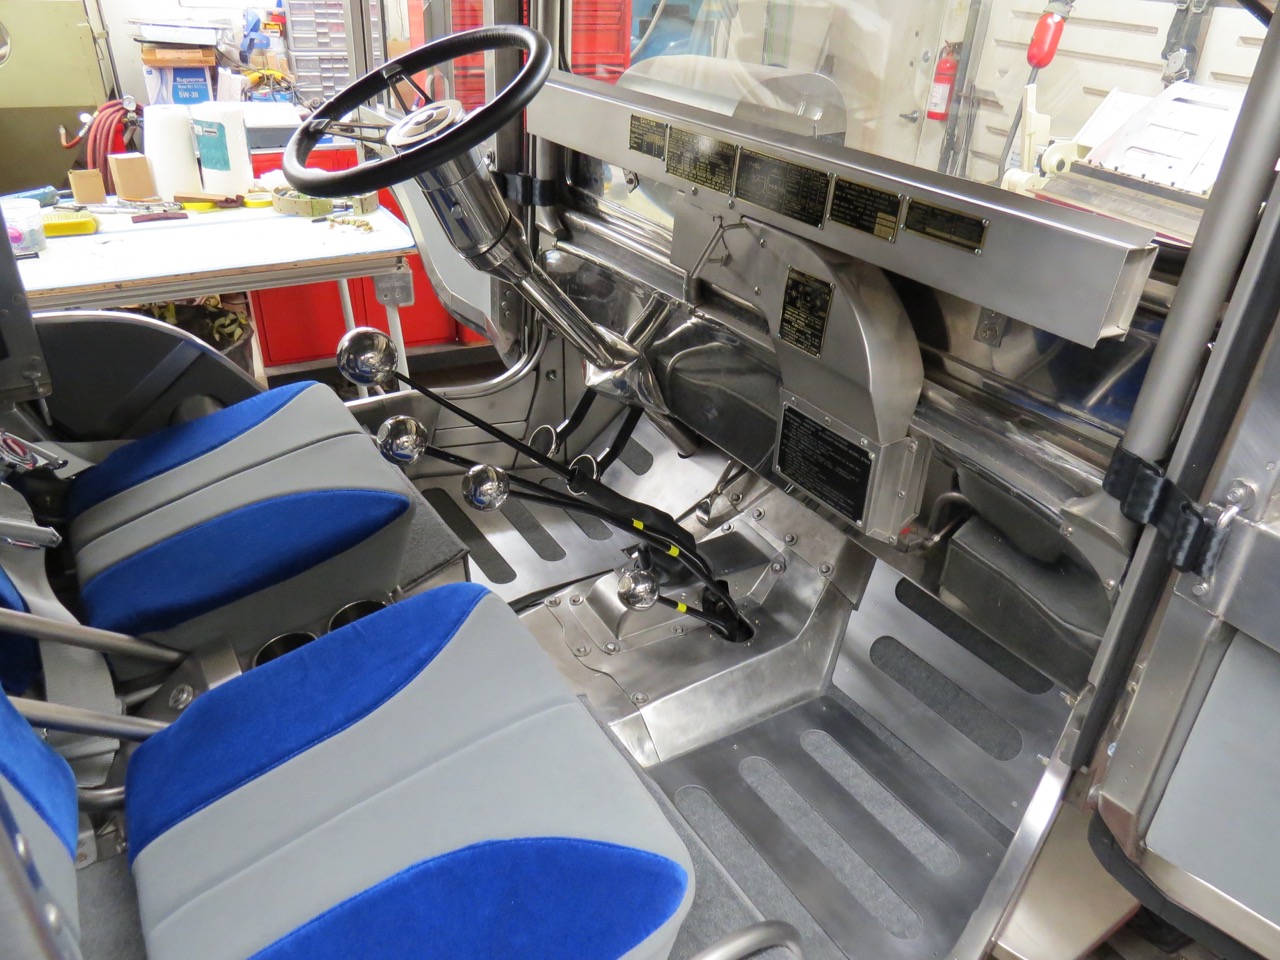
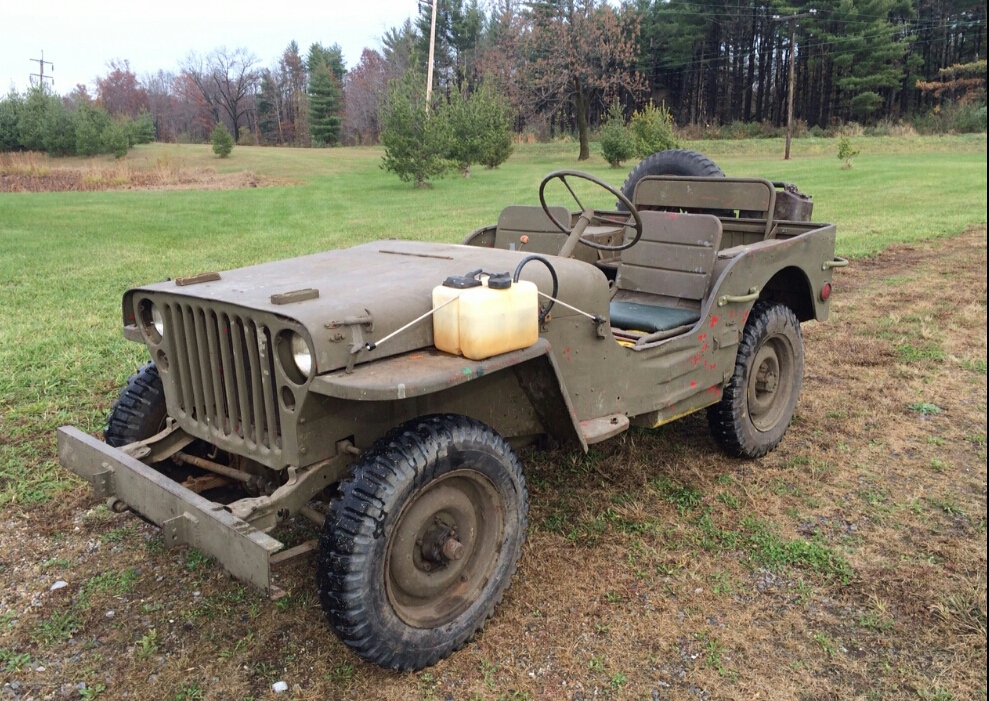
 Together they have owned over 70 jeeps, so they have plenty of photos to share, so check them out below. (I hope I got all the captions correct!)
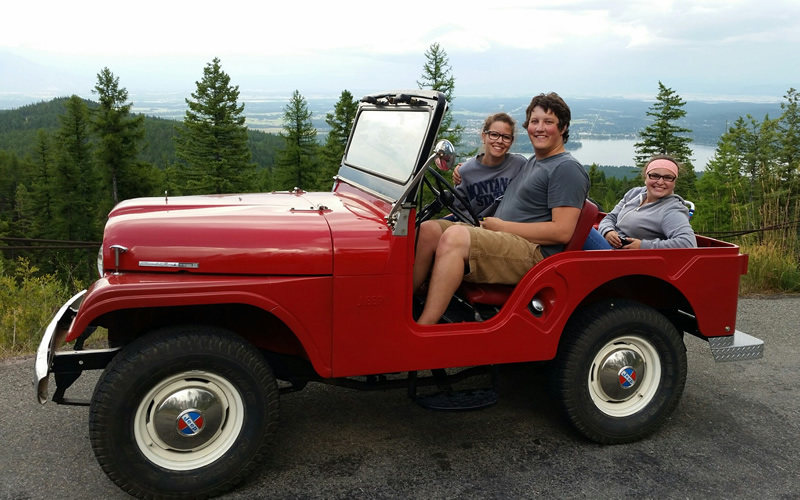
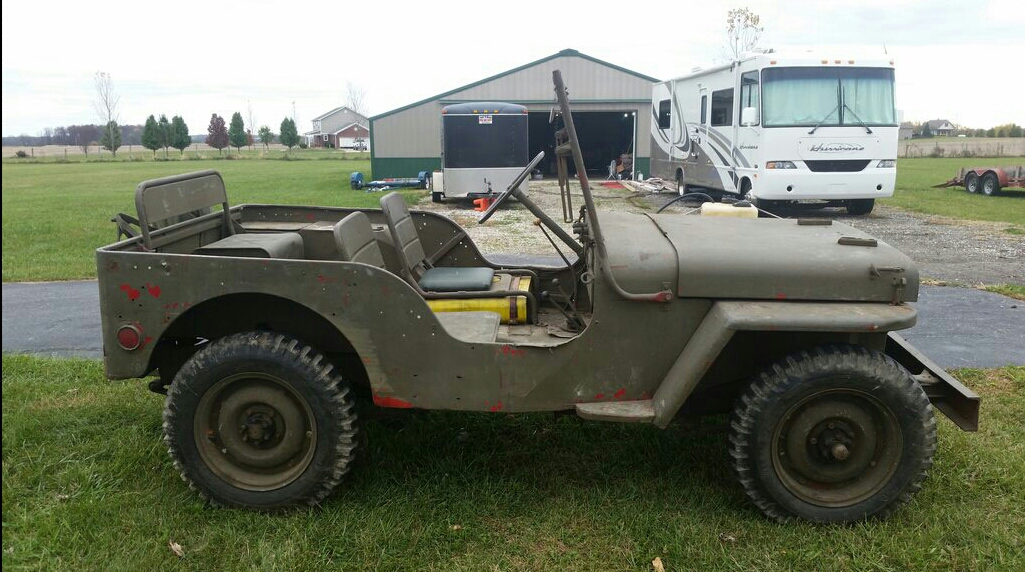