Biscuit Research Archives

My Rebuild

To Top

A Beautiful Day for a Sunday Drive

• CATEGORIES: Biscuit This site contains affiliate links for which I may be compensated.

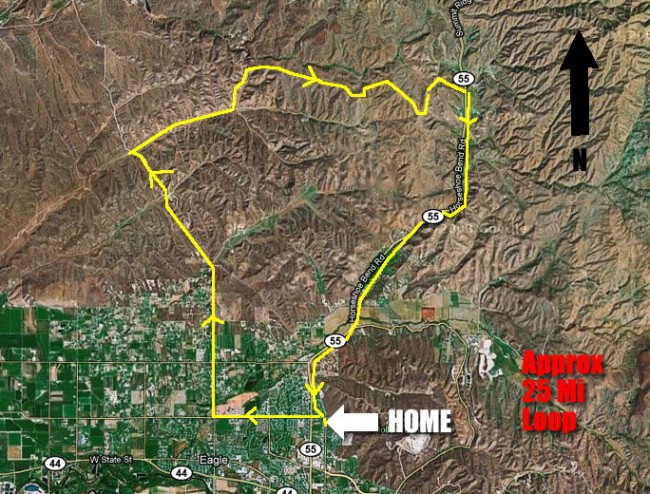
After fixing the sprinklers and getting the lawn ready for summer, I decided it was too nice of a day to waste any more it, so I pulled out my trusty Idaho map and searched for a local drive I hadn’t tried yet.

Sure enough, there was a dirt road about 15 minutes north of me that meandered upwards 12 miles into the mountains until it reached Spring Valley Summit (4500′) on Highway 55 between the Treasure Valley and Horseshoe Bend.

It was perfect, as I live just off Hwy 55, so I could roar down the highway following my exploration into the ‘unknown’ and test out my new timing specs (I just readjusted the distributor to 13 degrees). With new jets and the timing dialed correctly, it seems to be running very well.

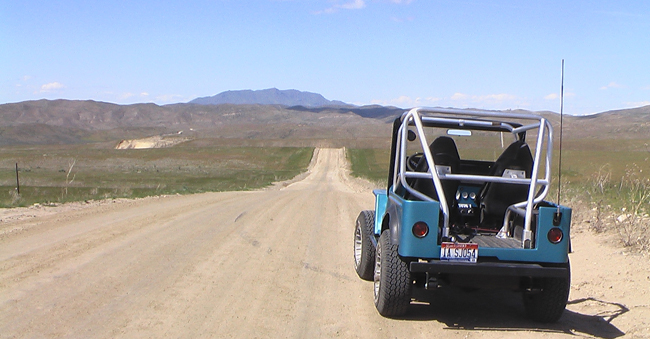
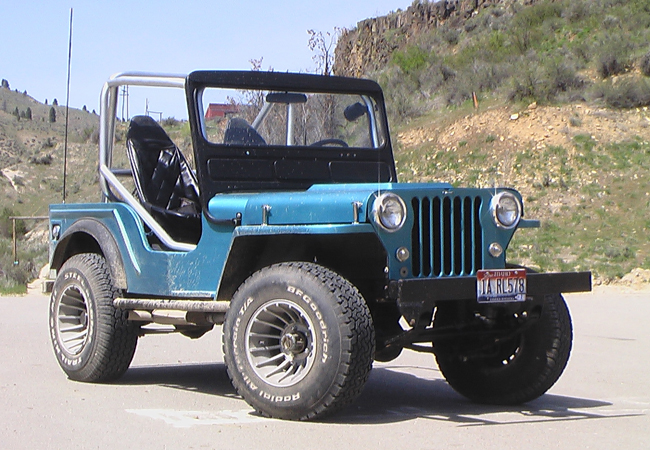
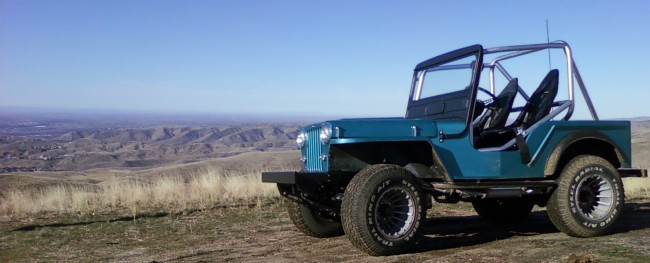
Along the way, I snapped a couple pics for your viewing pleasure.  In this first pic, I’m near the beginning of the drive.  That’s Squaw Butte in the background, which I’ve only climbed halfway so far (prior to having the jeep).

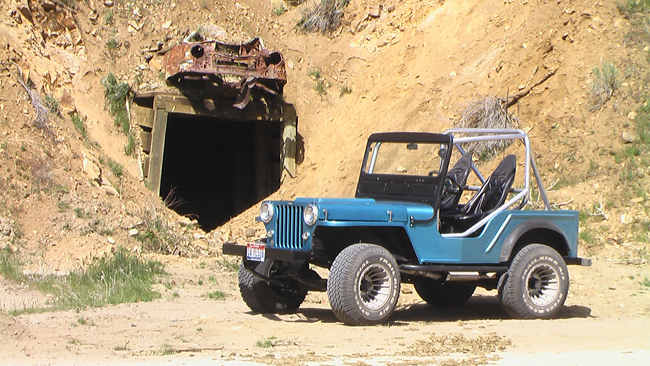
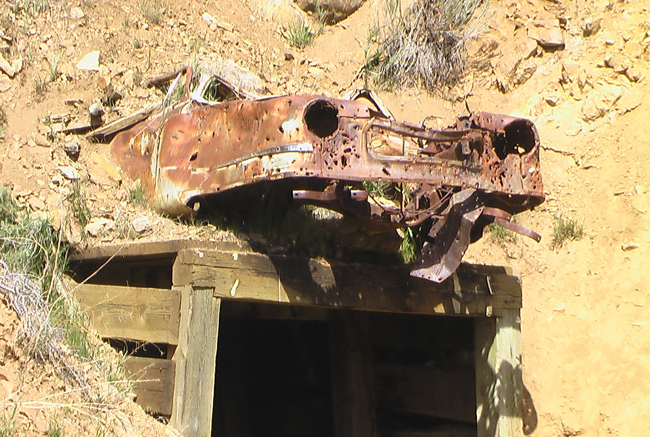
There were a number of mines along the drive.  Why someone parked a car onto of the entrance is beyond me … Maybe it’s called the Rusty Auto Mine?

 
To Top

Lettering and a Logo

• CATEGORIES: Biscuit This site contains affiliate links for which I may be compensated.

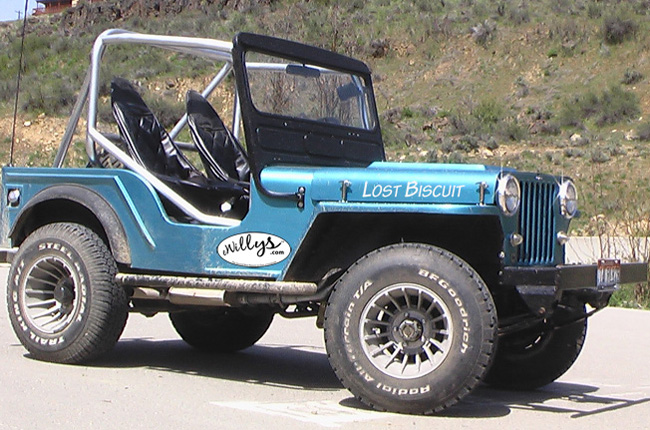
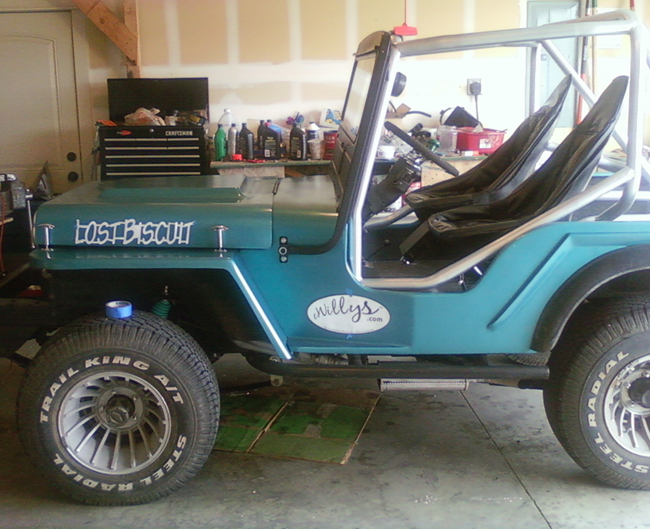
Yesterday, I spent some time deciding how Lost Biscuit’s name should appear and where I might put an ewillys logo.

Building the Logo

The simpler of the two items to create was the eWillys logo ‘sticker’.  I took an EPS version of the eWillys logo, increased the size in photoshop and then applied it to the jeep.  You can see in the first image below, which is entirely a photoshop mockup, that it works pretty well.

However, when I increased the logo further, printed it out, and placed a paper version on the jeep, the logo appears washed out.  I think I need to embolden the eWillys name to give it a darker appearance when printed.  The actual sticker will be stuck to a thin plate (probably an aluminum plate made from a street sign which i can pick up cheaply at my local metal recycler).  That makes attaching the logo, and getting it positioned correctly, easier.

Finally, after staring at it over the last few minutes, I have decided to put some more white space above the logo itself — it feels too crowded at the top.  So, I’m going to center the logo a little more within the ellipse.

Creating Lost Biscuit’s name

Creating the Lost Biscuit name was more of a challenge, mostly because I needed to settle on a font.  I knew I did not want a pure san-serif font (think arial, helvetica fonts), because I felt that would be too angular and void of personality.  I didn’t want too much of a serif font (think Times or Garamond), as that would be too formal.

No, I needed something slightly modern and slightly whimsical, which is how I settled on an italicized Tekton Pro. After experimenting, I also decided to go with all capital letters (and increasing the size of the letters L and B) as it I thought it worked better visually.

In image 1, the photoshopped image, the size looks just about right.  I tried it in black, but decided white worked the best.  In the second image, I printed and cut out the letters, leaving small strips of paper to keep the letters connected.  Unfortunately, after all the work of cutting out the letters, I decided that 4″ tall letters were too tall.  So, I dropped the letters to 3 1/2″, which I think will work well (to be tested very soon). Once I finalize the design, I’ll head to a local graphics shop and have them made.
 
To Top

Sunday Trip over Rocky Canyon Rd & Aldape Pass

• CATEGORIES: Biscuit This site contains affiliate links for which I may be compensated.

Sunday was a perfect day temperature-wise to take Biscuit out for a long test run into the Boise Foothills.

Of course, It took all of about 5 minutes into the hills before the engine overheated.  For some reason the auto temp sensor wasn’t turning on the electric fans.  So, using some extra wire i had, I wired up the fan directly to the electrical system, which bypasses the temperature sensor.

After resolving that issue, it took all of another 5 minutes before we hit a gate that wouldn’t open until May 15 … sigh.

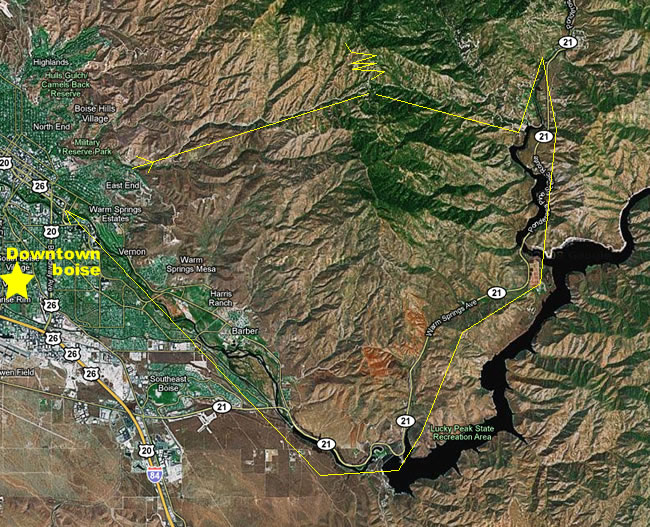
So, I drove back down the hill, through town, and tried a different access road that’s on the East Side of Downtown Boise. This time, we found some trails!!  We even found some difficult enough terrain to engage four wheel drive and low range.

After an hour of driving, we found ourselves at the top of a pass and made a left, tackling some more difficult terrain.  We eventually hit some snow and figured that without a winch, turning back was the smart option.  When we got to the pass, I made a left and headed down the other side of the mountain.

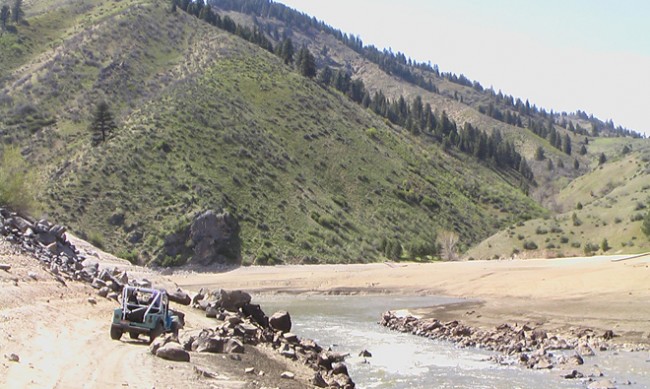
As I managed to leave the map at home, we were travelling slightly blind, so we depended heavily on serendipity.  Eventually, we found ourselves at one of two tributaries to Lucky Peak Reservoir.  Because the lake is low, we could actually drive along the reservoir, which is where these pics were taken.

Instead of heading back over the canyon road, I took the highway back to Boise, which meant Biscuit got to drive at 55 for an extended length of time.  All in all it was a successful trip!  Here are some pics from the day’s adventure.

 
To Top

Engine Update and the Invention of the PCV Valve

• CATEGORIES: Biscuit This site contains affiliate links for which I may be compensated.

I made some more progress with the engine today.  I managed to get the oil to finally stop exiting the dipstick hole.  The cause was, as I suspected, related to the crankcase pressure. So, I spent some time fiddling with the PVC and breather system.

First, I bought a new PCV valve.  Next, I connected the valve cover ‘breathers’ together with the intake breather and fed them into the aircleaner.  Now that the pressure is a bit more equalized, the oil stopped getting pushed out the dip stick hole.

So one problem down, but now a new one.  The air getting cycled into the air cleaner was ‘dirty’ enough that it was affecting performance a bit.  However, I’m hoping once I get the new jets for the carb,  it will stop burning so rich, which will clean up the system.  That’s the theory anyway.

While I was researching breathing systems, I learned a bit of history about the PCV Valve. It turns out that PCV valves were invented during WWII to enable tanks to ford deep water and still have their systems breath appropriately.  Following the war, someone at the GM plant where the PCV Valves were built realized they could help combat some smog issues. You can learn more about this at Wikipedia.

 
To Top

My Build: Adding a Rear View Mirror

• CATEGORIES: Biscuit This site contains affiliate links for which I may be compensated.

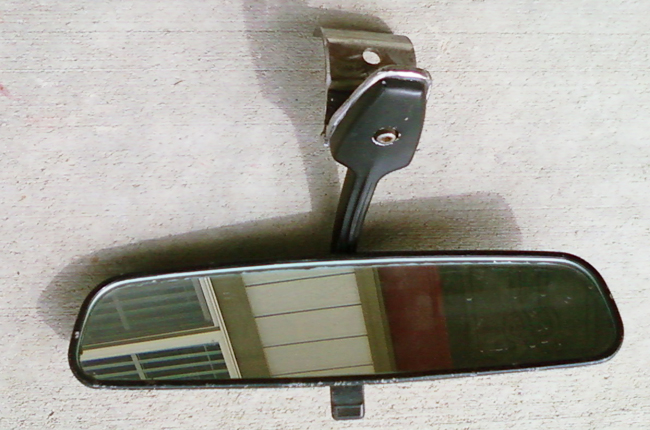
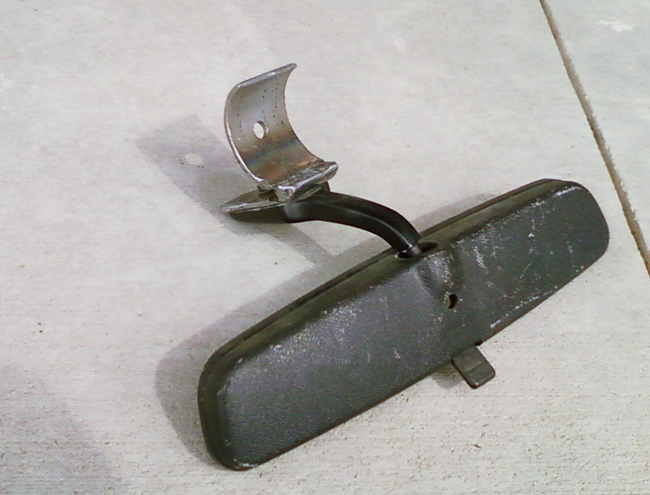
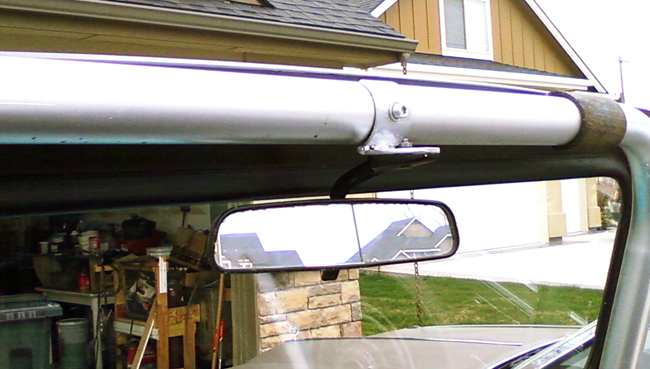
I’ve been meaning to add a rear view mirror to the Biscuit.  A couple months ago I pulled a rear view mirror off an old Dodge truck at a salvage yard;  I specifically searched for a rear view mirror that could be bolted onto the jeep. I knew there were times that I would want to have a rear view mirror without the windshield, so connecting it to the windshield wasn’t an option.  Also, from past experience, I knew that the windshield flexes at highway speeds a bit, so it would shake a little less connected to the roll bar.

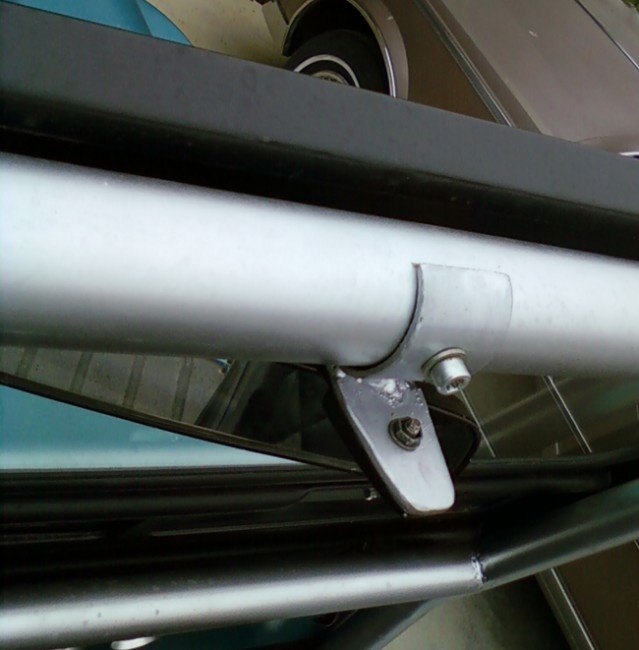
So, last weekend I took a small piece of flat steel and welded it onto a piece of tube cut in half. I then drilled and tapped a hole into the rollbar.  Then all that was left was to drill a couple holes into the mini mount i built, paint it, and attach it. It’s nothing fancy, but gets the job done!

 
To Top

Busy Week with the Kids …

• CATEGORIES: Biscuit This site contains affiliate links for which I may be compensated.

It was a busy week with my kids.  This was a pleasant surprise for me as it wasn’t ‘my year’ to have them over spring break.  The boys continued to humble me with their video game prowess (with Call of Duty: Modern Warfare 2 the game of choice); however, I evened the battles by destroying them at scrabble and monopoly (yes, real boardgames!) — I still got it!

As usual, there was plenty of food, along with a special celebration of my daughters birthday that included some home made chocolate fondue (into which we dipped a variety of items).  The chocolate fondue was inspired by a cheese fondue we enjoyed on Wednesday generously provided by the ewillys Swiss Bureau; So, many thanks to John and his family for that generous gift :-).

The night before the kids arrived (which was saturday night of last weekend), I attached the new heads.  They appear to have solved the leaking problem.  I still have some minor leakage of oil out the dipstick holder, but I think a little sealant should fix that.  One very noticable change is that the engine starts very easily now (though the new battery and alternator are helping with that too).  Now, I need to fine tune the carb (an older 500 CFM Performance carb) so that it runs a little less rich under heavy acceleration.

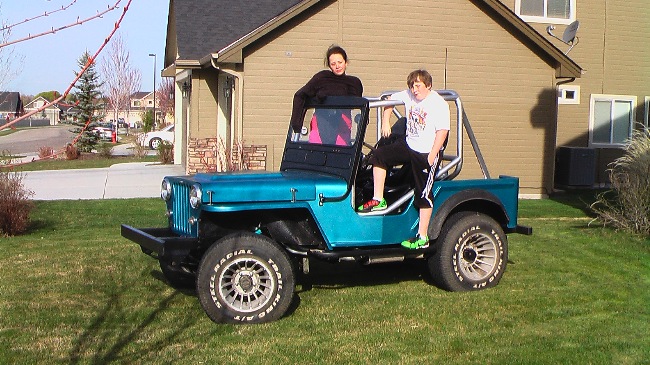
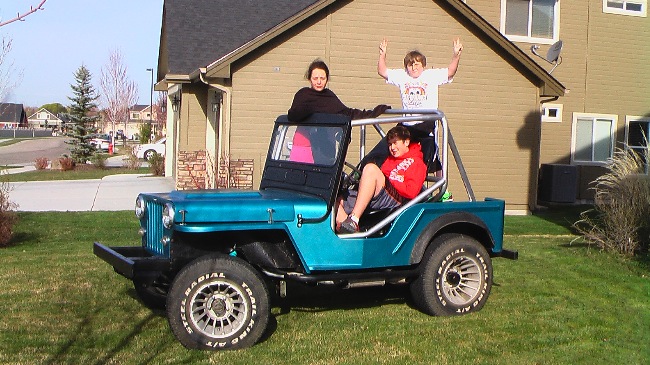
Below are a few pics of the kids playing for the camera:

 
To Top

I Finally Pulled the Head Today ….

• CATEGORIES: Biscuit This site contains affiliate links for which I may be compensated.

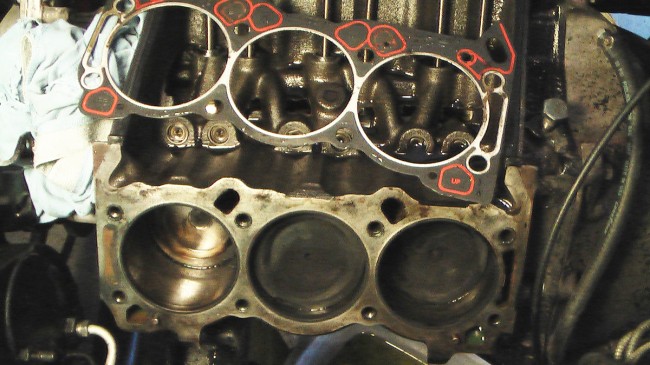
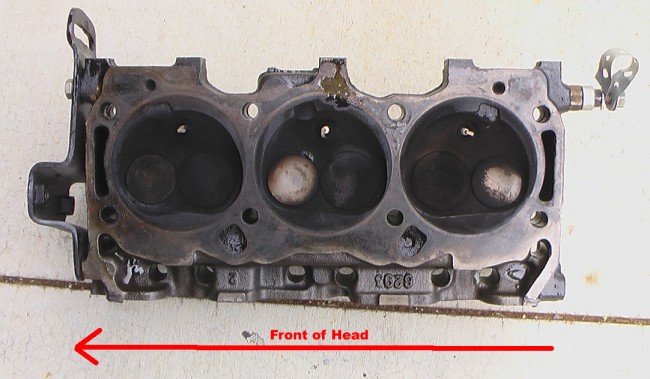
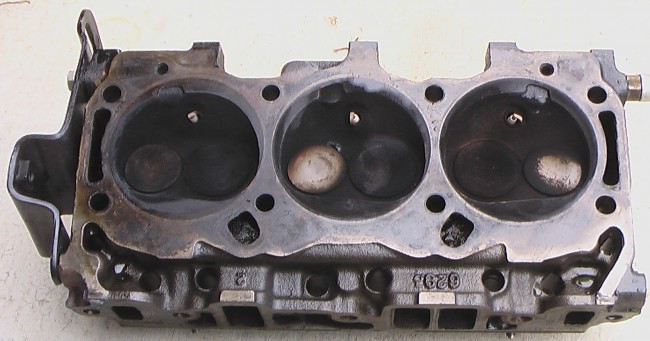
So, I pulled the driver’s side head and inspected the head and cylinders.  You can see in the pics of the valves that the number #1 cylinder isn’t buring as well as #3 and #5.  Also, number 1 cylinder looked a great deal moister inside as well.  The head gasket appears fine.

I’m still uncertain what’s causing the problems as I haven’t spotted any cracks yet.  As a refresher, here are the problems:

1.  Some exhaust or blow-by escapes into the block and escapes out the intake manifold (or out the driver’s side head).

2. It sounds like it runs well until under pressure such as more than average acceleration, then it seems to run rough,  until the acceleration is let up a little.

3. Some coolant residual appears in various places after running the engine (in the form of a slightly white foam).

4. I have leakage of slightly watered oil that leaks from the oil dipstick and from the valve cover.  I can slow this greatly by disconnecting the PCV unit from the intake manifold.

Here’s a few pics (note cylinders #3 & #5 have a little liquid from pulling the head, but the #1 cylinder is much damper/oilier).

 
To Top

Crack in my engine block?

• CATEGORIES: Biscuit This site contains affiliate links for which I may be compensated.

This weekend I spent some time messing with my engine.  One of the concerns I have had was that the whitish smoke that still slips out of the intake manifold hasn’t gone away.  I had hoped that was simply the rings not sealing, but I don’t believe it is anymore.

While checking the engine closely on Saturday, I discovered that there was some whitish, oily residue on the roof of the oil breather, which suggests coolant in the oil.  My radiator level was also a little low. Between that, the smoke, and the fact that it runs a little rough when under pressure, I now believe that somewhere on my left bank there is a crack. I suspect it’s the REAL reason the seller of my engine stopped using it.

Fortunately, I have an extra 3.8L block that appears in good shape (I’m already using the heads and crankshaft).  I would have used that block initially, except that it’s bored .030, while my Hypereutectic pistons are made for a stock bore.  So, I guess I’ll go back to .030 bore and the pistons that came with that block.

So, I’m going to get my block dipped and cleaned, pull the engine, rip it apart, and put everything back together.  It sounds like some good weekend fun …. I’m might redo the radiator setup while I’m at it — I have a new idea for that.

 
To Top

My Build: Climbing the Local Foothills

• CATEGORIES: Biscuit This site contains affiliate links for which I may be compensated.

I finally got a chance to get Lost Biscuit onto the dirt today (Saturday).  One of the unique aspects of Boise is that the surrounding foothills have been reserved for recreation.  There are areas for hiking, walking dogs, biking, motor biking and four wheeling.  One of the quickest ways to reach the foothills is to head north on 8th avenue from downtown.  It takes all of 5 minutes or so to reach hiking and biking areas.  It’s about 15 minutes to hit the motorized offroad areas.

My son Karson was with me.  It was his first off roading experience.  We were only out about an hour or so, as I’m being careful to push the bounds of the jeep slowly to let everything ‘settle’ into place.

On the positive side, the suspension is as I could have hoped.  It’s firm enough for the corners, yet handles the bumps well.  It’s a step up from my first suspension, which was a step up from the early jeeps I drove. We wound up the hill, took some side roads, tested out low range and four wheel drive.

On the negative side, I’ve still got a little oil that appears to be the result of valve covers that aren’t quite sealed correctly, so I’ll have to take them off to see what’s happening.  Here’s some pics before we got muddy.

This is a pic facing west.  Those foothills are all part of the foothill recreation system.

biscuit_boise_background2

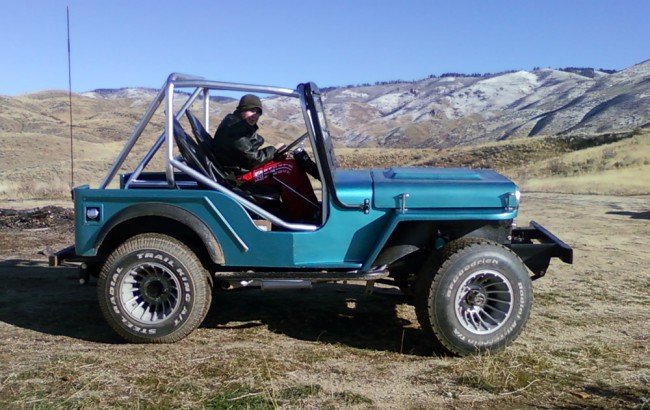
Here’s Karson with the hills and hundreds of miles of hiking, biking, four wheel drive trails, and the Bogus Basin Ski area behind him.

karson_biscuit_mtns

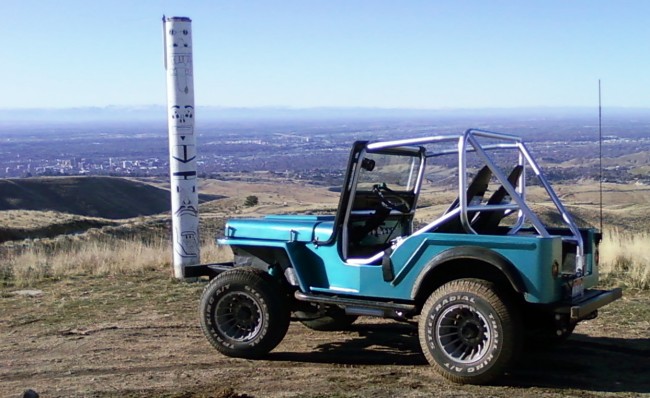
In this southern facing image you can see the City of Boise to the left and the entire Treasure Valley filling the background.  I can’t say for sure what the pole is, other than a modern day totem of some kind?

biscuit_boise_background

 
To Top

My Build: Seat Covers

• CATEGORIES: Biscuit This site contains affiliate links for which I may be compensated.

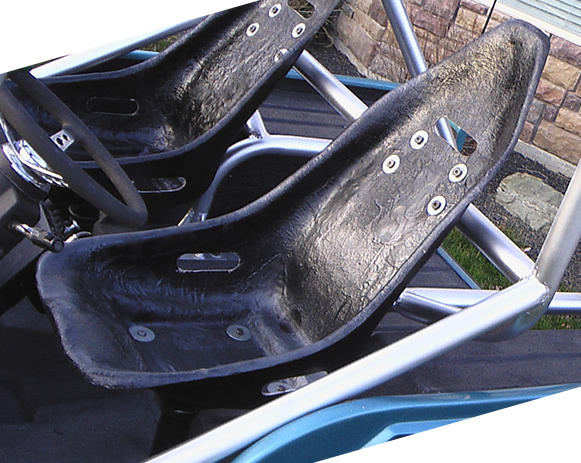
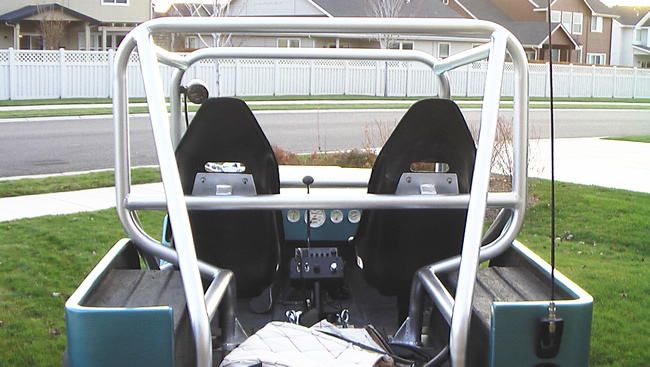
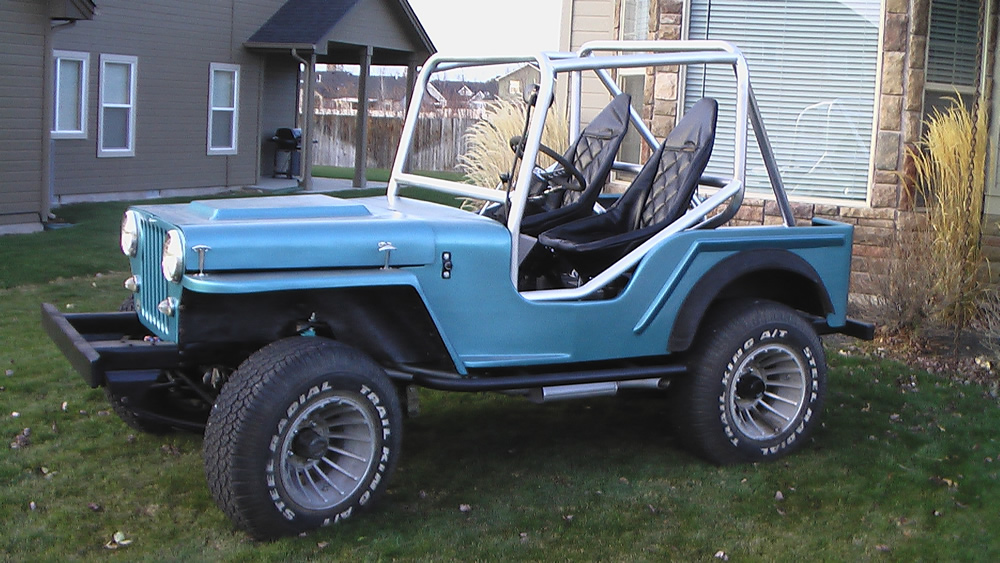
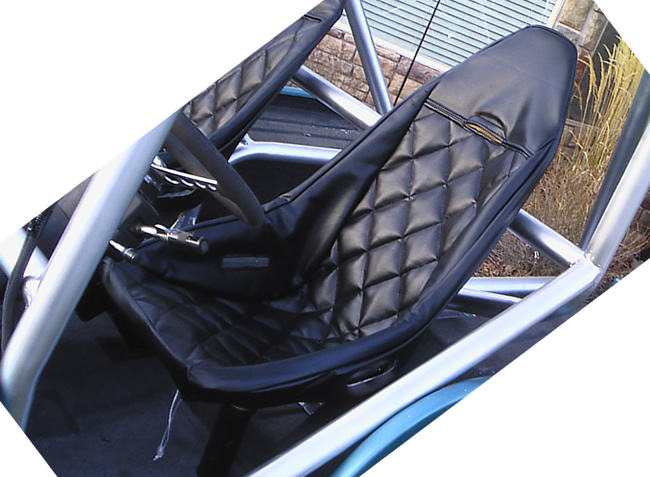
One thing I did not get with my $20 seats were seat covers (here’s another link on how they mount).  Kim offered to sew these together for me and, since she’s right here, I could keep my eye on them as they were being made.  These were sewed from the heaviest, nicest seat vinyl I could find from Beverly Fabrics.  Best of all, it was 50% off.

The Prototype, which is on the passenger seat, could use a little adjustment still, but the second one turned out great.  Both just need some rider time to get stretched and pressed against the seat so they will form more closely to the seats.

seat_cover

seat_cover2

seat_cover4

seat_cover6

seat_cover8