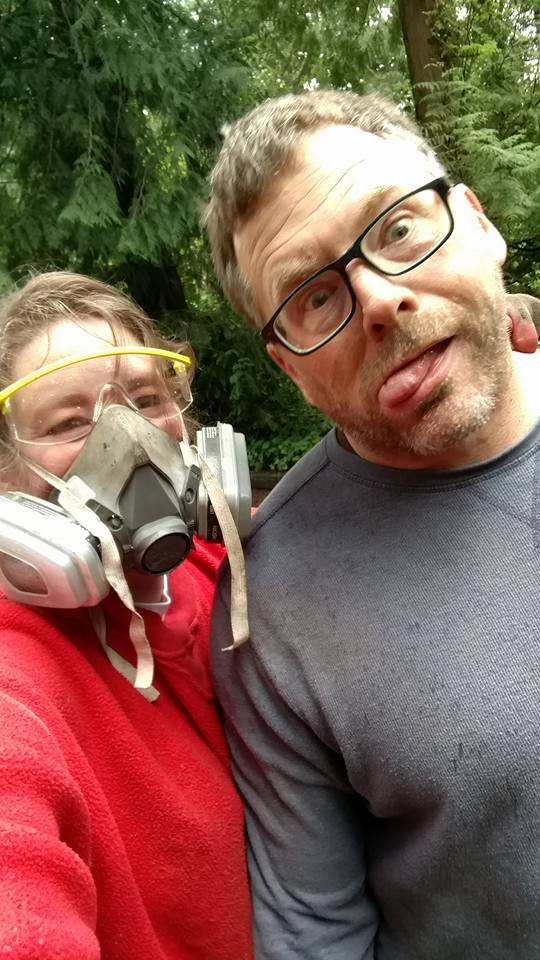
 This weekend my lovely helper and I blasted and painted the frame. Now, we are both tired. So, here’s a recap in pics …. First the dirt and scraping. Yuck!
emailNeed to contact me and don't have my email? Click on email button.

Welcome to eWillys.com, a website for vintage jeep enthusiasts. I update this website nearly every day with jeep deals, jeep history, interesting reader projects, jeep related info, and more.
These quick searches can help you find things on eBay. People list in the wrong categories all the time, so don't be surprised to see brochures in the parts area for example. This section used to be split into jeeps, parts and other categories, but recent changes to eBay will require this information to be recoded.
The links to posts below show jeeps grouped by models, condition, and other ways. Some of these jeeps are for sale and others have been sold. If you are unsure whether a vehicle is still for sale or not, email me at d [at] ewillys.com for more info.
There are plenty of interesting, unusual, historic and surprising stories related to Jeeps and their owners. In addition, some of these features have nothing to do with jeeps. This link will display all featured stories starting from the latest.
Looking for parts and not sure where to go? There are a variety of large and small new and used parts sellers both online and offline.
Importantly, the allure of buying a project jeep can be romantic. The reality of restoring a jeep can be quite different, expensive and overwhelming without the right tools and resources. So, tread carefully when purchasing a "project". If you have any concerns about buying a vintage jeep, or run across a scam, feel free to contact me for help, comments or concerns .
This weekend my lovely helper and I blasted and painted the frame. Now, we are both tired. So, here’s a recap in pics …. First the dirt and scraping. Yuck!
Ann is not afraid to get dirty!
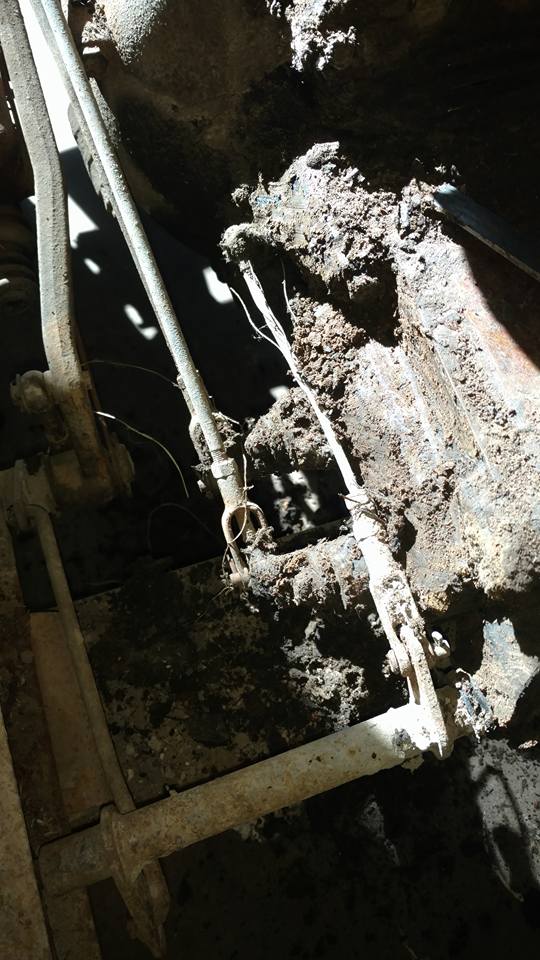
Unlike our sunny Friday, today was a rainy day, so any thought of blasting the frame was put on hold. But, we did get nearly all the parts removed from the frame and the engine/transmission ready to pull out. The more we removed, the more we could see that poor Rusty had come from an abusive home.
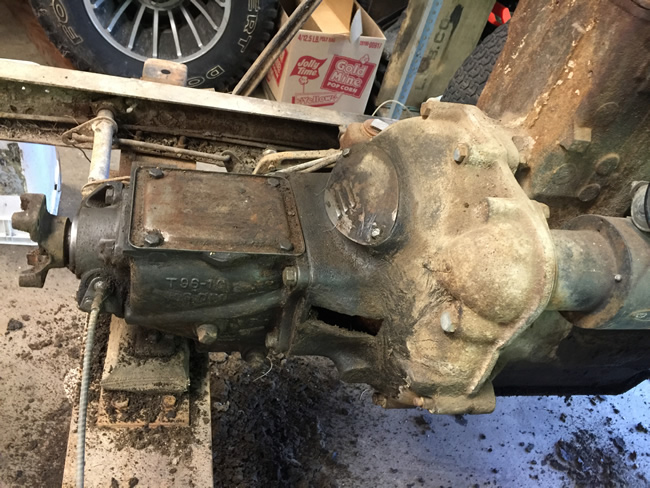
Case in point: the transmission cross member. Both sides of the frame where the transmission crossmember normally attaches have been beaten, suggesting that the jeep was often bottomed or high centered. That would also explain the need to install a custom cross member:

You can see the wave along the bottom rail. I play on straightening it and then added an extra piece of metal to about a foot long to add additional strength along the bottom of the frame.
This net photo shows the rear passenger spring. The front portion of the bottom leaf is bent down quite a ways. This is slightly problematic in that there aren’t off the shelf springs for DJ-3A convertibles (that I know of anyway).

I don’t know which year this image was printed, but it highlights the different springs among models.

Note that the hardtop version had different numbers of springs on the left vs. right sides. From the CJ-2A Page.
To make it more confusing, I have five leafs in the front and four in the back (on both sides). I think I should have only 3 leafs. Perhaps the previous owner broke them and installed heavier ones? Or, the number of leafs was changed after 1956? I don’t know.
Just a few updates for today ….
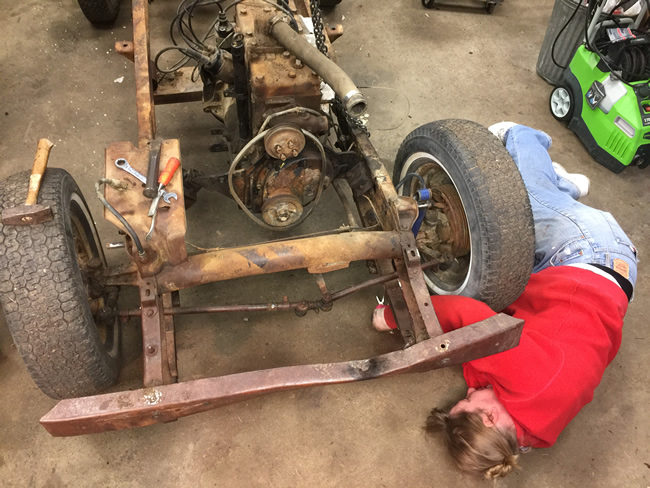
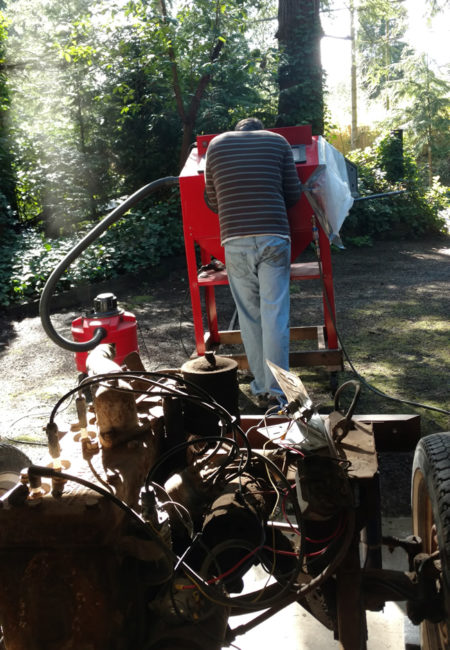
Friday was another day of blasting. And, with Ann’s help, there was plenty of scraping, too. This photo describes my day:
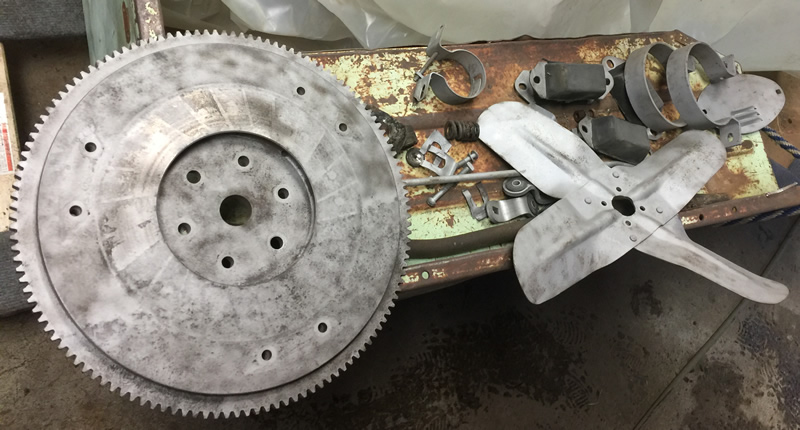
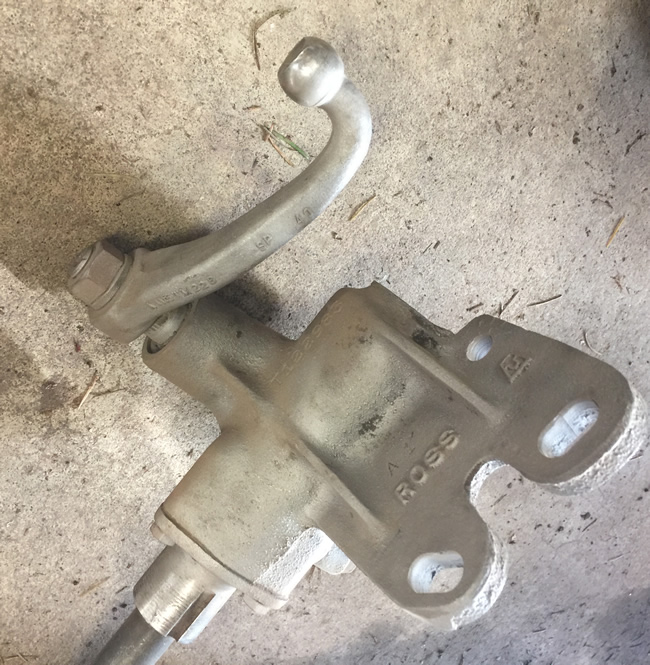
But, all that work wasn’t for naught. See the much cleaner steering box:
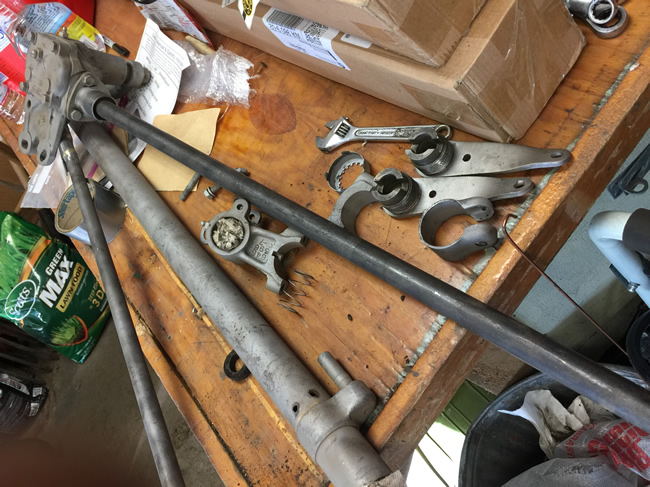
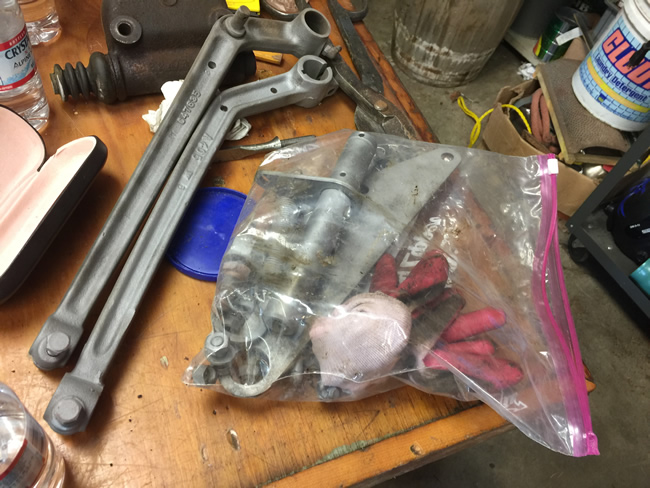
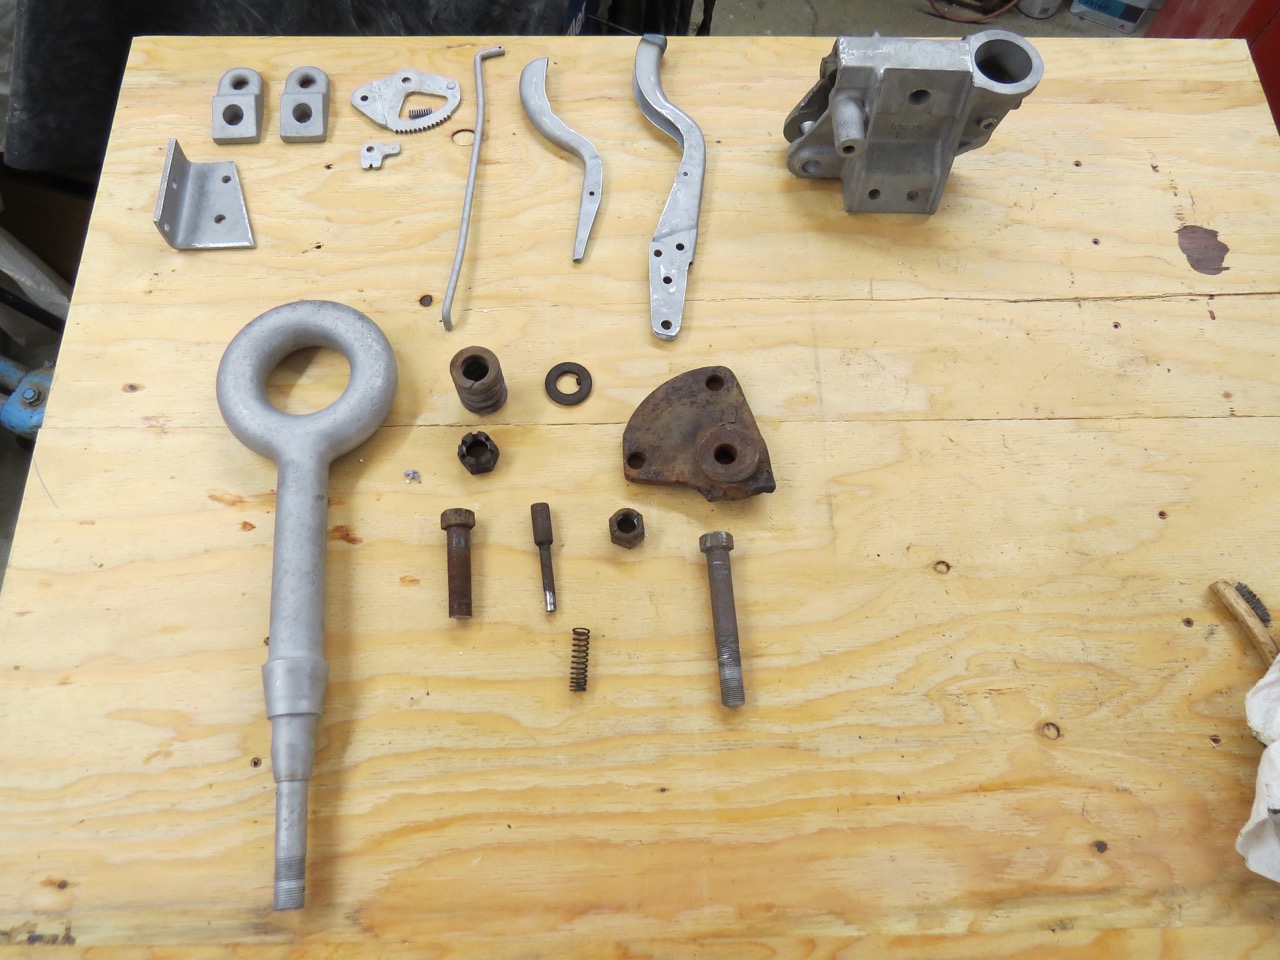
 And, some of the blasted parts … clutch linkages, pedal levers, column shift parts, and more:
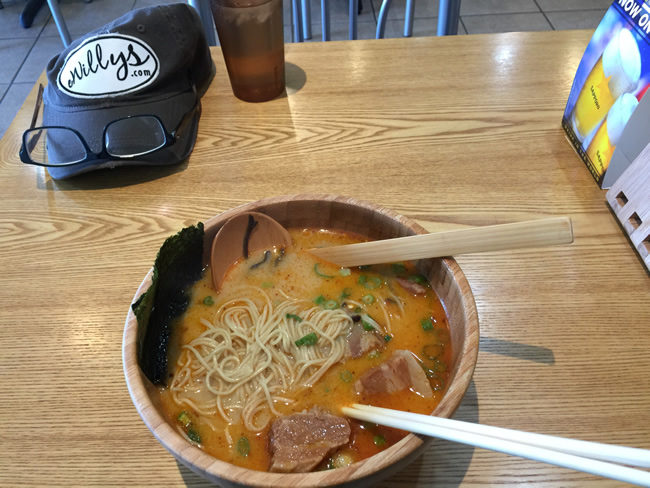
All work and no noodles makes David grumpy! Good thing I found a new Ramen noodle place just a few minutes away from my parents. I had them add some pork belly. It was awesome!
More progress on Rusty, one part at a time. I wanted to remove the u-joints so I could sand blast and paint the driveline.
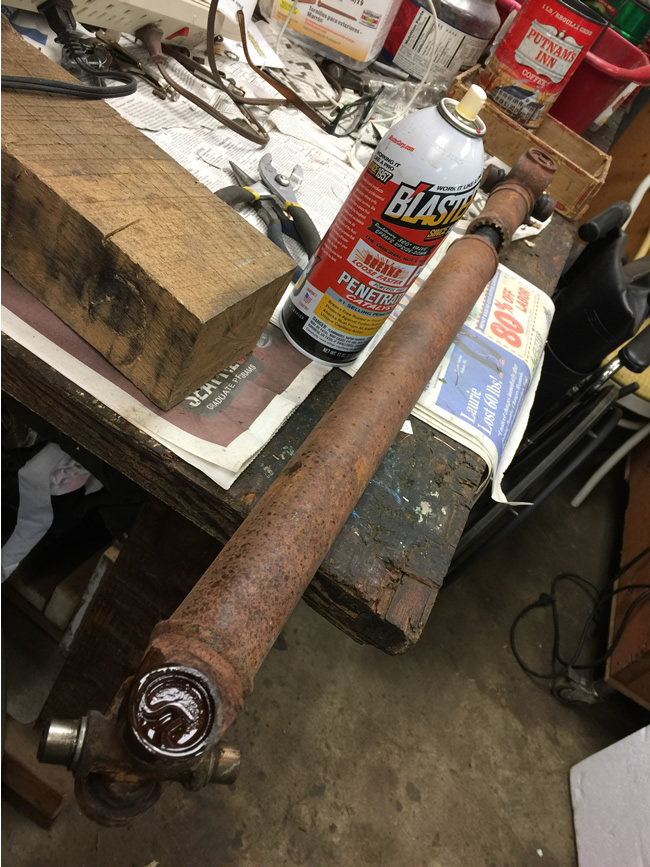
To remove them, I used my favorite vice, something that’s been around longer than me. Using two different sized sockets (one to slide through and one to catch the u-joint as it slides through, I pressed it through. Make sure the grease nipple is NOT on the side you are pressing or it will cause you problems. This shows the u-joint after the springs are removed, but before I began pressing.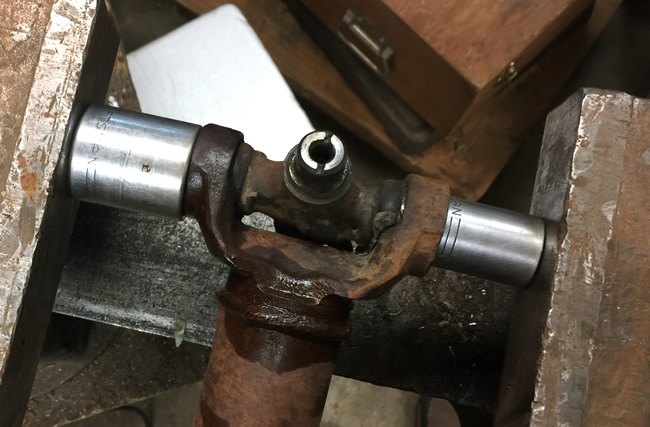
This shows the u-joint after pressing it through. 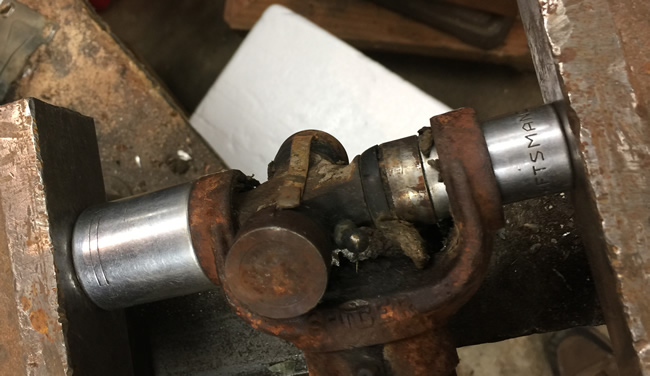
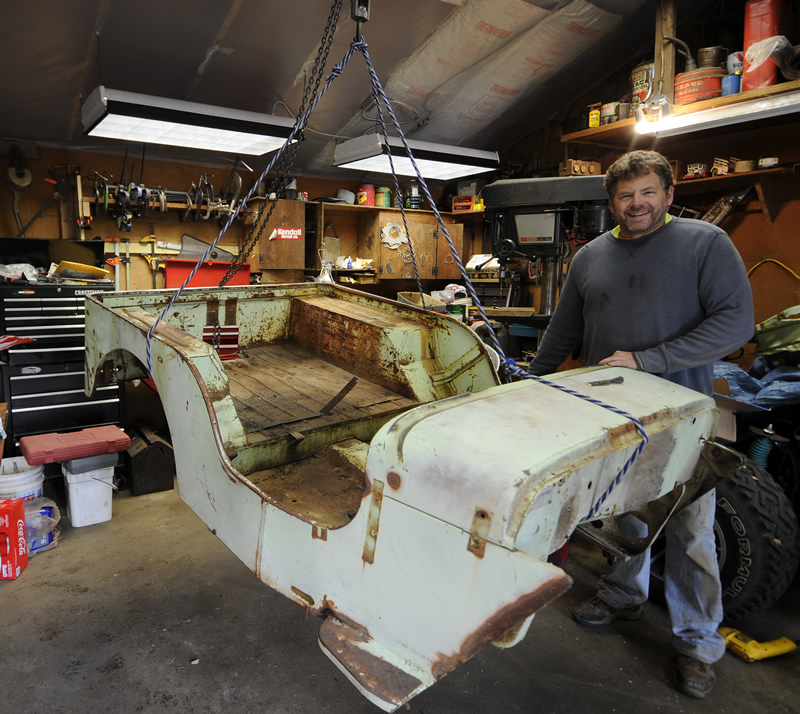
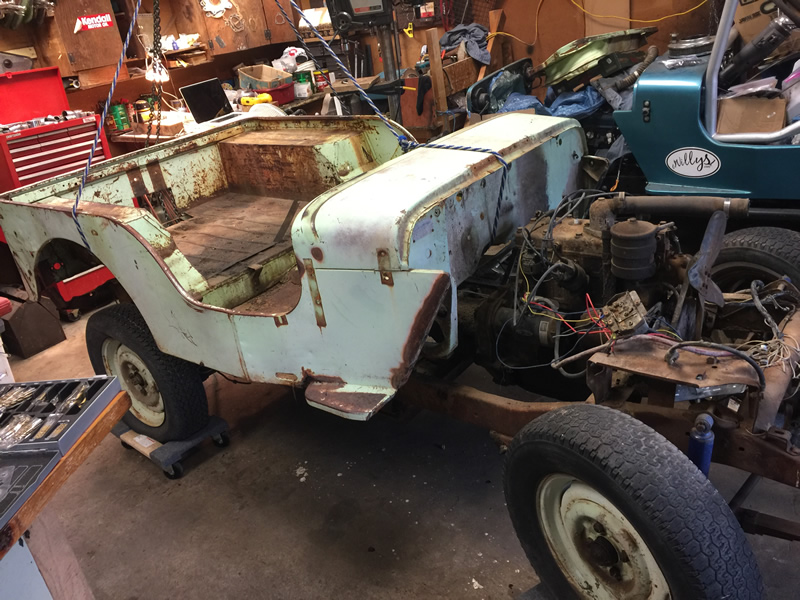
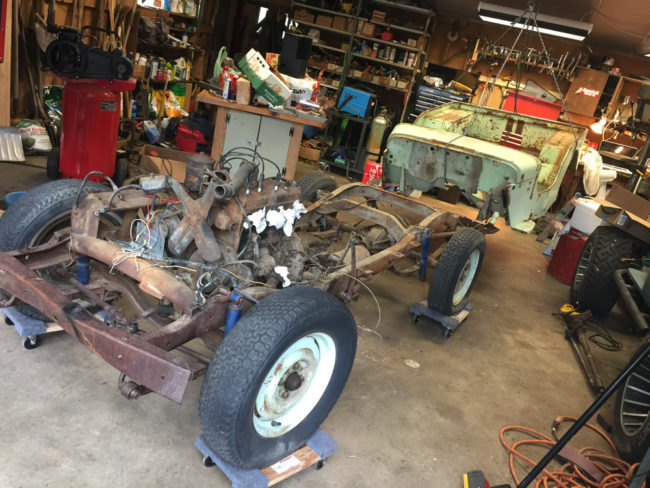
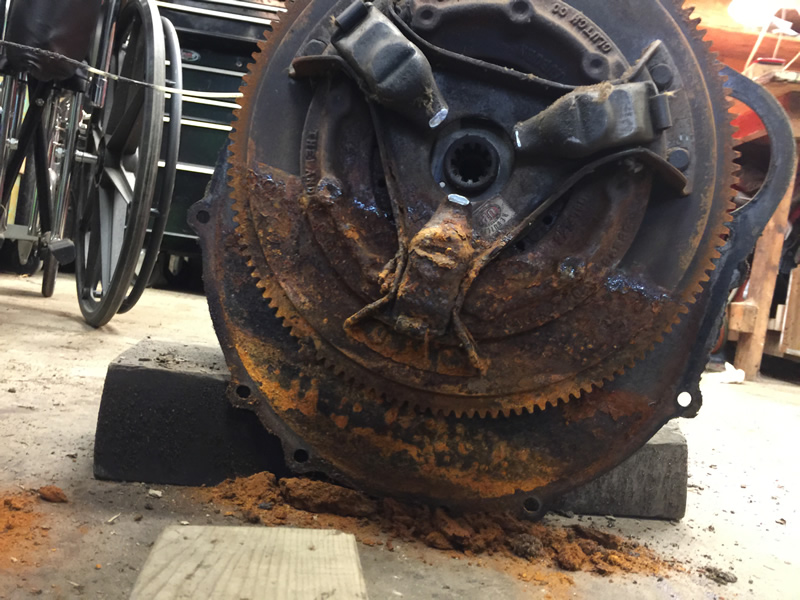
There’s nothing like disassembly to reveal all the problems that remained unseen. Once the body came off, the realities revealed themselves.
The front cross member is cracked on the driver’s side (no surprise there — funny how I didn’t notice it with the body on it). The transmission is so packed with muck that I doubt any oil could leak through it. There are also some odd bends, like the mid cross member, which had something hit it with enough force to bend one side. Maybe the driveline broke at some point and flew up into it? Of course, there were rusty bolts, too, some which not even PB Blaster could save. At least it is getting closer to being disassembled.
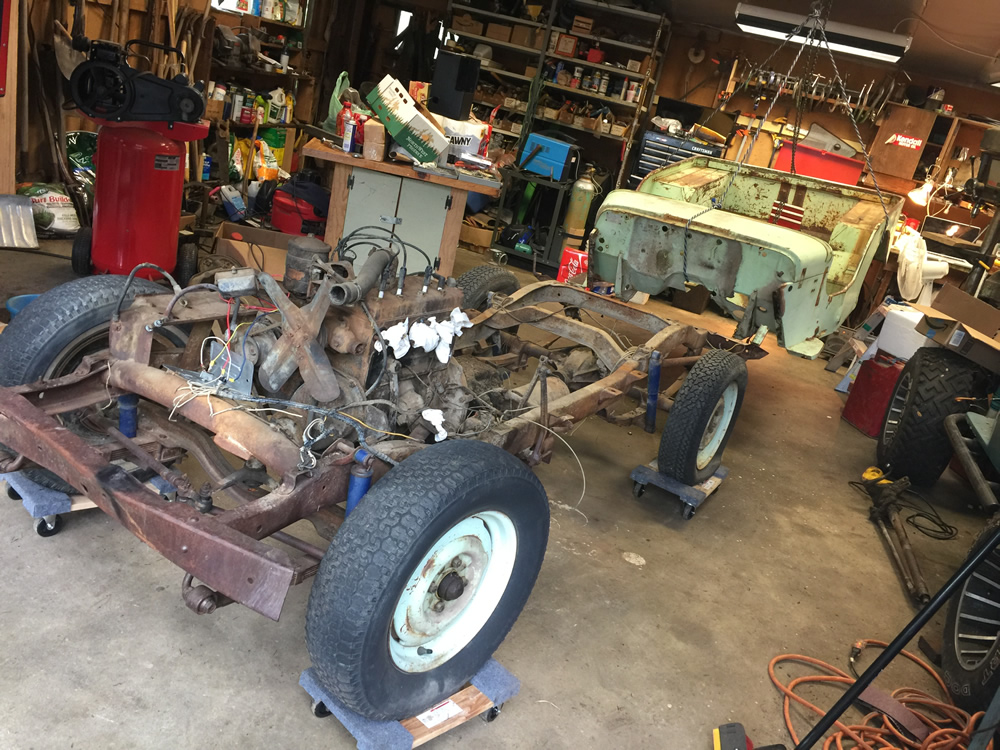
The first big event was the removal of the body. I used a block and tackle to pull the body off:
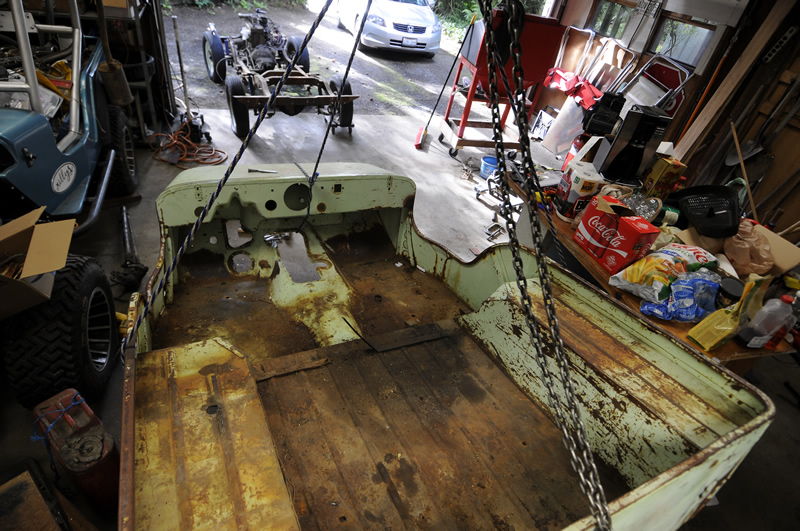
With the rain staying away for a few days, I booked it over to Renton for a few days to work on Rusty. Here are a few of the things I did today.
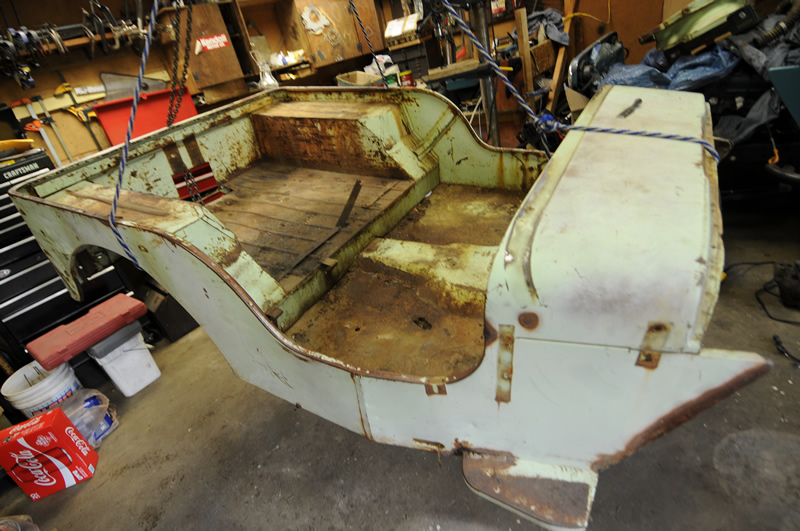
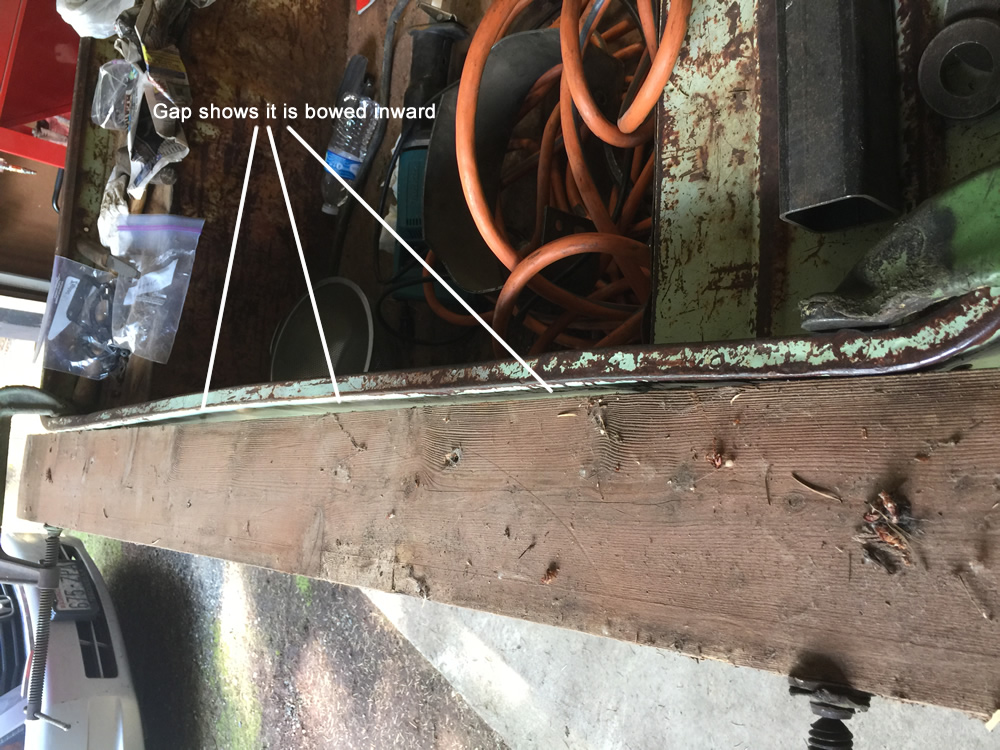
I did a little more straightening to the body. This time I wanted to remove a bow along the top back. I’ve mounted a board as a straight edge. You can see the cancer in the rear.
 You can see there’s a gap between the board and the back.
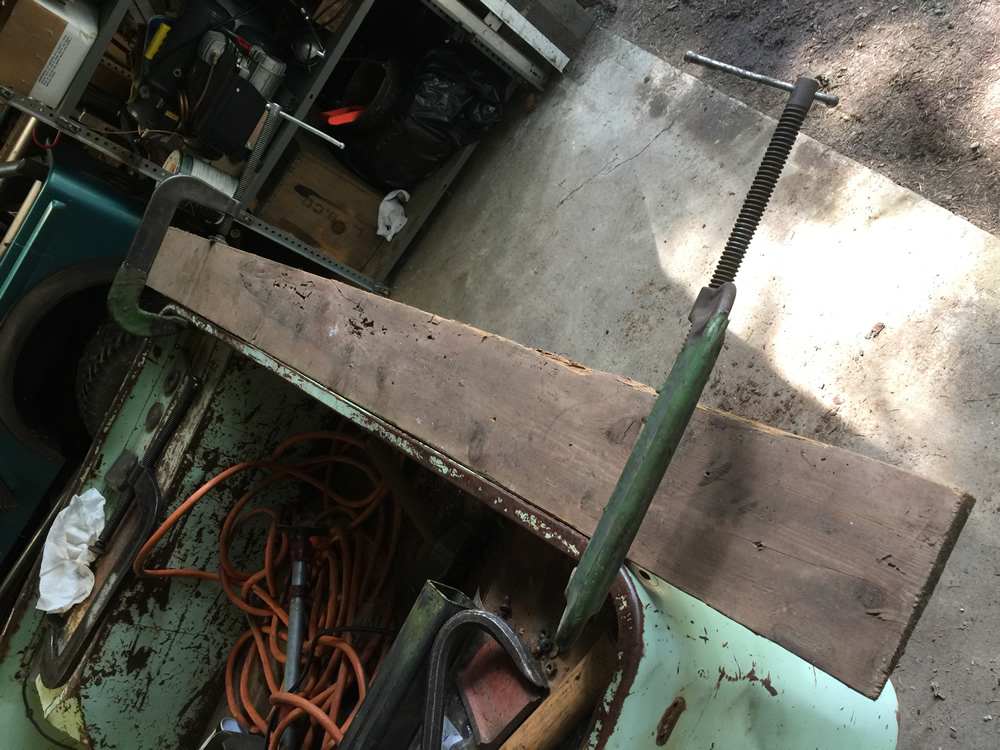
 After some clamps and some sweet talking with a 5lb sledge, I coaxed the back into line.
Then I played doctor and removed the cancer.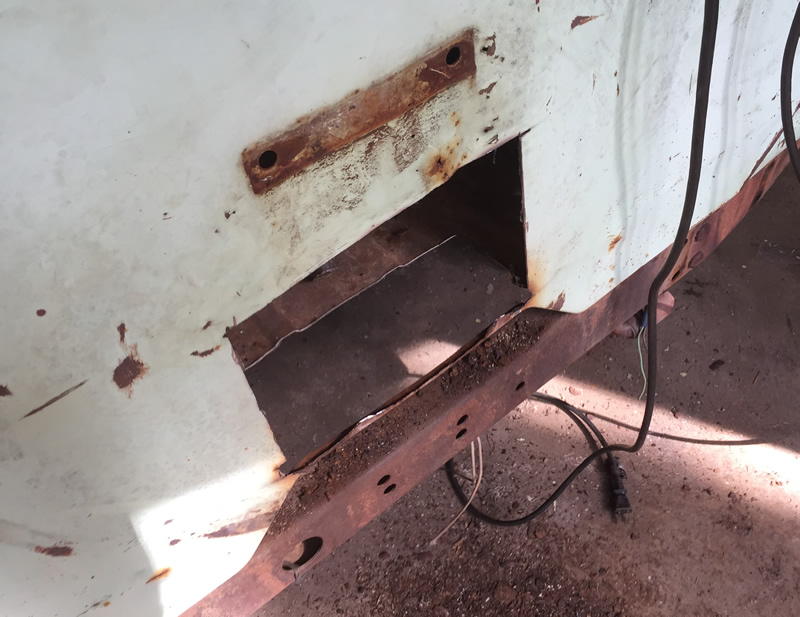
Paul’s continuing to make progress on his trailer.
I can’t remember if I explained about the lunette thread damage and what it took to get it repaired so here’s the brief story. Before I began disassembly of my M100 trailer I liberally sprayed all the fasteners with penetrating oil numerous times in hopes of easing the removal process. Most of the nuts and bolts unscrewed with normal effort (including the castle nut on the lunette) but I was disappointed to see some of the threads on the lunette were damaged by the nut when things came apart.
Once the lunette was cleaned and bead blasted I took it to a local machine shop to see what could be done to repair or replace the damaged threads. Because I didn’t know if the lunette was cast or forged the machinist said welding was out of the question and suggested I just buy a replacement lunette. I returned home and made numerous phone calls to military parts sellers, Jeep parts sellers and anyone else I thought might possibly have an M100 lunette for sale. Not only did I come up with a big fat nothing for a replacement lunette I also learned these things are harder to find than unicorns. I made a trip back to the machine shop and had another conversation with the talented folks about the lack of replacement lunettes before we brainstormed about the possibility of thread repairs.
After I answered all their questions about the M100 trailer weight, load capacity and the type of use it will be subjected to a solution was suggested. The plan was to carefully remove the damaged threads and then cut new threads on the slightly smaller diameter of the lunette. The thread pitch would be an uncommon type so they would have to make a castle nut of the correct diameter with matching threads but very little strength would be lost with this repair. I wanted one change made with their repair plan, instead of making one castle nut I wanted them to make four nuts. That way if I ever lost or damaged a special nut I’d have spare nuts on hand.
The attached photo shows the thread damage on the lunette, the focus is poor but the missing threads are still visible.
David has run into problems with his starter and generator. Read more about the update on his build here: http://thegarage.jalopnik.com/this-latest-setback-could-doom-my-1948-jeep-off-road-pr-1793370087
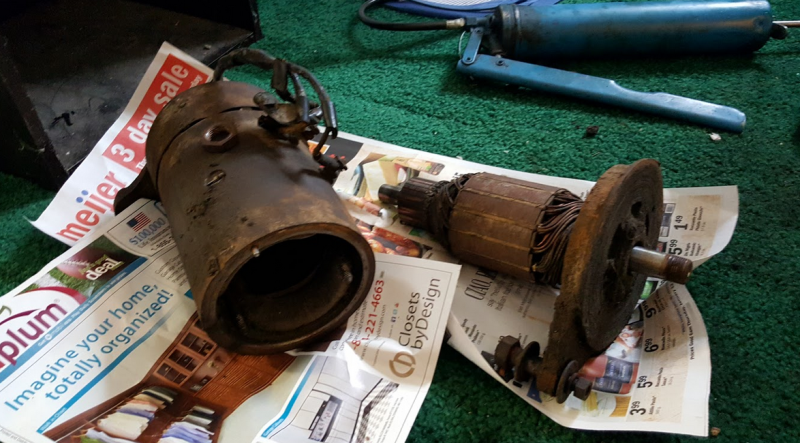
Photo Credit: David Tracy
How many of us bought that first project flat fender knowing it would be an easy restoration. After all, they are such simple vehicles, right? Well, David Tracy got an introduction into the hazards of purchasing a “fixer-upper”. He documents some of his trials and tribulations on Jalopnick. It’s a reminder that when picking your first jeep, choose wisely!
http://thegarage.jalopnik.com/my-1948-jeep-off-road-project-is-ruining-me-1792102804
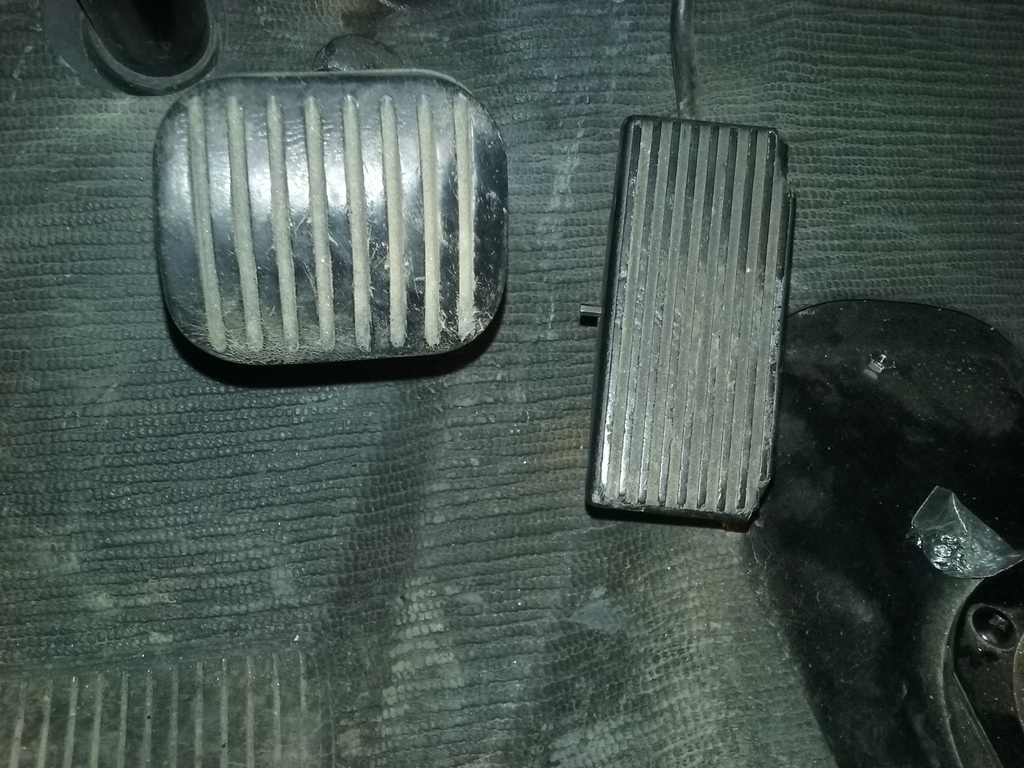
Maury shared this cure for his foot pedal:
Like some others who have mid-60’s V6 CJs with the hanging (suspended) type accelerator pedal, I’ve found my ’67 CJ5 to be somewhat uncomfortable to drive over long, and even not-so-long distances due to the awkward placement and size of the original stock gas pedal. It’s no problem for me to reach the gas pedal with the front part of my foot when my heel is on the floor, as I wear a size 13 shoe. Even so, I’ve found that the muscles in the front of my shin frequently begin to ache from having to constantly hold my foot up at the angle necessary to depress the gas pedal.
Read more and see all the photos here: http://forums.4wdmechanix.com/topic/956-substitute-for-oem-hanging-gas-pedal-in-1967-v6-cj/