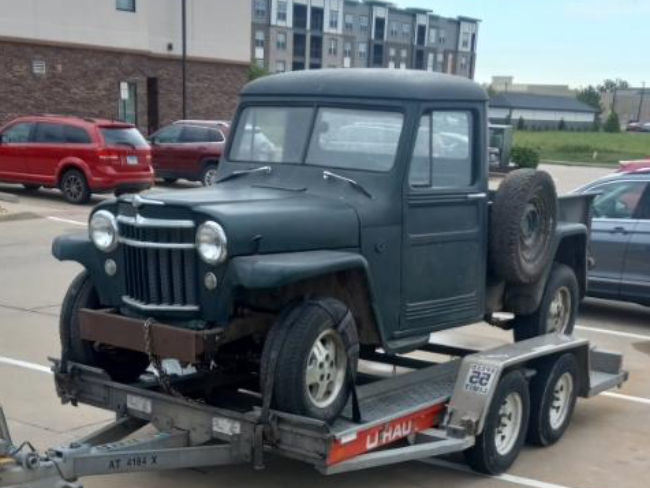
This thread of a 1956 truck rebuild was shared by Bill. It looks like this has become a non-stock rebuild.
emailNeed to contact me and don't have my email? Click on email button.

Welcome to eWillys.com, a website for vintage jeep enthusiasts. I update this website nearly every day with jeep deals, jeep history, interesting reader projects, jeep related info, and more.
These quick searches can help you find things on eBay. People list in the wrong categories all the time, so don't be surprised to see brochures in the parts area for example. This section used to be split into jeeps, parts and other categories, but recent changes to eBay will require this information to be recoded.
The links to posts below show jeeps grouped by models, condition, and other ways. Some of these jeeps are for sale and others have been sold. If you are unsure whether a vehicle is still for sale or not, email me at d [at] ewillys.com for more info.
There are plenty of interesting, unusual, historic and surprising stories related to Jeeps and their owners. In addition, some of these features have nothing to do with jeeps. This link will display all featured stories starting from the latest.
Looking for parts and not sure where to go? There are a variety of large and small new and used parts sellers both online and offline.
Importantly, the allure of buying a project jeep can be romantic. The reality of restoring a jeep can be quite different, expensive and overwhelming without the right tools and resources. So, tread carefully when purchasing a "project". If you have any concerns about buying a vintage jeep, or run across a scam, feel free to contact me for help, comments or concerns .
This thread of a 1956 truck rebuild was shared by Bill. It looks like this has become a non-stock rebuild.
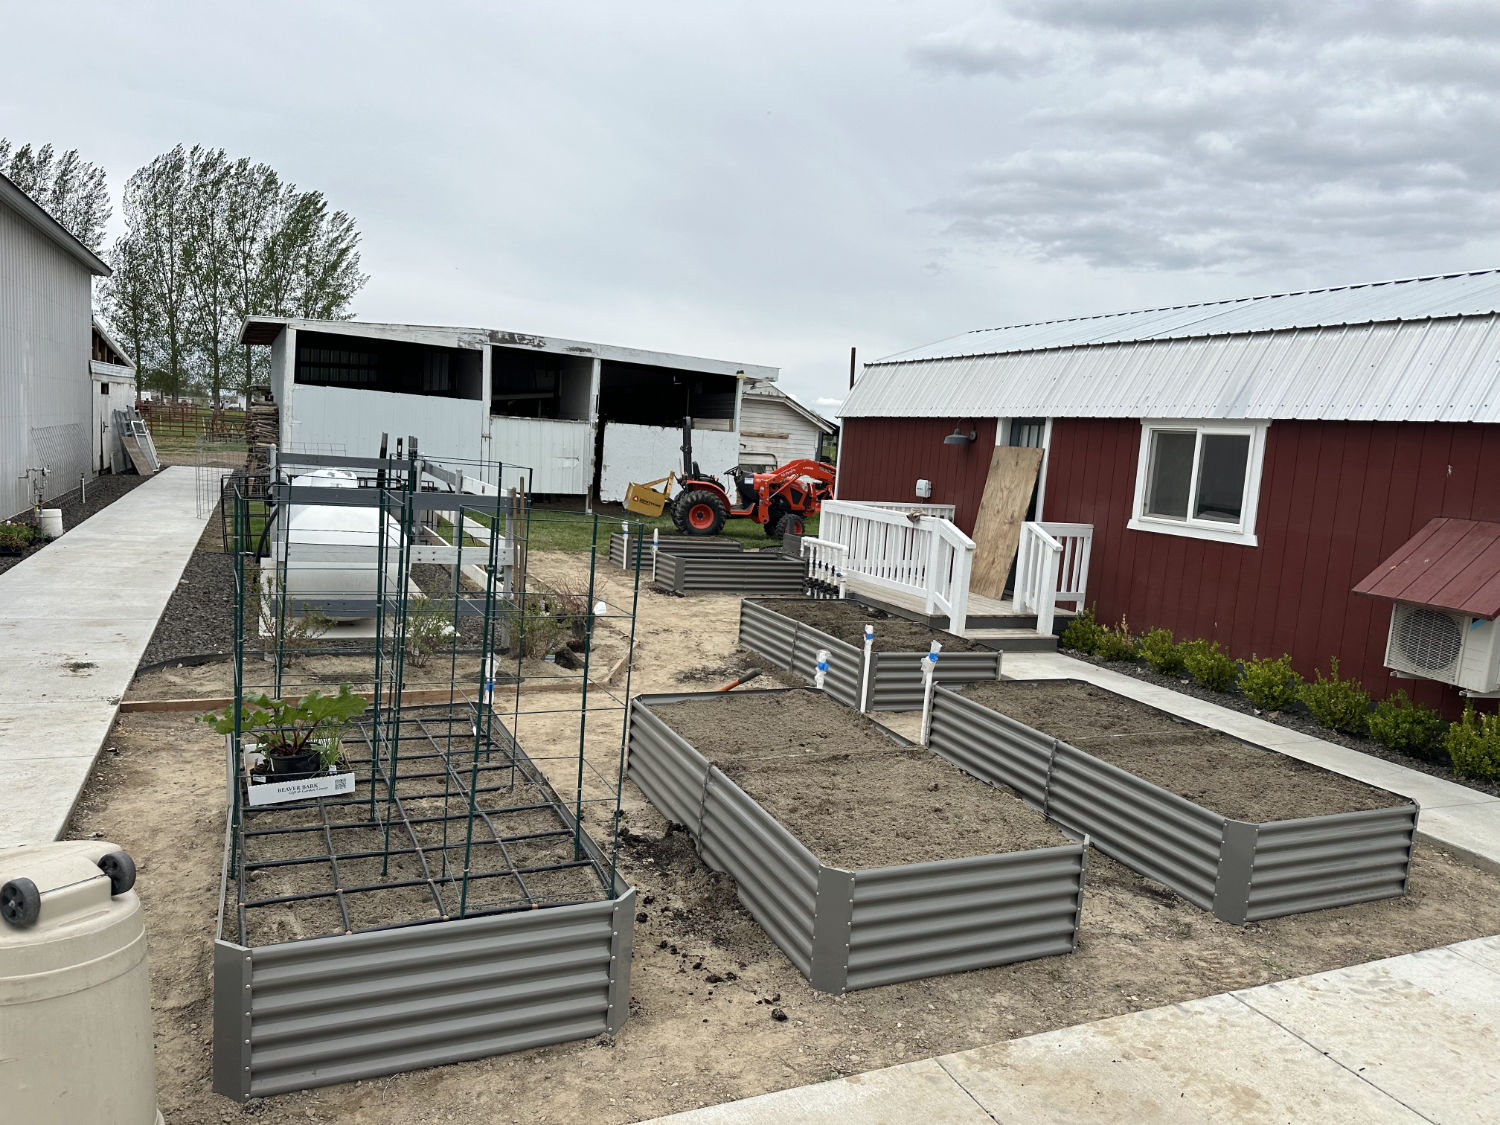
It continues to be a busy month. Yesterday felt like a 2-step-forward, 1-step-back kind of day. The new raised garden is about done, as seen below. Still some details to complete, such as adding some plastic sheets at each corner of the raised beds, because, as it turns out, the corrugated sides create gaps at the corners, which allows dirt to fall onto the ground. So, we will need to dig up each corner and add some plastic sheets to stop that. Once we get all the plants in and gravel laid, I’ll take some final pics.
Yesterday morning I spent some time working on the FC. My goal had been to create the cover plate for the mini-gauges and power switch that will sit on the angled area of the dog house.
I cut a raw piece of 14 gauge steel, rounded the edges (not shown), then, to test the size and look, placed the plate on the dog house. That’s when I noticed the plate didn’t lay flat. After testing some flat edges, I eventually concluded that there’s a slight twist in the dog house at the very spot I want to put the gauges. It’s not undoable, but I’d rather the plate sat flat (passenger side is flat).
This pic shows the angle. You can see the slope increase as the angled portion moves to the front.

That problem led to me removing the driver’s seat (for the first time) so I could better evaluate my options.
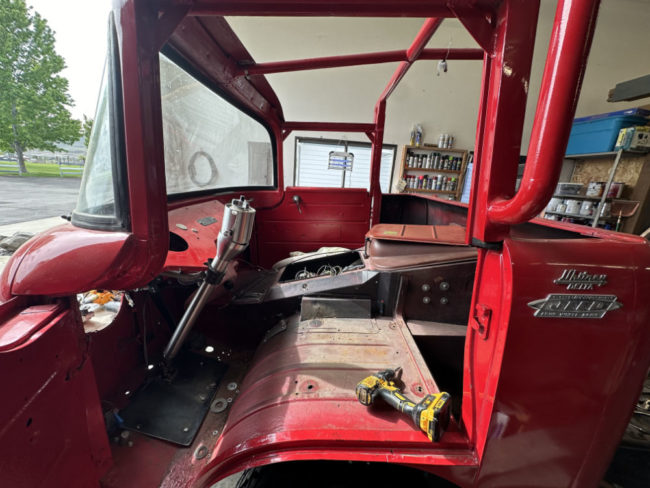
I eventually concluded that it will take some clamps and braces to straighten it (if even possible). Since i didn’t feel like tackling that project right now, I turned to the driver’s seat.
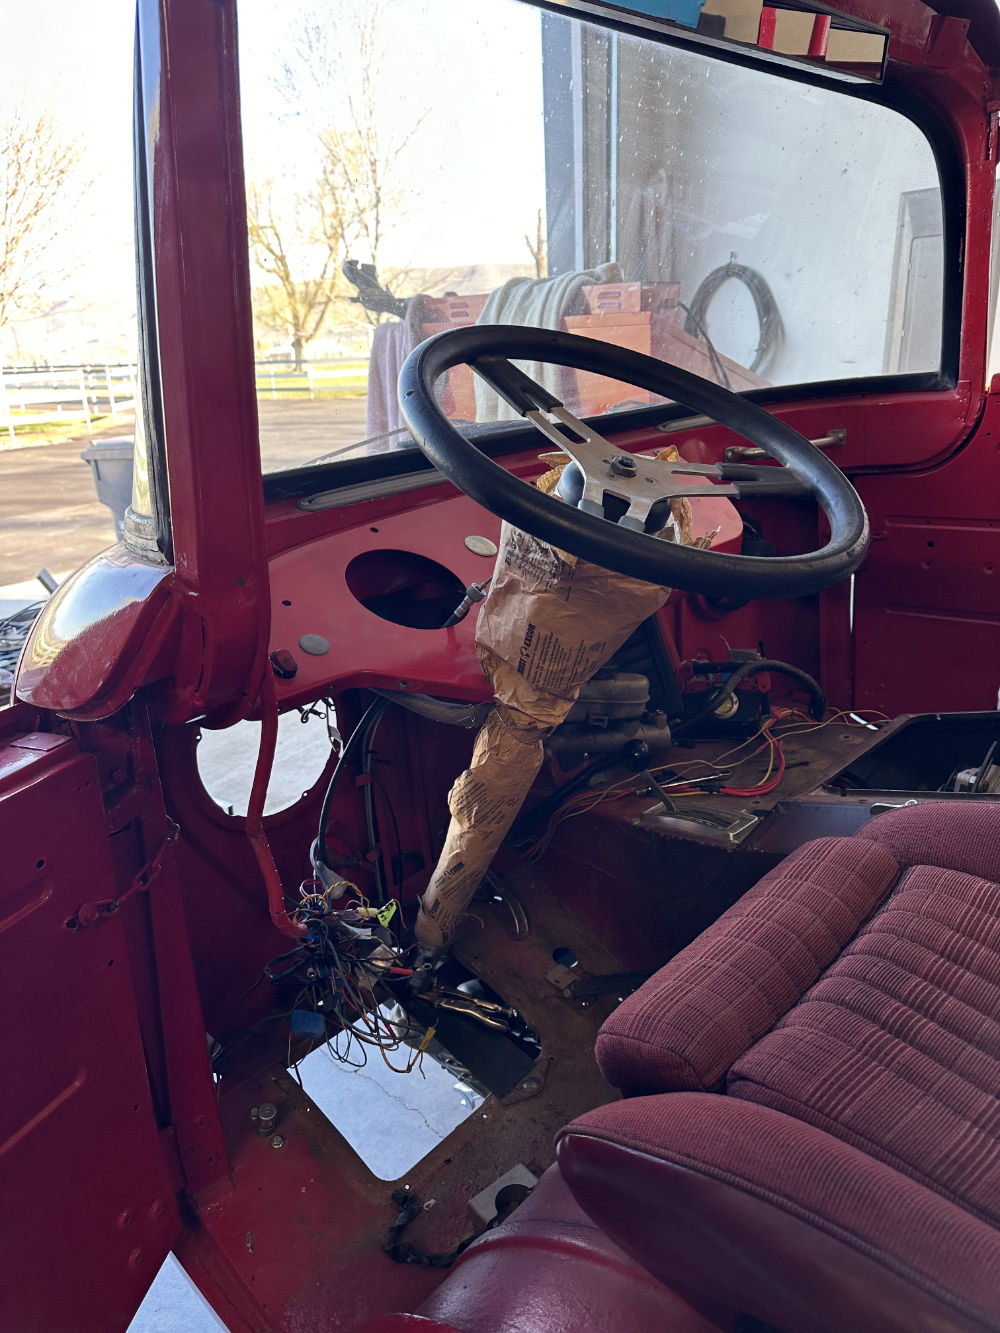
First, I installed an original driver’s seat just to see how it fits vis-a-vis the steering wheel, which proved to be a comfortable angle (whew).
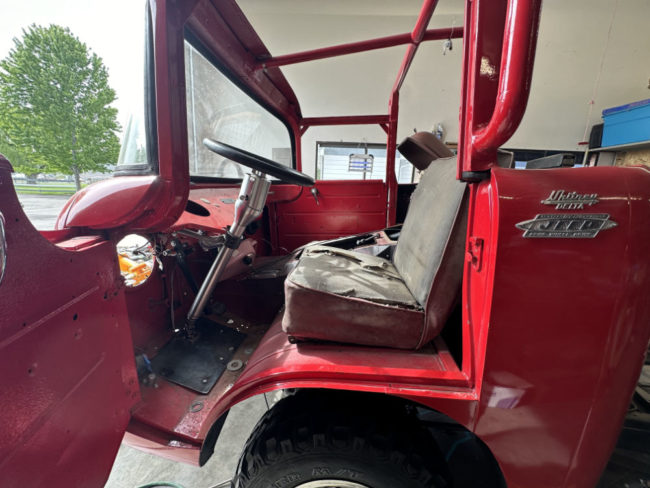
I removed the seat, then pondered the areas where the seat originally mounted. It was immediately clear that the original driver’s side seat mount areas had been patched and welded. My guess is that the area had been fatigued over the years. In addition, a portion of one seat mount bolt remained in it’s original hole, while the other mount area holes had been filled entirely. Continue reading
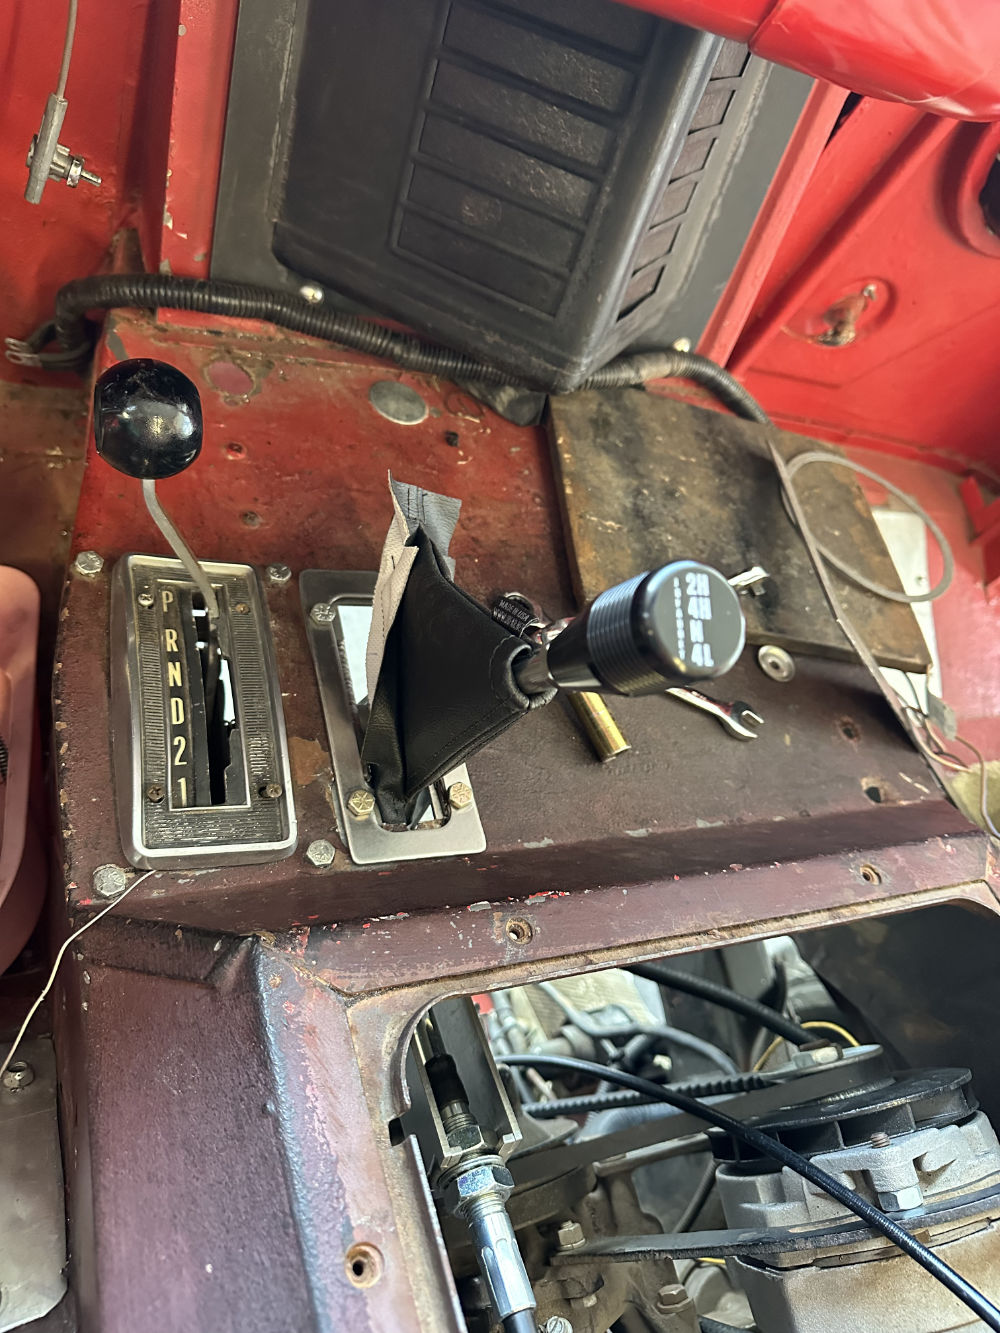
Now that I have the longer, six foot cable, I had a chance to continue with the transfer case shifter. The bracket that was provided by JB Customs, caused the shifter cable to run into the engine, which didn’t seem like a valid strategy, so I roughly calculated the angle, then made two cuts into the aluminum bracket. This allowed me to re-mount the bracket and then bend the bracket into the right position, but maintain the correct bracket-end distance.
Here are two pics of the original bracket:
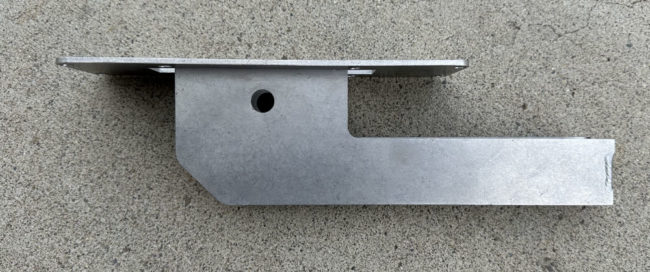
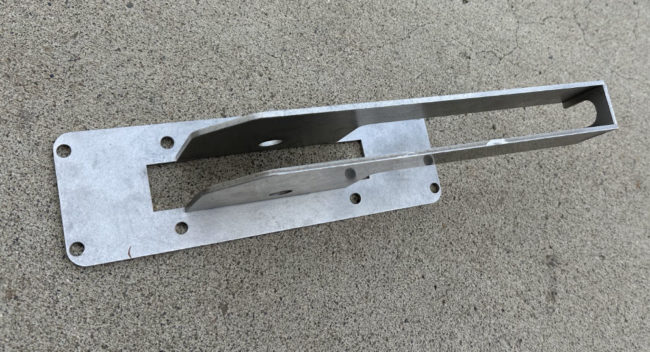
This pic shows one of the two cuts plus the new angle. Even with that small bit of metal holding up the bracket, the shifter could easily shift through the gears. So, next I’ll repair that gap.
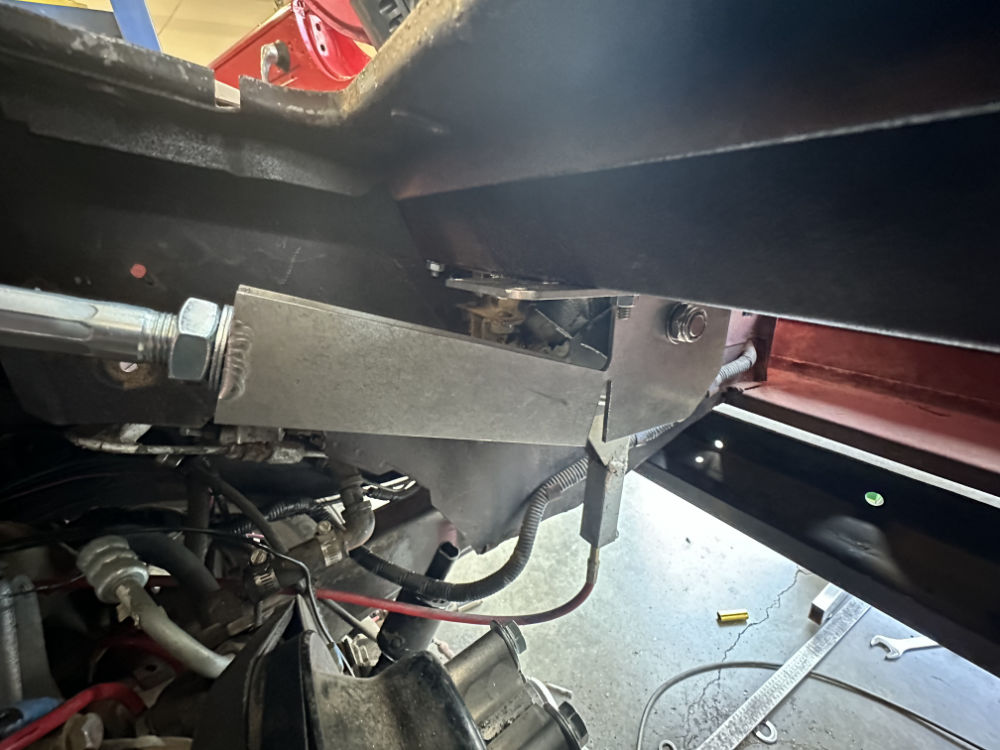
Here you can see how the cable angles upward, the veers toward the driver’s side. I haven’t determined where I’ll be securing the cable.
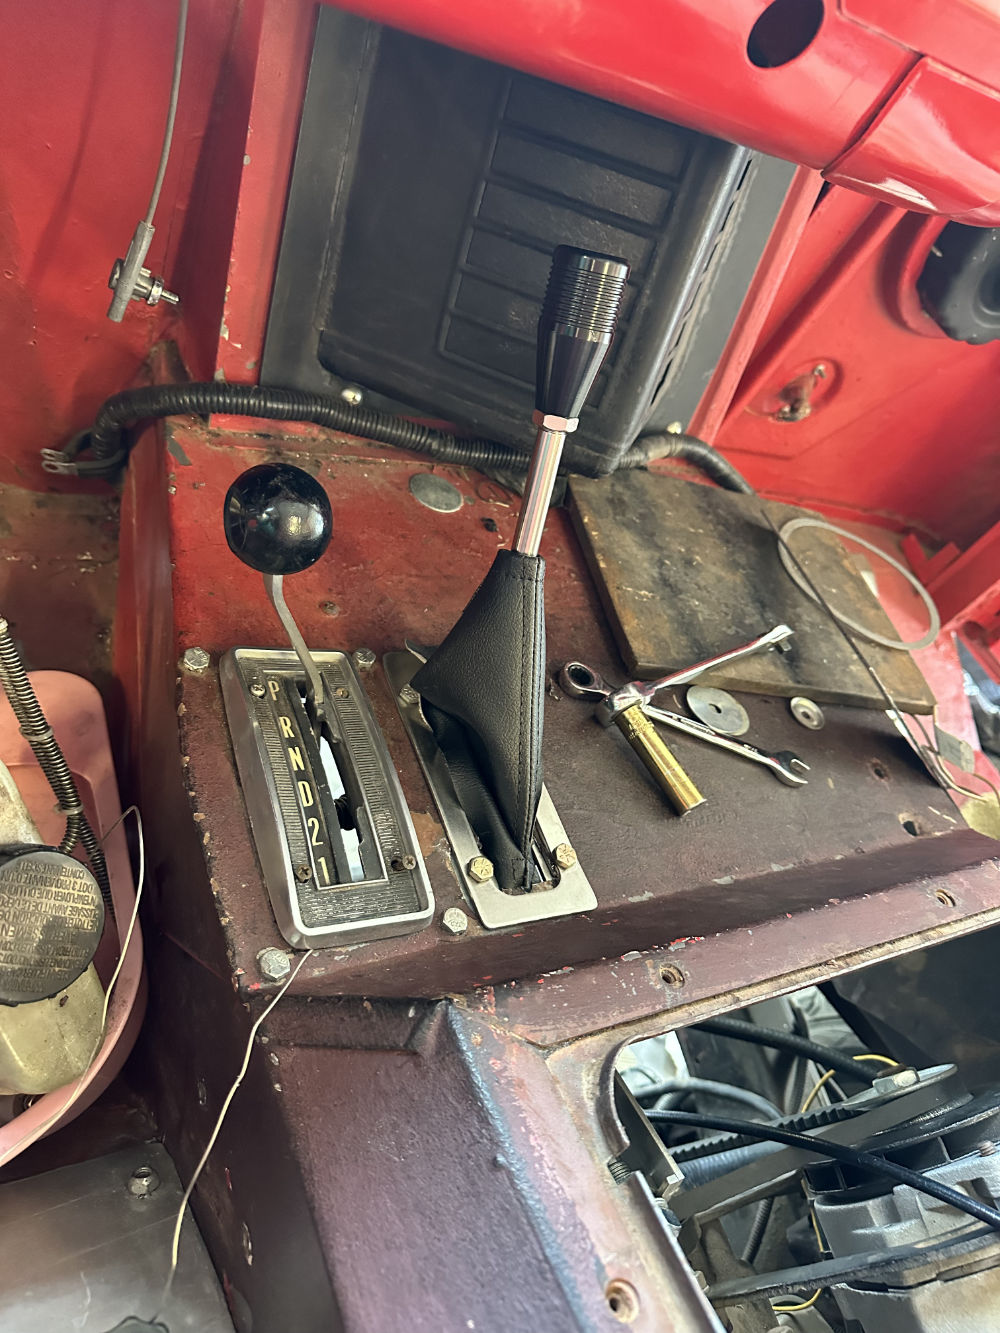
 The shift boot needs to be reattached under the bezel. The bezel is the original bezel with the colorful surface sanded, which turned out to be exactly what I wanted. I’ve painted it red since this pic was taken.

Here’s the shifter all the way forward. It’s surprisingly (to me anyway) easy to shift.

Next up I was going to build the final parts for the transmission oil cooler and fan bracket, but I have misplaced a couple pieces that I created and now can’t find them. So, I’ll work on the 1.5″ gauges next. Then, the gas pedal.
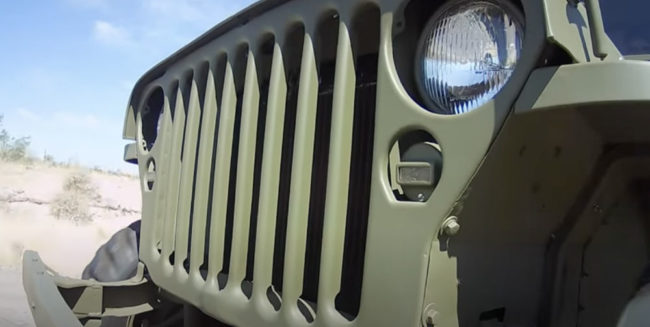
Blaine shared this MB rebuild video by Al’s Garage. There are a few deviations from stock, but still it’s clear a lot of time was put into saving this old MB. Kudos for documenting this as getting the light and other details correct while focusing on rebuilding is a tedious task!
To view the video, you’ll need to go to Youtube: https://www.youtube.com/watch?v=p5XbCjy4nW4
The 60 to 70 degree highs the past few days made for some optimal outside work weather, so there was lots of recovering from winter (picking up branches), to restocking with hay for the next month, to spraying fence lines, among other tasks, so there was no time for eWillys. I did get a little work done on the FC, but not much.
Below is a pic showing how the steering column goes from the rack and pinion’s stock connector (2000 Ford Explorer), switching from the Ford V connection on the R&P to the 3/4 DD shaft (not shown is the 1″DD to 3/4″ DD Borgensen joint that will over the joint). A 3/4″ Heim Joint will help keep the shaft in place, but the mount is yet to be built.
The 3/4 DD shaft enters a 3/4″ DD / 3/4: 36-spline U-Joint, which connects to the VDog 90 degree joint. The V-Dog has an aluminum block mount that will bolt to a yet-to-be made mount to the frame. The V-Dog will also bolt to the bottom of the floor access cover.
Here is the pic from a below. Atop the VDog is a temp plate for testing how it will fit. It’s a close fit between the frame and cab, but everything clears with room to spare.
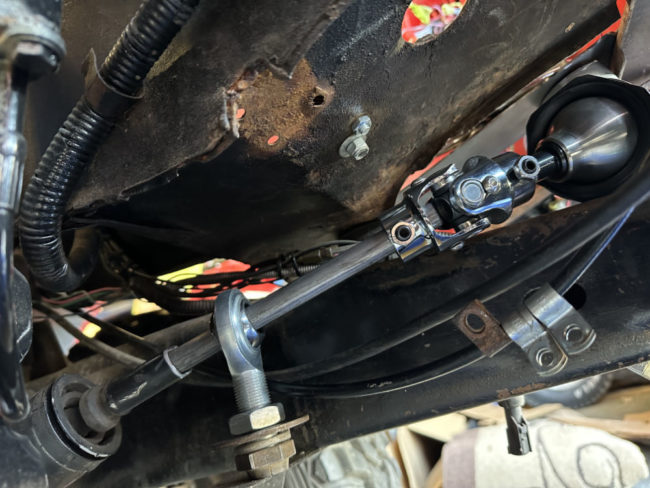
From the top of the V-Dog another 3/4″ DD / 3/4: 36-spline u Joint connects to the column. The column itself is a IDIDIT 28″ tilt column with hazards and turn signals. As it sits, it’s a couple inches higher than stock, but it’s at more of an angle, so it looks in the pic like it is sticking up higher than that.
Before I can mount the column, I need to finalize the pedal. I made a prototype today, but it’s pretty ugly. I hope to have a final version in the next couple of days.
The column is larger around (2″) than a stock column, so I might not use the stock column mount as I’d planned to do.
Again, this is all rough work to make sure things fit.
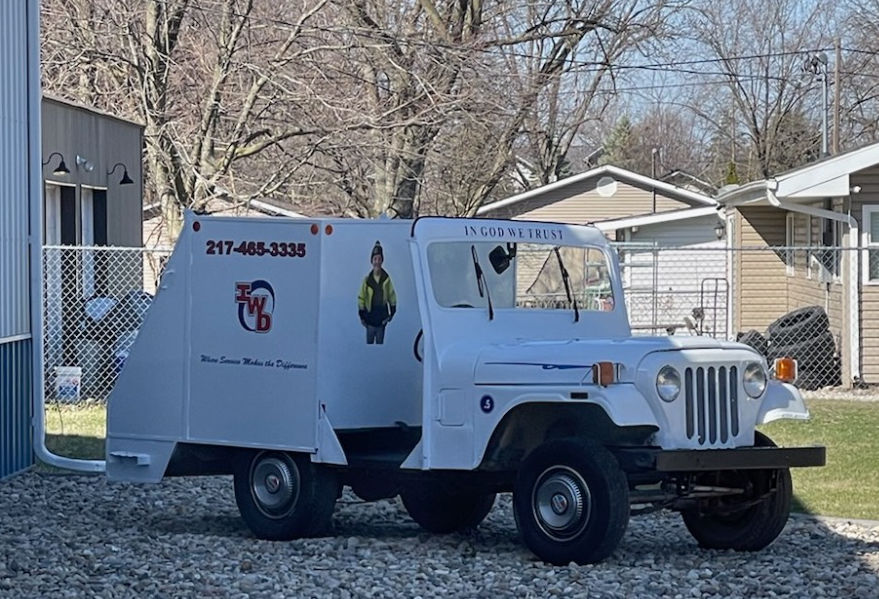
Cowboy shared this photo from Scott Ingram, who built a Tiny Trash Truck out of an old DJ-5 (Scott operates a garbage collection firm in Paris, Illinois). I don’t see an obvious seat, so this may only be for show. That’s something I’ve never seen done with a DJ-5.
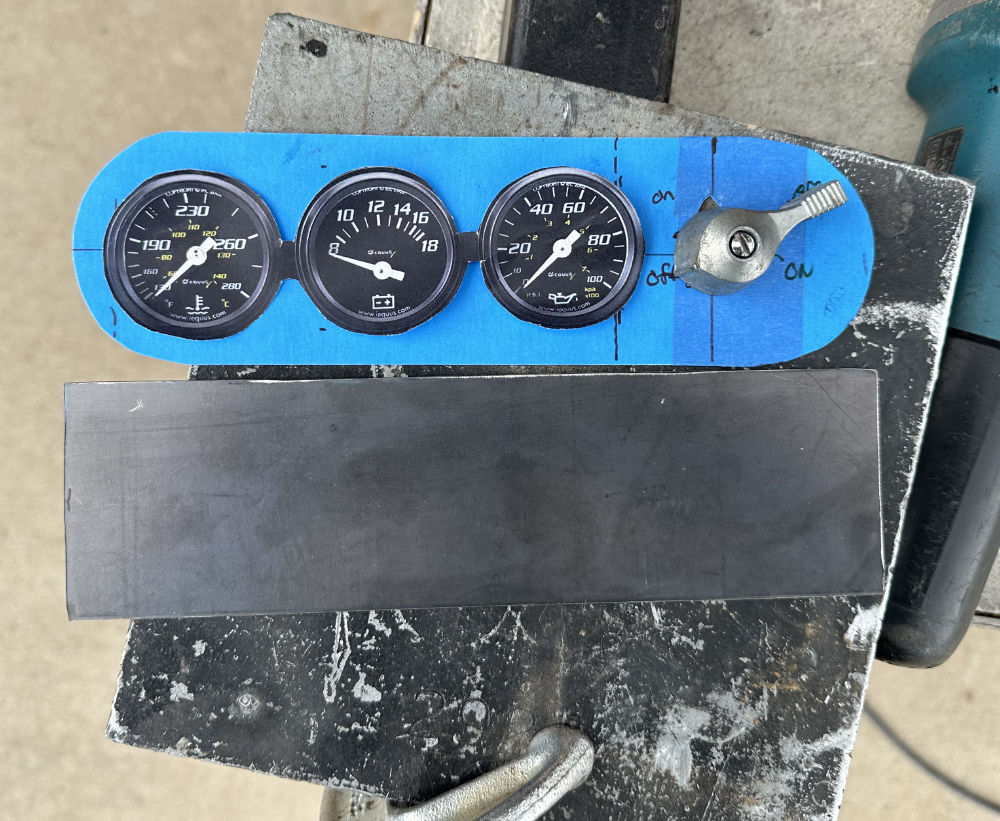
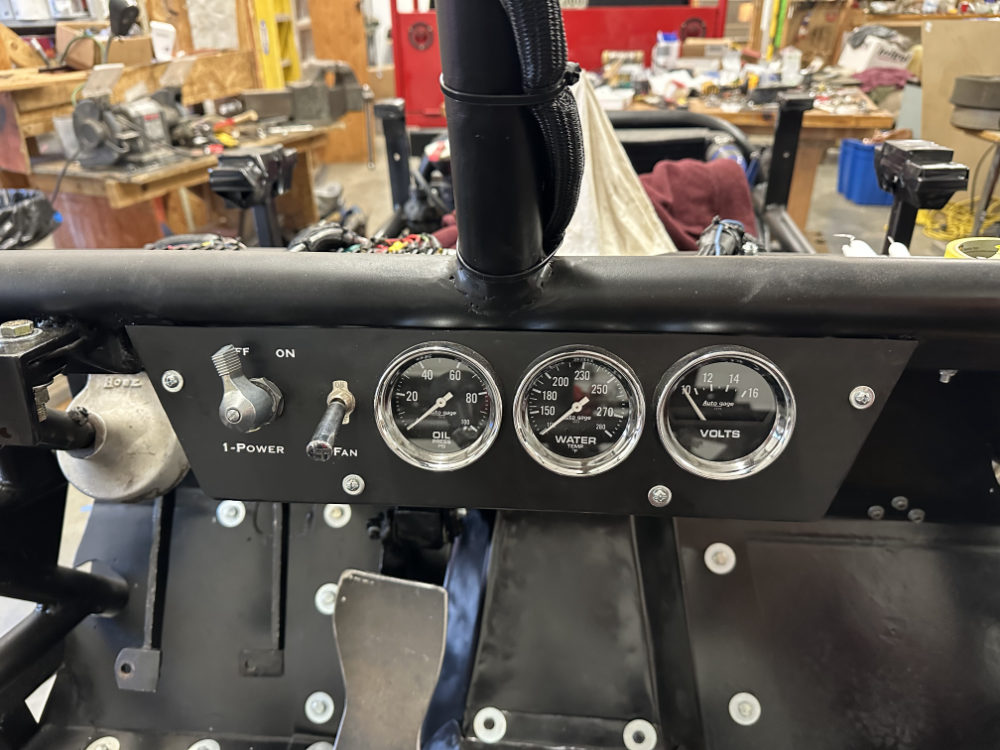
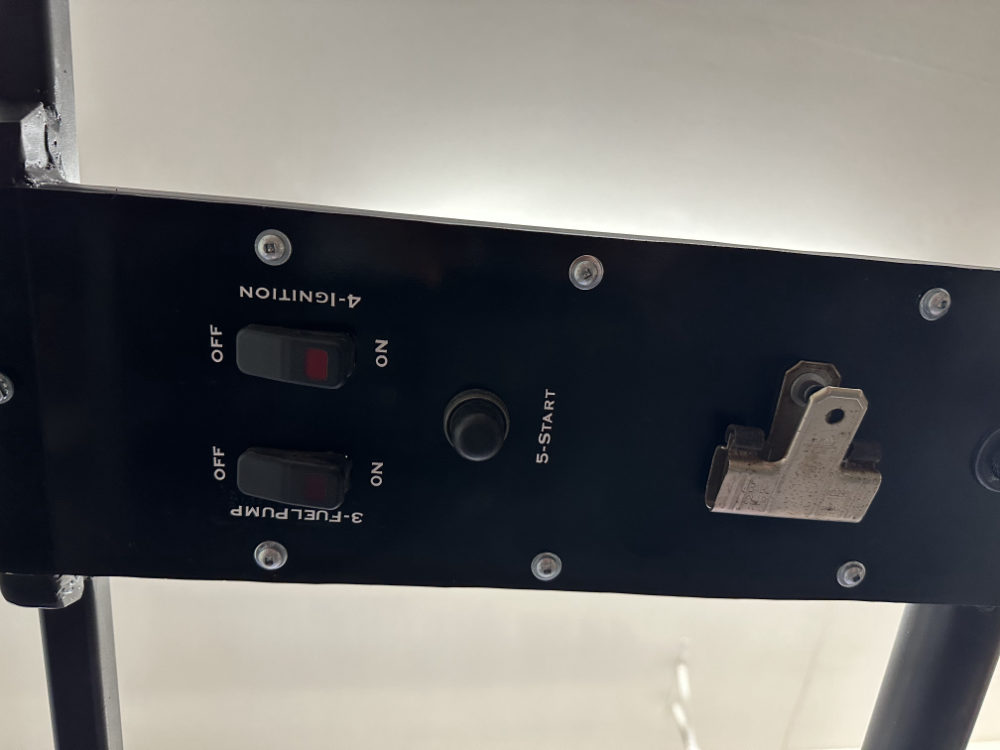
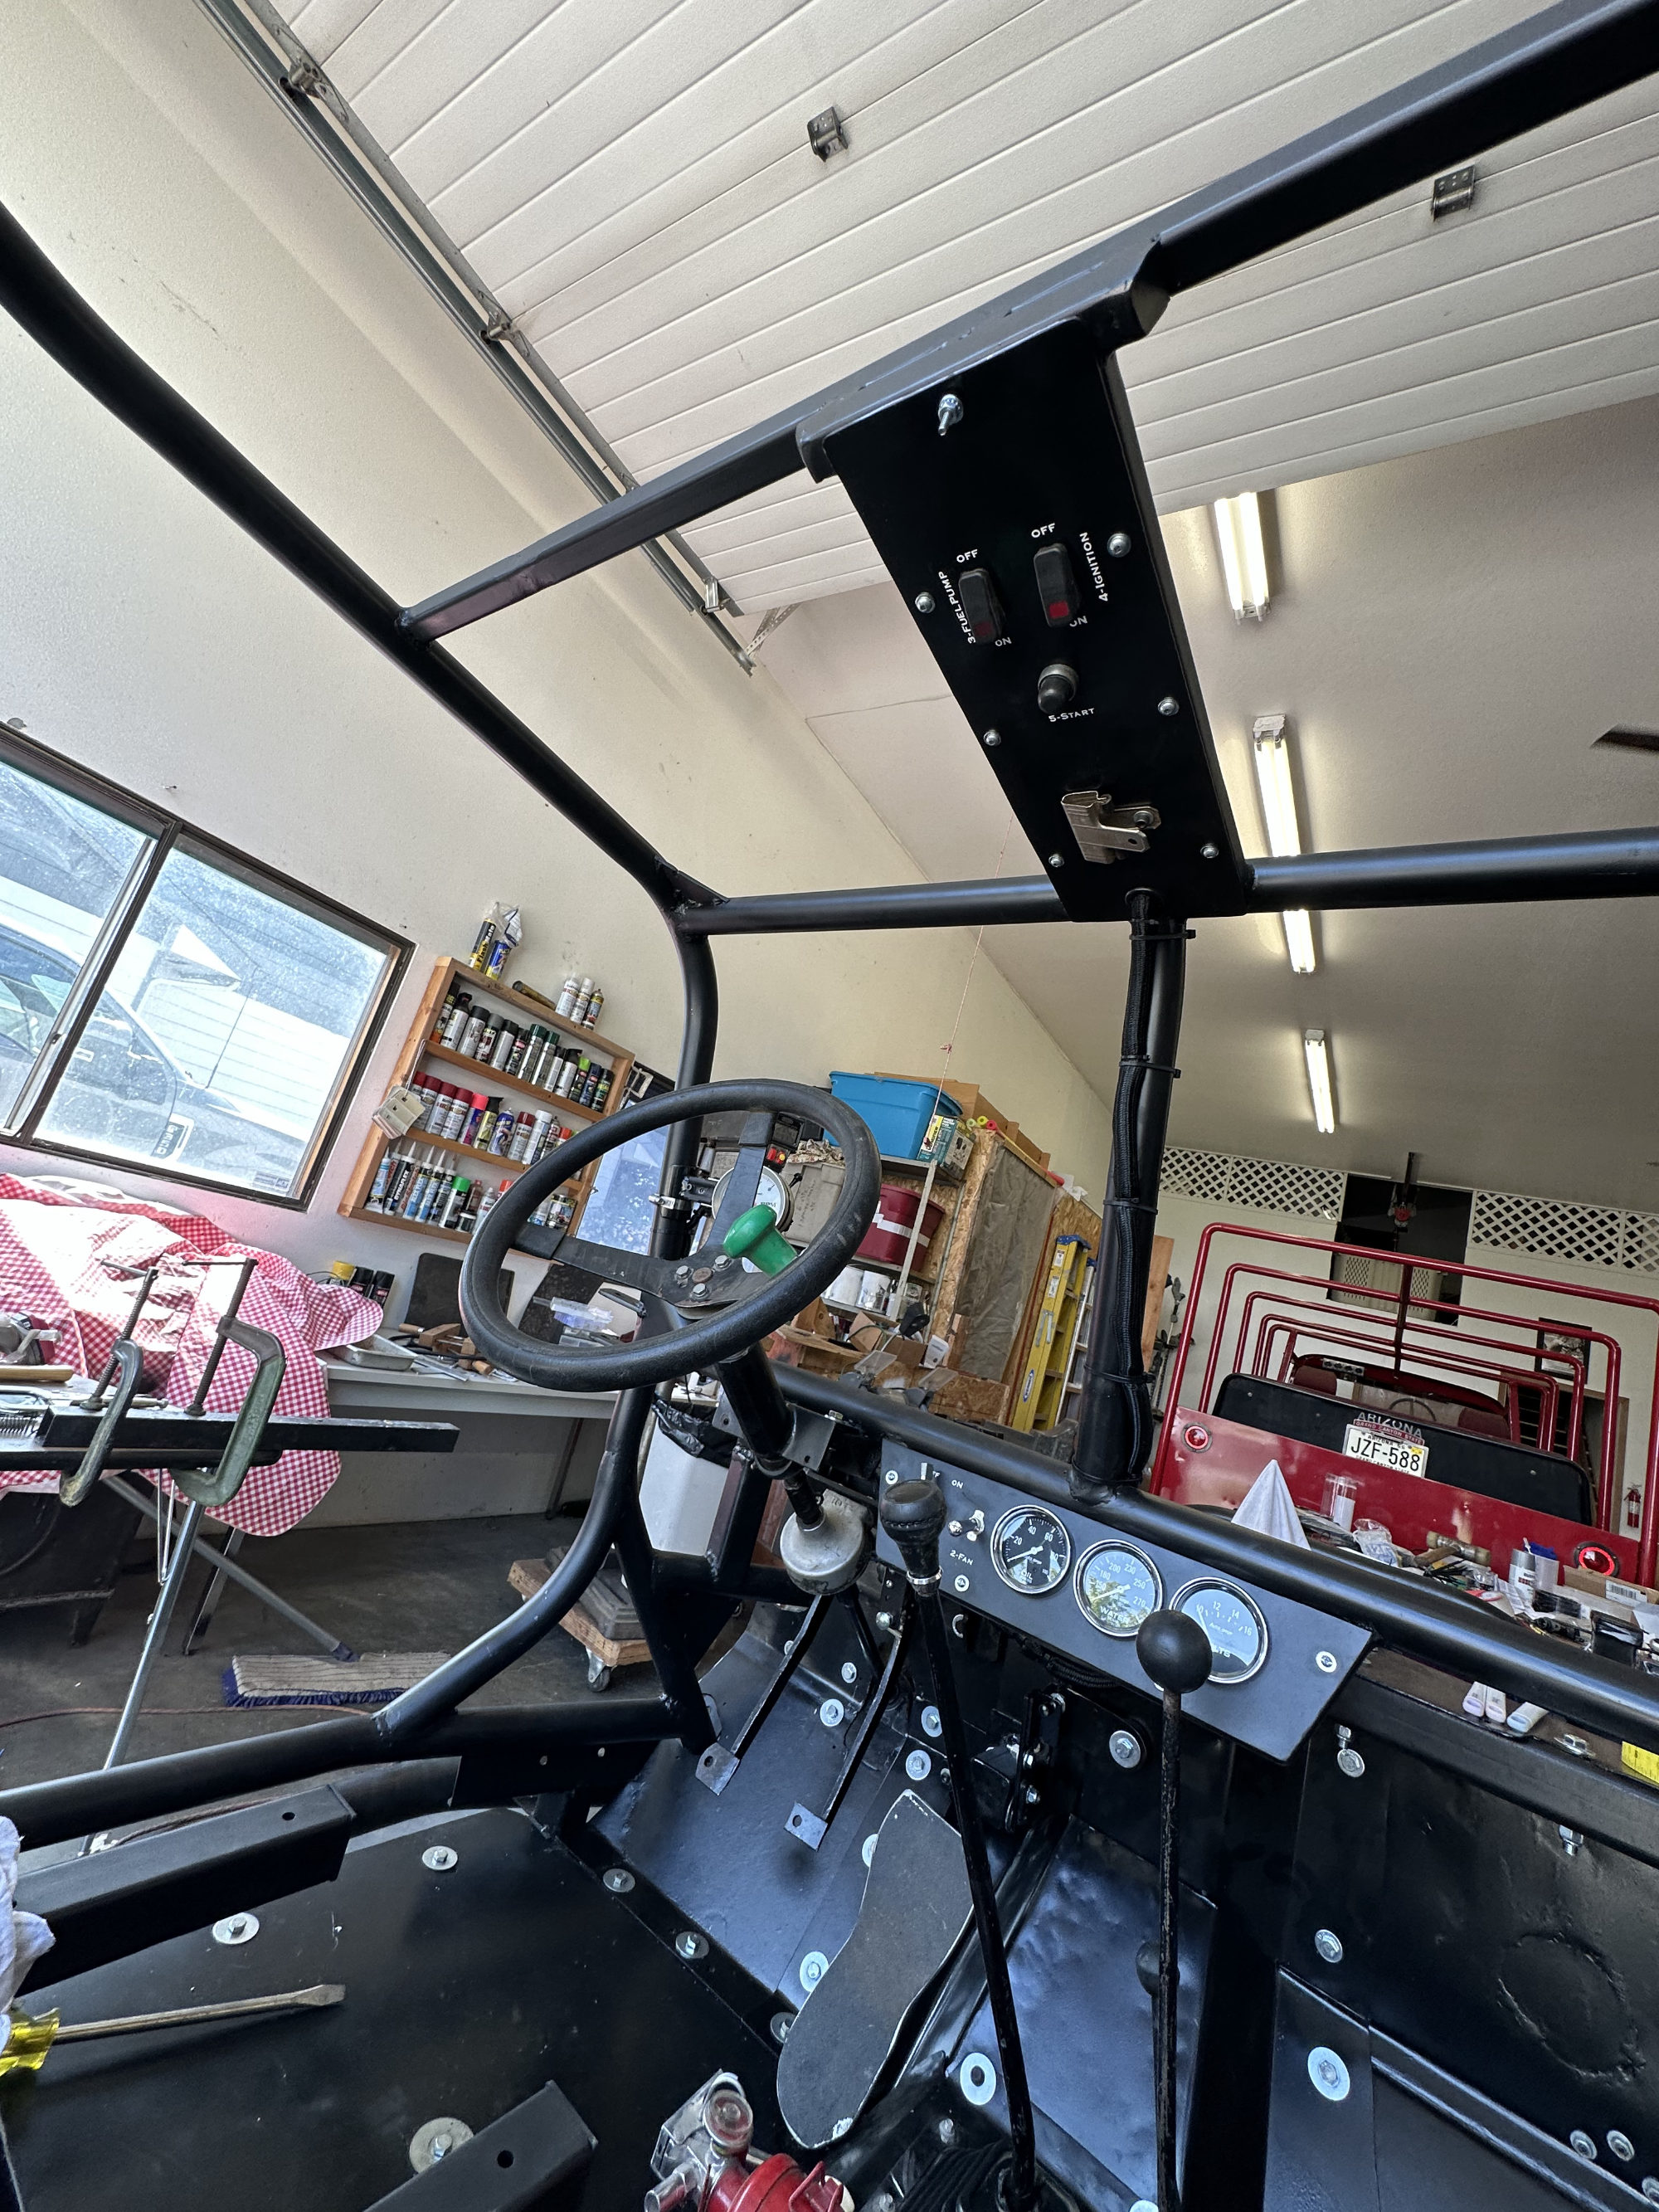
Ann fired up her Cricket yesterday and printed out some labels that also act as instructions for starting and managing the jeep. She also add “ON” and “OFF” labels to make clear what switches need to be pressed. Starting the jeep is a five step process:
In the first pic, the “2-” for the fan label is hiding behind the switch.
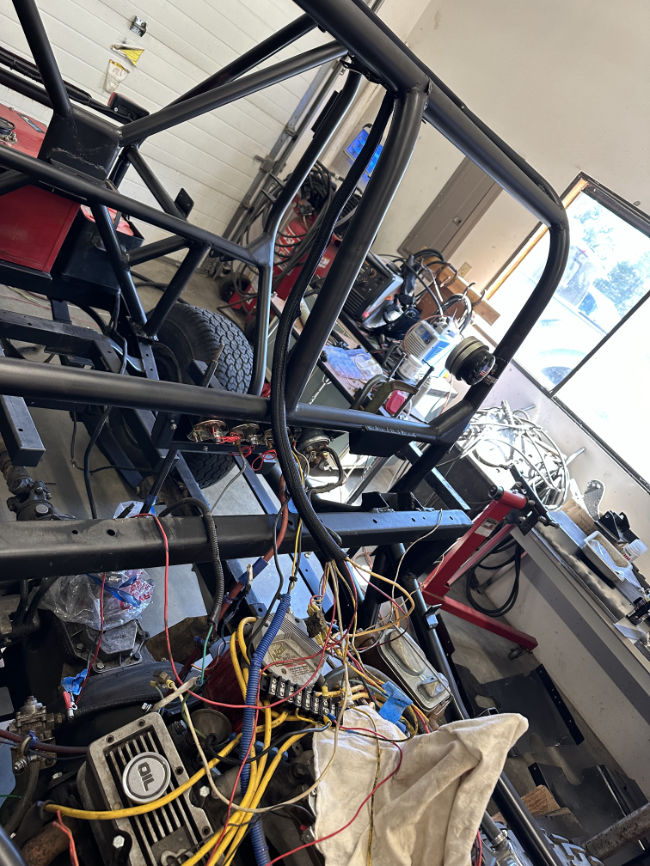
More progress made on the racer this weekend. The floors are installed and mostly bolted. The pedals are all in place. The steering was in place, but I was unhappy with the final angle of the front support bearing, so I plan to redo that support so that it angles differently. Hopefully, I will get that done and installed today.
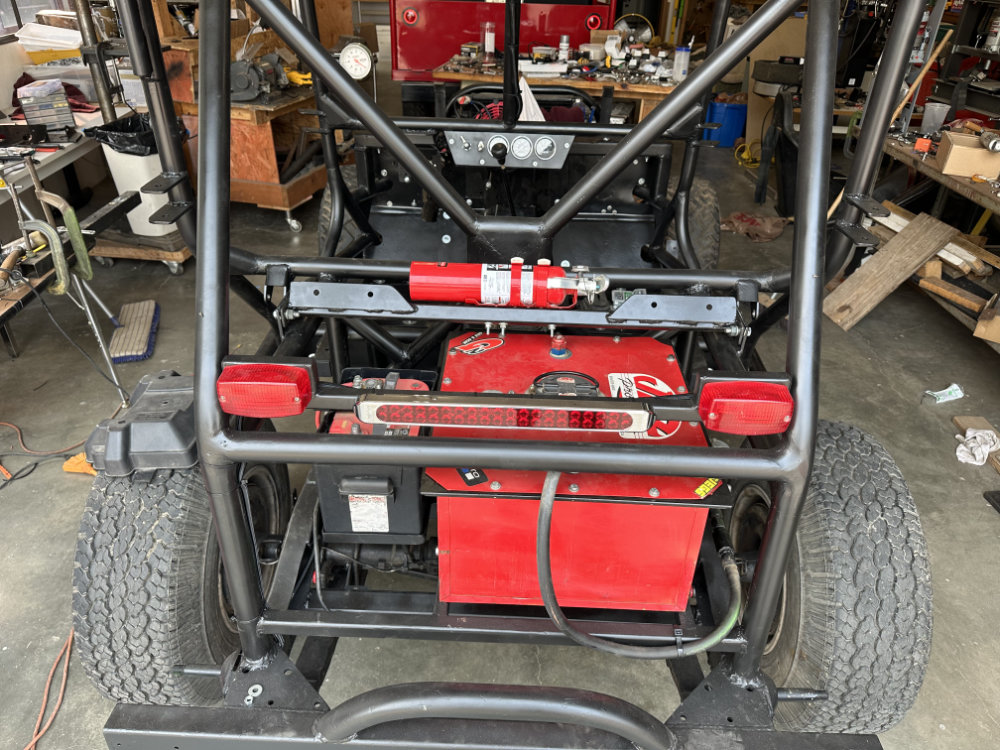
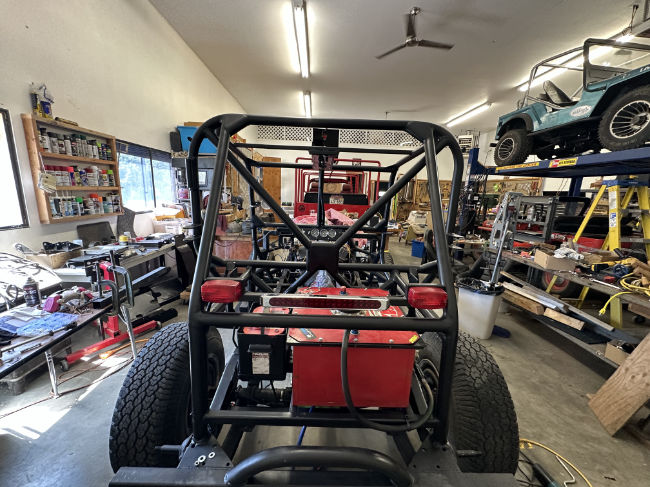
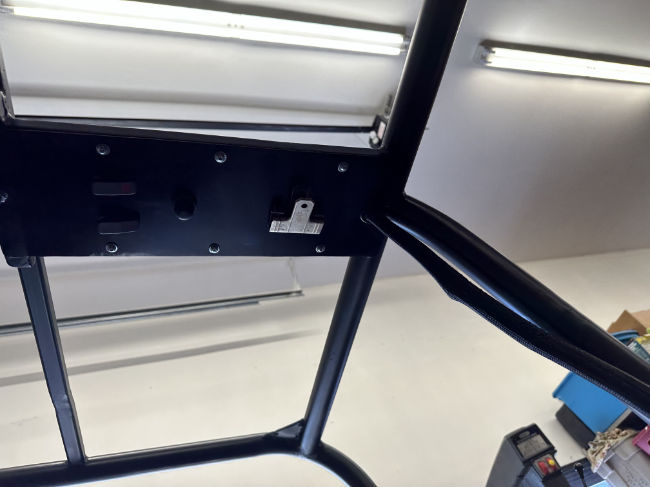
Here’s how the rear top crossmember that holds the rear fire extinguisher looks. The two holes on either side are the shoulder strap attachments.
Here are the three pedals (with the steering drive shaft disconnected from the quick-turn unit).
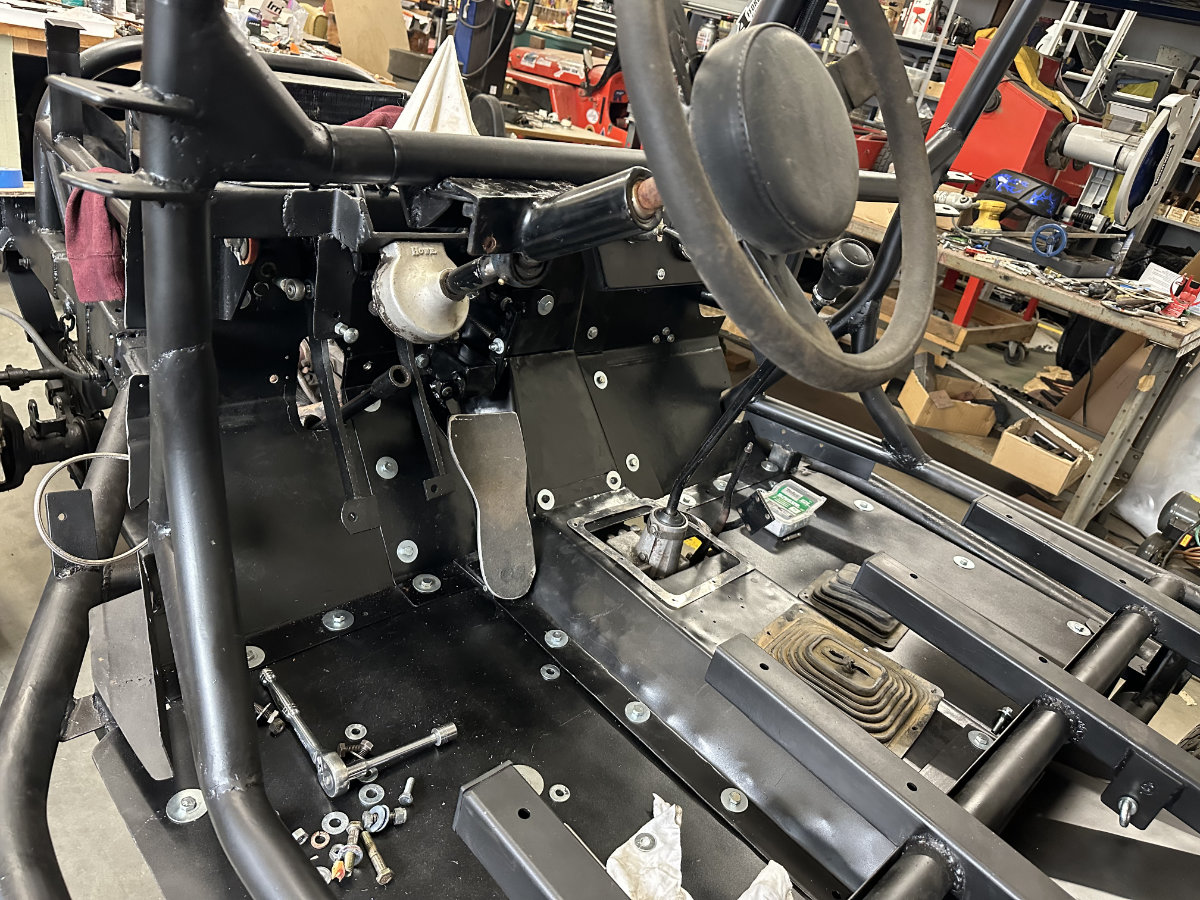
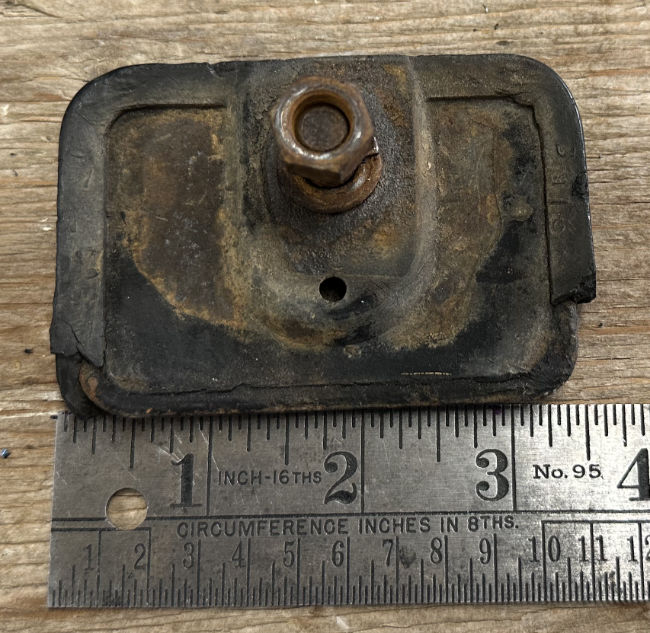
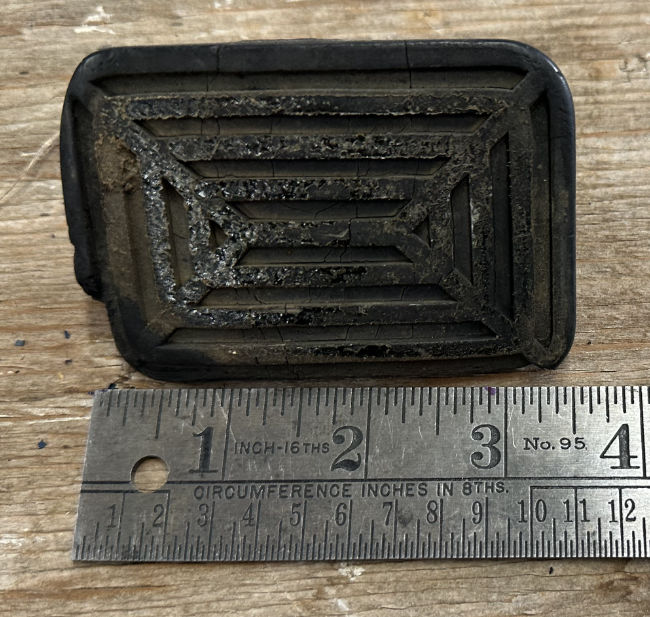
One thing I still need are a brake and clutch pedal pad. Any recommendations on what I can use that has a similar mount point and size? (these were from the yellow racer .. I didn’t like the other racer’s pedals). These look to be rubber casings over metal pedals, but both pedal bolts are in bad shape. this is the good one …
The master cylinders are attached (the brakes are ready to go). I have to get an adapter to connected the clutch line to the clutch master cylinder. Everything is fitting well. I have to say the fire wall turned out better than I thought. Remember, I flattened the old firewall from the yellow racer and re-bent it into the shape I wanted.

Here side view of the gas pedal setup. One thing I learned from my first race jeep was that having a firm, stable gas pedal was greatly beneficial when racing, due to the bouncing. I could plant the bottom of my foot firmly, while using the top of my foot to feather the gas. This setup is based on what I built for Biscuit, but heavier duty.
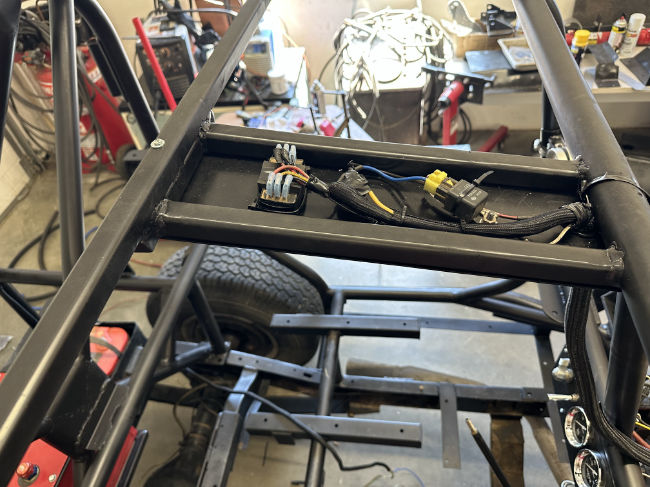
I’ve made some assembly progress. The tank is installed and hooked up (which took me a short while to remember exactly how I fit it into that tight space, lol), the battery is setup, the upper wiring is in place, the rear sway bar is installed, the rear lights are installed and wired and the gauges are in place.
Currently, I am focused on setting up the wiring. I saved the previous wiring, since little will electrically, so it shouldn’t take too long to alter some wire distances.

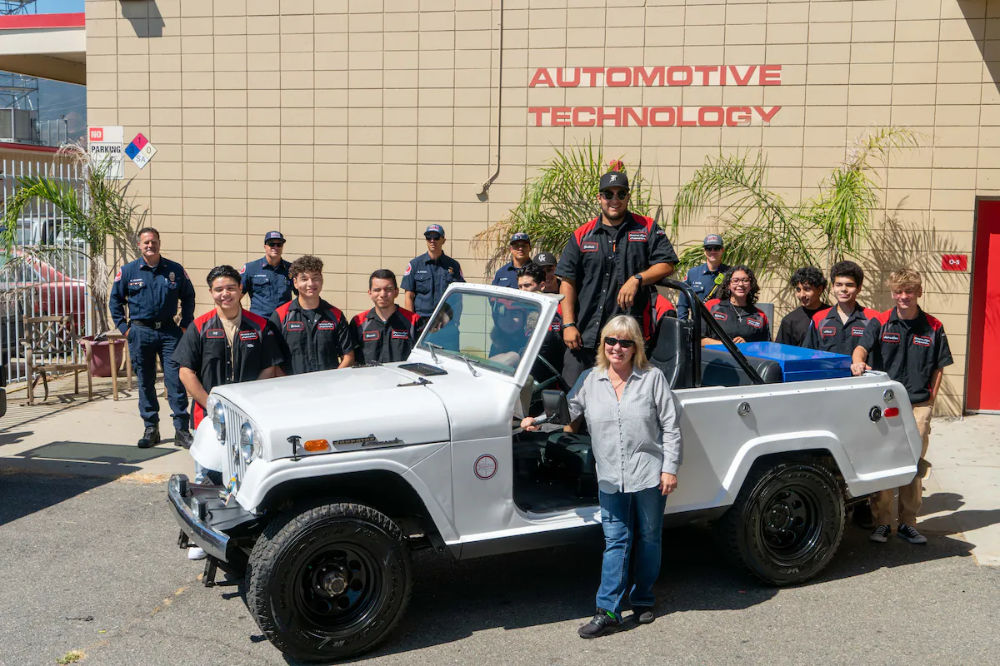
Bill shared this nice story about a group of students who rebuilt a family’s jeep after the owner died.
https://www.washingtonpost.com/lifestyle/2023/08/06/jeep-mechanic-coronoa-students-porter/