Builds Research Archives

To Top

John’s Completed His 1955 USAF M-38A1 Build

• CATEGORIES: Builds, M-38A1 This site contains affiliate links for which I may be compensated.

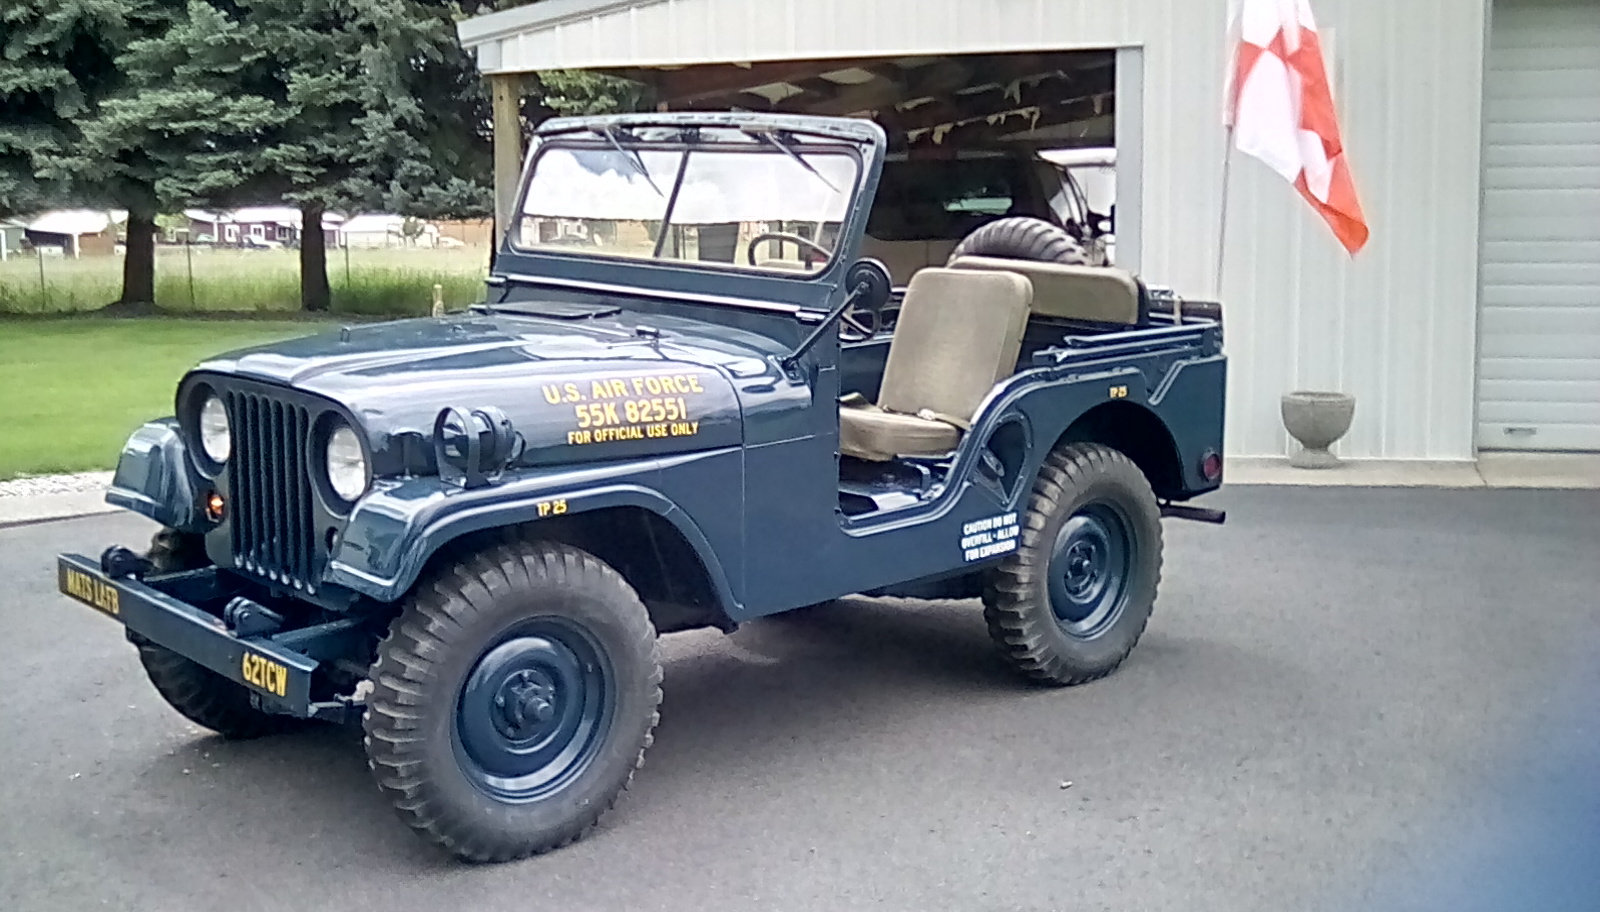
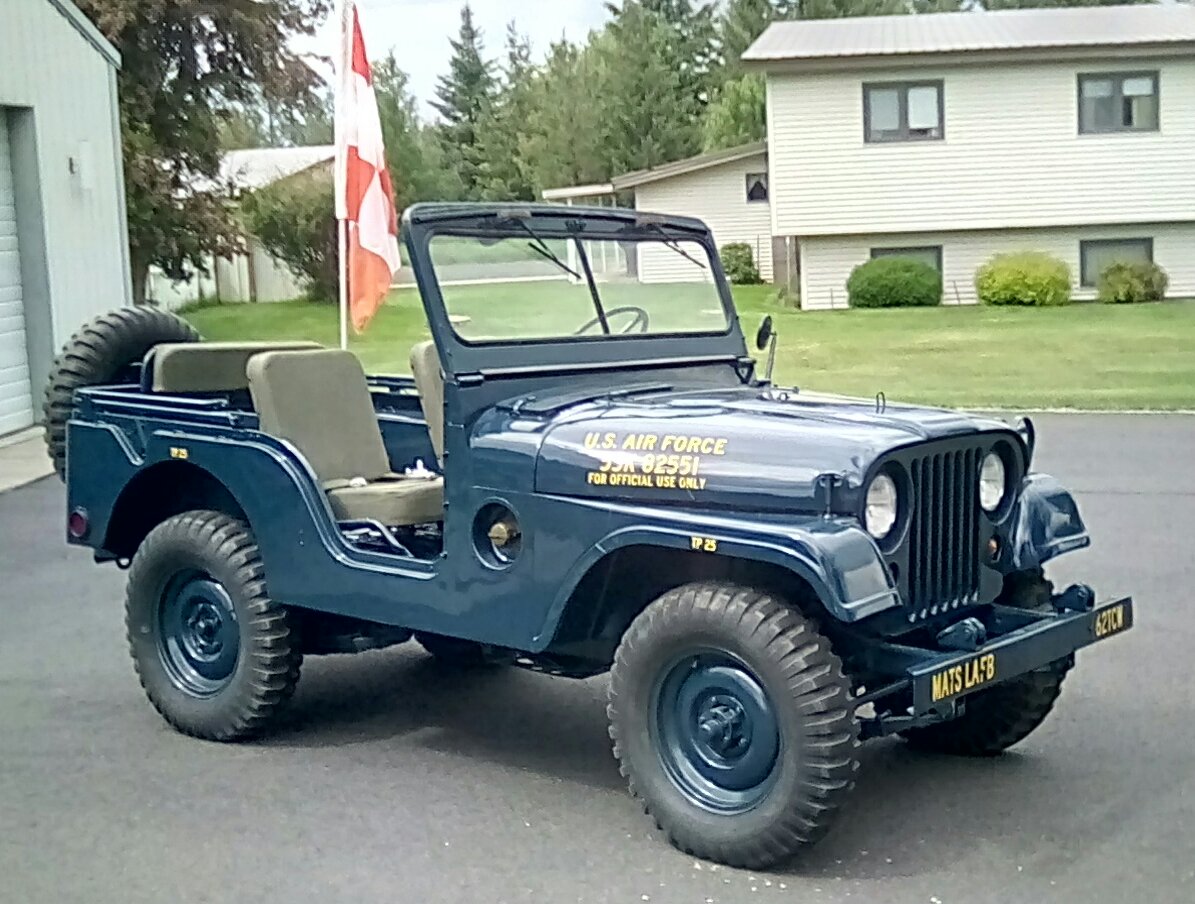
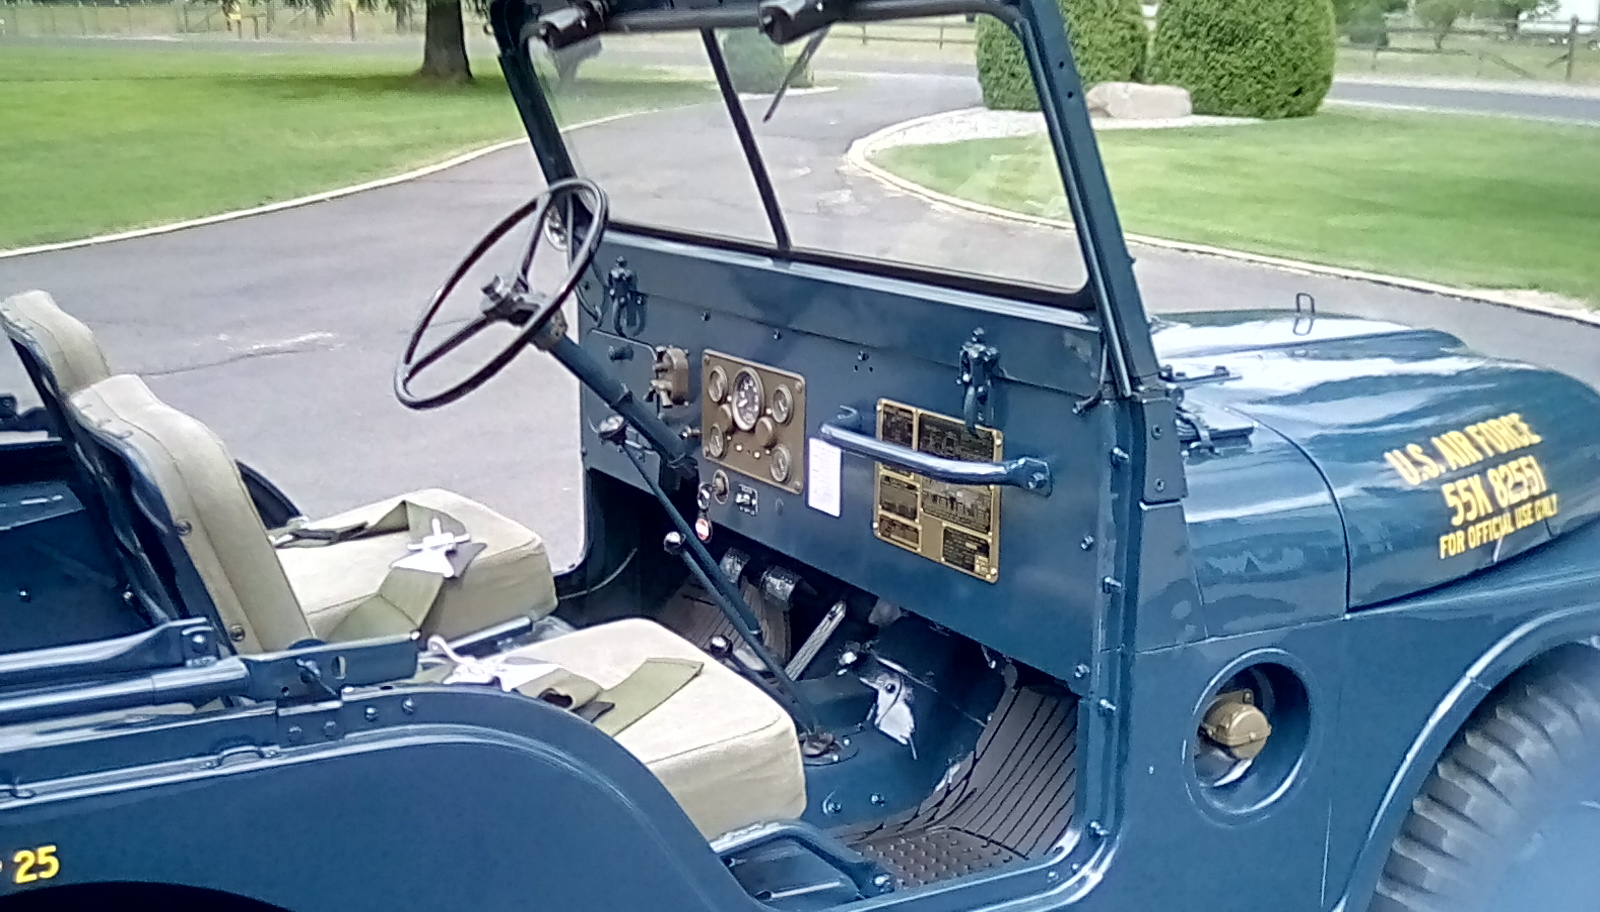
John’s complete the build of a 1955 M-38A1 USAF. Looks well done!

My 1955 M38A1 is finished.
I bought it in late 2021 and has Dave Arnold (the area’s leading MV guy) go over it.
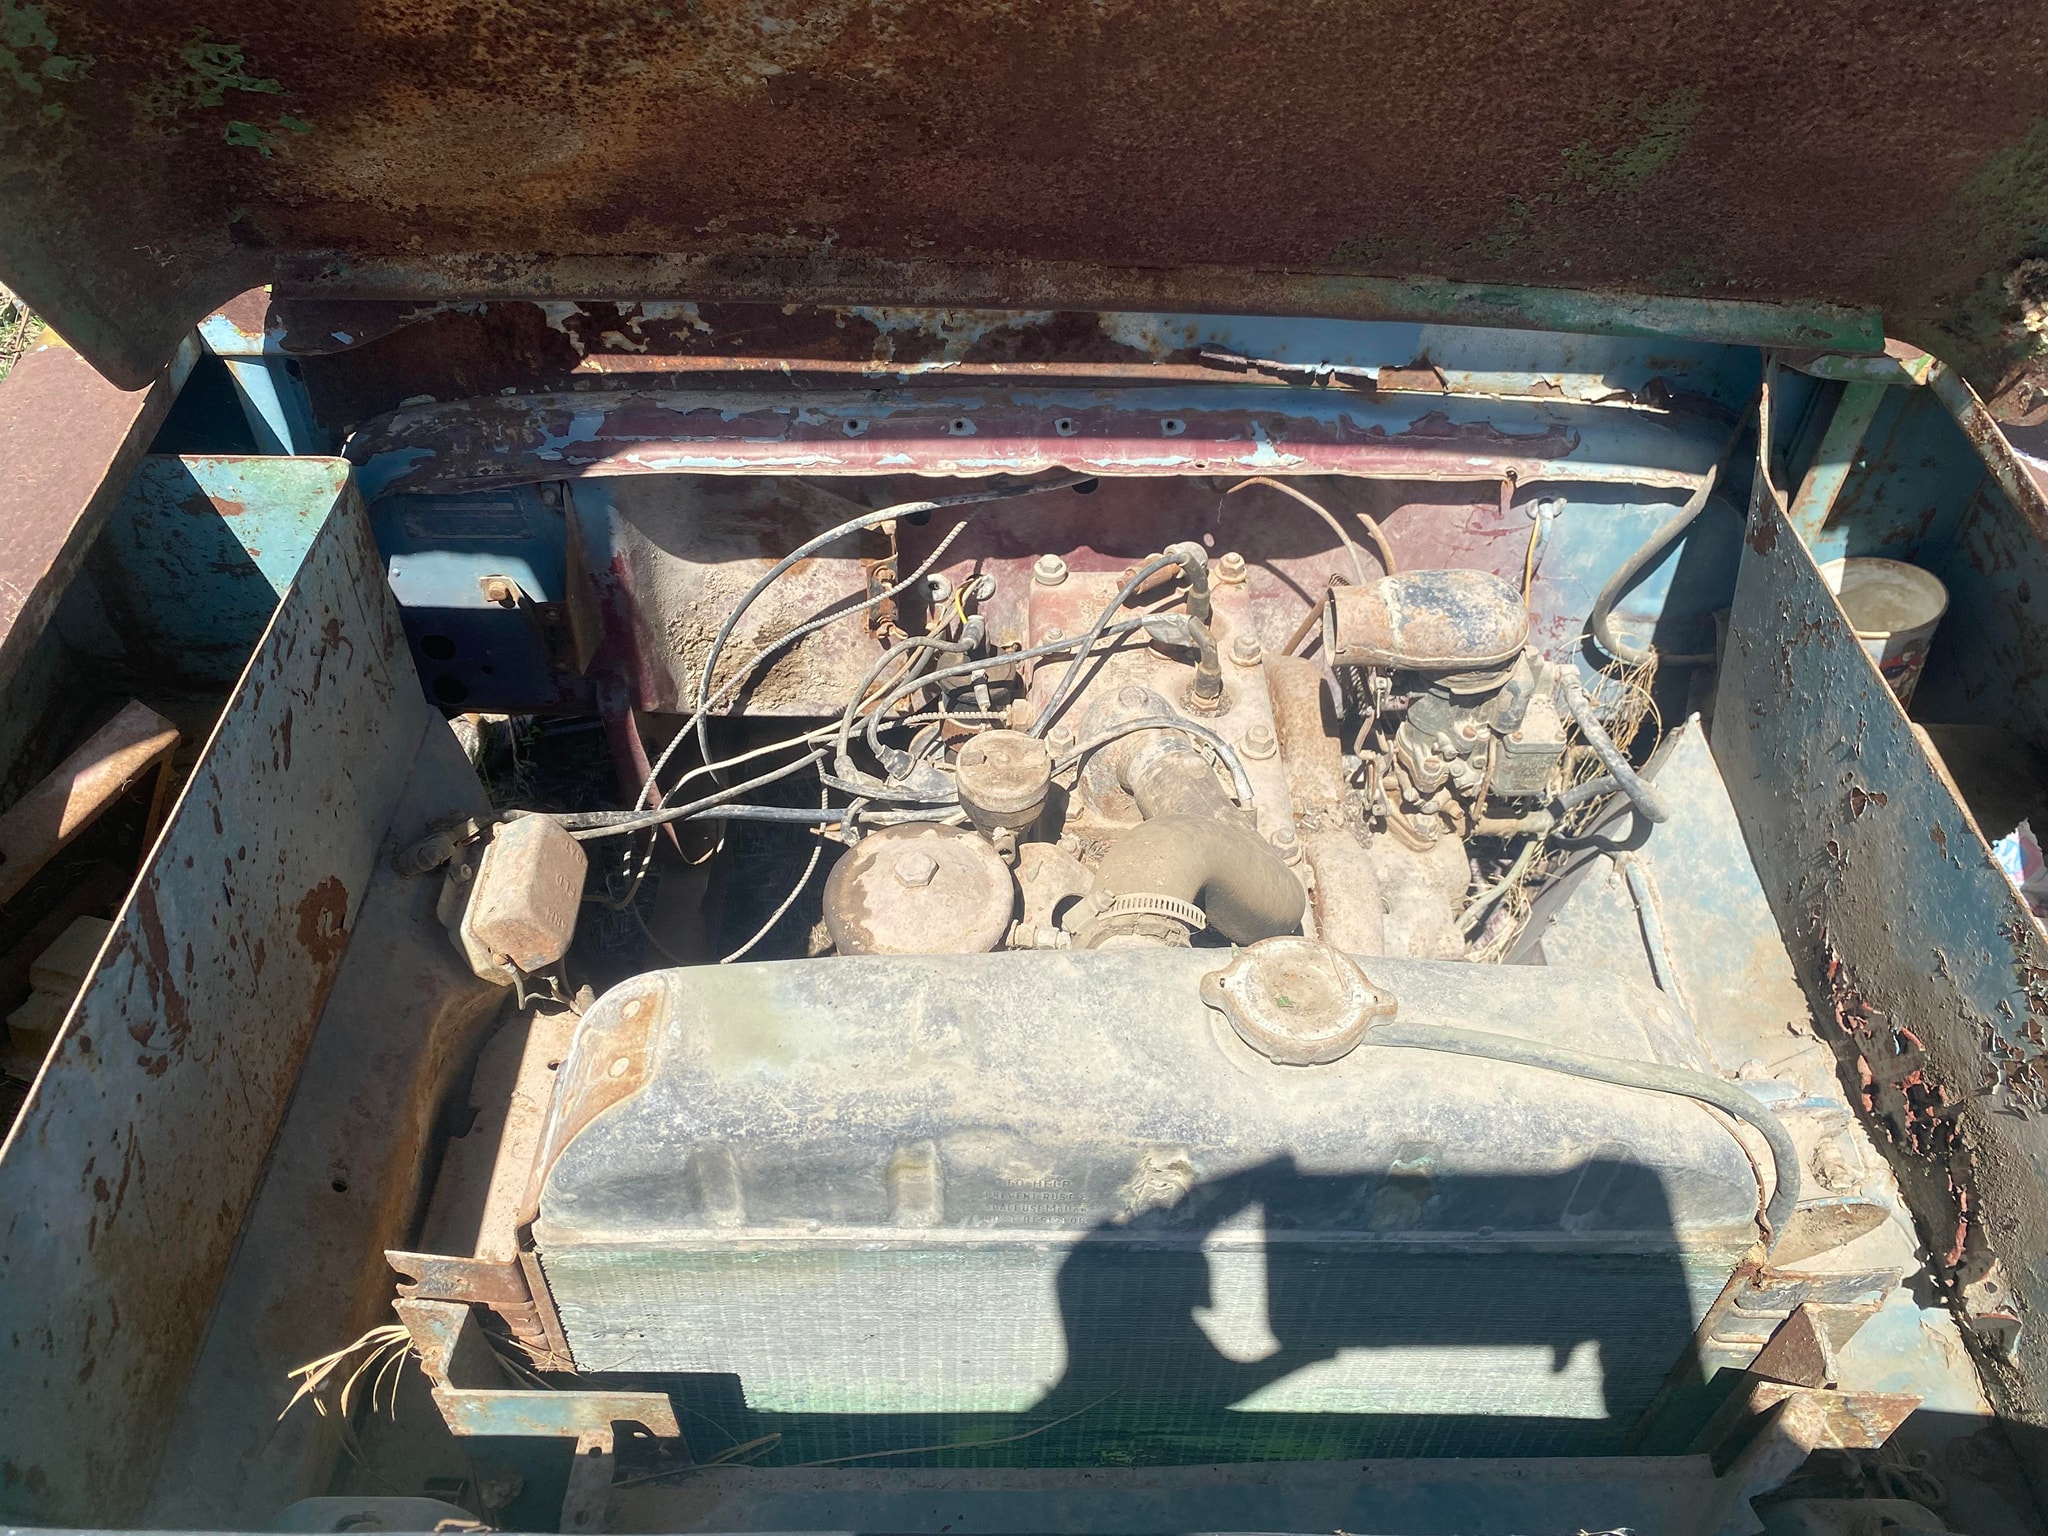
It had recently had an engine rebuild, so it was just the usual stuff as well as all new seals, radiator and wiring harness.

Wanting seatbelts, I wanted something period correct, so I used aircraft seat belts like the motor pool could have gotten from base supply. They were reconditioned by an aircraft supply store.
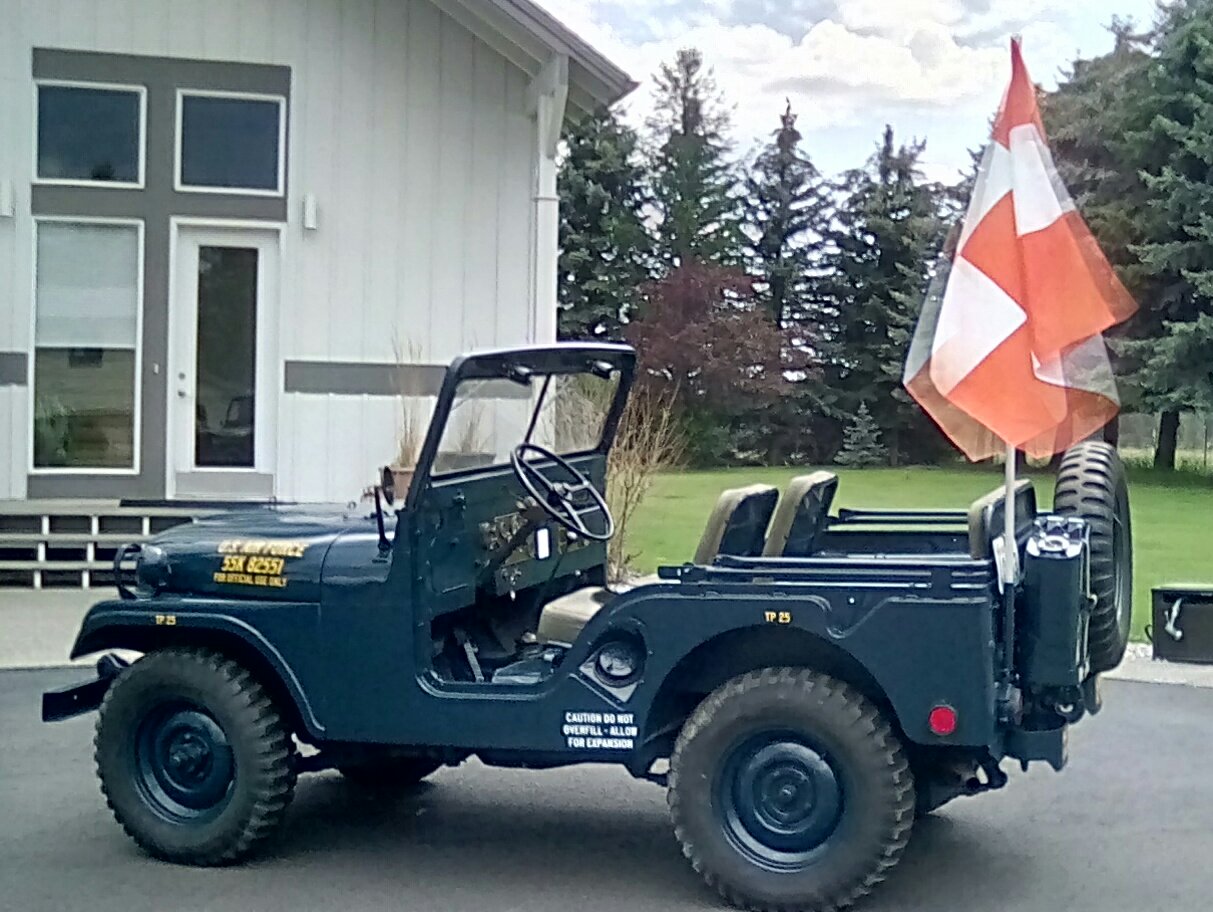
I also got an orange/white “flightline flag”, that vehicles had to display back then. The holder used an existing hole. Finally, there is a decal on the dash explained the control tower traffic signals; back then they used a light gun in place of a radio.

The power plug is operational and I bought a slave cable that is compare with airplanes (today’s planes use the same 24v plug). So when I’m at the airport, I could jumpstart aircraft.

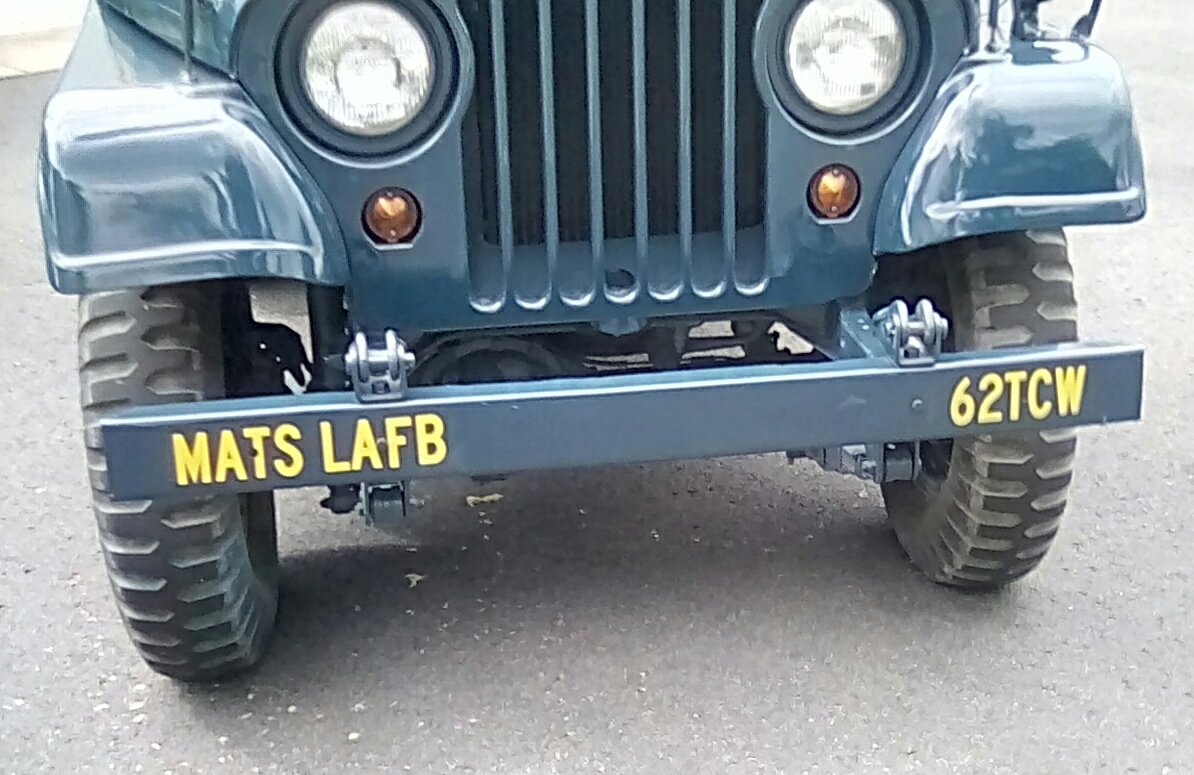
Lacking a hood number, I put it in USAF Markings and made it from Larson AFB (Moses Lake, WA), and my dad’s unit circa ’55-57…the
62nd Troop Carrier Wing. I was born at Larson a couple of weeks before the Jeep was built.

The current Hood number is, in AF style:
55 (year contracted for),
K (Military vehicle, General Purpose),
82551 (Willys serial).

The paint is the PPG formula, (I fixed test shots of the other two and This looked best). Growing up in AF based and spending 20 years in myself, I knew what looked correct to me.
Since gloss finish shows body issues, I had some minor bodywork and final paint done by a pro body guy.
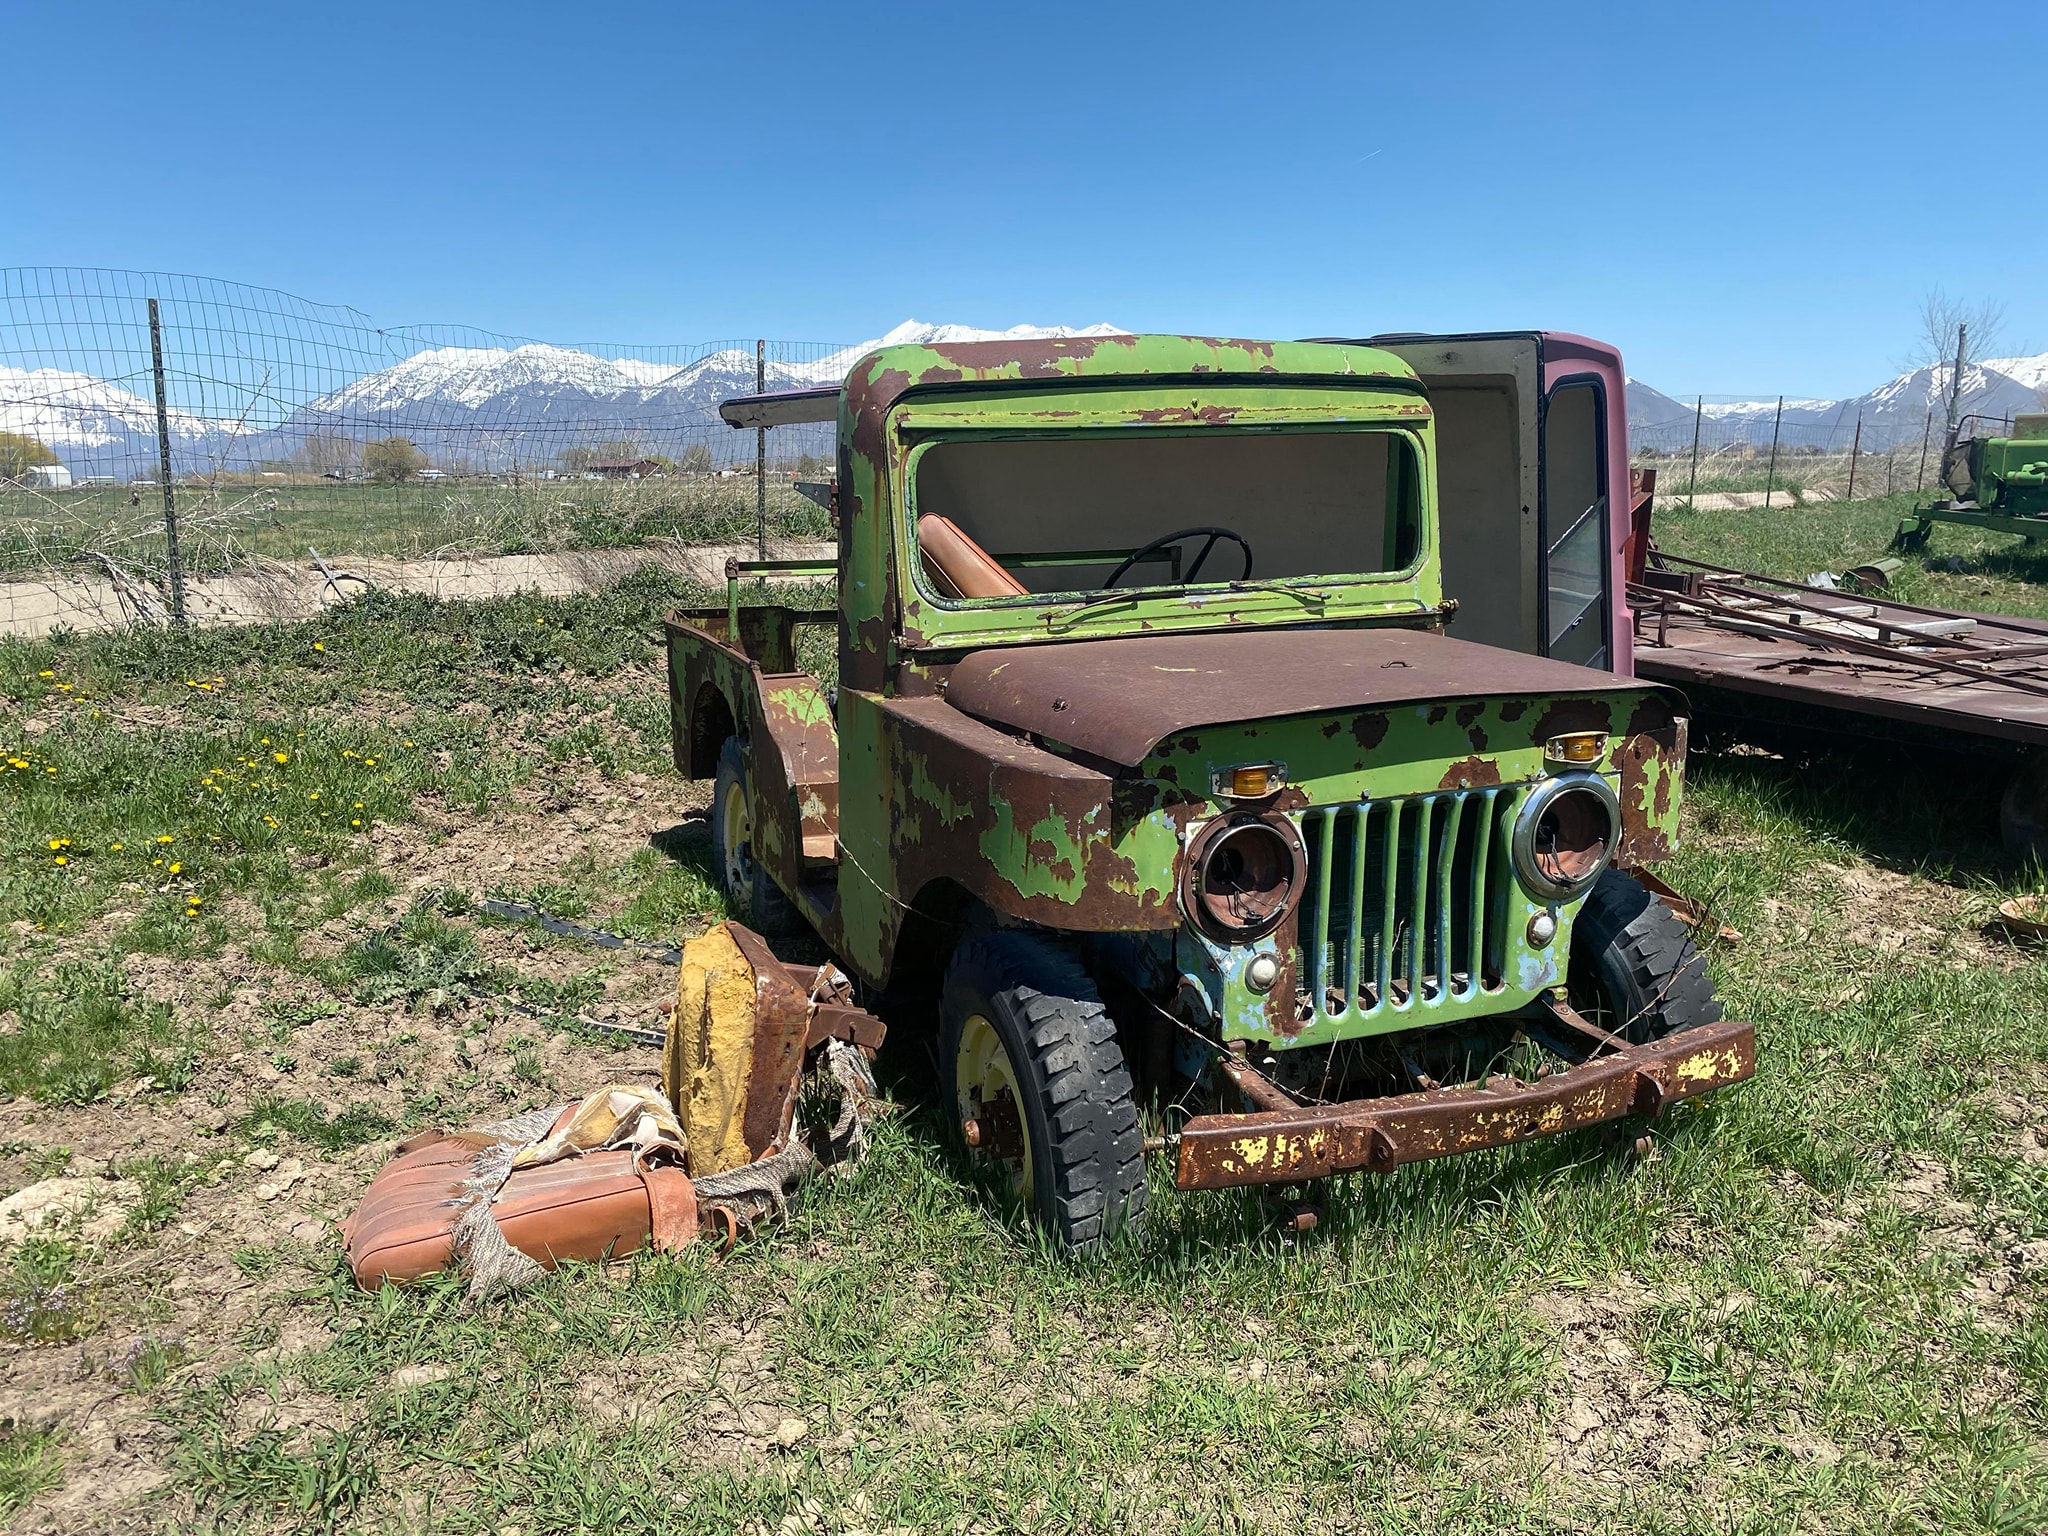
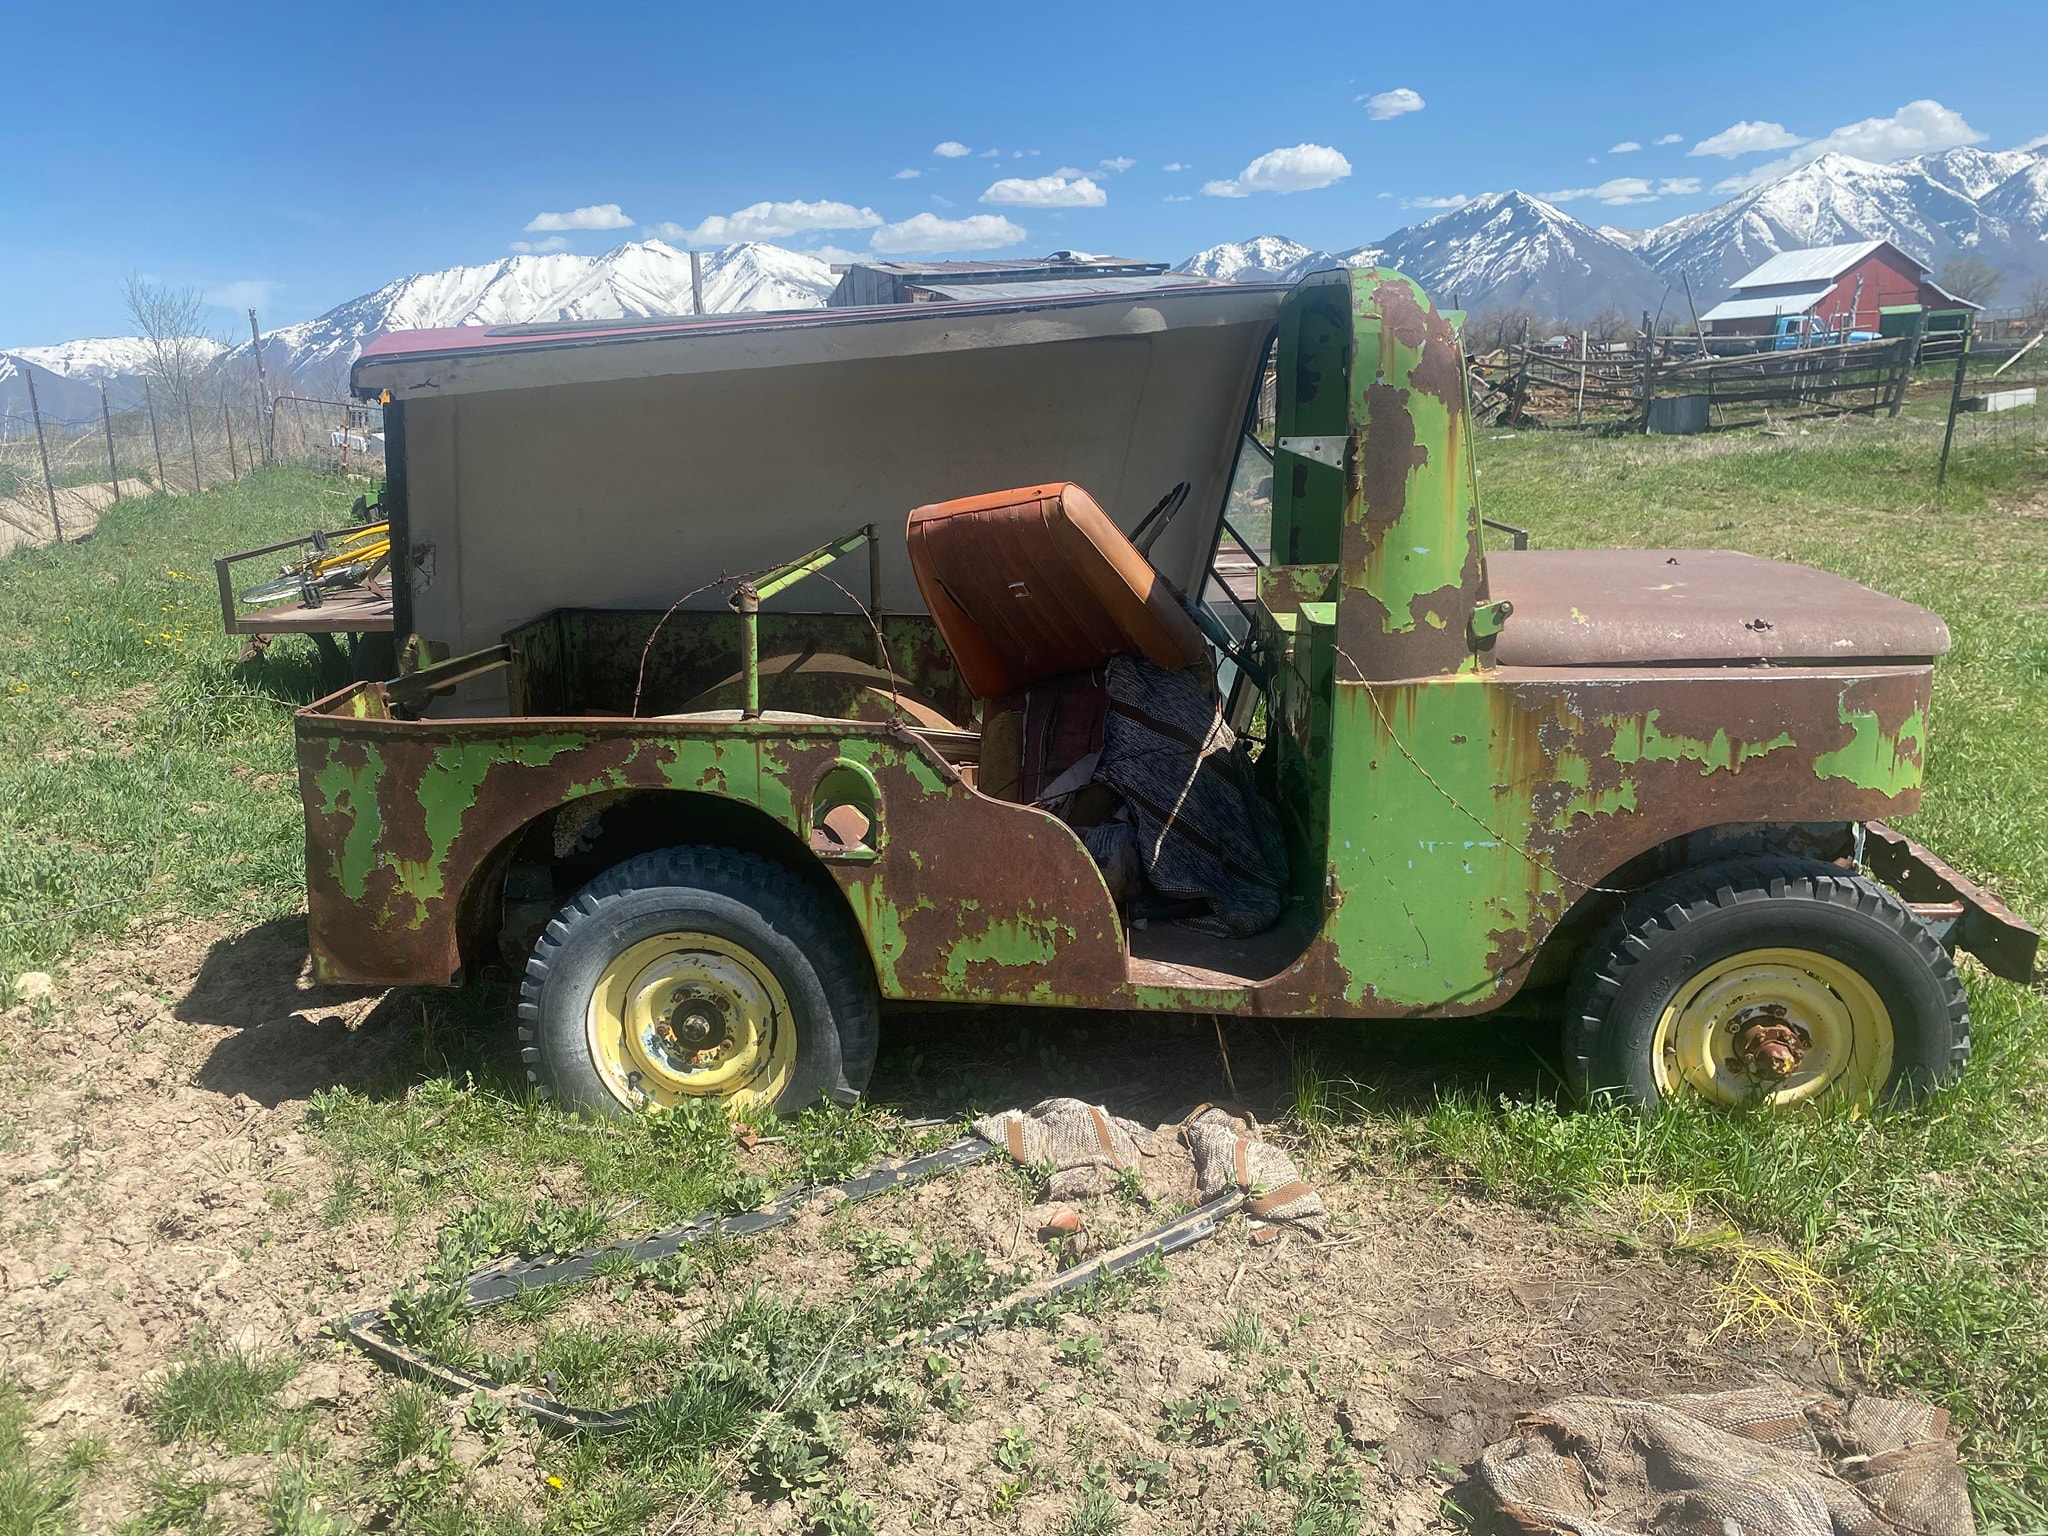
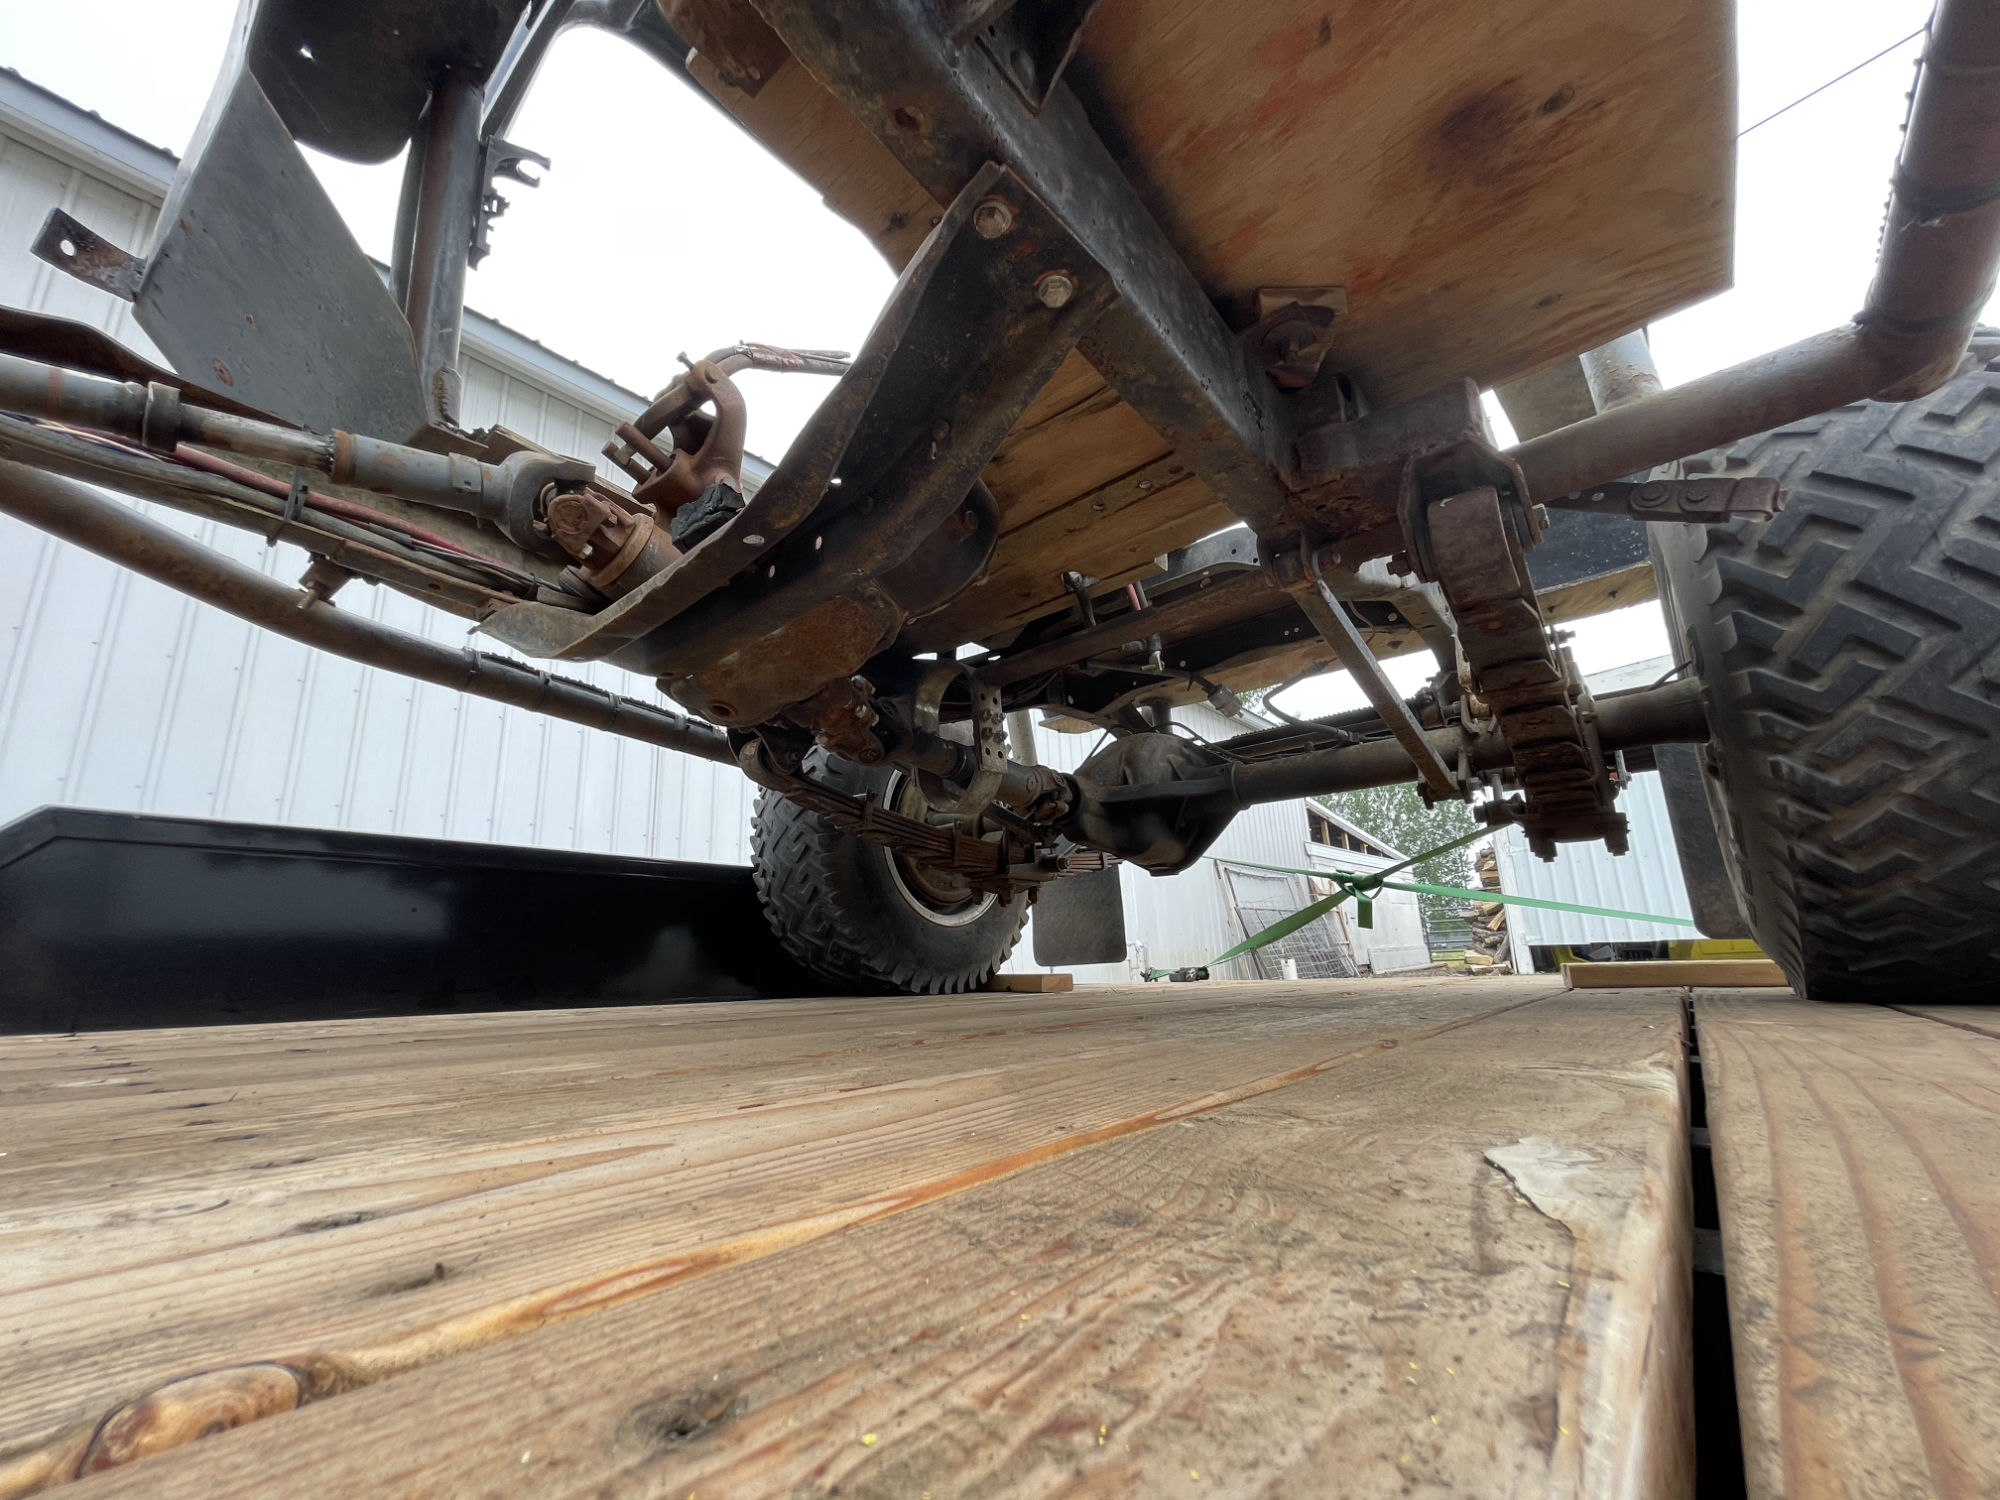
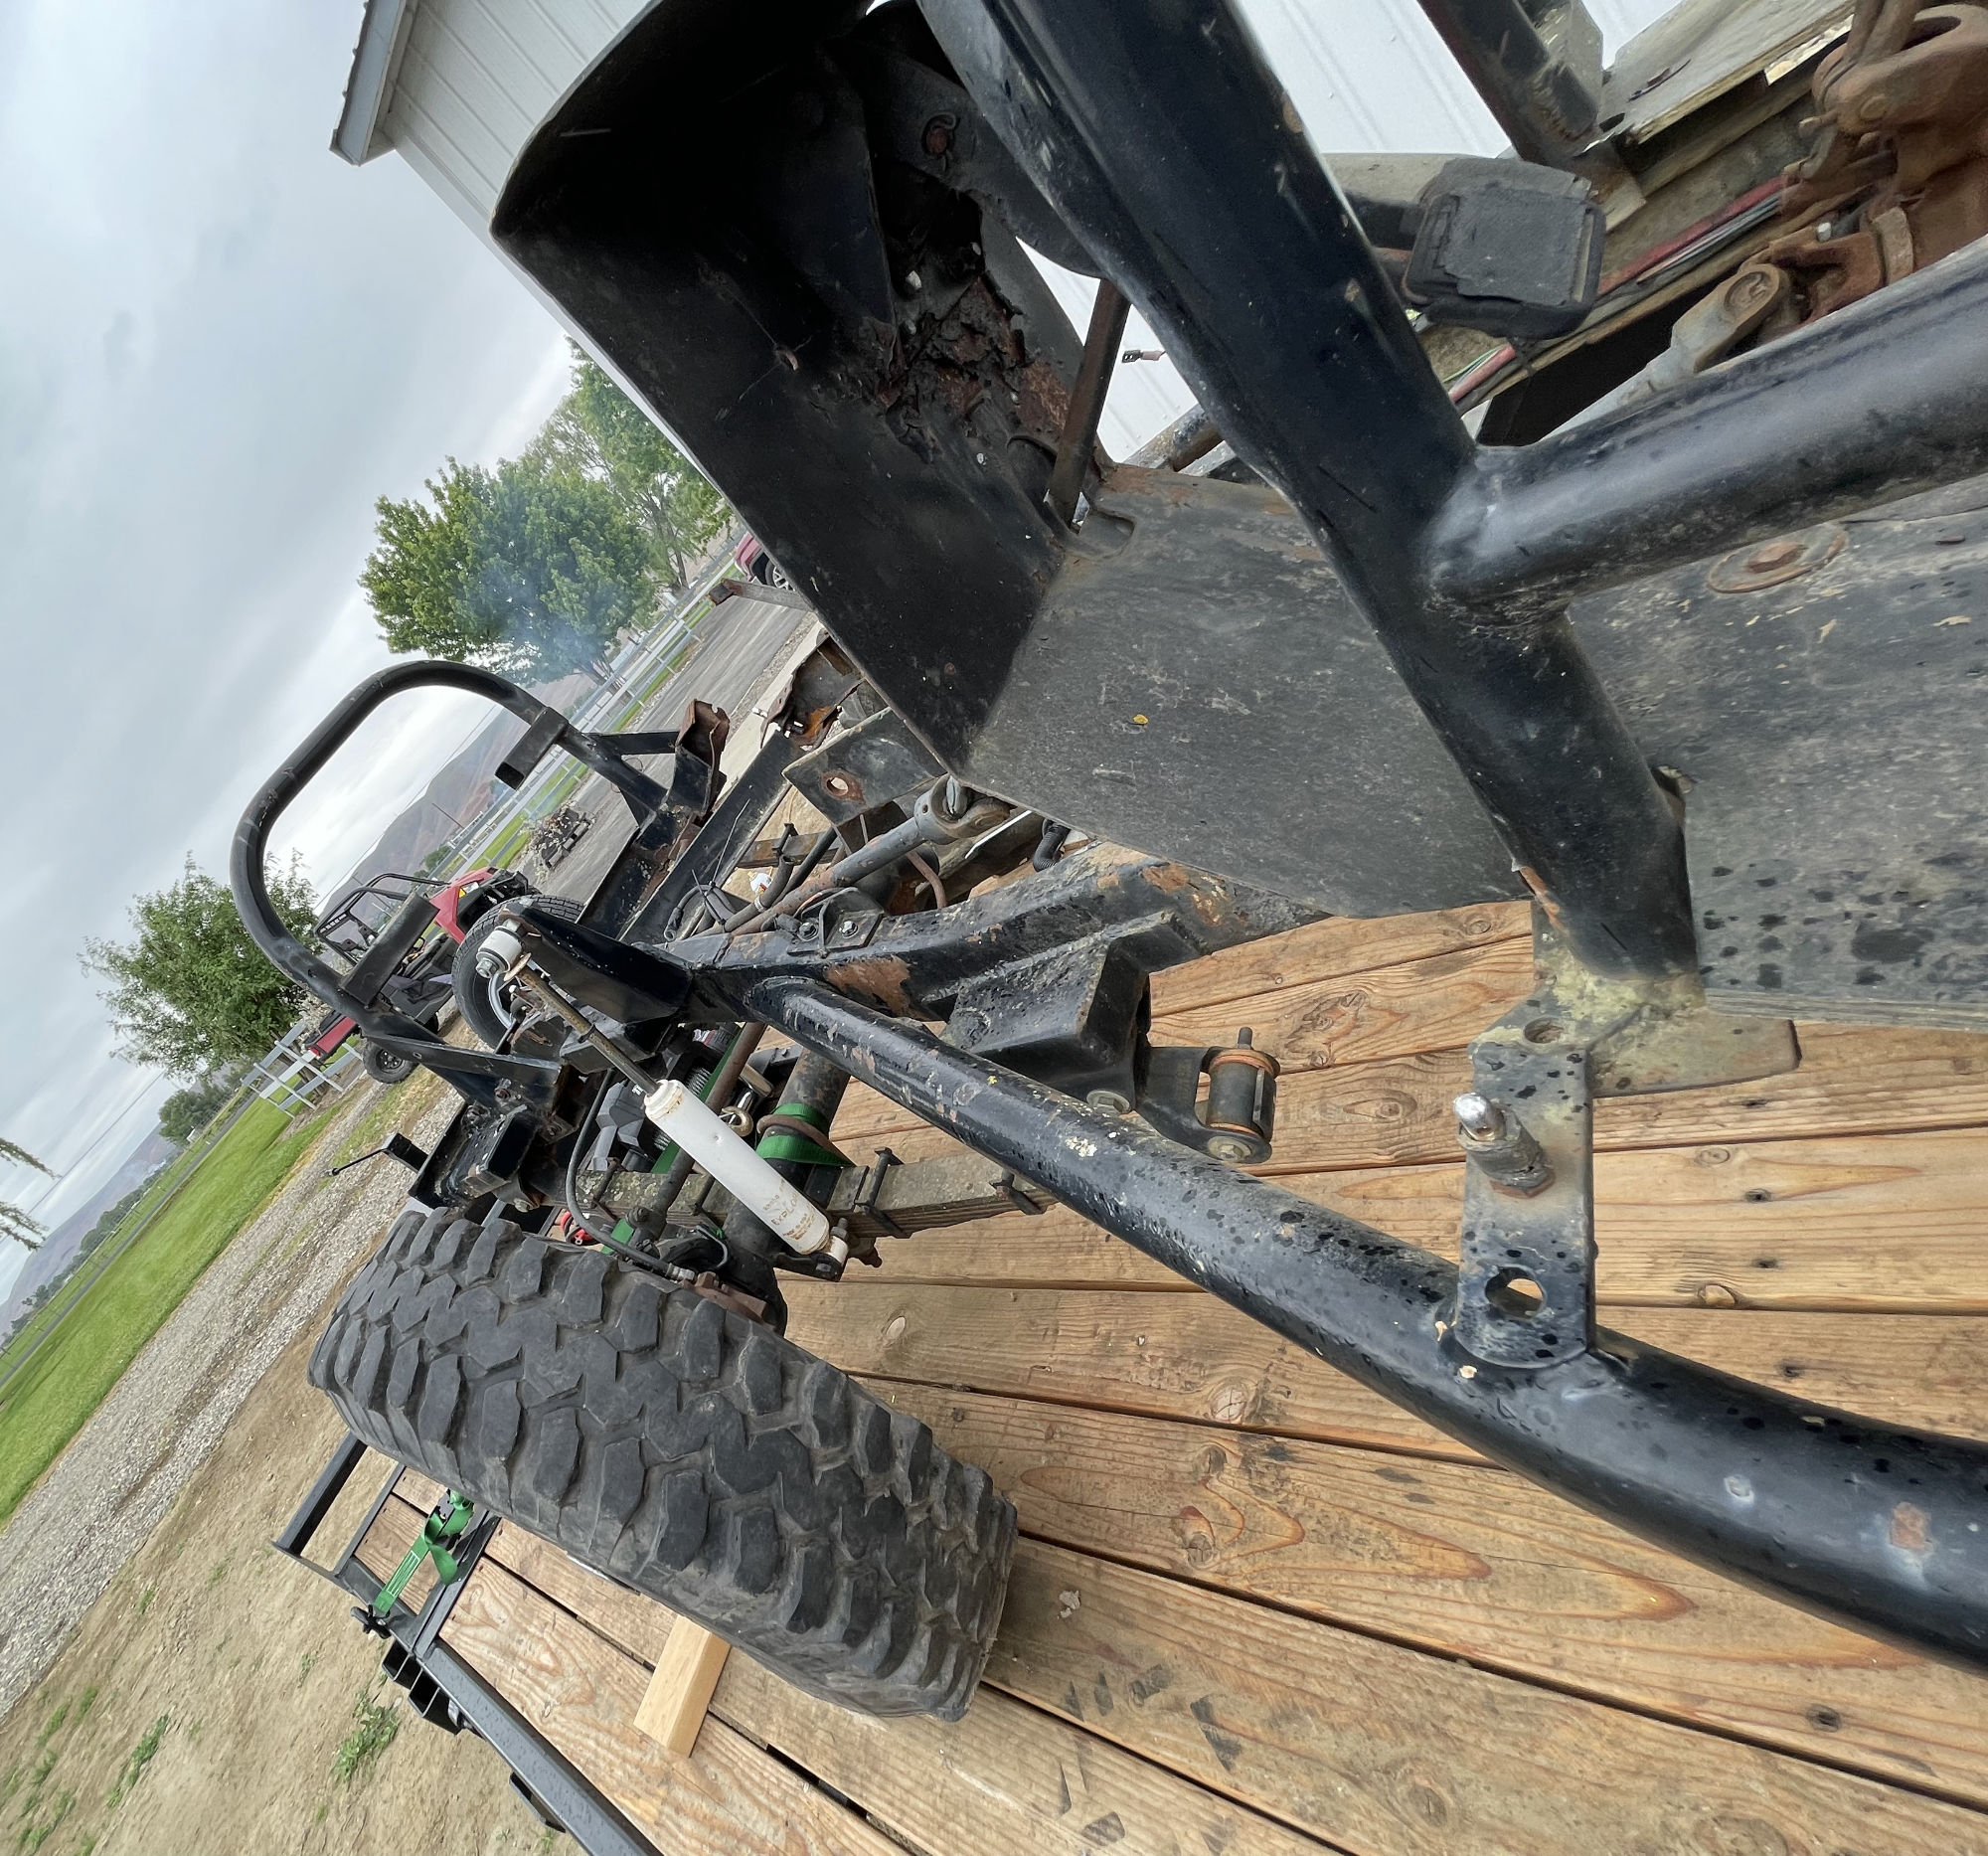
When our purchased, it was straight (except the back panel was pushed in a bit from a backing accident…we straightened it, but most of the damage was covered by the spare tire) with no rust except in the fuel tank well.”

IMG_20230527_145538_hdr_kindlephoto-3019713 IMG_20230527_145554_hdr IMG_20230527_145617_hdr_kindlephoto-2953202 IMG_20230527_145644_hdr_kindlephoto-2899671 IMG_20230527_145711_hdr

 
To Top

Unusual Customized CJ-3A(?)

• CATEGORIES: Builds, Features, Unusual • TAGS: This site contains affiliate links for which I may be compensated.

David Adams posted this oddity on Facebook. He was hoping to learn more about it. The jeep appears to be a CJ-3A that’s been modified for some purpose that’s not clear.  The side looks kind of like a Willys Quad; was that a coincidence?

Here’s one of his posts (there were several posts and I got several IMs about it).

unusual-cj3a-david-adams-5 unusual-cj3a-david-adams-6 unusual-cj3a-david-adams-7 unusual-cj3a-david-adams-8 unusual-cj3a-david-adams-9


To Top

Making More Progress on the Racer

• CATEGORIES: Builds, Features • TAGS: This site contains affiliate links for which I may be compensated.

Sorry the pics aren’t better, but the focus is on creation and not documentation. The goal is to be able to drive it during the first week of May.

The clutch and brake pedal system are all ready for install, though it’s apart for paint. The floor framework is partly complete as of today. I should have the floor frame and floor itself ready for some paint by Sunday (assuming there aren’t more distractions (there have been plenty of those ..).

I ended up building a custom bracket system for the clutch and brake. Because of the holes in the firewall from the old clutch/brake system, I sandwiched the firewall between the bracket I made and a thin sheet of metal to make it look cleaner. Here’s a very rough look from a few days ago. Both pedals had bends, which I straightened (and are straighter than shown below) with the press (as I didn’t need the bends).

2023-04-12-clutch-brake2 2023-04-12-clutch-brake1

Below are some of the parts with a layer of paint. There’s nothing fancy here. I’d love to have the time to tear the whole jeep down, properly clean it, then paint it. But, I want to run the racer first to see how it does before investing more time doing a big overhaul.

2023-04-12-painted-parts1

 
To Top

Propane Powered 6×6

• CATEGORIES: Builds, Features • TAGS: This site contains affiliate links for which I may be compensated.

Barry Andre posted pics of his 6×6 to Facebook. It’s a pretty cool rig.

837017479769475https://www.facebook.com/groups/837017479769475/?multi_permalinks=2504533526351187&ref=share

“Here’s my 6wd Willys 231 Aluminum Industrial Buick 231 V6 on Propane Twin Stick Transfer case Hydraulic Steering and all 6 wheels drive when it 4wd”

unsual-6x6-propane3 unsual-6x6-propane4 unsual-6x6-propane5 unsual-6x6-propane6 unsual-6x6-propane7

Continue reading

 
To Top

Cage Progress and Corner Brackets

• CATEGORIES: Builds, Features • TAGS: This site contains affiliate links for which I may be compensated.

The weather has warmed up some, which made working outside much more pleasant! Since the last set of pics, I made some corner brackets and added them to the cage. I’ve also added a cross bar that will be the base for the sets and some curved support bars on eat side of the front loop.

I’ll post some pics of the cage below, then add some pics of how I made the brackets (in case that’s of interest to anyone.

2023-02-06-race-jeep-rollcage9

2023-02-06-race-jeep-rollcage8 2023-02-06-race-jeep-rollcage7

2023-02-06-race-jeep-rollcage52023-02-06-race-jeep-rollcage6

Below I show how I made the corner pieces.

This first pic shows 5 1/2″ x 5 1/2″ 16 gauge steel squares. The paper above it shows my attempts to figured out the rough size I wanted:

2023-03-02-making-corner-brackets0

Continue reading

 
To Top

Racer Update

• CATEGORIES: Builds, Features • TAGS: This site contains affiliate links for which I may be compensated.

Once the water got fixed (found a retired local plumber who still does small jobs and did previous work on our house, so that worked great), I returned to the cage.

The front “loops” have been bent and added, along with a top and mid cross bar. I also added one side bar, with the other almost ready to spot-weld in place. Unfortunately, I ran out of materials, so I need to get a couple more tubes.

As you can see below, I found a seat placement I like. My head rests just below the top of the seat, so plenty of room for a helmet. Now, I just have to figure out how I want to mount them. I was going to weld in the seat frames, but I think I am going to bolt them. This will make it 1) easier to install the floor pan and 2) allow me to change up the seats/position if I’m unhappy with how it feels.

2023-01-29-racer-rollcage-lores-3 2023-01-29-racer-rollcage-lores-2 2023-01-29-racer-rollcage1

 
To Top

Back to the Racer

• CATEGORIES: Builds, Features • TAGS: This site contains affiliate links for which I may be compensated.

After an unexpected detour of 6 months, I finally had a chance to return to working on the racer.

My first project was to create the side bars by reusing the 2 1/2″ side bars from the yellow racer. You can see them mounted on the old racer here (my finger is accidentally pointing out the driver’s sidebar in this pic). I cut both of them off this chassis.

2022-05-31-parkette-body-disassembled-interior1

Here is a side view of the old chassis. These sidebars are angled upward to attach at the angled portion of the frame near the engine mounts. I liked the look of them, so figured I’d reuse them. At this point, I also plan to build the new racer cage similar to what you see blow, but with a few changes.

2022-05-31-parkette-body-disassembled-cage5

Somehow, I managed not to take many pics of this process, but I started with my new metal saw by cutting the side bars so they’d sit flat (I removed the sidebars from the other chassis with a sawz-it-all, so the cuts weren’t great).

Trying to get this angle just right on the front portion of the bars was tricky. So, I cut the back bar first to the optimal length, then dropped the front of the bar over the edge of the table until the tube was level. Then used the flat edge of a carpenter square to draw a straight edge on the bar.

2023-01-08-racer-build7

Here, the cut has been finished.

2023-01-08-racer-build8

Next, I welded plates to each tube end. Then, I clamped the tubes to the sides of the frame. With that done, Ann and I put the body in place to make sure it fit over the angled side bar, which it does.

2023-01-08-racer-build6Here’s a view from the back:
2023-01-08-racer-build9

Since it looks like things will fit correctly, I will pull the body back off, pull the side bars off, clean off the paint where I need to weld on the frame, and attach the sidebars.

Next, I’ll spend some time determining how the floor, cage, firewall, and the seats will mount, and how the side of the body will attach to the cage (the body sides are weak rather flimsy, so it needs a good mounting system).

 
To Top

Custom CJ-3B Build

• CATEGORIES: Builds, CJ-3B, Features This site contains affiliate links for which I may be compensated.

Robert Baxter posted this “CJ-3B” to Facebook the other day. He spotted it at a car show in El Segundo, California. The chassis is a deuce-and-a-half. It looks like the body is extra tall and stetted, which gives it an unusual look. Cool rig!

https://www.facebook.com/groups/502884336980336/permalink/1100033907265373

cj3b-el-segundo1 cj3b-el-segundo2

 
To Top

Disassembled the Black & Green Race Jeep

• CATEGORIES: Builds, Features • TAGS: This site contains affiliate links for which I may be compensated.

A couple days ago I took disassembled some of the black and green race jeep. The cage for the narrow body is tool small to be useful for me. So, I will bend my own cage, built for the yellow parkette body, and outboard the rear springs while I am at it. I will also swap out the current swing pedals for the ones on the yellow racer. Hopefully, I can get this project done by August, in time for Summer Convention. We will see….

Here is a comparison of the Parkette full-size body vs. the narrow body. The difference is enough to give a person more room at the feet (more room for gas, brake and clutch). The narrow body would probably work better for an auto transmission with just a gas pedal and brake (I prefer to have enough room to the left of the clutch to help brace myself.

The narrow body seems better built, perhaps a slightly thicker fiberglass job. The Parkette needs some reinforcement in my opinion (which I will do).

2022-06-02-race-jeep-1

Her’s the narrow body racer without the body. Thankfully, unlike the other racer, this cage was bolted, rather than welded, to the frame.

2022-06-02-race-jeep-4

Well, the seat support piece was welded to the rollcage and to the frame, but it was easy to cut. I will have a different setup for the seats. Note the broken driveline ‘safety’ loop, that wasn’t very safe. I have a much stronger one from the other chassis.

2022-06-02-race-jeep-3

Here is a trail run of Parkette body on the racer.

2022-06-02-race-jeep-2Besides the new roll cage and the rear springs being out-boarded, the side bar will need replacing (it was built for the narrower body). A new firewall needs to be built (it will be wider, thanks to the wider parkette body, than the current one). The steering wheel needs to be angled differently and will have a tilt column (my preference).

Thankfully, the power train can remain in tact, as will the front spring setup. So, that saves a bunch of work.

 
To Top

Closer Look at “Little Miss Sunshine”

• CATEGORIES: Builds, Features • TAGS: , This site contains affiliate links for which I may be compensated.

Ann has dubbed the yellow racer “Little Miss Sunshine”, due to the yellow color. I don’t know if that’s the end-all name, but it’s a fine name for now.

Yesterday, I decided to remove the body so I could get a better look at the condition of the cage and the suspension.

Let’s take a look first at the rear suspension. The suspension in the rear consists of 2.5″ ranch springs that have been outboarded, to which a sway bar and arms have been added. In the pic below you can see the sway bar behind the axle and the arms in front, connected under the frame. The springs are outboarded six inches. For example, the spring holder in the back consists of a 2×4 rectangular tube, positioned horizontally (under which the spring holder is welded), was welded to a 2×3 tube positioned vertically, which was welded to a 1/4″ plate that was then welded to the frame.

The front of this rear setup is similar, only for additional strength, a 2.5″ tube was welded to the spring holder and frame, which is then welded to the side bar that sits outside and under the body.

2022-05-31-parkette-body-disassembled-suspension2

2022-05-31-parkette-body-disassembled-suspension5 2022-05-31-parkette-body-disassembled-suspension4 2022-05-31-parkette-body-disassembled-suspension3

Continue reading