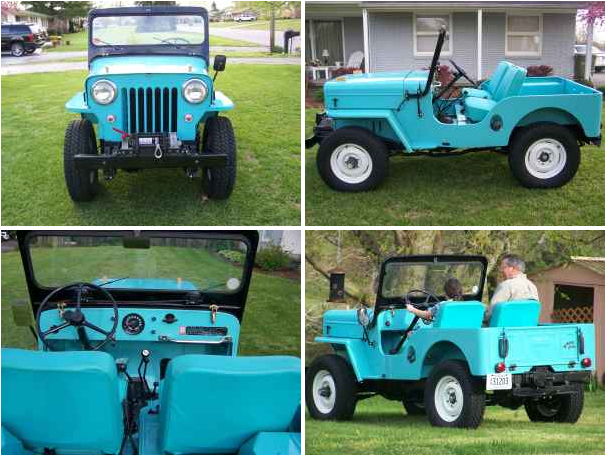
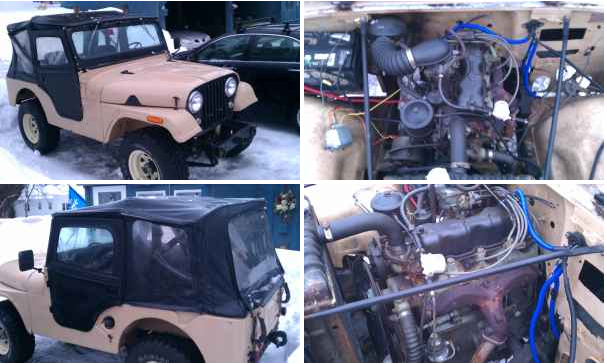
It was sometime around mid-summer of last year (maybe earlier) when I started the project to place ‘Lost Biscuit’ on the hood of my jeep. It took a little longer than expected, but I finally did it.
First I had to decide which font to use. Fortunately, I got some very helpful input along the way from Dexter (thanks) and eventually decided upon the Marker Felt font. Okay, that was pretty easy.
Now, how to get the name on the hood. After hmming and haaaing over how I wanted to attach the name (hand drawn, stickers, stencils, pay someone else … ), I finally decided I would do it myself using paint. But, I knew my freehand drawing and painting skills froze around the 2nd grade, so this wasn’t something I could improvise. Since I had no immediate solutions, I decided to put the project on hold (which explains the delay).
One day this past December I was watching American Restoration on the History Channel. The American Restoration show is a spinoff of sorts from the Pawn Stars show and follows various restoration projects from Ricks Restoration out of Las Vegas. In one of the episodes, called Buttered Up (you can view it here), Rick restores an old popcorn machine.
To repaint the front of the popcorn machine, the painter used a technique that dates back centuries called pouncing. Pouncing? My ears perked up!
Pouncing? Never heard of that. As usual, my computer was on my lap so I instantly googled pouncing. I learned,
Pouncing is where pounce — loose graphite or charcoal — is rubbed through a series of small holes punched in a paper pattern to transfer the design to an item to be decorated
Well, I thought that would work for Biscuit’s name. After some more research, I found out that quilters use pouncing for some stitch patterns. So, the next day I hit some quilt stores. As you can imagine, the conversation went something like this,
“Hi, I’m here because I want to paint a name on my jeep,” says I.
Blank stare from cashier, “what do you need?”
“I need stuff for pouncing” says I, remembering now that I probably had not shaved, maybe, not even showered, and most likely wasn’t quite dressed like customers they normally help (however, to my credit, I didn’t have on my garage jeans).
Another blank stare, “you want to do what?” I think she even had her finger ready to dial ‘9’ (and then ‘1’ ‘1’)
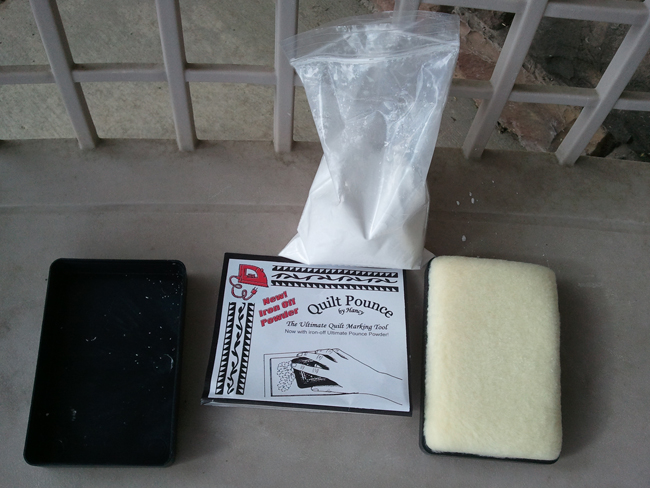
It turns out, not everyone knows what pouncing is, even at the quilt stores. Eventually, after visiting a couple quilt stores, I found what I needed (you will see my pouncing supplies in a picture below).
Here’s the synopsis of this project.
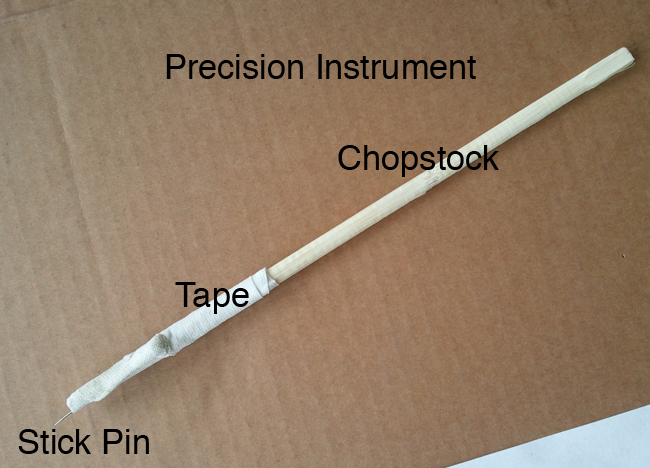
1. Design and Print the template. Then, since I didn’t have a good awl, I created my own awl out of tape, a chopstick and a long push pin.
2. Next, I attached the template to a piece of cardboard. Then, I poked holes around the outer edge of all the letters.
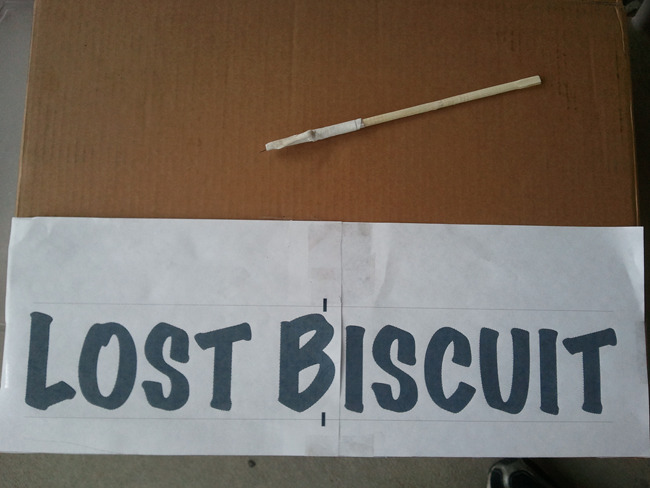
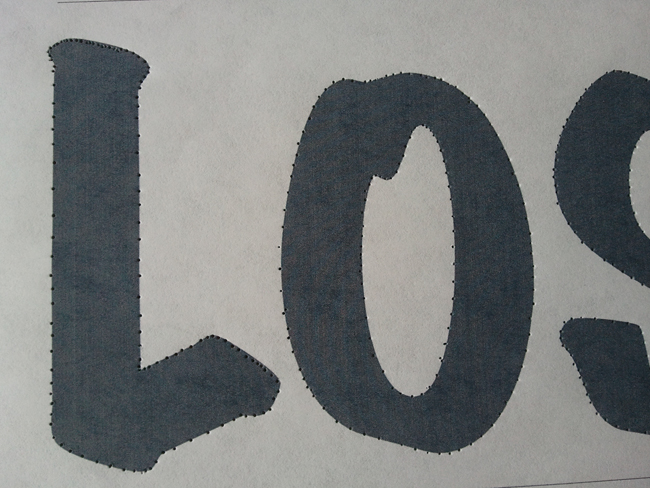
3. With the letters outlined, I tested out the template on different materials to make sure it worked. It turns out pouncing is pretty easy!
4. Selecting paint was the next step. So, I visited my local art supply store and explained to them what I wanted. They directed me to an Acrylic Titanium White Tube from Windsor Newton. Along with the paint, they also suggested an acrylic spray on sealer and finisher from Americana. I took the paint home and tested it on different materials. At first, I didn’t like it, because it wasn’t as smooth as the typical oil based house paint I had expected. Instead, it had texture like a canvas artist would want. But then, after staring at it a bit, I warmed to the texture, because it gave the name a hand generated feel.
5. Yesterday, with the weather a little warmer, it was time to paint the name. I got out my template, my paint, and my pouncing supplies. I taped the template to the hood and prepared to pounce.
Over the course of my tests, the technique I found most successful for pouncing was not tapping the pouncer, but rather dragging it slowly across the holes. This kept the paper from popping up and blurring the dots underneath.
The pouncing equipment consists of a pouncer with a ‘handle’ on one side and a soft side on the other. There’s also a plastic container that can hold pounce. Lastly, there is the white chalk.
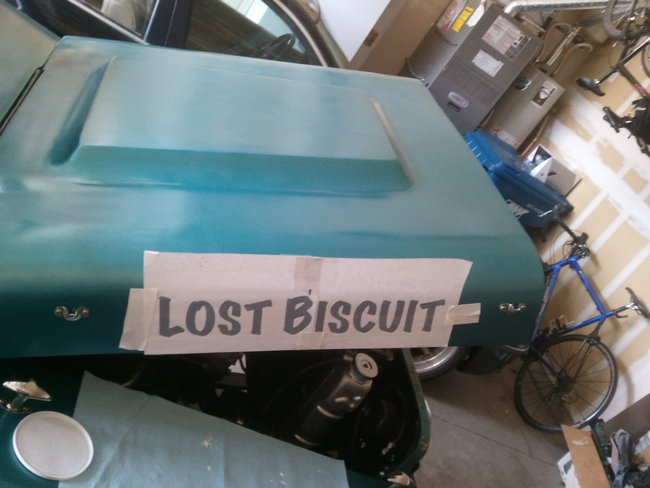


6. Now it’s time to paint. I put three coats on each side. This image was taken after the first coat.

This is after three coats.
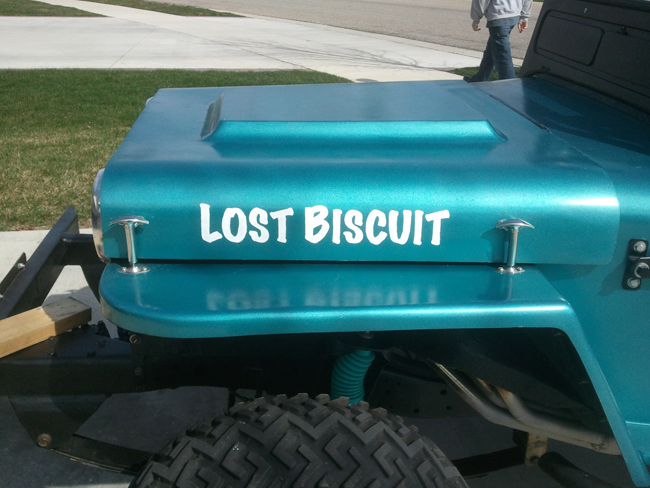
There is still some small edges that need cleaning up. Once I do that, I’ll spray it and hopefully that will protect it!


