emailNeed to contact me and don't have my email? Click on email button.
About eWillys
Welcome to eWillys.com, a website for vintage jeep enthusiasts. I update this website nearly every day with jeep deals, jeep history, interesting reader projects, jeep related info, and more.
These quick searches can help you find things on eBay. People list in the wrong categories all the time, so don't be surprised to see brochures in the parts area for example. This section used to be split into jeeps, parts and other categories, but recent changes to eBay will require this information to be recoded.
The links to posts below show jeeps grouped by models, condition, and other ways. Some of these jeeps are for sale and others have been sold. If you are unsure whether a vehicle is still for sale or not, email me at d [at] ewillys.com for more info.
Importantly, the allure of buying a project jeep can be romantic. The reality of restoring a jeep can be quite different, expensive and overwhelming without the right tools and resources. So, tread carefully when purchasing a "project". If you have any concerns about buying a vintage jeep, or run across a scam, feel free to contact me for help, comments or concerns .
David, a reader from Texas, shared this video of an abandoned jeep made to run again. Called a CJ-3A in the video, it is clear it was was originally a 2WD DJ-3A. Given the Stewart Warner gauge coupled with the lack of a passenger-side heater vent, this is likely a ’58 or ’59 model. The jeep was adapted to 4WD using the axles from a WWII jeep (steering on the front axle; full floaters on the rear). The transmission cross member is likely WWII as well, though it could be from a 2A. I didn’t watch the entirely of the video, but maybe there are more clues (such as T84 vs T90).
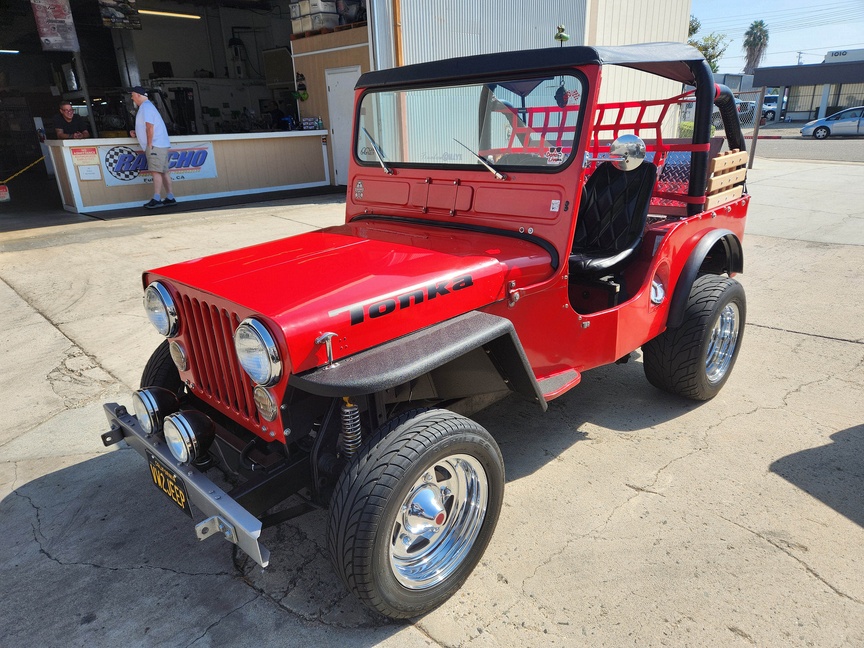
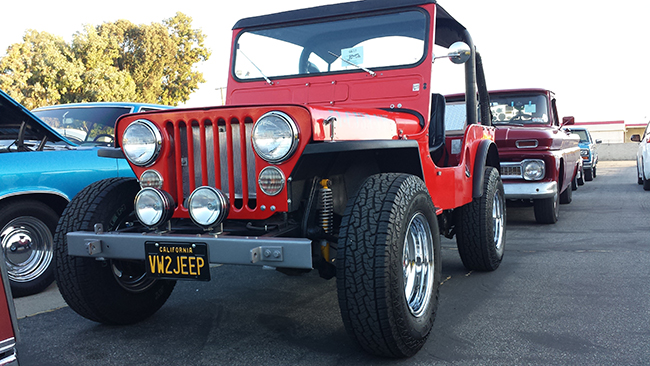
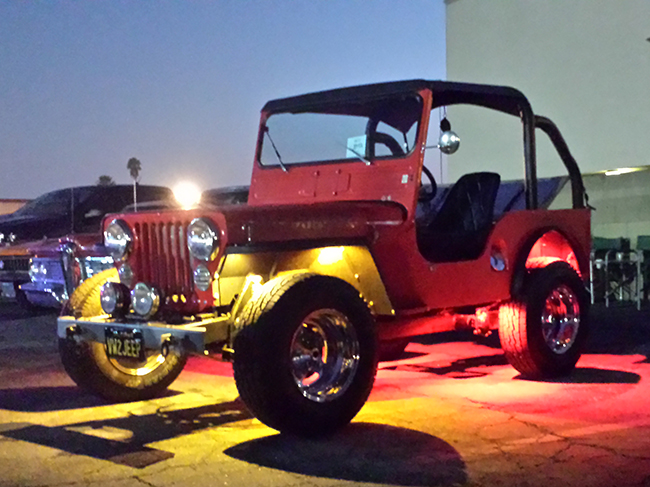
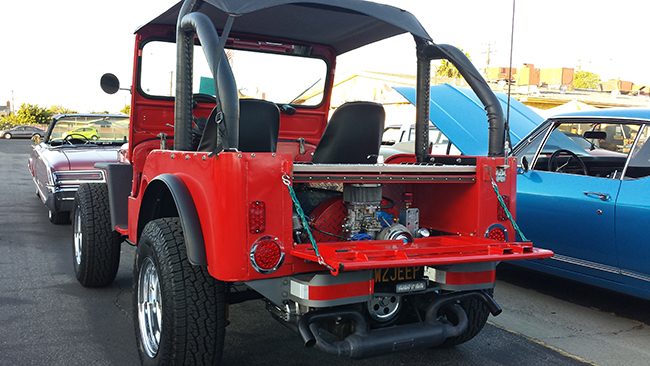
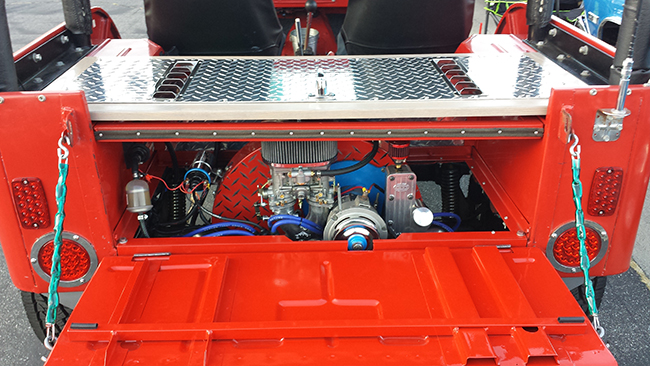
Originally Posted January 4th, 2020: Mike bought this VEEP in September of 2018 in Arizona. It ran, but had lots of surface rust on the paint. So, he blasted the body, rebuilt the engine (to 1915cc), redid the engine compartment, and added some other custom elements. His goal was to enter it in local car shows and, so far, he’s won four trophy’s with it. Nice work!
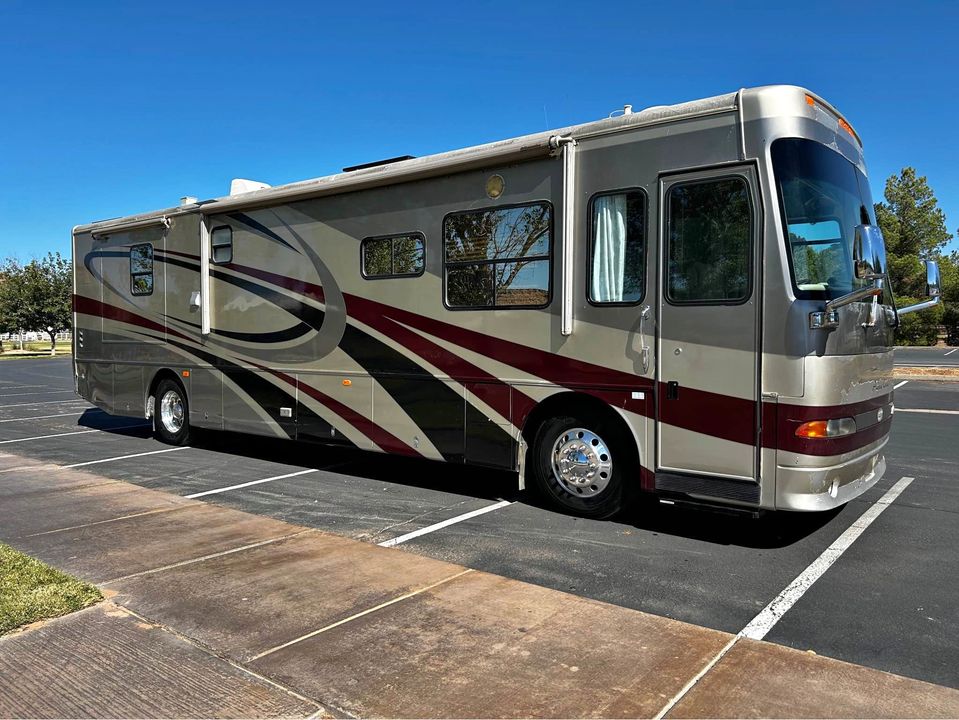
We’ve spent the past couple of weeks researching and viewing motorhomes (so much learned). We have decided upon one we like (powerful, 10k towing, easier to maintain, strong resell market, locally made, plentiful solar power), which I’ll unveil later this week, assuming everything goes well (we have a bit of a drive to go get it). I’ll discuss this more later.
It’s first ‘event’ will be in two weeks at the PNW4WDA summer convention. Here is a sneak peak (again, if all goes well);
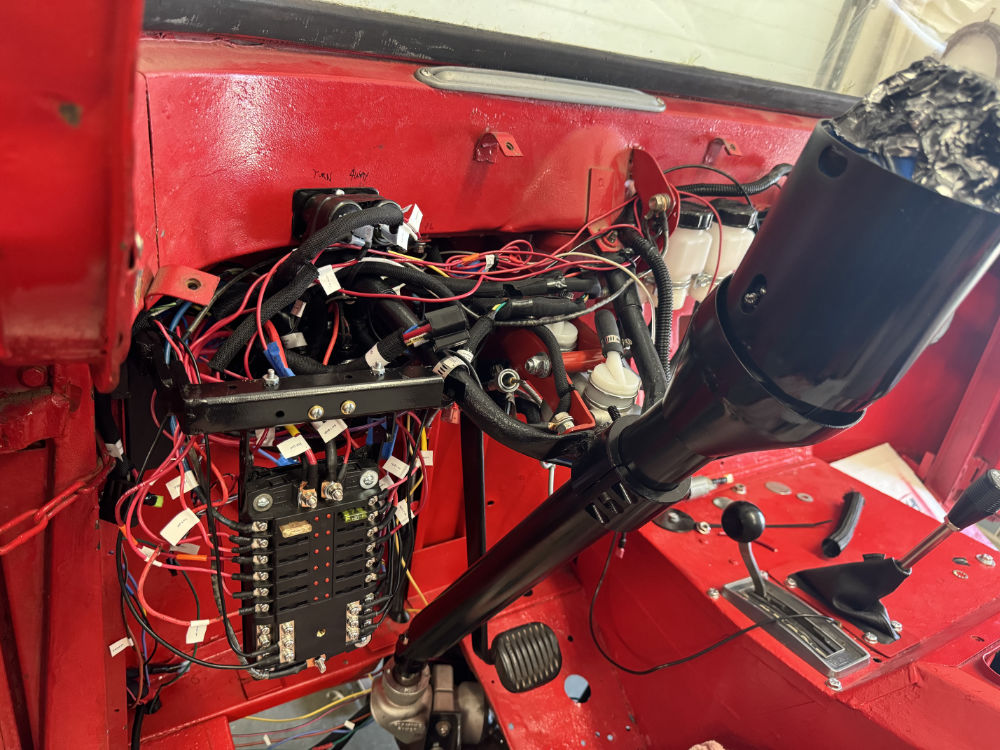
All that time and research, plus more heat and Ann’s short vacation, definitely slowed progress on the FC. But, I was able to get most of the wires labeled using Ann’s label maker, though I didn’t realize until half-way through that I could create multiple lines (insert head exploding emoji here); so, for example, “Bat-to-Ign” on one line could be better labeled “Battery to Ignition” on three lines.
Once I complete that task, then I can bind the wires up more tightly and cleanly and begin testing systems. As you can kind of see below (not the best pic), the wiper knob, the light switch, the ignition switch, the dash-turn blinkers, and the speedometer are all connected using plugs. They all have labels, so identifying their corresponding plug should be easy. In addition, I tried to use different types of plugs so that plugging something incorrectly would be nearly impossible. The lighter is also easy to unplug. More difficult is the three gauges under the dash, as two of them are mechanical (I couldn’t find 1.5″ electric temp and oil gauges). So, the gauge panel has to be unbolted if the dash is completely removed.
Here, most of the wires have been labeled. I can’t wait to clean up the spaghetti!
Progress continues on the FC, though if feels at a snails pace at times. I was near done running wires, but then decided to wire the main electric fan the correct way by installing a relay setup. I also decided to install the somewhat vintage Sun tachometer onto the left corner of the dash (in an existing hole), as it would be good to see the RPMs for when the transmission shifts. The brake lines, the speedometer cable, and all the wires from underneath the cab come up through two holes, so that should help clean up the look of the driver’s side.
I looked into solid state blinker setups, but haven’t found one that fits my needs. I may just go with the old school round flashers.
Here’s a pic of the dash. The spaghetti is laid in place to be cleaned up once all the wires are in their respective locations.
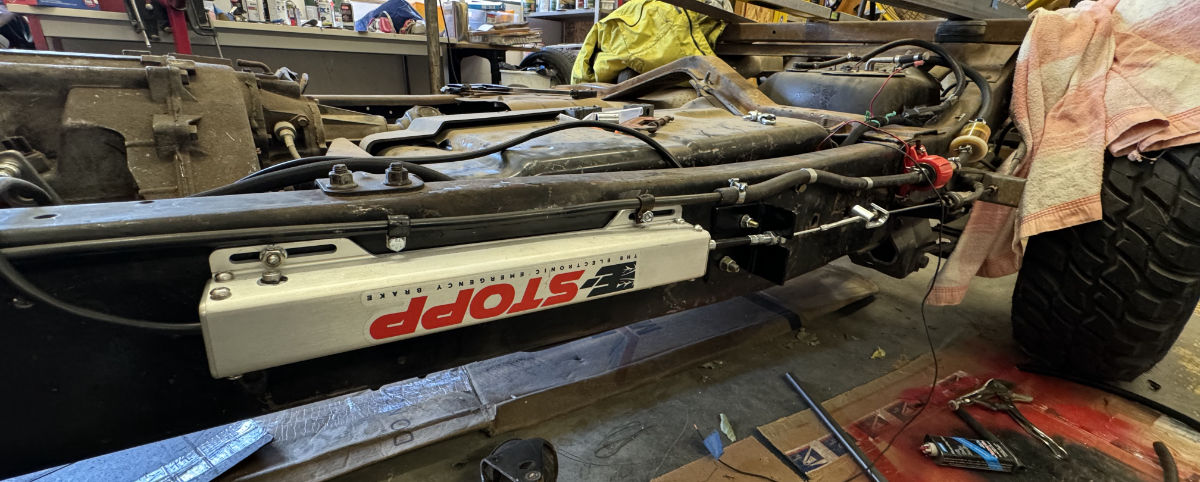
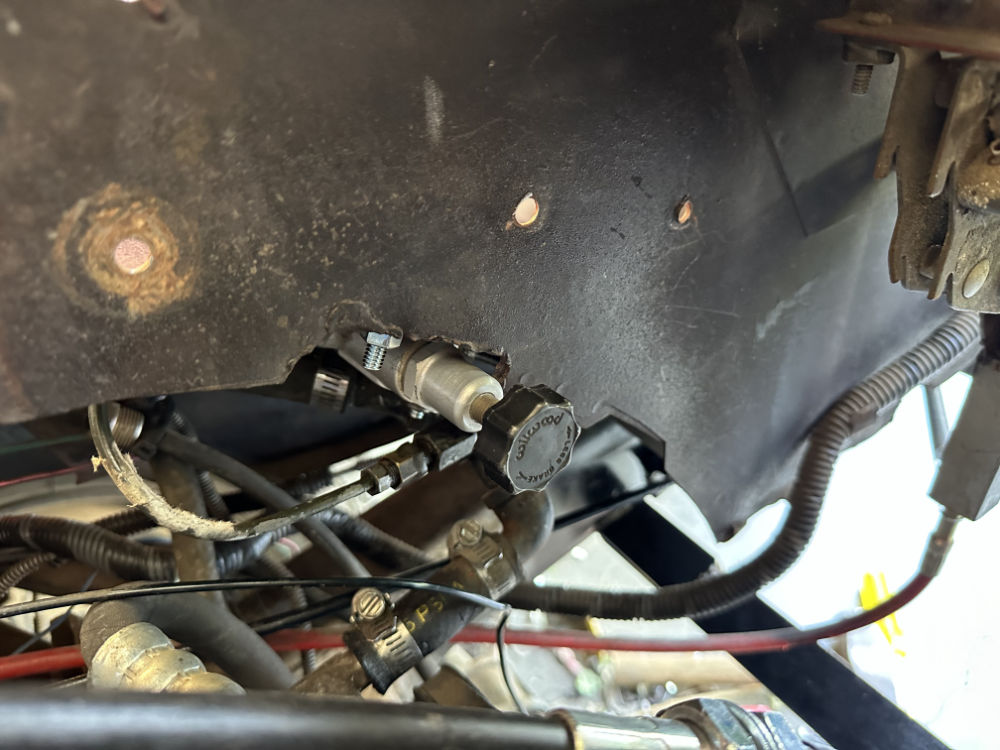
Below is the e-stopp parking brake installed, with the redone gas line just above it. I will be dropping that one high spot in the gas line, but, over all, I think this setup will work just fine. I’ve tried to leave space for the forthcoming mounting bracket for the rear cage & platform.
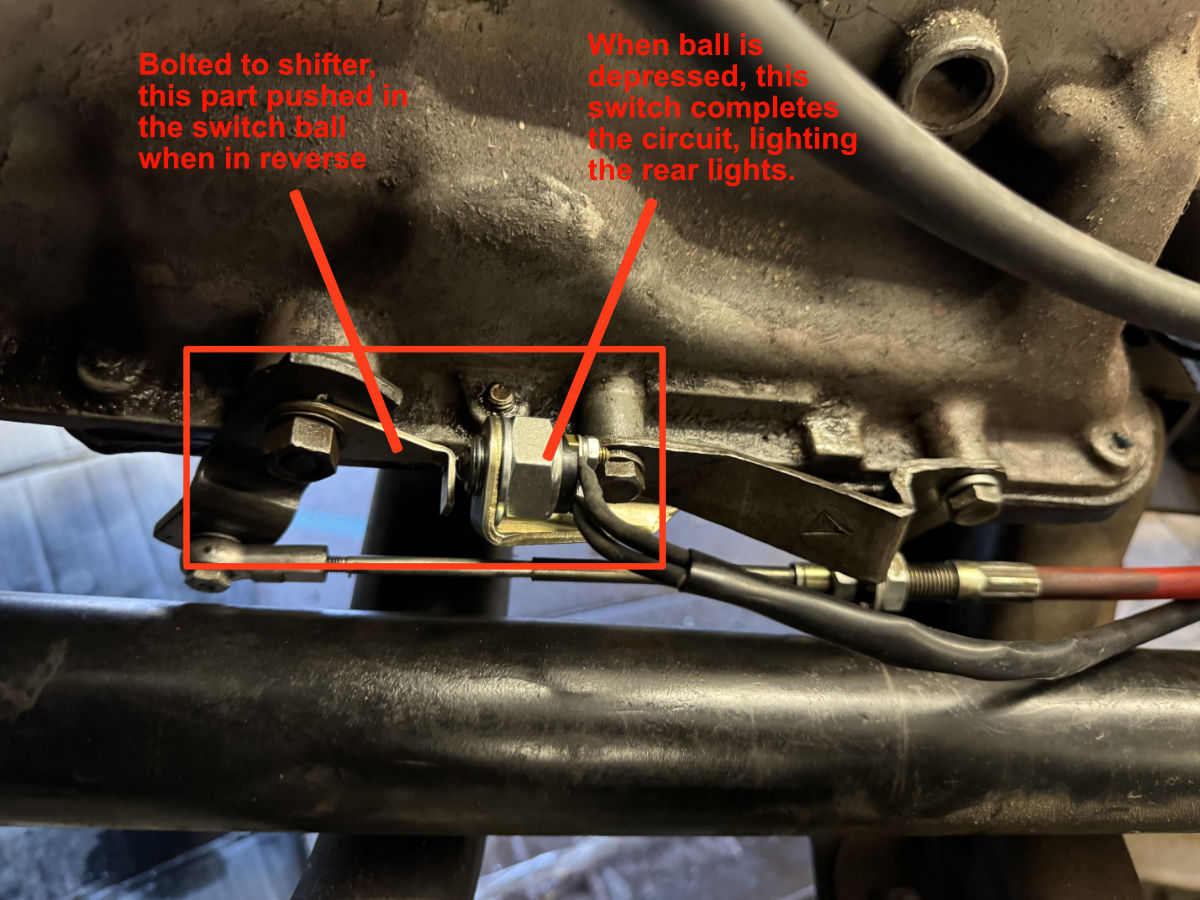
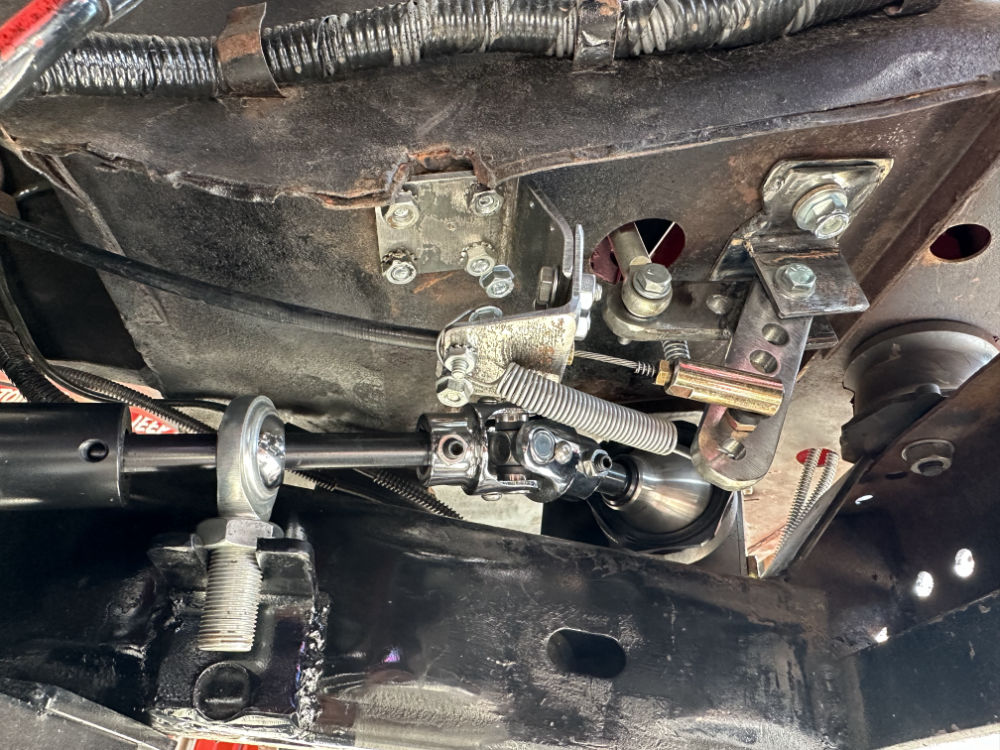
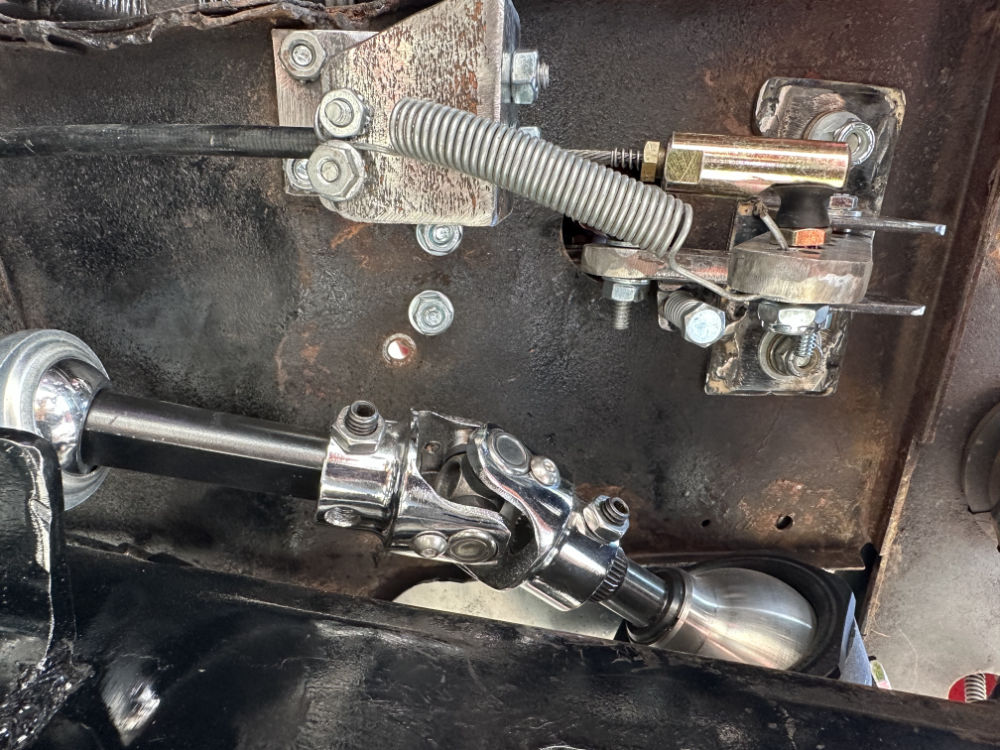
This phot shows the installed rear light switch, with the initiating bracket bolted to the shifter bracket. The wiring to/from the brake light still needs to be secured and won’t be laying on the front drive line as pictured! Everything fits well in there.
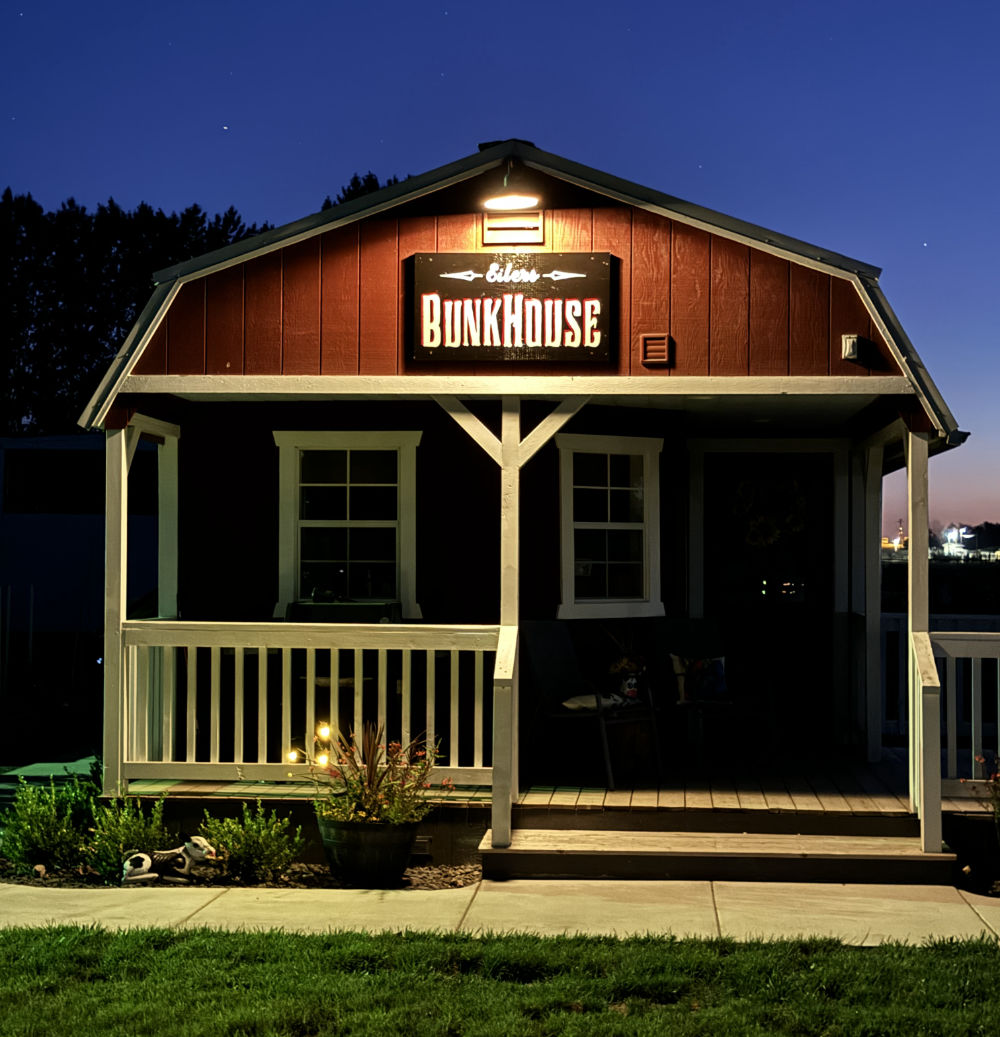
Finally, just for kicks, we finally mounted Ann’s sign. It looks great, though I think the “bunkhouse” should probably be renamed the “paint studio”, as Ann mostly uses it to work on her canvas paintings.
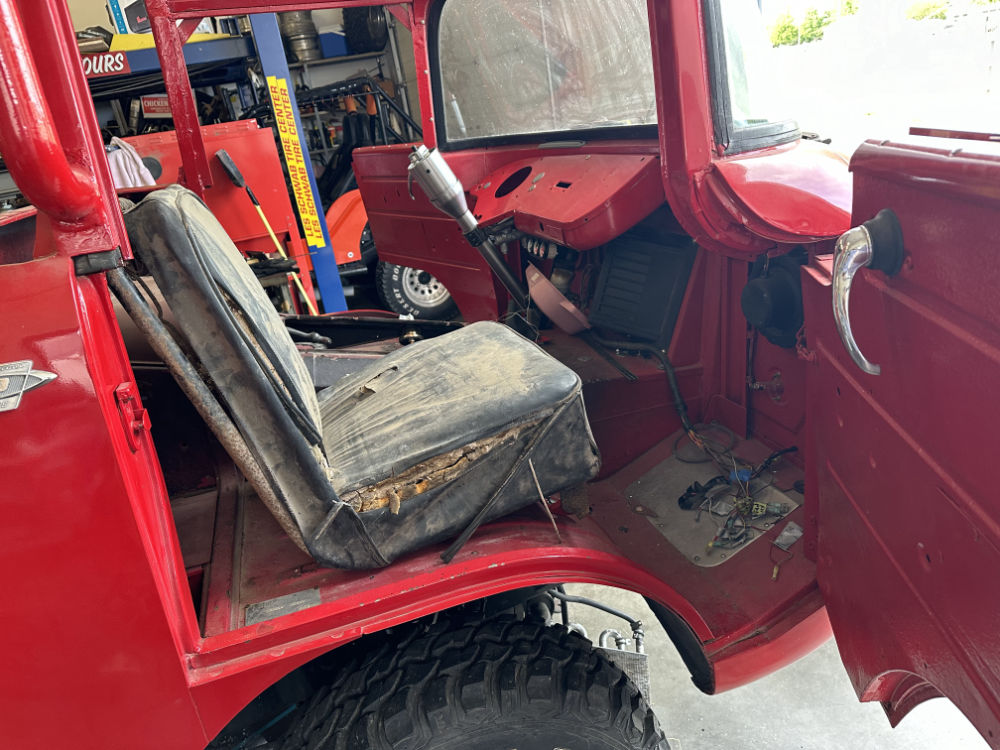
Progress on the FC continues, of course slower than I’d like. First up, I’ve located a local upholstery shop that’s supposed to be good with vintage automobile stuff, so will be taking the seats to them and seeing what they can do. Thanks to Steve, I also have a line on patterns from a shop he worked with in Iowa, so that may save some money, too.
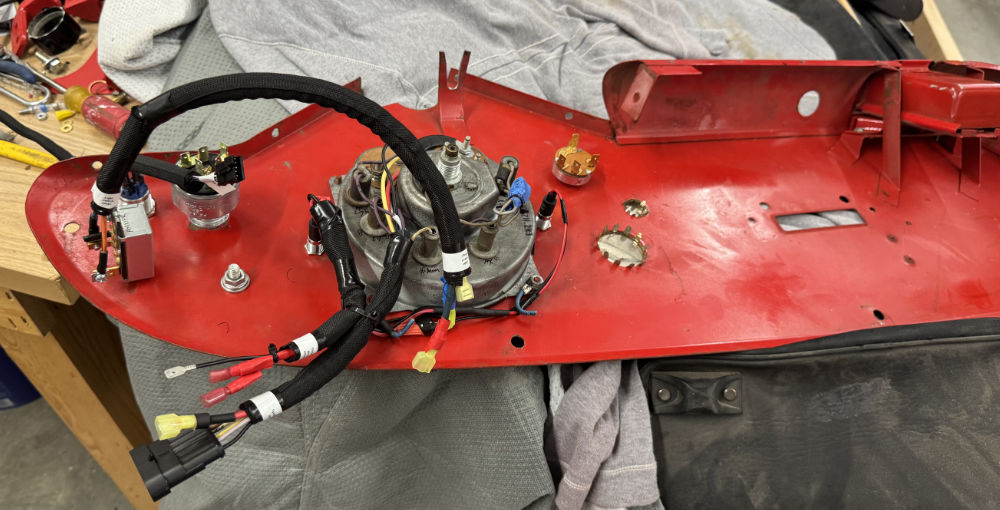
I’ve begun installing things on the FC. First up was the parking lights, then the new electric wiper motor. For a central ground, I’m using the old parking brake bracket, which will also hold a bracket for the brake MC remote reservoirs, which sit under the dash (no pics of that just yet).
Next I installed the brake MC and pedal bracket. One thing that I never tested (oops) was wether the existing brake nuts fit the new Wildwood MC (Of course they were a different size .. ugh). I will either use adapters or cut and reflare the lines with new, smaller brake nuts (most likely I’ll do the latter).
I hate it when my nuts are too large!
While I waited on solving the brake nut issue, I decided to work on installing the e-brake. One known issue was that the original Explorer body mount had to be removed, which I was okay with because I want the body mounts to be aligned with the bed’s front two roll bar loops, so I’d planned to move them anyway.
Now the challenge is to connect the 1/4″ finely threaded bolt from the ebrake to the original parking brake cable end. I want the solution to be adjustable (be able to turn the nut to tighten or loosen slightly) and I think I have found the answer in the form of a Dorman e-brake bracket. But, we’ll see how it fits …
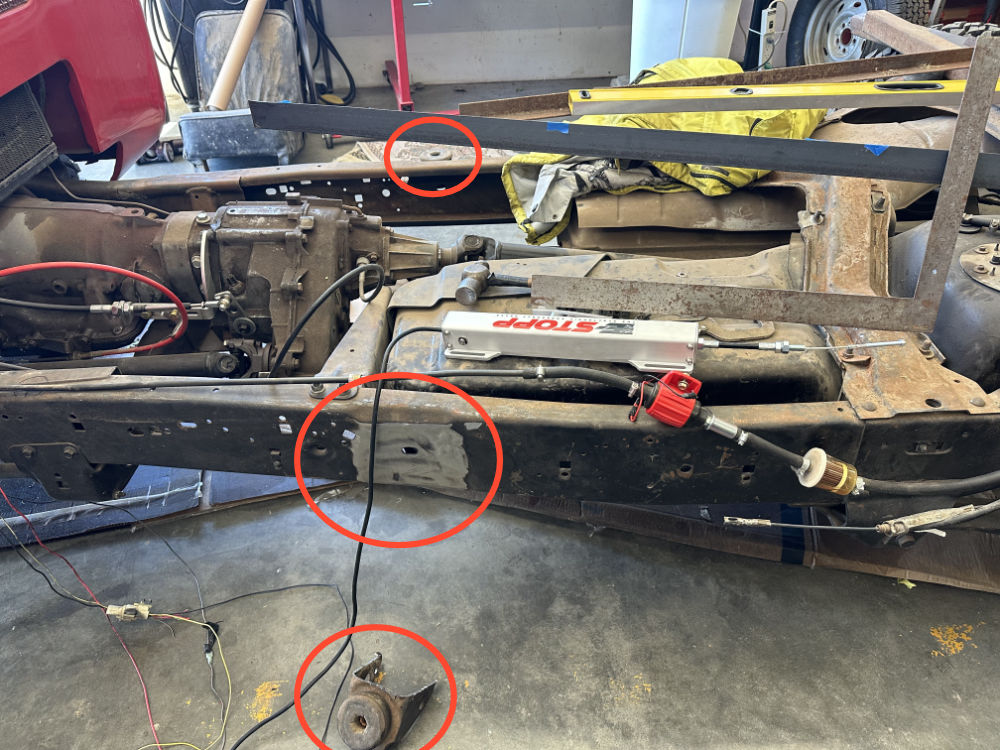
This shows the body mount in the foreground having been removed from the frame.
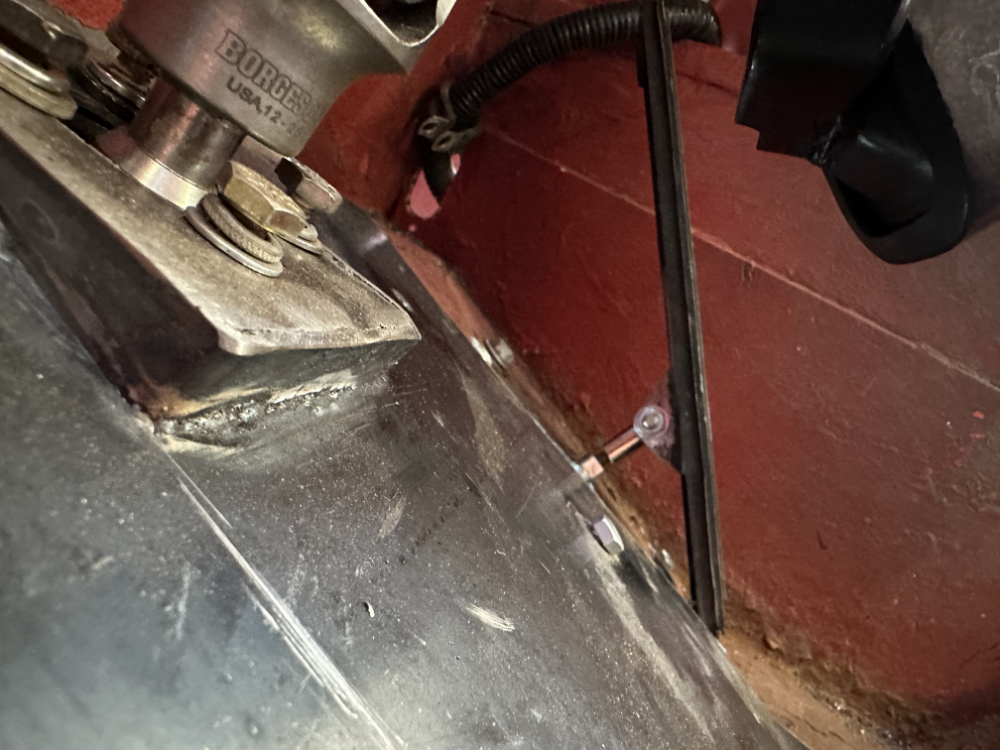
This shows the bolt (with nut) from the e-brake vis-a-vis the stock parking brake bracket (which is actually broke, so needs to be removed anyway). The circle shows the location where the roll cage crosses the frame, so clearance will be necessary to allow the e-brake to work (Prob hole in the bracket).
Finally, since the FC is already equipment with a hitch receiver and since it might be handle to be able to a trailer with it. One of my pet peeves is crazy wiring splices in the back of vehicles to allow for towing. So, I’ll be running wires to a terminal block at the rear which I can use to add a 4 of 7 pin plug if need be. the bracket is built and ready to be mounted. The wires will then be color coded to a typical RV 7-pin setup, but I need to confirm our trailers are wired that way.
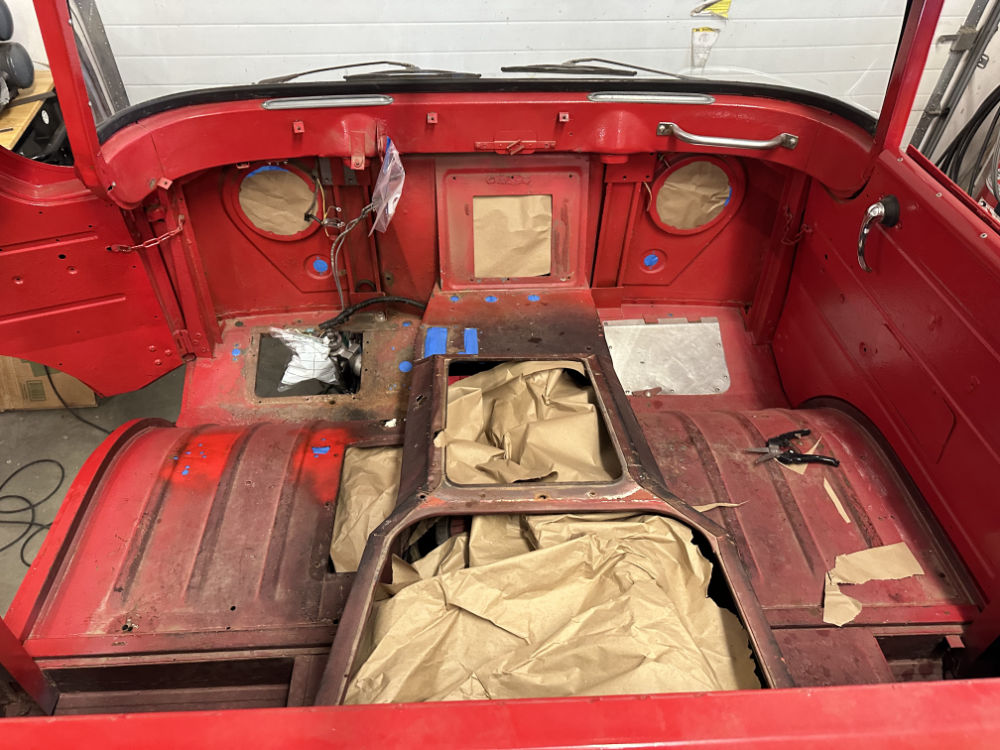
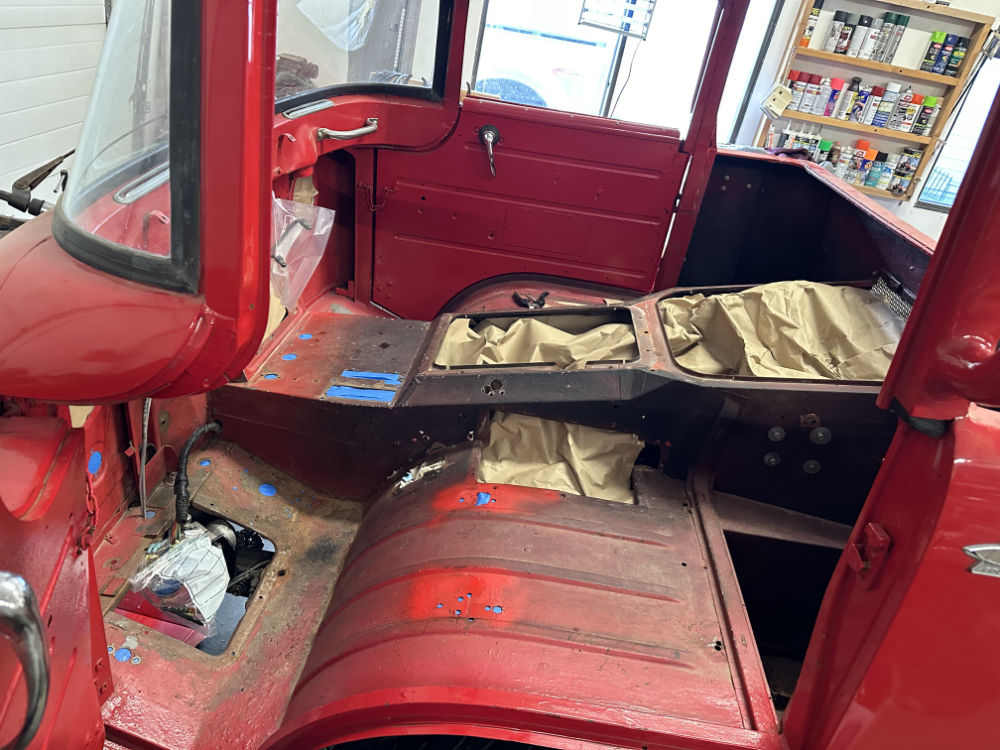
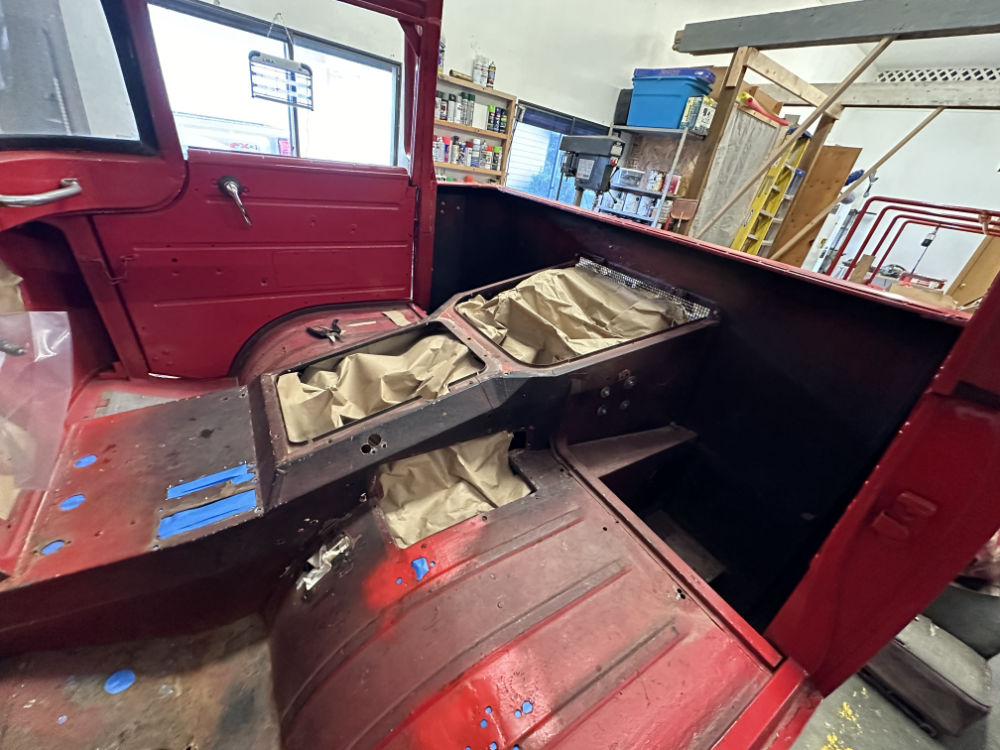
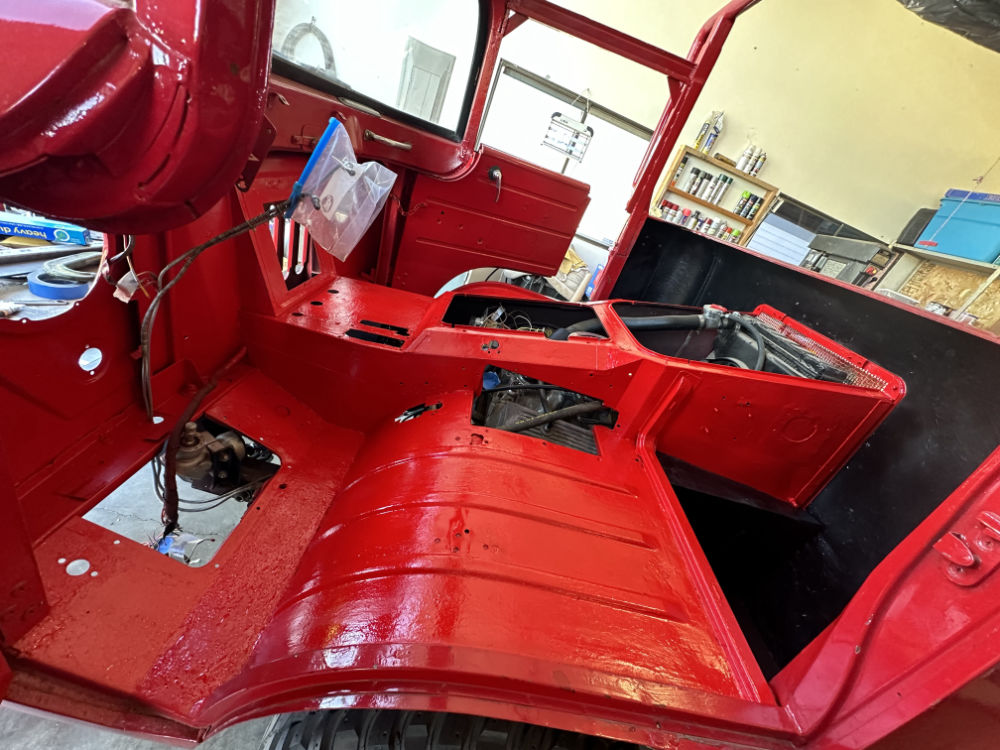
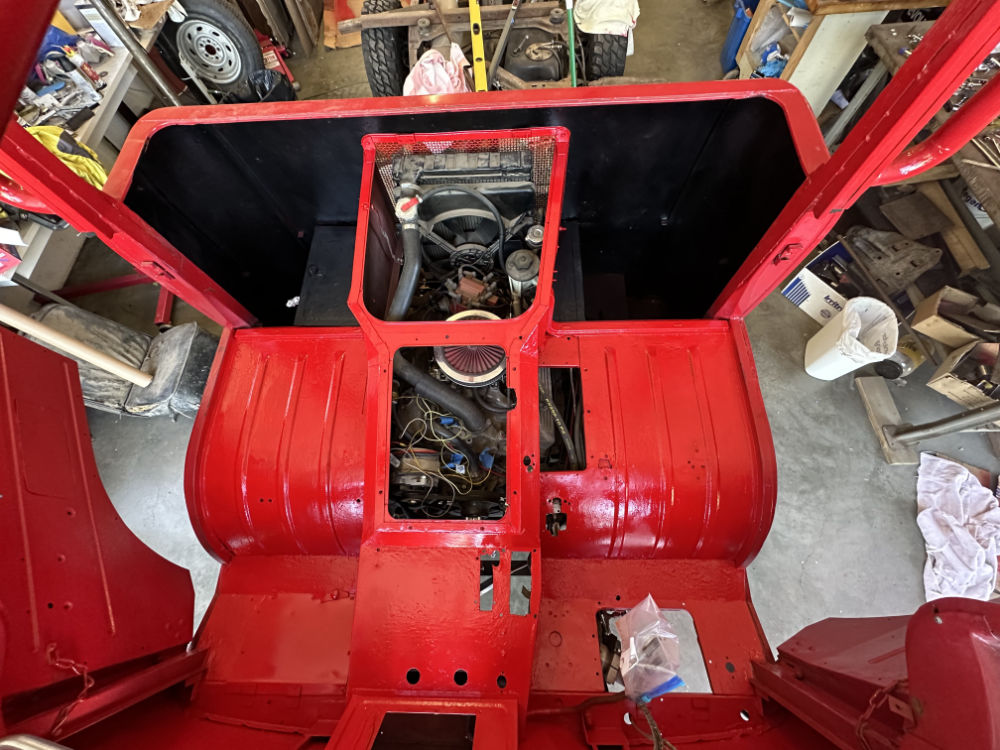
Thursday and Friday I finally painted the interior. The color is rattle-can Red Apple Gloss. It nearly matches the exterior color, but is slightly brighter. As noted before, it’s literally just some lipstick to clean up what was there and to help preserve the metal a little longer before I can get the cab removed for a proper media blast, repairs, and paint.
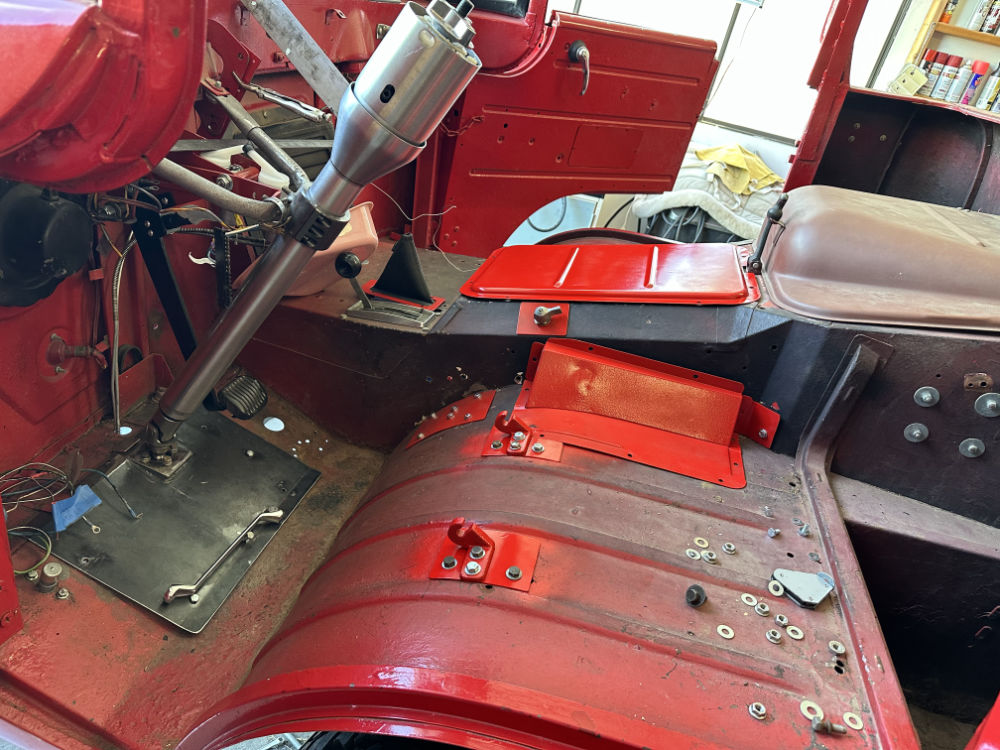
More progress made, as the passenger seat bracket holes were drilled (studs were rusted) and the stock brackets look appear to fit perfectly.
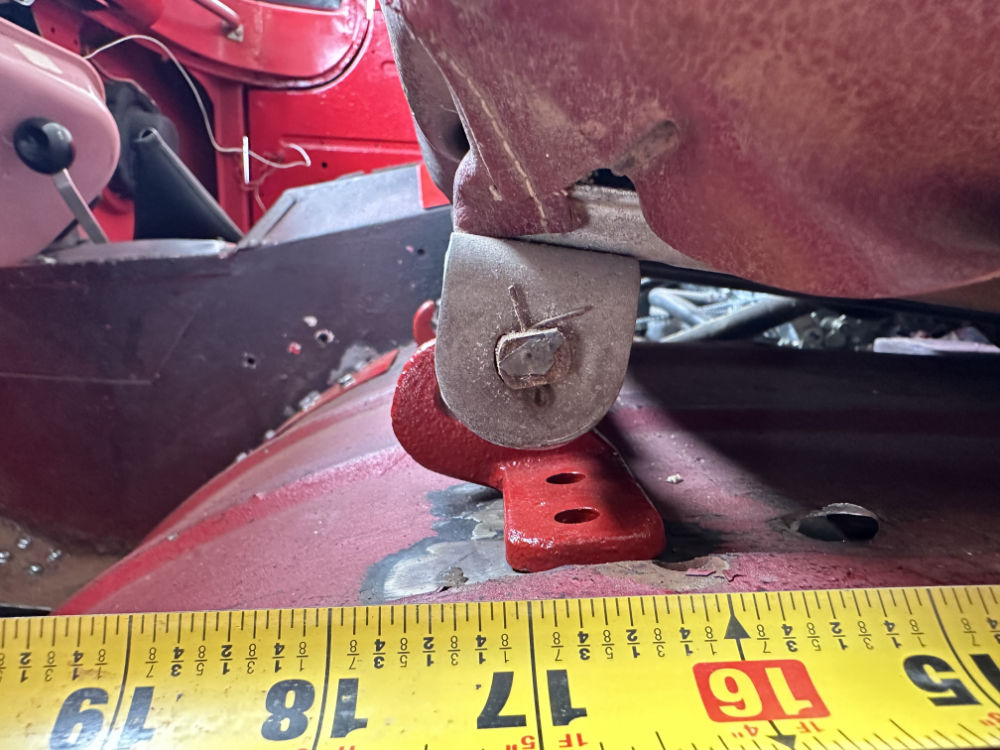
However the driver’s side holes, due to some previous patches and brittle metal, aren’t visible. So, I am attempting to estimate their location. The rough distance I measured is from the front of the hat channel bracket just behind where the seat posts rest to the seat brackets shown below. The 16 1/4 inches might be a little short. Anyone have the correct measurement for a circa 1960 FC-170?
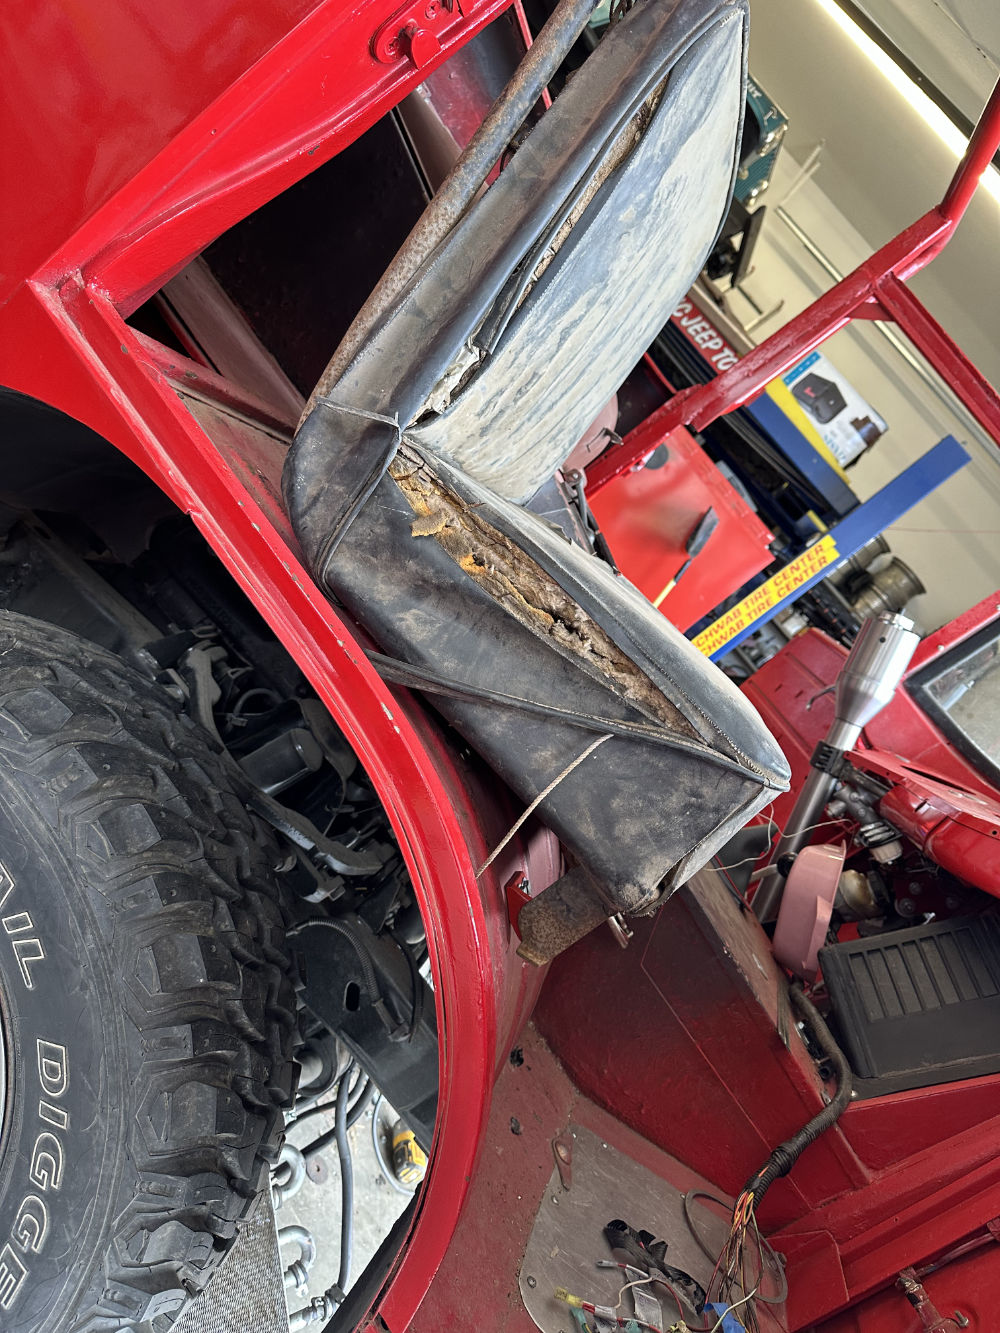
Here is the driver’s seat from underneath, per Will’s question:
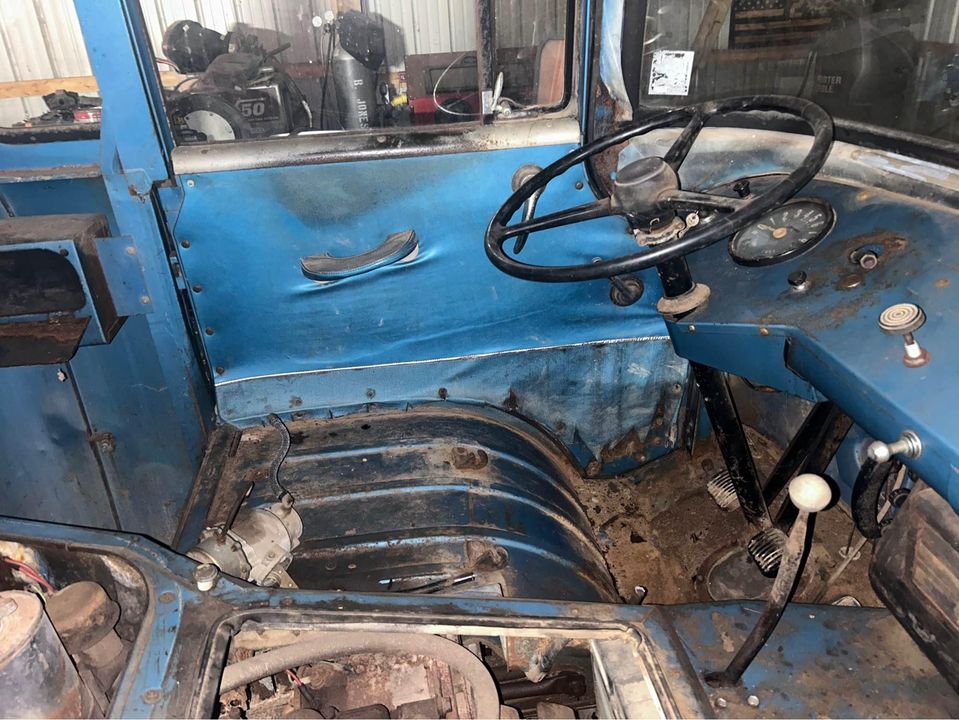
Here’s an example from another FC-170 with the same brackets (from this post):
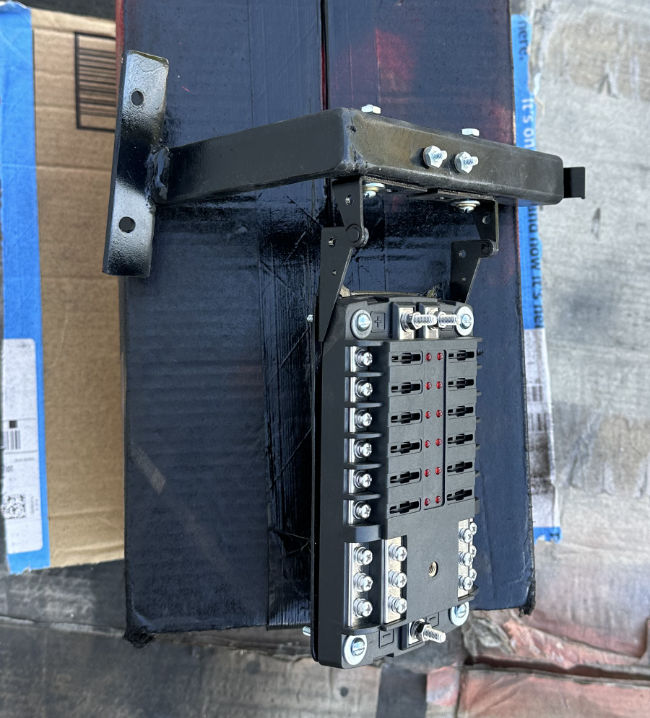
Some pics from this weekend’s progress. The first is the completion of the flip-down fuse box. Fuse boxes often have to be put in awkward locations, so I thought I would try a flip down box, which stays hidden most of the time, but can be dropped down with a single long pin removed (still need to make that pin, but the two small bolts do the trick for pics).
I really don’t know how well this will work, but figured it was worth a try.
A closer look at the fuse box bracket. The hinges are some kind of cabinet door hinge (I think); Dad had a container of these hinges for some unknown purpose.
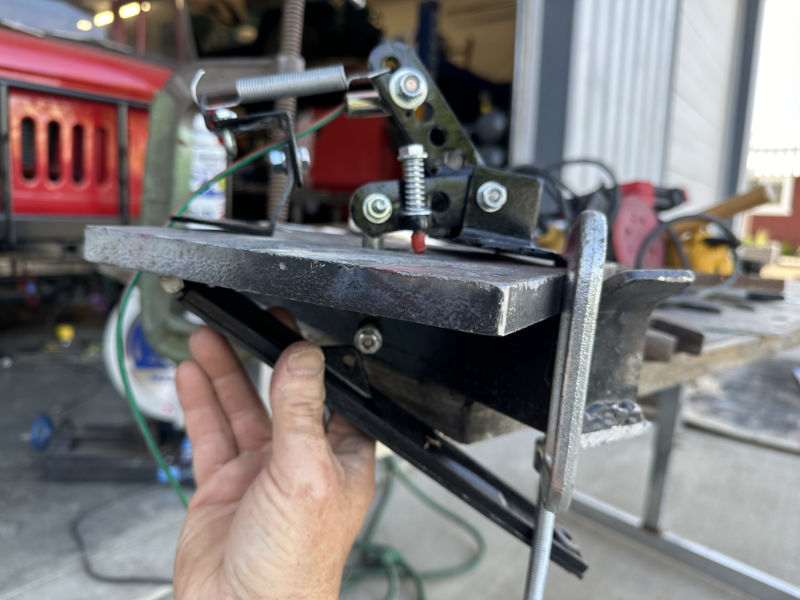
Here are some pics of the accelerator brackets. The one on the left acts as a guide for the accelerator cable (the red/green wire is a stand-in for that. The left bracket also acts as an anchor point for the spring. The right bracket rotates, in this perspective, clockwise when the pedal is depressed. The bolt and spring acts as an adjustable stopper for fine tuning.
Not the best pic, but this shows how the gas pedal connects to the hem joint, how it goes through the floor, and how it then connects with the cam bracket.
In between various chores, I’ve completed the gas pedal linkage. It is most definitely a stronger setup and, to be honest, a bit of overkill, but it should hold up well. I will get some better pics when I tear it apart for some final clean up and paint.
Underneath, there is a bracket that secures the cable in place and provides a place to secure the spring. Forward of that is the cam. When the pedal is depressed, the cam arm is pushed down, which rotates the assembly counter clockwise, pulling the accelerator cable forward.
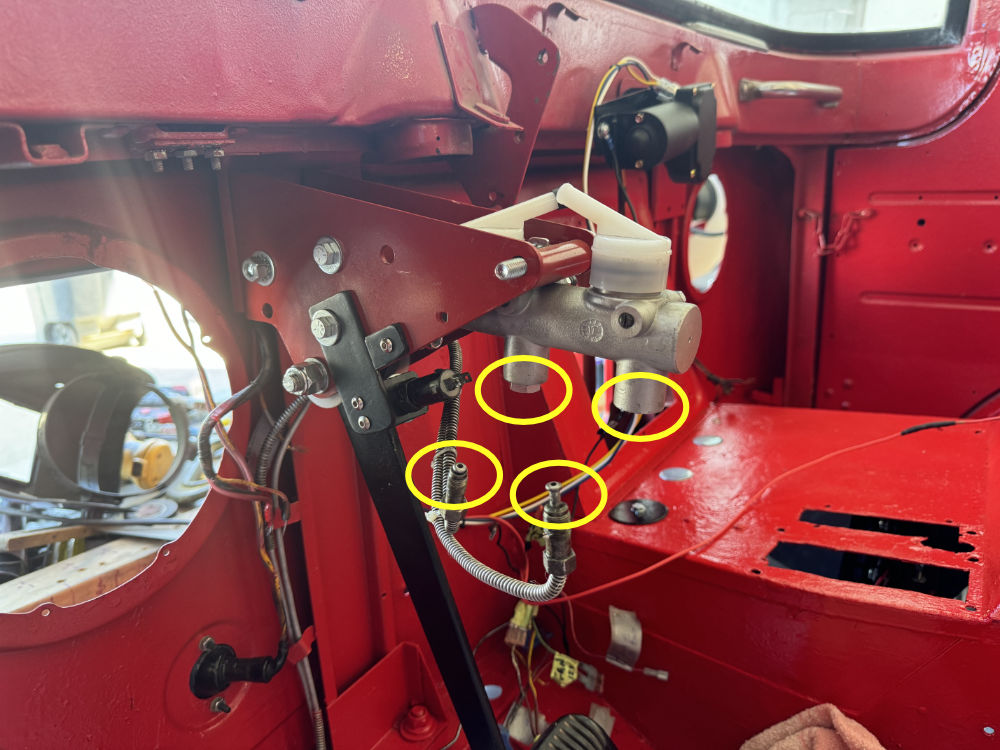
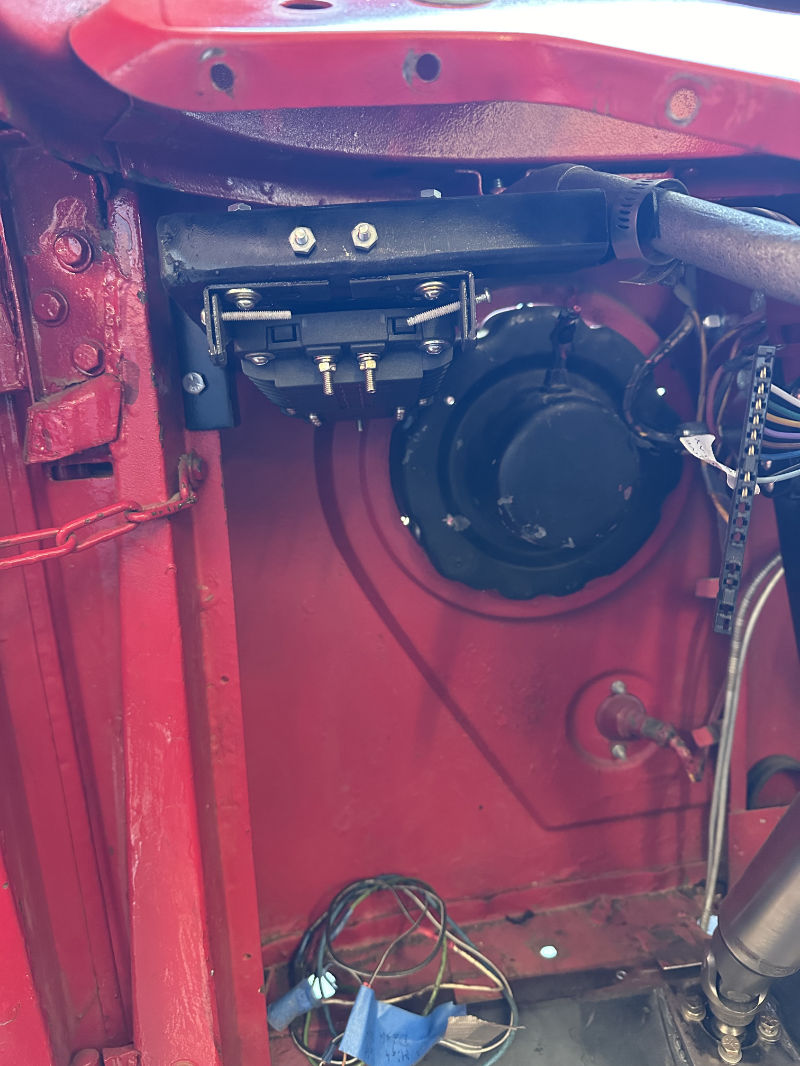
You can also see in the pics the new cover plate where originally the transmission shifter would come through the wheel well and, in the case of this FC, a spot that was updated to accommodate the Wilwood proportioner. The proportioner has been turned sideways and now must be access via the engine compartment, which was done to stop curious hands from playing with it.


