
It continues to be a busy month. Yesterday felt like a 2-step-forward, 1-step-back kind of day. The new raised garden is about done, as seen below. Still some details to complete, such as adding some plastic sheets at each corner of the raised beds, because, as it turns out, the corrugated sides create gaps at the corners, which allows dirt to fall onto the ground. So, we will need to dig up each corner and add some plastic sheets to stop that. Once we get all the plants in and gravel laid, I’ll take some final pics.

Yesterday morning I spent some time working on the FC. My goal had been to create the cover plate for the mini-gauges and power switch that will sit on the angled area of the dog house.

I cut a raw piece of 14 gauge steel, rounded the edges (not shown), then, to test the size and look, placed the plate on the dog house. That’s when I noticed the plate didn’t lay flat. After testing some flat edges, I eventually concluded that there’s a slight twist in the dog house at the very spot I want to put the gauges. It’s not undoable, but I’d rather the plate sat flat (passenger side is flat).
This pic shows the angle. You can see the slope increase as the angled portion moves to the front.

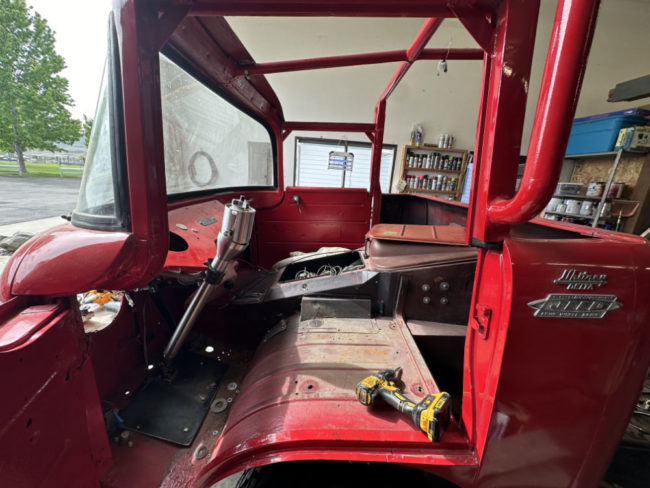
That problem led to me removing the driver’s seat (for the first time) so I could better evaluate my options.
I eventually concluded that it will take some clamps and braces to straighten it (if even possible). Since i didn’t feel like tackling that project right now, I turned to the driver’s seat.
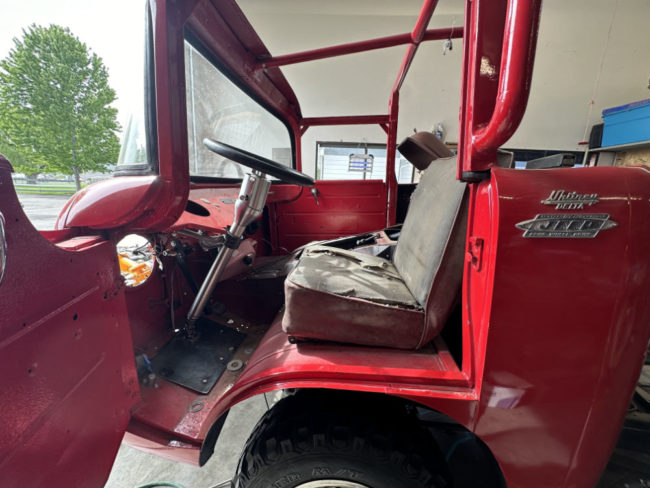
First, I installed an original driver’s seat just to see how it fits vis-a-vis the steering wheel, which proved to be a comfortable angle (whew).
I removed the seat, then pondered the areas where the seat originally mounted. It was immediately clear that the original driver’s side seat mount areas had been patched and welded. My guess is that the area had been fatigued over the years. In addition, a portion of one seat mount bolt remained in it’s original hole, while the other mount area holes had been filled entirely.

So, I calculated where the outer mount was with some measurements, then set to drilling out the inner rusted bolt. 
However, drilling out the bolt didn’t work out as I’d planned, because the patched area broke away while I was drilling.
Well, that’s a problem I didn’t want, but glad I found out now. I will need to both patch that new hole, but also add extra large plates underneath (or one big plate) to insure the seat mounts are secure. I can properly address that area as part of the cab rebuild down the road.

Knowing the seat area was going to take some time to fix, I decided to tackle the Wilwood proportioner that was installed near where the transmission shifter used to go. I was never happy with the proportioner there, because it was too easy for some curious hands to adjust it without knowing what they were doing (and even I don’t know if it is adjusted correctly or not).
After looking at some pics online, I found a Dodge Viper with a valve that was installed in the engine compartment. I thought that could work for me, too. I calculated that if I could twist the valve 90 degrees, it would be pointed into the engine compartment and, better yet, I’d be able to actually mount the body of the valve to the cover plate (I discovered the valve was not bolted to anything and the cover plate did not have nuts on the bolts …. ).
So, when I get a chance, I’ll build a proper cover plate and add two holes with a piece of rubber between the plate and the valve to secure the valve (and take better pics of it).

I’m not altogether sure the valve is necessary? But, I also don’t see a reason to remove it either.