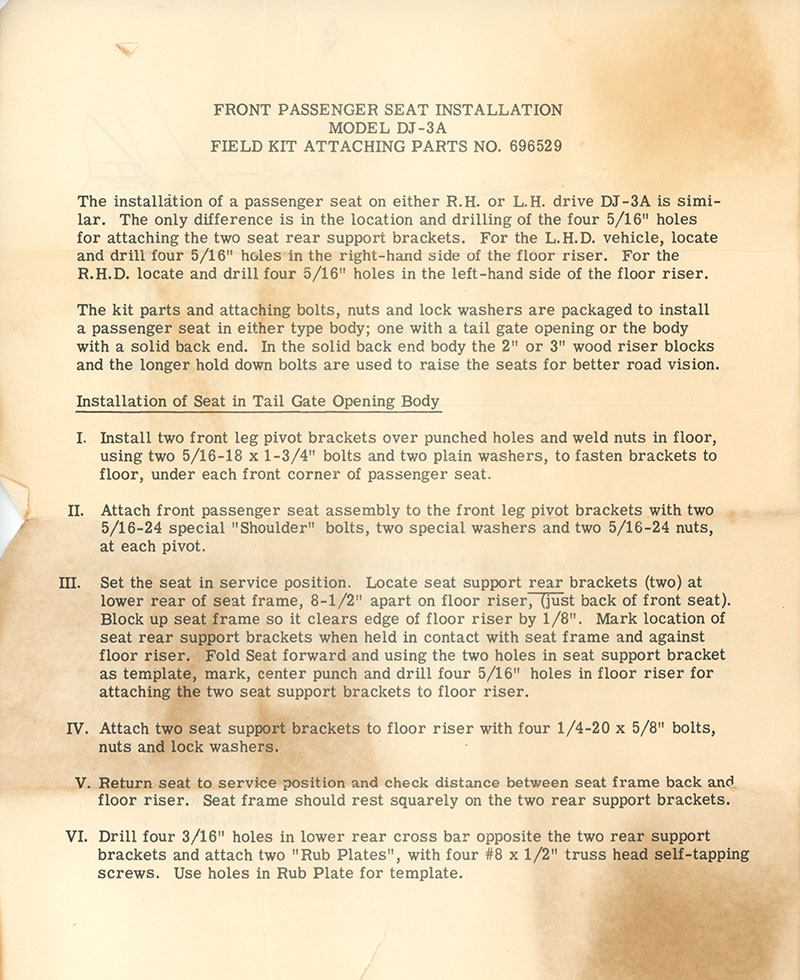
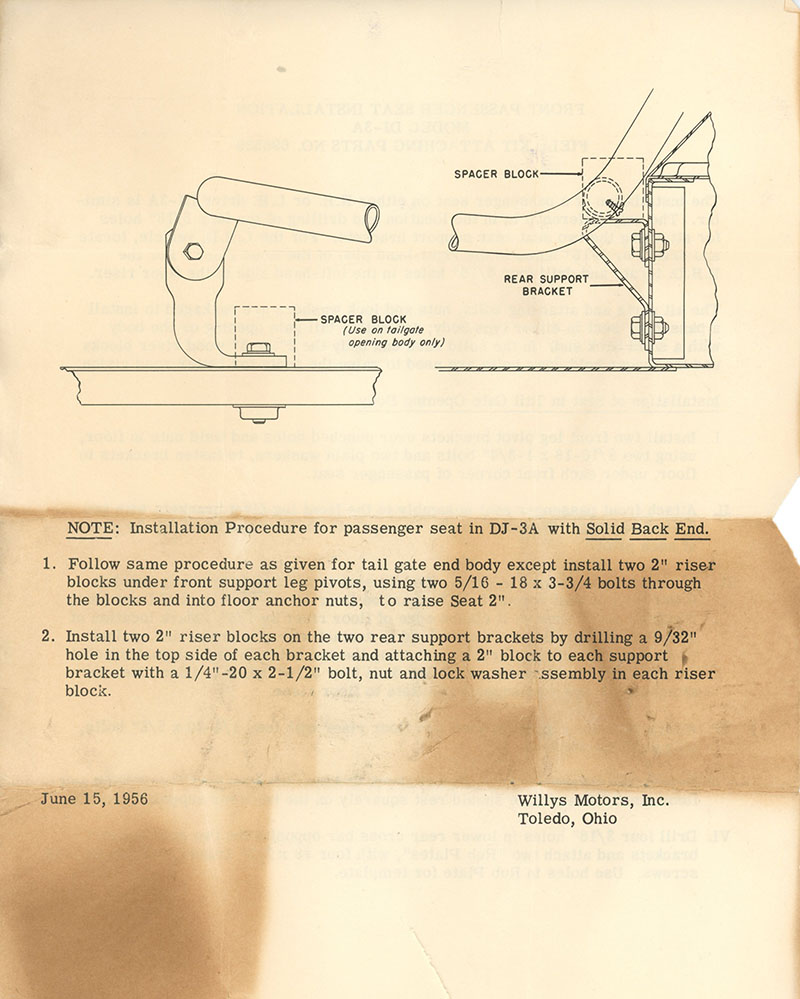
UPDATE II: Add are some instructions (thanks Terry!) for installing DJ-3A seats:


======================
ORIGINAL POST UPDATE MAY 2017: I’ve added a couple pics at the end and included a discussion on the extra channel DJ-3As have.
Last fall, when disassembling Rusty, I thought it was odd that the 2/3 1/3 seats had been mounted on wood blocks. I assumed this had been done by the previous owner to raise the seats.
Yesterday, I discovered that Patterson’s passenger seat was loose. When I examined it more carefully, I learned that it was loose because one of the wood blocks under the seat had broken. I can only conclude that all DJ-3A’s with 2/3 1/3 seats were mounted on wood blocks? Or maybe only the early ones?
The photo below shows the passenger seat tilted forward. The front of it is mounted in a way that allows it to pivot forward. The mounts are bolted through a piece of wood, then through a piece of cloth, through the body, and into a welded bolt. The rear of the seats rests on the two mounts at the back of the well. The long piece of wood is a well-seasoned (at least 45 years old) and stained piece of oak that will work perfect for replacement blocks.
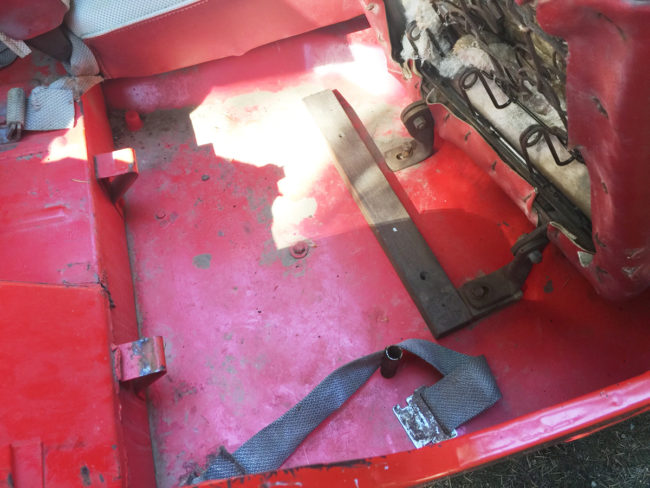
Unlike the passenger seat, the rear of the driver’s seat rests on two posts; slide onto the ends of the posts are rubber feet. Those rubber feat sit on blocks of wood also. 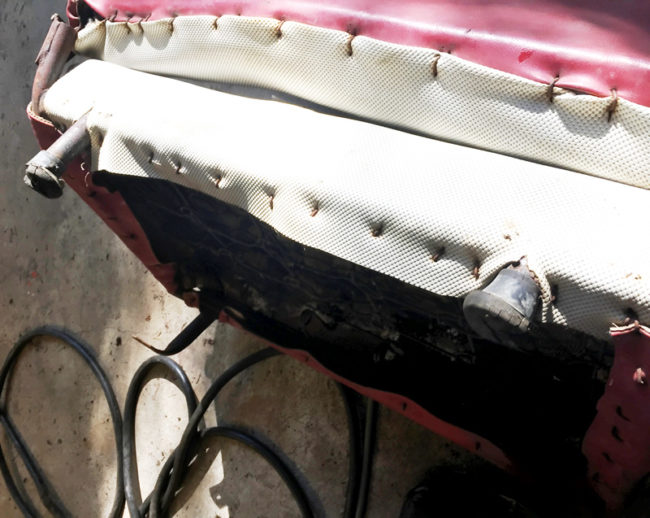
A close up of the rubber foot. The hole is 1 inch in diameter, so I ought to be able to find rubber feet to replace these tired ones.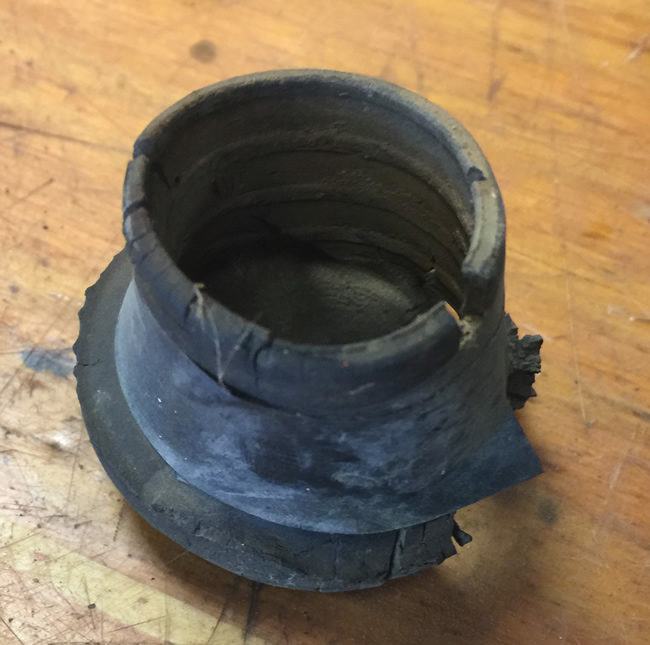
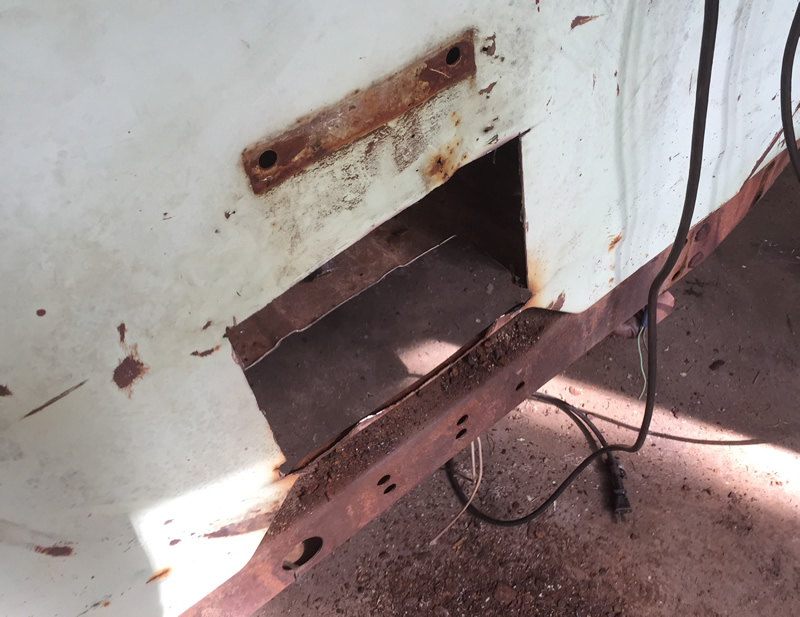
This shows how great the floor on this DJ is.

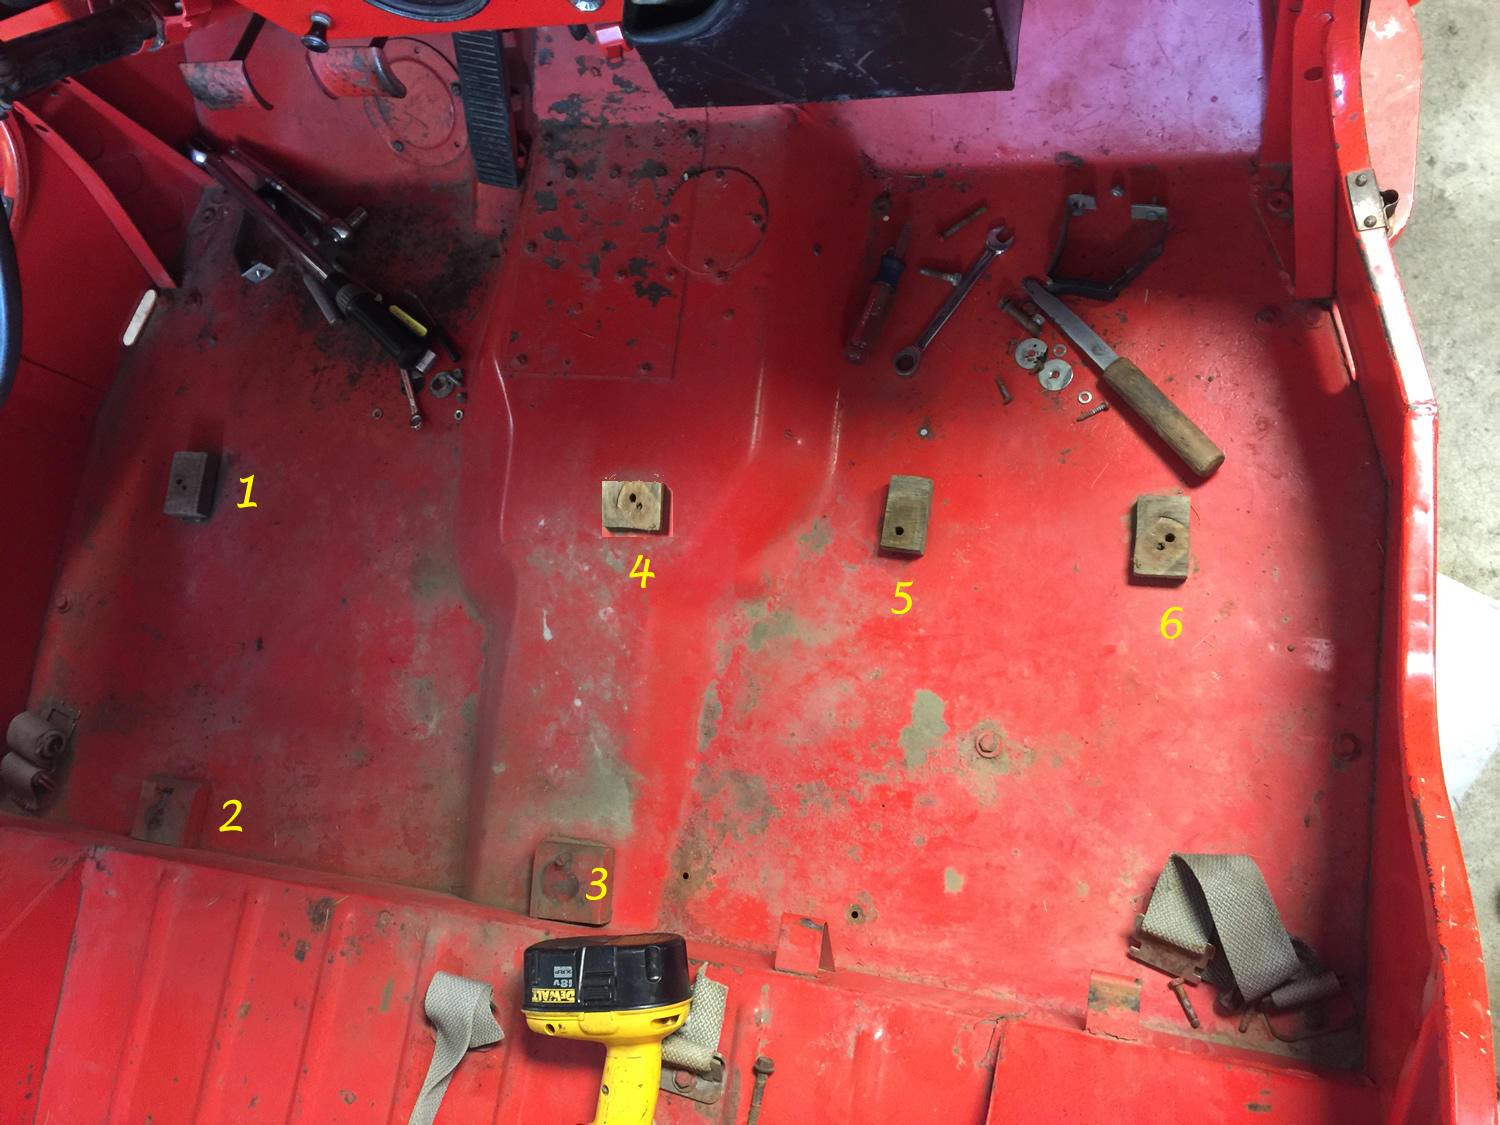
Another angle. Blocks 1, 4, 5, and 6 were the same size. Blocks 2 and 3 were larger and screwed down to the body. The rear 2/3’s seat rested atop those blocks.

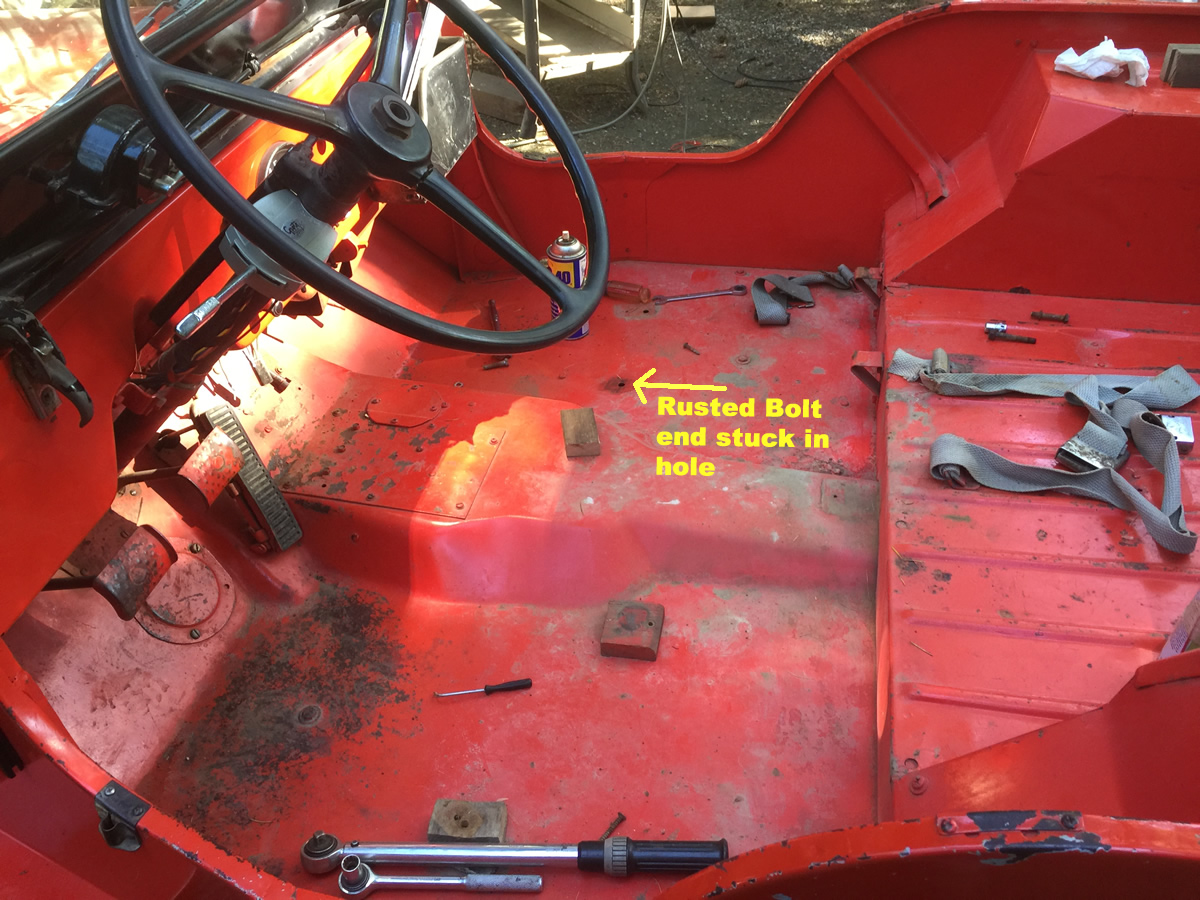
I’ve drilled cut and drilled the blocks. They are ready for installation. I plan to add a thin piece of rubber under the blocks. Once I remove the rusted end of one bolt that broke, I’ll be able to reinstall the seats.
If you take a look at wood block #1 and block #6 there’s something curious. While the body area under wood block is similar to a CJ-3A, the body area under #6 has an additional channel (btw, we’ve yet to document any under DJ-3A body channels with wood in them).
This is the passenger side with the extra channel and a welded bolt.
No channel on the driver’s side even though there is a bolt welded there. 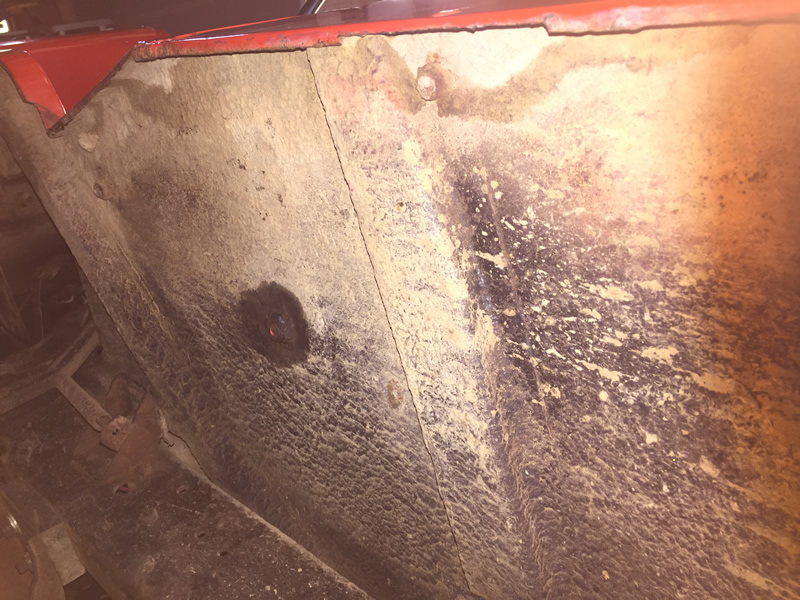
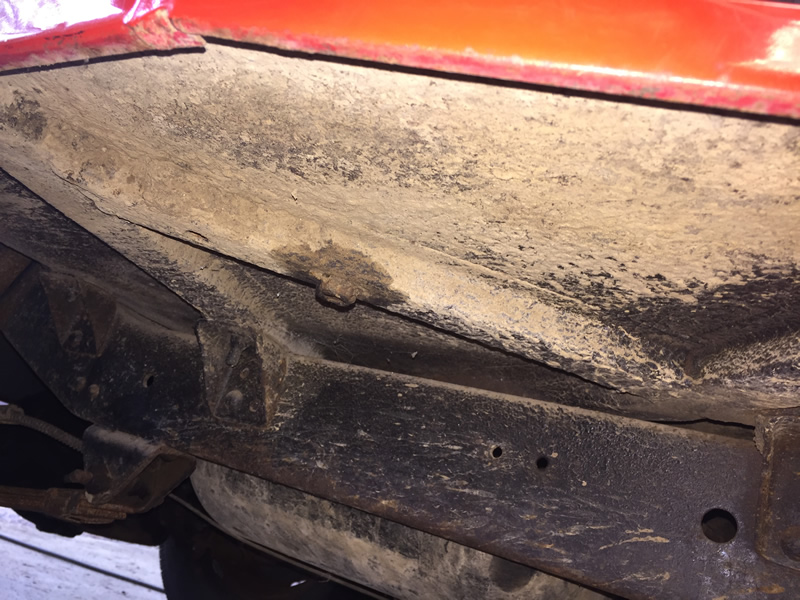
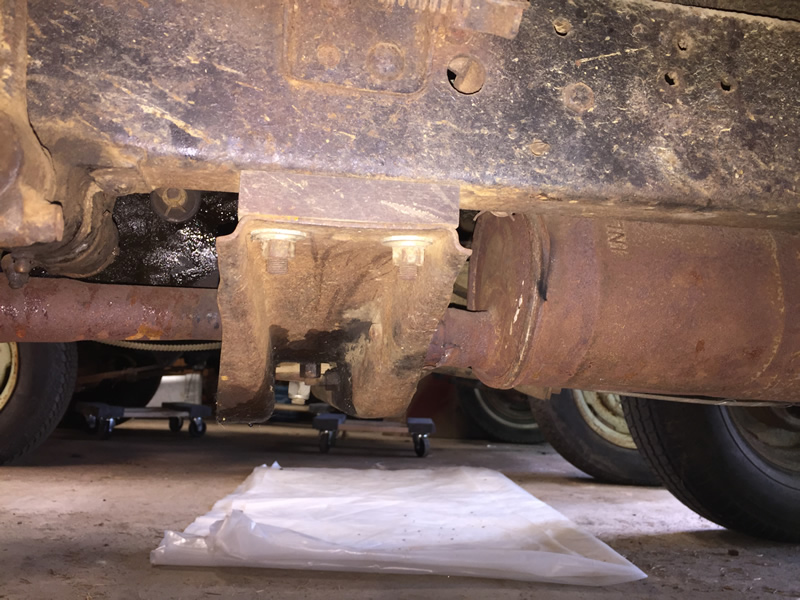
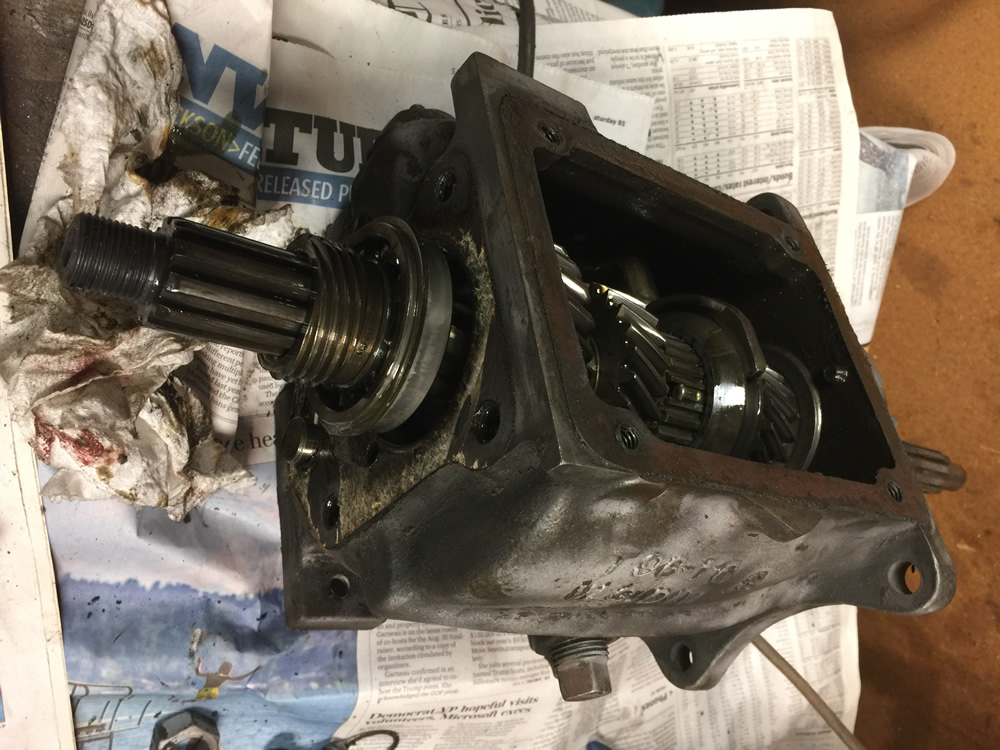
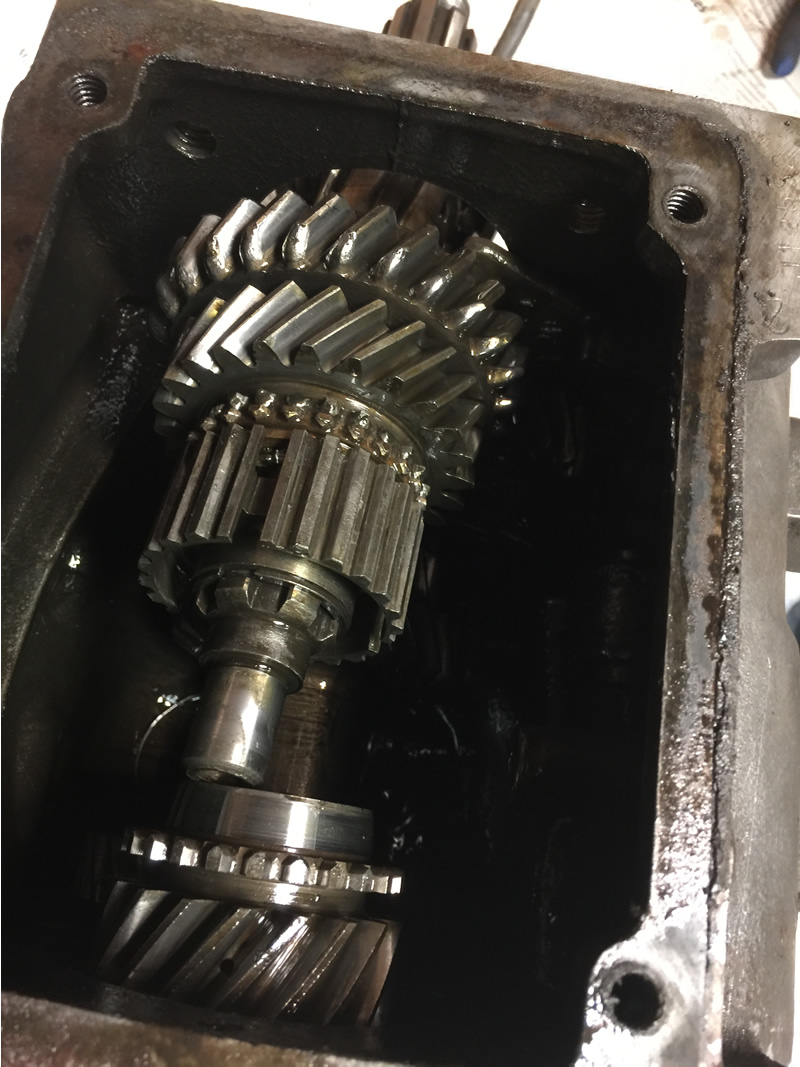
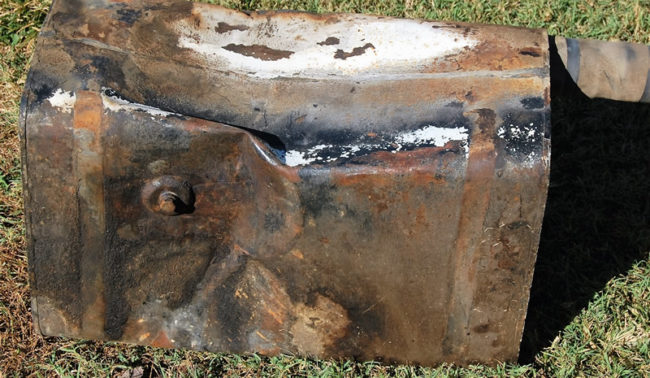
Finally, the DJ-3As used wood blocks between the frame and transmission crossmember.


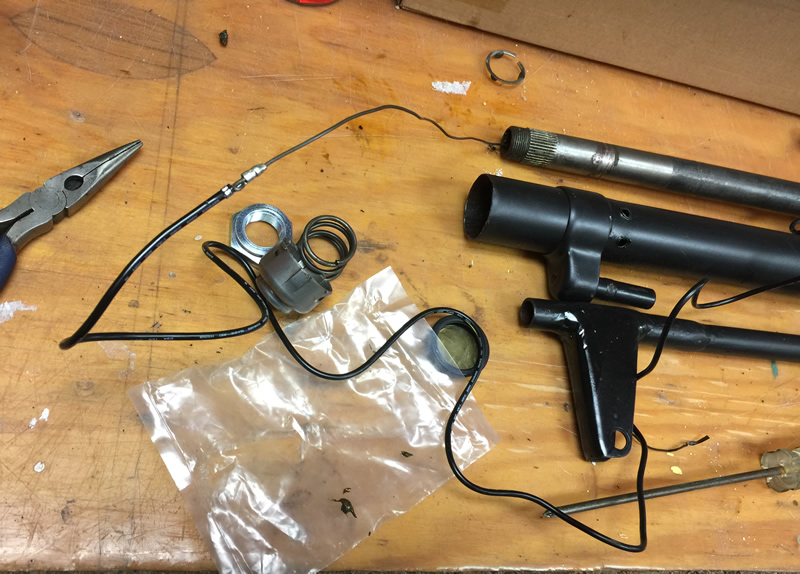


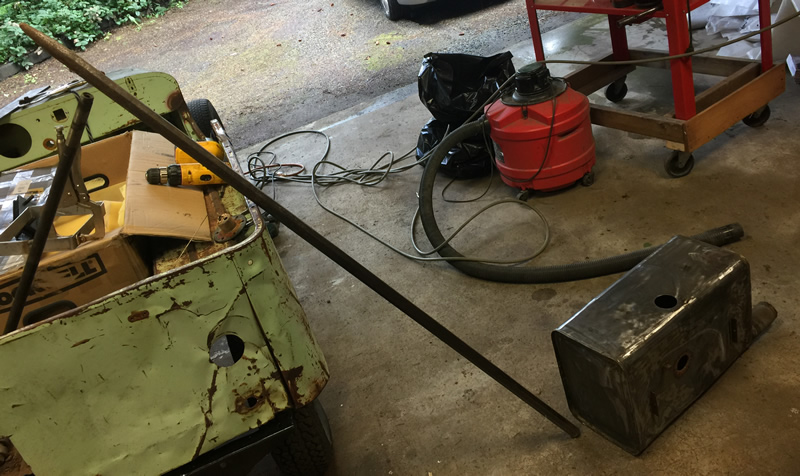
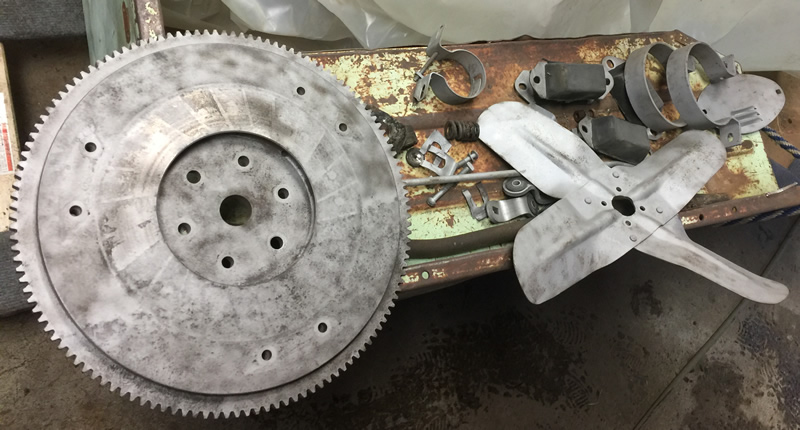


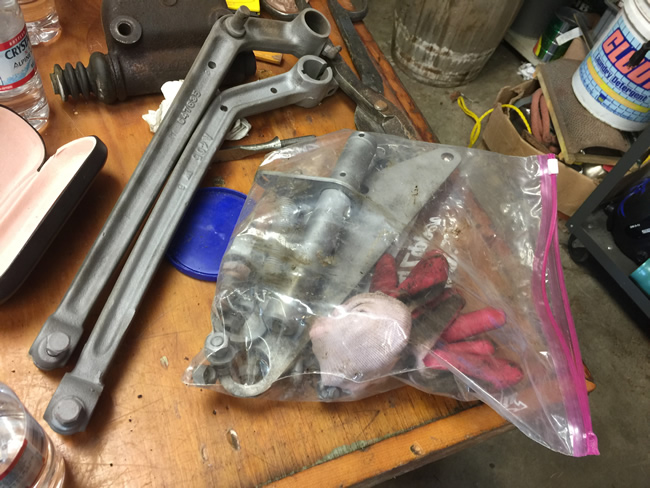
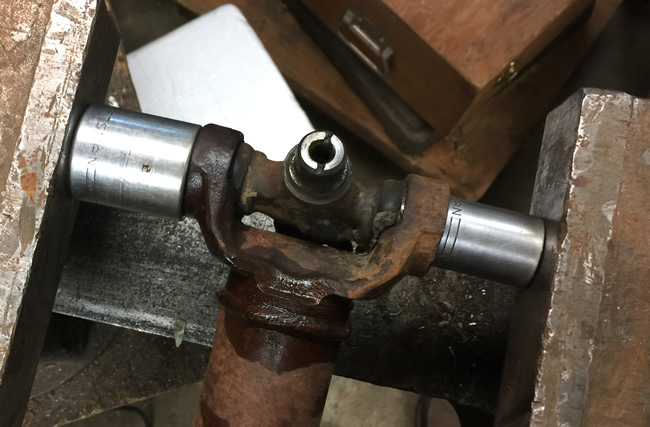
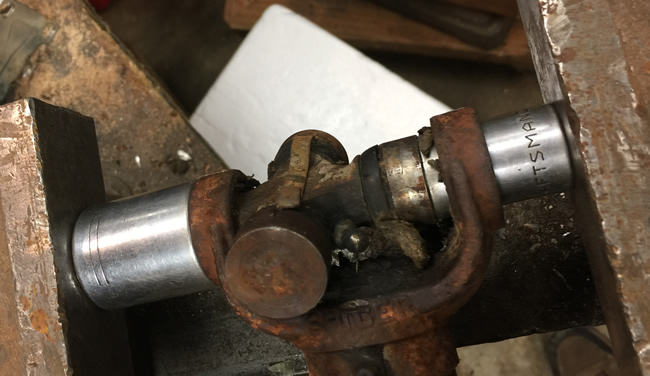
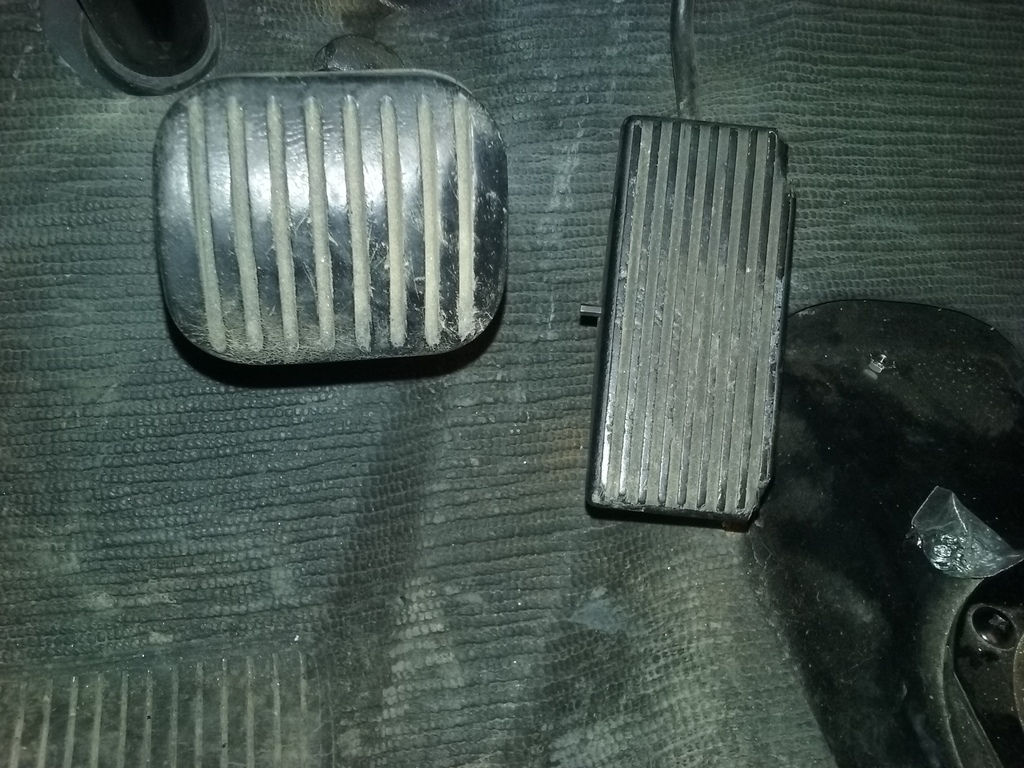
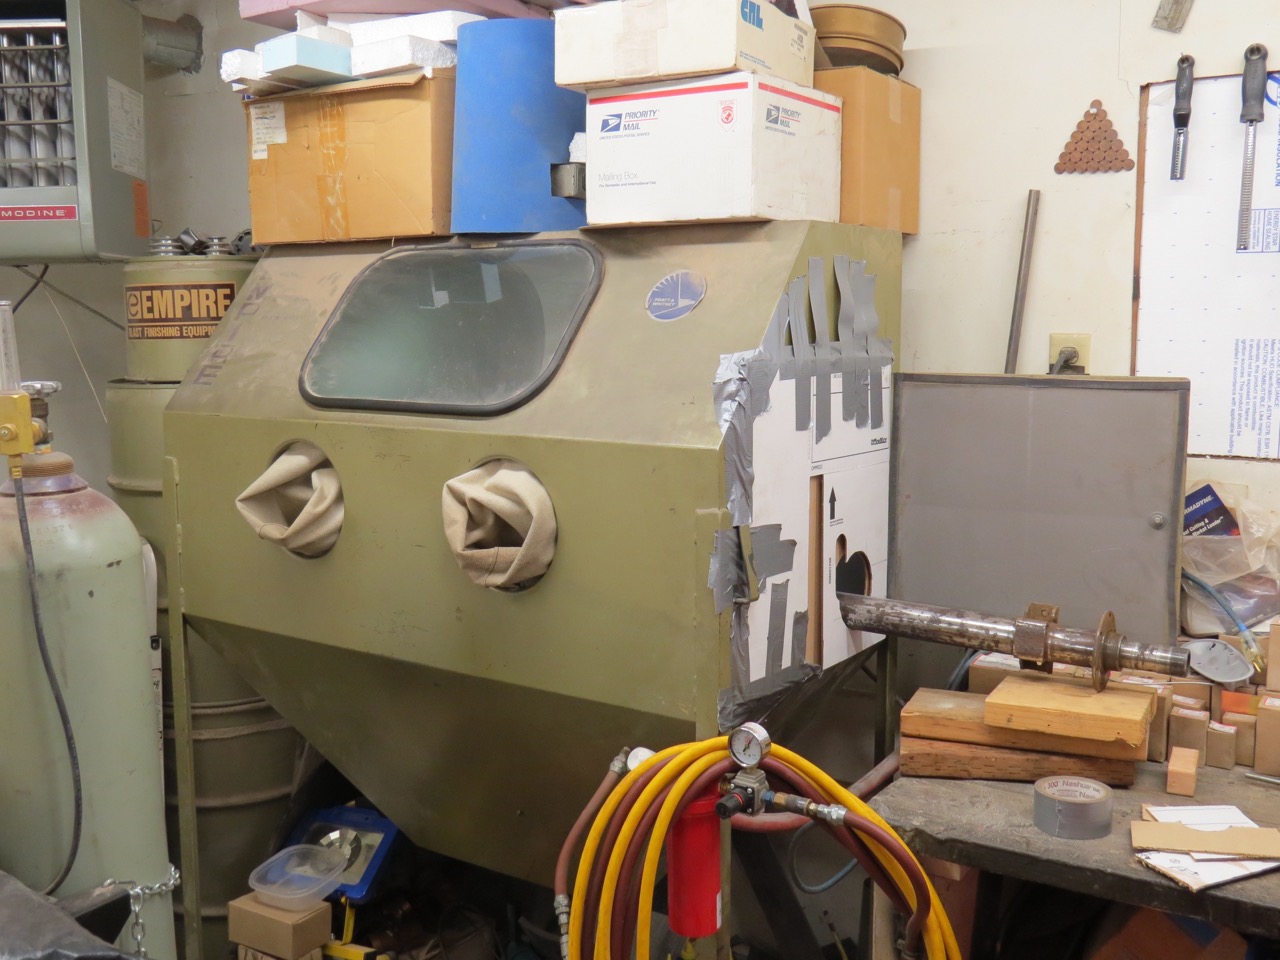
 And, some of the blasted parts … clutch linkages, pedal levers, column shift parts, and more:


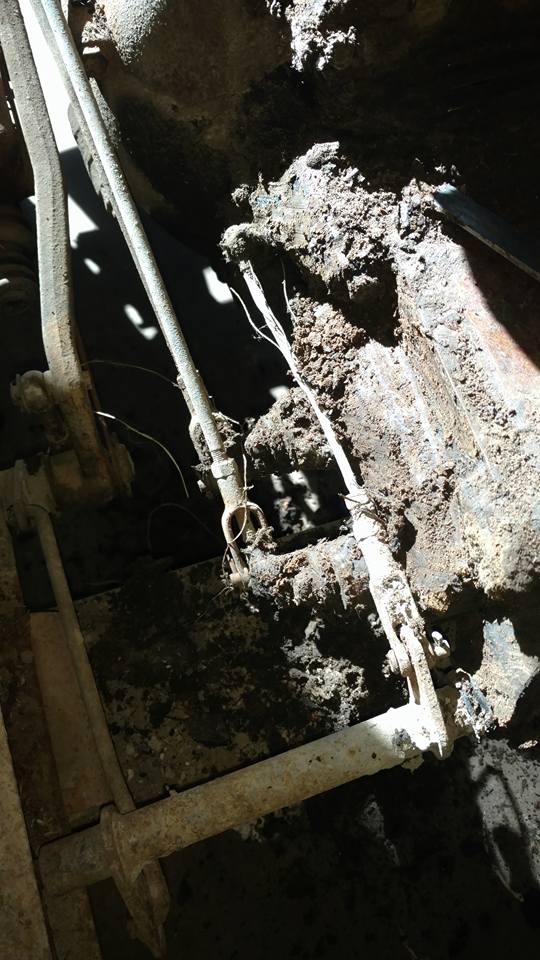
 You can see there’s a gap between the board and the back.
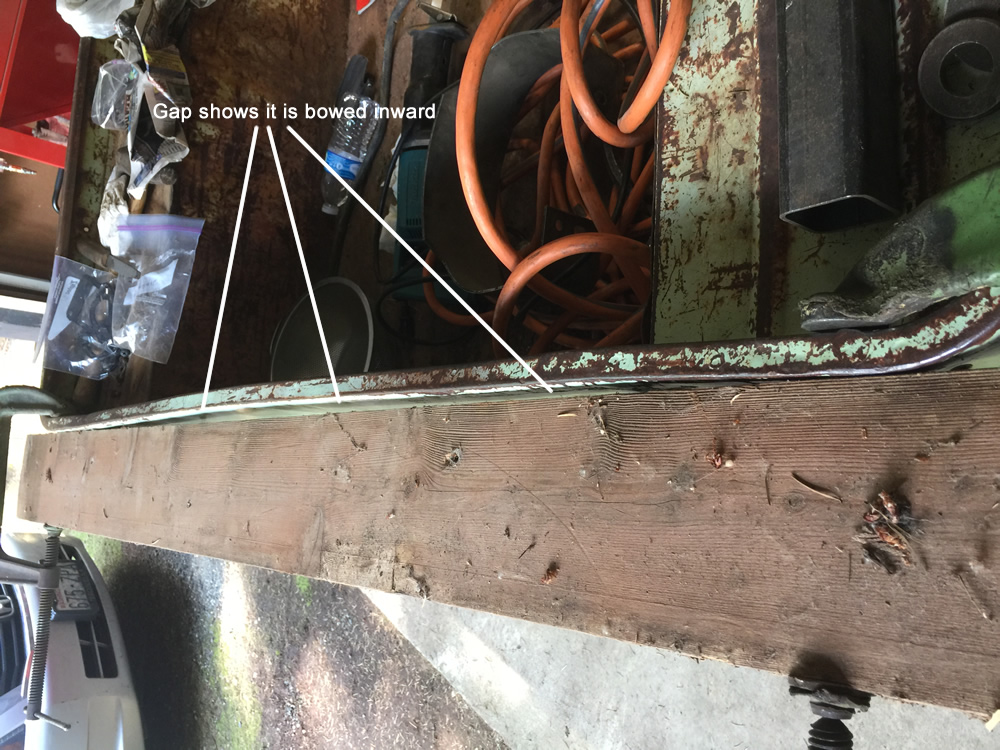


