patterson Research Archives

To Top

Patterson Runs Again .. $8000

• CATEGORIES: Features, videos • TAGS: This site contains affiliate links for which I may be compensated.

2023-10-01-patterson-1

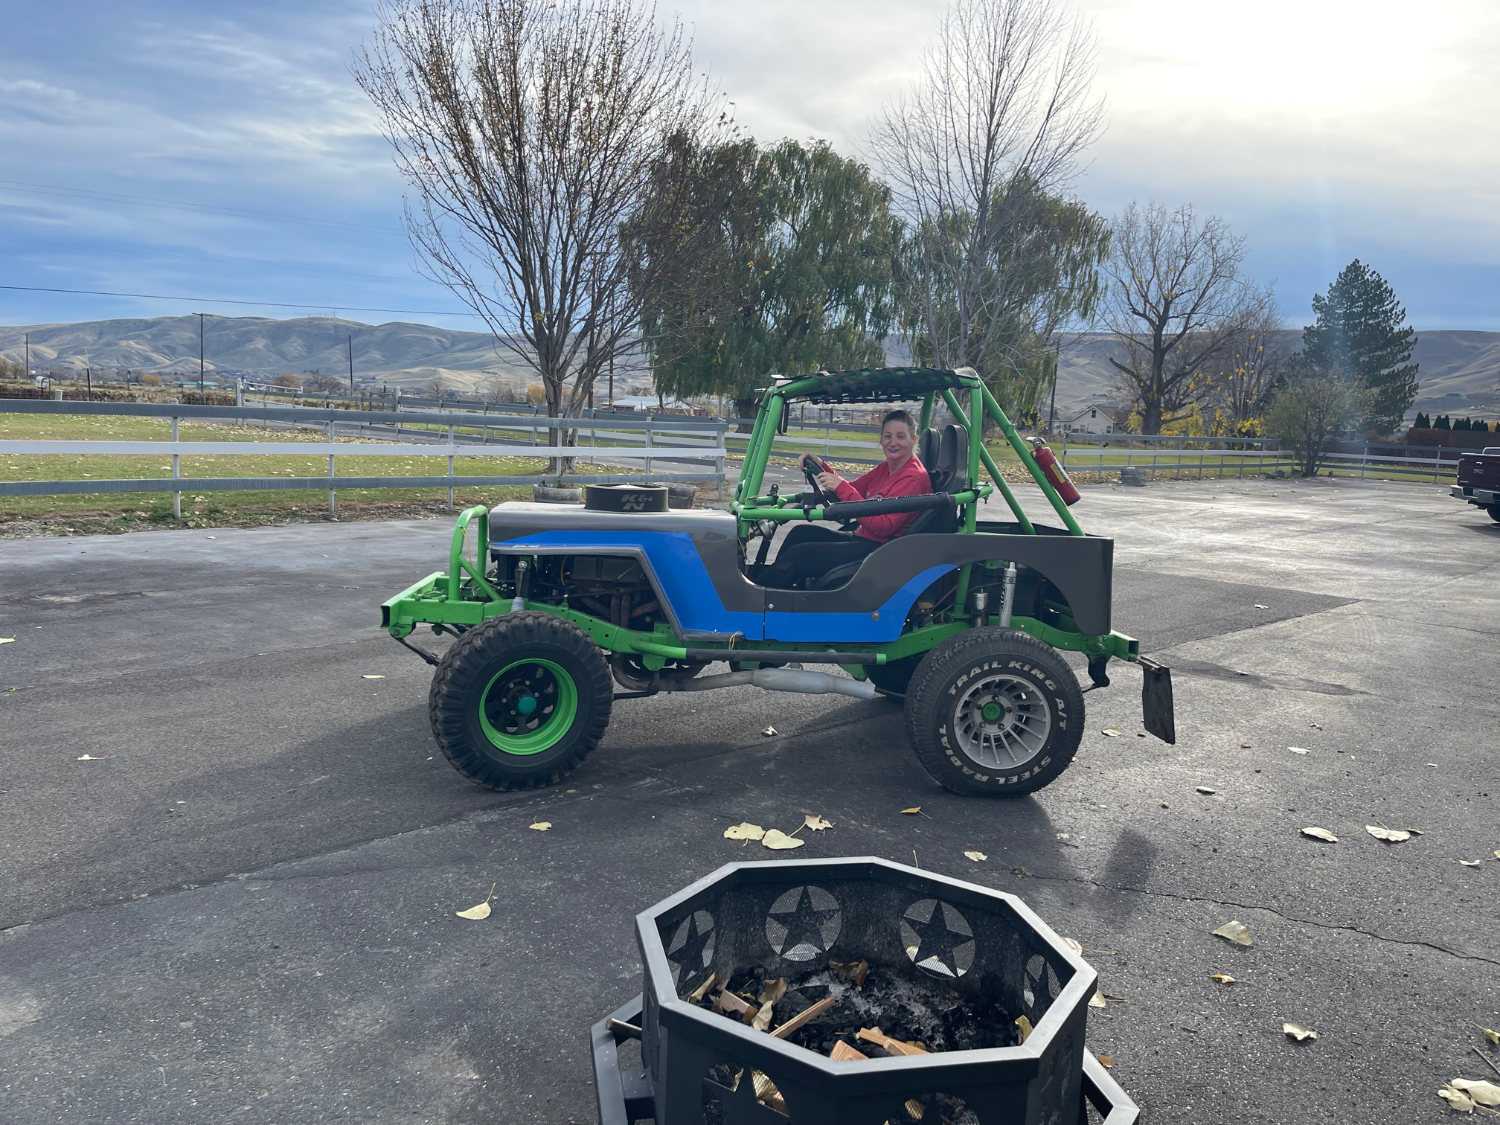
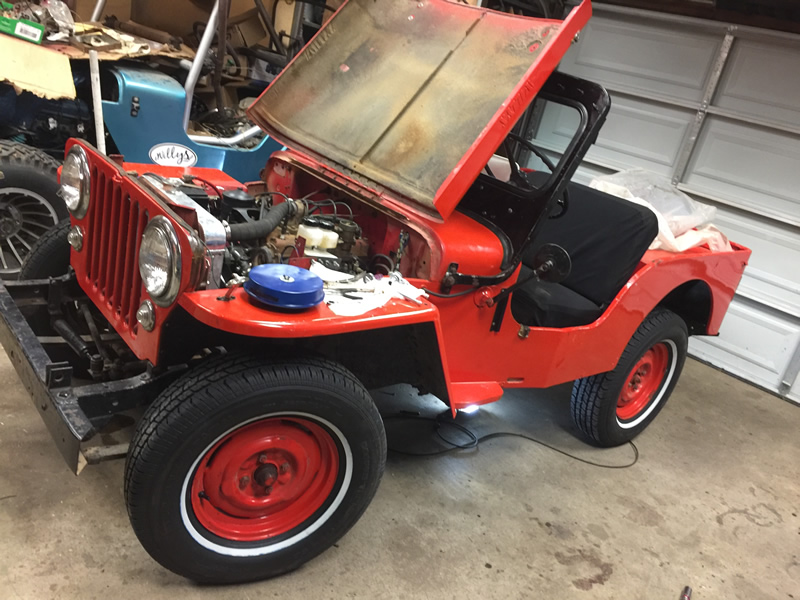
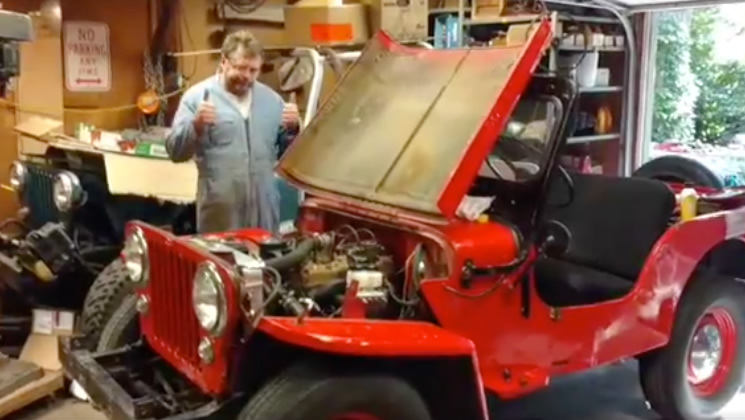
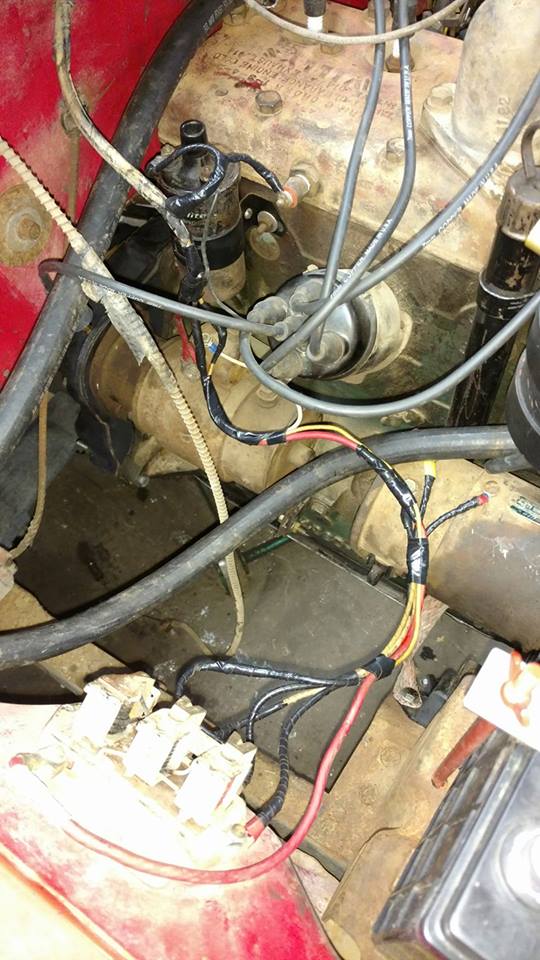
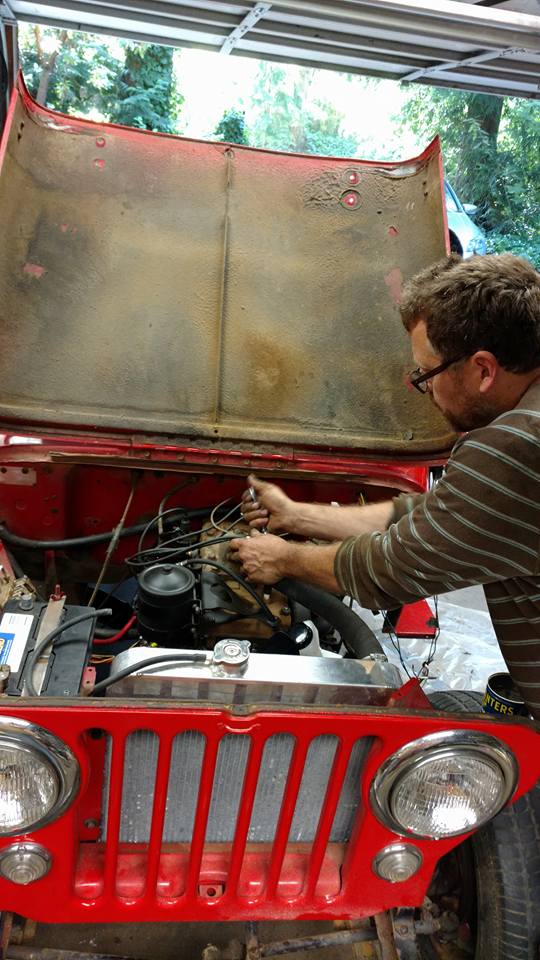
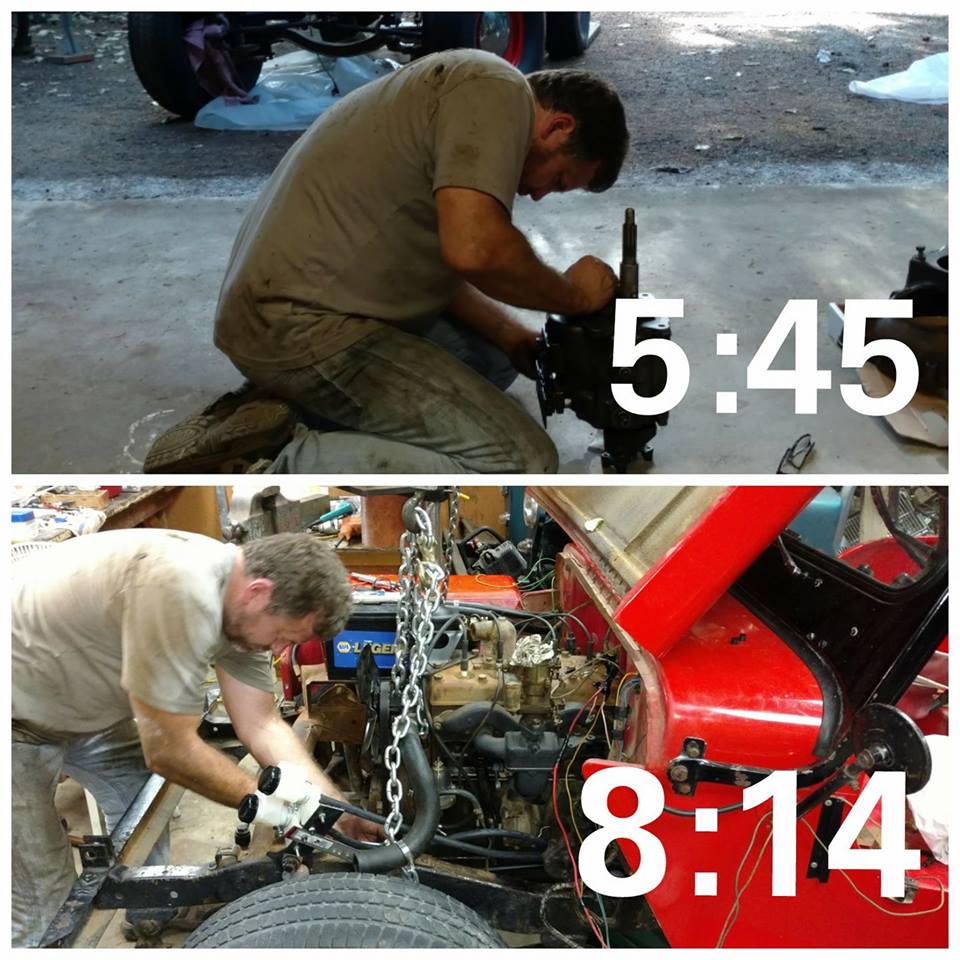
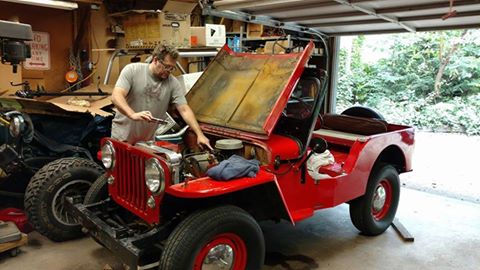
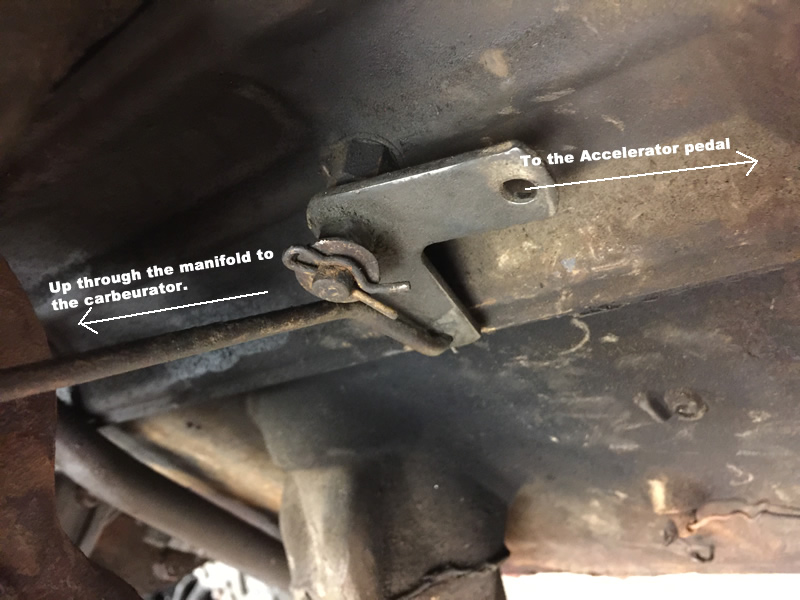
I spent Saturday and part of Sunday working through some fuel system issues. What I thought was a bad fuel pump (I spent a short time on it this spring) seems to have been some kind of blockage in the line. So, I drained the tank (the updated stainless rear tank has a drain at the bottom), blew the line, then refilled with new gas and, viola, it ran. I think it just sat too long at mom and dad’s. I also replaced the old generator (which didn’t work) with one given to me by Joe-in-Mesa during our Feb visit. So far, it seems to be working.

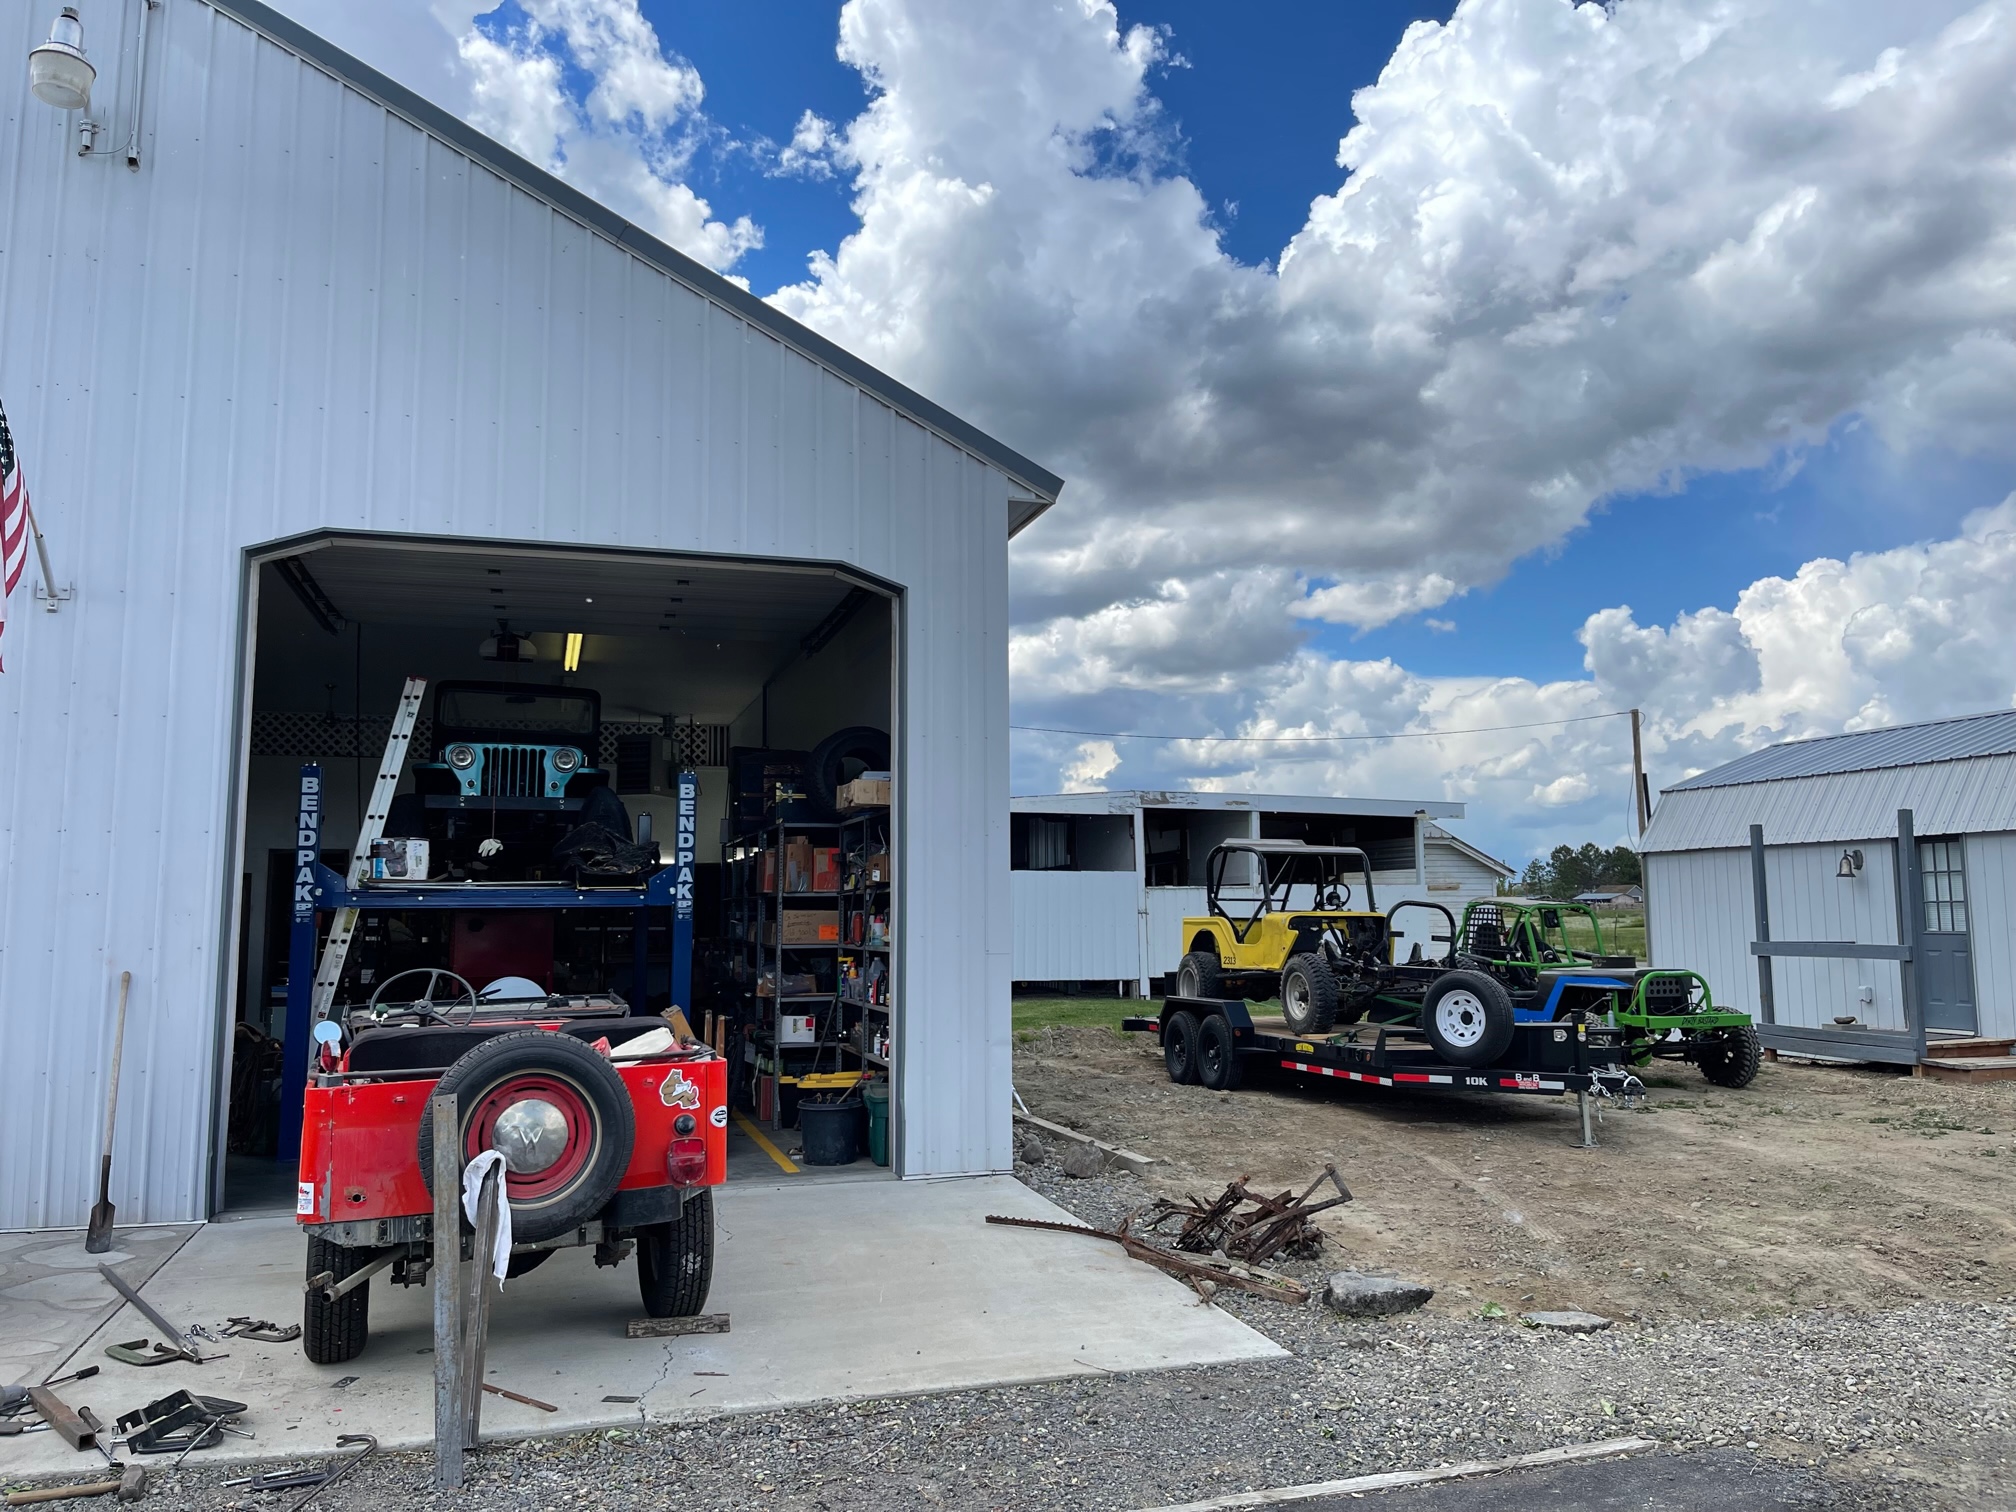
Below is a short video clip. So, that makes 2 of 4 jeeps running! That’s progress!

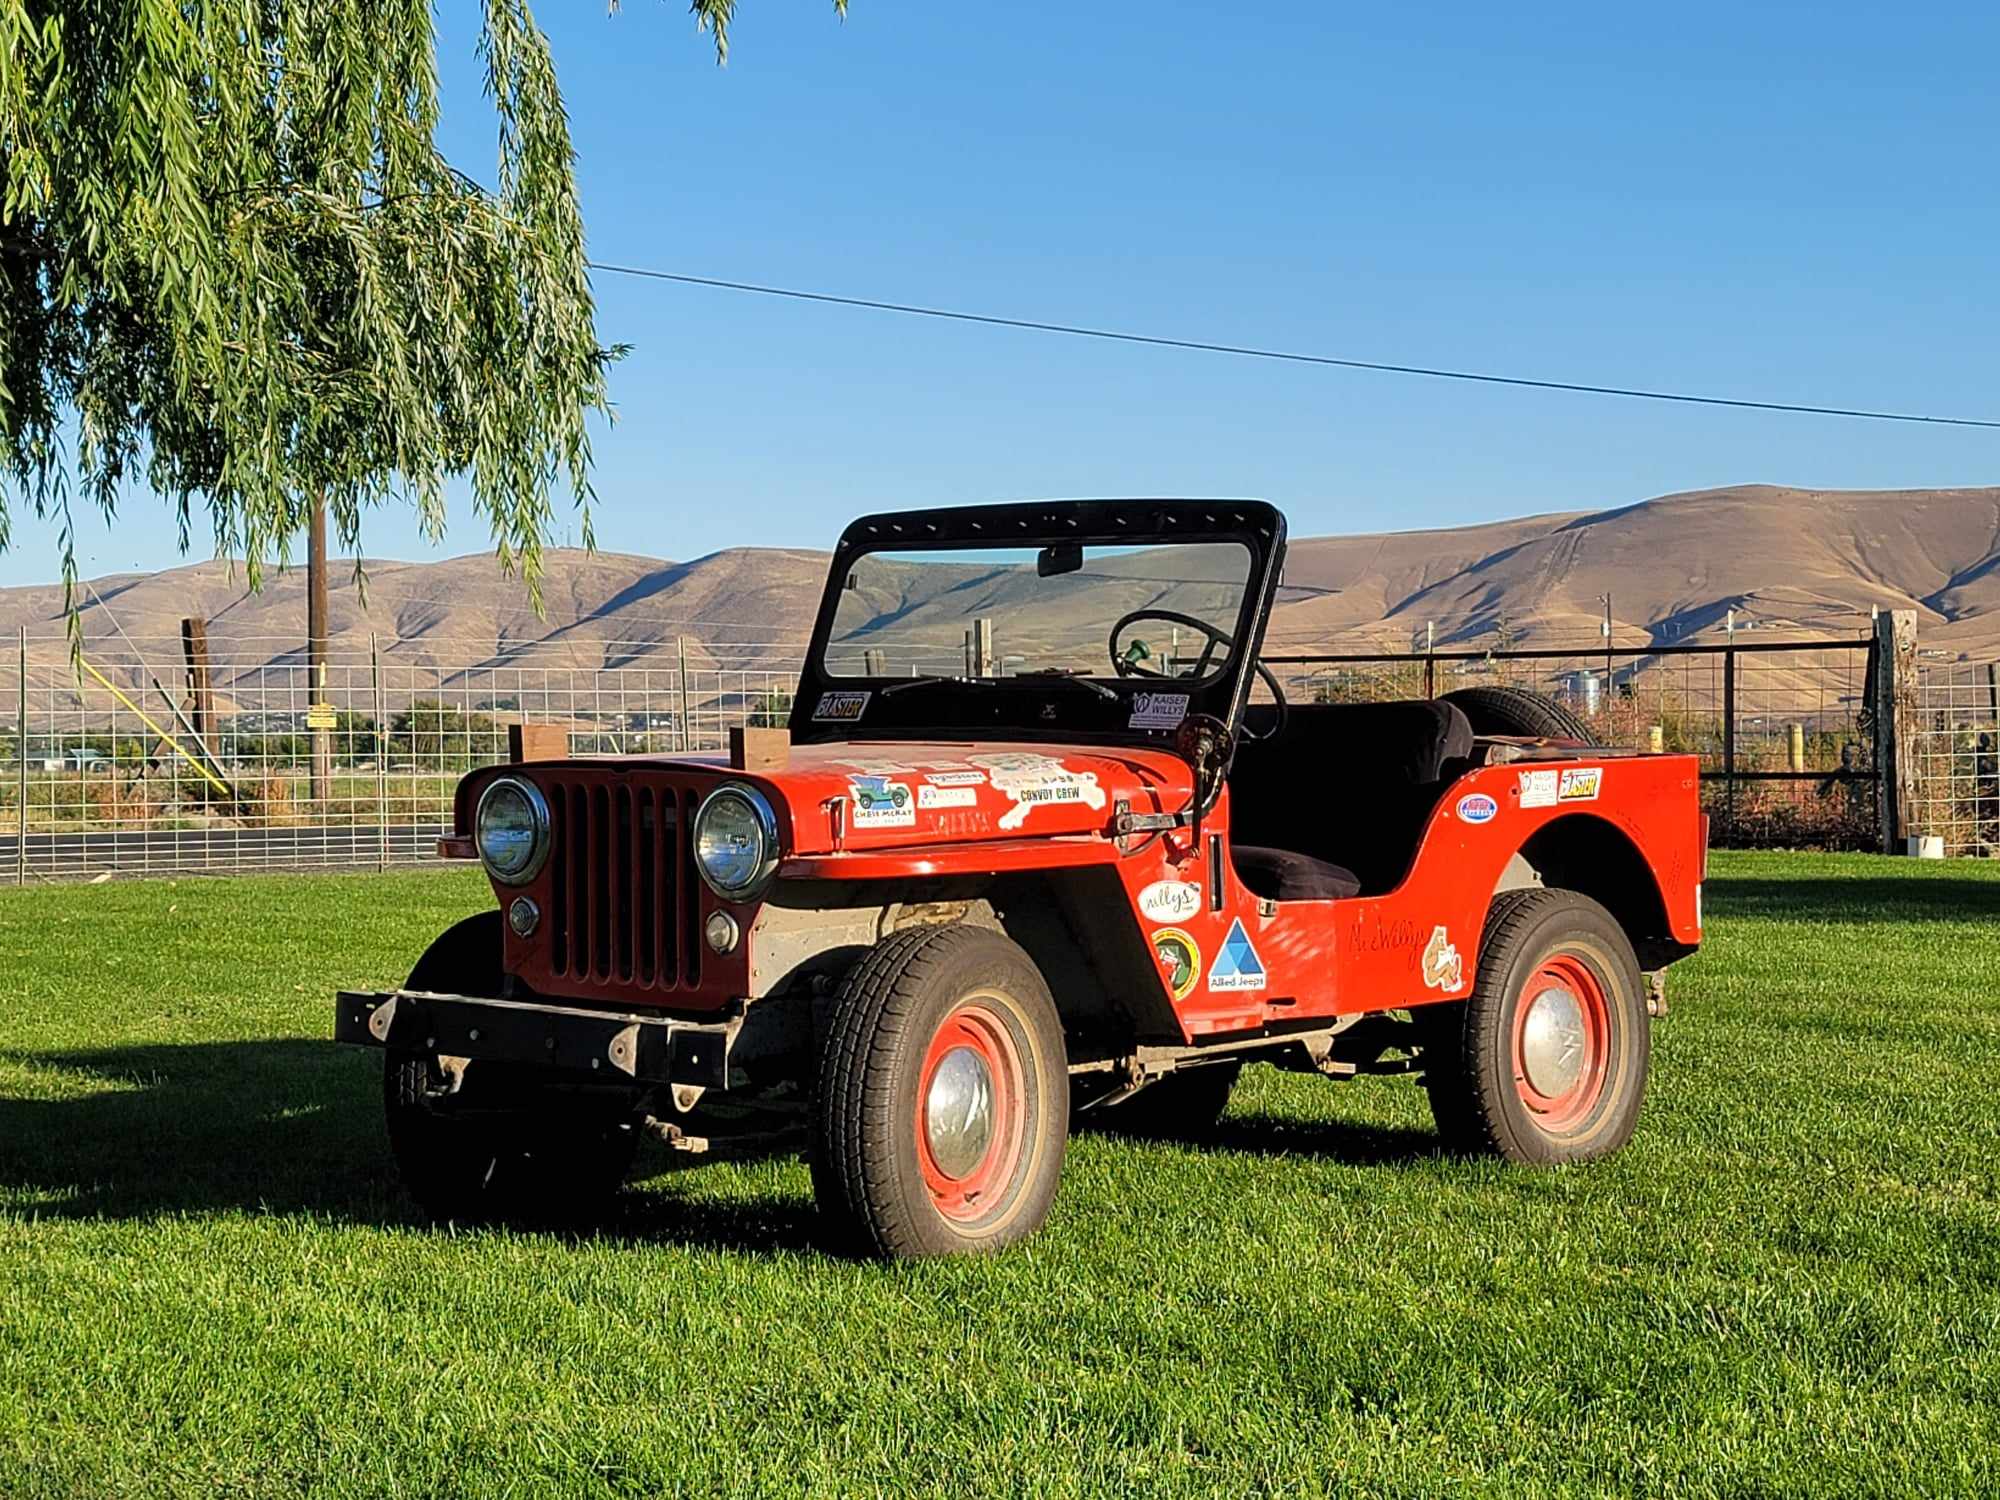
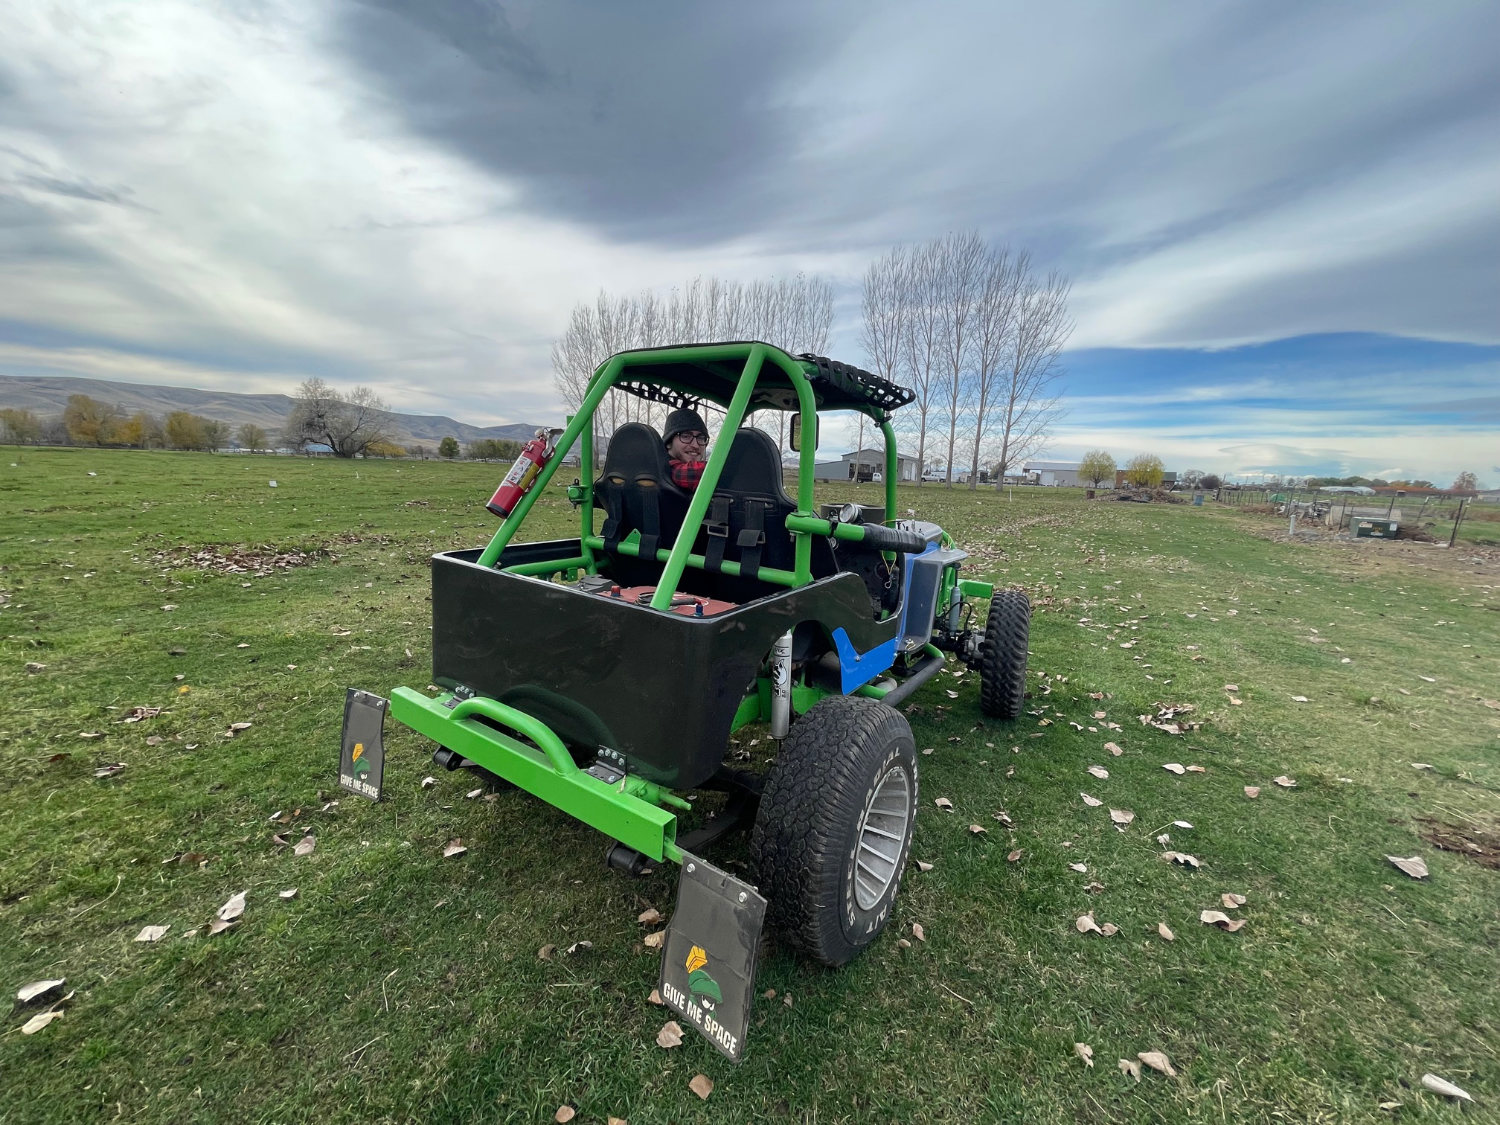
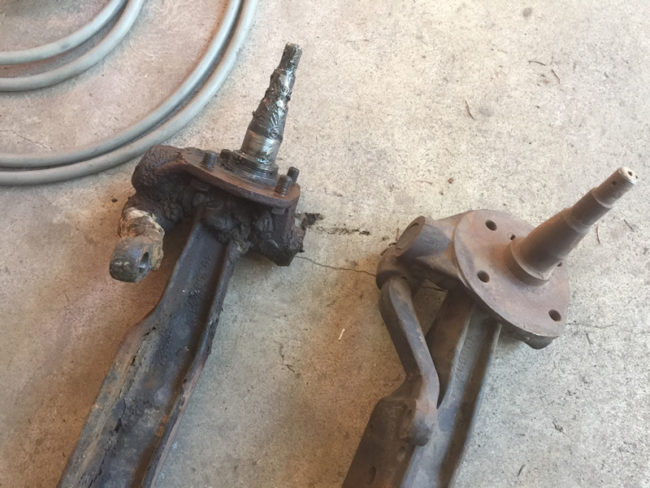
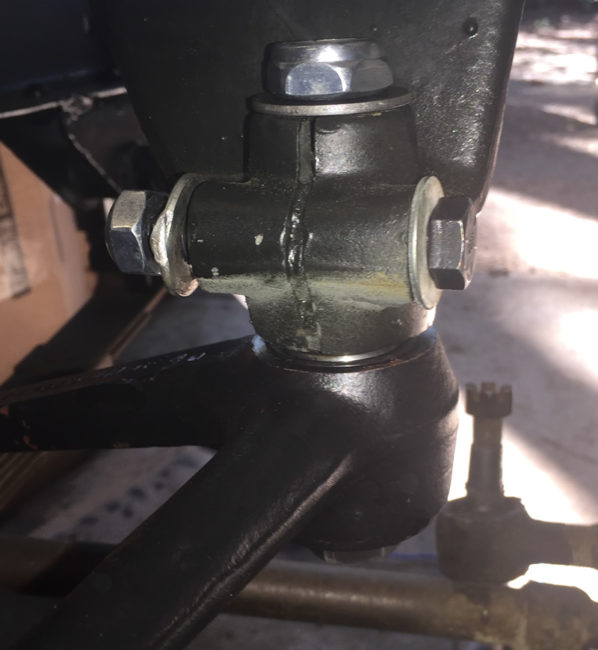
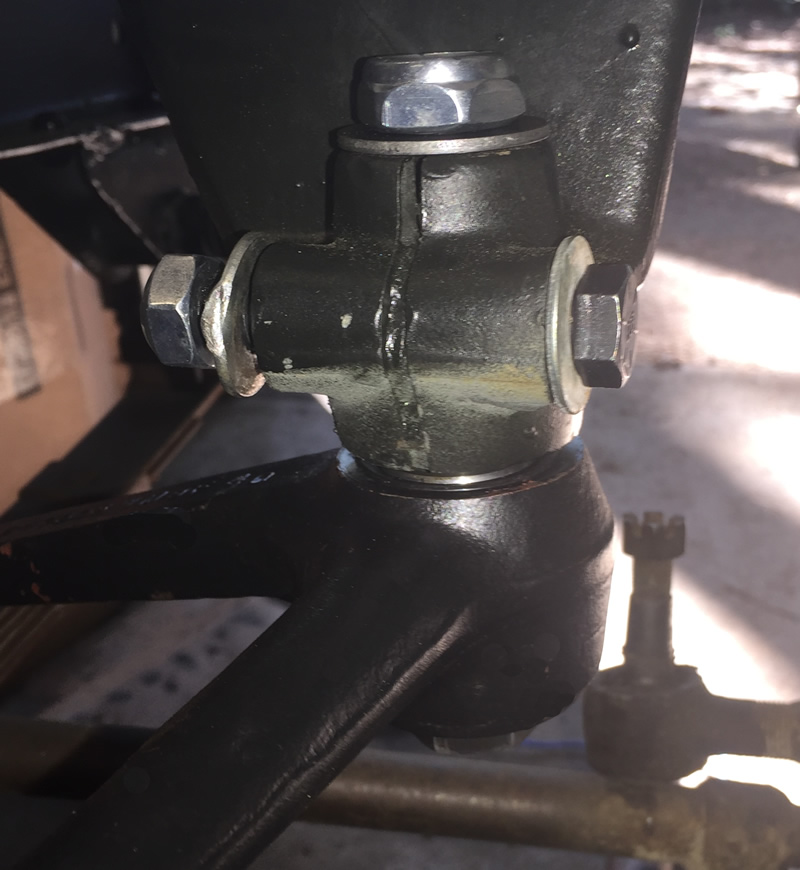
The downside for me with this jeep is that I don’t fit in it well (too long of legs). it could also use an alignment. Finally, I wish the brakes stopped a little better, but that’s not a priority at the moment.

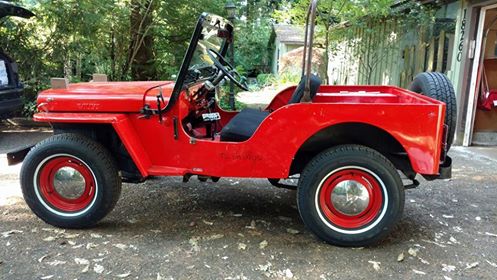
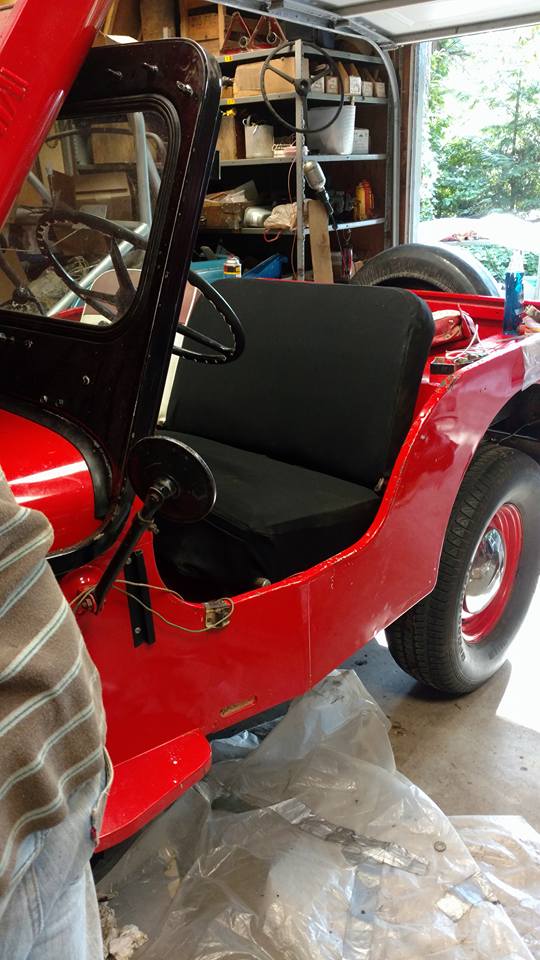
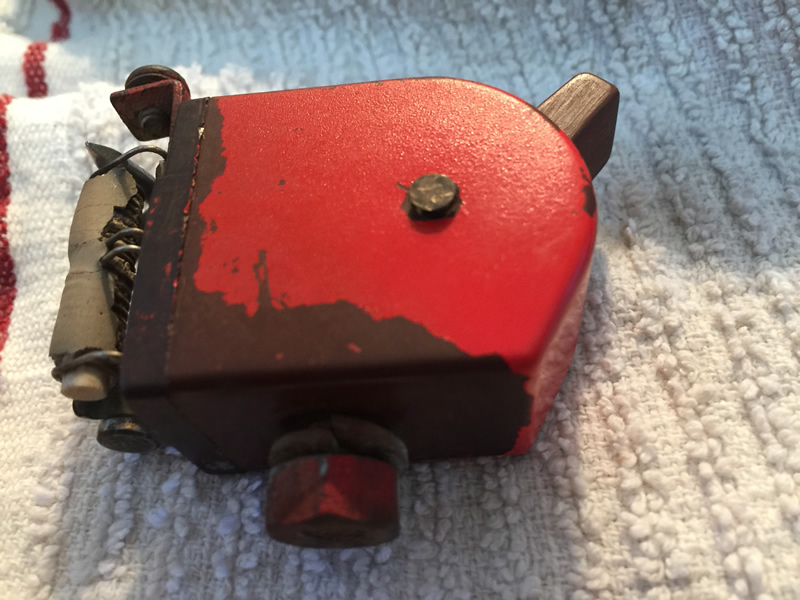
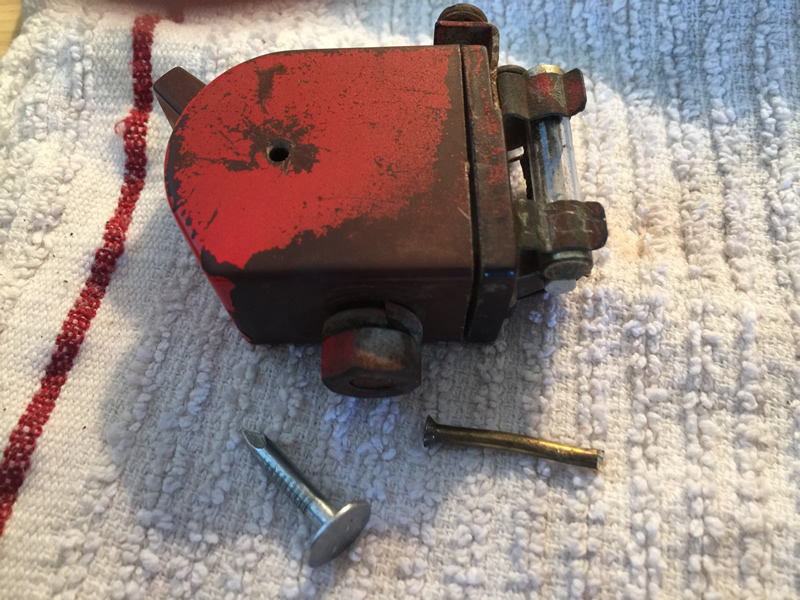
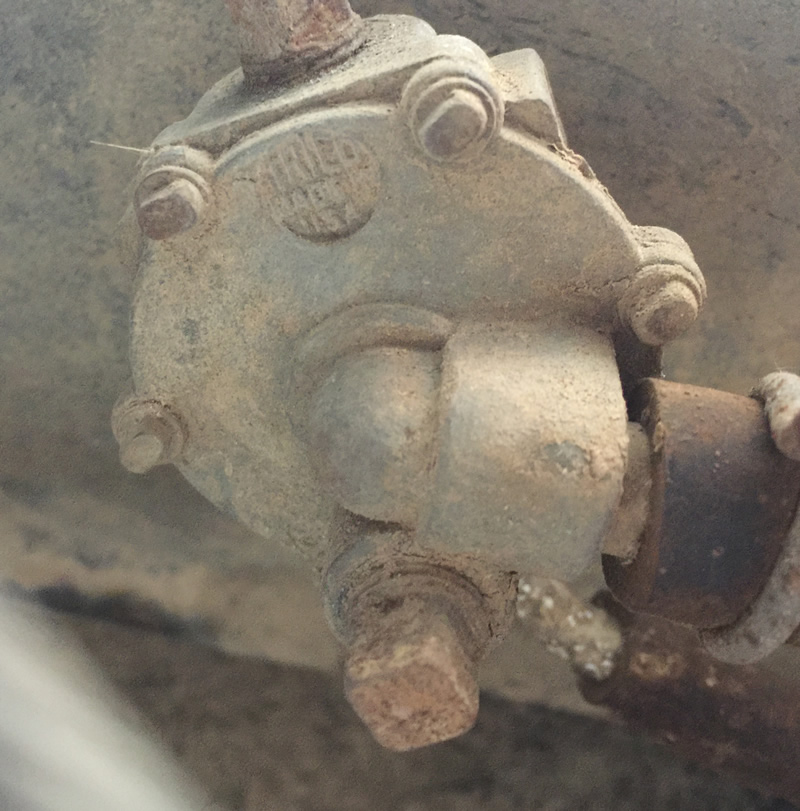
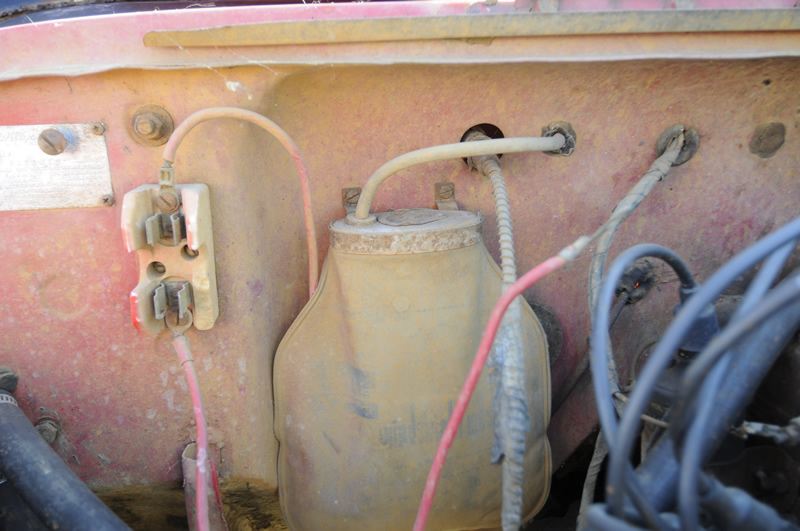
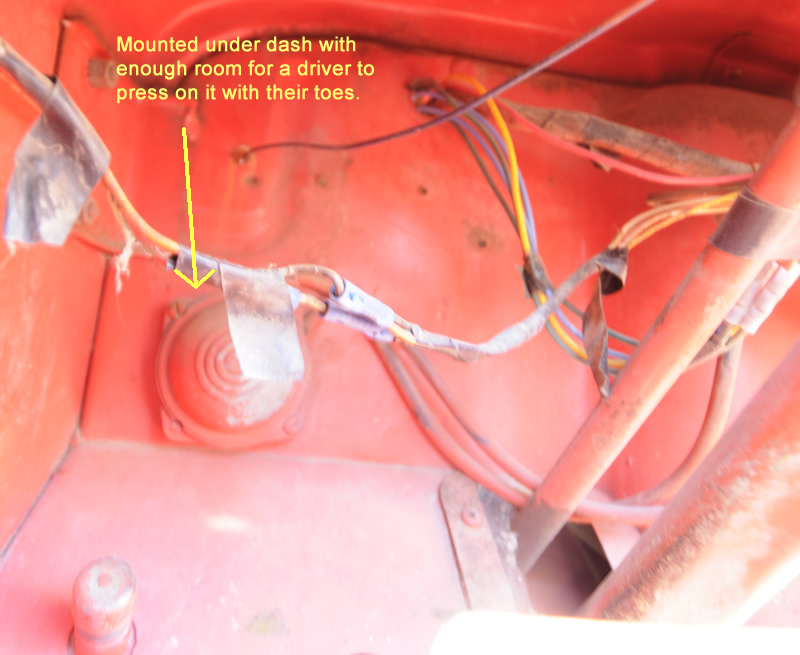
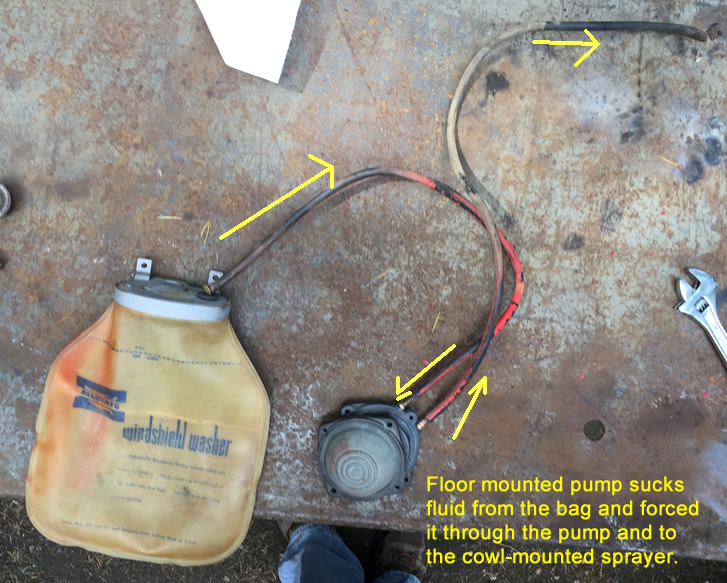
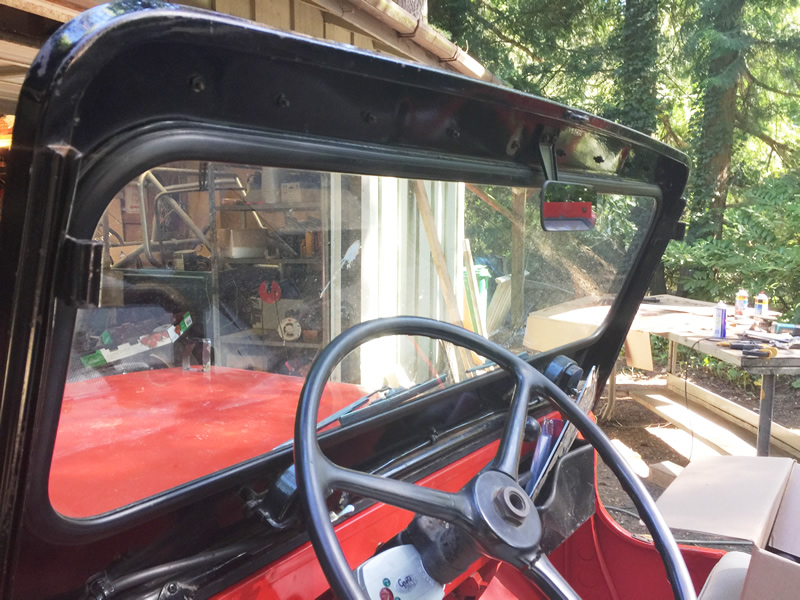
The body is rust free. You can drive it as is or repaint and restore it. The jeep includes a very rare Allstate window wash spray system and an equally rare Vacuum tank that adds power for operating the windshield wipers (one is missing a blade .. I haven’t needed to use them).

Being a convertible model, it has the original windshield with twist knobs across the top. I have nearly all the convertible top parts that attached to the body. The convertible loop only has the main bar, not the secondary bar that leaned off the back of the main bar. There is not soft top either.

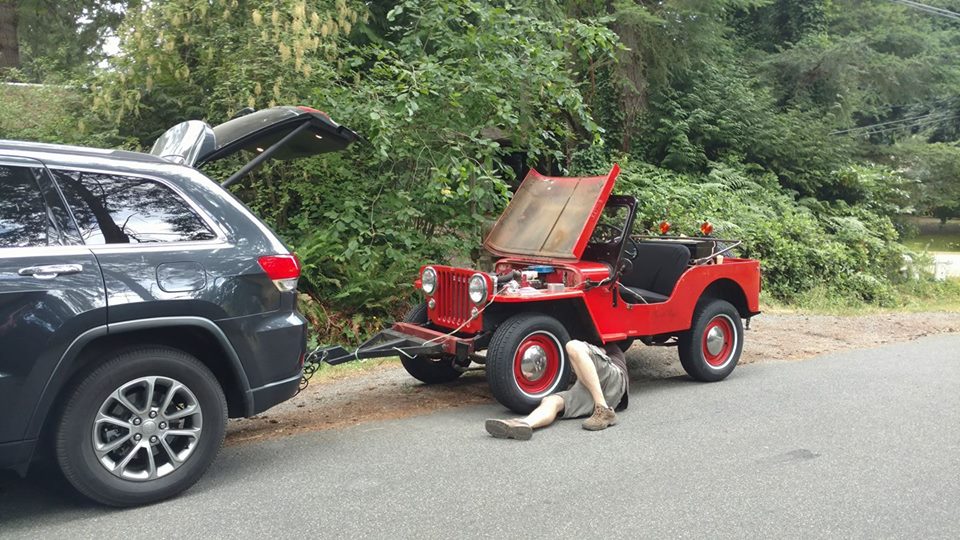
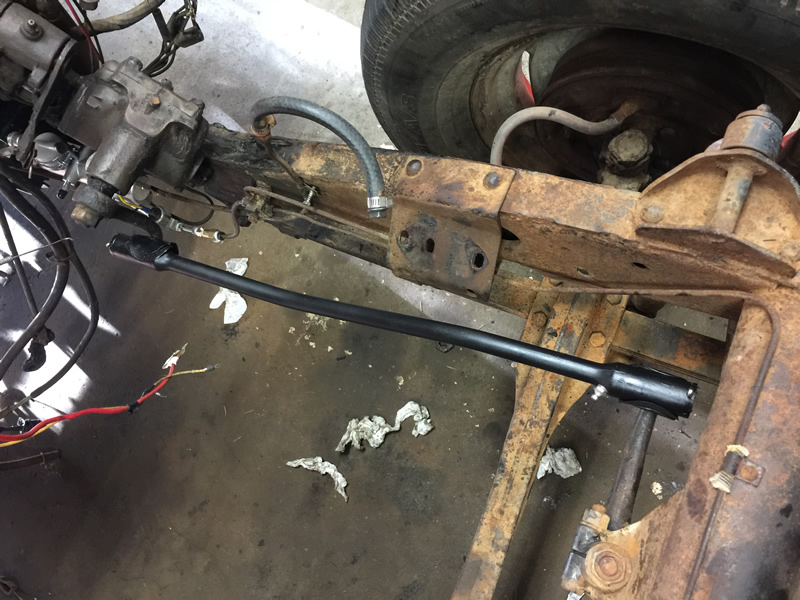
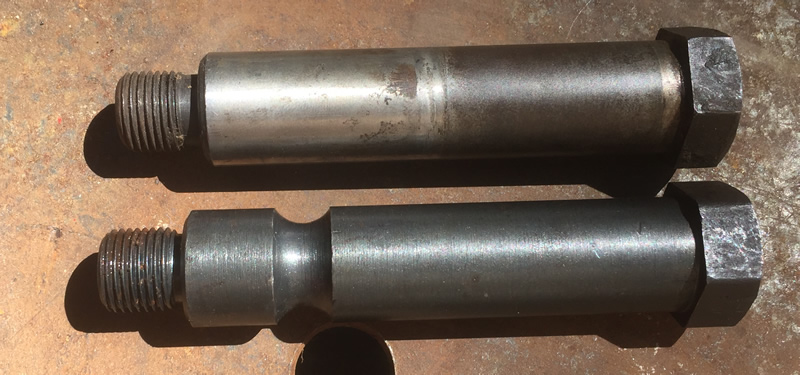
The tow setup includes a towbar (not shown) that connects to a bracket mounted on the front bumper that uses stock holes, so the bumper remains unmolested.

So, if someone wants to buy this from me for $8000, contact me at d @ deilers.com.

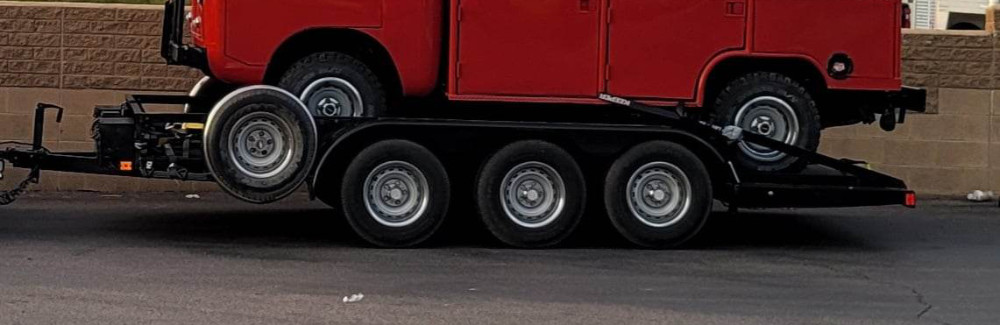
I’ll throw in this three axle trailer for another $8000. I bought it along with the FC Tour jeep, but I think this trailer with just be sitting around and not used much. Since we already have a tilt trailer that can handle the FC, I don’t really need this one. I can take more pics or supply more info if anyone is interested. We towed it from Arizona and, once we got the wiring sorted out, it worked great for us.

fc-tour-jeep-worksheet

 
To Top

Worked on Patterson Saturday

• CATEGORIES: Features • TAGS: This site contains affiliate links for which I may be compensated.

2022-05-21-working-on-patterson

I pulled out Patterson yesterday to being making a few minor repairs. You might remember (though I’d rather forget) that the driver’s side rear got a little crunched when Patterson bumped up against the UHaul trailer last fall (Ugh).

On Saturday, I pulled off the surrounding equipment, then using clamps and counter-force (slow and steady), pulled everything back together. It came together surprisingly well. Next steps are to replace the rear lights, replace the generator, and reduce the friction between the brake and clutch pedal (push one down, the other drops a little).

Once the work is done, I will put it up for sale. Do we want to sell it? Not really, but we are working on getting another vintage jeep to replace Patterson, something far cooler. Once everything is settled, I will announce it.

 
To Top

Finally, All Three Jeeps in the Shop!

• CATEGORIES: Biscuit, Cosmic-Crisp-Race-Jeep, Features • TAGS: This site contains affiliate links for which I may be compensated.

Yesterday, with cold weather arriving soon, I took advantage of a warm, but very windy day, to pull Biscuit off the trailer and put it on the hoist. Now, all three jeeps are in the shop.

But, before we gathered the jeeps, both Ann and her son Daniel, who has been helping us around the property, each took the race jeep for a run in the pasture.

Here I am giving Daniel a ride. Unfortunately, my long legs preclude me from shifting into second gear (that’s how tight it is). Once I fix that, I can go much faster.


Here are some still shots. First up is Ann in the cockpit:
2021-11-15-ann-race-jeep

Here’s Daniel just finished with a run around the pasture:2021-11-15-daniel-race-jeep

Ann’s stomach surgery this summer, which as helped her in numerous ways, including solving her several adverse reactions to gluten (unsure why?), has also helped her lose quite a bit of weight. This has helped reduce her over all pain and also allows her to easily fit into the race jeep. Though she didn’t drive too fast, she did have fun racing around our back pasture. Once she gets used to it, I expect she will enjoy racing at a PNW event.

Continue reading

 
To Top

Day 2: Patterson Arrives in Pasco

• CATEGORIES: Alaska Or Rust Trip, Features • TAGS: This site contains affiliate links for which I may be compensated.

<– Day 1: July 21, Alaska Or Rust Has Begun | Day 3: July 23,  Alaska Updates  –>

UPDATE: To clarify this post, I’d been spending several weeks getting Patterson ready for the trip. Like everyone else, I had to deal with last minute issues, like my front hubs getting too warm. Here’s my efforts to pull our 1956 DJ-3A from Seattle to Pasco, Washington, where we would officially start our leg of the trip with Brazilians Hugo and Fernando Vidal.

Original Post July 22, 2017: Well, folks, we are one step closer to Alaska; I successfully pulled Patterson over to Pasco yesterday. Normally, the drive takes just over three hours. However, I took the scenic, slow route, with some stops along the way to adjust my front wheel bearings. Apparently, I tightened them too tight (I thought I had left some play, but I guess not enough). I suspected this when I finished installing them on Friday, which is why I made a decision to bring along my hub puller.

About 10 minutes into my journey I pulled over and felt both front hubs. They didn’t feel hot. Then, I got stuck in stop-and-go traffic for about an hour heading eastbound on I90 (for those that know the area … from Tiger Mountain on Highway 18 all the way to the first big curve on I90 east of North Bend).

2017-07-21-northbend

Traffic was awful!

I climbed the pass on Interstate 90, then pulled off at Snoqualmie and felt the hubs. They were hot to the touch. So, I loosened the bolts, let them cool, and had some delicious BBQ at Webbs. We’ve eaten there twice and everything that we’ve tried — pulled pork, brisket, sausage, potatoes, coleslaw and corner bread — have been excellent and surprisingly affordable!

2017-07-21-snoqualmie-passThere are worse places to hangout and eat.

2017-07-21-webbs

Everything was delicious!

The hubs were still feeling hot by the time I reached Indian John Hill east of Cle Elum. So, I readjusted them again. About that time, a father and his sons walked up and asked about the jeep, so I had them sign the right fender.

After Ellensburg, I took the Ellensburg-Selah Canyon Road (not sure what the name is offhand) and stopped to feel the hubs again. Loosening the bolt wasn’t working, so I retrieved my tools and worked on the driver’s hub.

2017-07-21-yakima-canyon

Nice evening and view for working on the hubs. This passenger side hub was particularly difficult.

It wasn’t easy, but I finally got one stubborn hub to give. The second hub (passenger side) was more difficult and, after breaking an older torque wrench (it was already in bad shape) I decided to leave the nut a little loose AND try some rougher back roads. It took several hours at 30-40 mph, but finally the bearing was pushed out a little. After that, I was able to up my speed to 60 mph without any heat buildup.

I made it back to Pasco about midnight feeling victorious!

<– Day 1: July 21, Alaska Or Rust Has Begun | Day 3: July 23,  Alaska Updates  –>

 
To Top

Brake Cleaning & Axle Swap

• CATEGORIES: Features • TAGS: This site contains affiliate links for which I may be compensated.

2017-07-19-brakes4
I spent a long time in the garage and now it’s the wee hours of the morning, so just a few posts today. This isn’t much of a post, but you get the idea …

I pulled the brakes and wheel cylinders off the front. The front wheel cylinders were full of crud, but the cylinders themselves, along with the rubber, were still in good shape, so I honed the cylinders, cleaned the parts, and reassembled them.

2017-07-19-brakes1

Since I have everything apart, I decided to installed a different axle. It’s clean and I’m not sure it’s every been used.

2017-07-19-brakes2

2017-07-19-brakes3

 
To Top

To(w) Hell & Back

• CATEGORIES: Builds, Features • TAGS: , This site contains affiliate links for which I may be compensated.
2017-07-16-patterson-tow-failure9

Patterson looks ready for the big tow to Eastern Washington.

Claiming that Sunday was “Tow Hell” day might be a slight exaggeration, but I wouldn’t call it a winning day either. Let’s recap the last couple days as I’ve been so busy I haven’t had time to photograph some of it.

I finally got the jeep running well on Friday after determining there was an air leak in a short piece of hose (let air in, but did not let gas out). I then timed it by ear and feel, rather than diagnostics, and that seemed to do the trick. On Saturday, I built a tow setup that utilized existing holes in the front bumper. I wanted some thing strong, but didn’t want to drill into the bumper.

Once the tow setup was ready, I turned to the exhaust. I’d already had Ann go to a muffler shop to replicate the 1.5″, 7′ section of tailpipe I needed (thankfully I had an original end section leftover from one of the DJs to use as a template). I combined the tail pipe with a Walker muffler I bought off Amazon and some Oreilly’s clamps and assembled the exhaust with relative ease.

I thought we were ready to head for Pasco on Sunday morning.

dj-exhaust2

The early DJ-3As has an exhaust that pretty much was straight. The only bends needed were 1) the bend on the front piece from the manifold down to the cross member, 2) the exhaust piece has to bend over the rear axle, and 3) the exhaust bends to the outside past the gas tank (not pictured). (1955 DJ-3A manual). Good luck finding a shop that had this series of bends in their shop manuals or computer!

surrey-exhaust

For comparison, this is the more likely setup that you’ll find at a muffler shop (if they have anything this old). It’s a more typical setup for 2As, 3As, 3Bs, etc. This doesn’t work for the DJ, because the muffler is positioned where the rear gas tank is installed.

We spent the first part of Sunday morning cleaning up the garage. It was a bit of a mess! Once that was done, we hooked up Patterson and began slowly towing him. We didn’t make it through the first intersection of my parent’s quiet neighborhood before I realized that the jeep wasn’t tracking around the corner. When I turned slowly right, it began to turn slowly left, forcing me to hit the brakes.

What the hell? I’ve towed a number of vehicles and never, ever run into this type of trouble.

We carefully tried a couple more corners and each was the same. The jeep began to turn the opposite way. I’d have to hop out and correct Patterson’s direction. After a trip around the block, we arrived at my parent’s house once more.

2017-07-16-patterson-tow-failure2

Testing the tracking at a very slow pace.

I pulled out my googler, but couldn’t find anyone having a similar problem. I concluded the drag link/ross box was somehow interfering with the jeep from tracking properly. I did read were “Dr. Verne” (aka Verne Simmons) would remove his drag link to tow it, but my custom radiator made that strategy near impossible without disassembly of multiple items. I was just about ready to remove the drag link when I decided, on a lark, to unscrew the control screw(could be the wrong name for this) on the Ross box. My assumption was that this would loosen the Ross mechanism, freeing the drag link to spin the steering wheel more easily.

2017-07-16-patterson-tow-failure10

Me trying to work through the steering problem.

Continue reading

 
To Top

Baby’s Got New Shoes

• CATEGORIES: Features • TAGS: This site contains affiliate links for which I may be compensated.

Just a couple updates today.

Patterson got some new tires today. We purchased some inexpensive Cooper Trendsetter 235/75/15 tires that have a bit of a vintage feel. We then moved Patterson’s old tires to Rusty’s wheels, so Rusty has some better shoes also.

Meanwhile, Ann added her touch to Patterson by painting the air cleaner lid (which is actually a cake pan mounted upside down) blue (you can see it sitting on the fender in the pic below).

2017-07-09-patterson-new-tires2

Yesterday, I spent a good amount of time fixing items that I thought were fixed, but weren’t. For example, the brake pedal was hitting the column shifter rod (between the column paddle and the transmission). I thought maybe I had installed the rods incorrectly, but after removing the rods and puzzling through the situation, I figured out that the column itself needed to rotate clockwise several degrees. When I started undoing the bolts to make that happen, I found they were loose. That was a surprise, as I hadn’t worked on the steering column itself (though I had rebuilt Rusty’s column, which proved vital to deducing the fact that the column needed to rotate). Long story short, I rotated the column, tighten it up, reattached the rods, and the brake arm now clears the rods.

I also re-routed the vacuum lines that go down to the reservoir and back. Now they are more protected from the moved of the column shifting and away from the exhaust manifold.

I purchased a newer condenser yesterday and installed it, but I wasn’t really happy with the performance. I am going to get an NOS one from Old Car Parts (see the post below) and see if that works better.

 
To Top

Having a Gas

• CATEGORIES: Features • TAGS: This site contains affiliate links for which I may be compensated.

My wife has been having a wonderful time making videos of things not quite going as planned. Yesterday, we only had to be pushed by the neighbors twice into the driveway. I figure either there’s something in the gas, something wrong with the fuel pump, or the pressure is off on the fuel line. Outside of that, I followed Rick’s Old Jeep Carb method for timing the engine and it worked well. When gas isn’t an issue, the jeep starts up on the first turn of the key and just hums.

Here is the second time we needed a push (great way to reconnect with old neighbors!):

 
To Top

My Wife’s a Genius

• CATEGORIES: Builds, Features • TAGS: This site contains affiliate links for which I may be compensated.
patterson-wiring

This photo provides a good look at how frayed some of the wire was behind the speedometer. Worse, this wiring was sitting on the metal brace!! in the background is the volt-a-drop which provides stepped down voltage to the King Seeley speedometer).

Electrical Mess:

We’ve been working hard on Patterson the last couple of days. Most of our time has been consumed with checking wiring and rewiring stuff. Between frayed wires and mis-wired stuff, it’s filled our time. Apart from the types of frayed wire seen in the pic above, I discovered 1) the wires to the amp gauge and light were wired into the oil light (fortunately, all I had to do was pop out the light and plug it into the amp light), 2) the amp light was missing altogether (thankfully I could steal one off of Rusty’s speedometer), 3) the ignition jumper that screws to the back of the speedometer was laying on the metal brace (must have caused some shorting), 4) the oil light wire was wired to the fuel gauge (which explains in part why the fuel gauge didn’t work … well that and there was no wire connected to the fuel tank wire.

Dimmer Switch:

patterson-dimmer-switch2

No more red paint on this dimmer switch.

The dimmer switch has been lubed, reassembled, de-painted, and installed.

The Horn Wire

Patterson came with a button attached to the side of the steering column that was used as a horn, but it didn’t work. Since we were already changing some of the wiring around, we decided to steal the column shift button wiring from Rusty’s steering column I wired last month and use it on Patterson.

To start, I knew we had to run some non-electric wire (similar to bailing wiring) through the length of the column in order to pull the horn button’s electric wire down the shaft. That sounded like a good idea, but several attempts at pushing the wire up the column  were a failure: the wire kept getting snagged as I pushed it up the column. I was getting frustrated.

But then, my genius wife had an idea. Why not blow some thread down the column using an air compressor nozzle. Once the thread came out the bottom, we could pull the bailing-like wire back through. I admit, at first I thought it sounded a little crazy. After all, near the bottom of the column shaft it narrows, so I thought for sure the thread would be stopped by it. But, then I took a breath and thought …. hmmm … what could it hurt to try?

Sure enough, she produced some thread, dropped a little down the column, then stuck the air nozzle into the hole. That thread blew threw the bottom of the column in a couple seconds. It was genius! Well, almost genius, as we had to upgrade our thread to thicker thread. Other than that, we had the column horn working in no time!

patterson-horn-steering0

This is the thin thread we tried. It didn’t she enough tensile strength to pull up the wire. She just dropped some thread in and the air blew the rest of the thread down through that small hole at the bottom.

patterson-horn-steering2

Once we shifted to the thicker, black thread it worked perfectly.

Continue reading

 
To Top

Disassembling A DJ-3A Dimmer Switch

• CATEGORIES: Builds, Features • TAGS: This site contains affiliate links for which I may be compensated.

Last week when we were in Renton, we tested Patterson’s headlights and discovered the foot-based dimmer switch wasn’t always working correctly. After a little research, I discovered the CJ-3A page had a useful thread on the topic, but naturally the switch demonstrated wasn’t exactly like the DJ-3A switch. The one shown on the CJ-3A page had a square end, while the DJ (and I’m assuming others of the same vintage?) have a rounded end. In fact, It isn’t clear to me which models use which dimmer switches?

square-dimmer-switch

Example dimmer switch from the CJ-3A page forum.

So, here’s a look at Patterson’s switch. The first obvious difference is that the housing doesn’t have tabs. Instead, it has crimps and, let me tell you, those crimps wouldn’t bend easily outward.

2017-07-01-patterson-headlight-dimmer-switch1

Using a small screwdriver, I eventually got the crimps straightened. As soon as I tugged at the top part to remove it, everything kind of tumbled onto the table (oops).

2017-07-01-patterson-headlight-dimmer-switch2a

  1. #1 is the bottom piece. When the actuator is depressed it catches on #1 on the bottom of the piece and spins it.
  2. The metal tab that sticks up on #1 connects to #2 and spins it. #2 is actually made up of 3 pieces a) the disc, b) a shaft, and c) a spring.
  3. #3 is a copper propeller that rotates in conjunction with #2 and #1 each time the actuator is depressed. As you can see, it is very dirty.
  4. Part #3 connects with copper highpoints on #4, which shifts the electricity from the high beam to the low beam, then to the high beam, etc, in a circular pattern. The contacts on #4 were dirty, too, but hard to clean without scraping the copper points. I did not have a good cleaner handy, so I only gently cleaned them.
  5. This is a gasket.

2017-07-01-patterson-headlight-dimmer-switch3

Continue reading