
Patterson has a Harrison Heater, common in the early DJ-3As. Attached at the bottom of the dash is an Ark-Less four position switch (Off, Low, Medium, High) that controls the fan speed. The switch wasn’t delivering current, so I spent the day figuring out how to pull it apart and clean it up in the hopes that the switch could be resurrected.
The switch is held together by a long pin in the center. The switch also rotates on this pin. To remove the pin, the rounded edges on the pin must be drilled/pressed together/or someone modified. I chose to drill out the ends.
Here’s what it looks like to begin (not my switch .. I forgot to take this pic .. thanks to the cj-2a.com page)

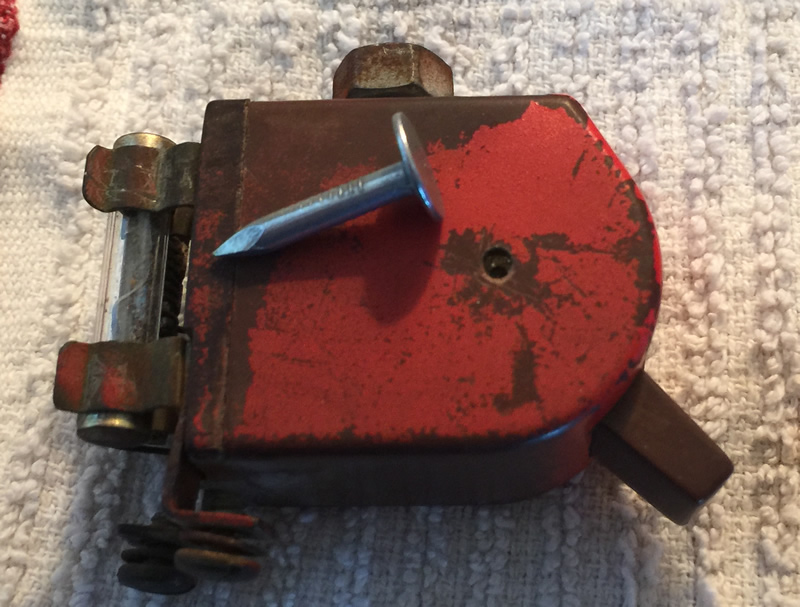
Note the small hole. That pin must be pushed out
Now, here’s my switch. It received some paint when Patterson was repainted (I believe the paint was touched up some at some point). Once I drilled out the end of the pin a little, I used the nail to push the pin through.
Here’s the other side of the pin. Now that it is sticking up, I can remove it.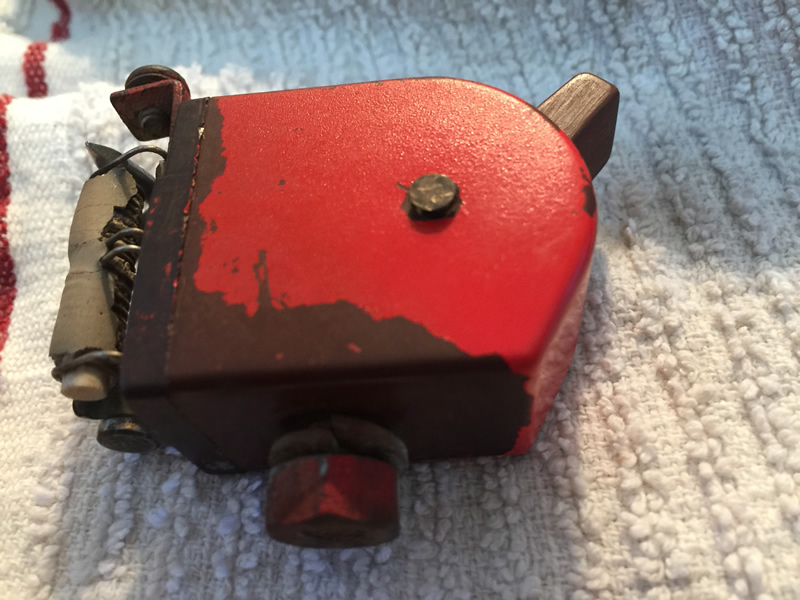
Pin removed. I didn’t put much pressure on the pin when I first pushed it through, so I *think* the pin was already bent somehow.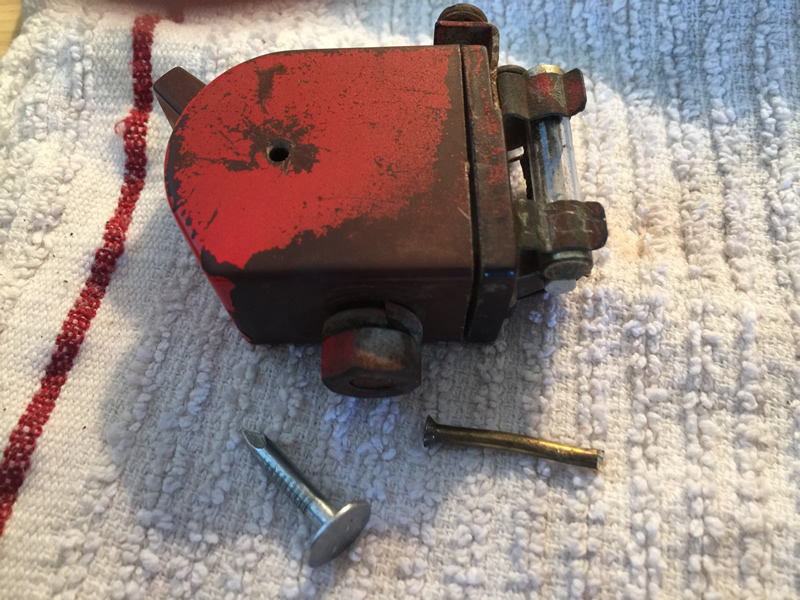
On this side of the switch you can see the three contacts that create the low, medium and high positions. Currently, the switch is in the off position. I had already cleaned the contacts some by this point.

This is the other side. 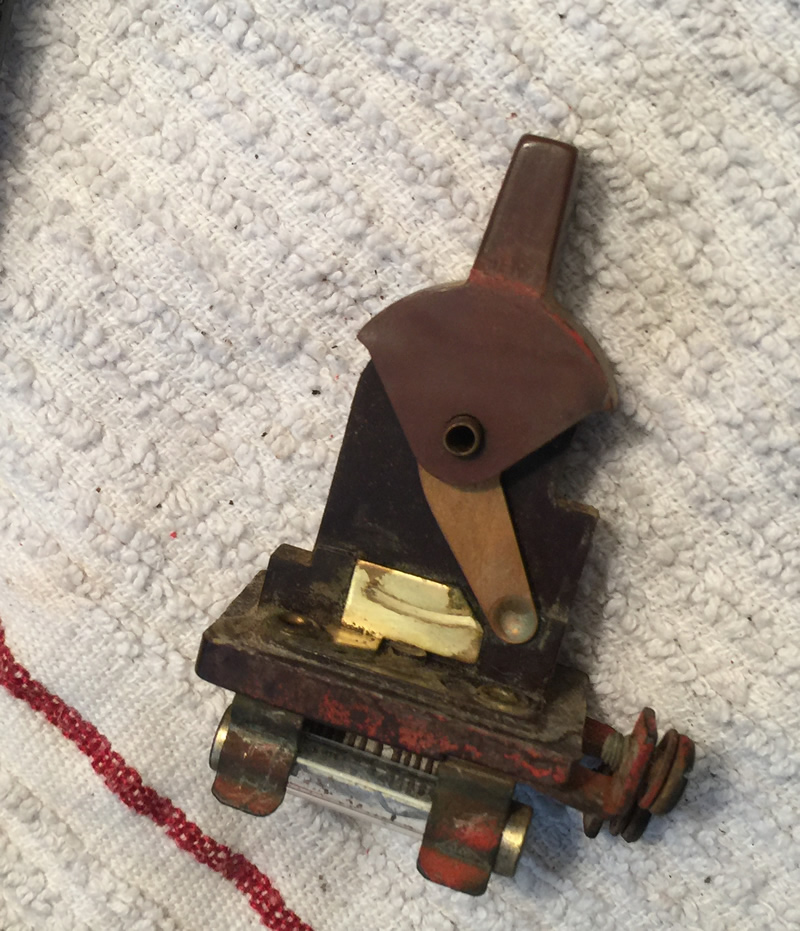
Despite cleaning the contacts, I still wasn’t getting electricity traveling through the entire switch.High worked, but low and medium did not. Subsequent testing proved the problem was related to the rivets that held the capacitor in place. To clean them, I placed the switch in a shallow foil bowl of 1/3 vinegar and 2/3 water and let soak for an hour.

After letting it soak, I blew out the switch with my compressor. Low and behold, the vinegar removed enough interference to make the switch work in the medium and low positions.
As you can see below, I also removed the paint from the switch box.

I debated whether to use the original pin or use a nail of the same size. I decided that if the pin were pushed through and felt secure, I’d reuse that. I figured I wouldn’t be using the switch all that much anyway. So, I pushed the pin through. The small side of the pin didn’t slide through the end very easily, so I feel confident that the pin will remain in place.
Below I did one last “proof of life” with the Ohm meter. 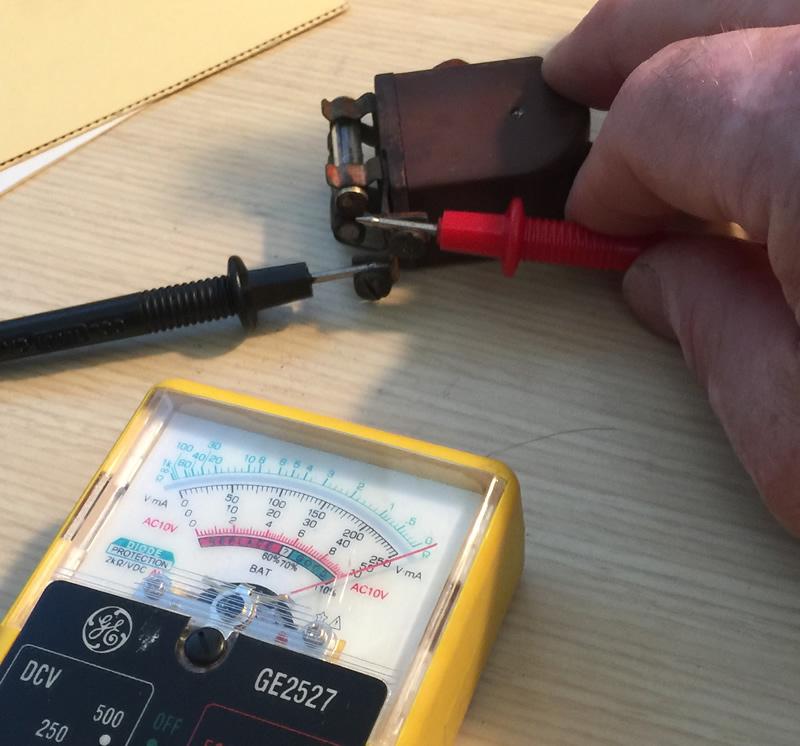
These links below were very helpful as I worked through how to disassemble the switch. There’s also some useful heater info, too.
Some useful heater and switch links:
- http://devestechnet.com/Home/HeaterRestore
- http://devestechnet.com/Home/Native12VUpgrade#heatersystem
- http://www.cj3apage.com/cgi-bin/3Ayabb26/YaBB.pl?num=1353867229/0#9
- http://www.cj3apage.com/cgi-bin/3Ayabb26/YaBB.pl?num=1371081304/0
- https://www.thecj2apage.com/forums/heater-hose-routing_topic11223.html
- https://www.thecj2apage.com/forums/heaters_topic10472.html
Just a tip, the work I do, I often have to clean switch & relay contacts just like that. Instead of using emery, crocus, or fine sand paper. I use the brown scotchbrite. It will polish those contacts like new & not leave a residue. The scotchbrite is not as abrasive as emery or sand paper & will not damage the contacts either. The reason that is important is because, even though they may look that way , the contacts are not flat. They are slightly domed, to give maximum contact between the two points, thus less resistance. The sb pads will only remove the corrosion, not any metal. Hope this helps.
All that work for one little switch.
I wonder – across America plenty of other guys spending time getting their Willy’s ready for the rust ride. The beat goes on.
Nice work Dave. Thanks for posting. It’s the little things…
That was interesting, thanks Dave. And thanks Gliii, for the scotchbrite tip.
Gliii: Sounds like a good idea (the rear of the switch could use some more thorough cleaning anyway).
Bob: The fun part is the challenge of making it work. It would be easy to buy another one off of eBay, but I could see no reason not to try and fix it, then organize the information I used to figure it out. My hope is that it will help someone else down the road.
– Dave
If the contacts are not terribly fouled and you want something that has a soft bite, try any denomination of USA federal reserve notes(aka dollar bill) works wonders.
Adding to Gliii’s comment…. Abrasive papers can leave behind small bits of the abrasive in the soft contact faces. These prevent best contact from being achieved; arcing, heat, eventual destruction, etc.