I blame my mother.
Had she not very kindly given me some cash to do ‘whatever’ I wanted for my birthday, I wouldn’t have gone to the Jungle Jims on my birthday. I wouldn’t have pulled those springs off the truck. I wouldn’t have installed the springs, that lead to the vibrations, that drove me crazy all month, that forced me to pull apart Biscuit’s entire rear end and redo everything – spring pads, shock mounts, and the transmission undercarriage.
So, a simple 1.5″ lift thoroughly disrupted my entire month. How’d this happen?
I blame the recent emergence of geometry. You see, 20+ years ago geometry didn’t exist. Or maybe it did, but somehow, in someway, my 1st jeep was enveloped in a geometrically-free zen-like zone where geometry didn’t apply, because I never had the problems I encountered this month, despite the fact I set up everything else nearly the same.
What am I rattling on about? I’m talking driveline geometry 101. Unfortunately, I was busy the day they held that class. So, I set up my driveline in the same manner I did my old one: My driveline angled straight out from my pumpkin (with the pumpkin angled at the transfercase like the way it should be done when a CV joint is used), with the only angle at the transfercase. I probably put 10,000 miles on my last jeep without issue. So, why would I do anything different with the new jeep?
Well, everything worked on Biscuit, until I put the 1.5″ lift. But, that little change caused the angles to change enough that the driveline was vibrating my socks off at certain speeds, which is a pretty good trick since I normally wear shoes while driving. So, as I detailed a couple weeks ago, I thought I had solved the issue by using an angle shim to adjust the angle of the pumpkin. However, after driving it a few times, i realized this wasn’t a fix at all.
So, last week I decided it was time to do it right, to tear off the old spring pads and start from scratch and change the angling of the transfercase output shaft and the input shaft of the pumpkin to make them the same. Here were the steps.
1) Remove rear end and remove old spring pads and shock mounts and then drink beer.
2) Build new spring pads. More beer.
3) Connect everything back together to test the driveline angle. Uh oh, I discovered the driveline angle was 30 degrees (ouch), which allowed for almost no flex — not a good thing. Breathe. And Breathe some more.
5) After hmmming and hawwing, I decided I needed to drop the transfercase/transmission just over an inch. So, I removed the undercarriage. Get energy drinks ….
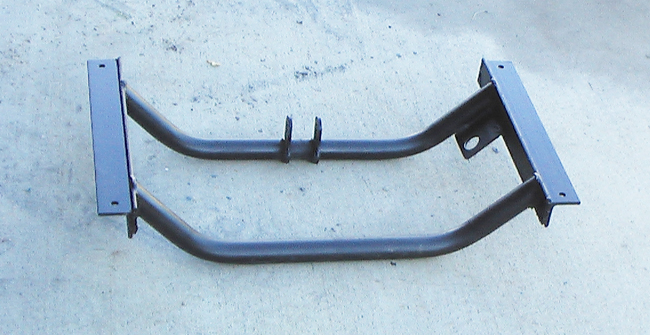
6) Redo the tranny/tc undercarriage — I had to cutoff the angle piece and weld a new piece onto it. More Beer
7) Reattach the tranny/tc — this resulted in an improved angle, with the tc sloping down 7 degrees. Skip beer and drink water.
8)Then, I rotated the pumpkin upwards 7 degrees. More water.
9)Next, I pulled everything apart so I could weld the pads. Margarita to celebrate potential success.
10) Finally, I slipped the rear end underneath and connected everything back together. The result was the driveline now angled 24 degrees. While not ideal, I can live with this for the time being. More beer …
Today, I finally got Biscuit back on the road. I have to say, I wasn’t entirely sure that all this work would to solve the problem, but I am HAPPY to report that not only are all vibrations gone, but also the noise I was getting during deceleration has disappeared as well. So, next week I’ll be heading back into the hills. The heat is finally here in Boise and all the snow should be gone from the trails.
Now, while I blame mom for a torturous month, it motivated me to fix everything correctly. Thanks Mom! And apologies to Robert Pirsig for the blatant theft of his book title .. Zen and the Art of Motorcycle Maintenance.
Here are a few pics (honestly, I was so mad about having to tear all this stuff apart that I didn’t document this too carefully).
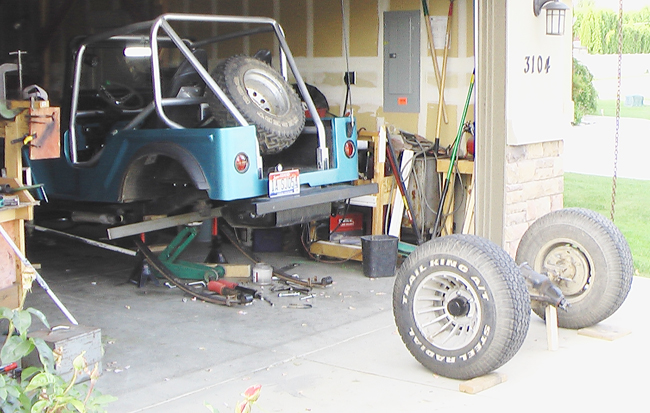
Here is a pic of the rear end pulled. I’m about ready to remove the spring pads:
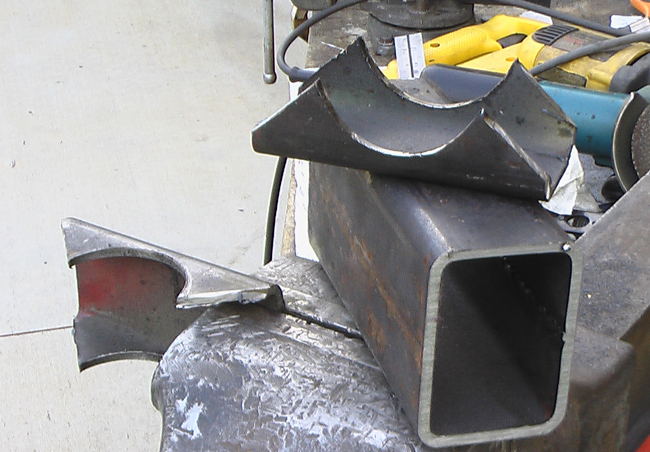
These are the new spring pads made from 3″ x 2.5″ tubing.
Here’s the undercarriage before I cut off the angles. You can see the replacement angle sitting on top of the carriage.

Here I’ve cut off one side.
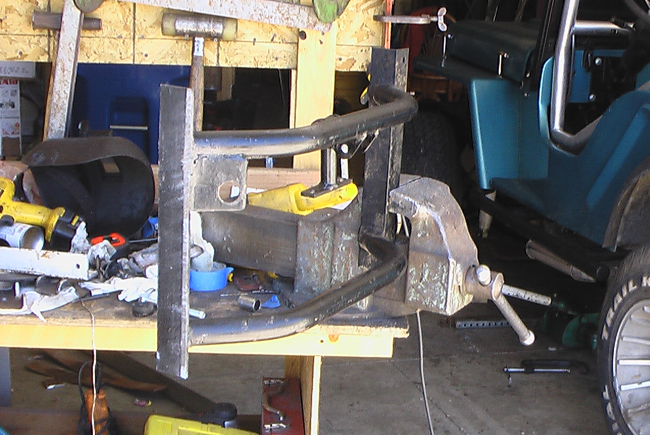
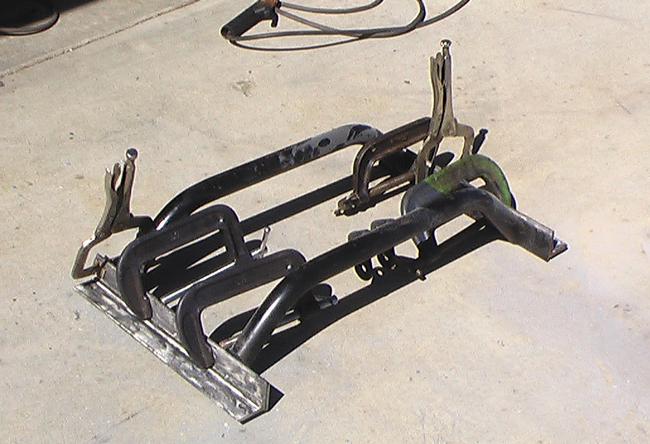
Here it is complete. The result is the undercarriage drops everything just over an inch.
And, here it is finally back together :-). And the body leveled out just where I want it. Who would have thought a simple lift would cause soooo much trouble!


