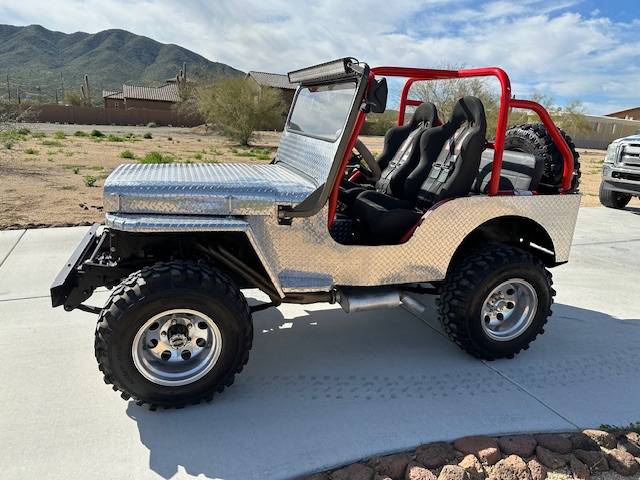
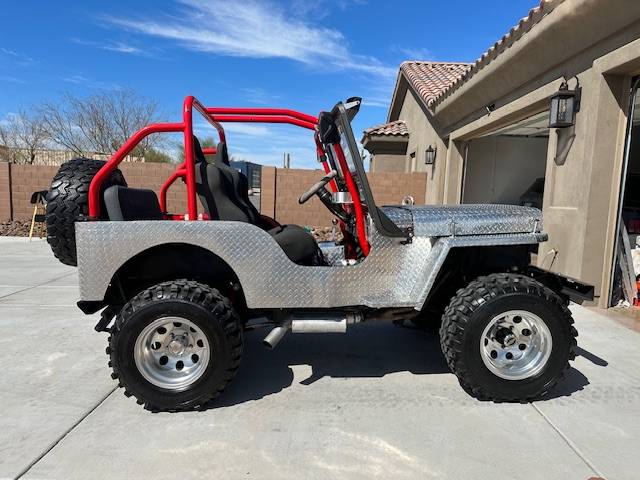
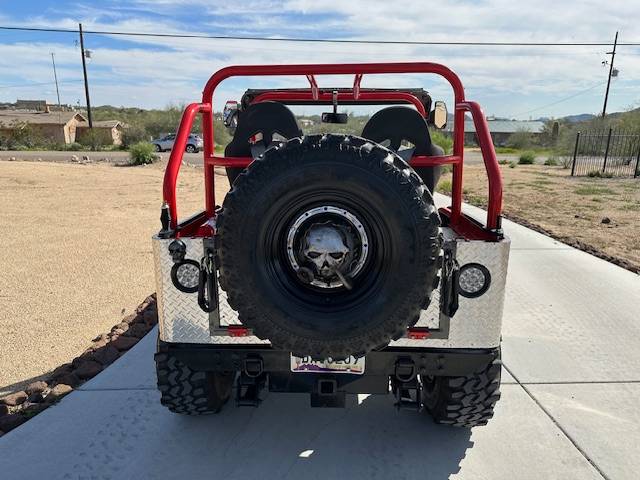
Spring sprang for a few days this week, necessitating mowing, fertilizing, irrigation-de-wintering, and some other projects. but yesterday I got a chance to get a few more things figured out on the FC.
TRANSFERCASE SHIFTER: I received the 4WD/Hi-Lo Range shifter from JB Customs, out of Salem, Oregon, which builds a variety of transfercase shifters and other products. I had ordered a setup for a NP231, hoping that I could modify it for the NP207. The quick answer is, yes, I was able to install and shift the transfercase, a big win! But, there were a few things I had to address along the way.
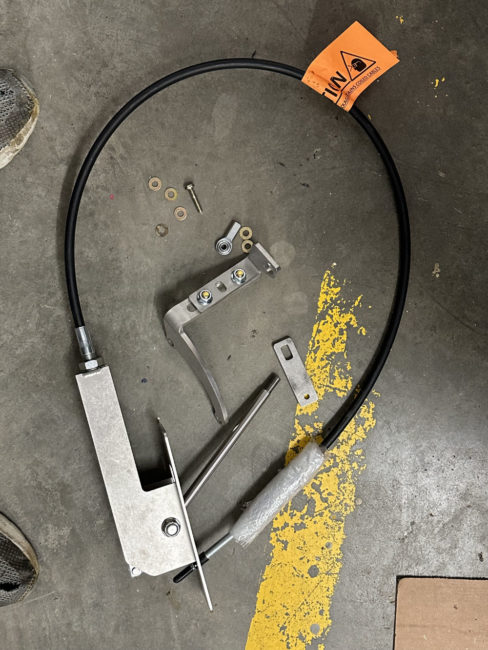
This pic shows the shifter, its cable, and the bracket for installing the cable in front of the shifter. The whole unit seems well built.
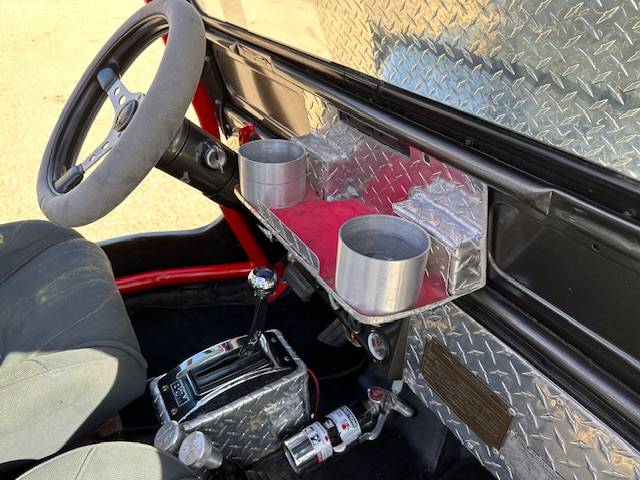
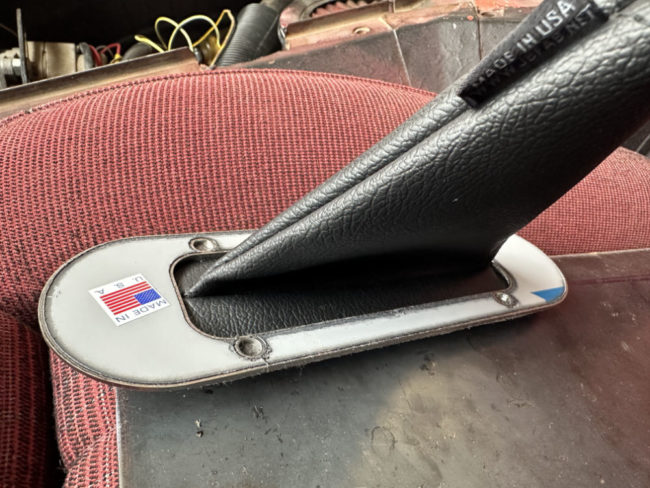
This is the cover plate for the shifter. You can see the rough black bead of glue(?) around the top edge. I’m not so impressed with this plate, but, for my needs, I will be making a squared off aluminum cover plate anyway, so this isn’t a big deal to me. My custom cover plate same dimensions as the automatic shifter top-piece. Not shown is the knob with the correct shifting pattern on it. However, I also plan to add some indicators on the custom cover-plate showing where 2WD, Neutral, 4WD and 4WD Lo positions are located (in case Ann or someone else is driving).
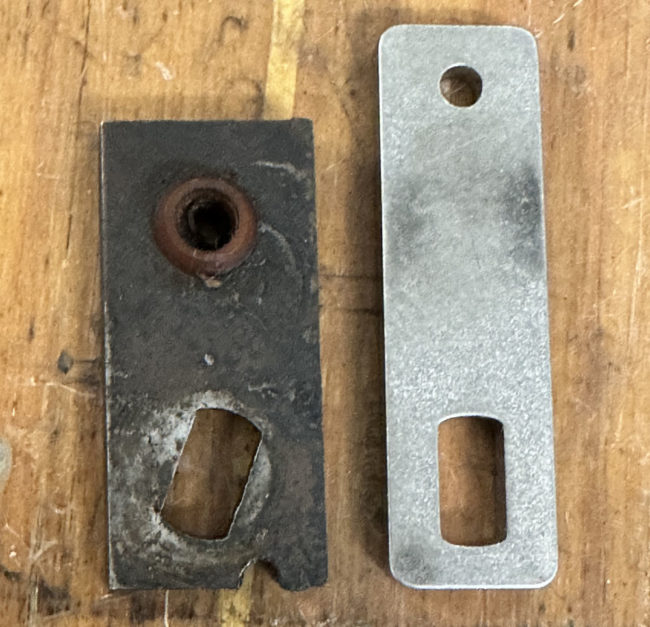
The first challenge I ran into was the difference between the shifter arm that is on the NP207 (on the left) and the shifter arm that came with the package (on the right). Obviously, there are several discrepancies. Even the “notch” width-size of the new arm was slightly smaller than the one I had. The fact the NP207 arm slot is angled seems an important aspect of the arm, too. So, I ended up lengthening the original by welding a piece of steel to the top[. It will work just fine (I forgot to take a pic of the finished part).
I ran into a problem with one of the transfercase bolts; it is too short, so I will have to go buy a longer 15mm bolt. I also found that the transmission shifter cable was bumping into the transfercase shifter, so I built a custom piece to hold it in place (just a zip tie for test purposes).
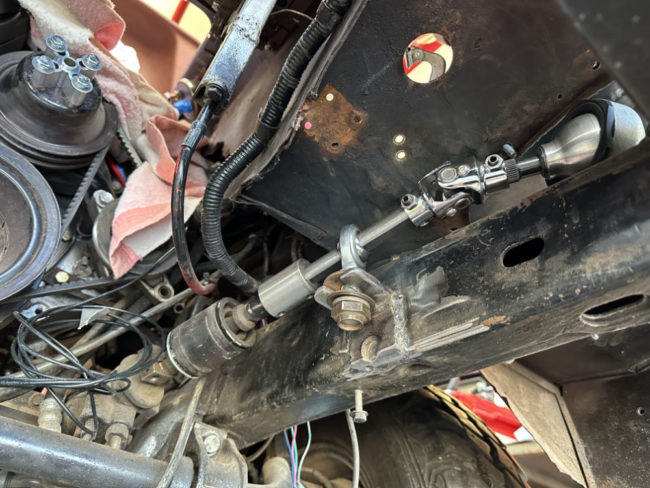
Once I got those problems dealt with, I hooked up the shifter, ran the cable underneath the frame, and tested it. The shifter moved the transfercase through its options with ease. This was an important win!
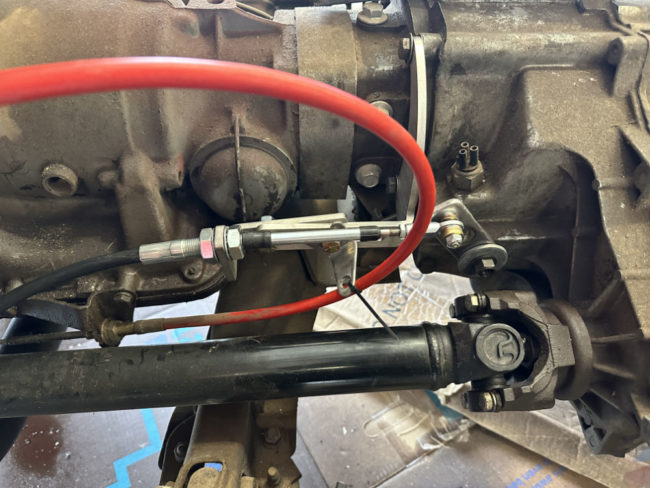
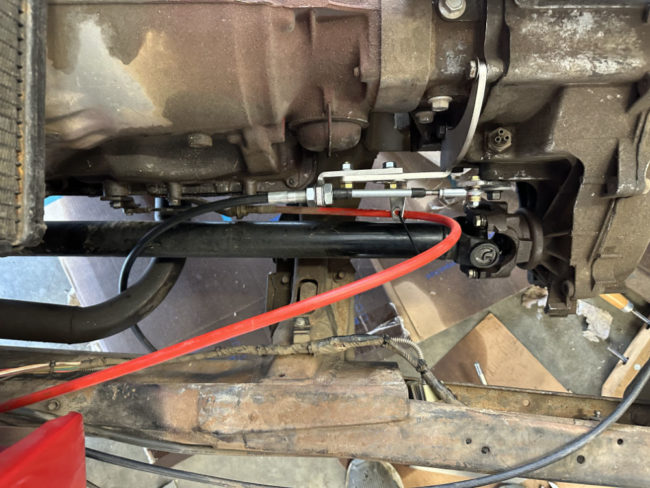
The final issue I ran into was cable length. I had a choice between a 60″ and 72″ cable. Long story, but I went with the 60″ when I should have ordered the 72″ (which I thought might be way too long). It turns out the 72″, which I ordered today, will work perfectly.
So, once I get everything in place and tested, I will pull everything apart and add the finishing touches.
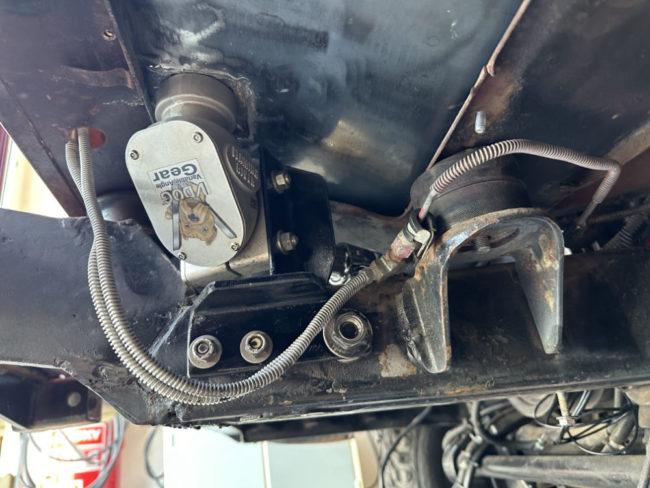
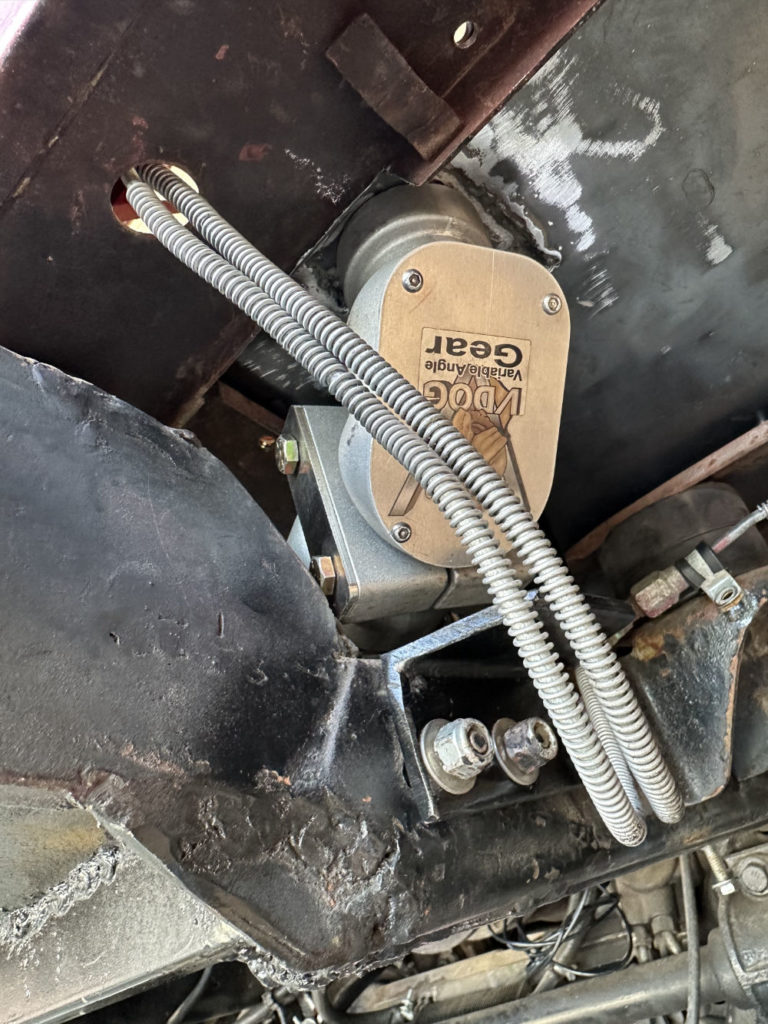
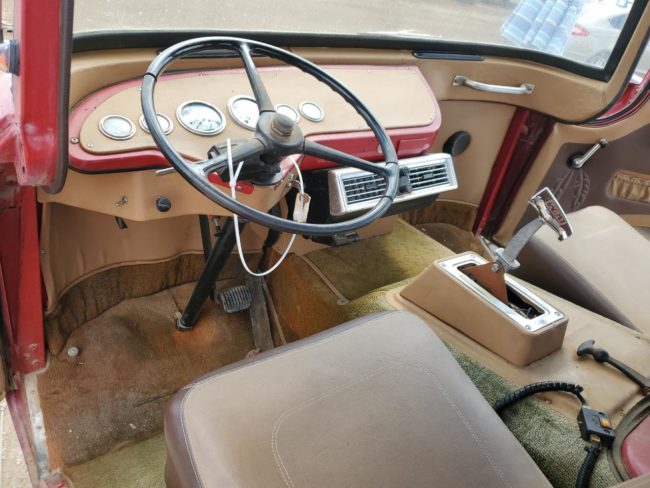
STEERING UPDATE: Yesterday, I welded together the bracket to hold the V-Dog steering unit. I also formed a new sheet metal floor cover to span the floor’s access hole and connect with the top of the V-Dog, which will help tie things together. (I don’t have pics just yet).
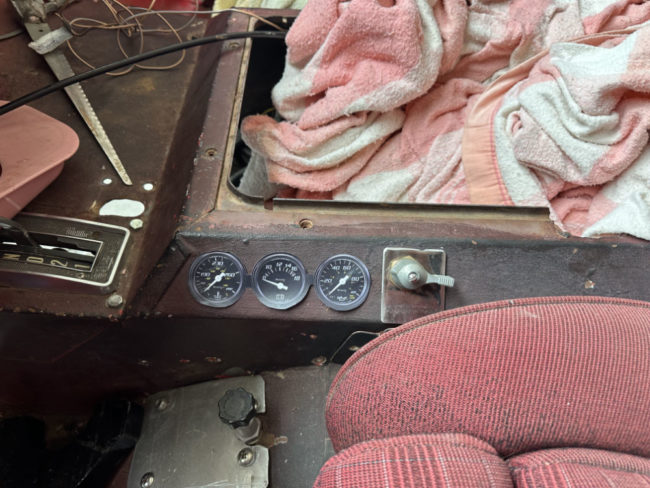
MINI-GAUGES: I mocked up three 1.5″ lift-size mini gauges and also added a test plate for the power switch. Having the gauges in that position helps hid them, but allows me to see them if need be.
IF I got this route, I will make one solid dash plate for the three gauges and the switch, so it looks more like one unit. The gauges would also need to be rotated for easier reading.
The knob below the gauges is a Wildwood brake proportioning valve. I haven’t done anything with that at all yet. I’ll likely replace the aluminum plate, but that’s probably all I will do to it for now (I”m not sure if I really need this or not … I believe it’s this product).
